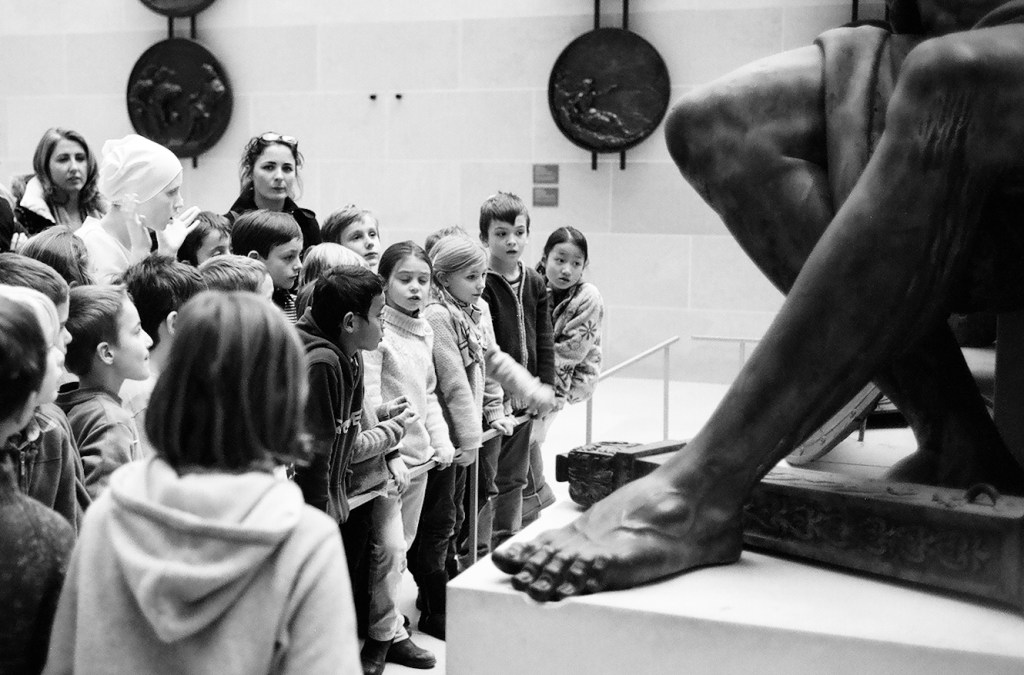
Why use a digital compact camera (aka point and shoot) when traveling, rather than a mirrorless interchangeable lens camera (ILC) or a smartphone?
I can see two reasons:
- a better size-reach combination – only a point and shoot like this Sony HX-60 can offer a 720mm full-frame equivalent focal length at the long end and still be pocketable;
- a unique size-ruggedness combination – only a rugged compact point and shoot like an Olympus Tough TG can be carried around all the time, without fear of dust, sand, water. If it gets drowned, crushed or falls in a crevasse, it’s not so much of a big deal. You don’t need it to authenticate to your employer’s VPN, and you don’t store your electronic plane tickets on it. And if you have to replace it, a similar camera will only cost you a fraction of the cost of an ILC or a smartphone on the second hand market.

Conventional, long zoom (non-rugged) point and shoot sometimes have relatively large sensors (up to 1in) and a well designed telescopic lens; they offer an impressive image quality, but their motorized telescopic zooms with their retracting lens cap won’t take sand, rain or a fall to the floor lightly.

What constraints Image Quality on the Olympus TG-5?
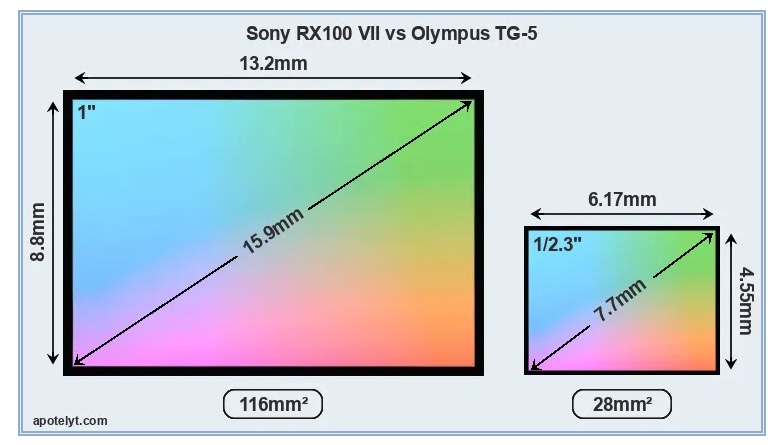
High level, the Olympus TG-5 and its close derivatives the TG-6 and TG-7 deliver a pretty good Image Quality (IQ) for rugged cameras, but are limited by the small size and resolution of their sensor (1/2.3in and 12 Megapixel respectively), and the design and implementation of the lens, a folding internal optic.
That being said, if you’re intended to extract the maximum image quality from the TG-5, it’s important to understand how the camera controls the exposure parameters, and aperture in particular.

Very few compact cameras (and it was also true at the time of film) use a conventional iris for a linear control of the aperture, with the well known sequence of stops (f/2.0; f/2.8; f/4, f/5.6, f/8, … and so on). In a typical compact camera, aperture control is often performed by the shutter. This design comes with its own set of limitations: only a few aperture values can be selected, and they’re not available with all shutter speeds.
On the TG-5, the maximum aperture of the 25-100mm zoom (full frame equivalent) varies between 2.0 at the widest angle and f/4.9 at the longest focal length (it’s a sliding aperture lens). In order to limit diffraction, the camera only offers two “real” aperture settings (f/2.0 and f/2.8 at 25mm), with higher values (up to f/8 at 25mm) being simply simulated by a Neutral Density (ND) filter. Therefore, image quality will peak at f/2.8, and stopping down beyond won’t improve it (IQ could even be marginally worse because of the ND filter) .

If you decide like me to travel with a Olympus Tough TG-5 (or TG-6 or 7), how to extract the best Image Quality from the camera?
IQ is all relative. If pictures are to be viewed on a social media app installed on a smartphone, the TG-5’s Image Quality is more than adequate. Color balance, exposure, focus, dynamic range are spot-on. Images uploaded to social networks are generally downsampled to a resolution of 3 to 4 million points, a far cry from the 12 Mpix of the Olympus sensor, and not enough to start making the performance limitations of the lens and the heavy hand of the JPEG rendering engine noticeable.
But if the final destination of your image is a 8x11in print, or an 8k monitor, the weaknesses of the lens and the aggressiveness of the sharpening algorithm will become visible, unless you follow a series of steps to ensure the camera always delivers its best.
Olympus Tough TG-5 – how to get the highest quality images:
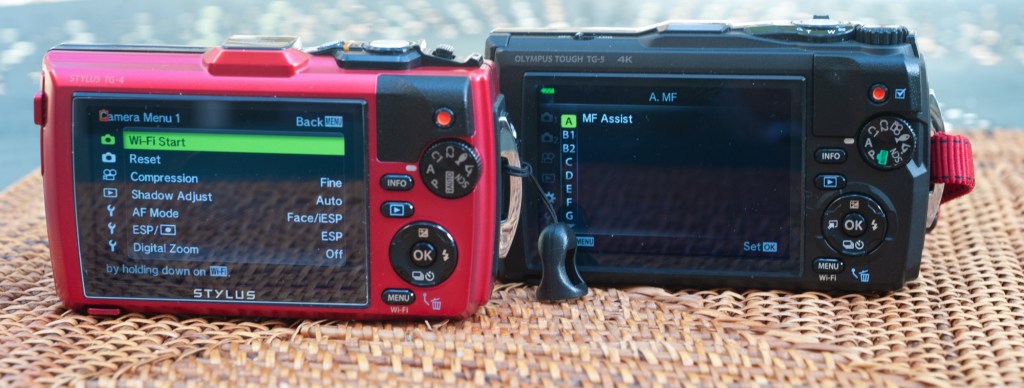
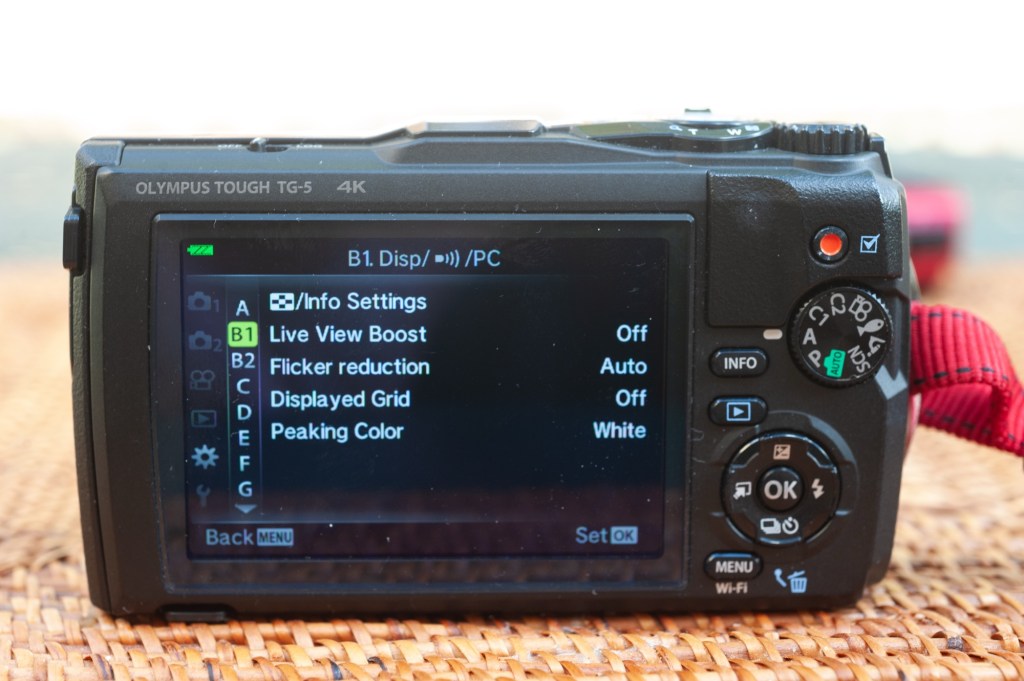
- Read the manual – The Olympus TG-5 may be a point and shoot, but it’s a highly configurable, and therefore relatively complex camera. Settings are dispersed across multiple menus, and navigating them is unfortunately less than intuitive. In your quest for the best IQ, you’ll have to understand how to save your images as RAW files, how exposure memorization and correction work and after the picture has been shot, how to review and adjust some of the technical parameters. So, read the manual.
- If you don’t want to read the dreaded user manual (who does?), ask precise questions to your favorite AI chat application. AI is getting very good at answering questions about cameras and photography, most of the time. ChatGPT 5, for example, combines the information and the test results it gets from DPR, Imaging Resource and Photographyblog with customer feedback collected on forums to provide detailed and mostly exact answers.
- Shoot RAW. If you’re really interested in maximizing IQ, it’s definitely much better to shoot RAW and fine tune Clarity, Dehaze and Sharpening in a dedicated image editing app.
- Use the sensor where it’s at its best, at 100 ISO, taking advantage of Olympus’ image stabilization capabilities to operate at low shutter speeds.
- ChatGPT 5 recommends shooting in A mode (Aperture Priority) and selecting an aperture of one stop above full aperture (that would be f/2.8 at 25mm, which slides to f/6.3 at 100mm) for best performance. That’s the aperture where the lens is the best, but in A mode you are in charge and have to keep an eye on everything (on the shutter speed in particular).
- In the real world, the Program P mode does more or less the same job as the A mode – at 100 ISO, for instance, the program sets the aperture at f/2.0 as long as the shutter speed has not reached 1/100s, then steps up to f/2.8 and remains there if possible.
- The camera comes with a long list of scene modes – the Scenery/ Landscape scene works well with static subjects when traveling, and I use it often – and it appears to keep the aperture at f/2.8 as much as possible. There are other interesting scene modes – use them if they get you the result you want. Just be aware that Scene modes don’t let you chose the sensitivity or correct the exposure values.
- Finally, the obvious – protect the lens from fingers prints and smudges with an easy to clean UV filter, and from incident light with a lens hood.
Of course, you can’t always work with low shutter speeds at 100 ISO. If your idea of a good vacation is to visit ball parks around the country and shoot the players in action at dusk, maybe the TG-5 is not the camera you need.
Why you should shoot RAW with the Olympus TG-5: an example.
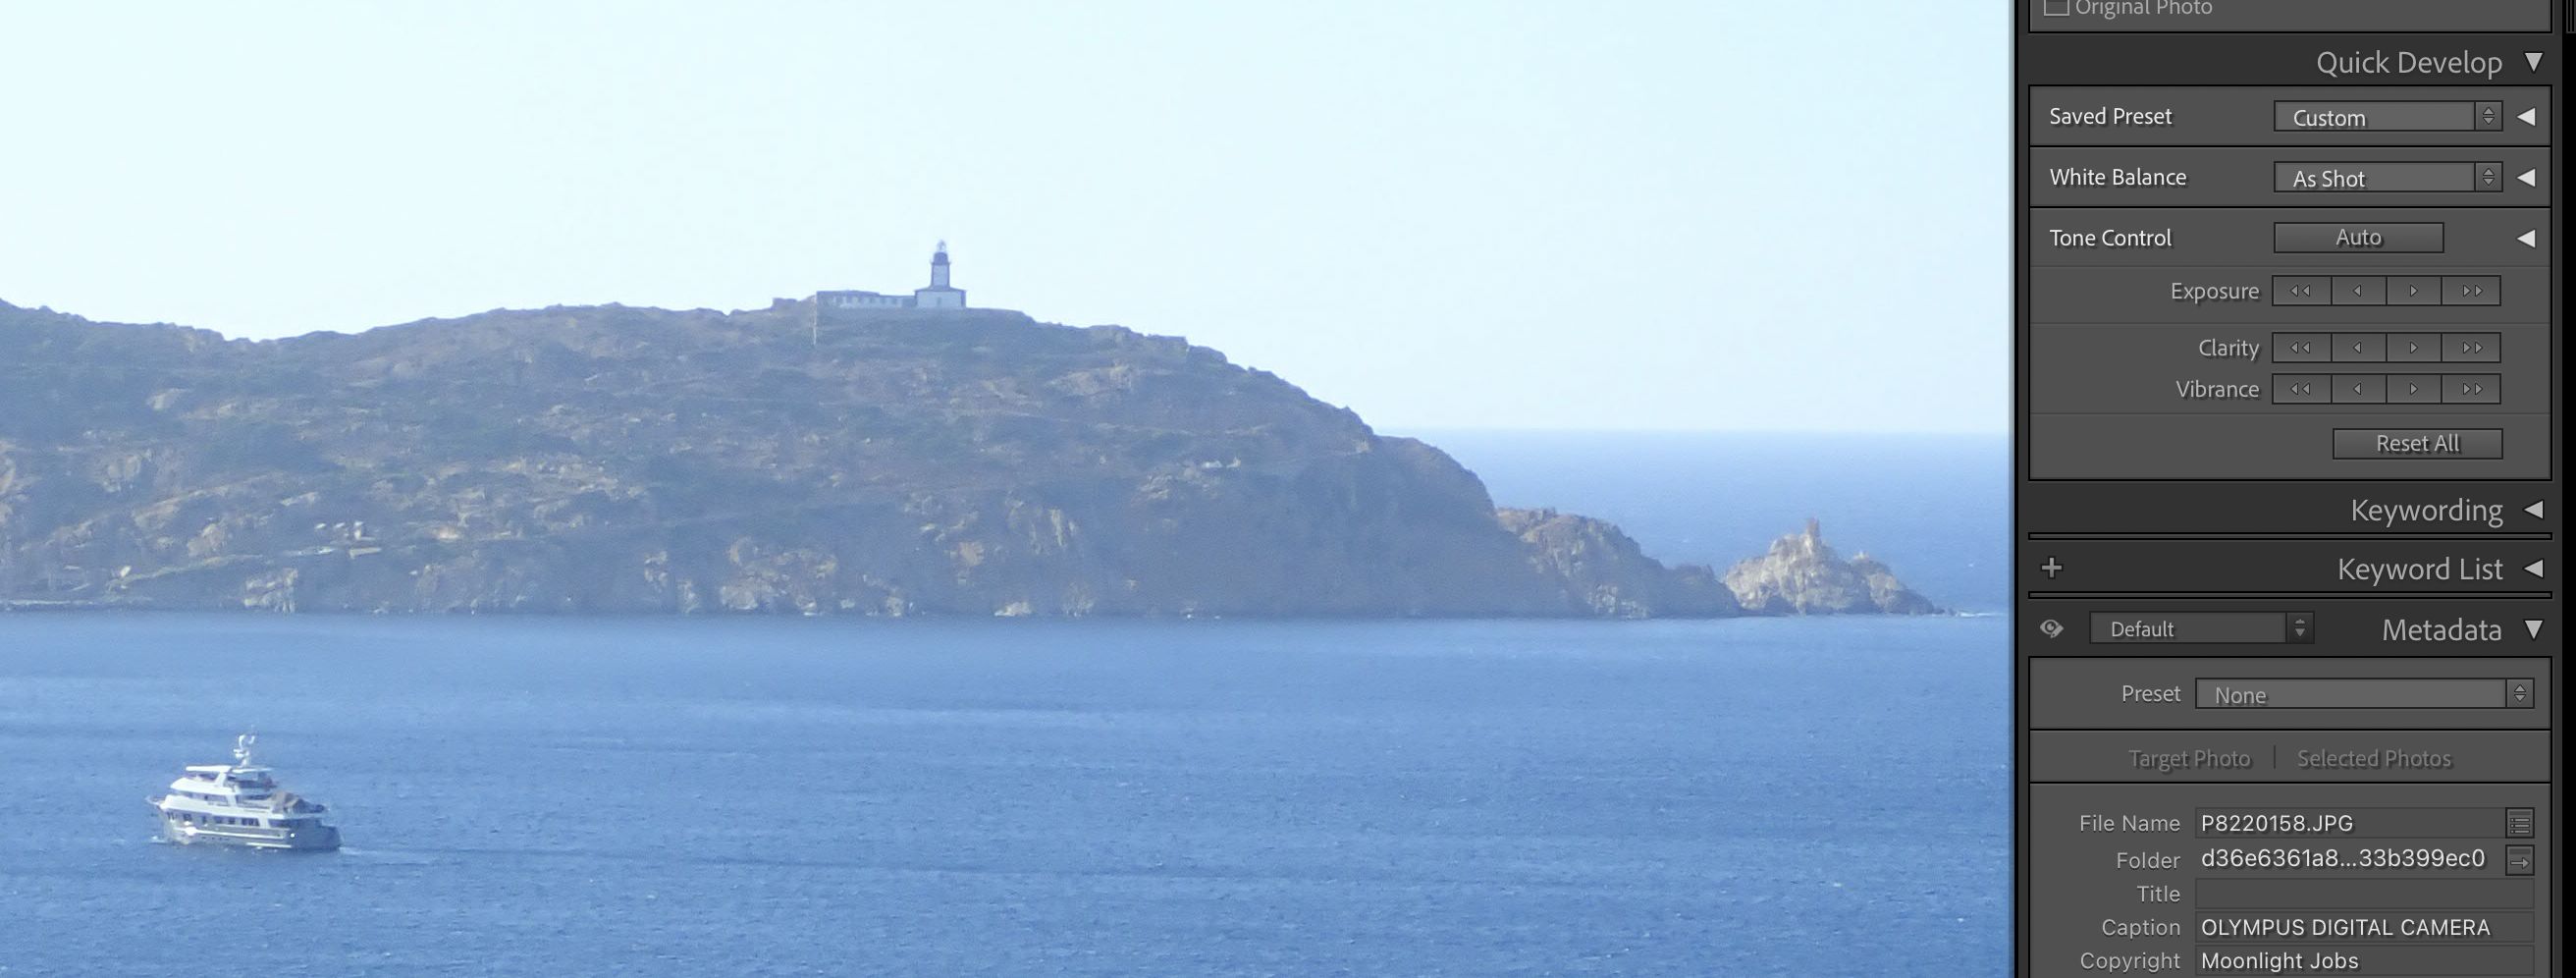
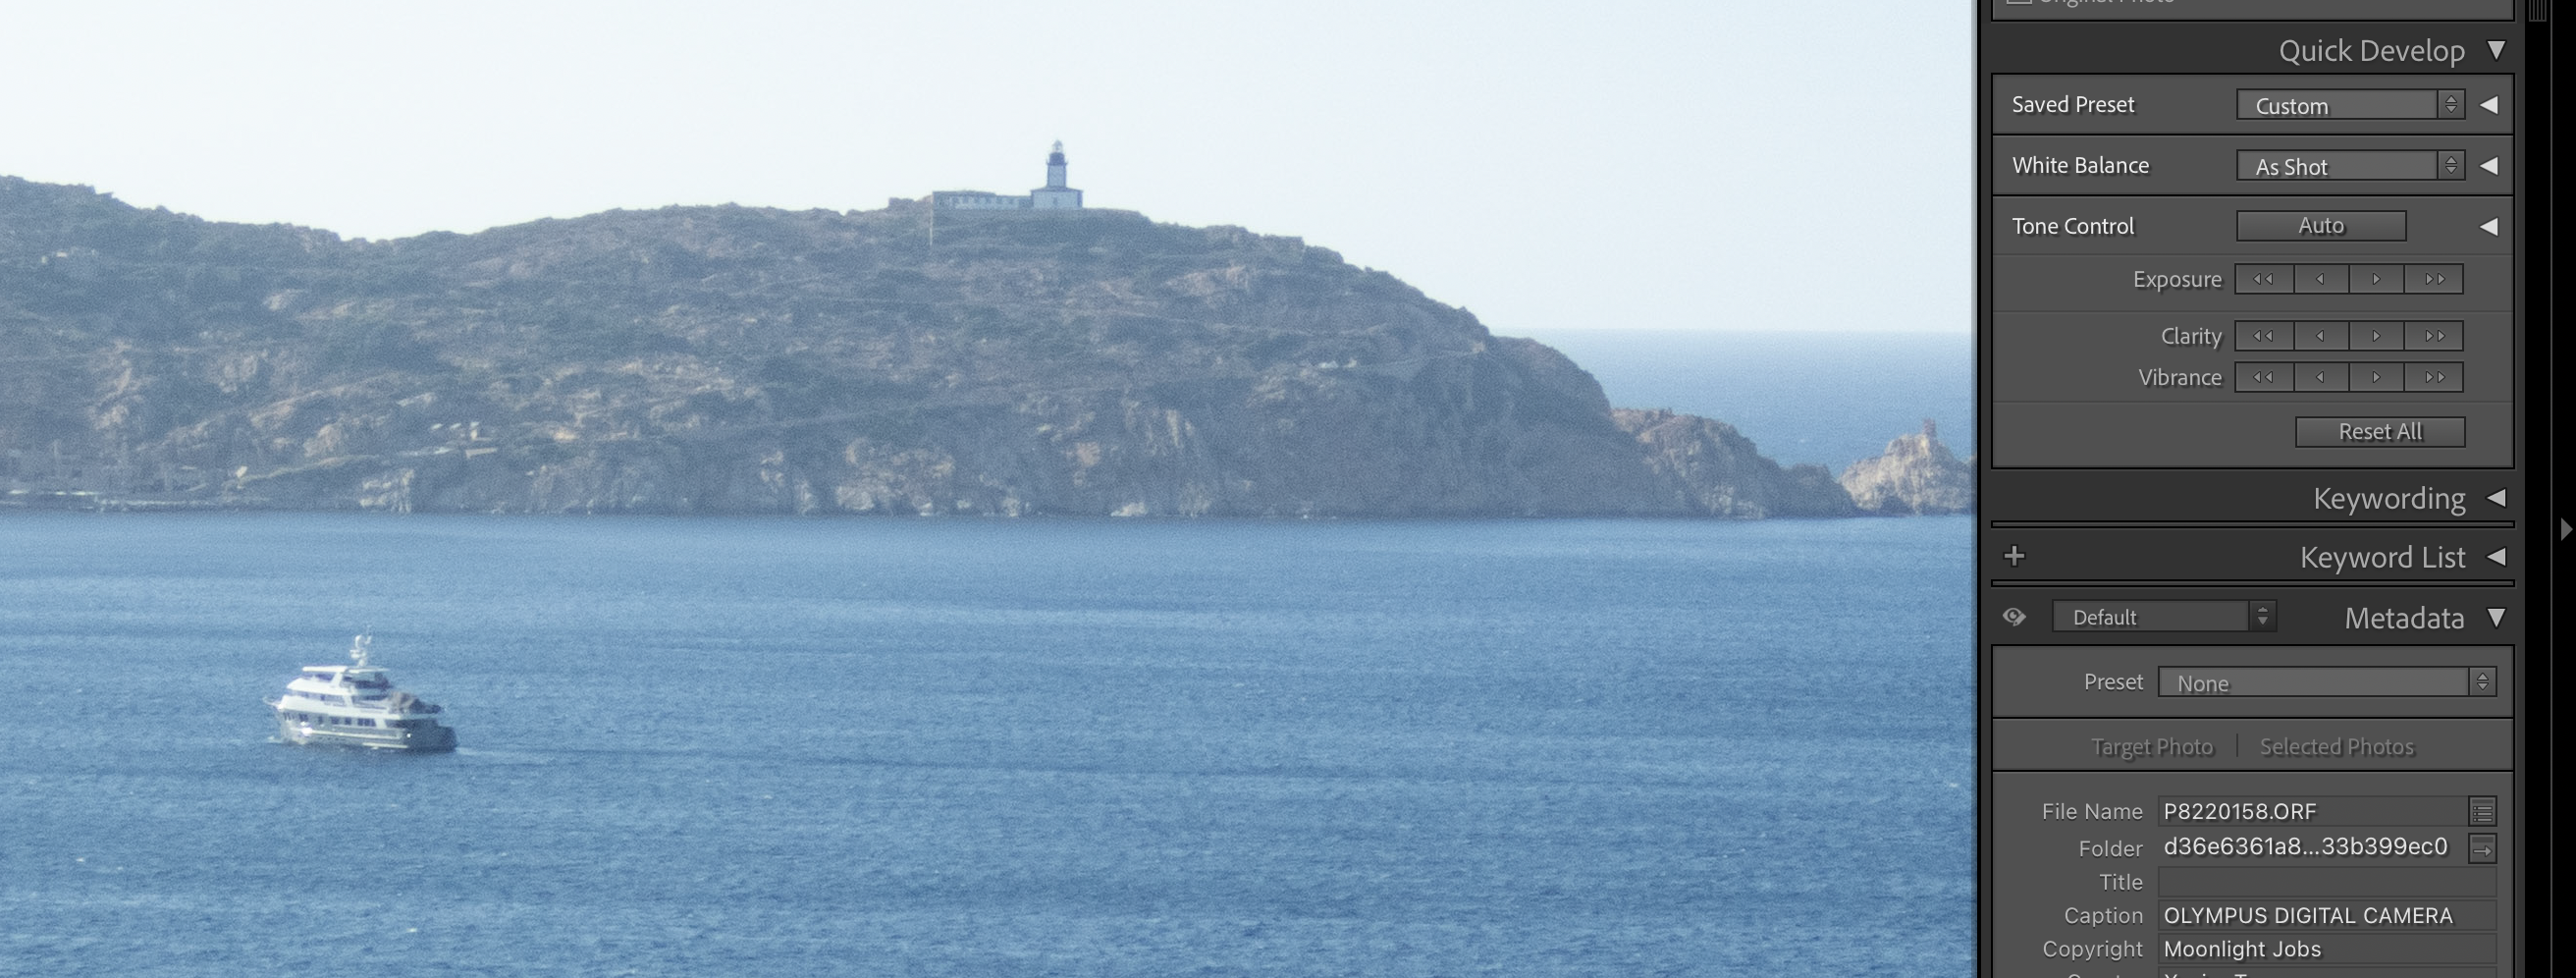
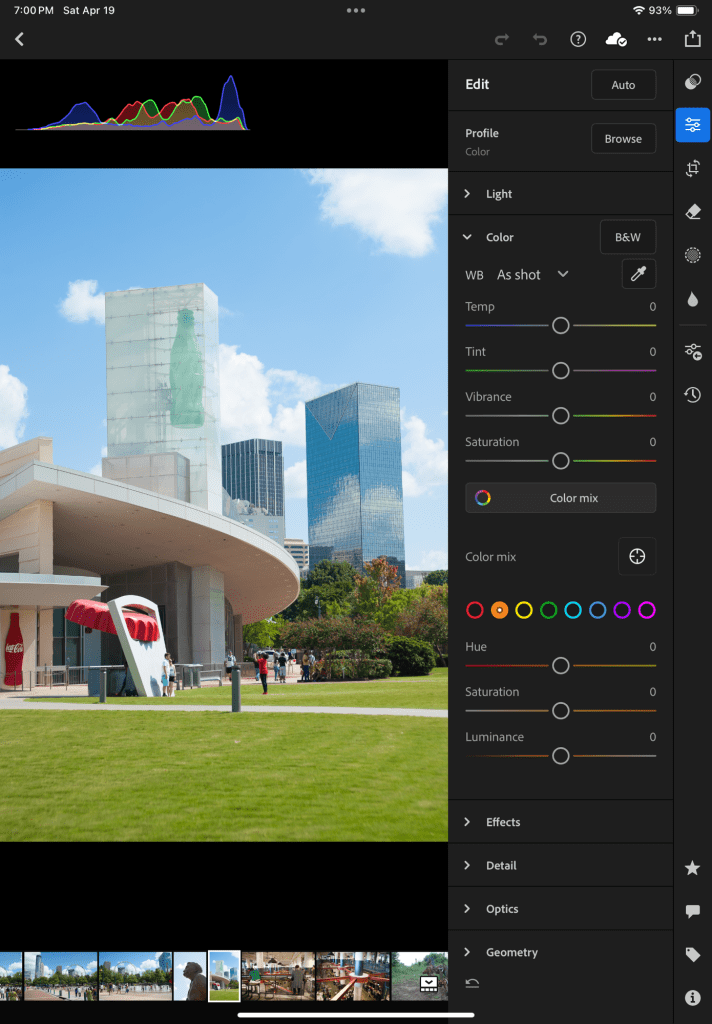
The TG-5 can be setup to save an image as a RAW file and as a JPEG simultaneously. The images shown above are two screenshots of “La Pointe de la Revellata” in the bay of Calvi, Corsica, taken while editing in Lightroom Classic.
WordPress is downsampling the images massively, but click on each picture and you will see the screenshots at full resolution. And you will really see a difference between the JPEG and the ORF file. The JPEG (the first of the two) shows a much more pronounced accentuation, which translates into an almost cubist representation of the mountain in the backgroud. The RAW file, below, is more subdued. The full image (exported from RAW) is shown at the end of this blog post.
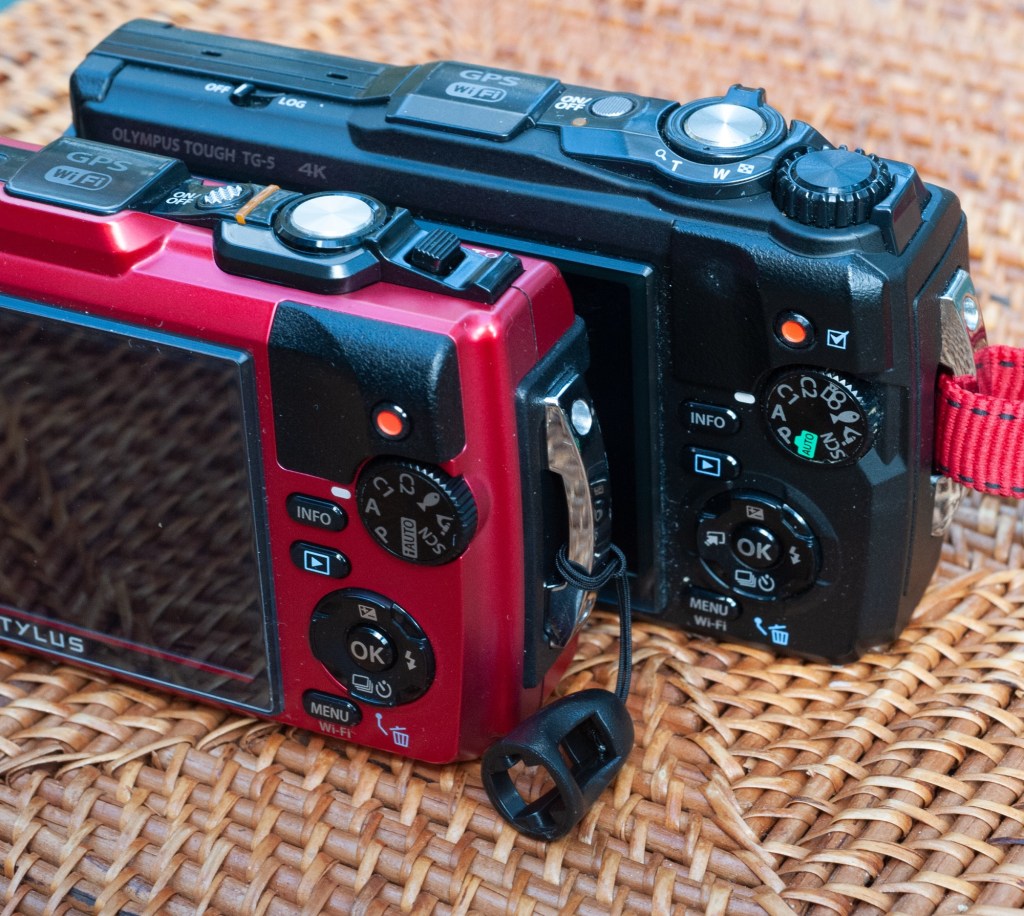
Will all the Olympus Tough TG cameras offer the same Image Quality?
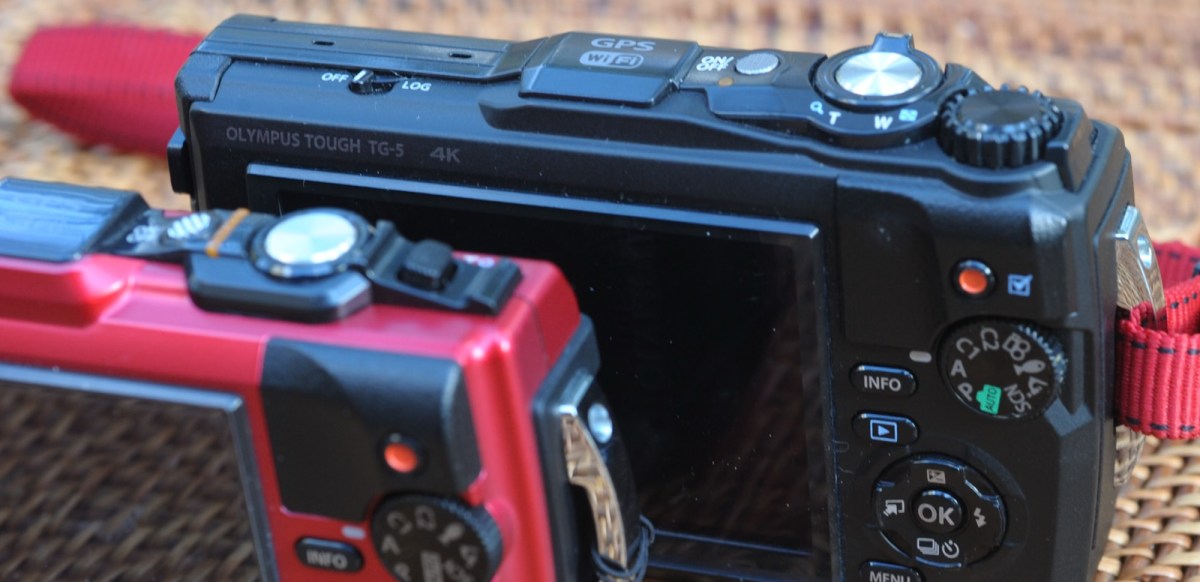
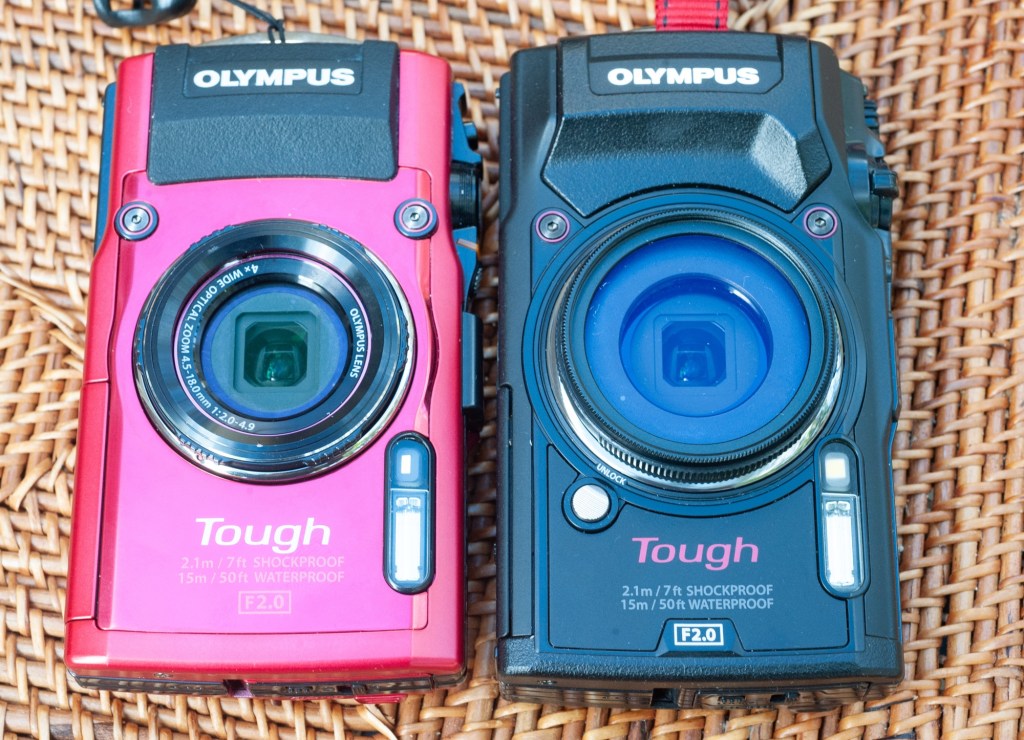
In the heyday of compact digital cameras, Olympus was proposing three different lines of Tough cameras, with multiple variants in each line. This blog entry only covers the “one digit” Tough TGs, and specifically the TG-5 and its close derivatives, the TG-6 and the TG-7.
I don’t think there is much of a difference between the TG-5, TG-6 and TG-7 – mainly progressive improvements on the video capture side (the photo section is identical). The TG-3 and TG-4 have a different sensor (16 Mpix, with a lower dynamic range and more noise), but only the TG-4 can save RAW files. And all models before the TG-5 have an Olympus proprietary USB port, which will force you to carry around an easy to lose proprietary USB cord to recharge the battery of the camera. To me, a used TG-5 is a very good compromise – they abound on the second hand market (eBay, Shopgoodwill) and can be found for less than $200.00.
As a conclusion
A camera is always a compromise between conflicting design goals, and a compact, rugged, water-resistant point and shoot camera can’t be expected to beat a 60 mpix full frame ILC when it comes to image quality.
From an IQ point of view, the TG-5 is probably the rugged compact camera with the highest potential, and if the photographer shoots RAW and pays attention to the exposure parameters (exposure modes, aperture, ISO), the output will reach a much higher level than what could be expected from a compact camera with such a small sensor.
More recent content in CamerAgX
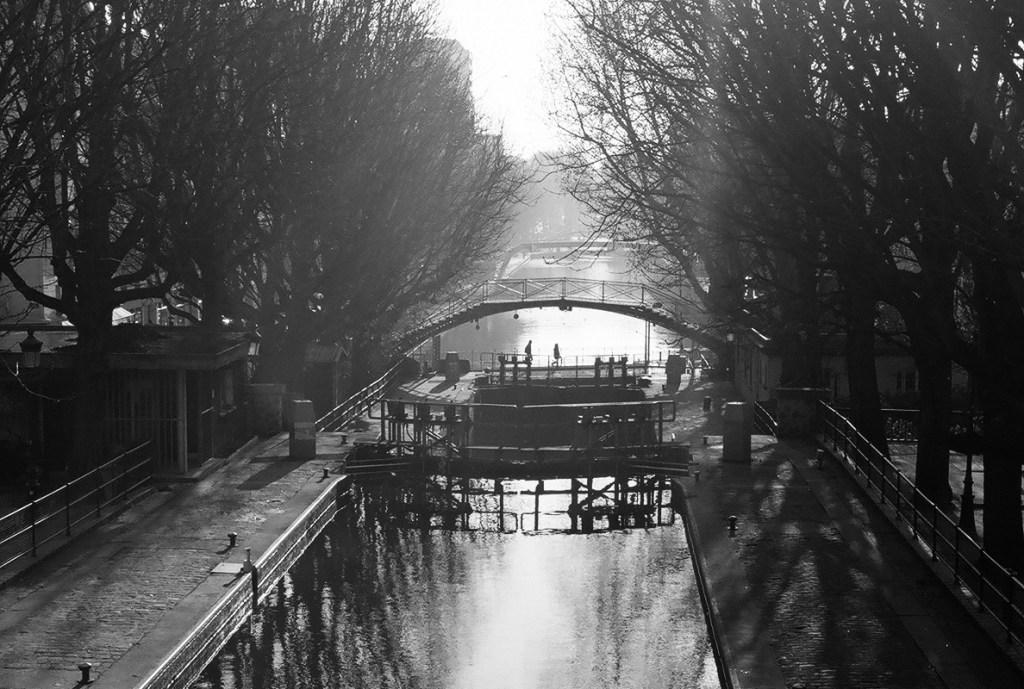
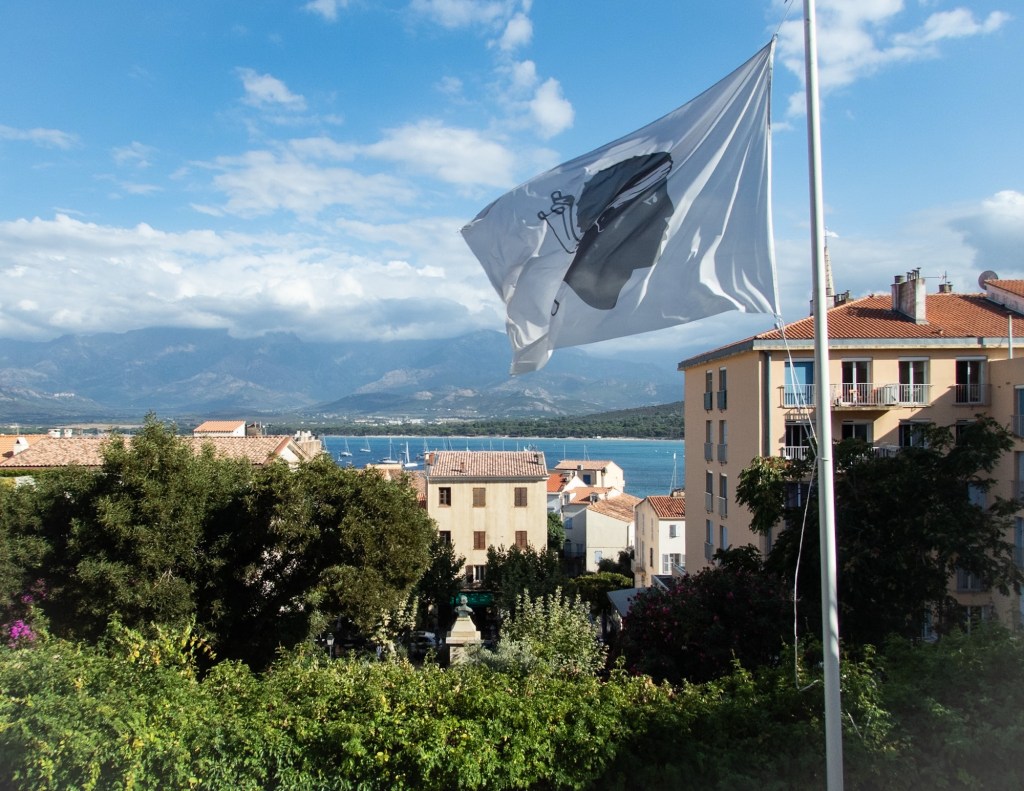
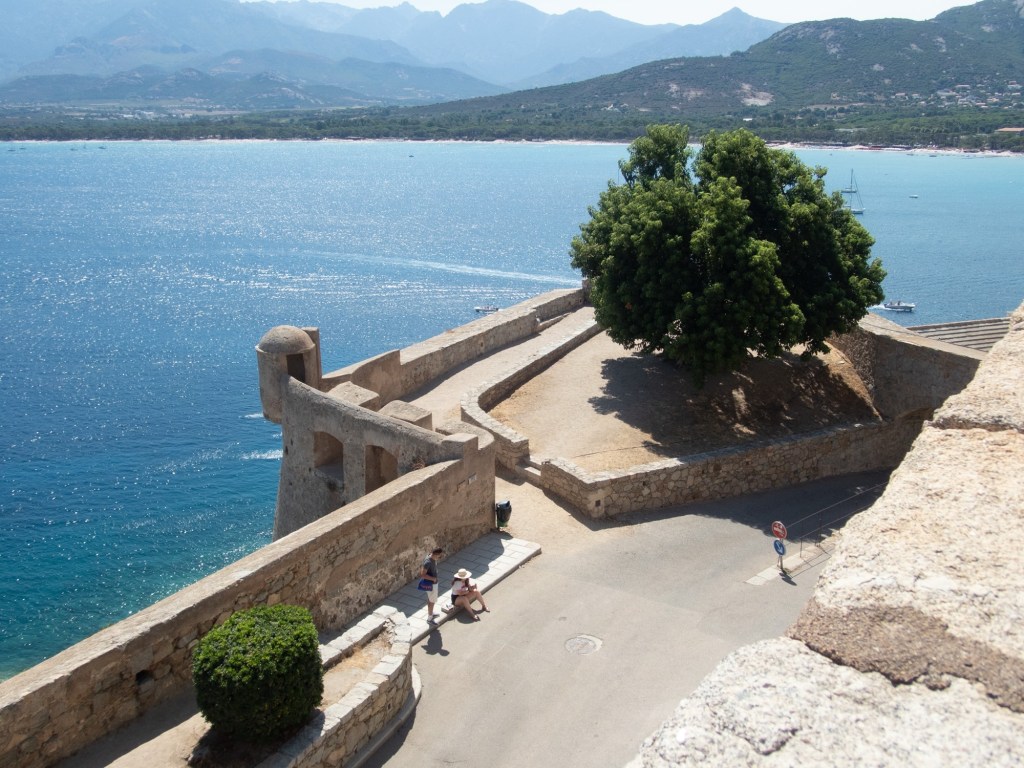
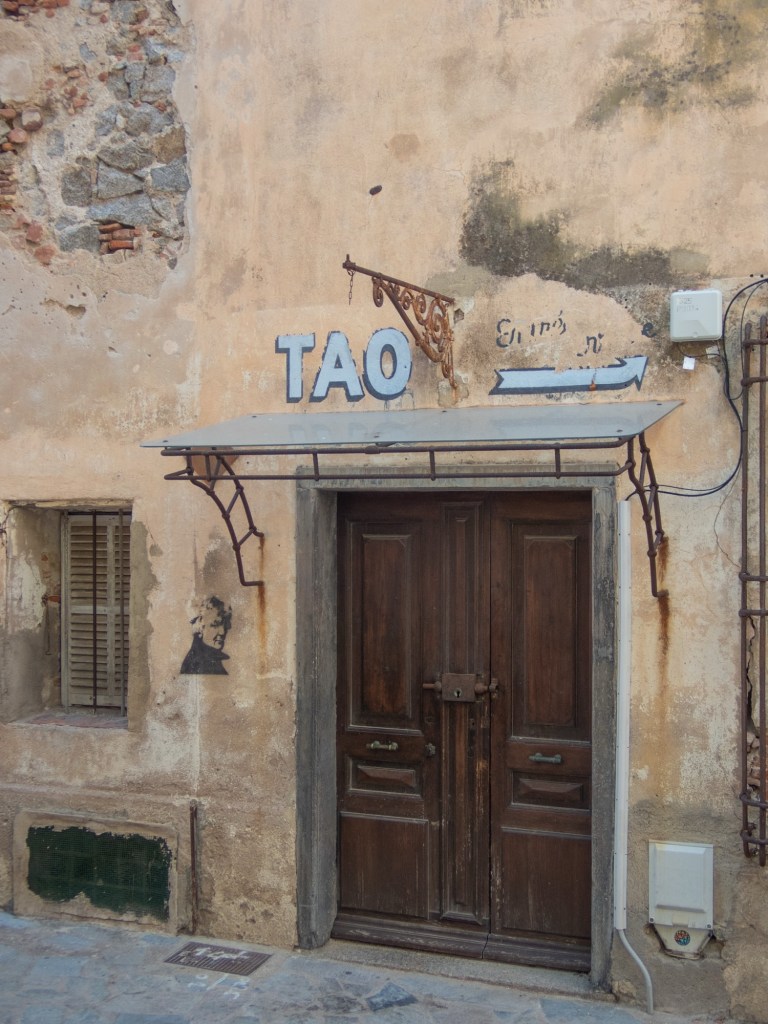
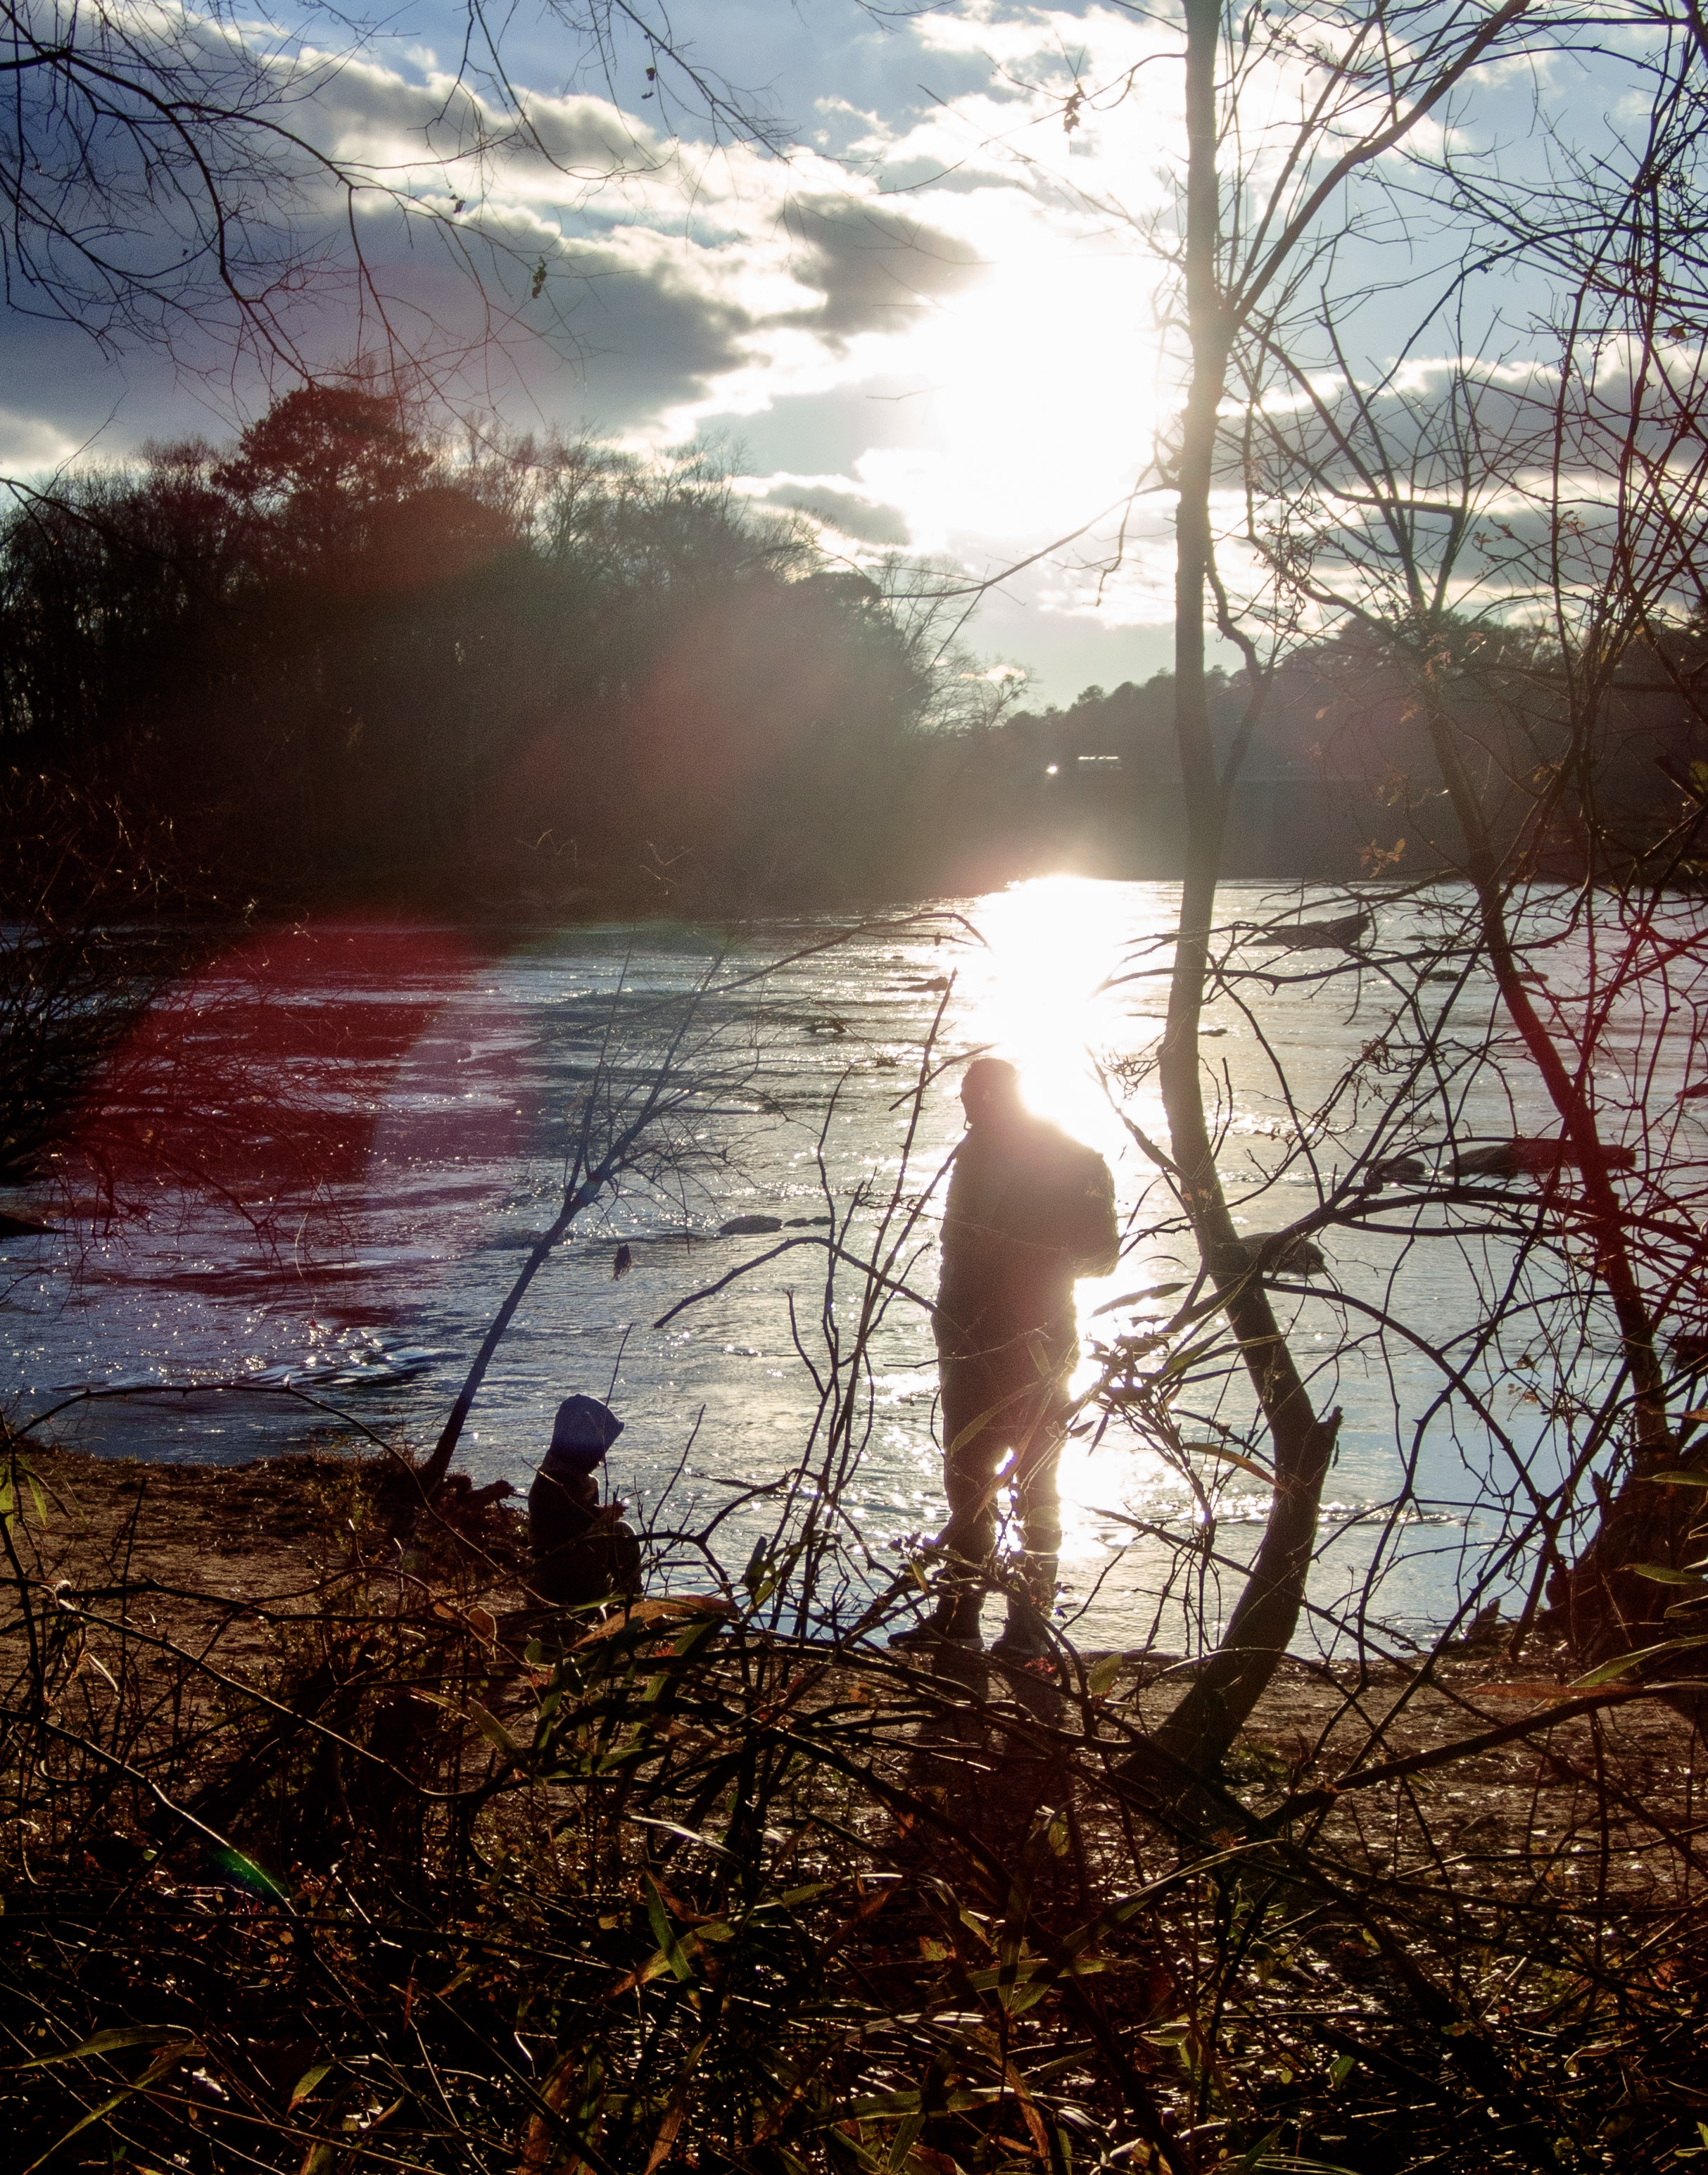
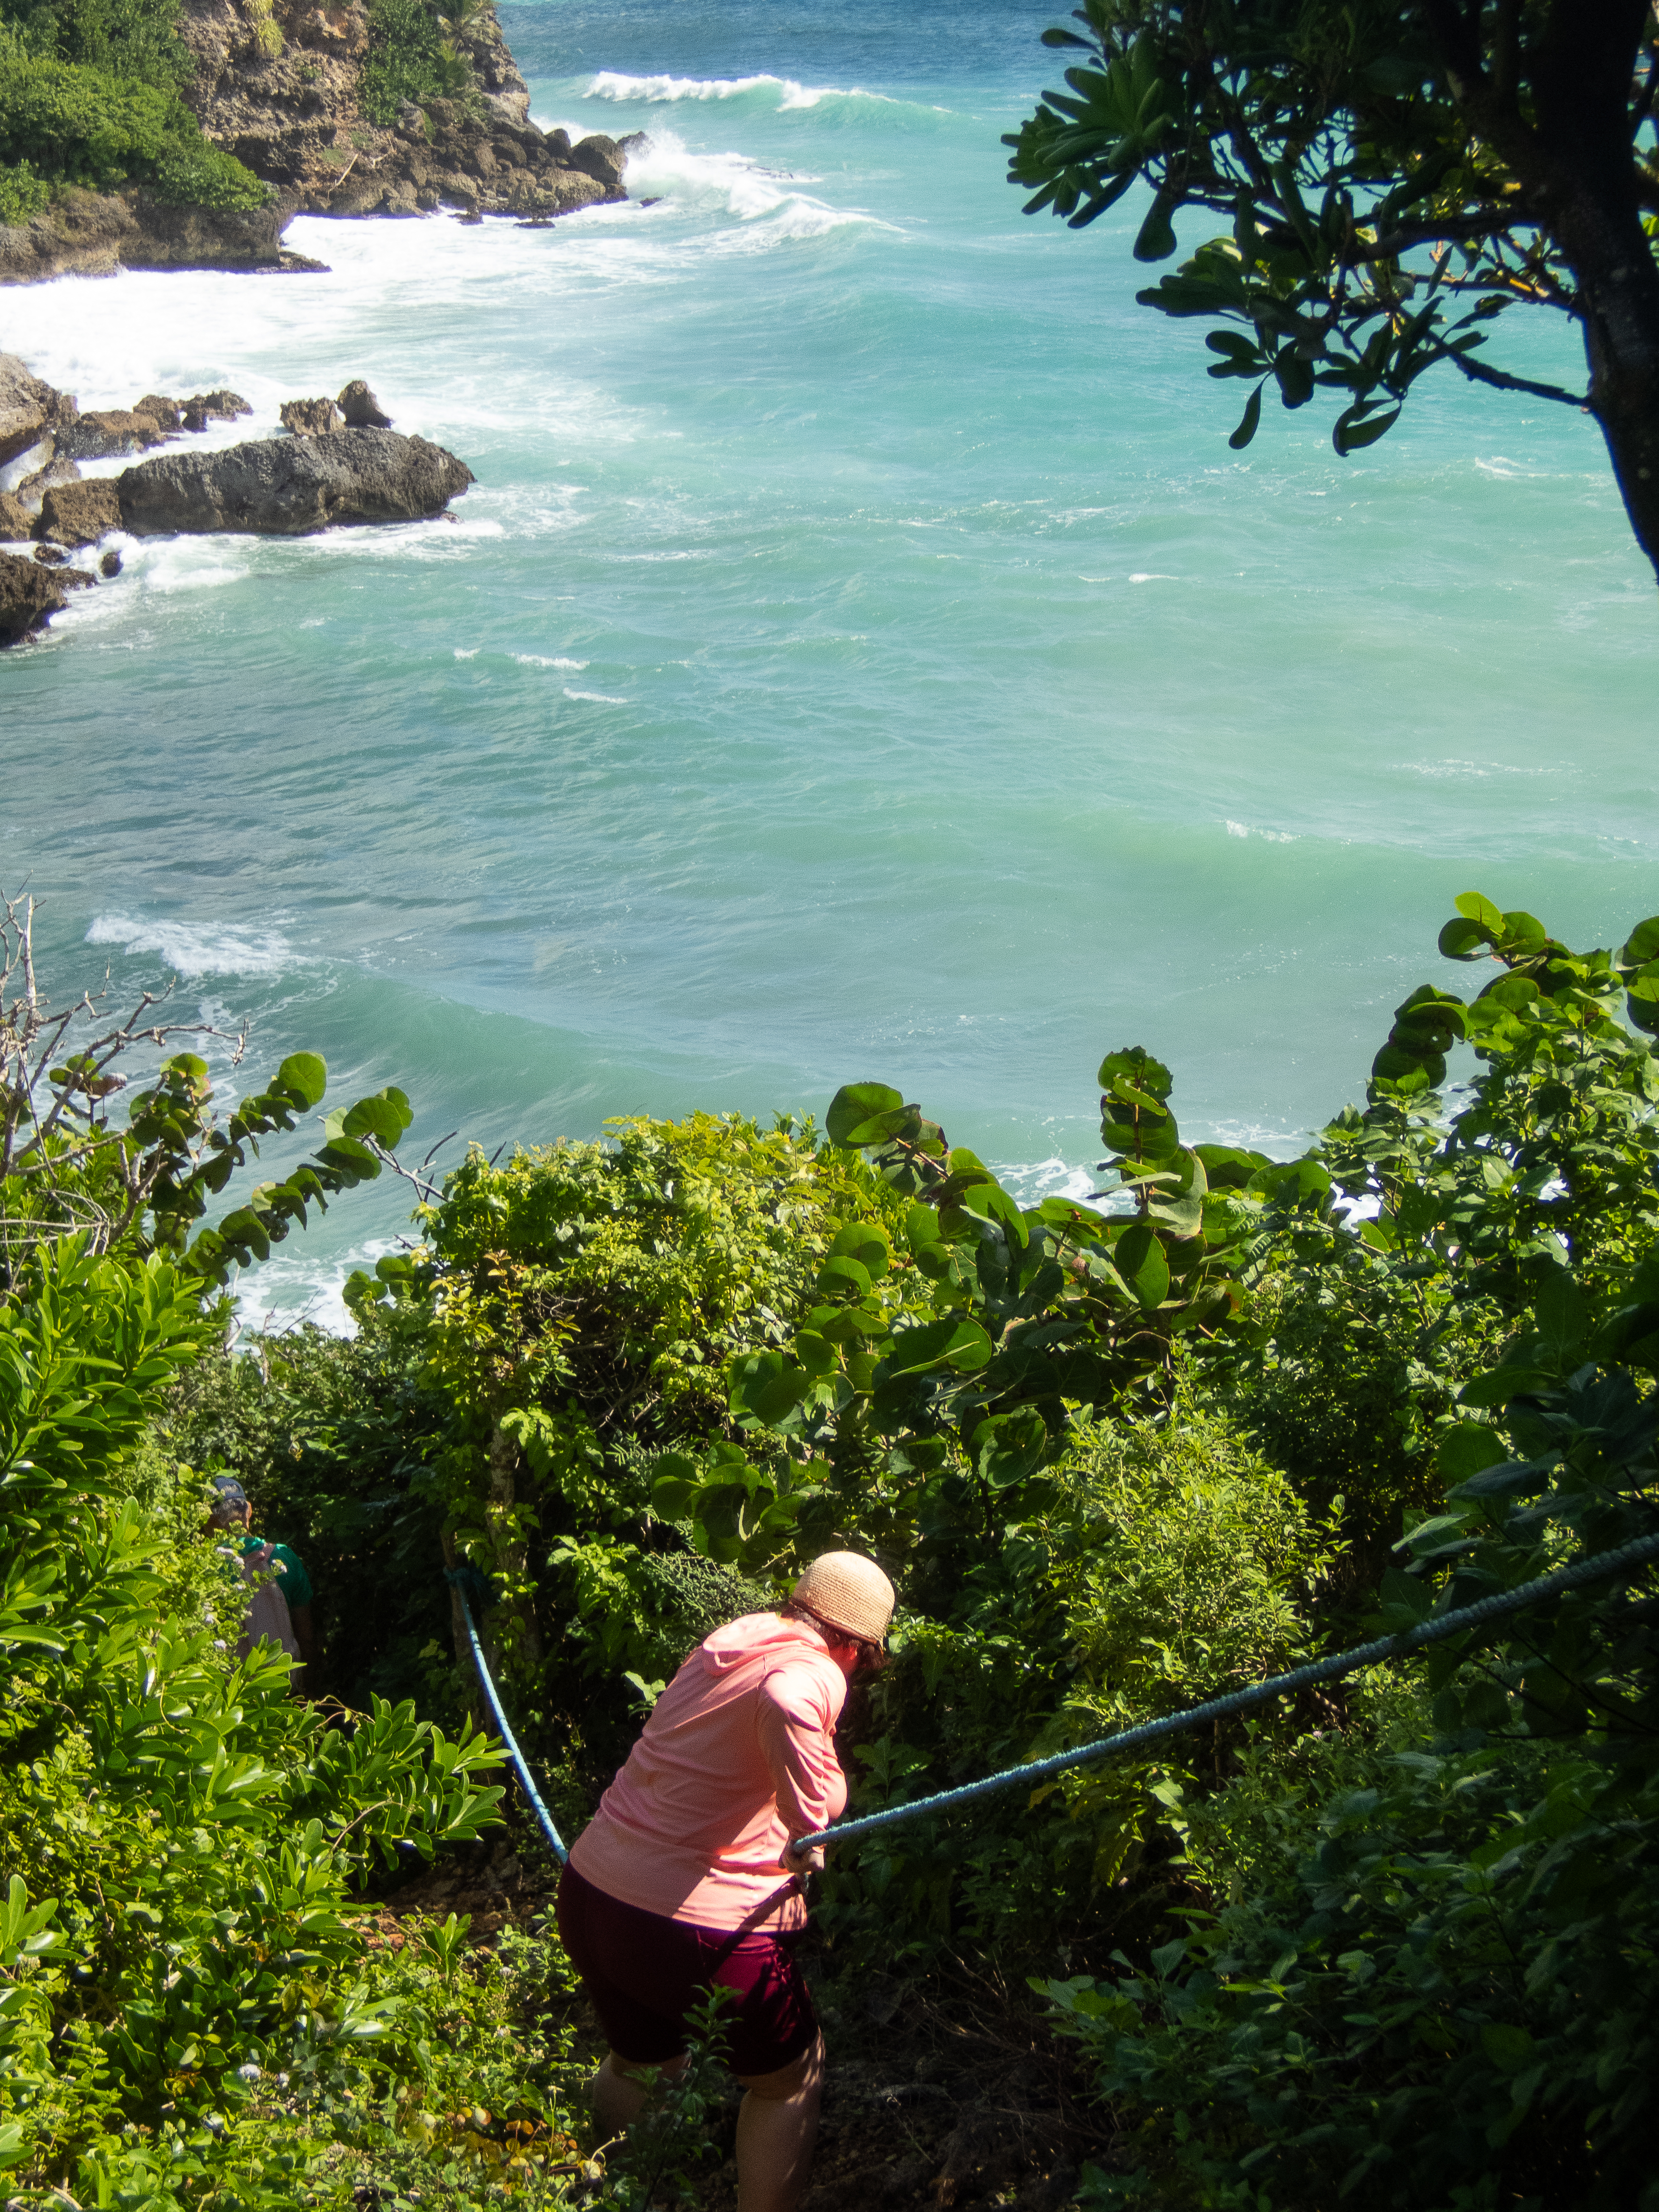
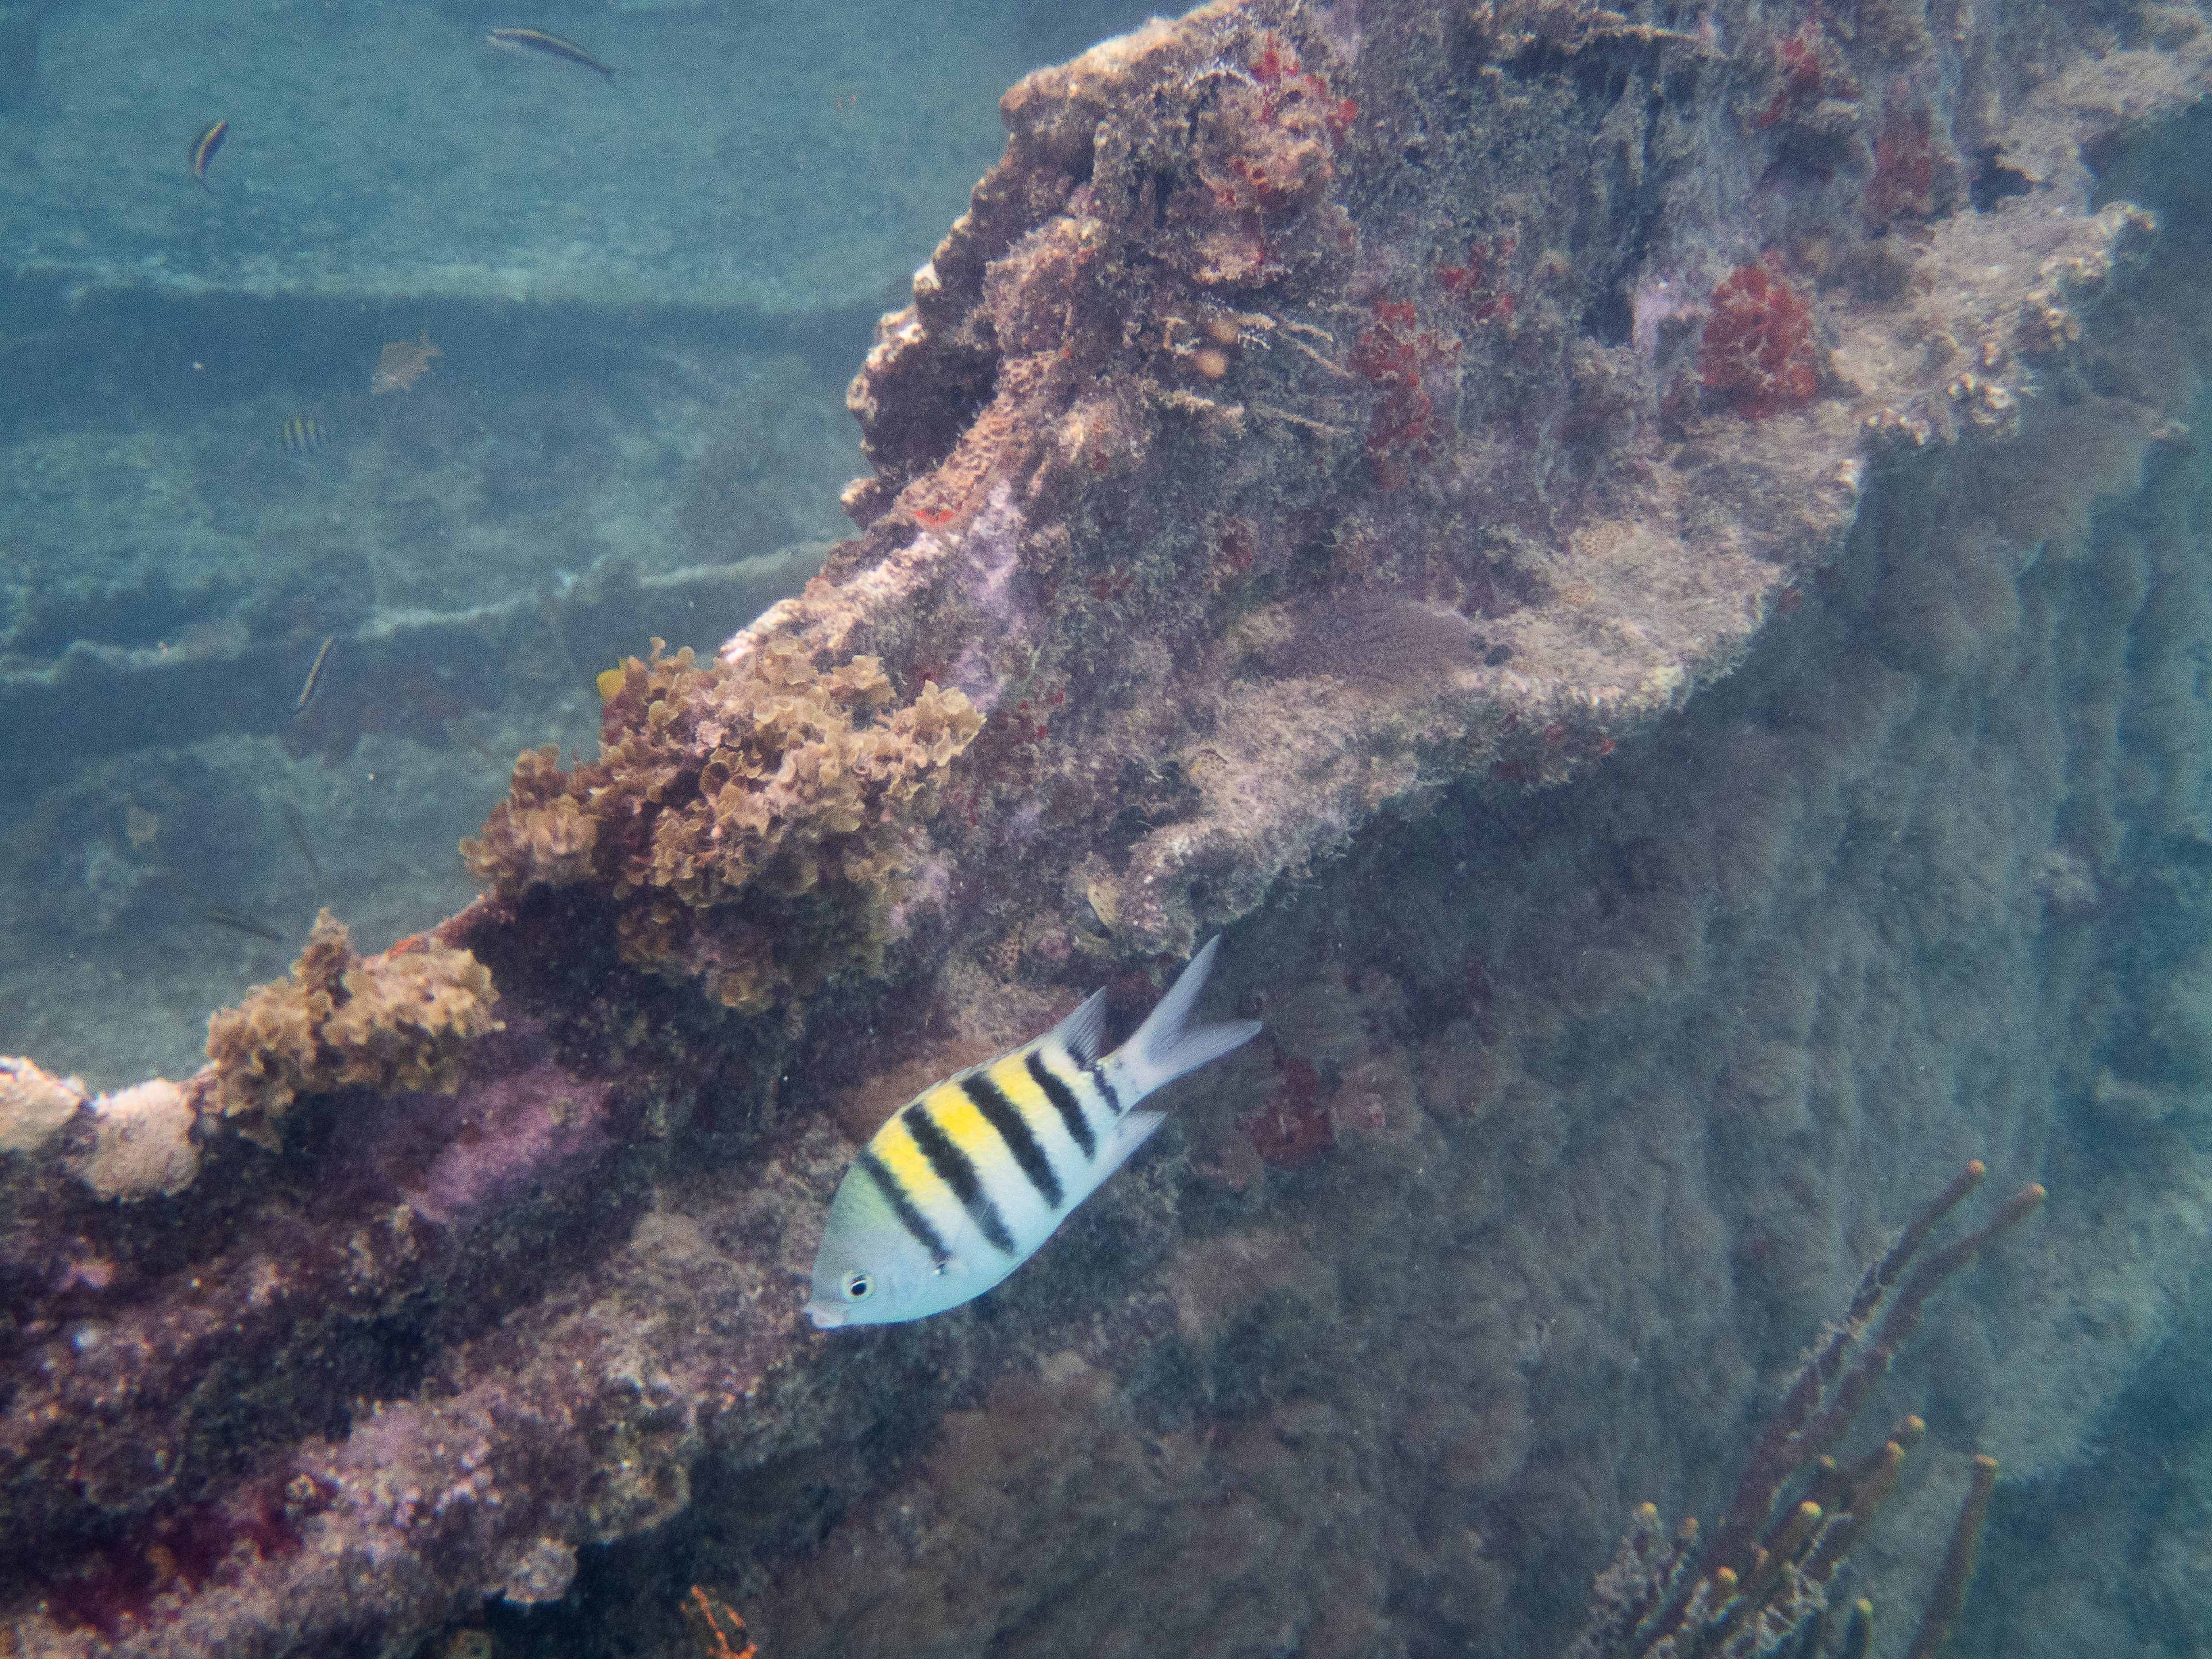
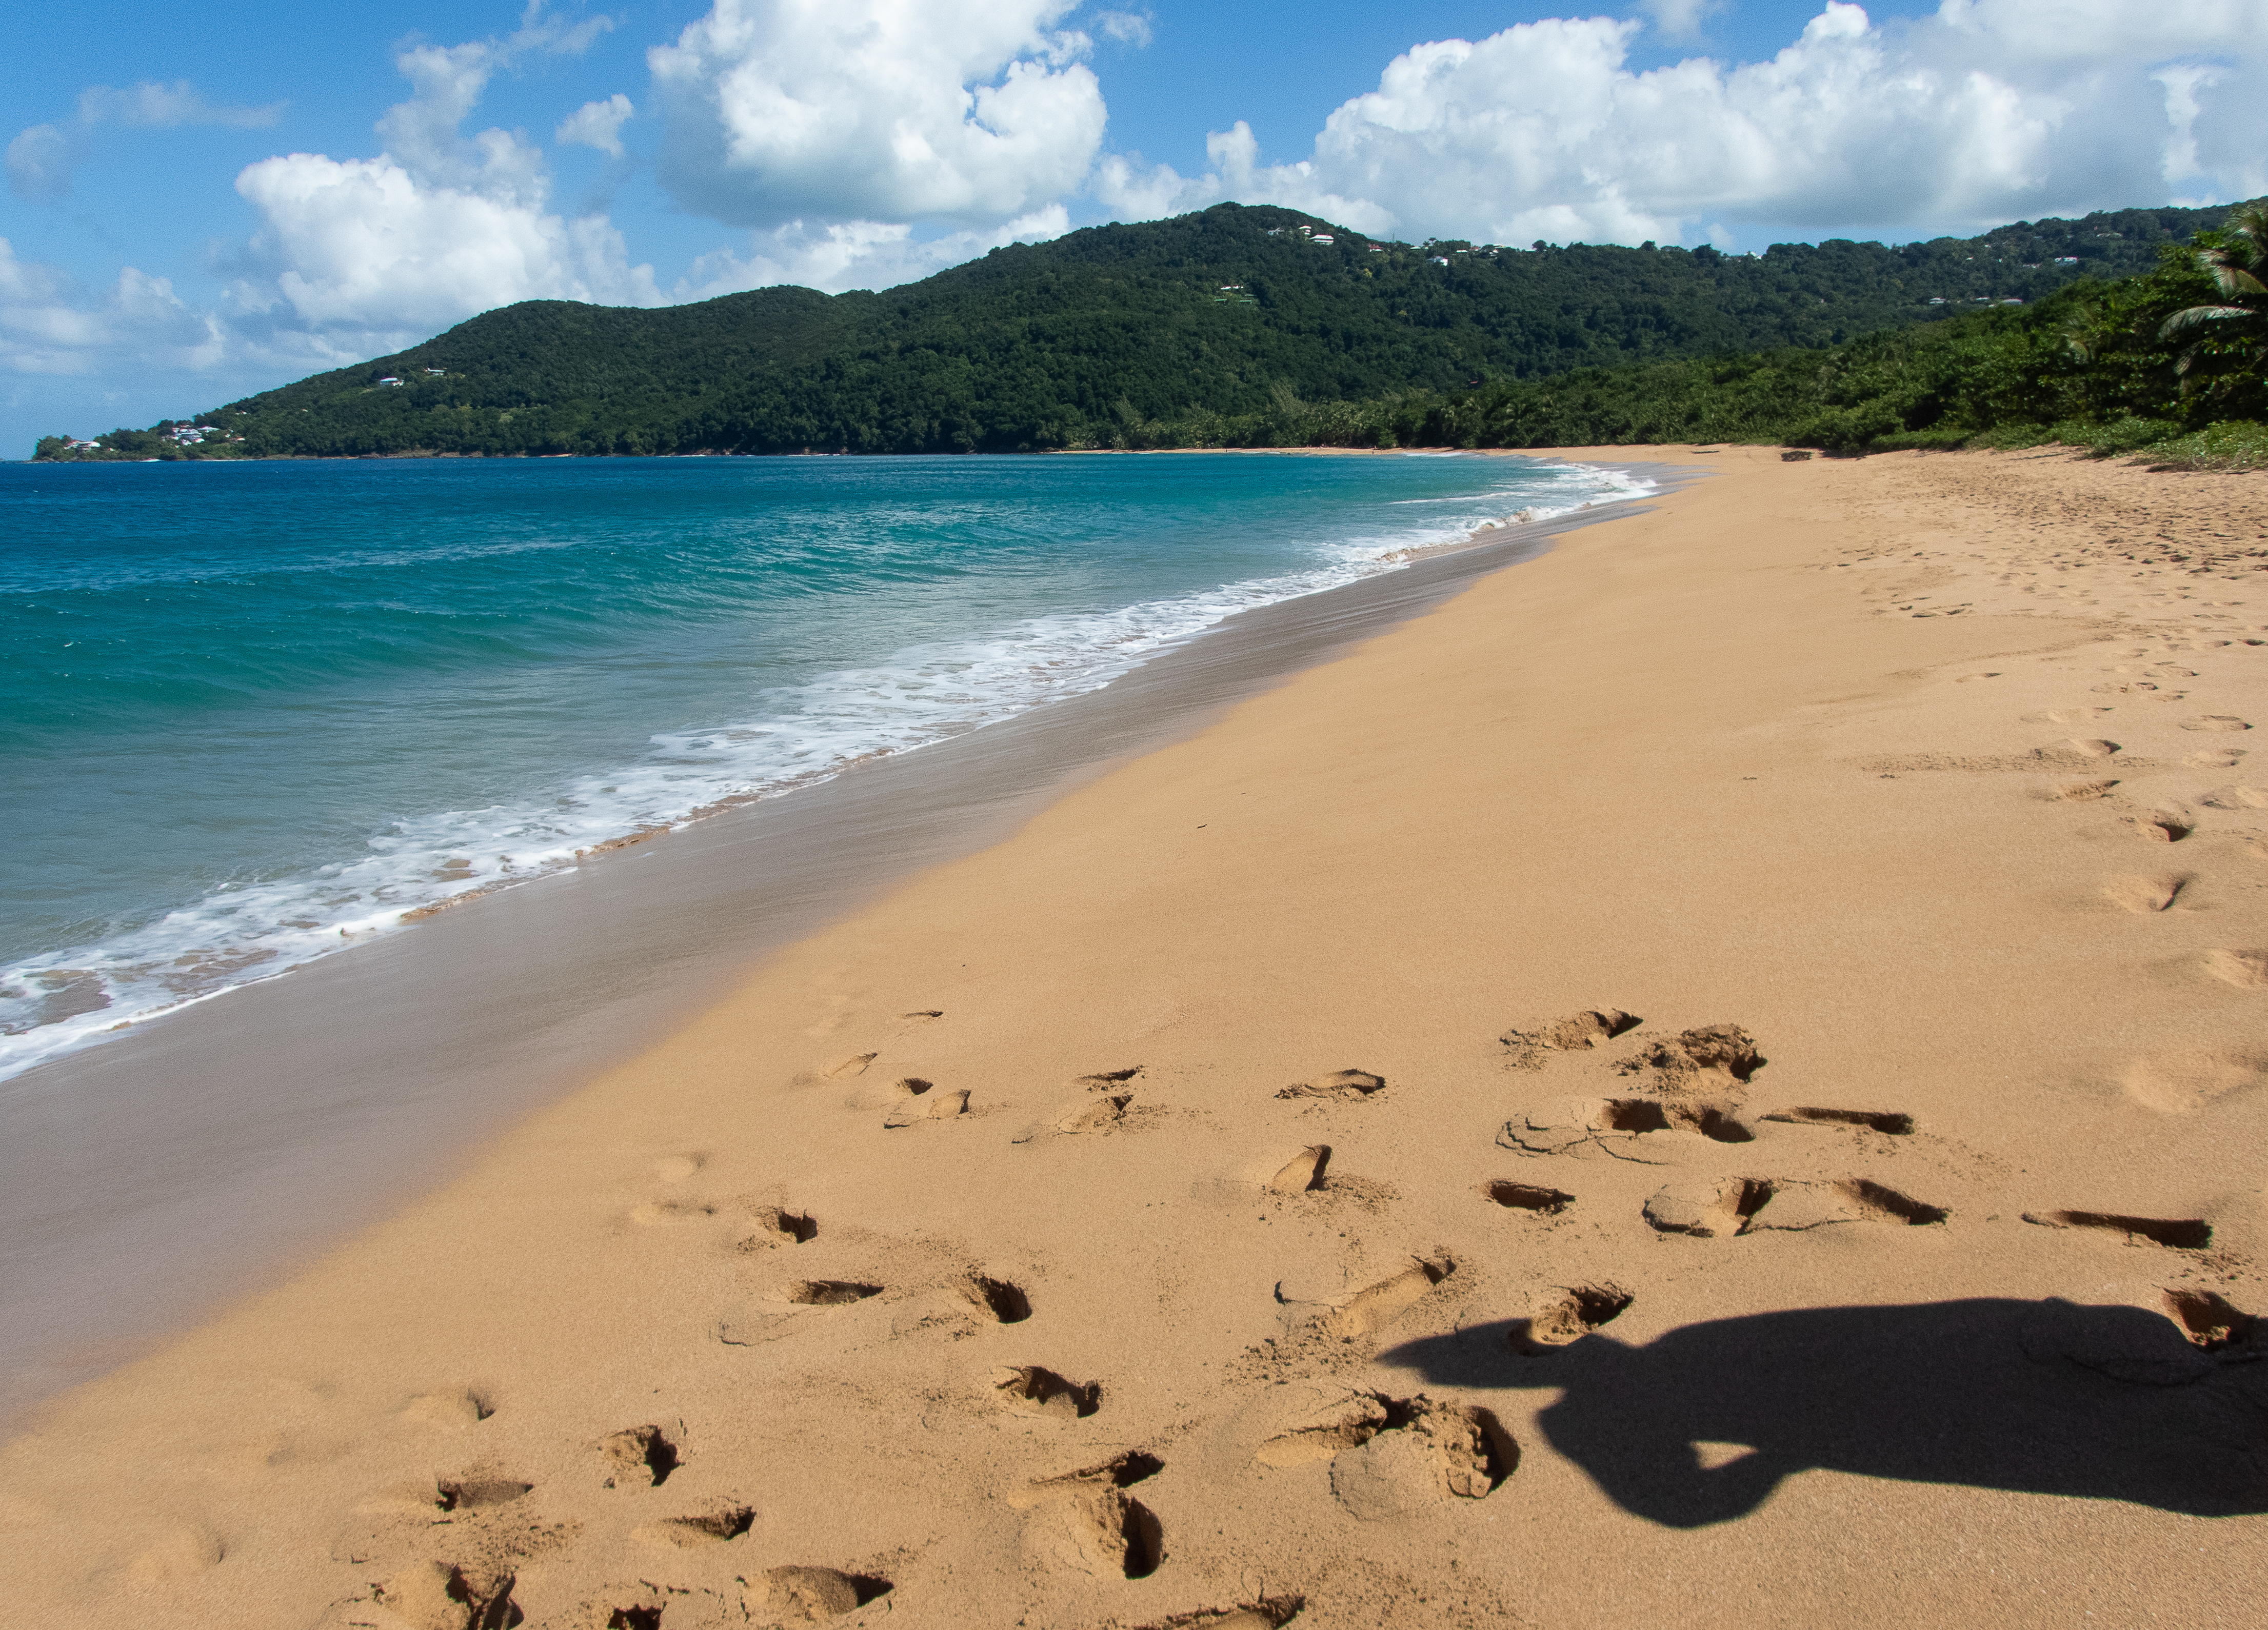
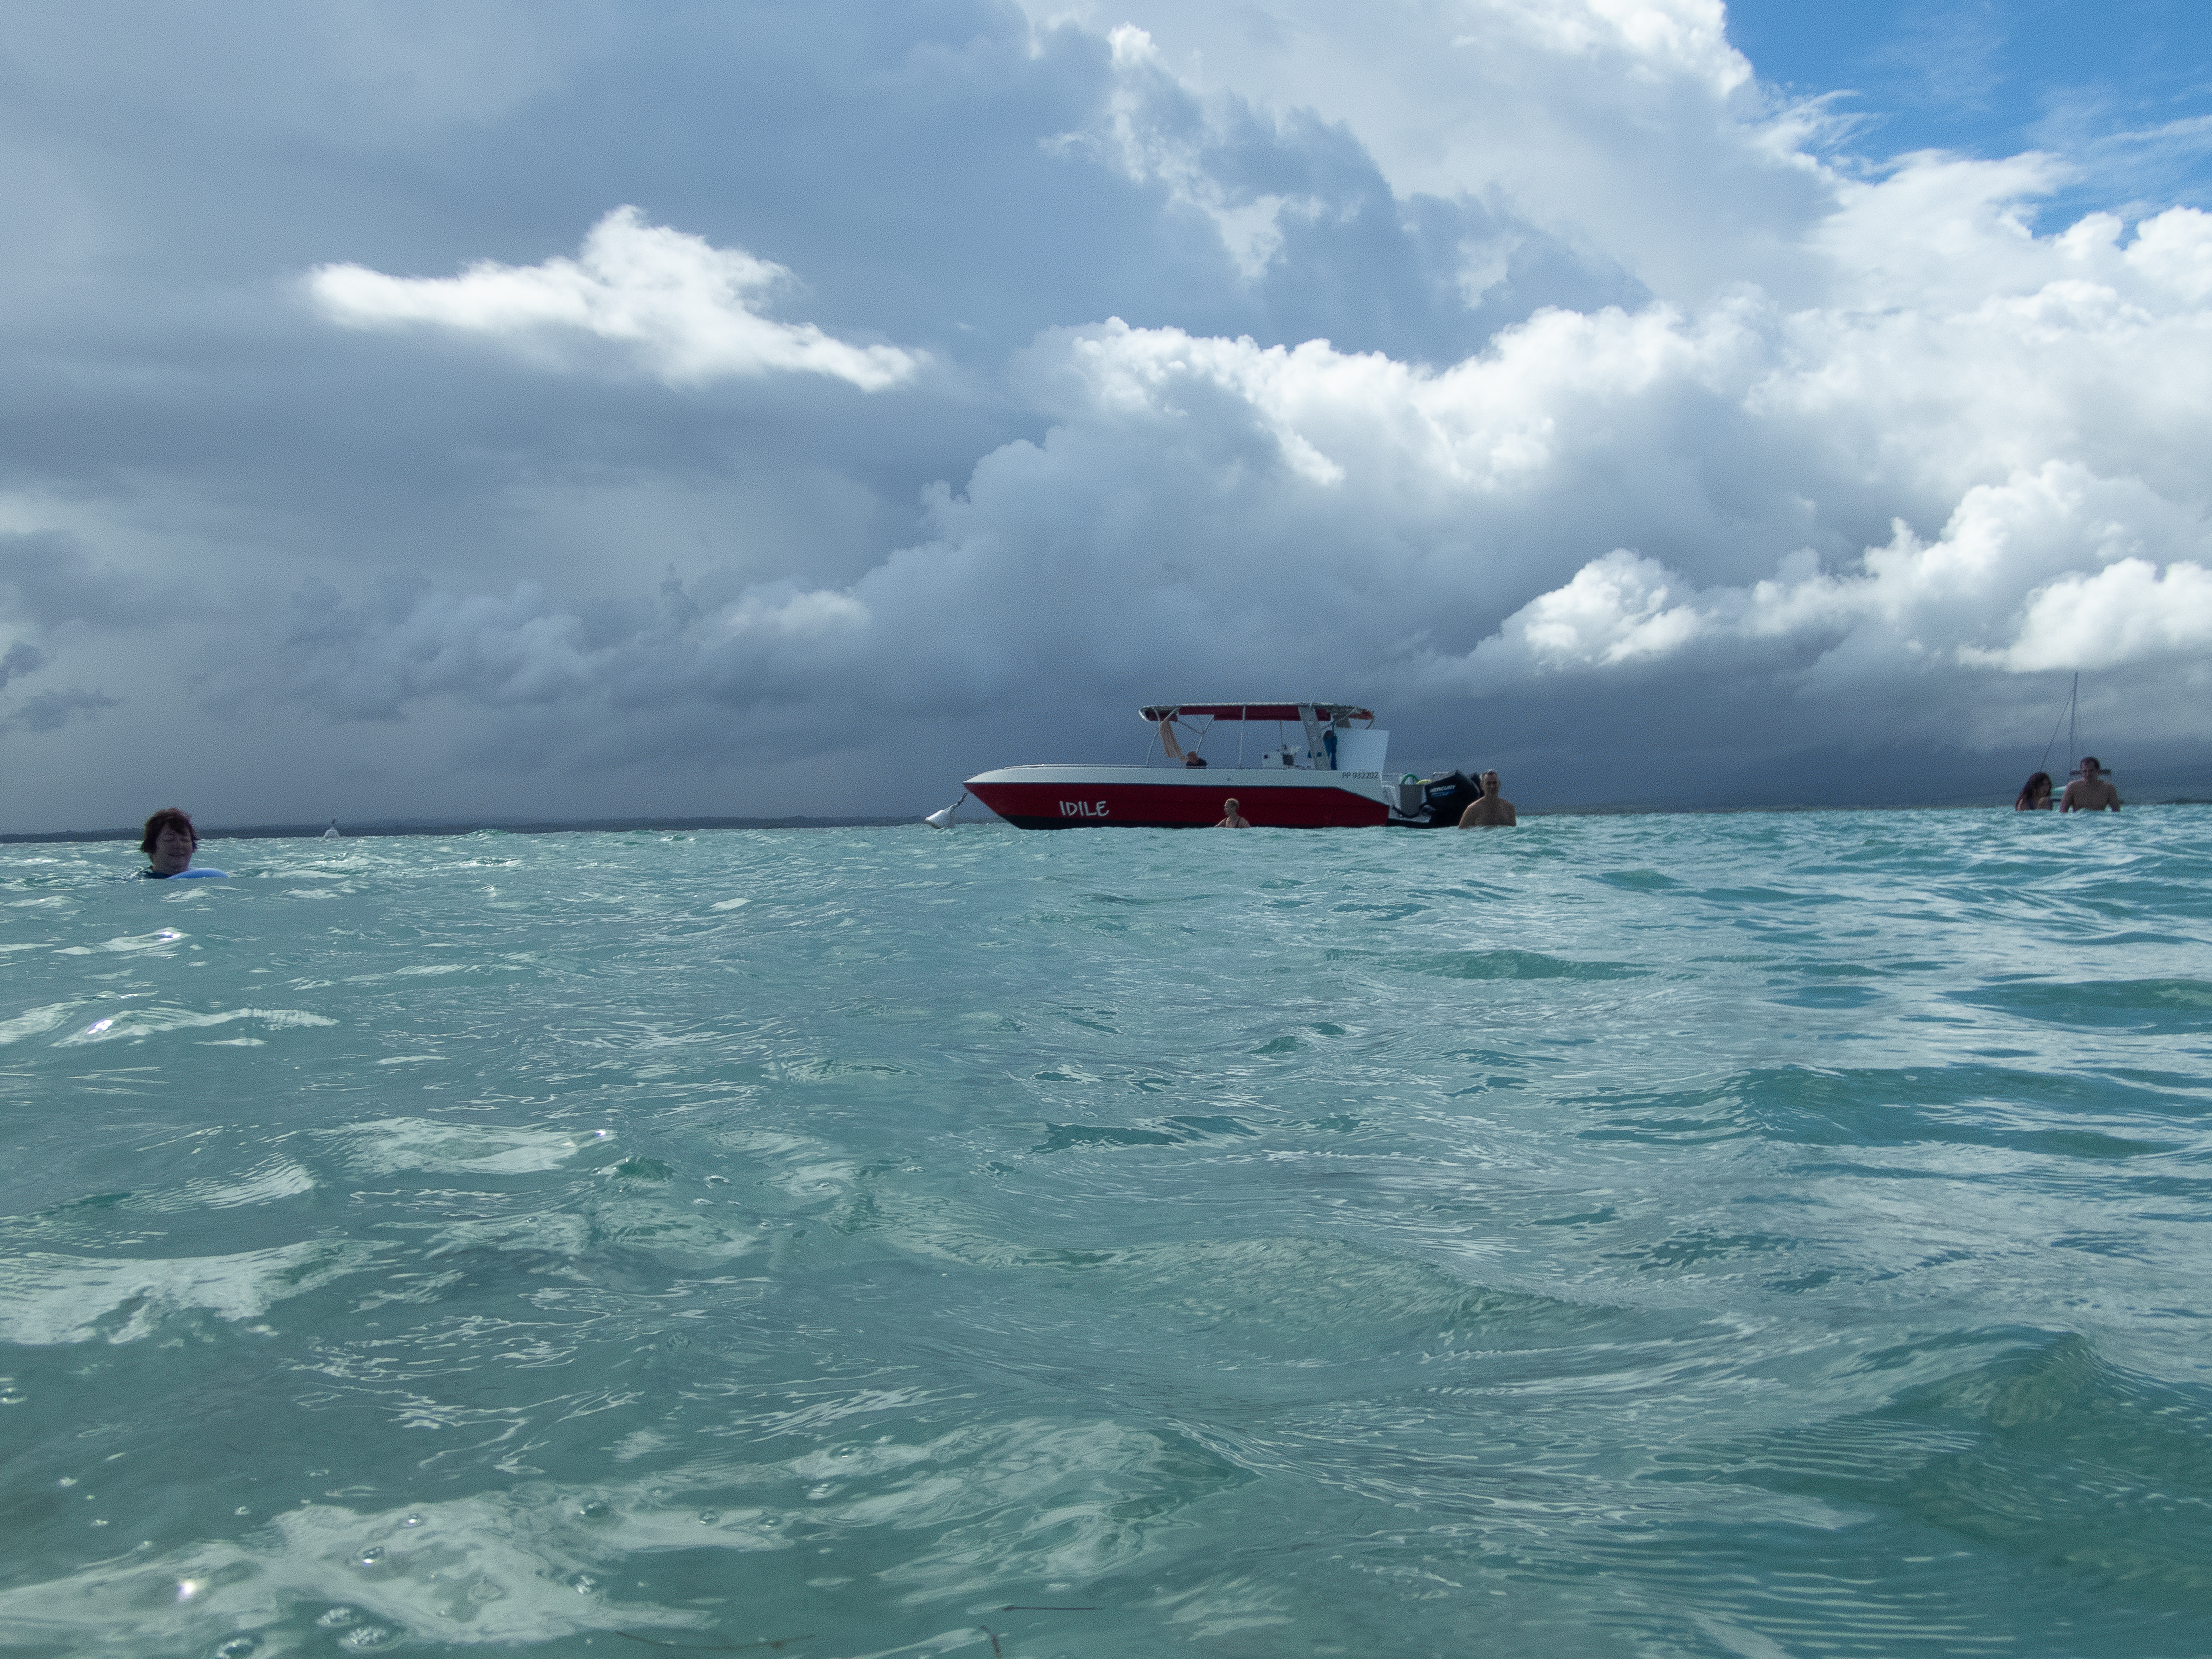
All pictures of Calvi shot last summer with an Olympus TG-5 set at 100 ISO – and saved as RAW files – Clarity, Dehaze and Sharpening applied with moderation in Adobe Lightroom.


 - Barcelona - Jan 2009 - Nikon FM")