Can an AI Chat app really compete with the scanners of a photo lab?

We’ve seen that a general purpose AI program like ChatGPT can recommend Lightroom presets, and, if necessary, “reconstruct” a technically flawed image and transform it into a picture any photographer would be proud of. Most of the time. And definitely when it comes to B&W pictures.

I’ve written previously that if I was impressed by the performance of AI programs with monochrome negatives, I was extremely disappointed with the results I obtained with color negatives. I could never get ChatGPT to reliably invert and color correct negatives.


Could general purpose AI become as good at optimizing digitized negatives as a Frontier or Noritsu scanner?

A Frontier or a Noritsu scanner has a deterministic approach – it relies on carefully engineered image-processing algorithms, and will process all the images of a same roll in an identical fashion. Which is profoundly different from the probabilistic approach of an AI program.

Fundamentally, a general purpose AI model (like the models backing ChatGPT or Claude) is an extremely sophisticated probability engine.

Having effectively learned photography by analyzing hundreds of millions—or more likely billions—of image–text pairs, it will try and predict what the image should look like based on patterns it has learned from an enormous corpus of images.

Should look like” – is the key statement here. If the image you’re submitting to the AI model is already close to the “ideal” result, maybe the AI program will simply recommend a few adjustments of the tone curve. But if your image is too different from what it should look like (and a digitized color negative does not look like an ideal representation of a scene), it will reconstruct an image from scratch, simply taking inspiration from your negative. In the process, it will introduce details not present in the negative – it will “hallucinate”.

AI hallucinations at work – see how lab scanners still beat general purpose AI.

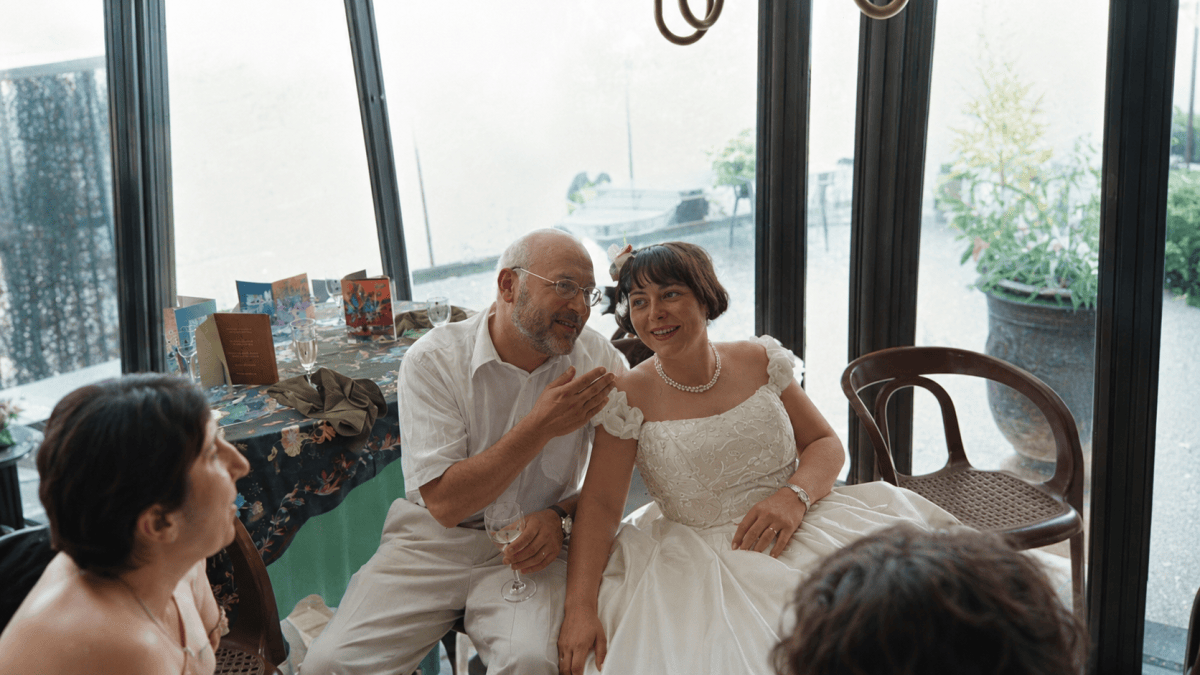
I recently rediscovered a photo lab envelope containing a stack of Kodak 4×6 color prints and their negatives. The pictures were taken at a wedding, with one of those disposable cameras that people sometimes leave on the guests’ tables, and were probably processed by an early version for a Frontier or Noritsu scanner.

I already used one of the images to illustrate the difference between a print coming from a minilab, and the Jpeg files that could be obtained by processing the digitized color negative with Lightroom or Negative Lab Pro.
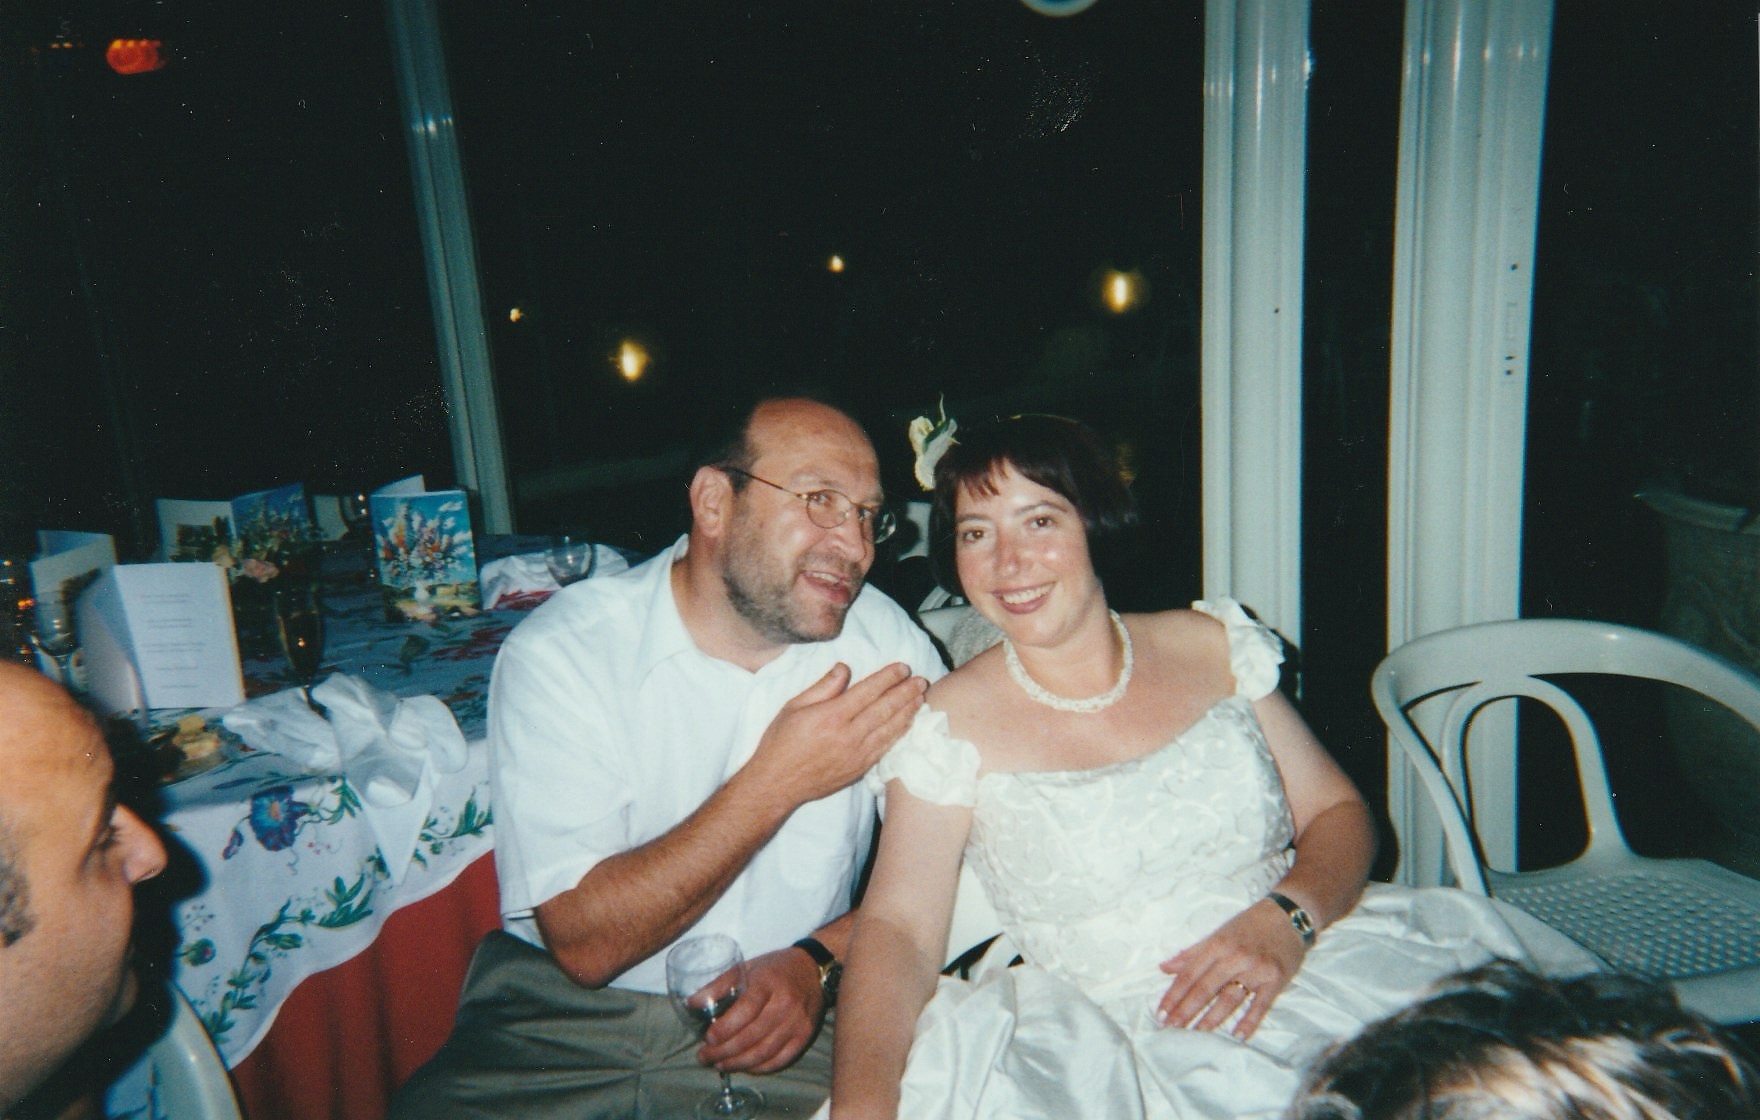
Disposable Kodak camera – Scanned from a 4×6 print – Kodak Paper – Circa 2000

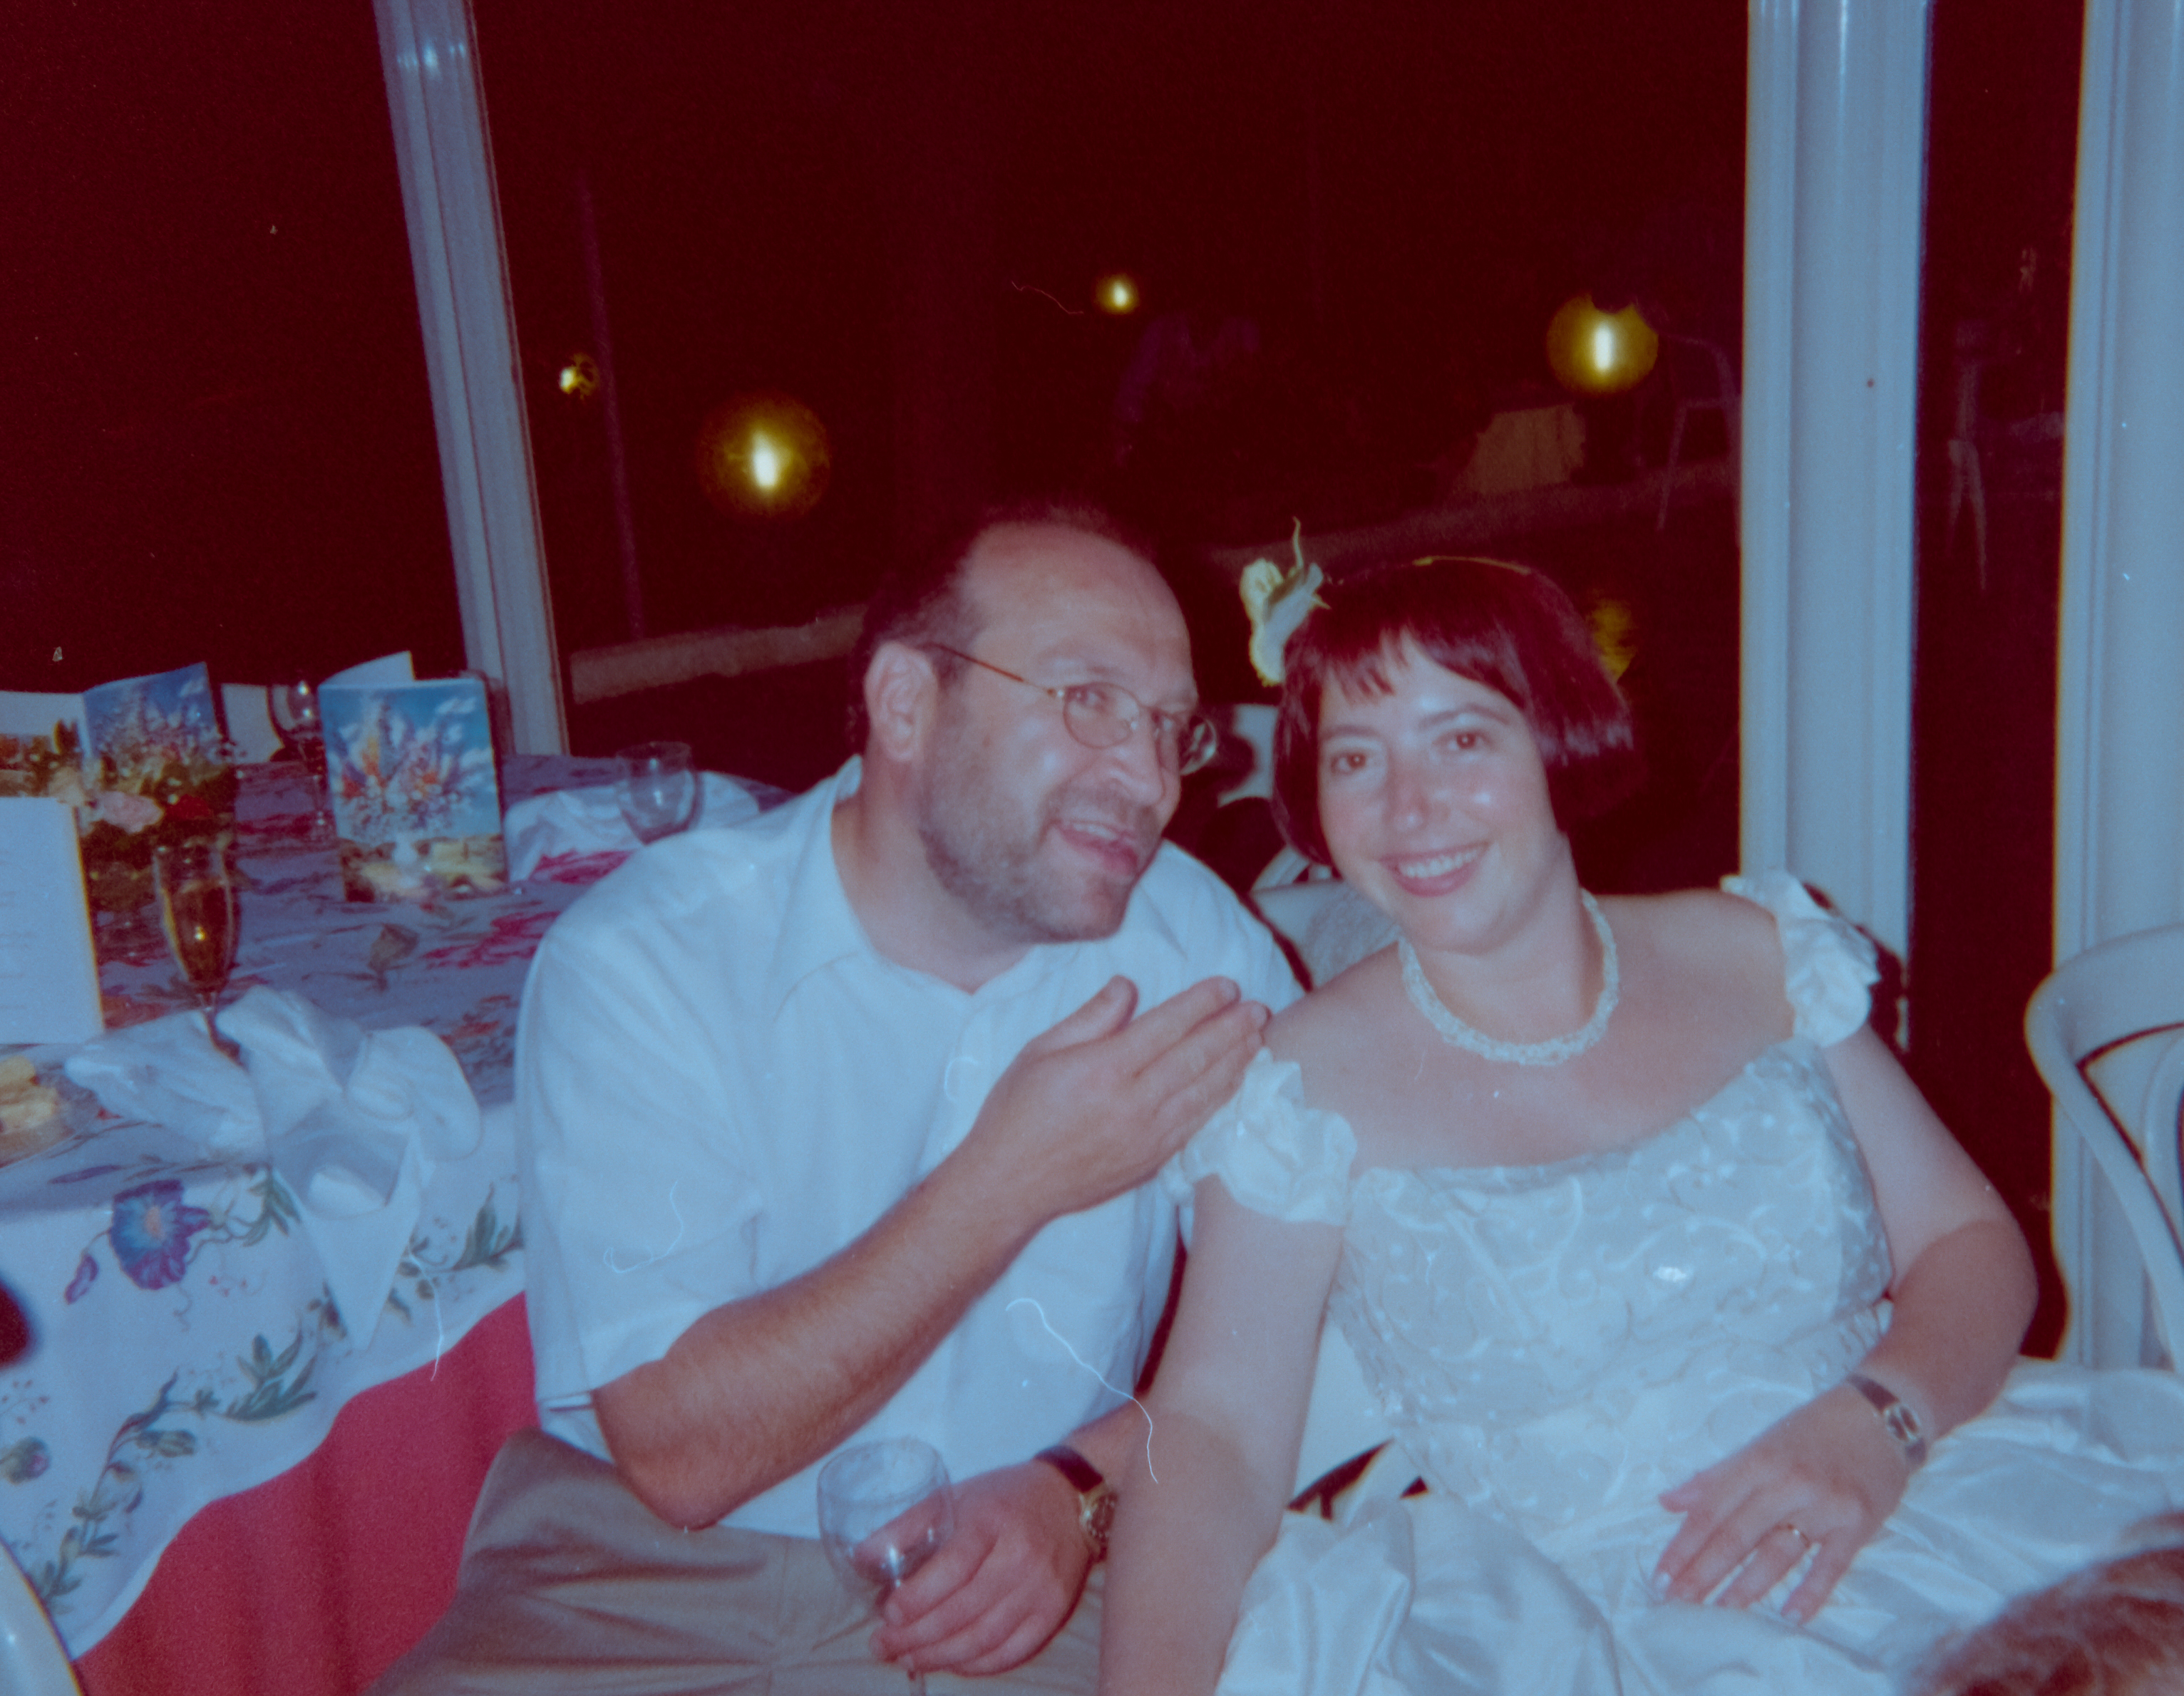
The test this time is different. I uploaded the file obtained by digitizing the color negative to ChatGPT, asking it to invert the image and correct the colors.

The color negative submitted to ChatGPT

I was really surprised by the result.
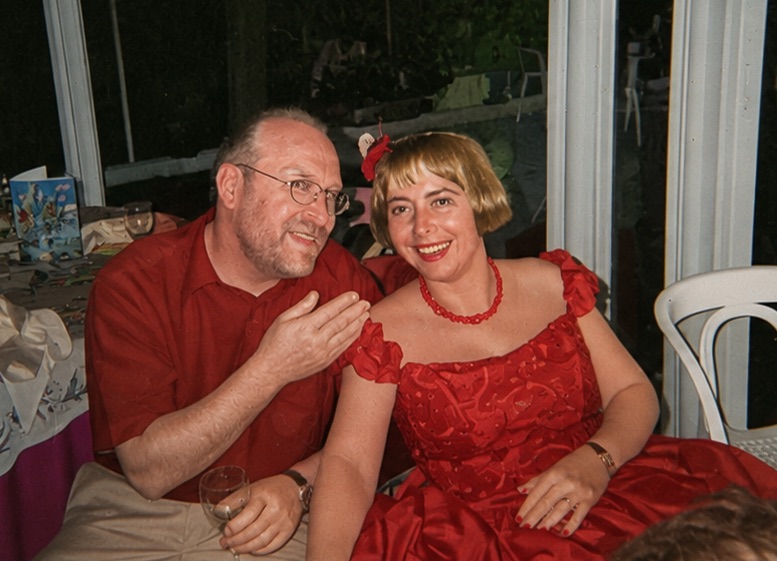
How ChatGPT rendered the negative at the first attempt

I asked the AI why the bride’s dress and guest’s shirt were red, and it replied that it had assumed that the picture had been taken at a New Year’s Eve party, and it had dressed everybody in red.

It illustrates a phenomenon that all the professionals working with AI tools have probably experienced one day or another – models work better when a problem is broken in a series of well-defined steps. My original request to invert and color-correct the negative was too broad and left too much freedom to the AI tool.

So I tried a more directive approach, and explained in my prompt to the AI model that the picture had been taken at a wedding, that the bride’s dress was white, and that the bride herself was a brunette, not a blonde.
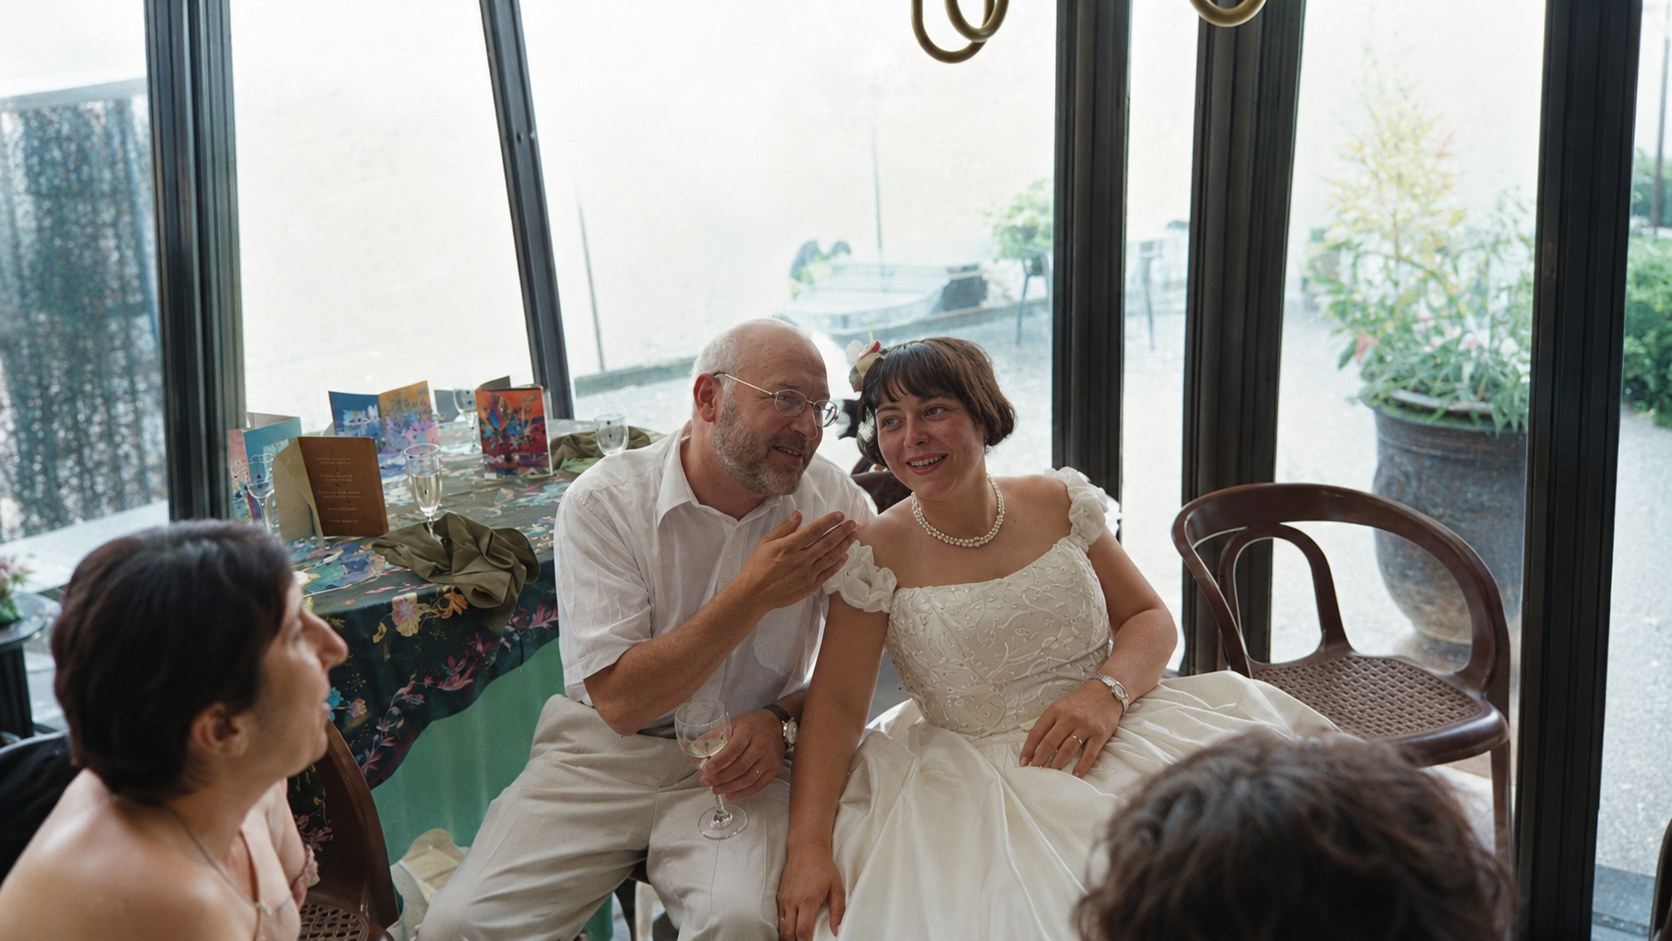
the second attempt – the image “reconstructed” by ChatGPT – not much is right, and the faces in particular are totally off.

This second image it created was very interesting – the colors of the clothes were right, but not much else. Night became day, the image was framed wider, and filled with elements (and people) which did not belong to the negative. The faces were also significantly different (as they are particularly difficult to reconstruct).

I kept on testing with different prompts and different negatives, but all requests to invert the negative ultimately failed, with the model always incorporating reconstructed pixels rather than performing conventional photographic adjustments.

On the other hand, when I uploaded in the model an image already processed in Lightroom, and simply asked it to color correct it, I generally obtained results that were not only realistic, but an exact representation of the colors of the subject. Most of the time.

Much better: picture color corrected by ChatGPT after I did the inversion and base color corrections in Lightroom.

As a conclusion…

A general purpose AI program is not capable of challenging a Frontier or Noritsu scanning workflow, because in my experience, it will always take the ‘easy route” and incorporate highly plausible elements in the image it delivers rather than painstakingly adjusting the tone curve of each color channel.

Even Adobe’s AI tools are currently not capable of inverting and color correct a set of digitized color negatives reliably and consistently.

Color Negative processing remains the domain of the scanners of the pro photo labs. And with some effort and experience, an amateur equipped with a laptop and a photo editing tool will consistently get results much better than what any general purpose AI program can deliver.


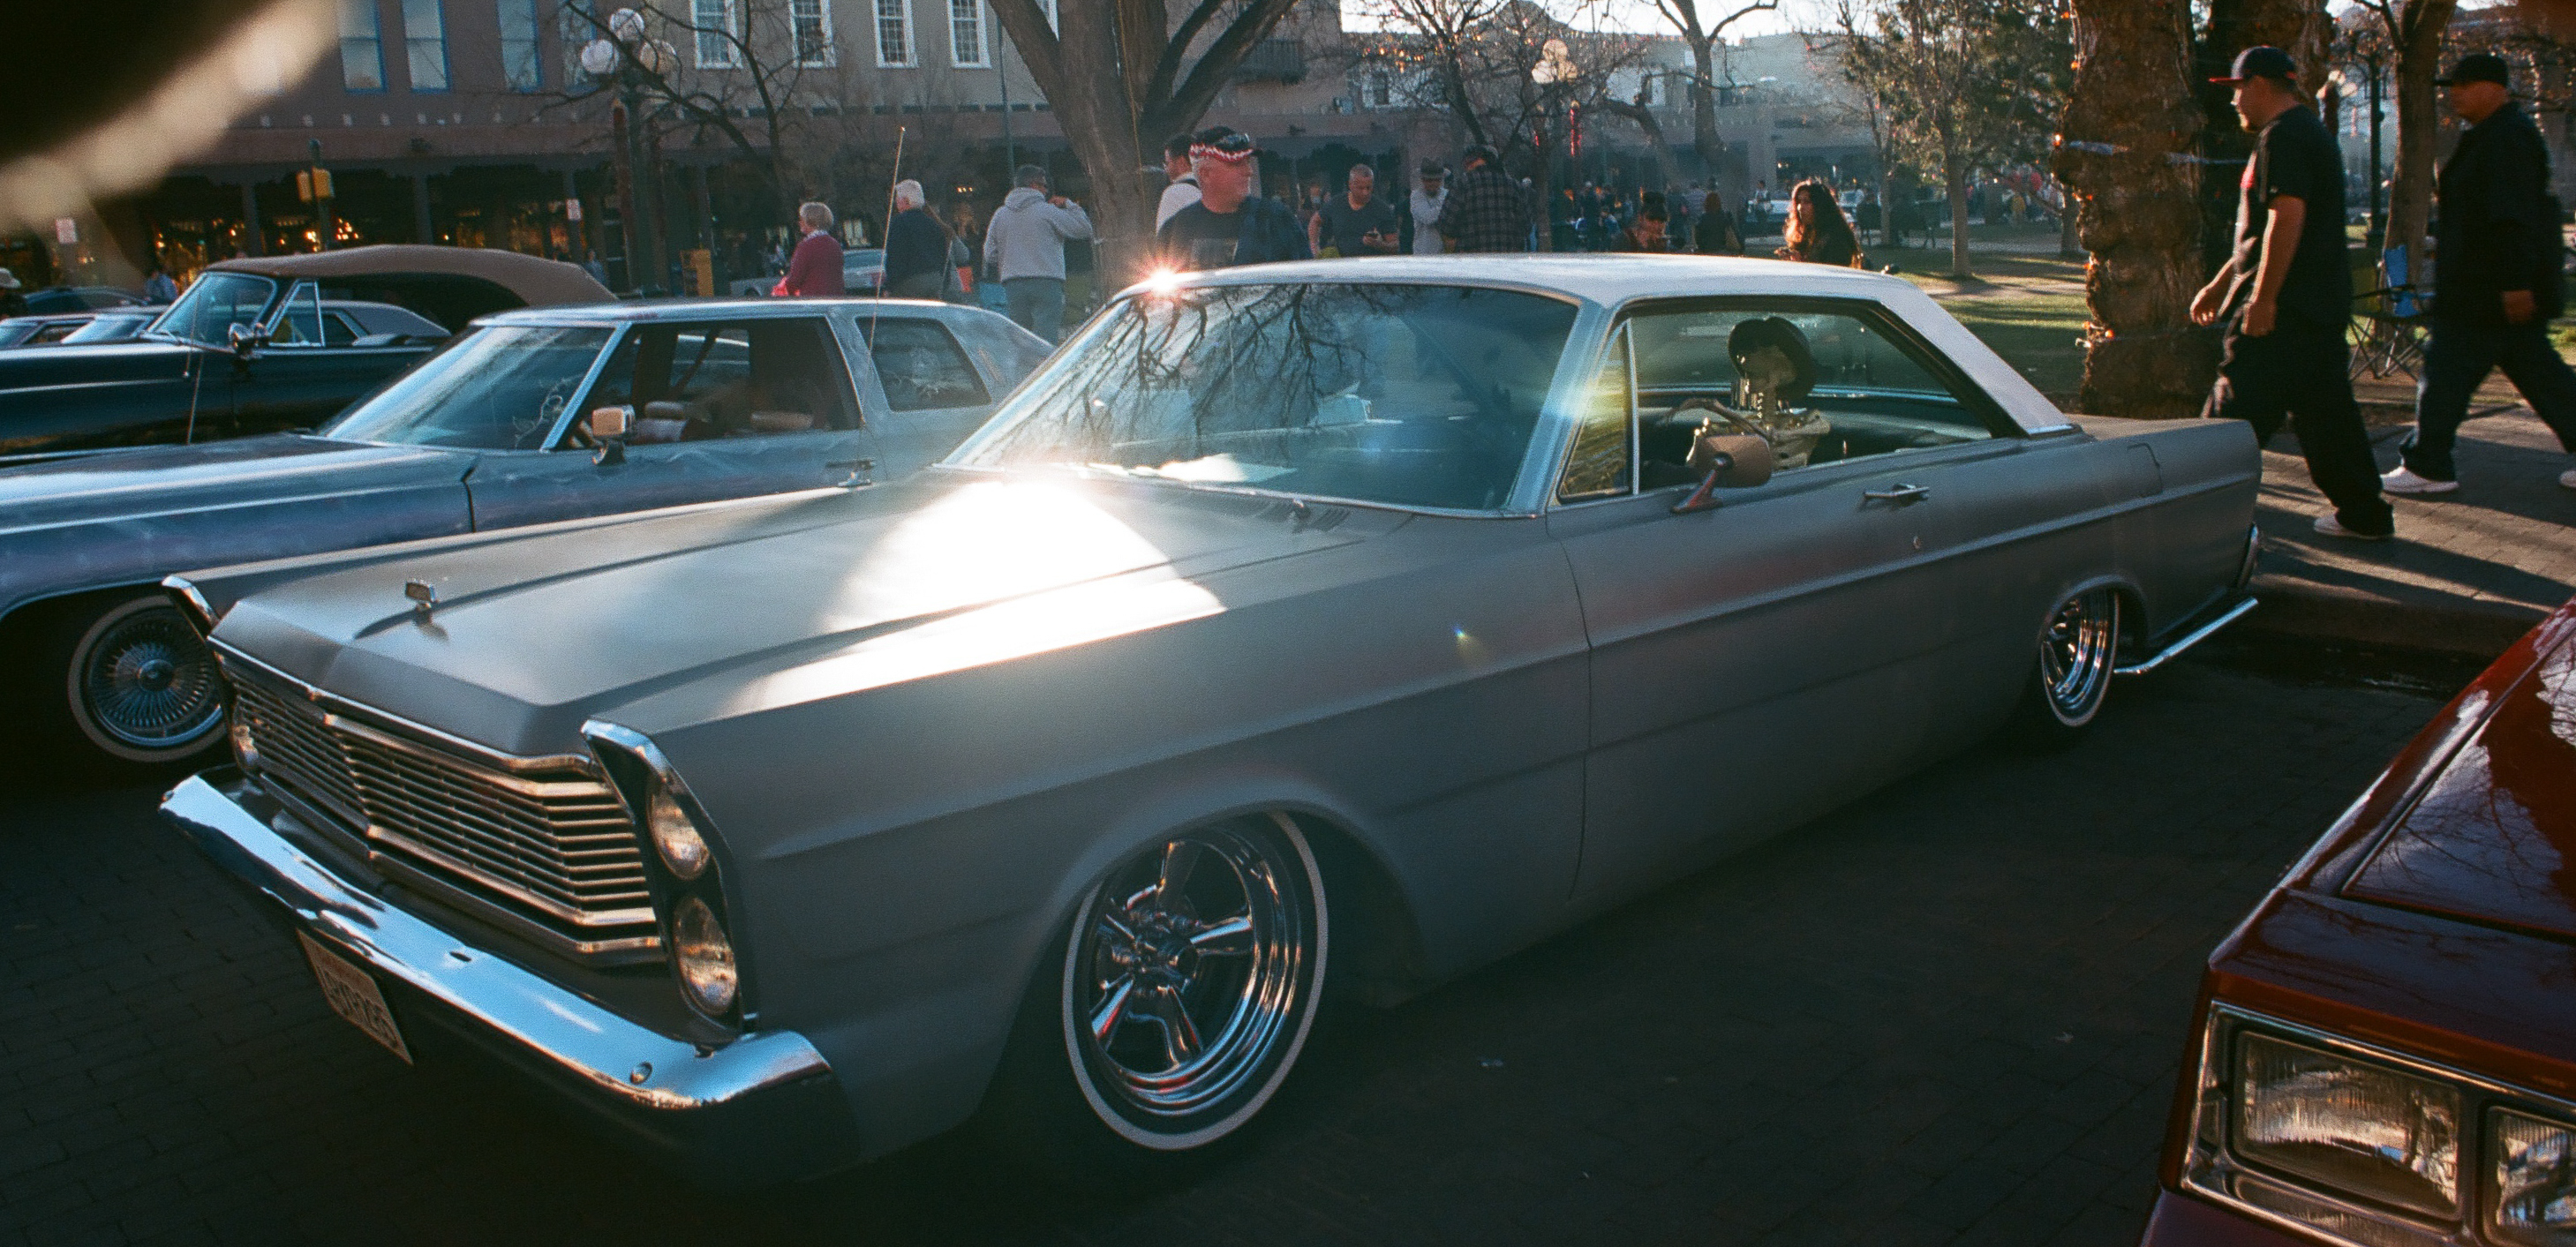
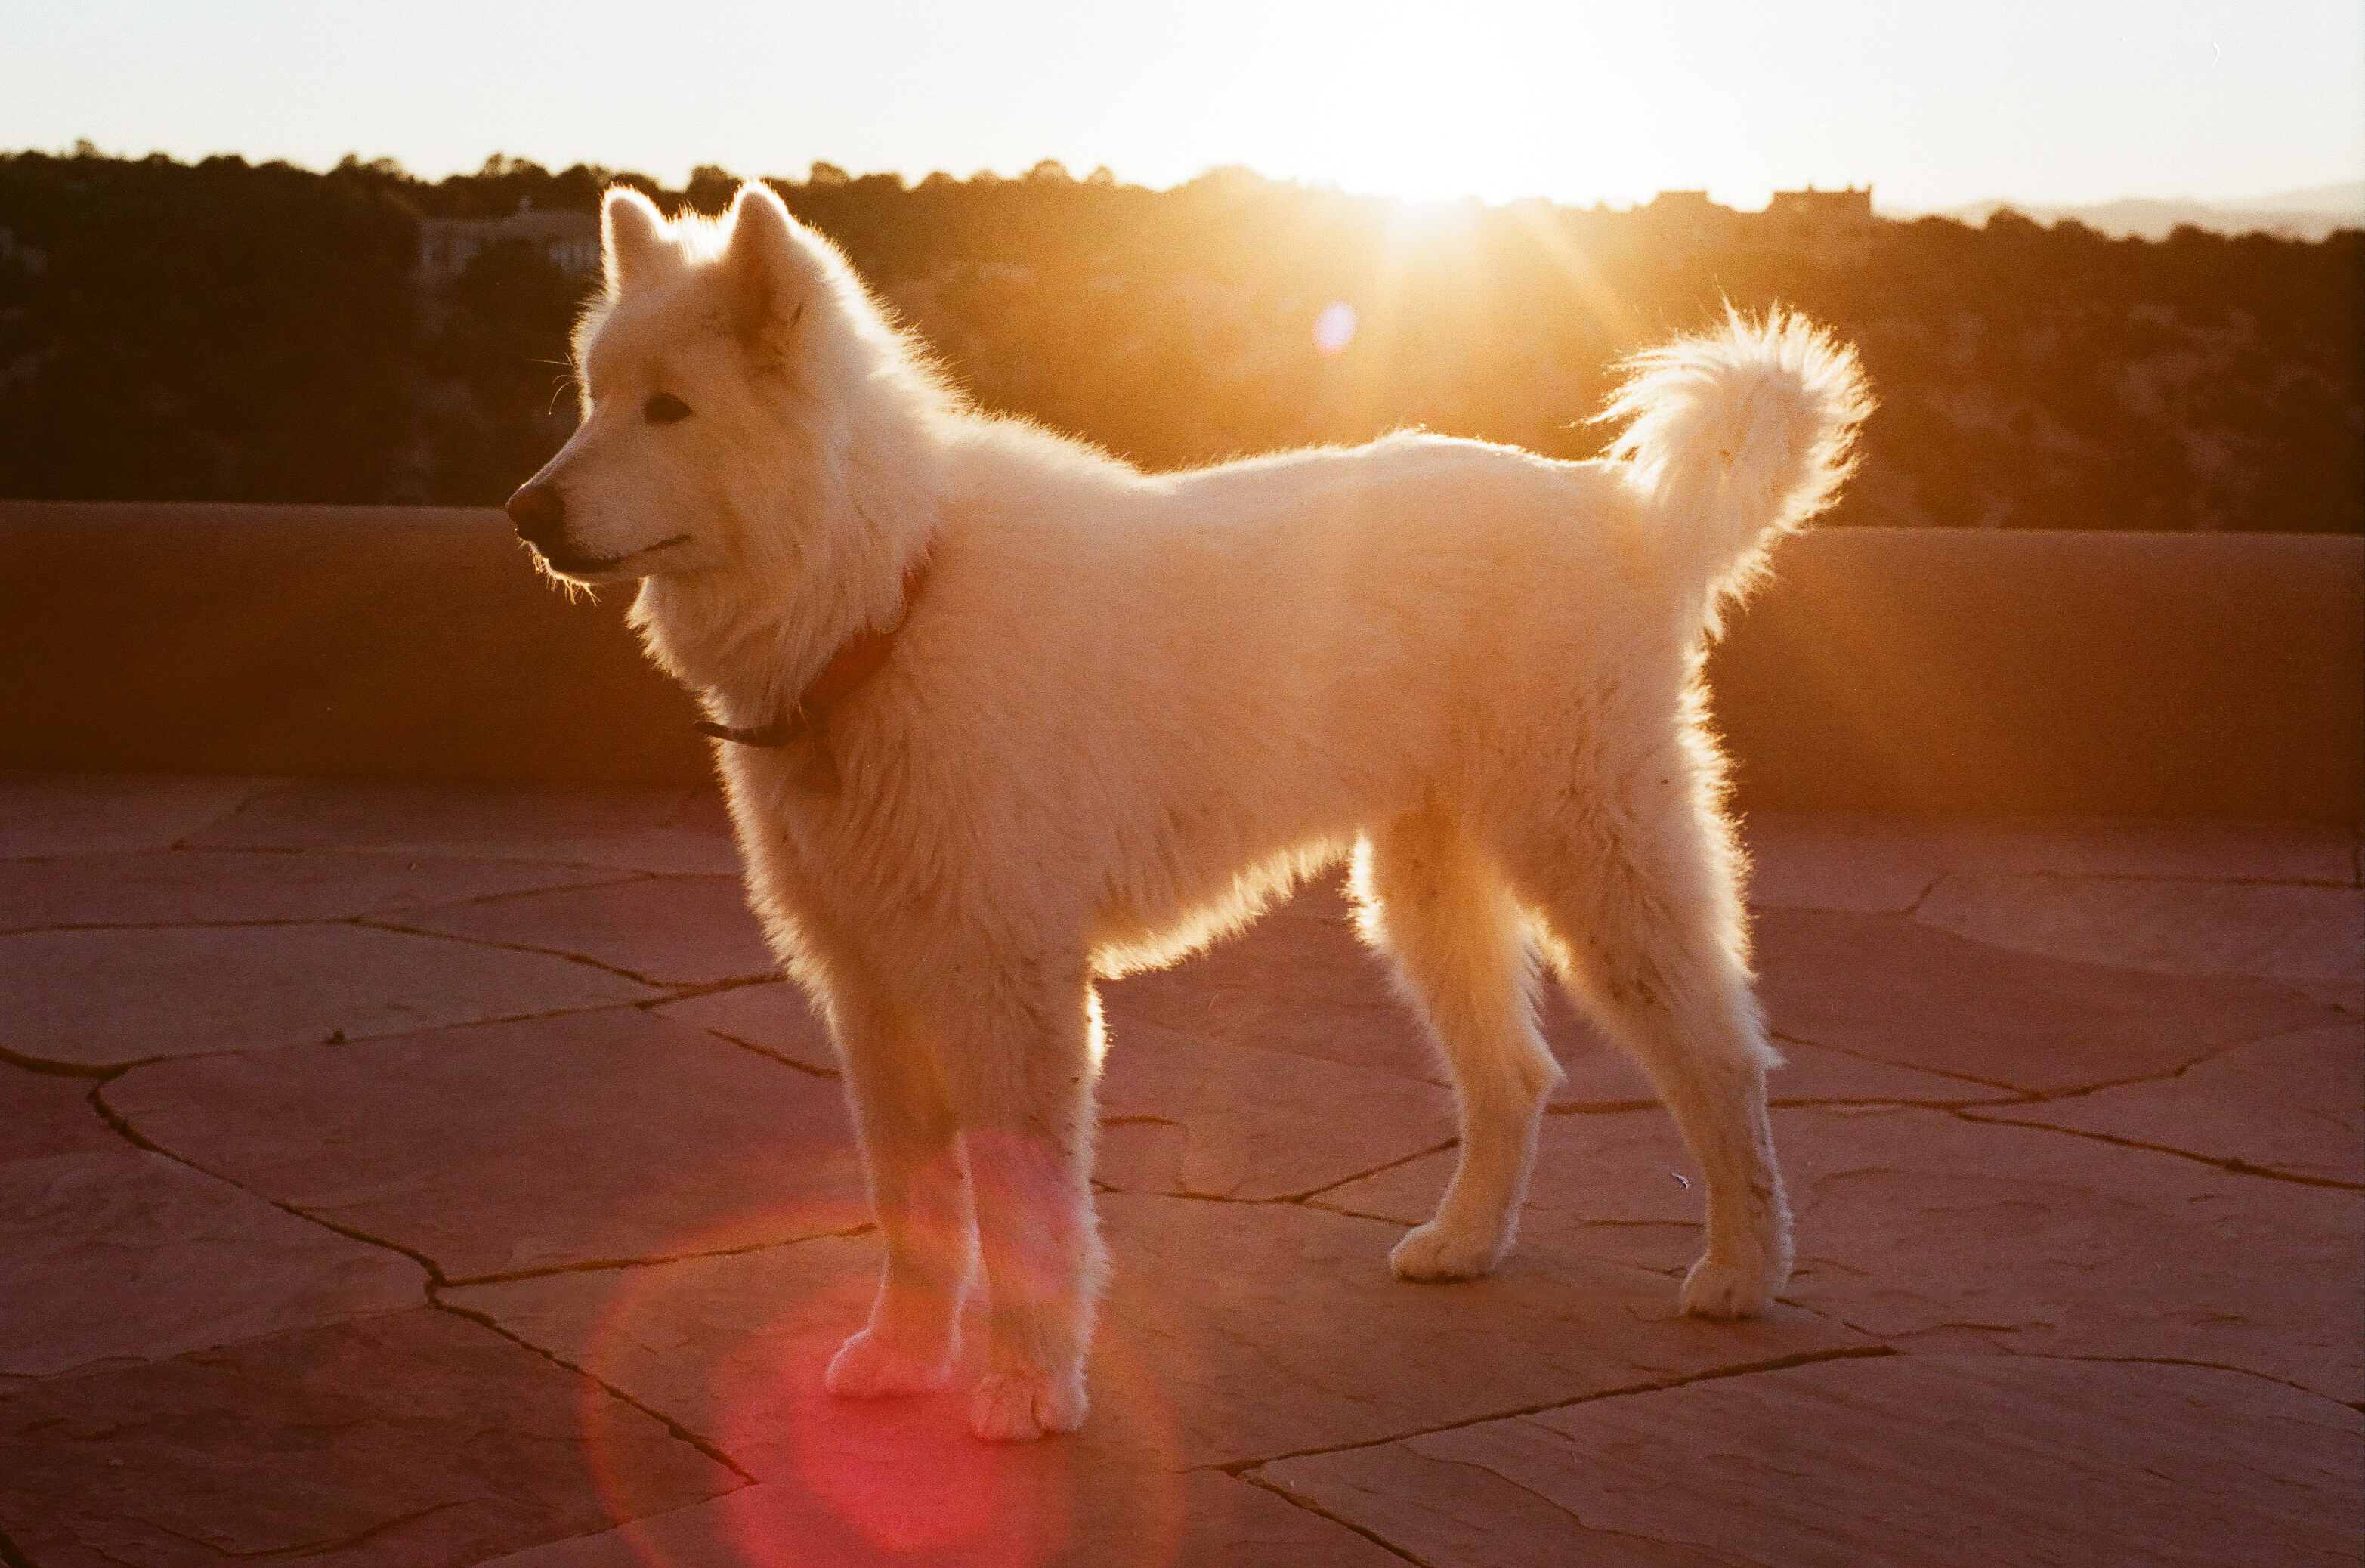
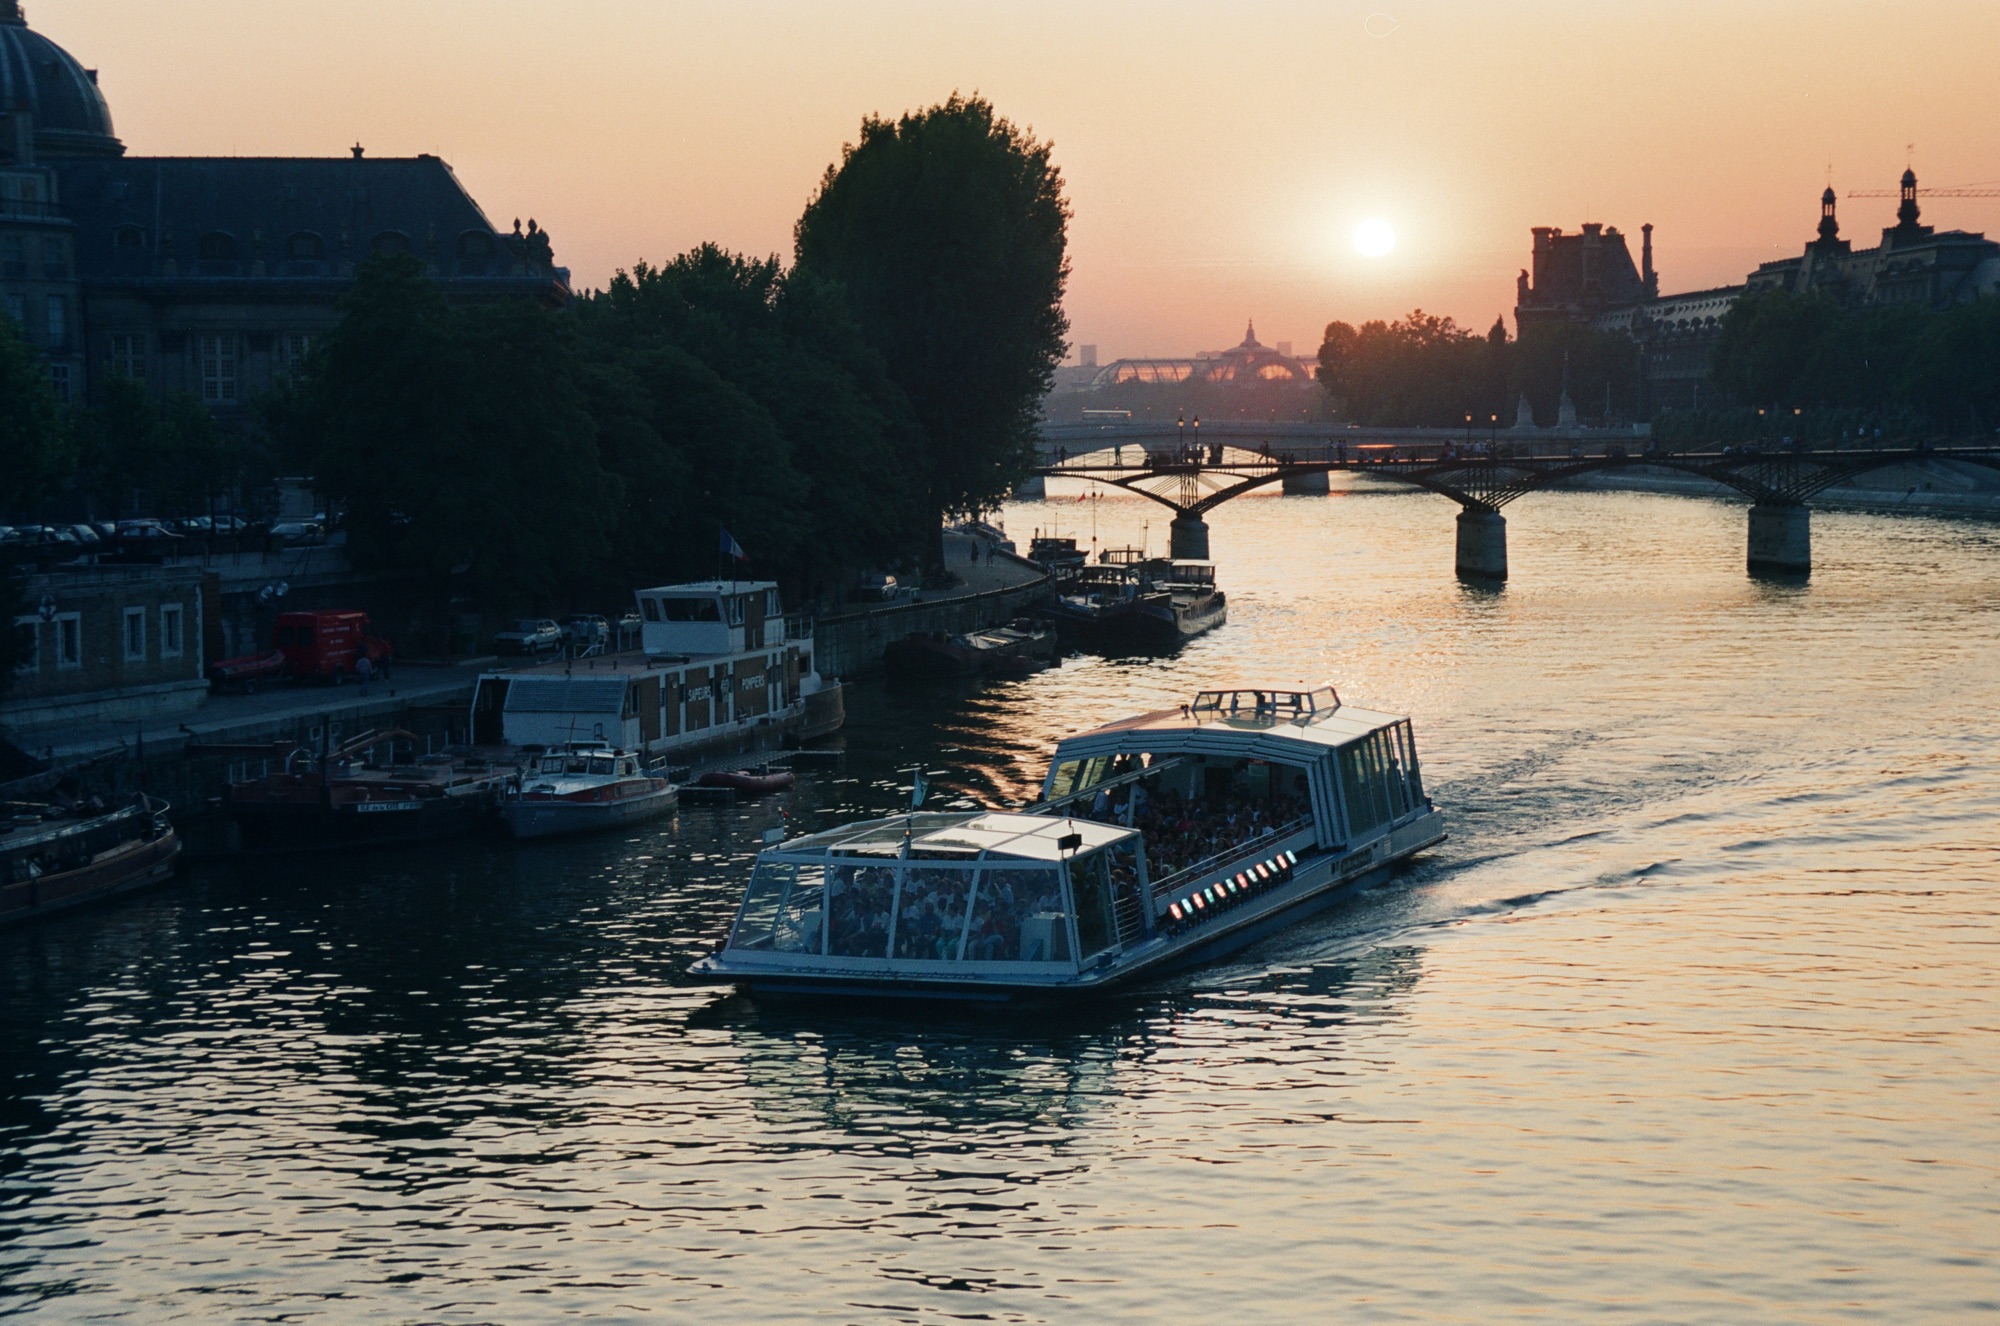
A Noritsu sampler – images scanned on a Noritsu scanner over the years, long before the public at large had ever heard about AI.

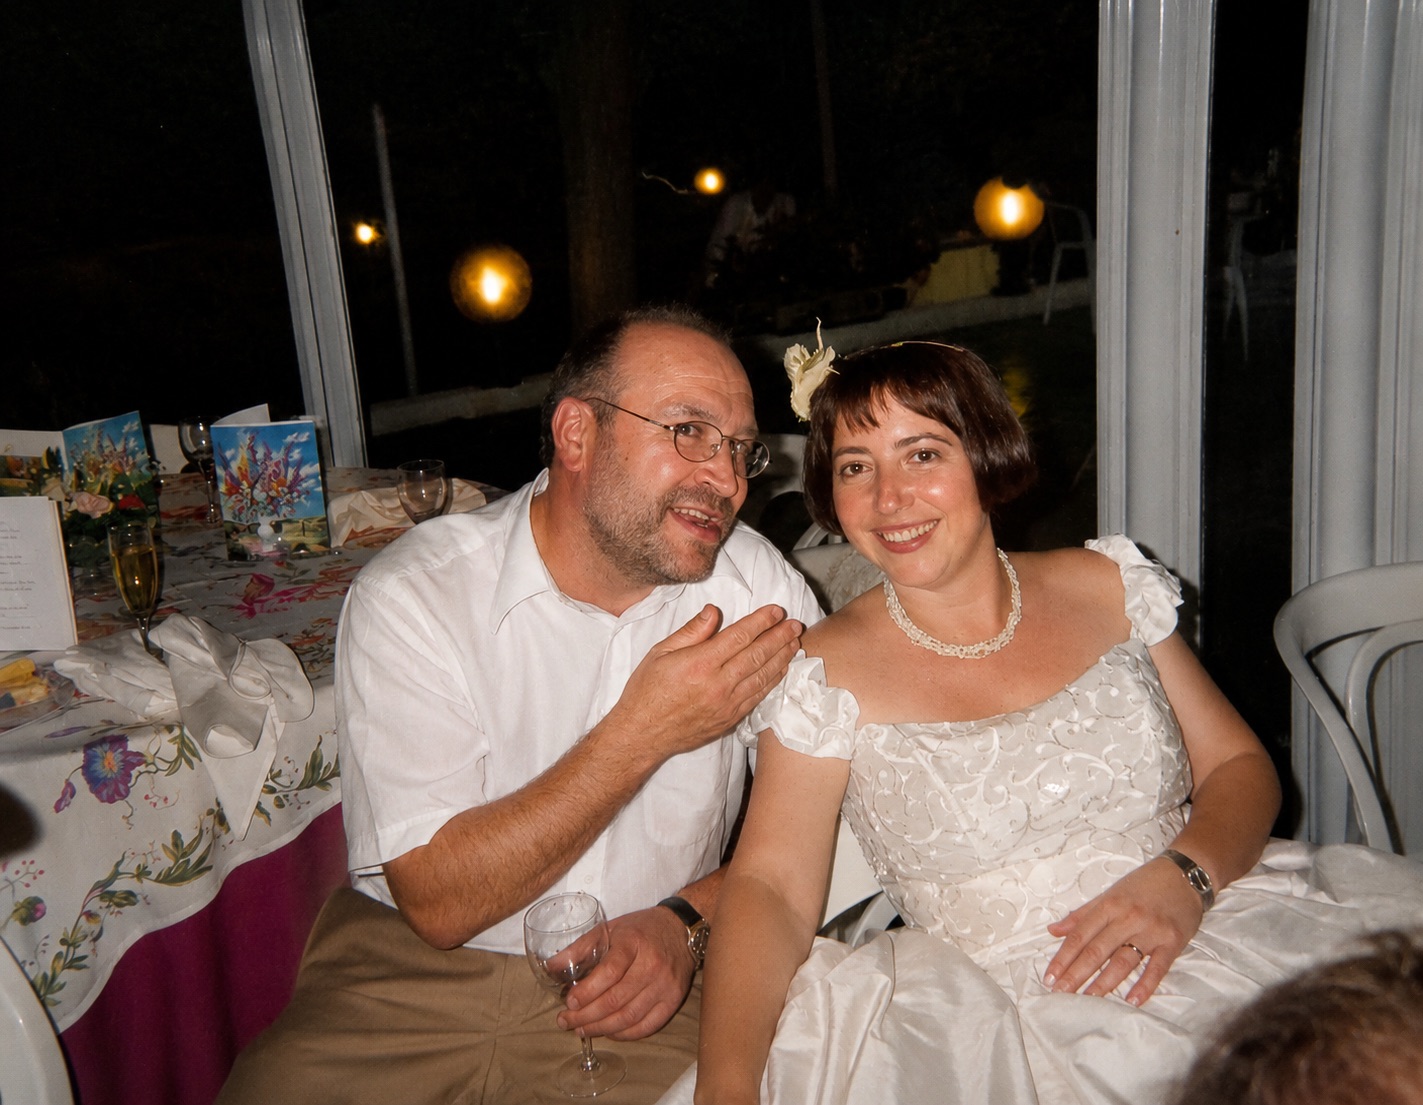
The Bride, many years after. Nikon FE2. Noritsu scanner.
Paris. From the “Pont Neuf”. Minolta Dynax. Noritsu scanner.
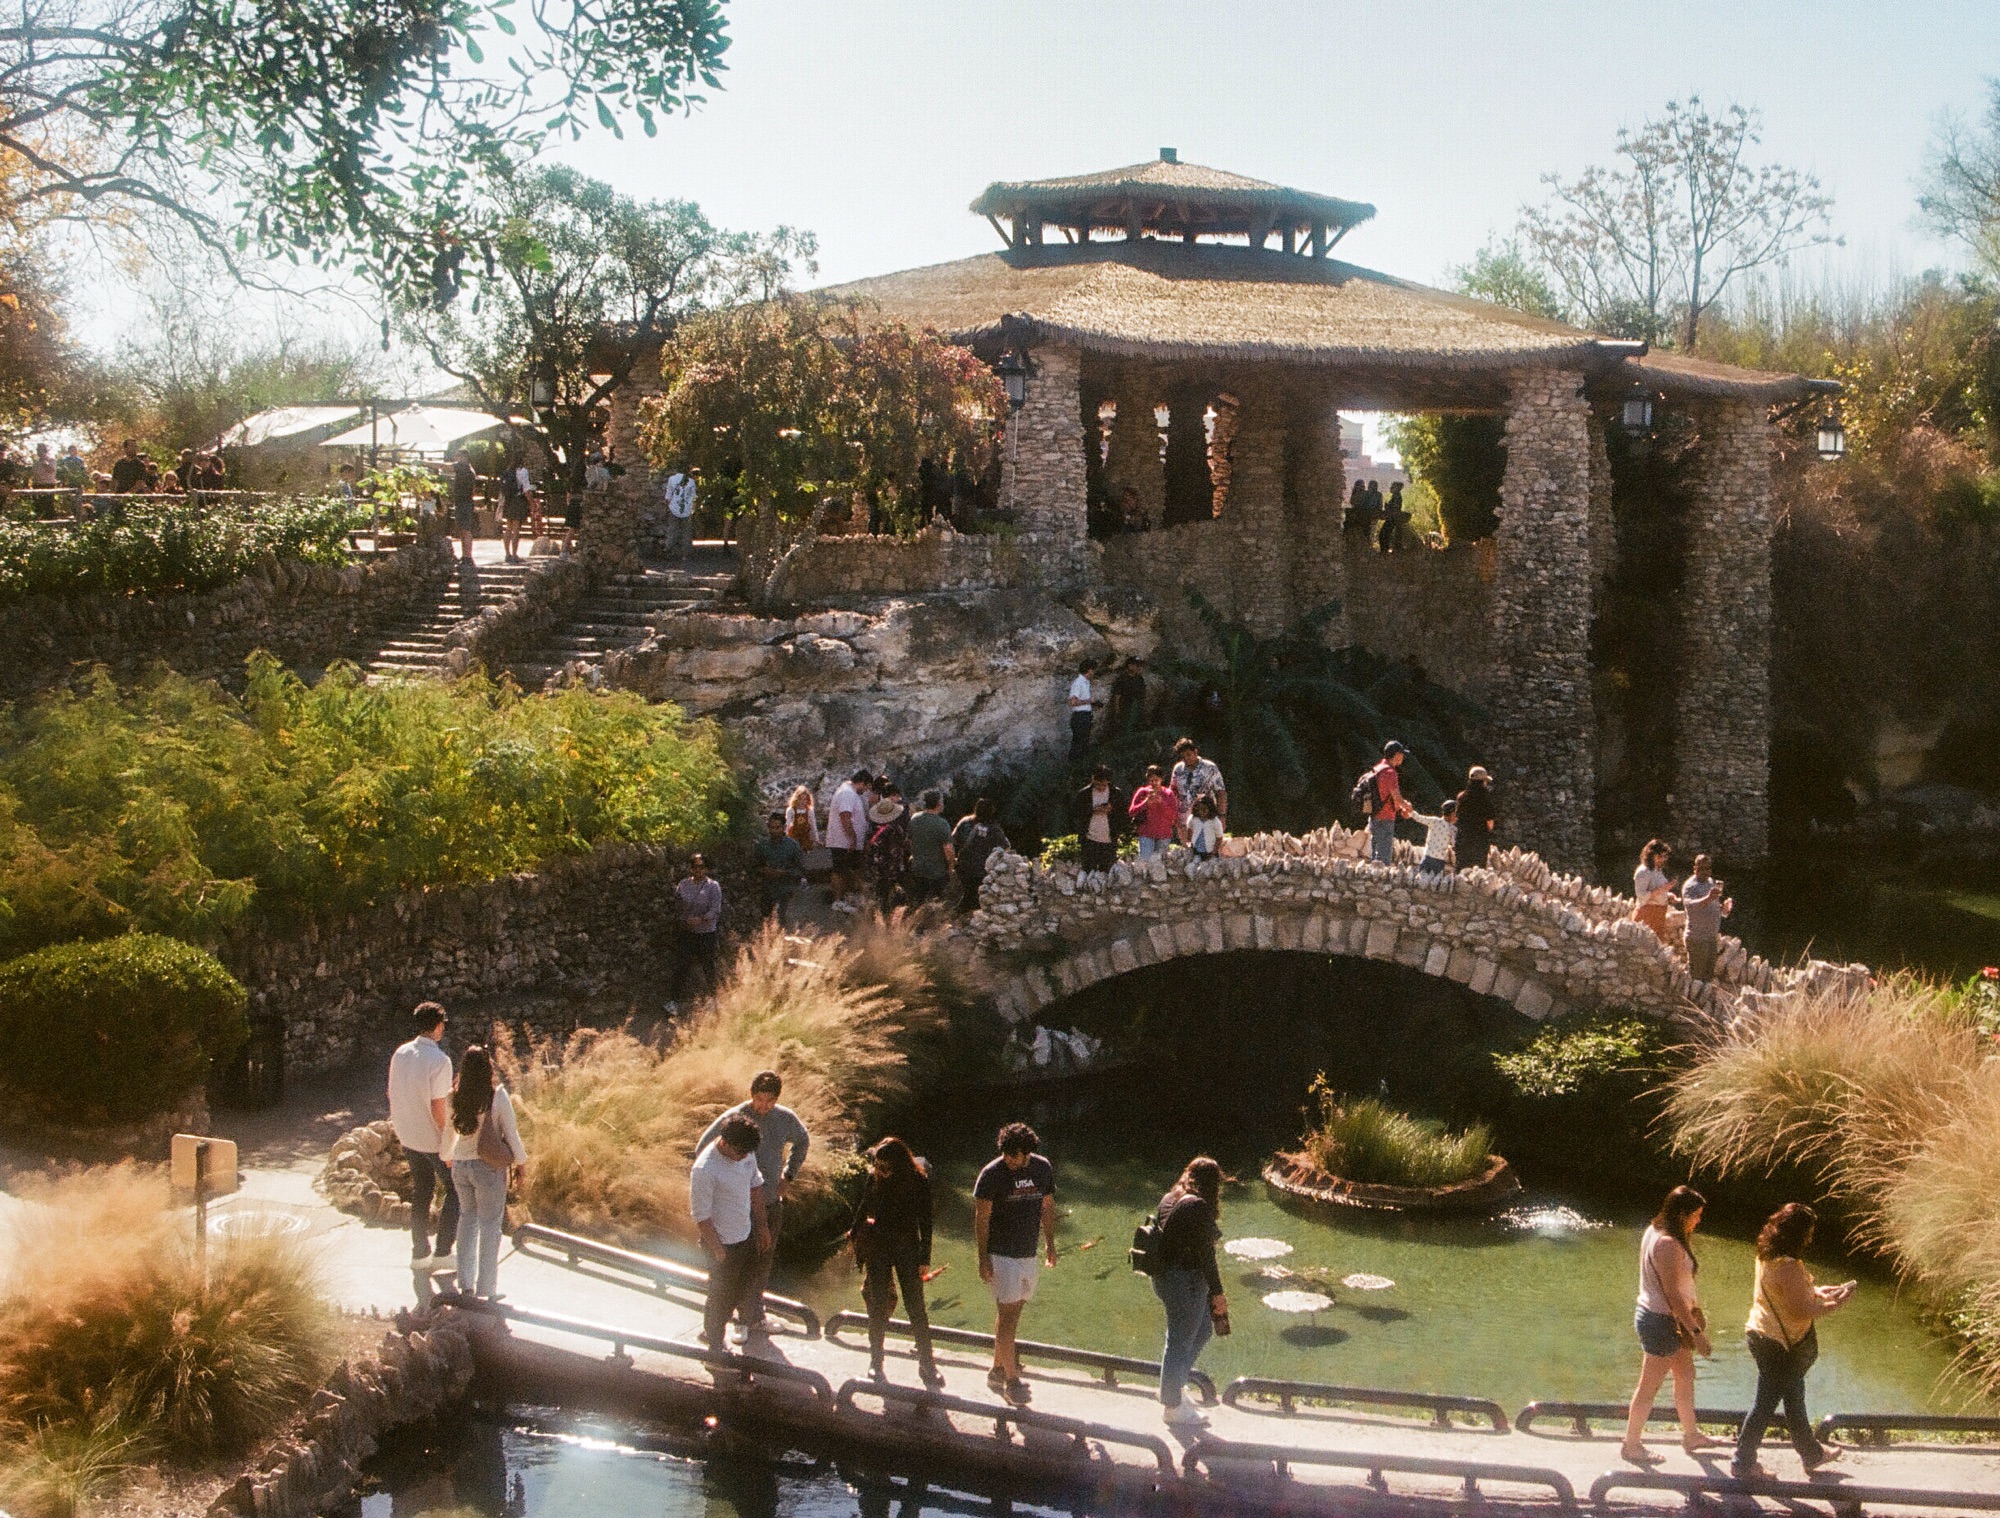
San Antonio. Japanese Tea Garden. Pentax Super-A. Noritsu scanner.
Noritsu sampler (Nikon FM, Kodak Ektar 100)
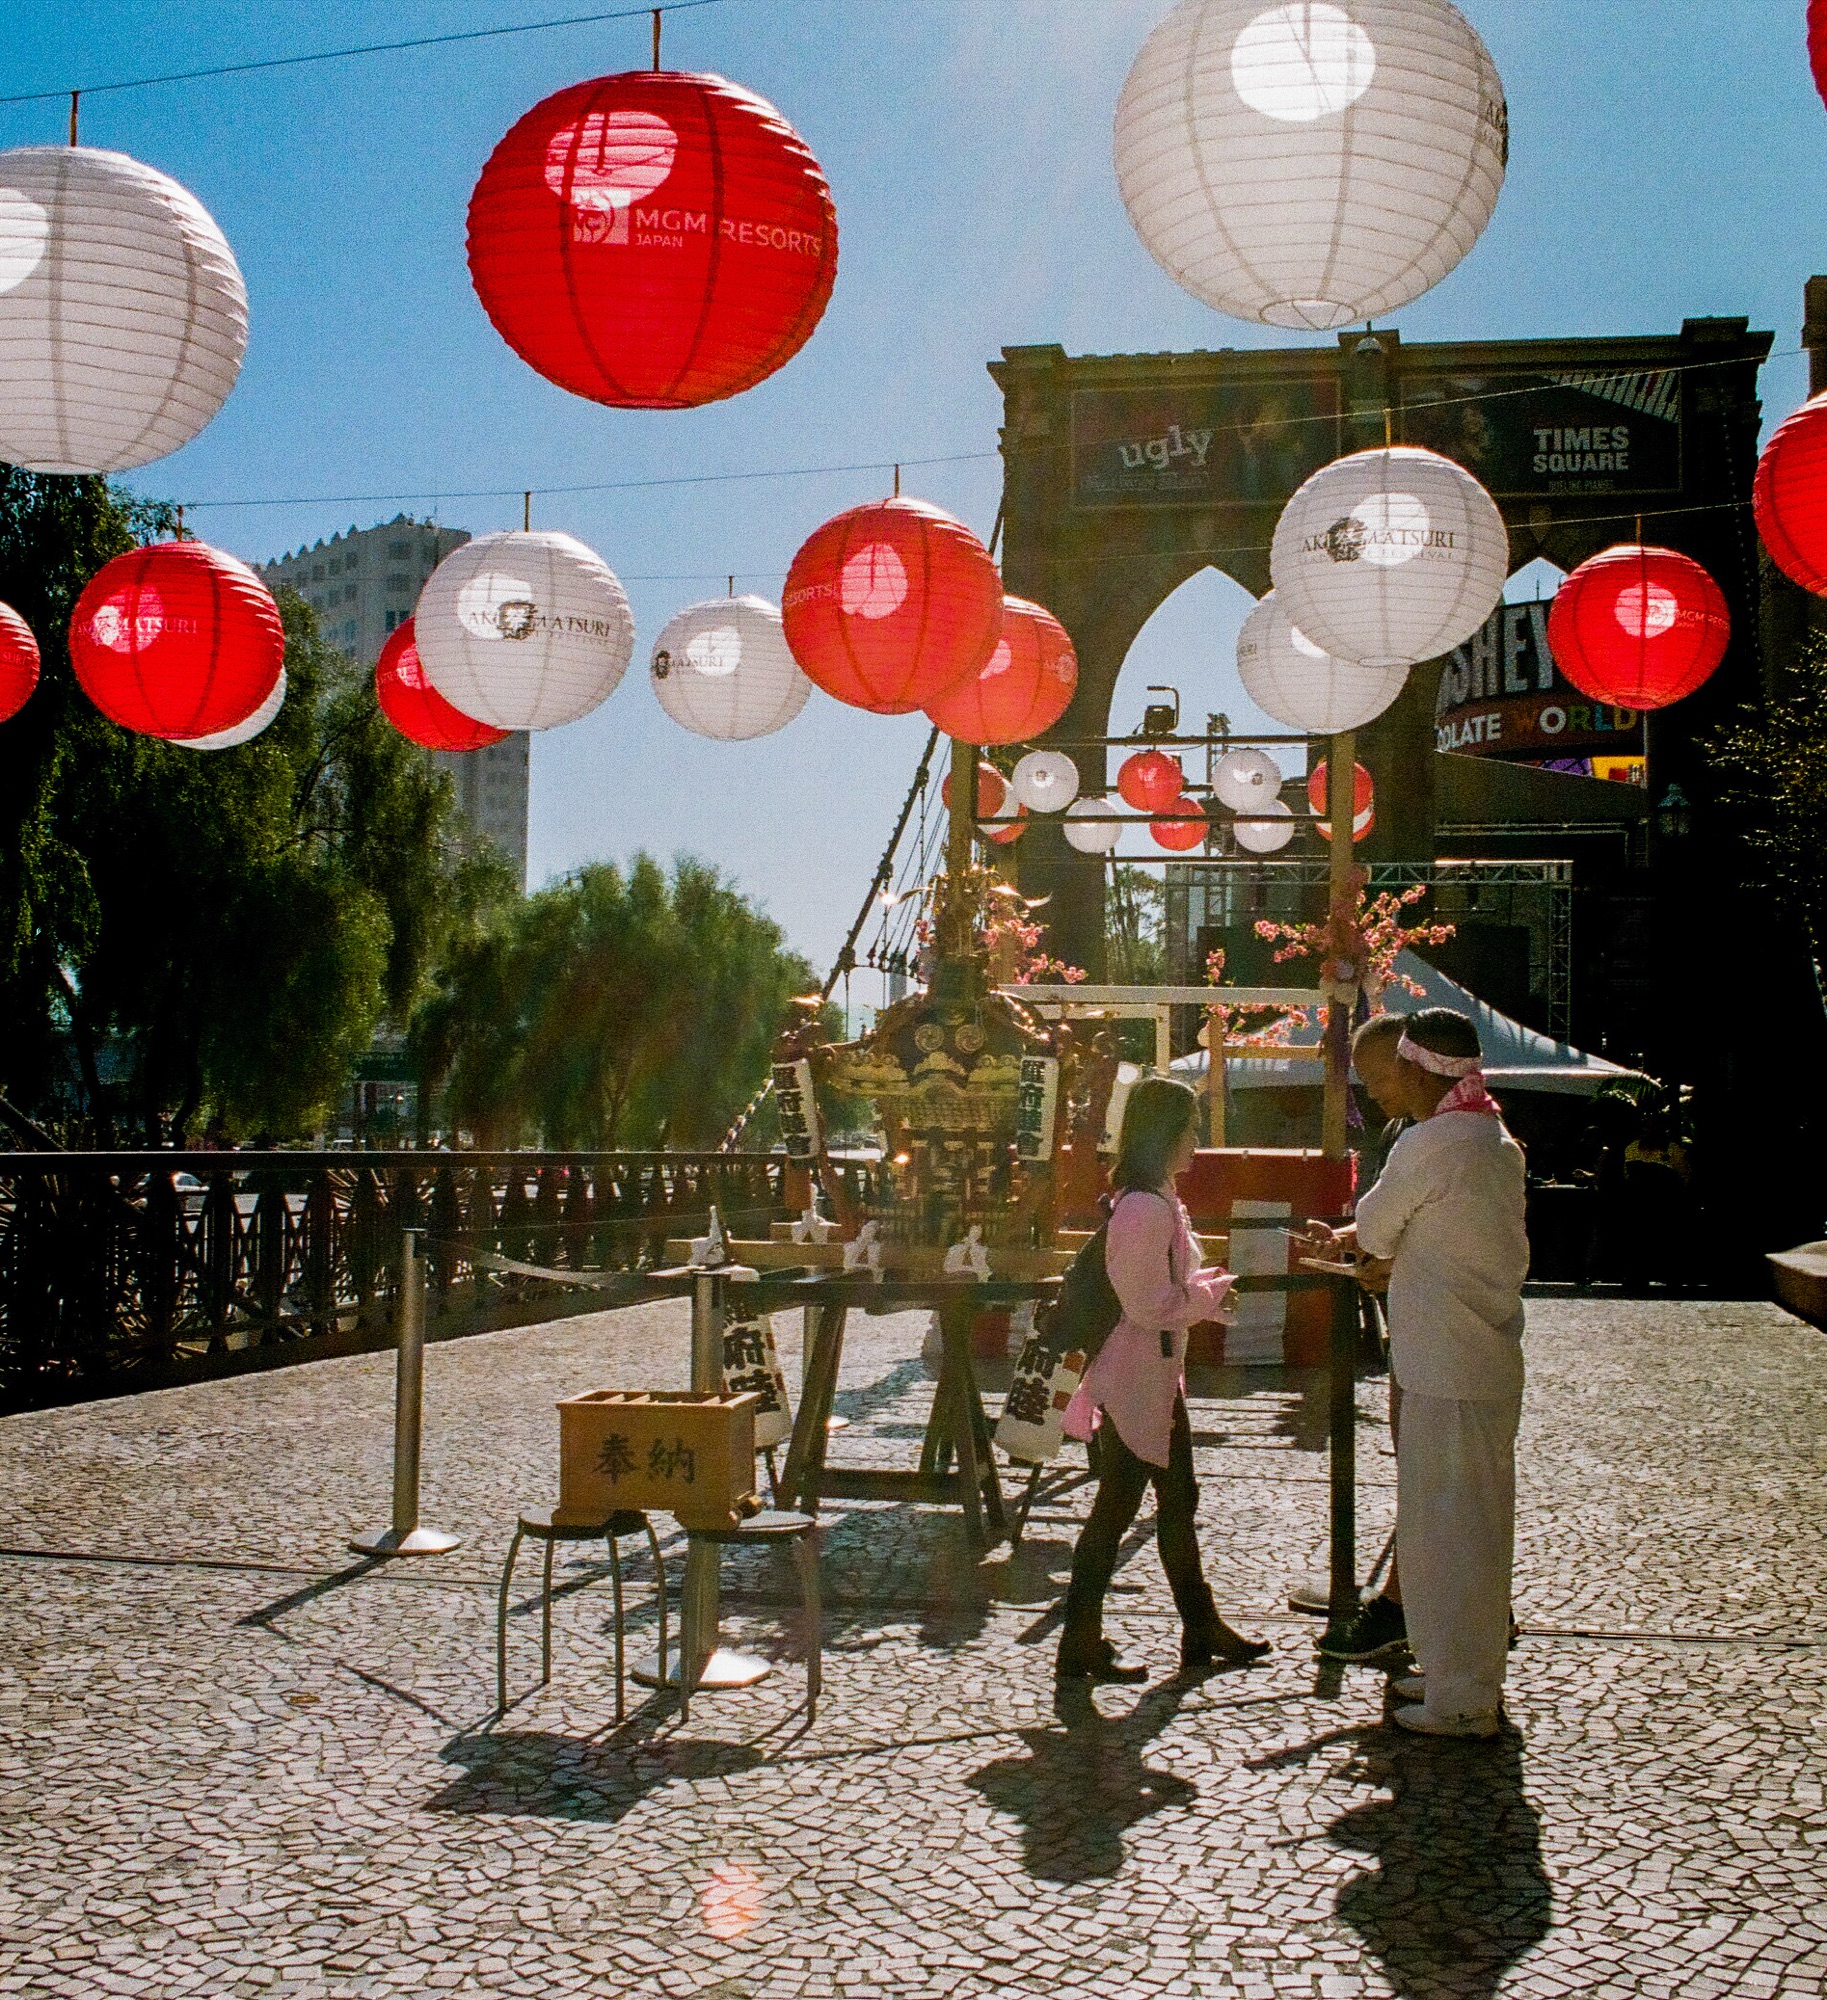
Las Vegas. Celebration of the Japanese Heritage. Nikon FE2
Noritsu sampler (Nikon FM, Kodak Ektar 100)

Are the images you’ve scanned from film negatives really… yours?

And how is an image produced by the Frontier or the Noritsu scanner of a photo lab really more “yours” than an image totally reconstructed by an AI program such as ChatGPT?

We’ll try and answer this question in three successive blog entries – today, we’re looking at what a lab scanner really does. Next week, we’ll ask ChatGPT to “reconstruct” some of our technically weakest images and make them better. And finally, we’ll show that an AI general purpose program can’t compete with a 30 year old Frontier scanner.


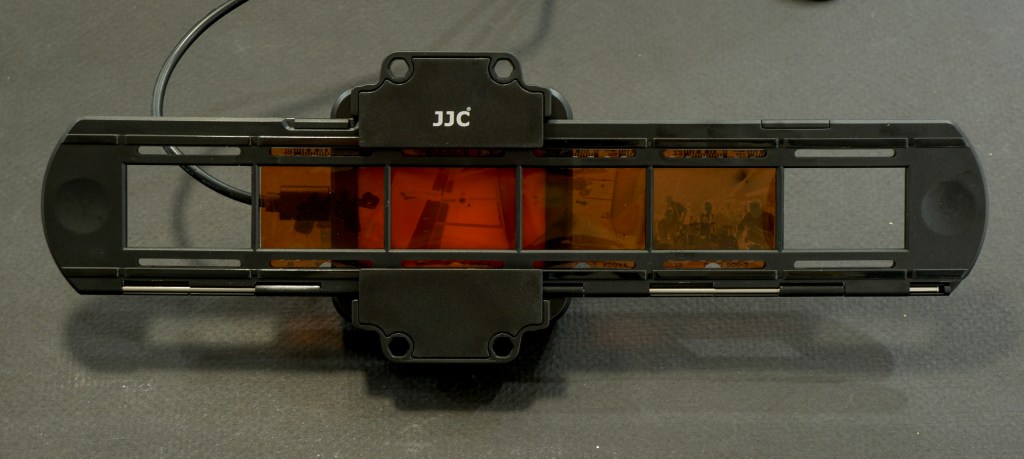
I don’t scan my black-and-white film. Instead, I digitize it by photographing each negative with a digital camera, a macro lens and a “digitizing adapter“. It’s fast, and the only dedicated piece of equipment I need is a relatively cheap and low tech digitizing adapter (a film holder and a light source).

I tried applying the same workflow to color negatives, but getting the colors right proved far more challenging. Achieving consistently good results would probably require investing in a specialized Lightroom plugin such as https://www.negativelabpro.com.

Even for B&W images, with the same camera and film stock, my results often fall short of those produced by photographers who have their film scanned on a Frontier or Noritsu scanner at their favorite photo lab.

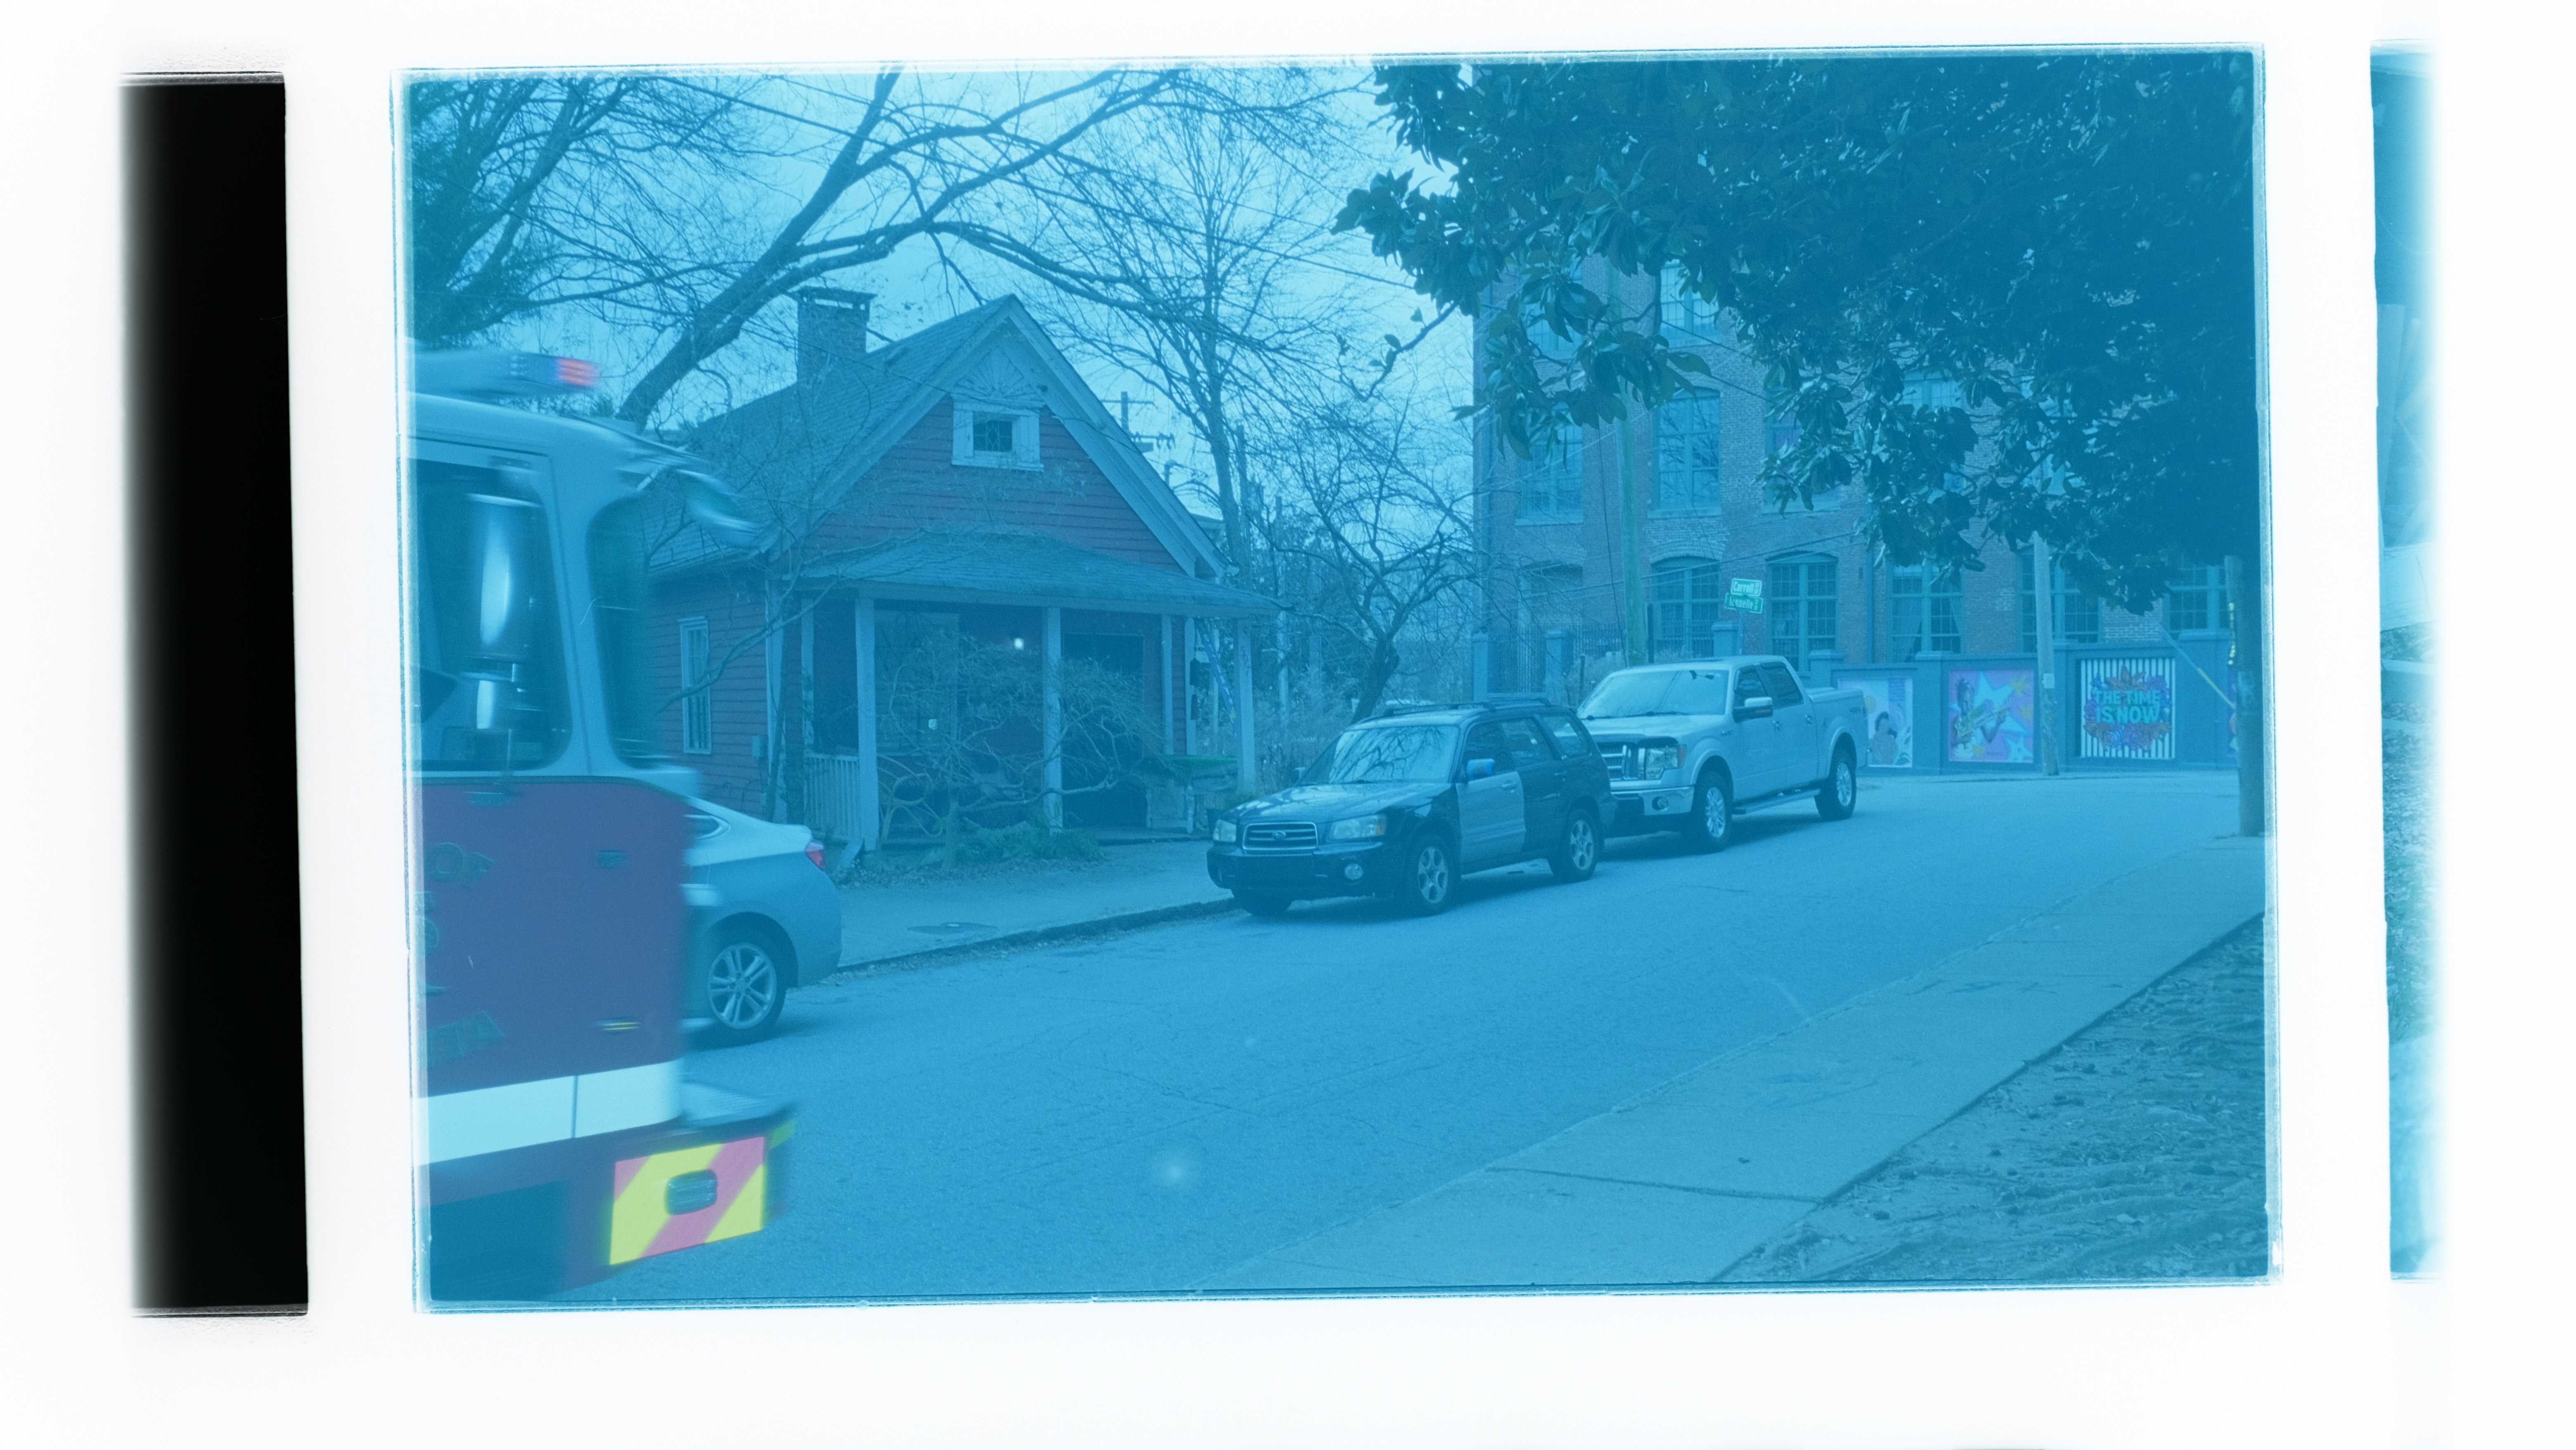
The color film simply inverted, no color correction. There is long way from this raw image to a color-corrected picture.

When I digitize conventional silver-halide black-and-white film, the main challenges are grain and low contrast. With color negatives, those are no longer the primary issues. Instead, once the negative has been inverted, getting the colors to look natural becomes the real issue.

Atlanta, Cabbagetown, digitized and inverted at home – no color correction applied.

Which brings two questions :

  • What exactly are Frontier and Noritsu scanners doing that my own film-digitizing workflow is not?
  • Could a general-purpose AI model such as ChatGPT or Claude apply to my digitized images the same optimizations performed by a Frontier or Noritsu scanner?
Kodak Ultra 400 negative, scanned by a professional lab using Noritsu scanner (Koki EZ Controller).

Fujifilm Frontier SP-3000 vs Noritsu HS-1800

The majority of the remaining pro photo labs scan the films of their clients on one of those two machines – in fact, most of them have both and let the client choose the one they prefer.

The Fujifilm Frontier SP-3000 is a product of the film era, dating back to the heyday of analog photography. The Noritsu, by contrast, is a more modern design that remains in production today. Both are high-resolution scanners, available with carriers for a variety of film formats, and can process up to 1,275 medium-resolution images per hour.

Far removed from the compact desktop film scanners available to consumers, Frontier and Noritsu scanners are imposing, desk-sized workstations. Built for professional photo labs, they are designed to be operated while seated, with the scanner, controls, and computer forming a single integrated system.

According to conventional wisdom, the Frontier is tuned to produce scans that look spectacular straight out of the scanner, particularly when printed on Fujifilm’s traditional photographic paper. The Noritsu, by contrast, is said to produce a more neutral file, giving photographers greater latitude for post-processing in applications such as Photoshop or Lightroom.

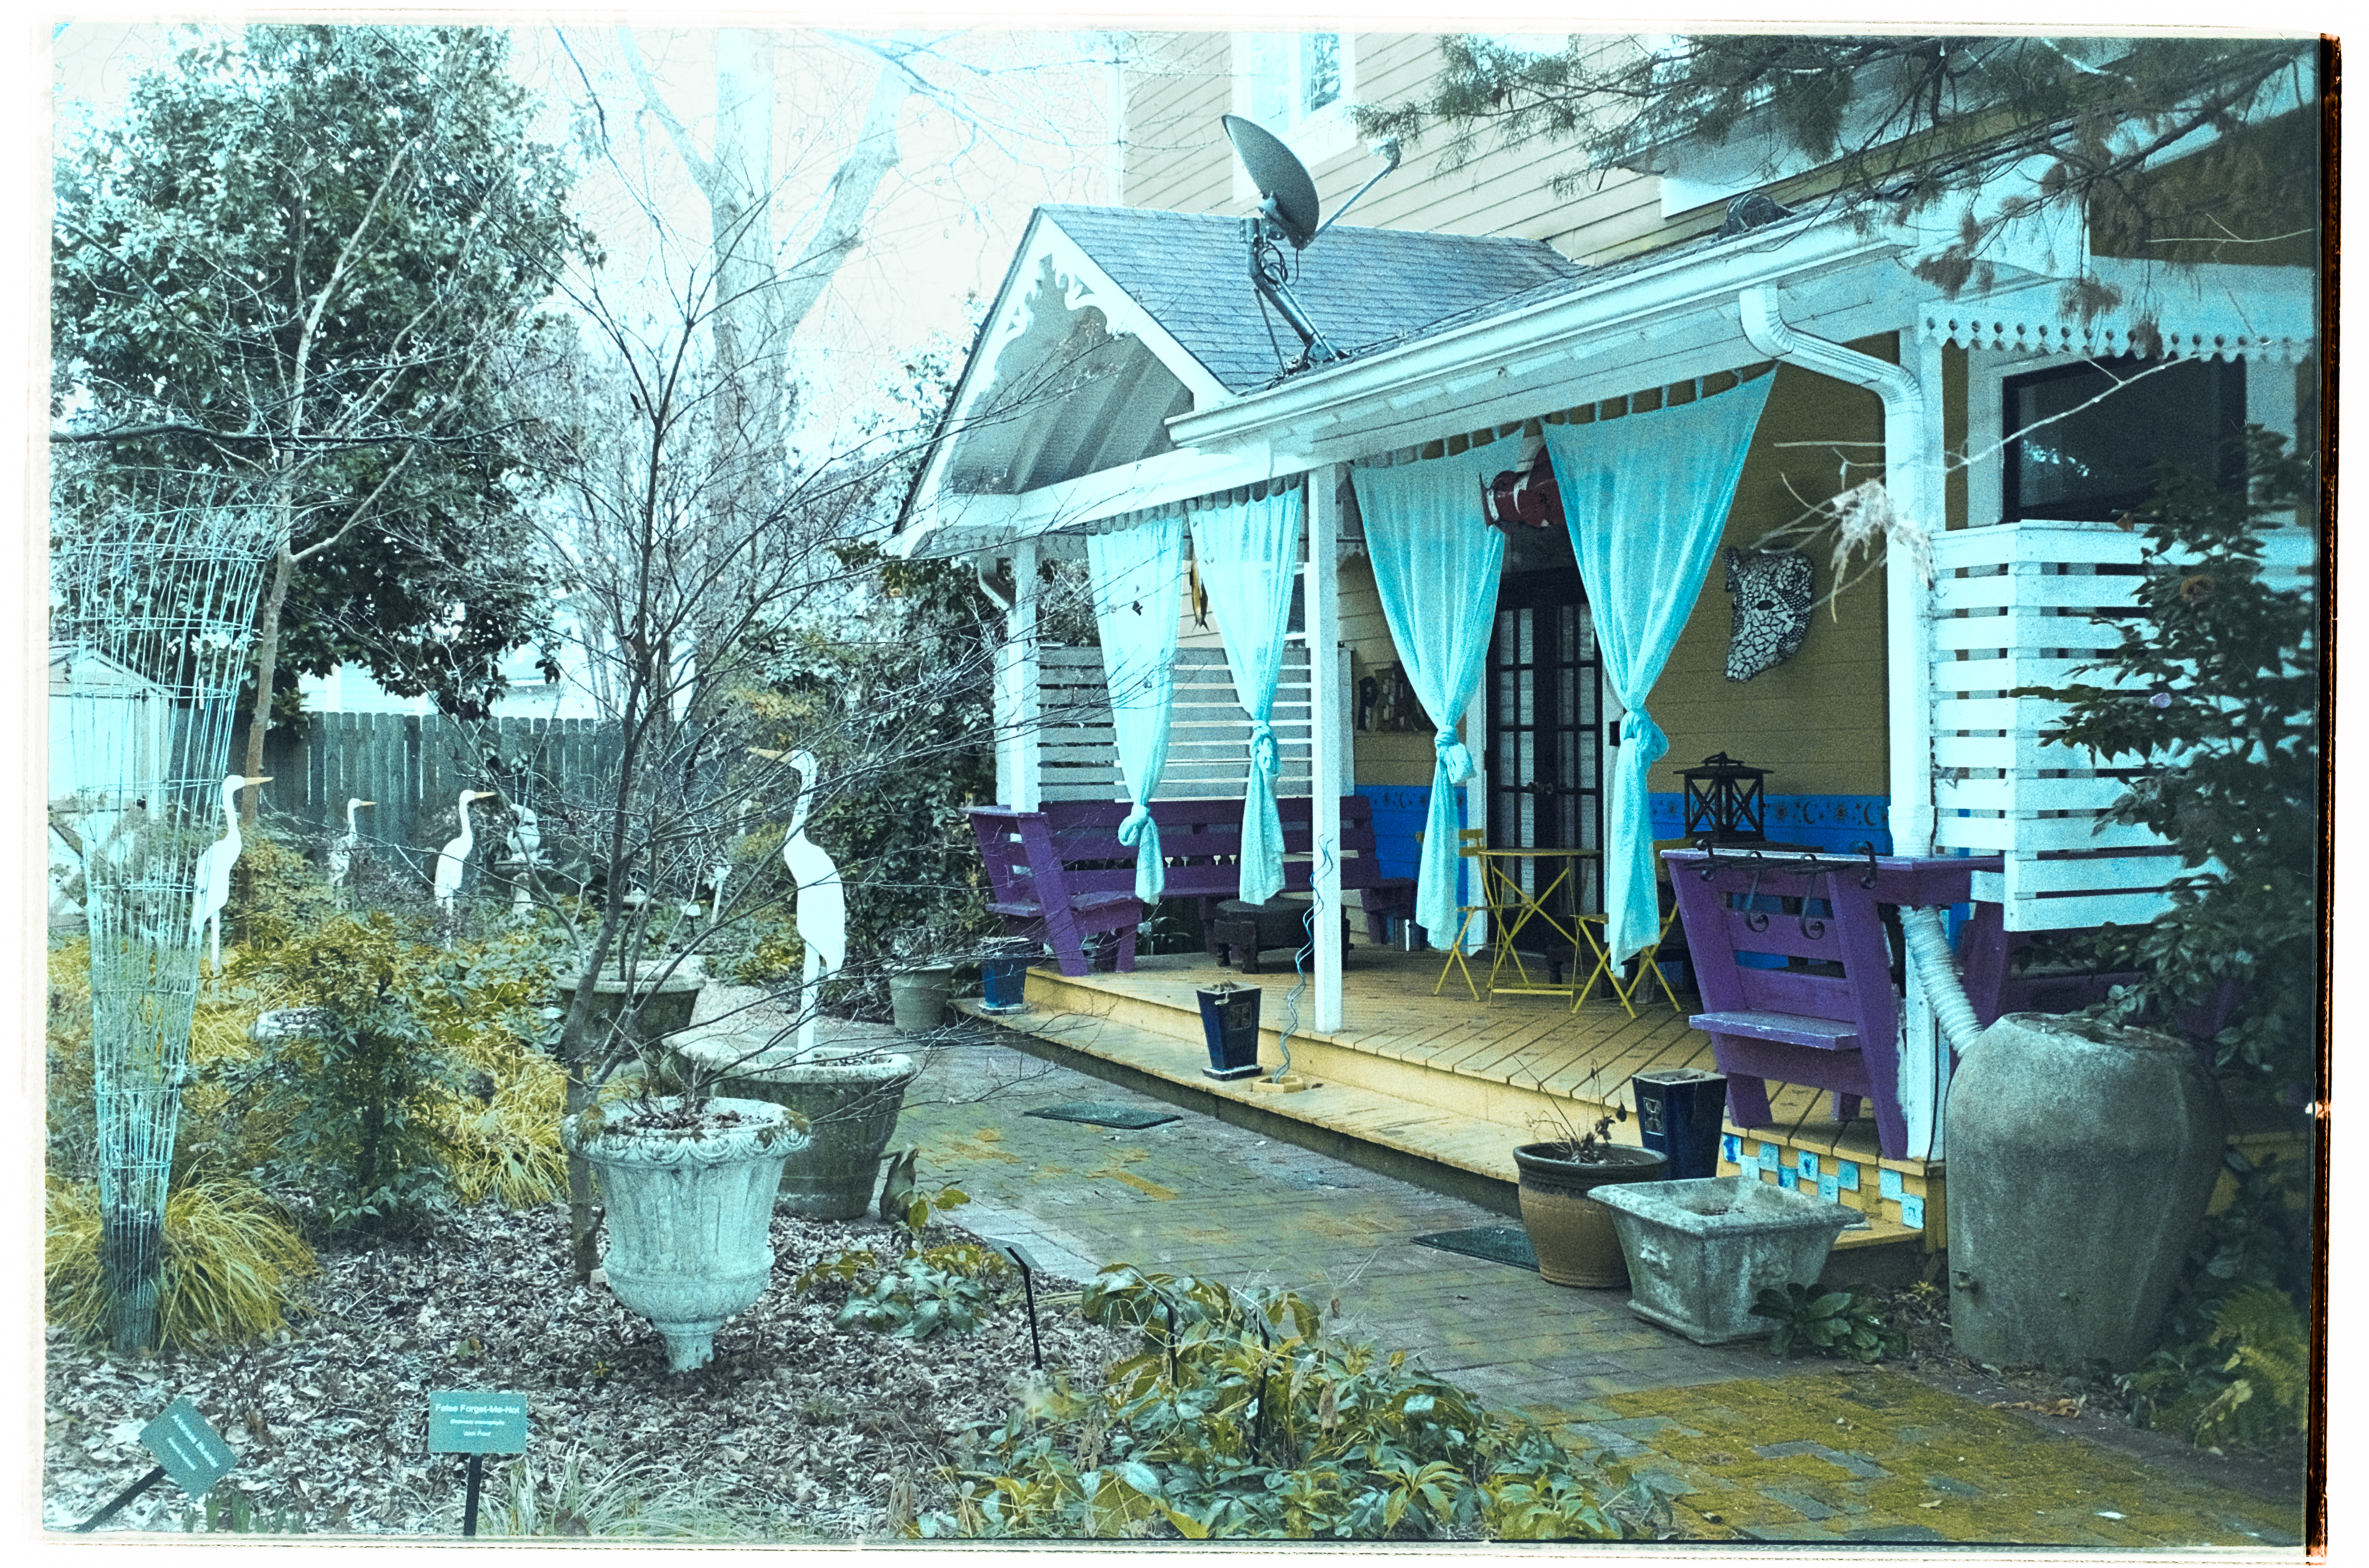
Atlanta, Cabbagetown, digitized and inverted at home – the best I could get playing with the color channels in Lightroom.

What are the Frontier and Noritsu scanner really doing?

The scanner’s interpretation of the negative typically involves :

  • Inverting the negative, removing the base orange mask of the color negative film, and eliminating scratches and dust, if present,
  • After the operator has selected the film type (Kodak Gold, Portra 400, Fujifilm 400, etc.), applying the vendor’s color science and corrections (tailored color matrices and tone curves),
  • Performing automatic white balance and color correction,
  • Increasing the contrast with tone mapping,
  • Analyzing the scene—and, on newer Noritsu scanners, recognizing faces—to optimize exposure and density for each frame,
  • Enhancing sharpness, increasing local contrast, reducing the appearance of film grain, and finally saving the image as a JPEG or TIFF.

And remember – those scanners are controlled by an operator, who may further adjust the settings, to correct an issue with an image, or to respect the preferences of a particular client.

As we can see, the so-called film look of an image produced by a Frontier or Noritsu scanner is as much a product of the scanner’s processing (and its operator’s skill) as it is of the camera and the film.

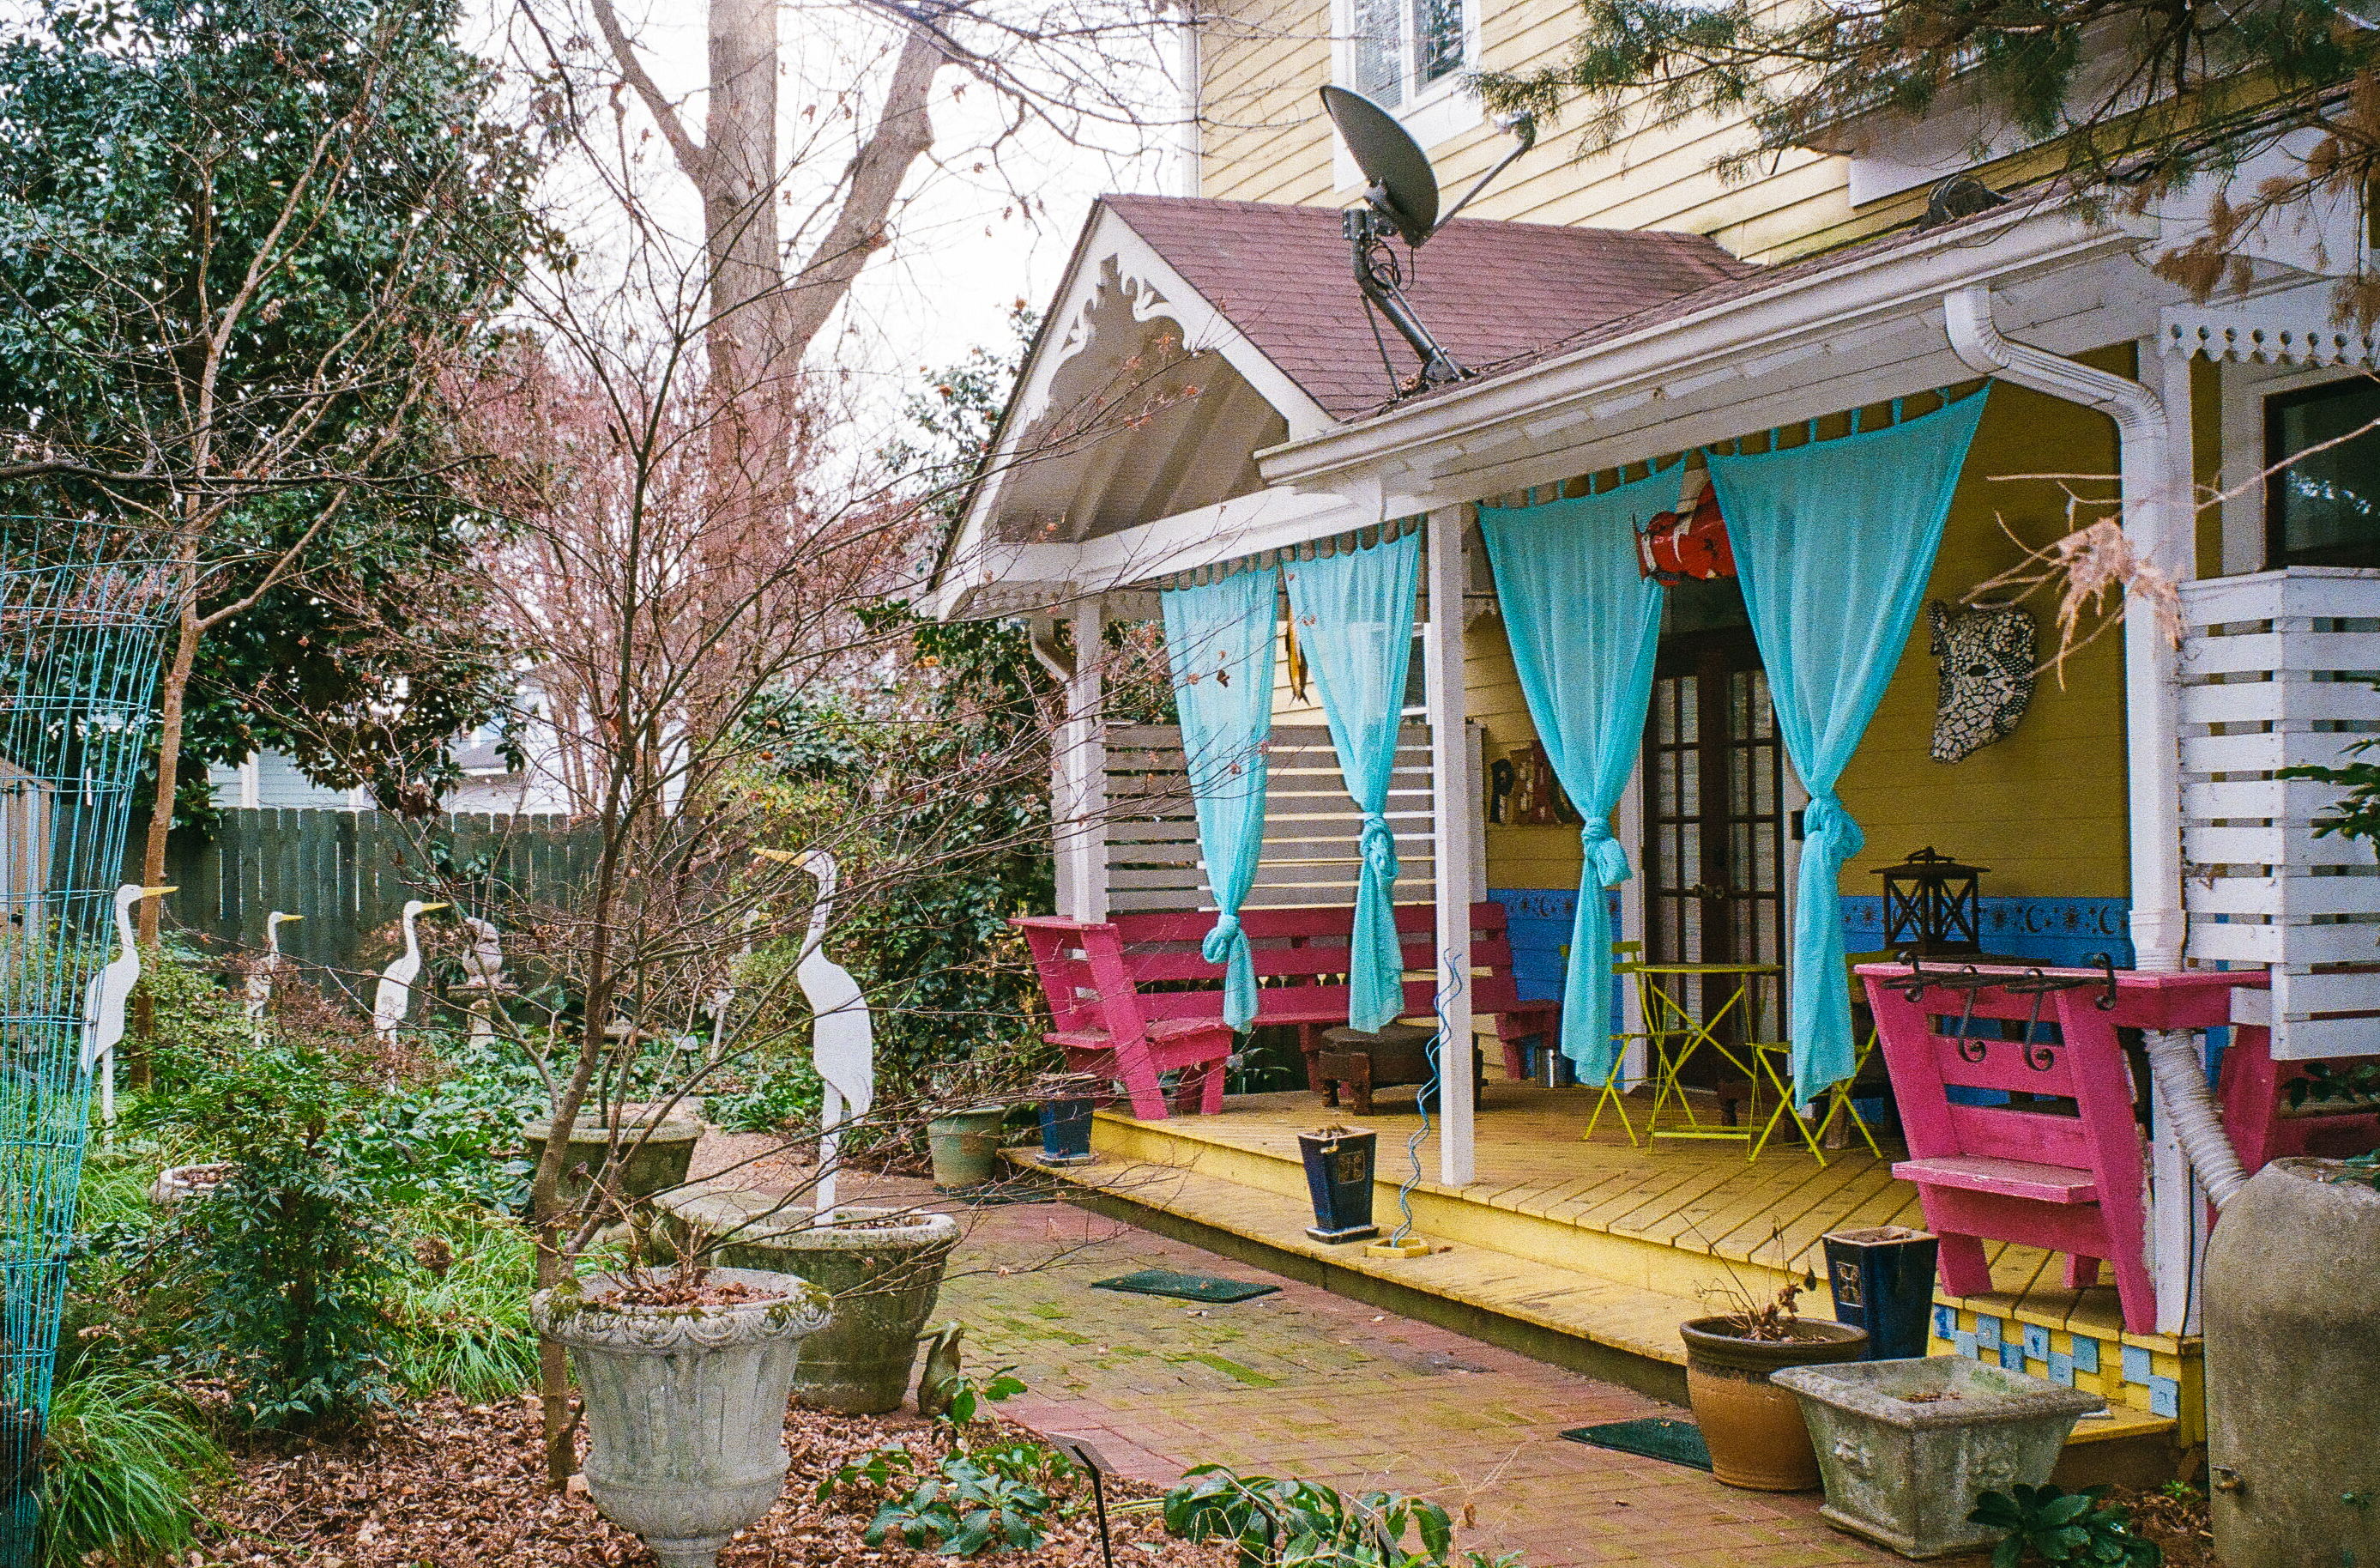
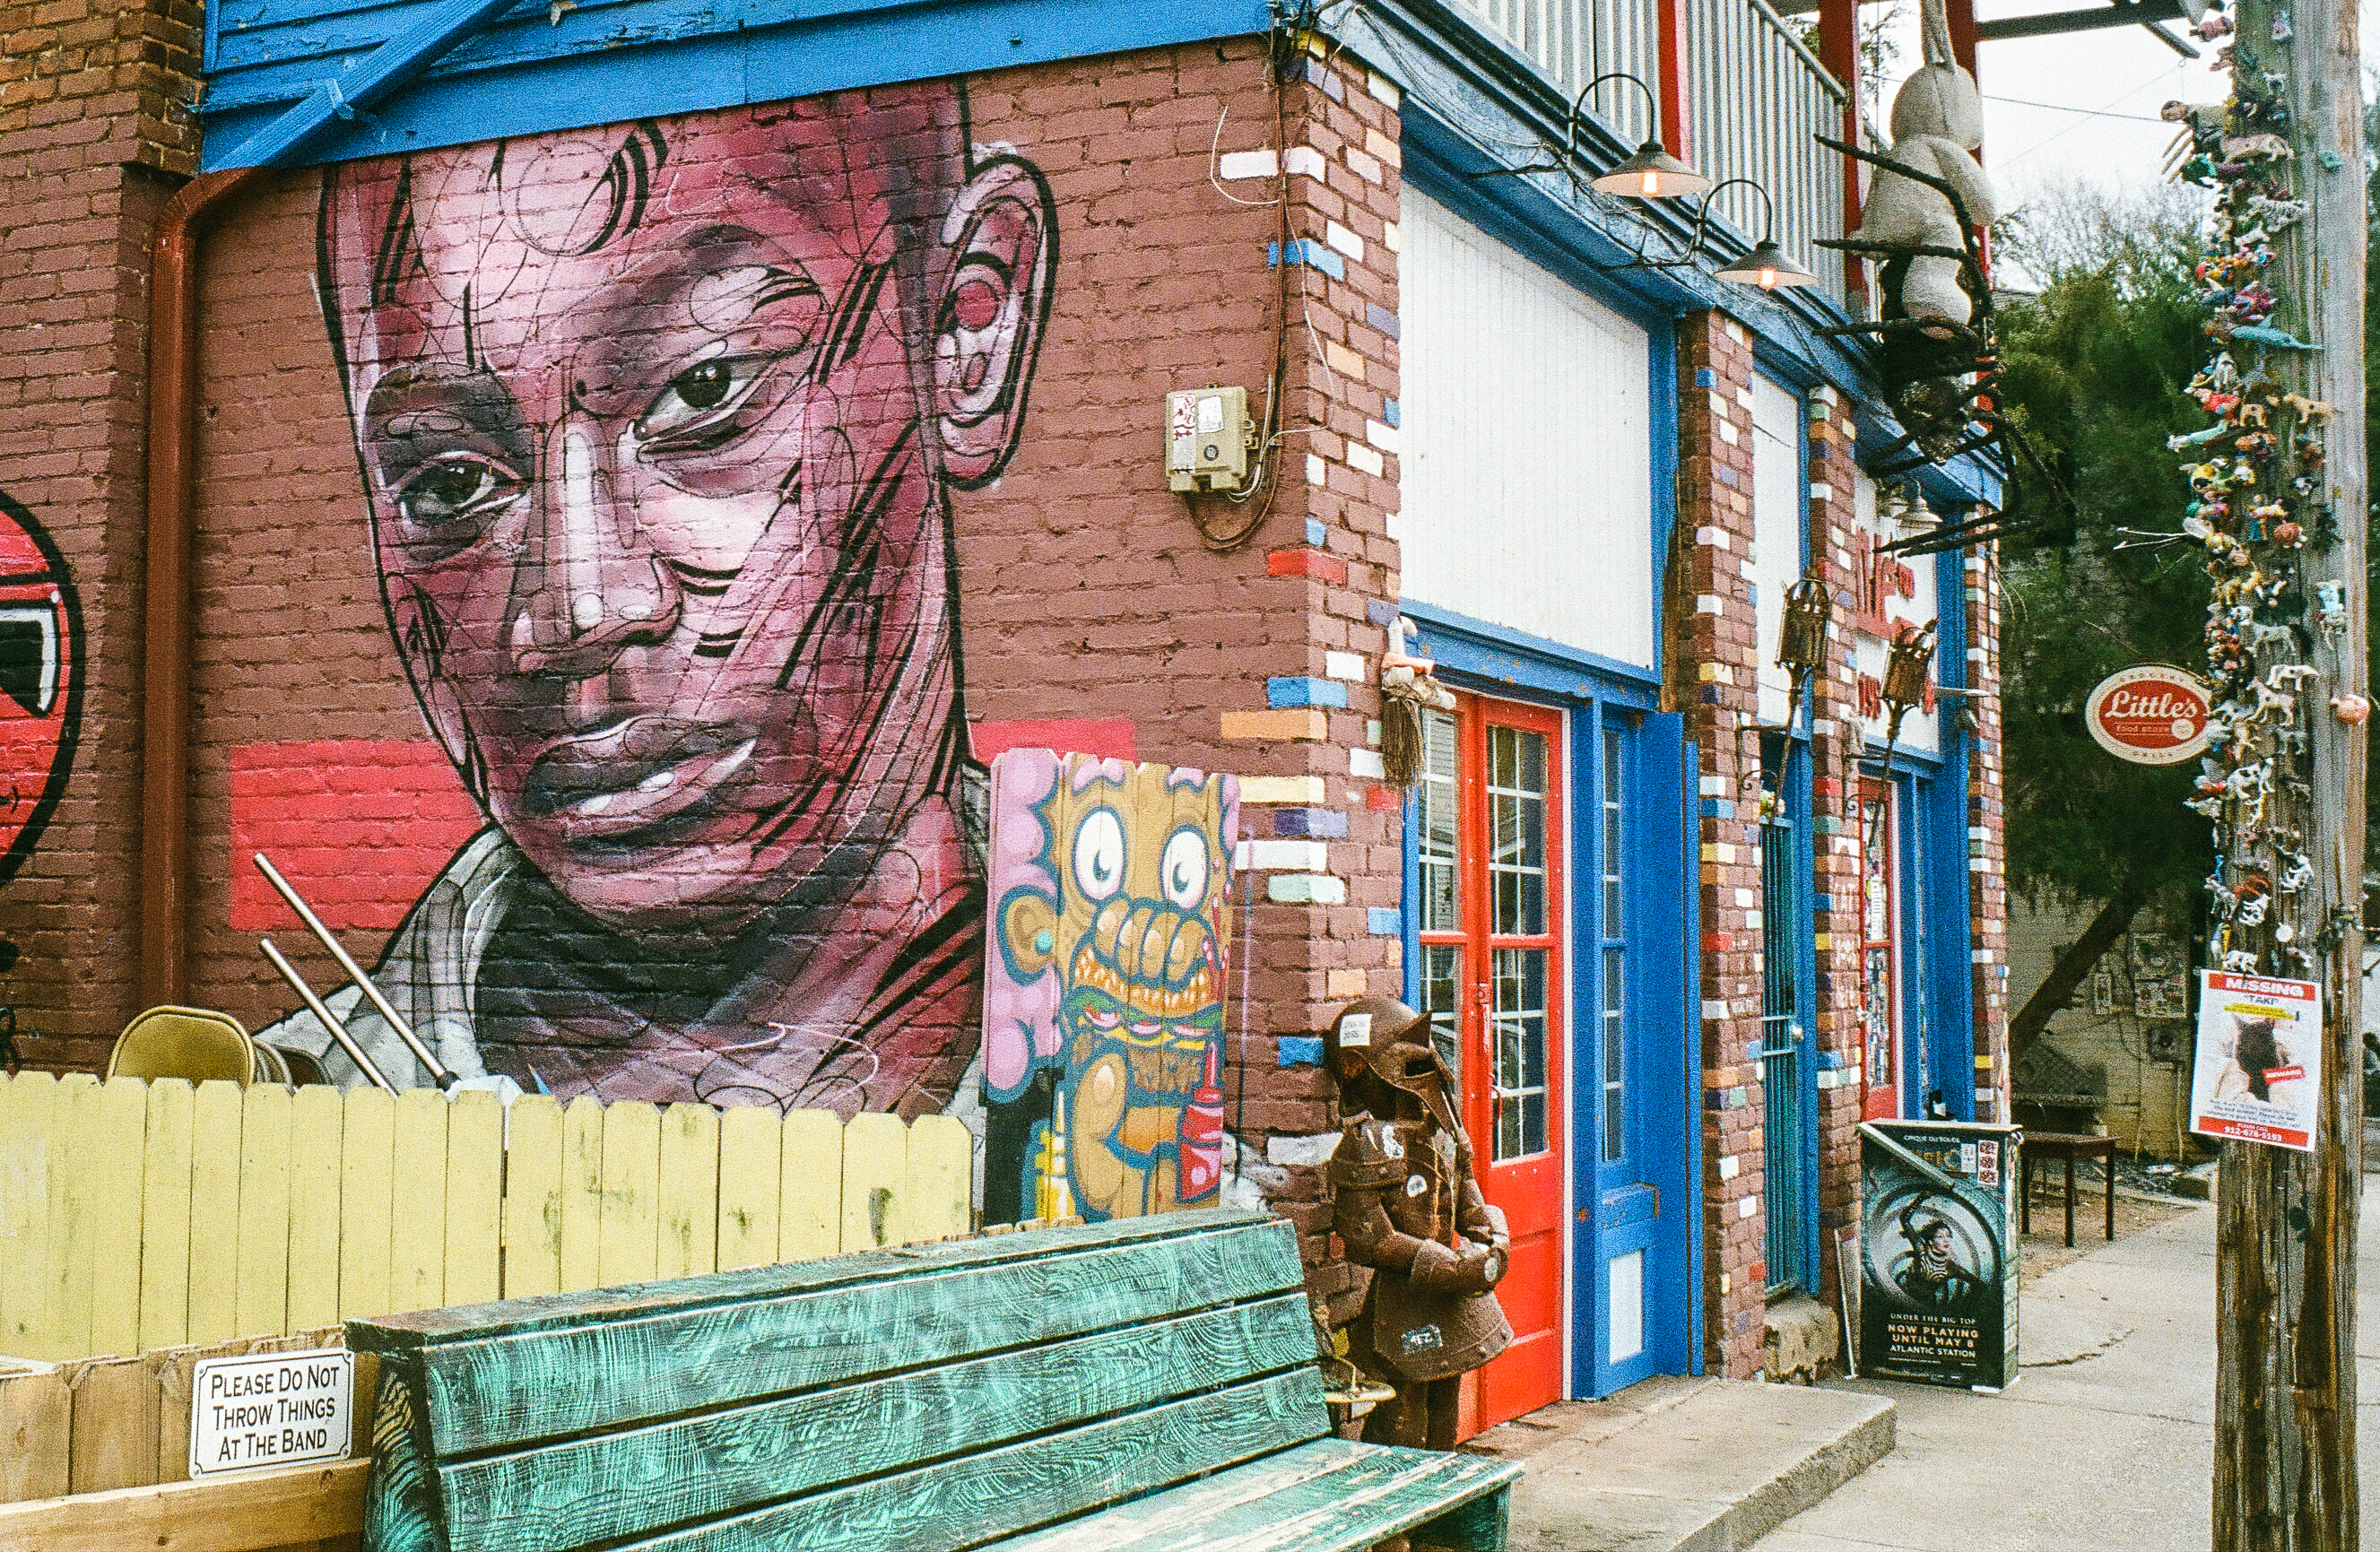
Atlanta, Cabbagetown district – Scanned by a pro lab on Noritsu Koki EZ.

By comparison, a negative digitized with a digital camera is more akin to a RAW file. It captures the information, but realizing its full potential requires careful post-processing in an application such as Lightroom before it can rival the output of a professional film scanner.

Why are color negatives so difficult to scan?

Inverting a B&W negative that you have digitized with a digital camera is easy. You simply flip the tone curve upside down (in a tool like Lightroom), adjust the black and white points, and it’s done. You can get the assistance of a Lightroom Classic plug-in like Negative Lab Pro, but in my experience, it’s not really necessary.

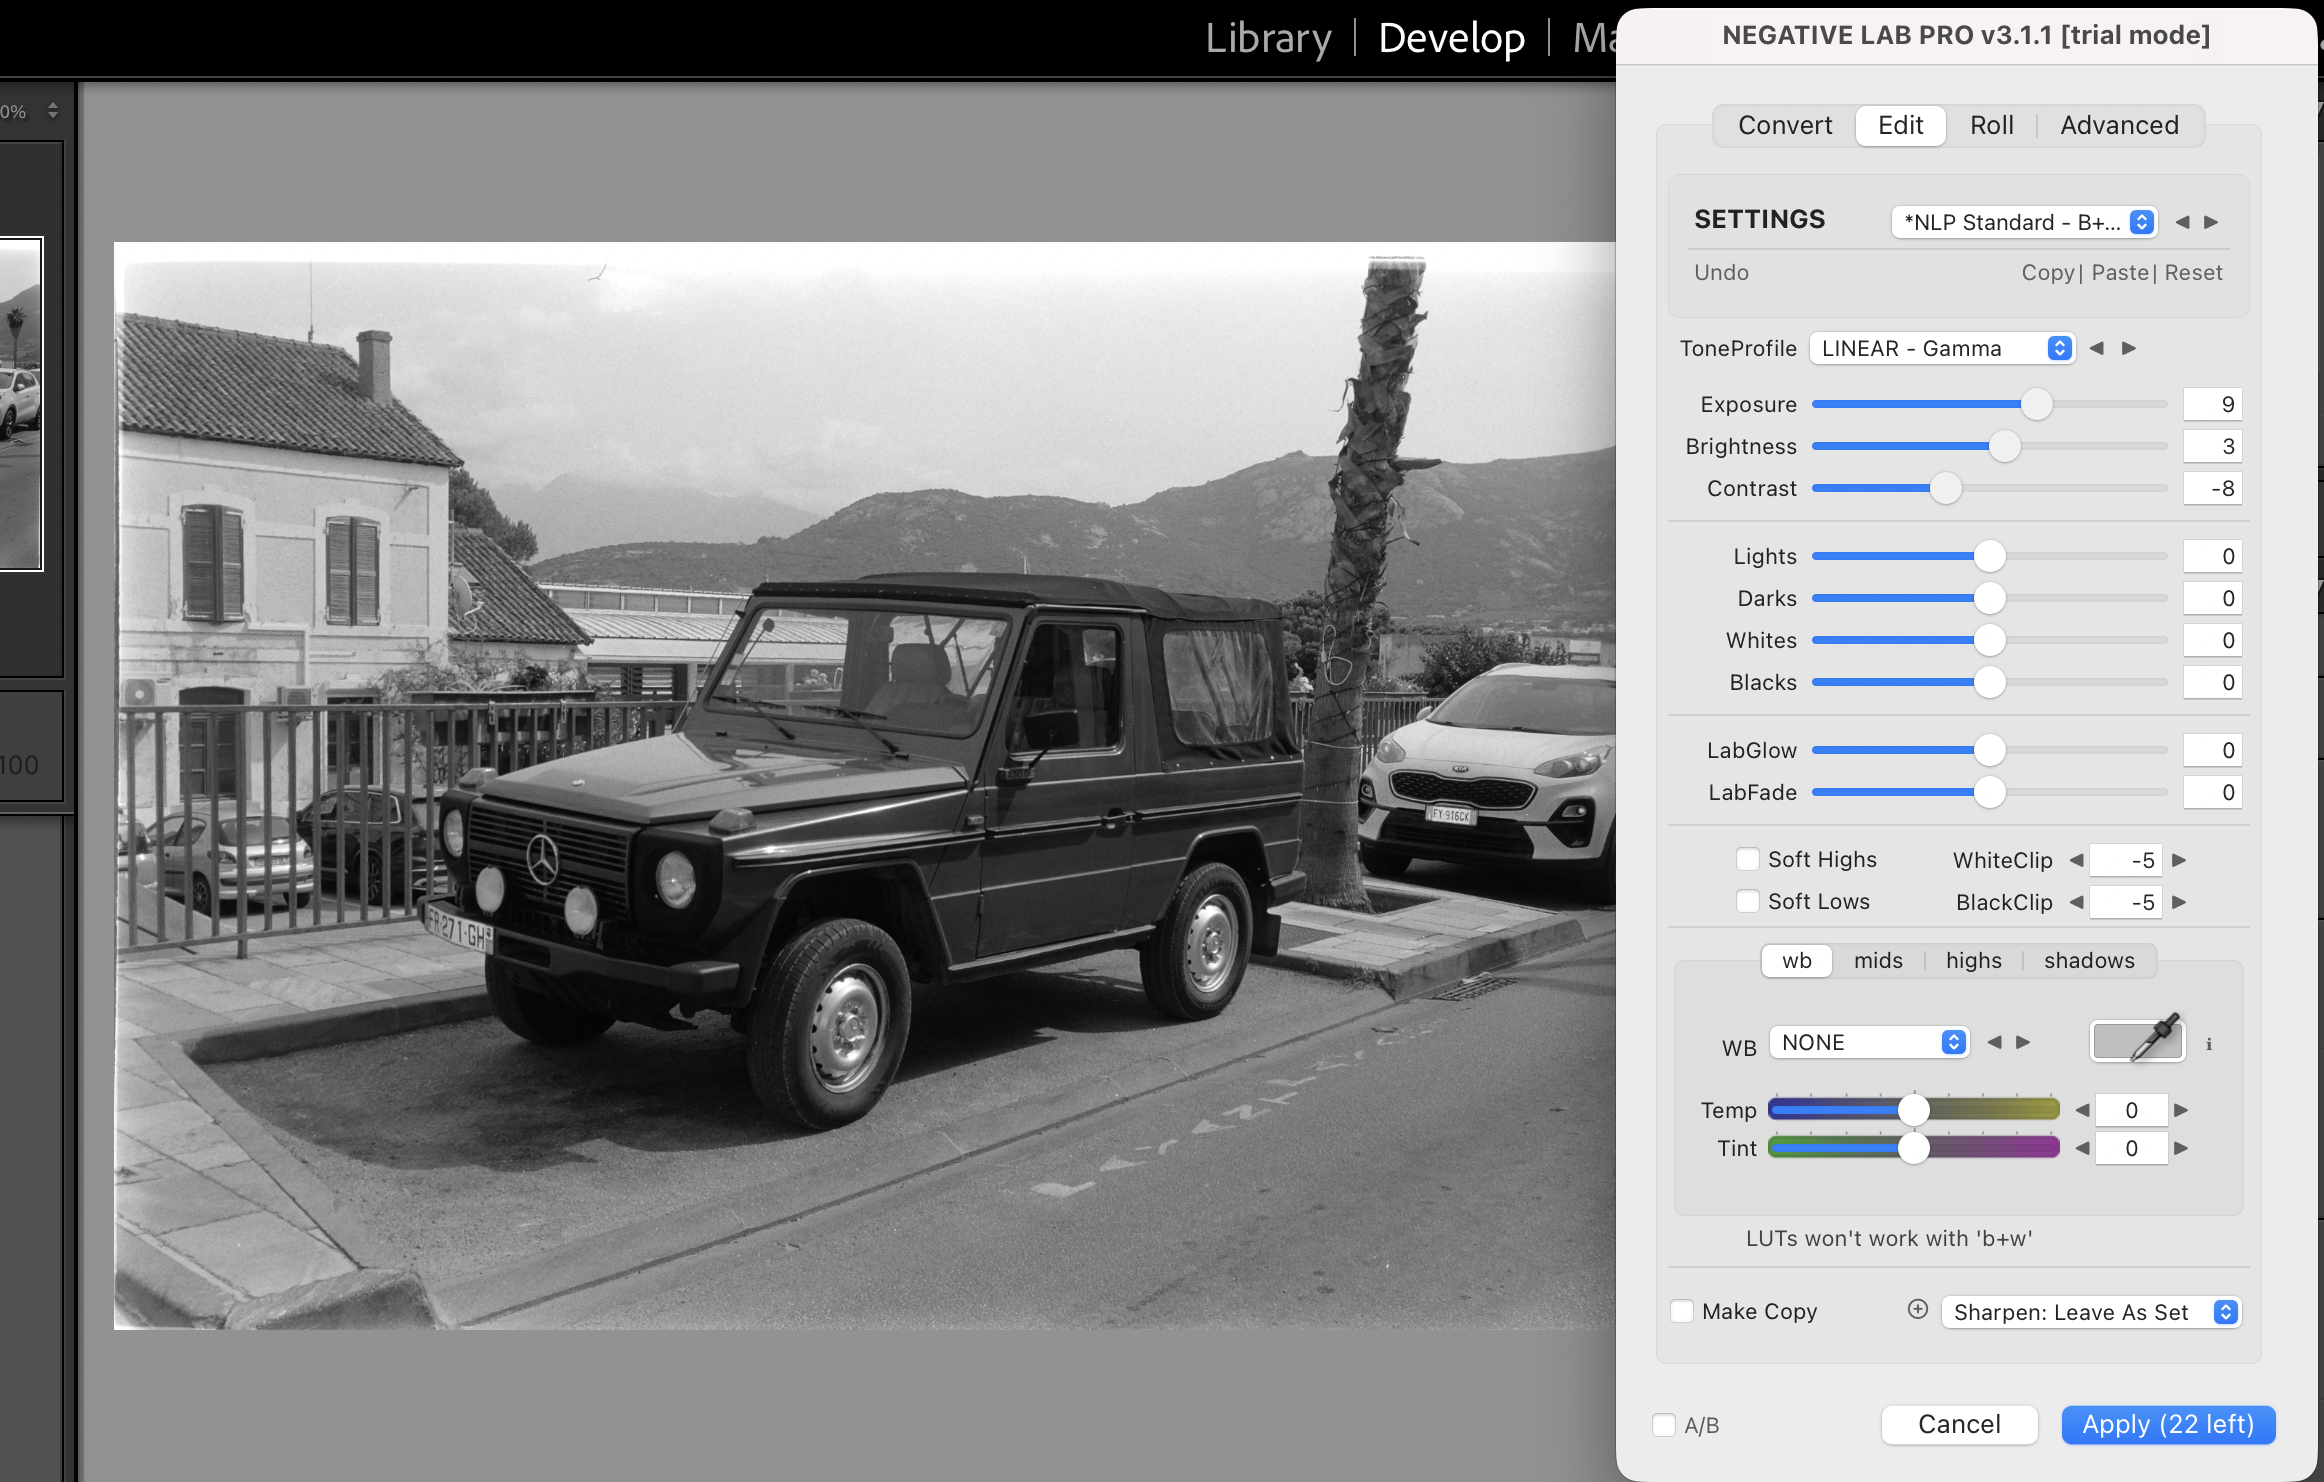
Inverting a B&W digitized negative with Negative Lab Pro in Lightroom Classic – so easy you don’t really need a plug-in

Inverting a color negative and get the colors right, one the other hand, is going to require hard work and persistence.

Because color negative film is not simply B&W film with an orange mask. It’s more akin to the superposition of three B&W layers, each sensitive to a different part of the color spectrum. The orange mask further shifts the relationship between the three color channels. Getting the colors right requires removing the effect of the orange mask and finding the right correction for each color channel. No mean feat.

Are there alternatives to Frontier and Noritsu scanners?

Yes, there are – but they involve some work. And only pay off once you’ve accumulated some experience. Take this snapshot taken with a single-use camera at a wedding, and processed by a local minilab, 25 years ago.

Disposable Kodak camera – Scanned from a 4×6 print – Kodak Paper – Circa 2000

The image was a typical amateur snapshot, with a blue-ish hue caused by the electronic flash of the camera.

The strip of negatives was stored with the prints in lab’s envelope. I digitized the corresponding negative with my Fujifilm X-T4 mirrorless camera and uploaded it in Lightroom CC.

The Kodak color negative, digitized with a Fujifilm X-T4 mirrorless camera.

After some trial and error, I managed to get this image in Lightroom CC:

I inverted and adjusted the colors in Lightroom CC (no plug-in)

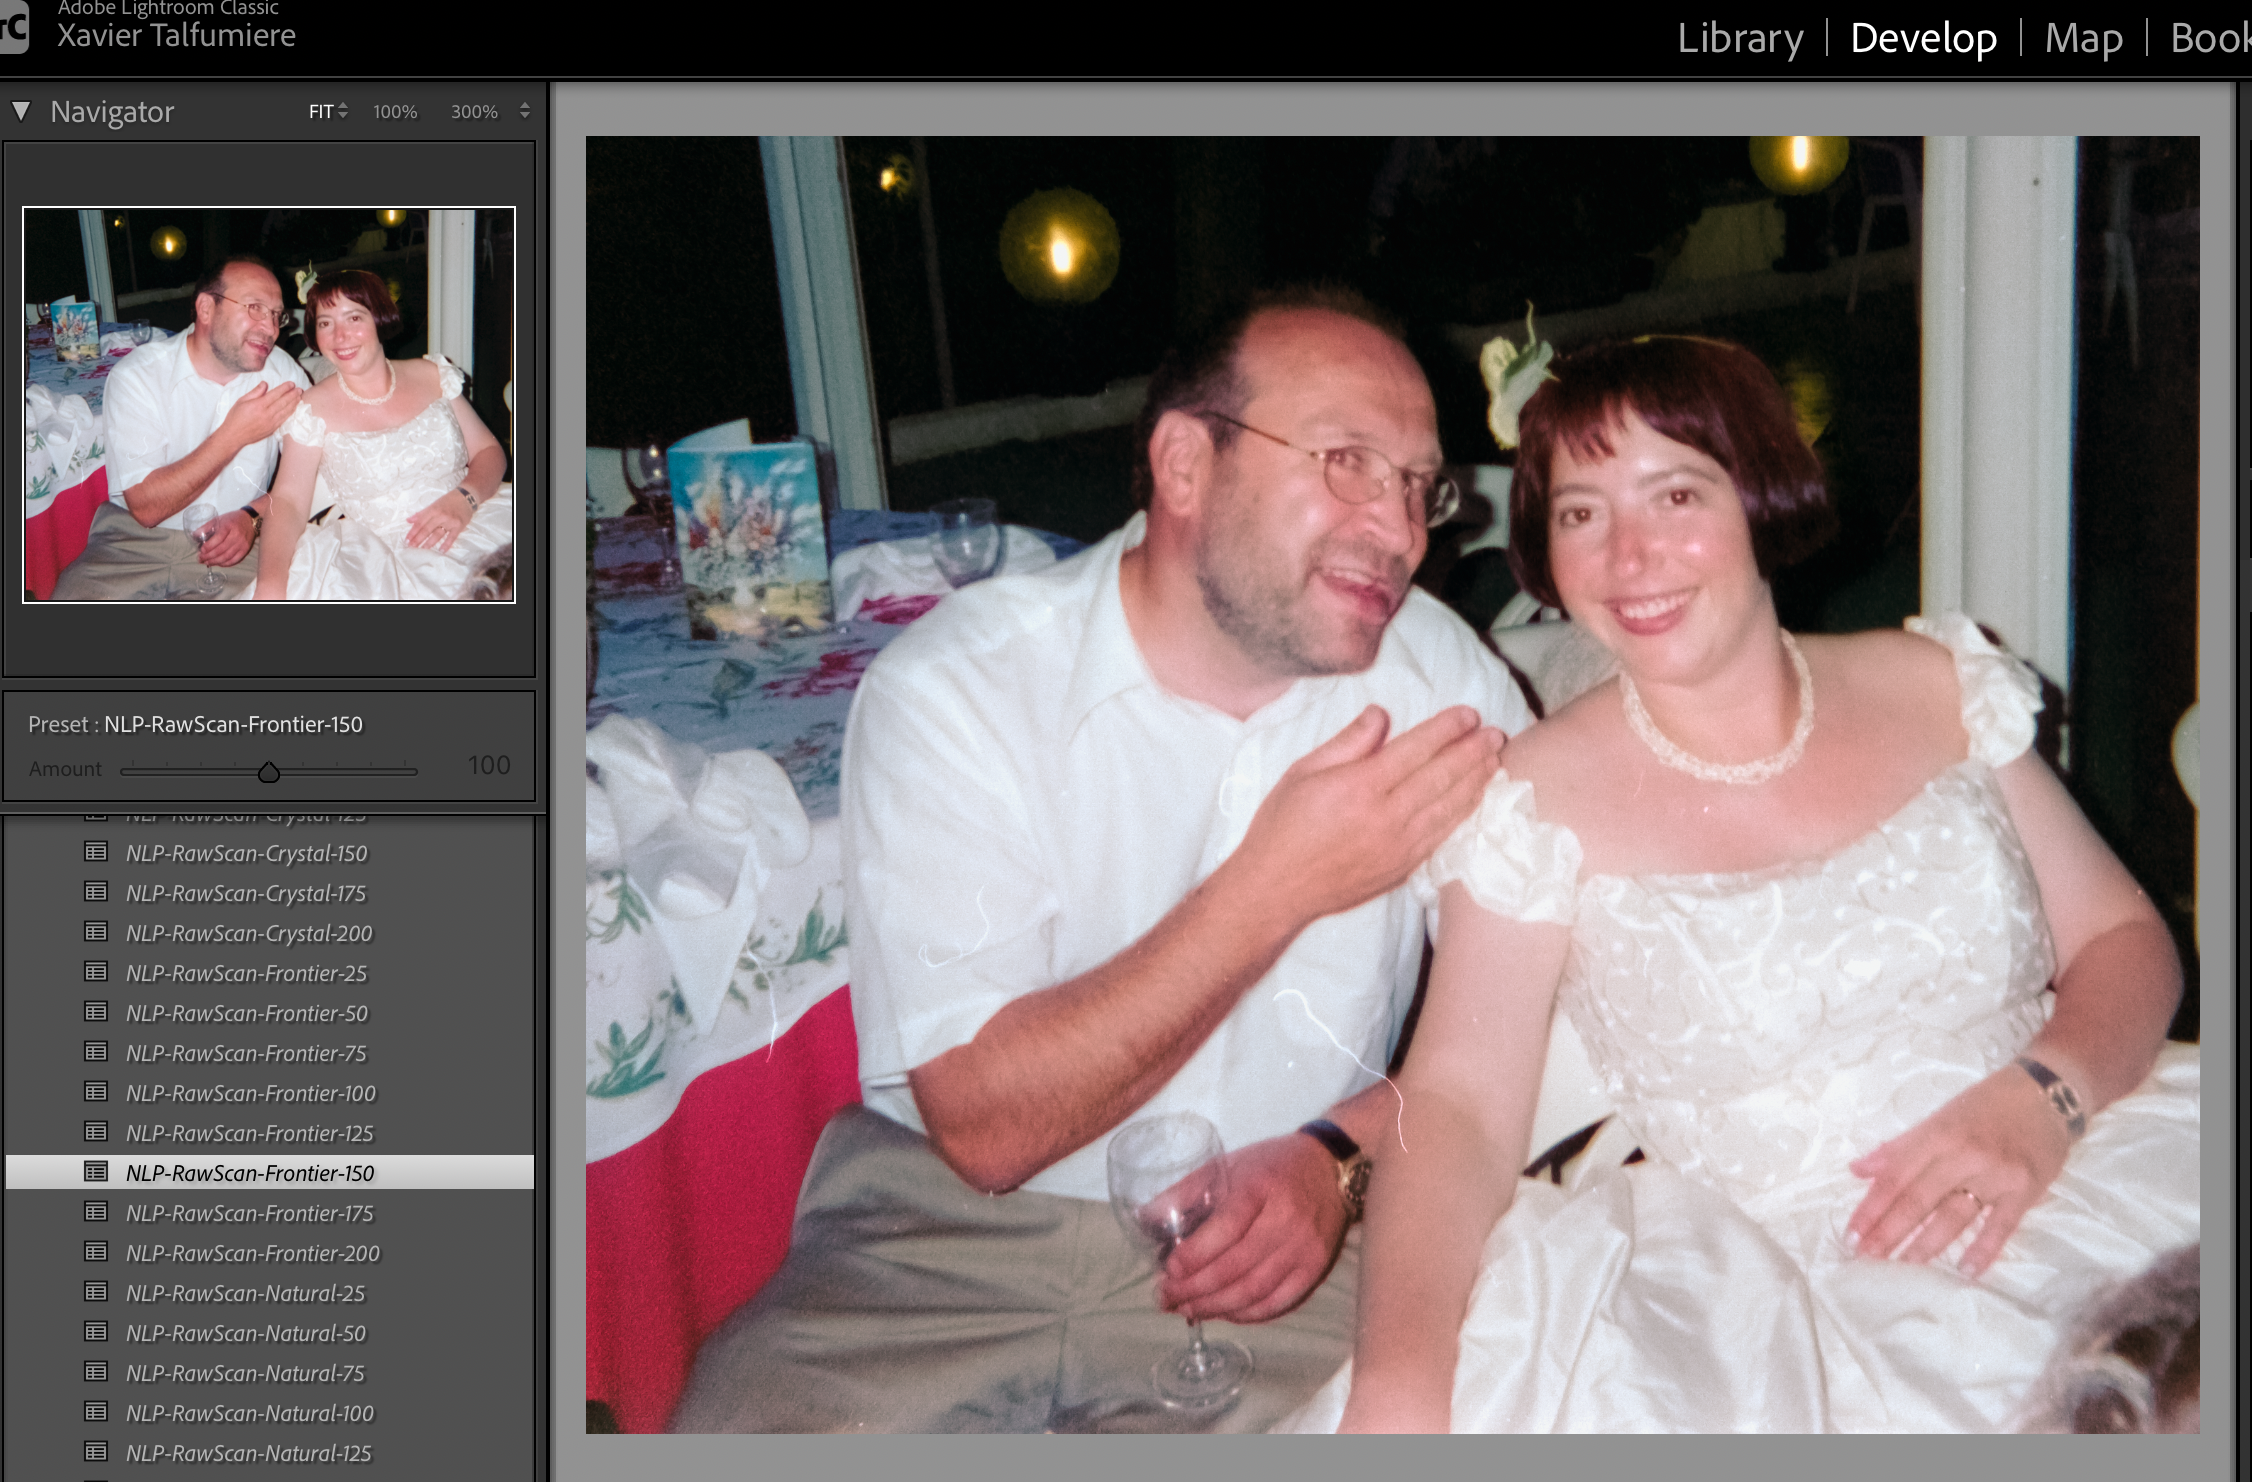
I also imported the same digitized image in Lightroom Classic, downloaded Negative Lab Pro, and tried my luck. Negative Lab Pro is loaded with presets and options, and because I only spent a few minutes on the image, I could only get a very approximate and unsatisfactory image. If you adopt Negative Lab Pro, there will be a learning curve before you get color images you can be proud of.

Negative Lab Pro in Lightroom – the number of options and pre-sets is staggering – with experience you should get much better results than what I got in a few minutes.

I also tested what AI could do – ChatGPT has not been able to invert correctly any of the images I submitted – sometimes the colors were completely wrong, sometimes it had avoided the difficulty and replaced whole sections of the image with its own creation – a “highly plausible reconstruction” as it says. On the other hand, when I submitted an image already processed in Lightroom and simply asked ChatGPT to get the skin tones right, it did the job.

Digitized with a Fujifilm mirrorless camera, inverted and color balanced in Adobe Lightroom CC, with final color corrections by ChatGPT.

As a conclusion…

Beginning in the late 1990s, photo labs increasingly stopped making optical enlargements and instead scanned every negative they processed. Those scans were then used to drive the digital printers that produced customers’ 4×6 prints on traditional photographic paper.

Although the final print was still a genuine silver-halide photograph, the familiar film look was already being shaped by the Frontier or Noritsu scanner. Long before the image reached the printer, the scanner had interpreted the negative, applied its own color science, and enhanced the scan according to its proprietary algorithms.

Thirty years later, Frontier and Noritsu have come to define what photographers associate with the “film look”. They provide images of a tremendous quality, and at least for color negatives, getting comparable results in Lightroom (even with specialized plug-ins) will require hard work and experience.

As for the general purpose AI programs, they can not be trusted to reliably invert a digitized negative. For AI, it’s simply too tempting to reconstruct a totally new image and forget about your original picture. No such thing with a Frontier or Noritsu scanner – they may enhance your image, but the final product is still undoubtedly “yours”.


More about the Frontier and Noritsu scanners – on the blogs of two photo labs

Carmencita Film Lab blog: Frontier vs Noritsu

Optik-oldschool.com: Frontier vs Noritsu – why film scans look different – and how to get the best results.


Lab scanners at their best:

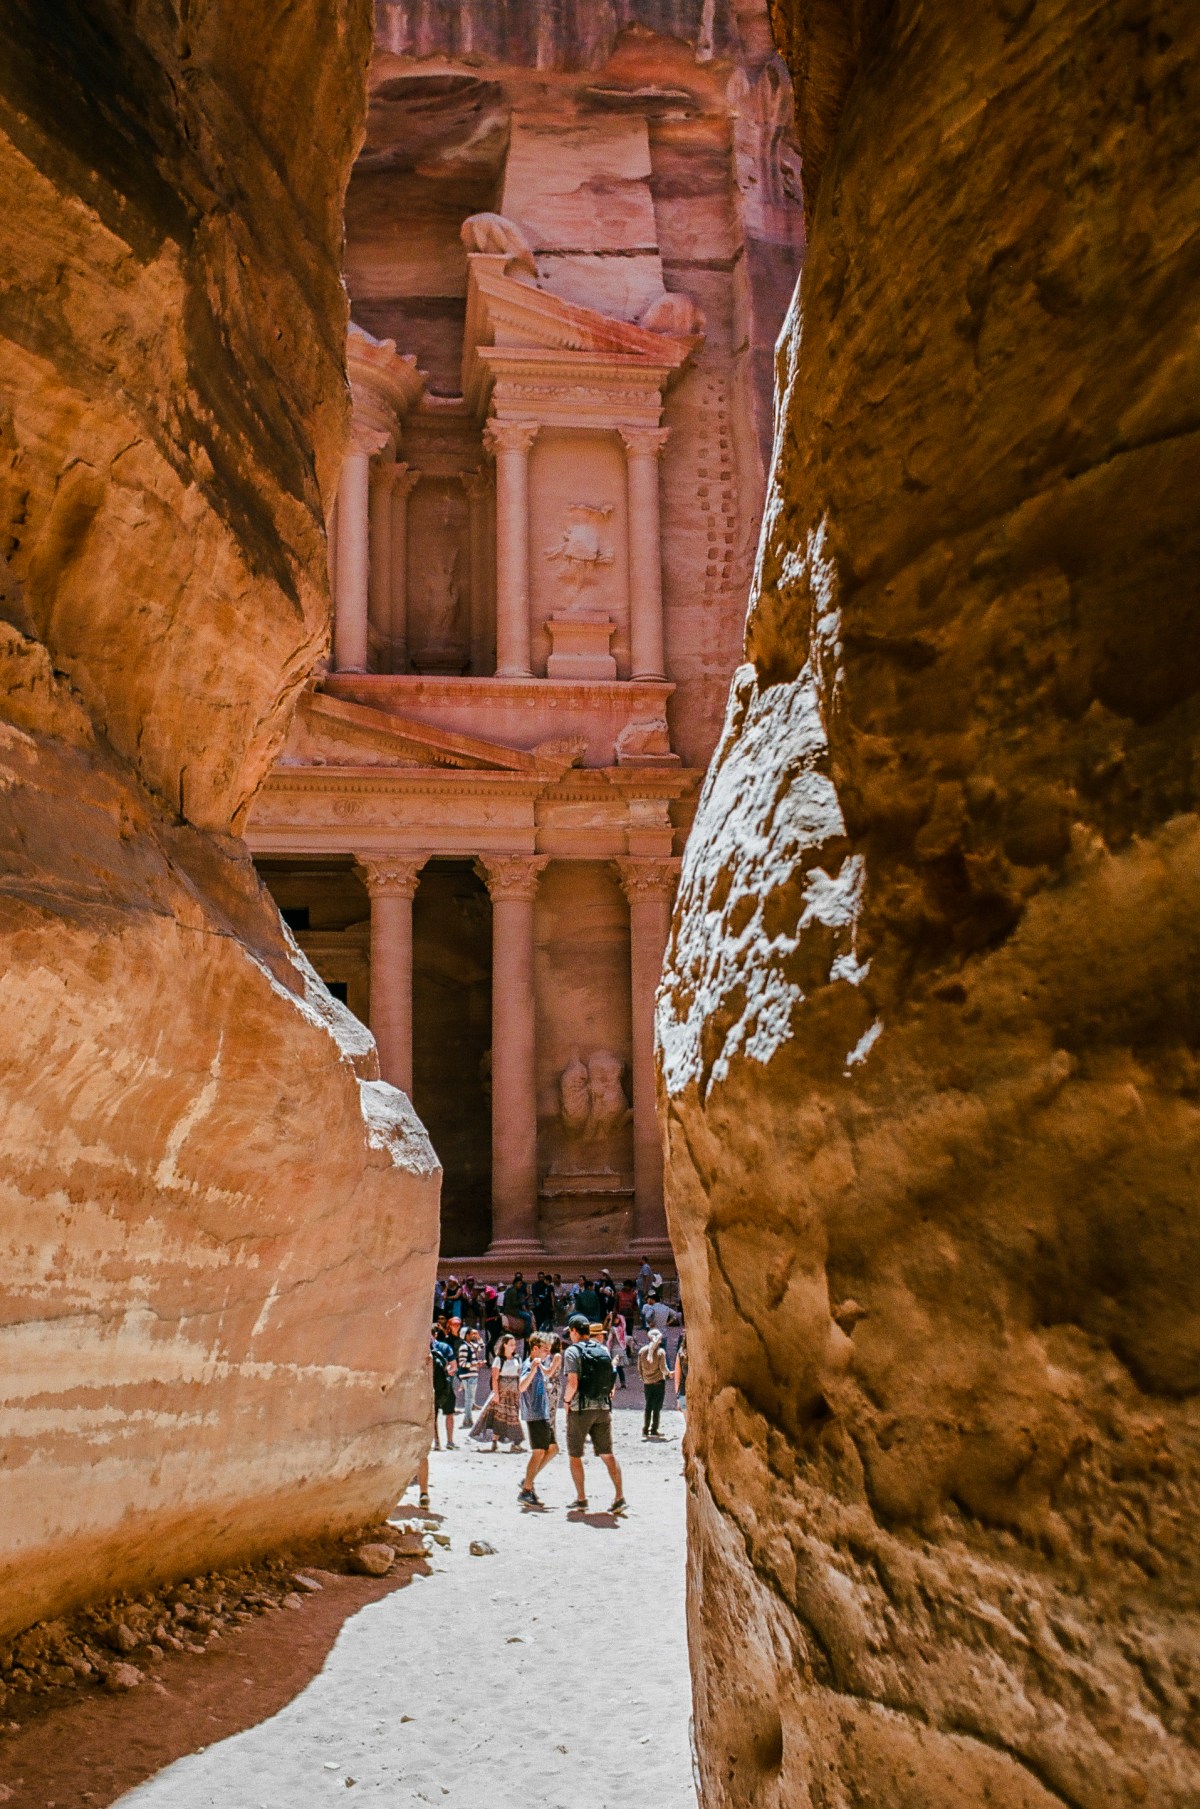
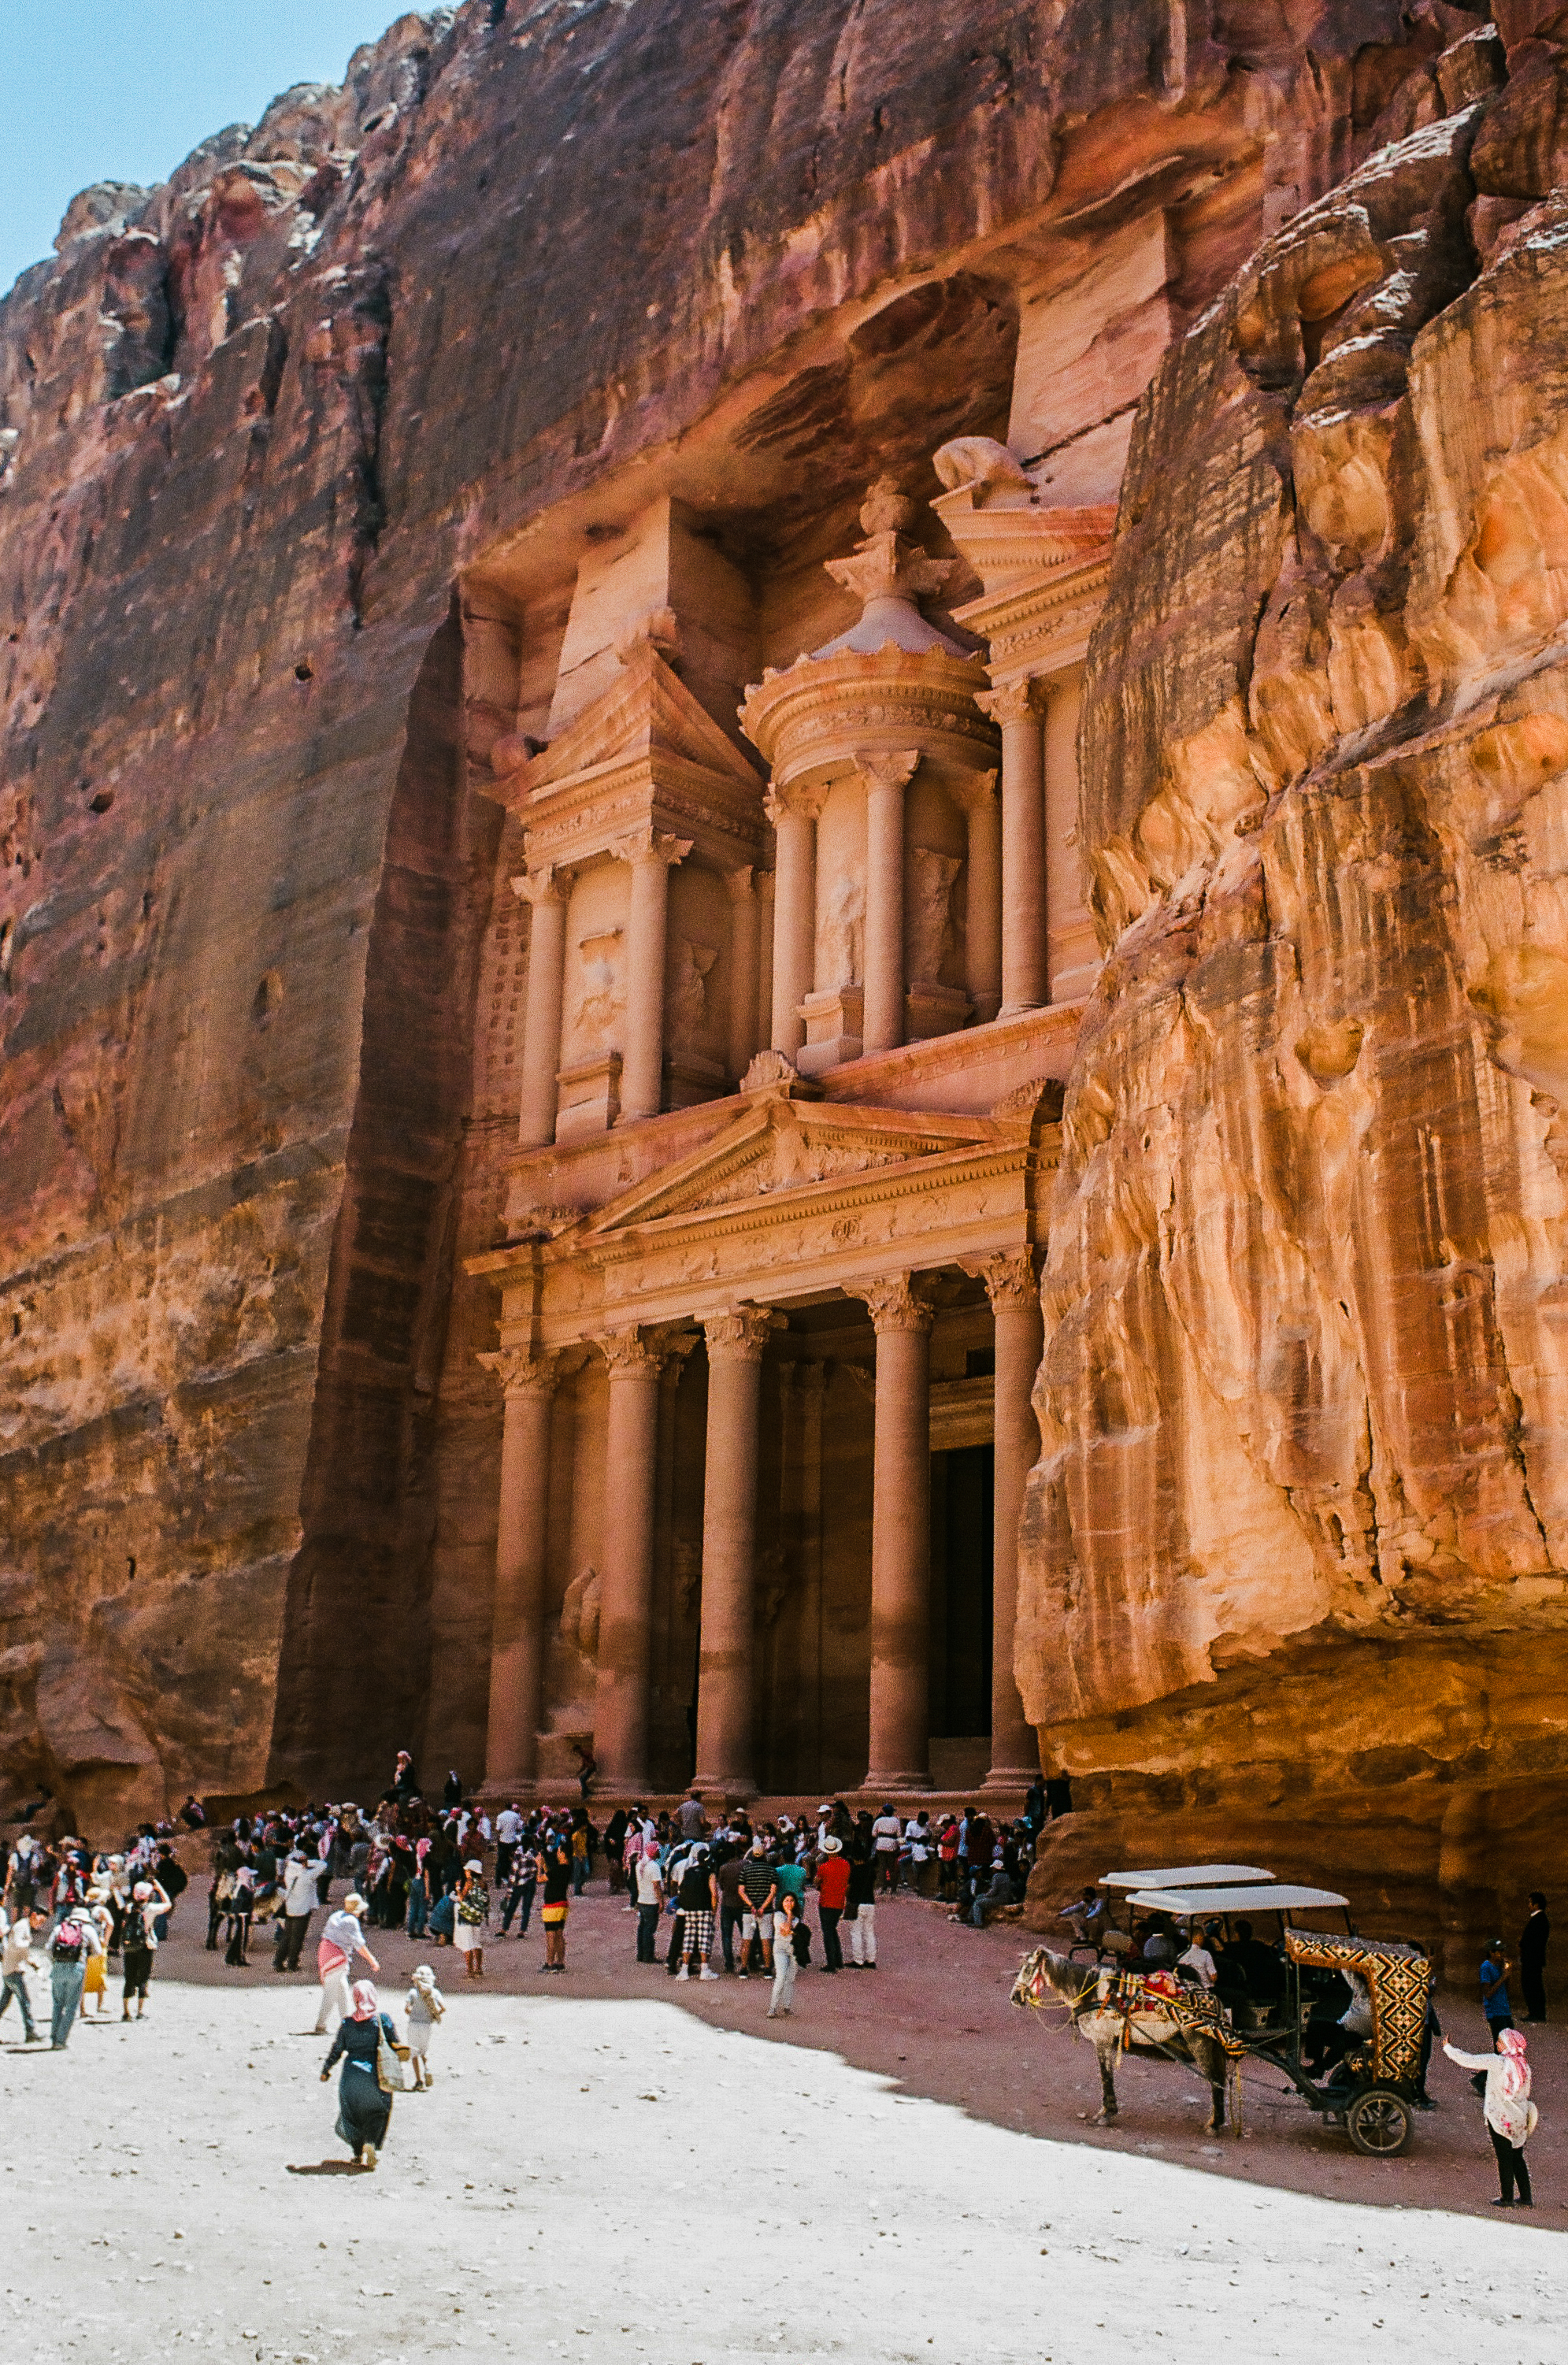
Petra, Jordan – Nikon F501, Kodak Ektar 100, scanned by a pro lab using a Nortitsu Koki EZ Controller
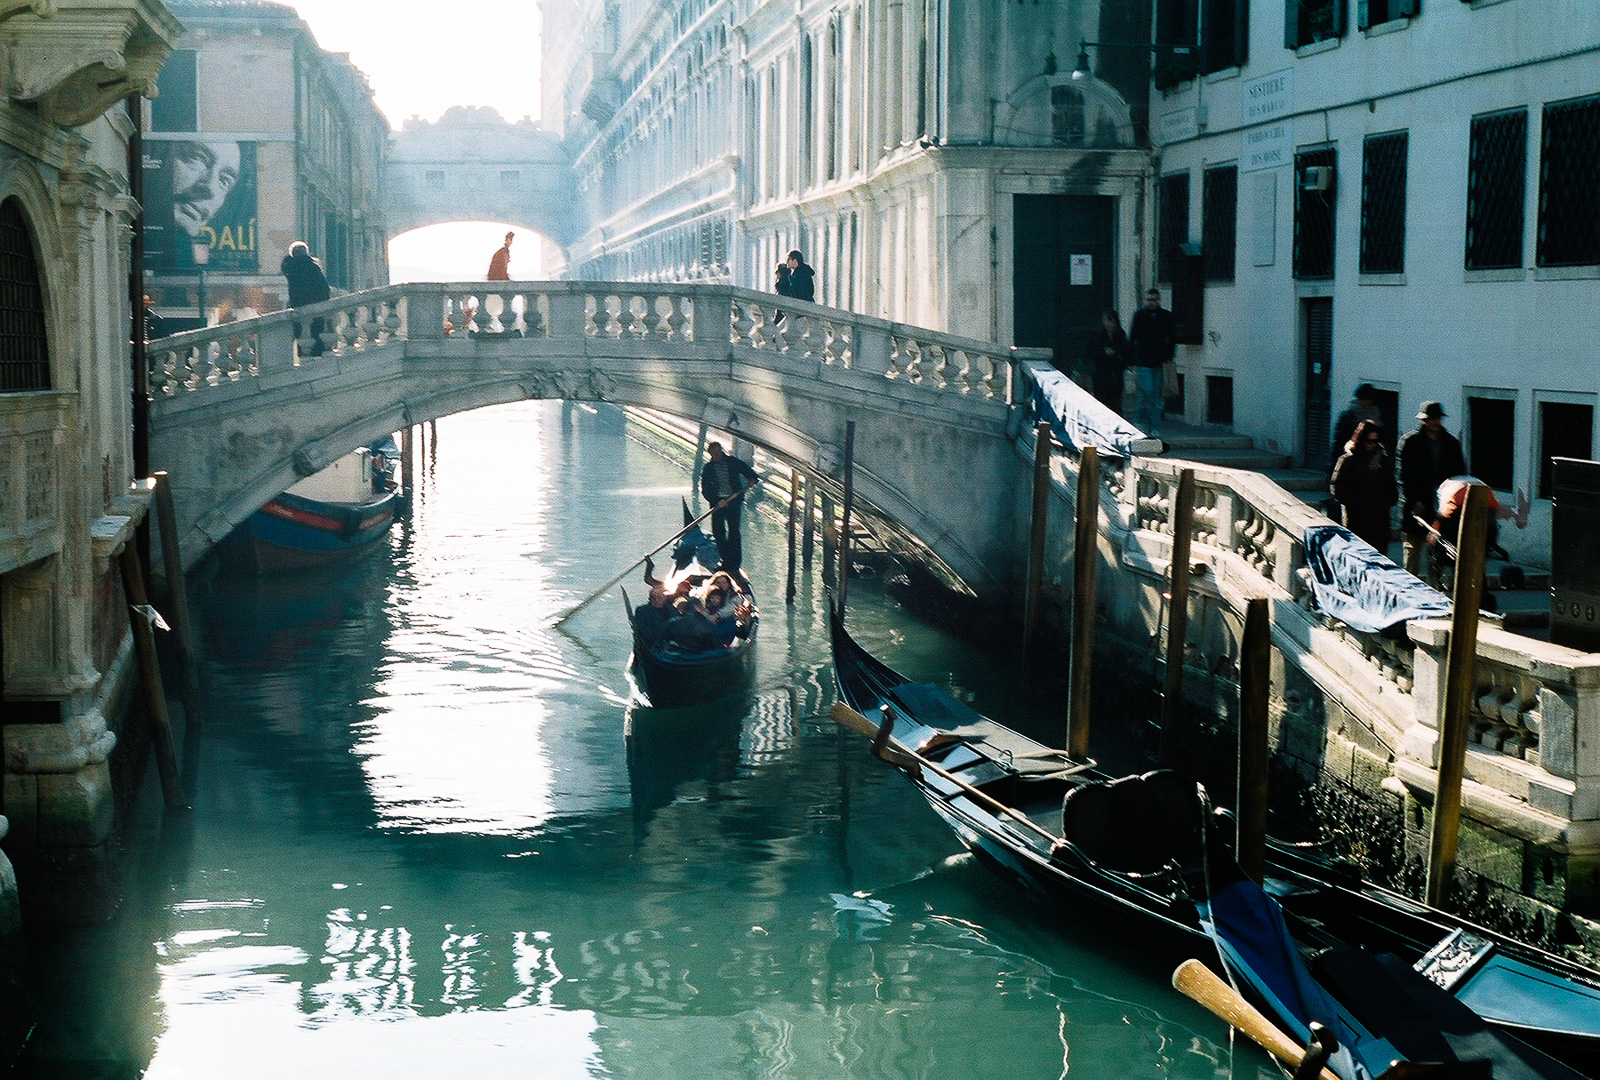
Venice – Bridge on the Rio de Palazzo o de Canonica – Shot with Nikon FE2. Jan. 2012
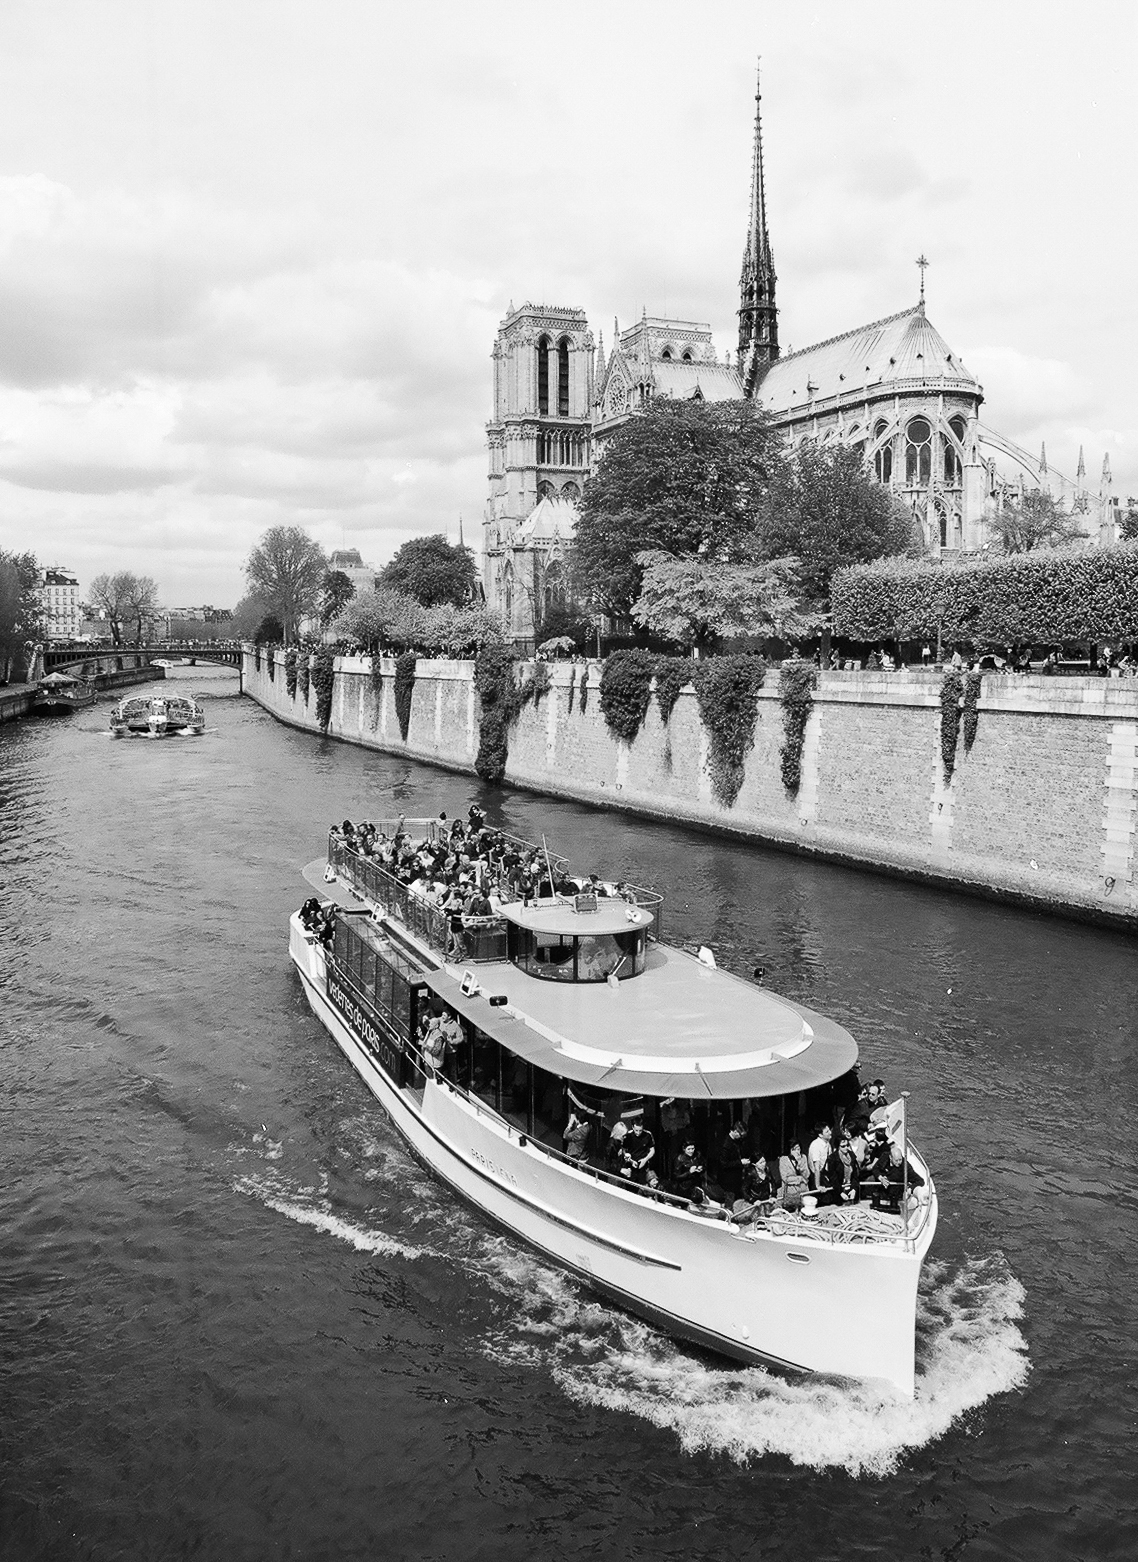
Paris – Nikon F3 – Noritsu Koki QSS
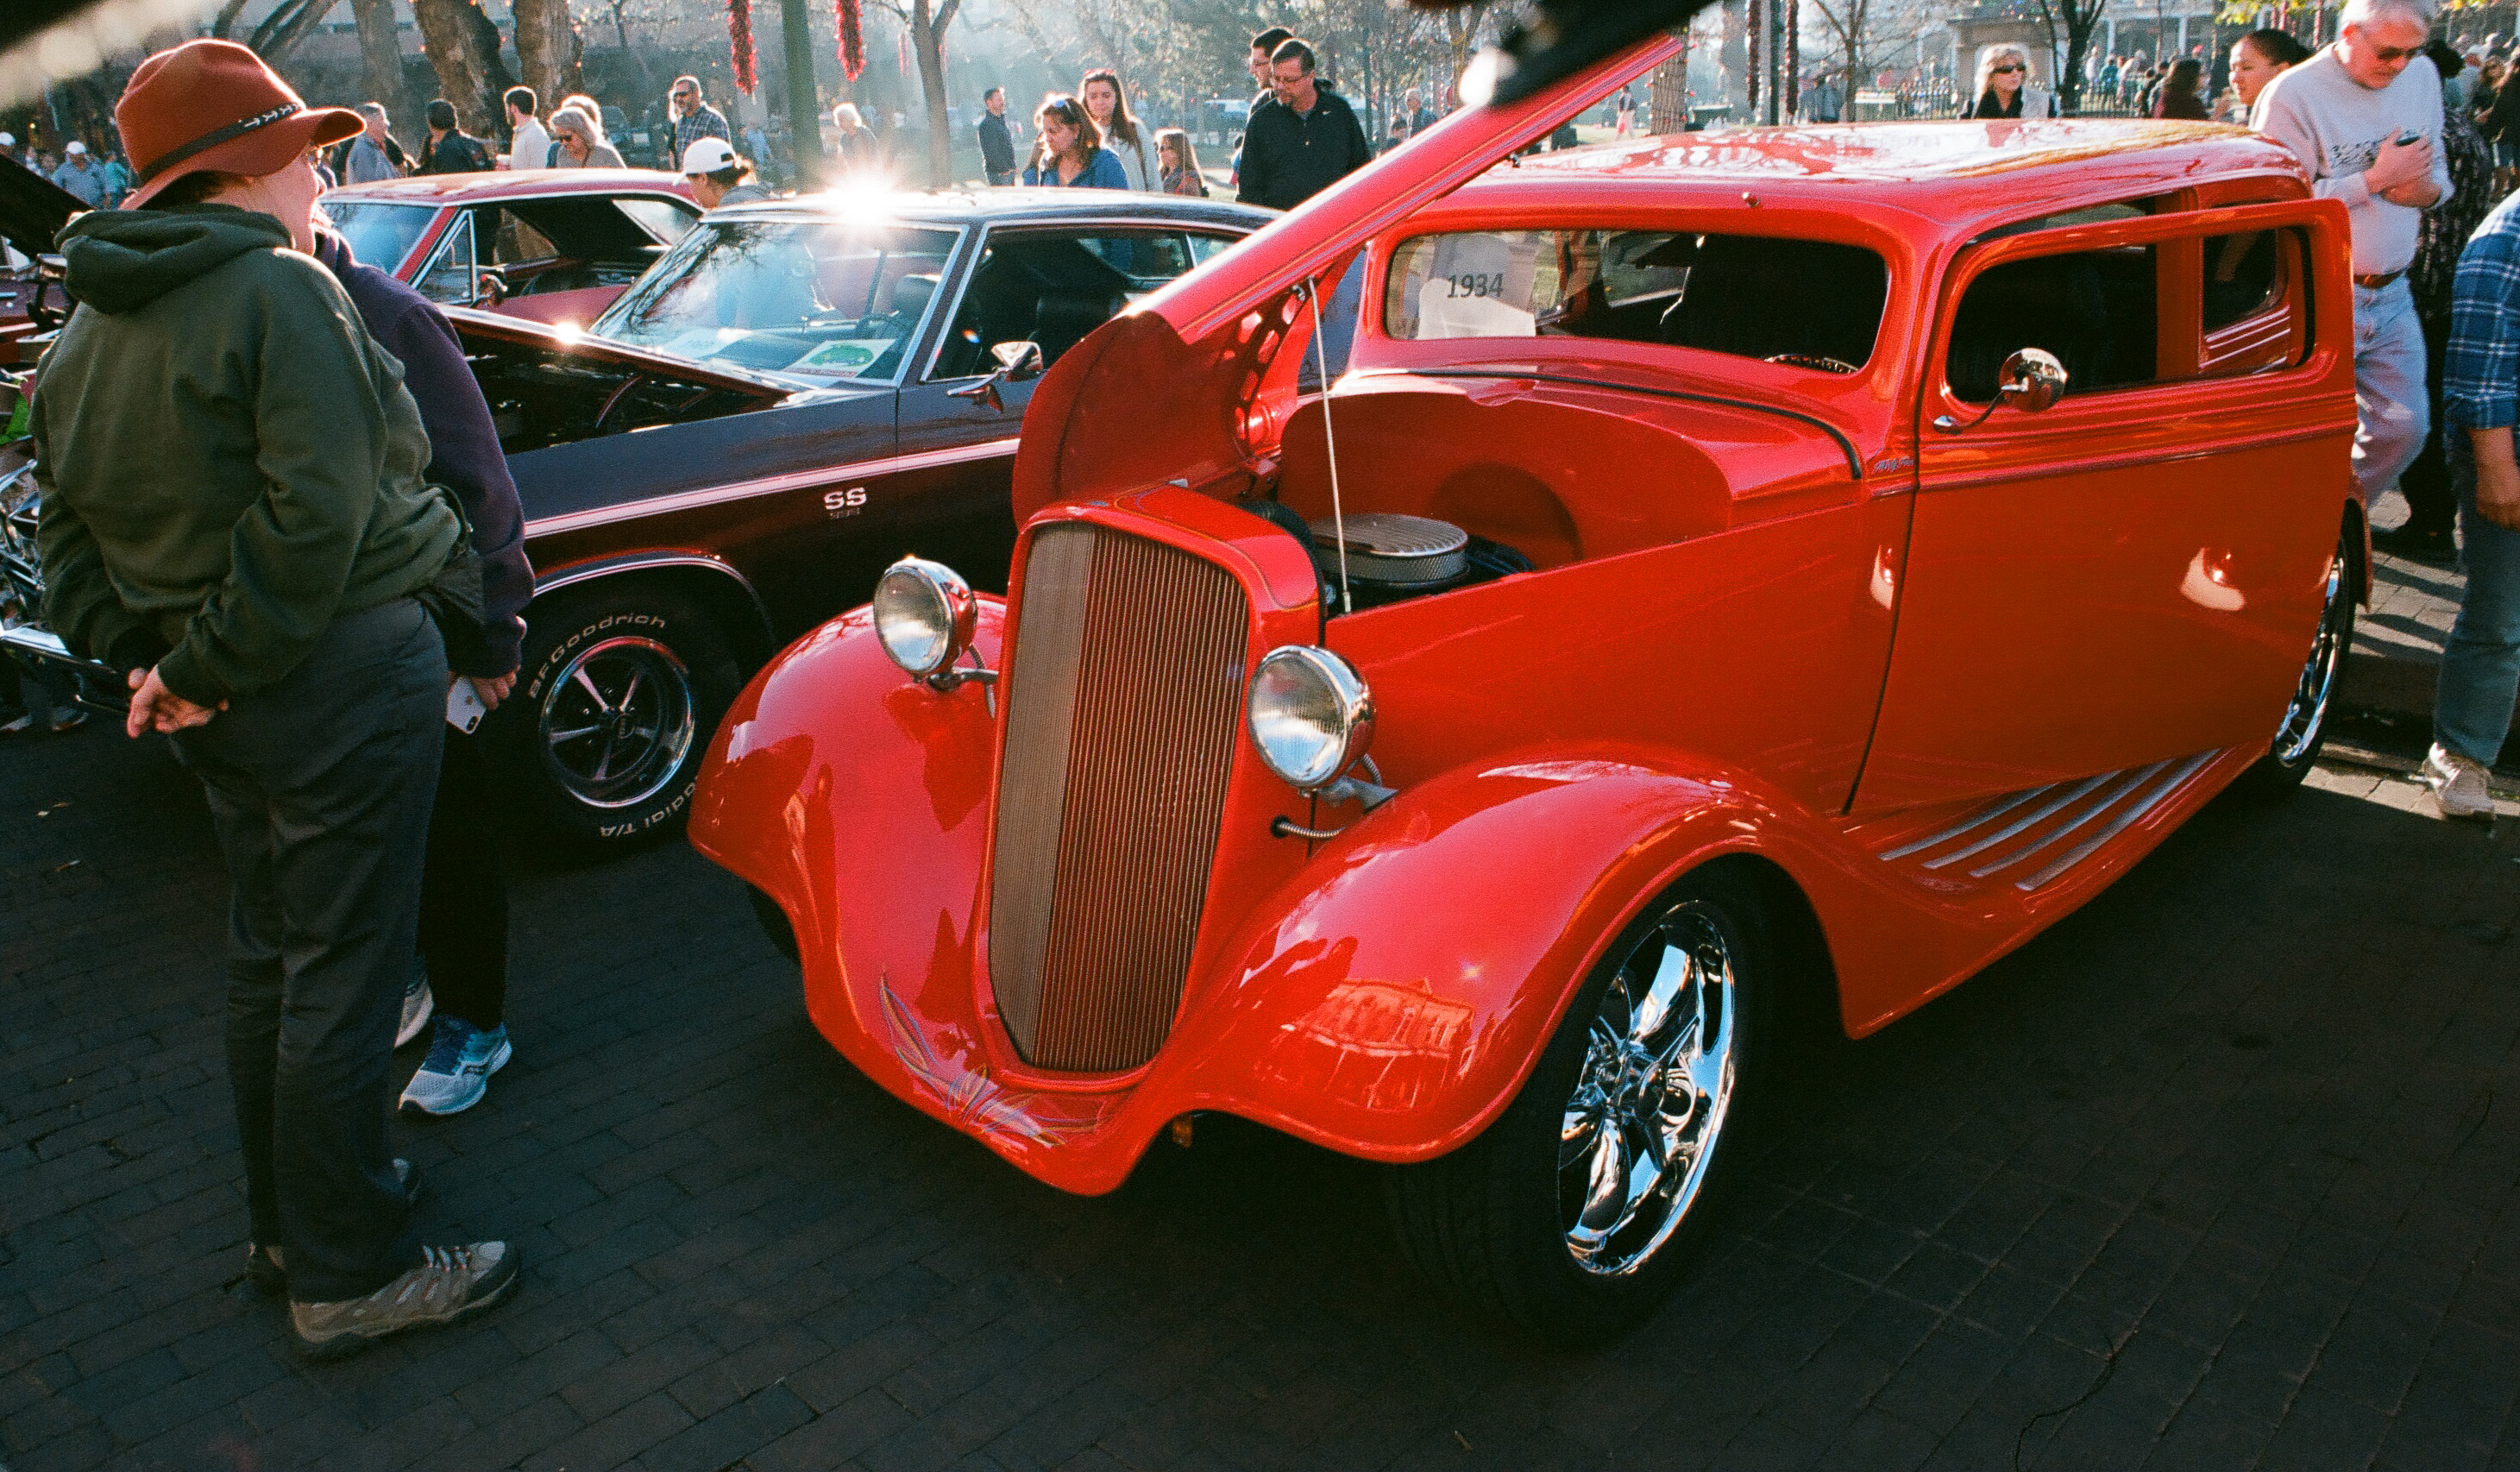
Santa Fe, NM – Noritsu Koki EZ Controller

Doubling down on a strange camera – the Canon Photura 135 Caption

I don’t know much about the genesis of the first version of the camera sold by Canon under the names of “Photura”, “Epoca” or “Autoboy Jet”. Being a profoundly original camera (which, because of its unusual shape, probably required some very specific tooling in Canon’s manufacturing plants), I can only guess that the version 1.0 was not rushed to market but was the product of a long and well thought out development process instead.

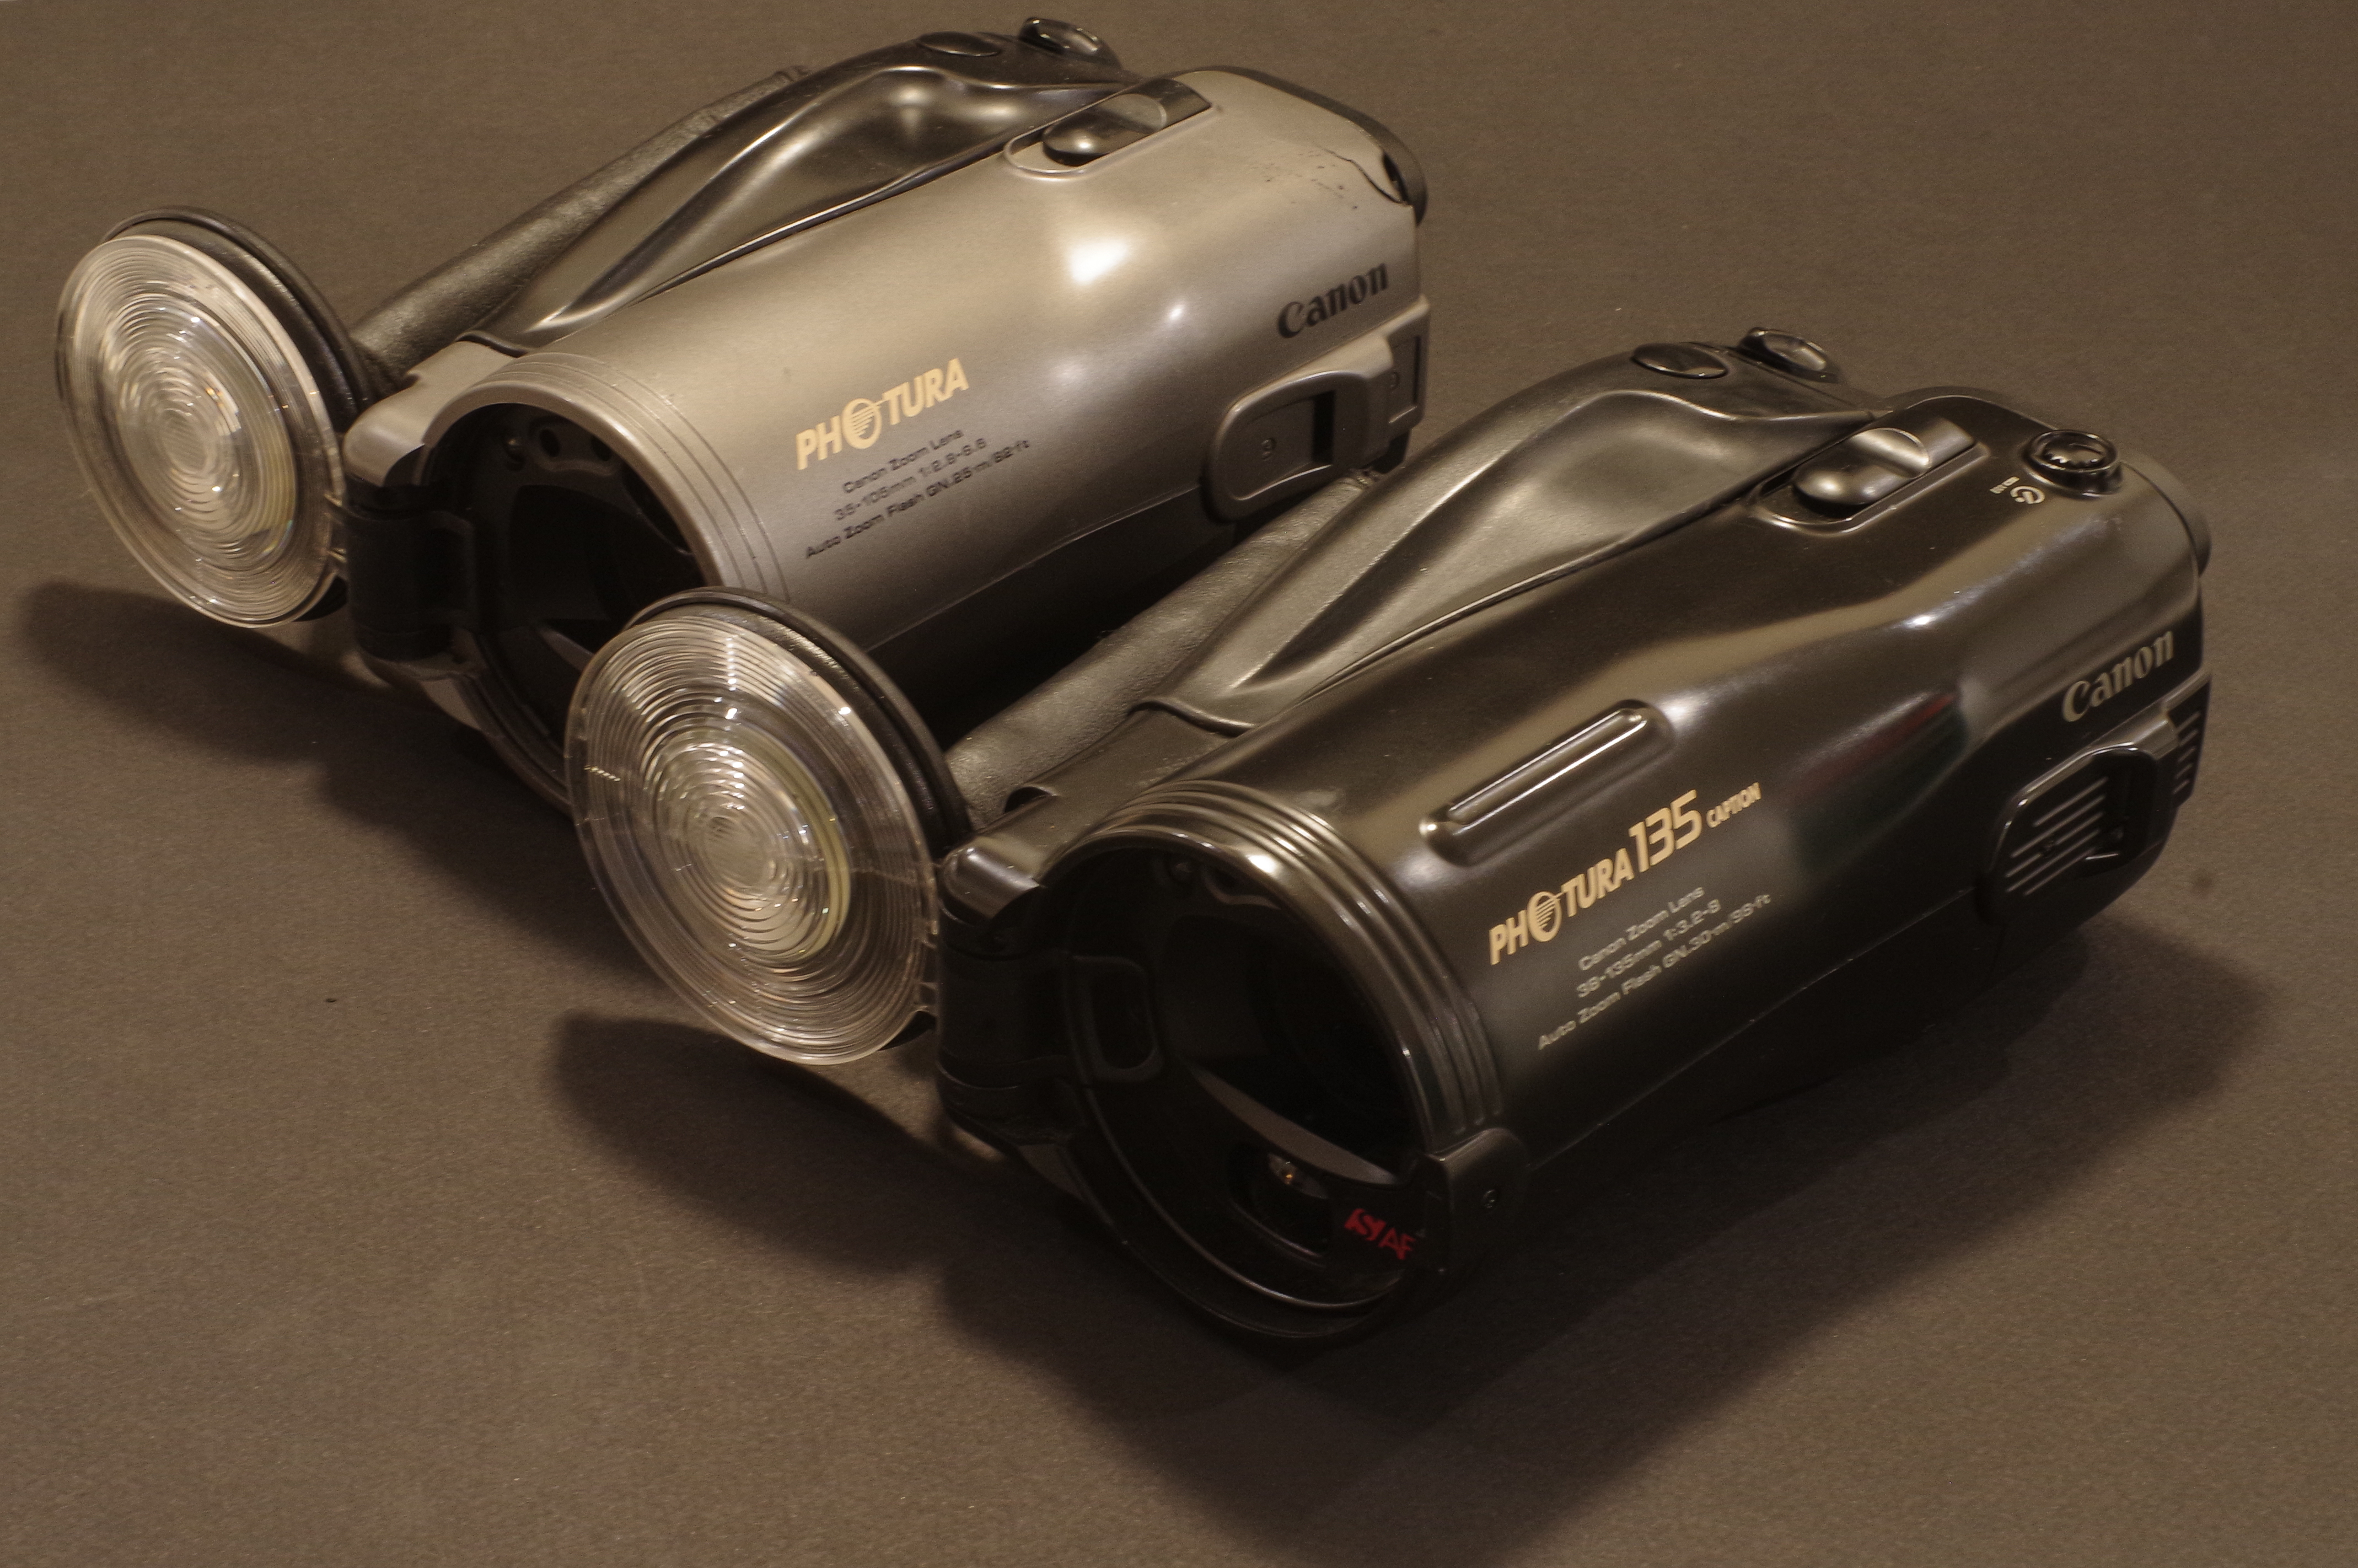
Case in point, the model that replaced it two years after its launch, the Photura 135, was not that different from the original. It simply addressed some of the weaknesses of Photura 1.0, and its two main points of differentiation over its predecessor were its longer zoom (a 38-135mm instead of the 35-105mm of the first Photura), and the color of its body.

I had been so pleasantly surprised by the first series Photura when I had tested it in the Cabbagetown neighborhood in Atlanta, that I decided to bring it with me to a trip in Corsica, where it did not disappoint, for the most part.

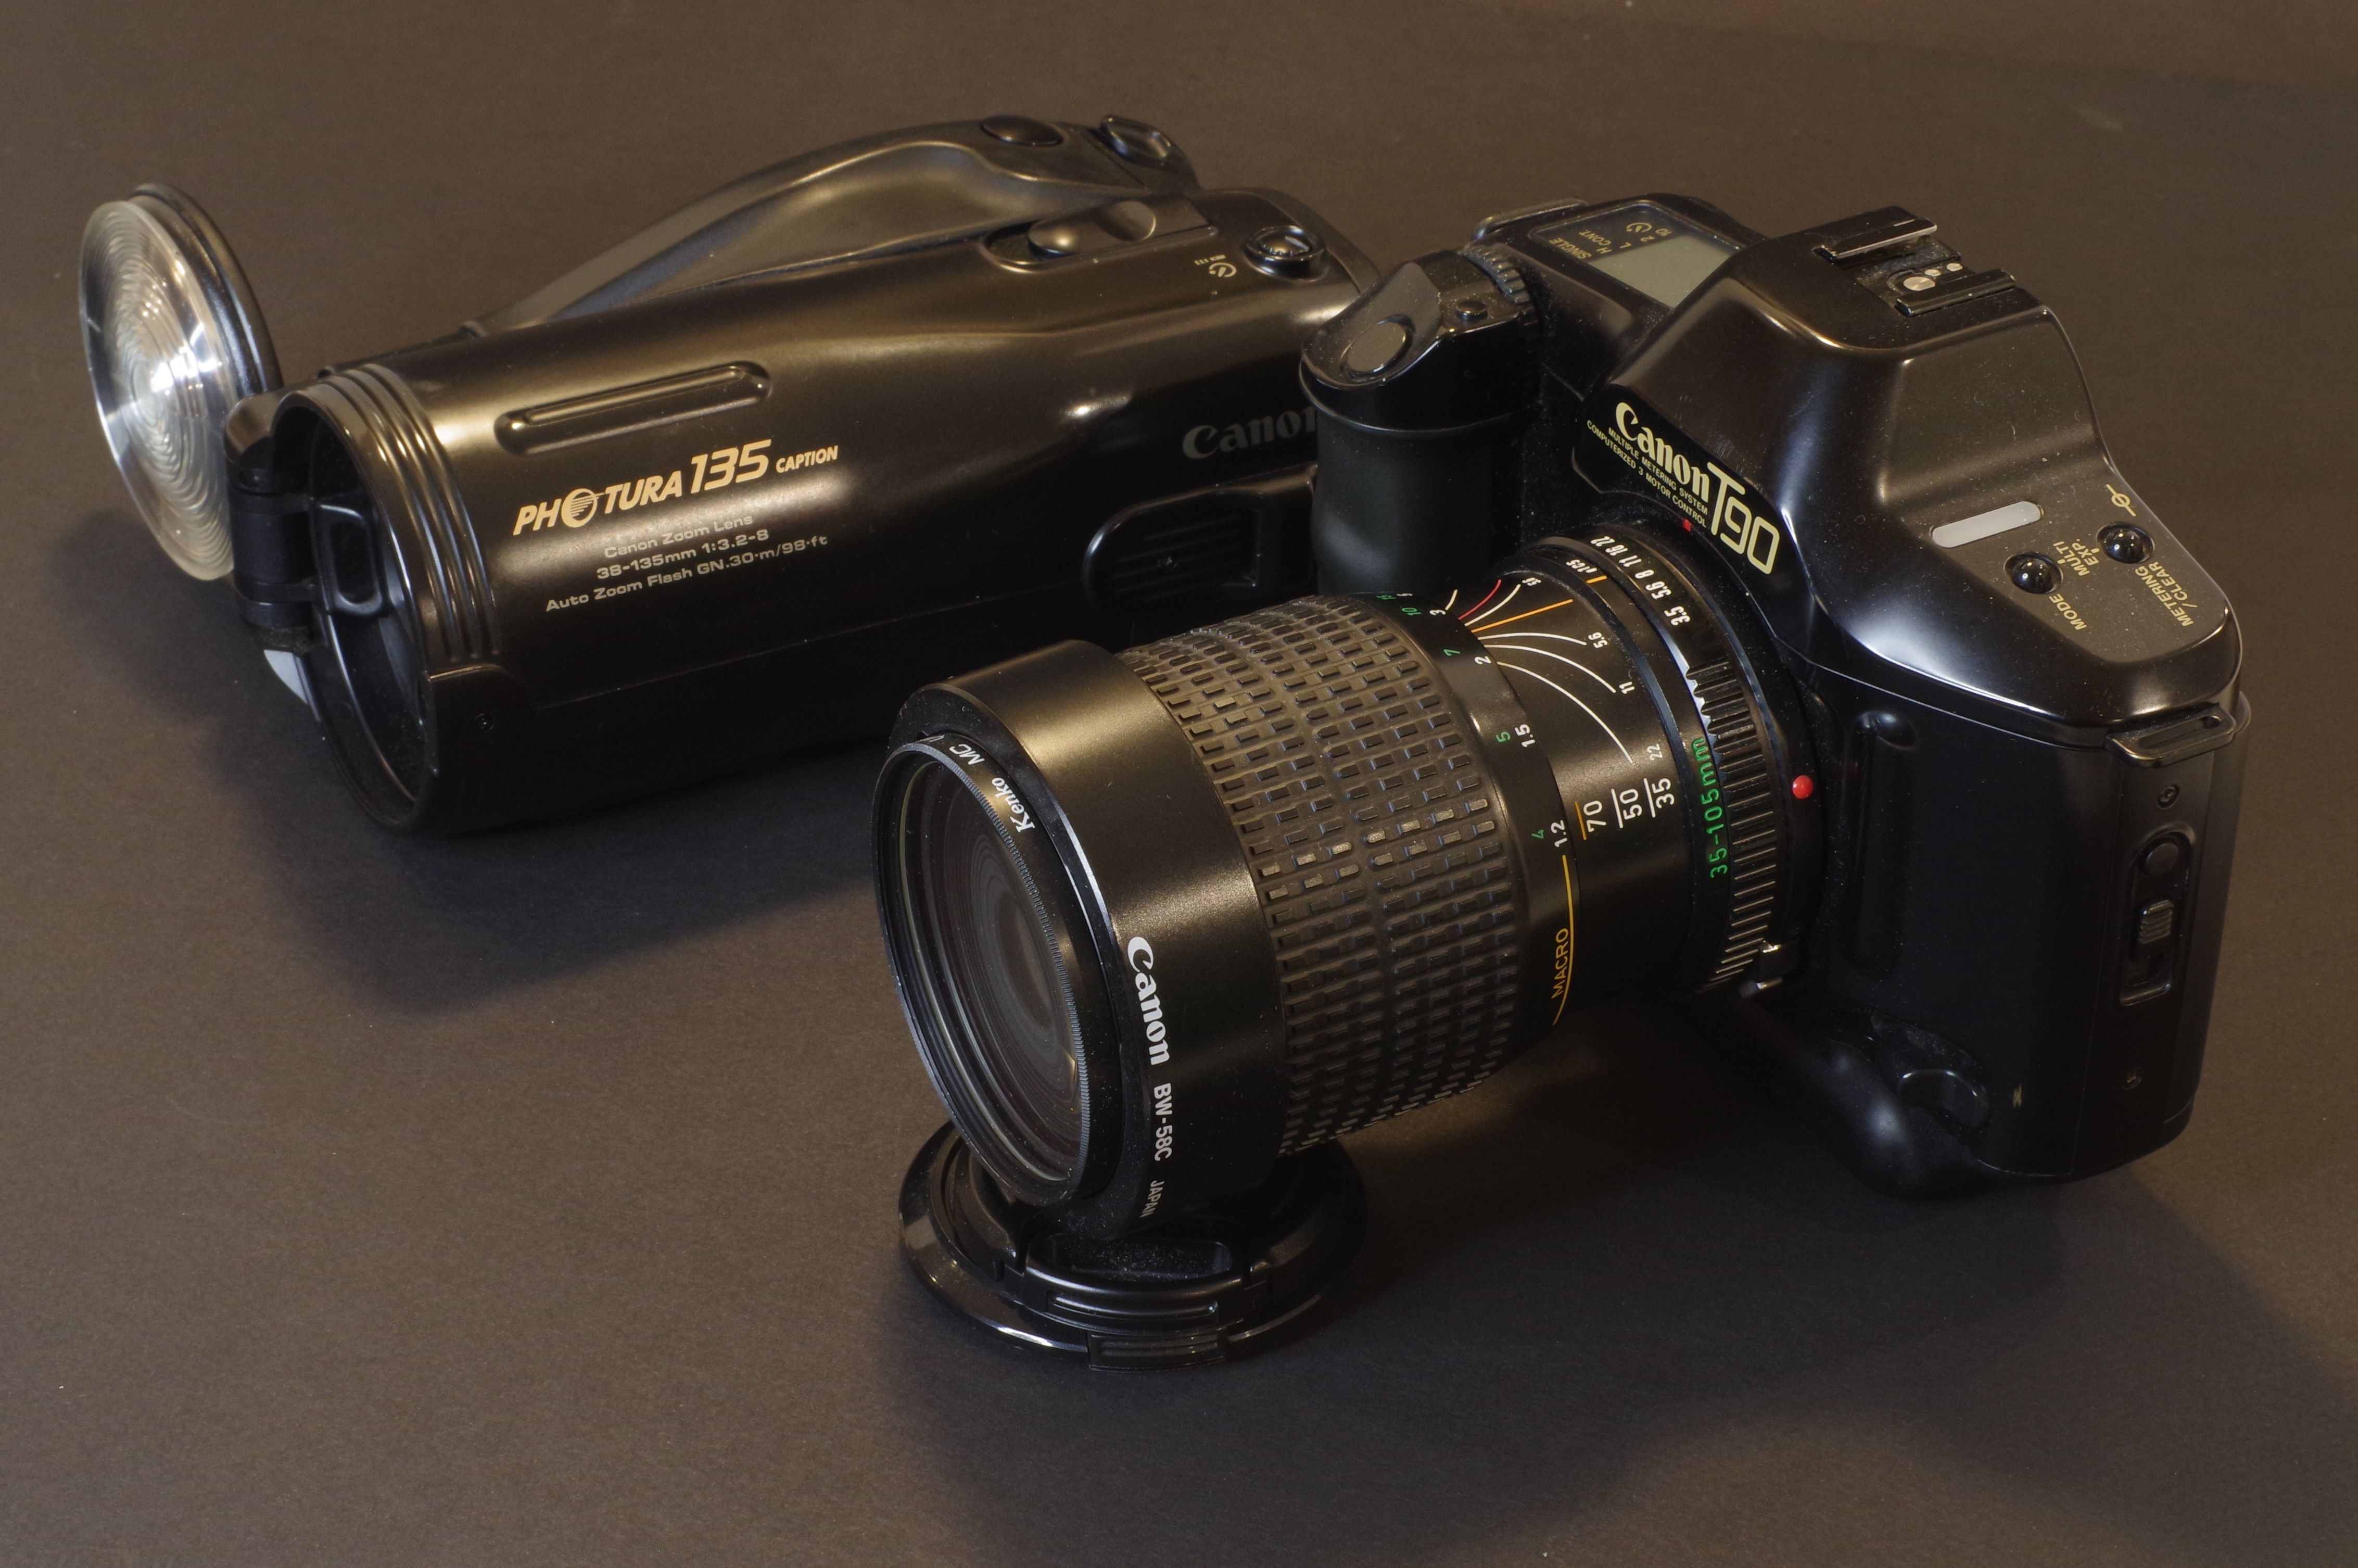
Canon Photura 135 next to the first Photura – the 135 is painted satin black and bit longer to make room for the 38-135 zoom

In spite of its size, I found it easy to store in a bag (it’s shaped like a tube, at the opposite of the normal SLR shape, which is more like a long a tube attached to a large brick). It’s easy to keep your right hand wrapped around it when walking around town, and it’s fairly reactive for an autofocus point and shoot. The color pictures I had taken with it in Atlanta had impressed me (the exposure and the focus were tack on, the colors pleasant), and most of the B&W pictures I shot in Corsica and in the Riverside neighborhood happened to be pretty good as well.

My biggest gripe with the first Photura was that it its autofocus system was still very primitive, incapable of focusing on its own on a human being when held in portrait orientation (it needed a complex gymnastic to memorize the focus before re-framing). It also required the photographer to force the focus to infinity when shooting landscapes (by pressing a tiny rubber key at the back of the camera while pressing the shutter release). And the camera missed the exposure in some tricky situations.

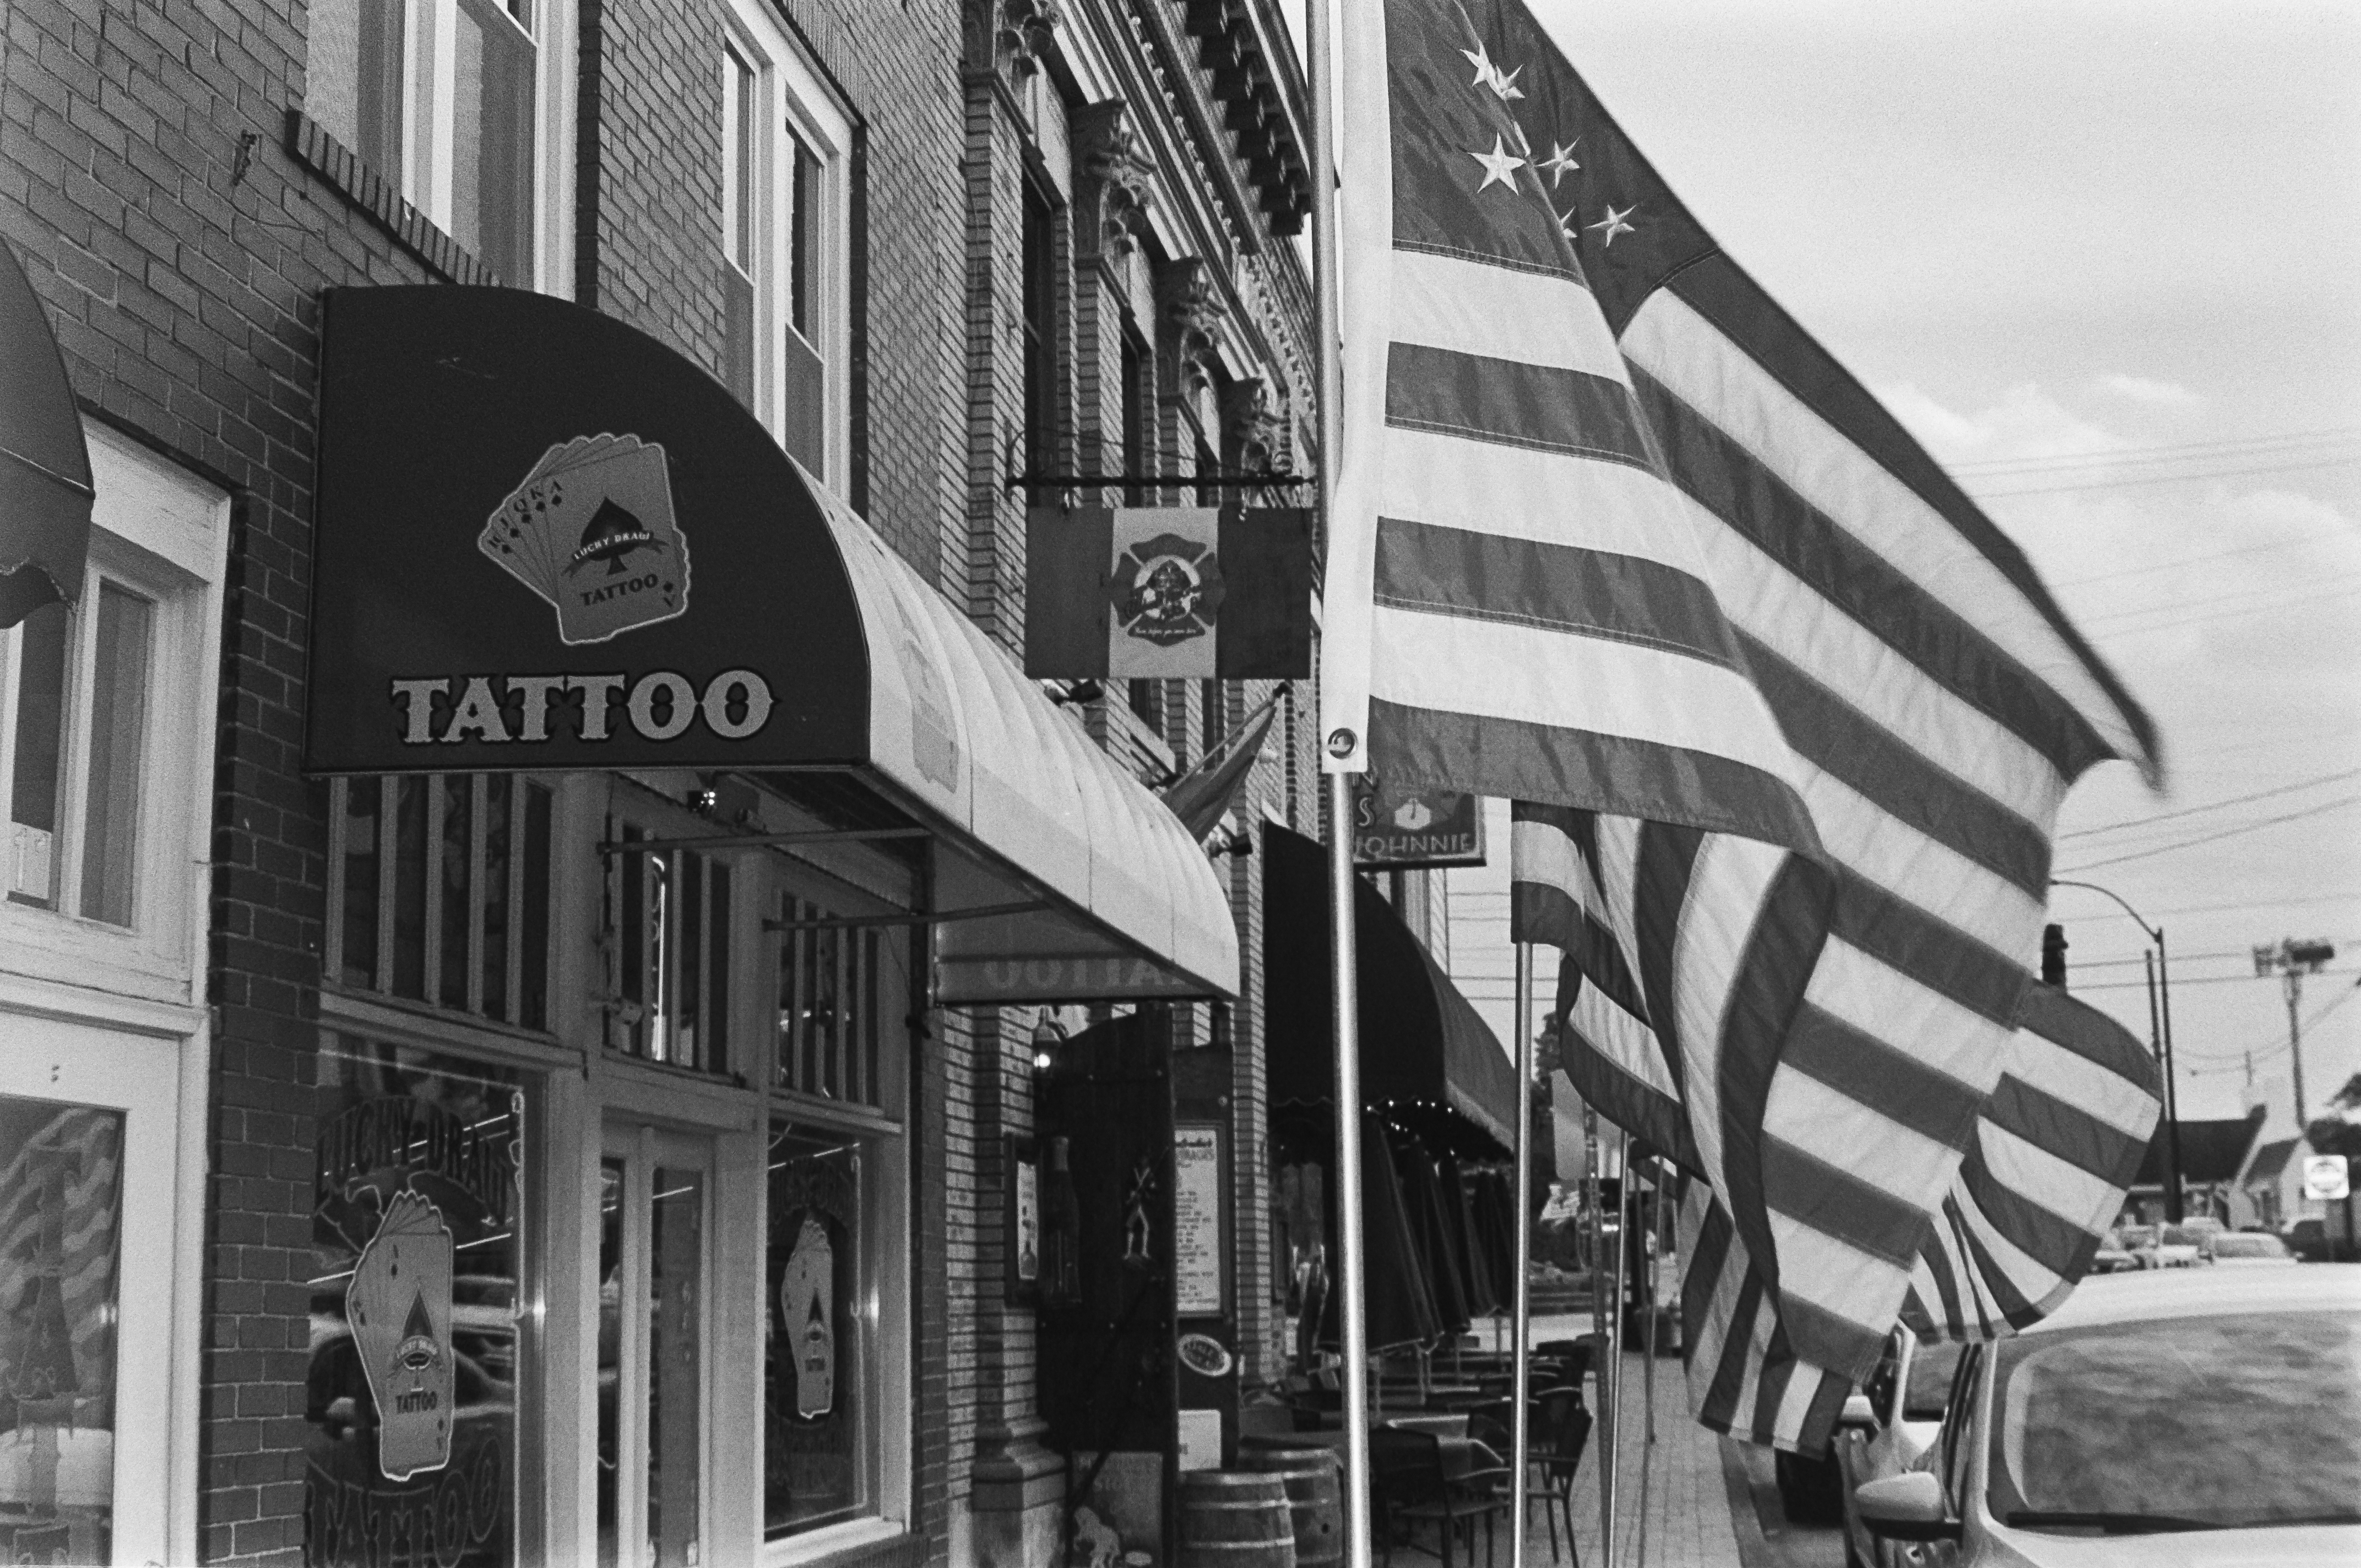
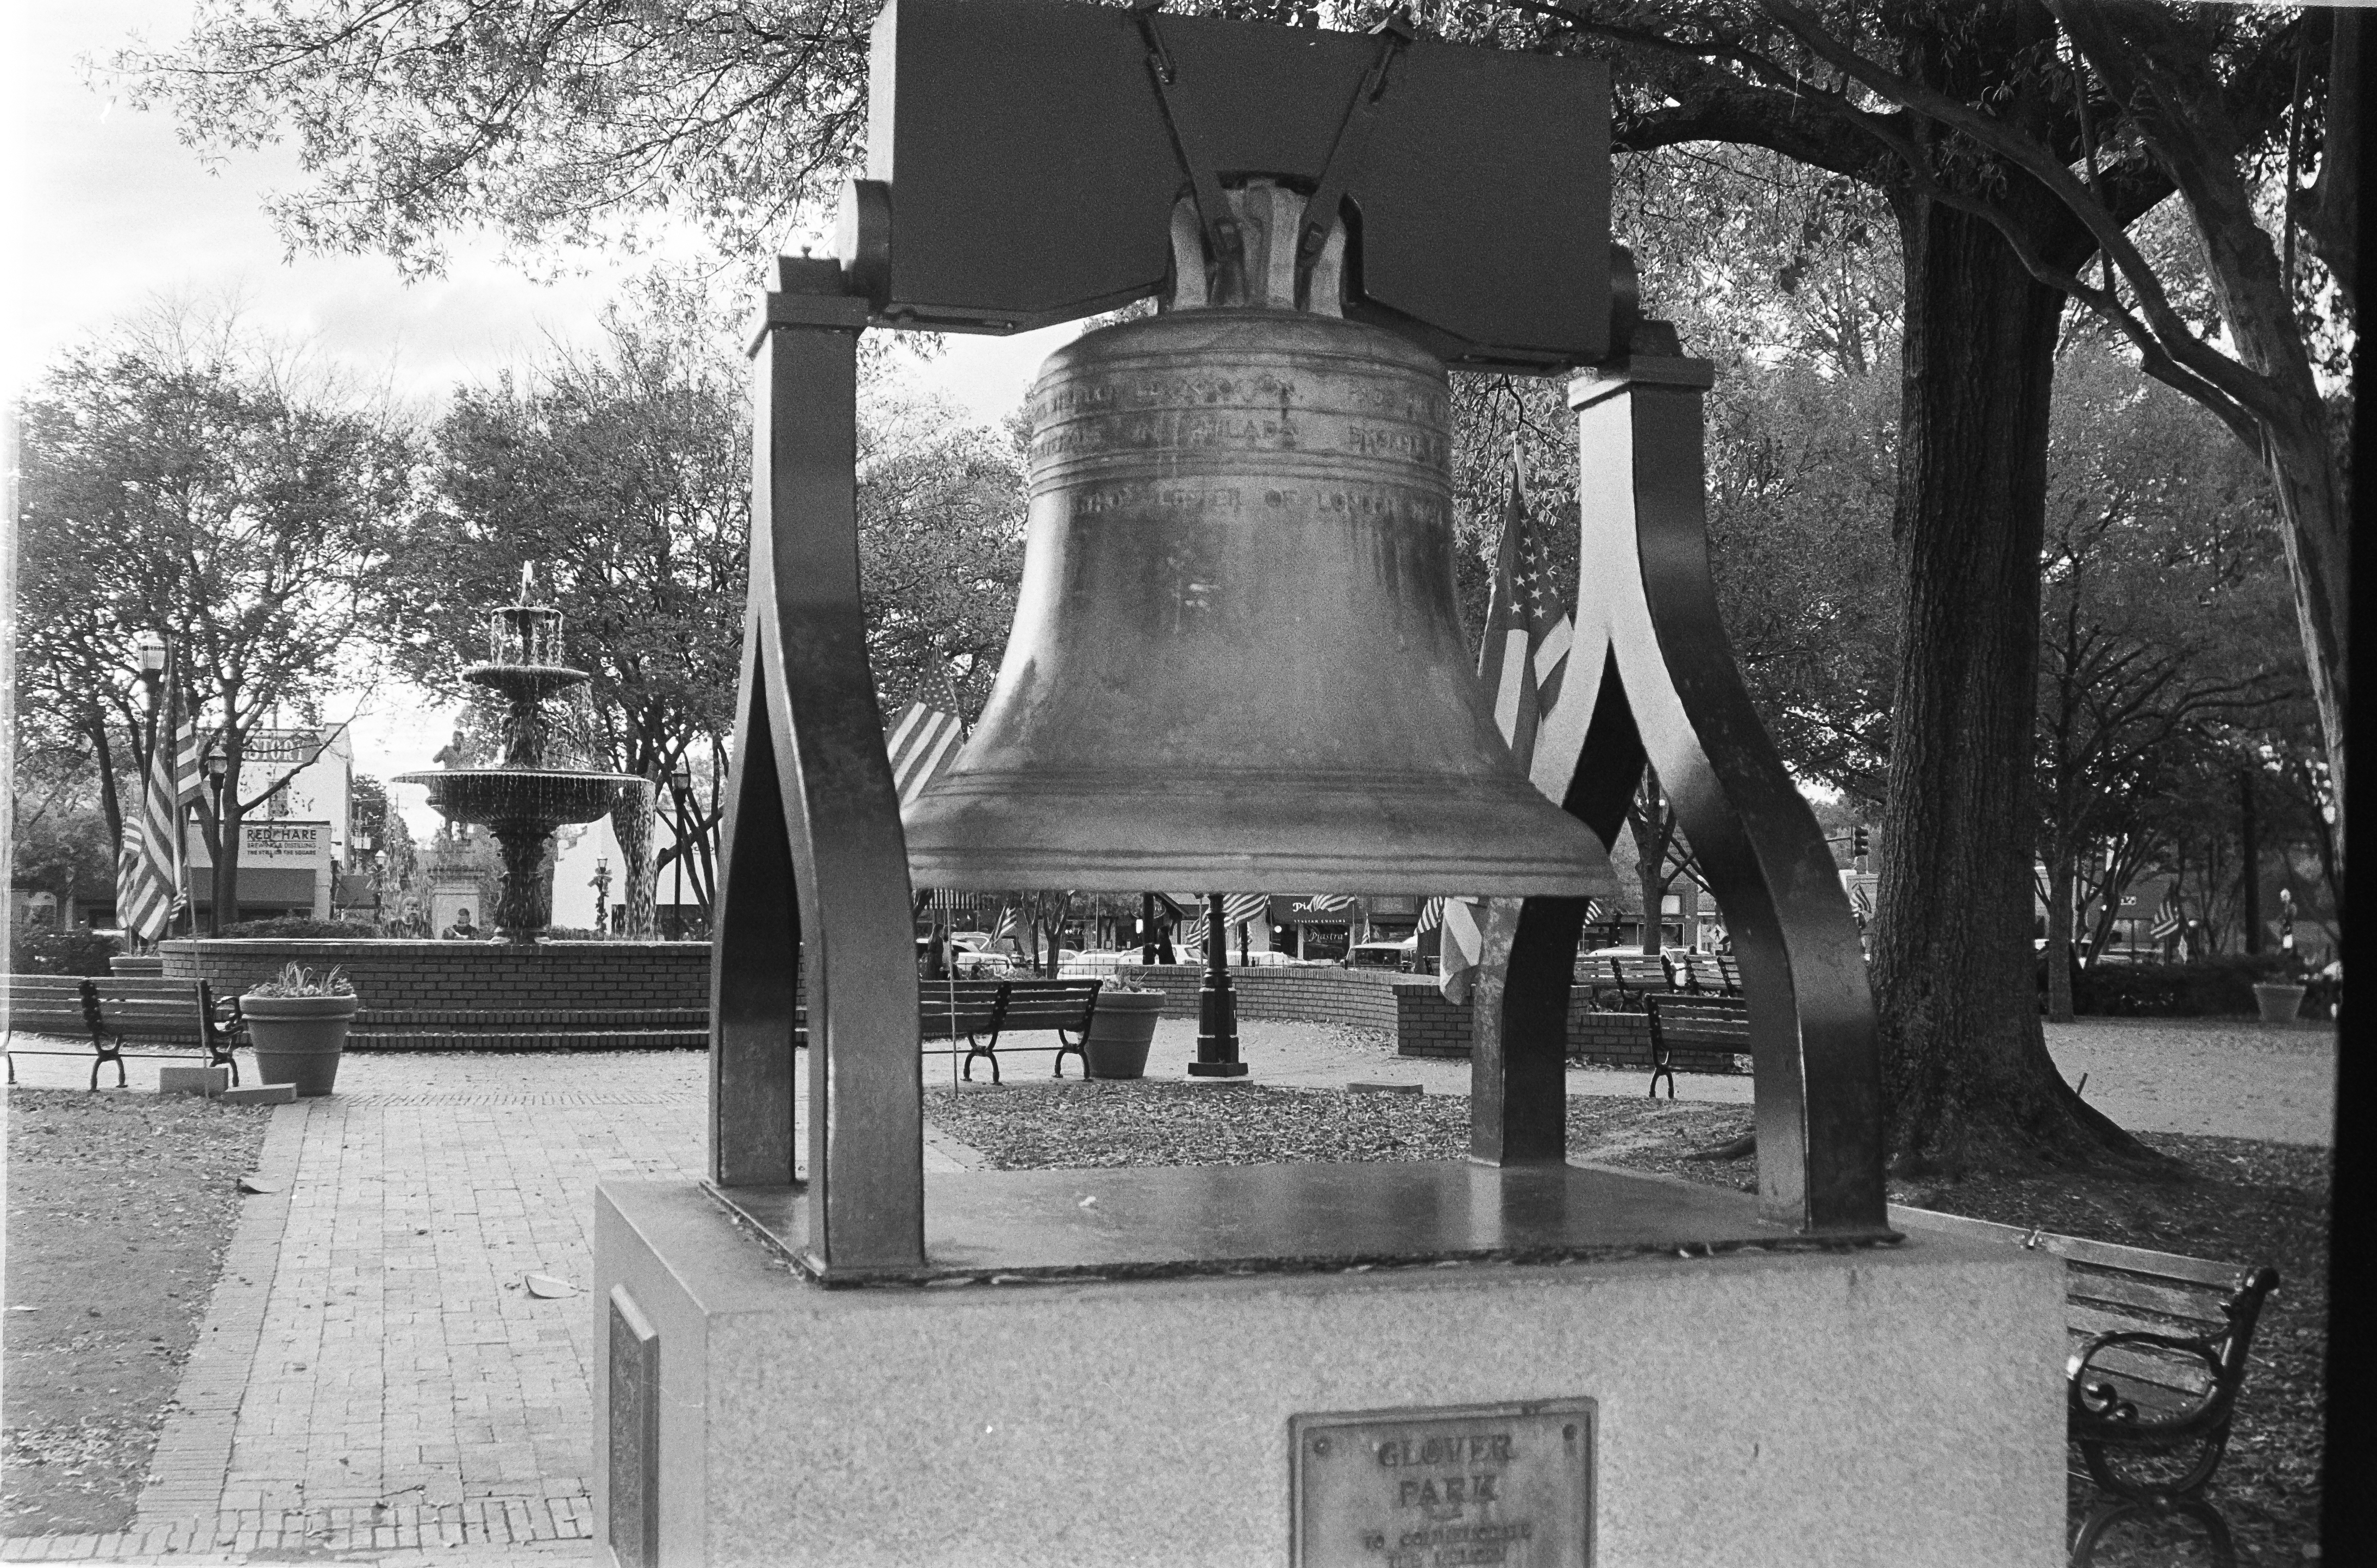
Canon Photura 135 – Ilford HP5 – Marietta, Veterans Day 2025

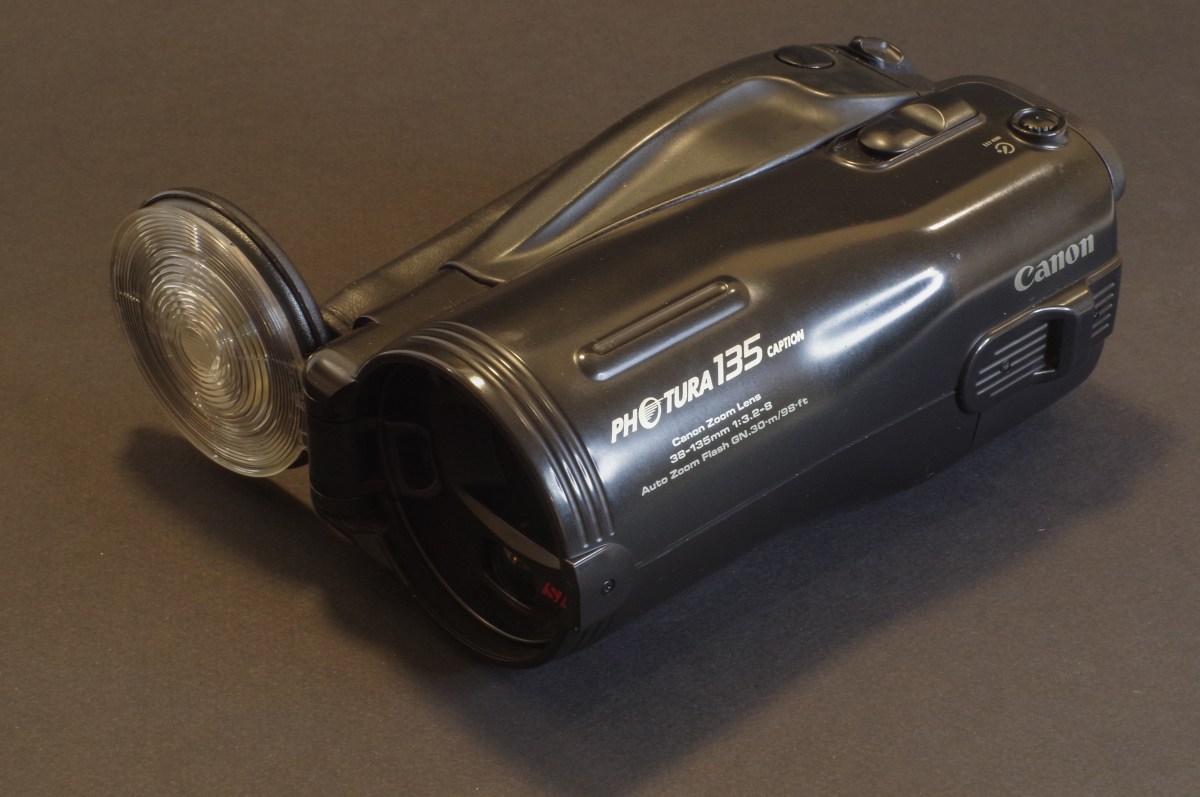
The Photura 135 Caption

This “Canon Photura 135 Caption” is another of my Shopgoodwill finds – there were two of them for sale the week I bought it, and only one bidder, me. I picked what I believed was the nicest of the two for $19.00.

Canon created at least three different variants of the Photura 135, the “Base”, the “Caption” and the “Panorama”. Mine is a “Caption”. It can print the date or a choice of 5 messages on the negatives. Cool!

Contrarily to my Photura 105 which was a bit scruffy, this “135 Caption” is in a very good shape, cosmetically. And it’s finished in satin black, with pale, matt gold lettering. It may sound tacky, but it’s done with restraint, and the camera is rather pleasant to the eyes.

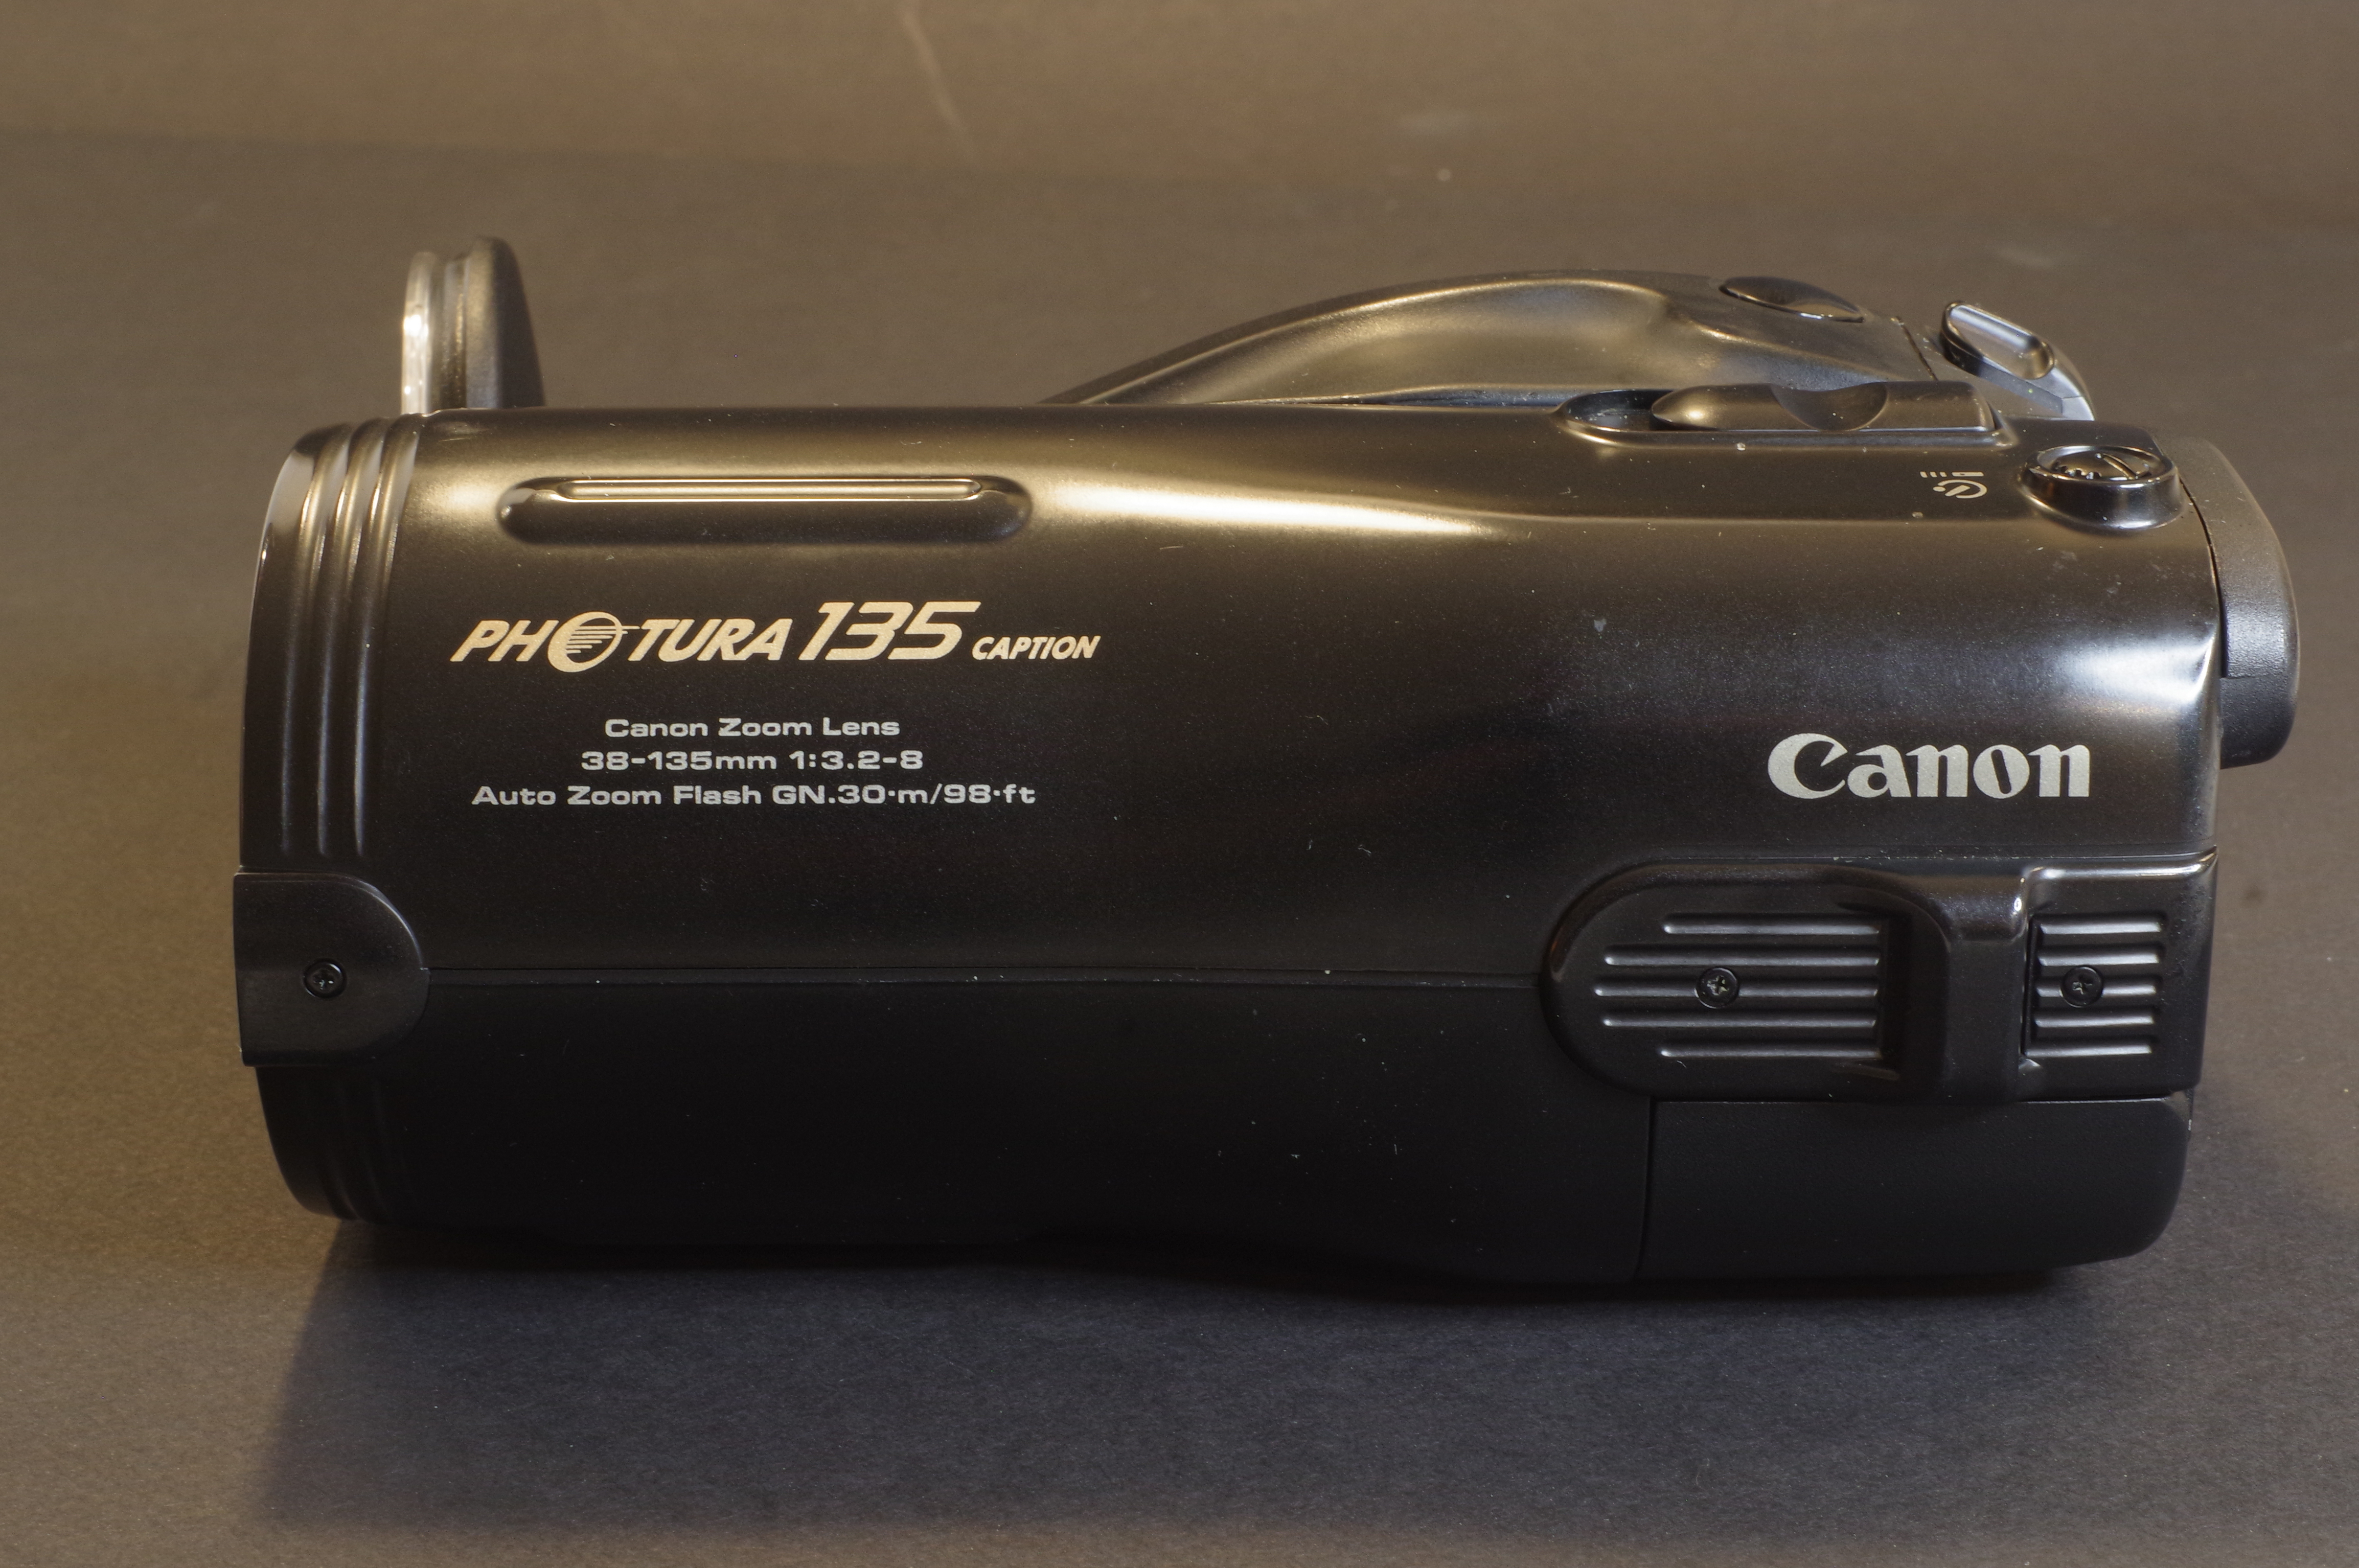
Canon Photura 135 – the specs are listed on the body of the camera

The Photura 135 is marginally longer than the 105, no doubt because of its longer zoom. I’m not sure that extending the longer focal length is a benefit, though, as we’re losing a bit on the wide angle side (38mm instead of 35mm) and a lot when it comes to luminosity – the largest aperture of the lens varies between 1/3.2 at 38mm and 1/8 at 135mm – which makes shooting with 400 ISO film almost mandatory.

The autofocus system seems to have been improved : the AF frame is visibly larger in the viewfinder, the button to force the focus to infinity has disappeared, and according to the documentation, it now relies on 5 infra red detection beams (!).

Marietta, Veterans Day 2025 – Canon Photura 135 – Ilford HP5 I was facing the November sun and the camera nailed down the exposure – Clear improvement over the first gen. Photura

The user manual is not very clear but I assume that focus and exposure are pre-determined on a central area of the scene when the photographer presses the shutter release half way and then evaluated again on a larger area when the shutter release button is fully depressed. On the 135 models, a “real-time” feature has been added (the lag time of the shutter release is reduced to 0.018 sec.), and the user manual recommends to use it to memorize the focus point, in particular when composing an image vertically (in “portrait mode”). The real-time mode skips the second focus determination step and only relies on what the central autofocus sensor has detected during the focus “pre-determination”, which acts as a sort of selective AF lock.

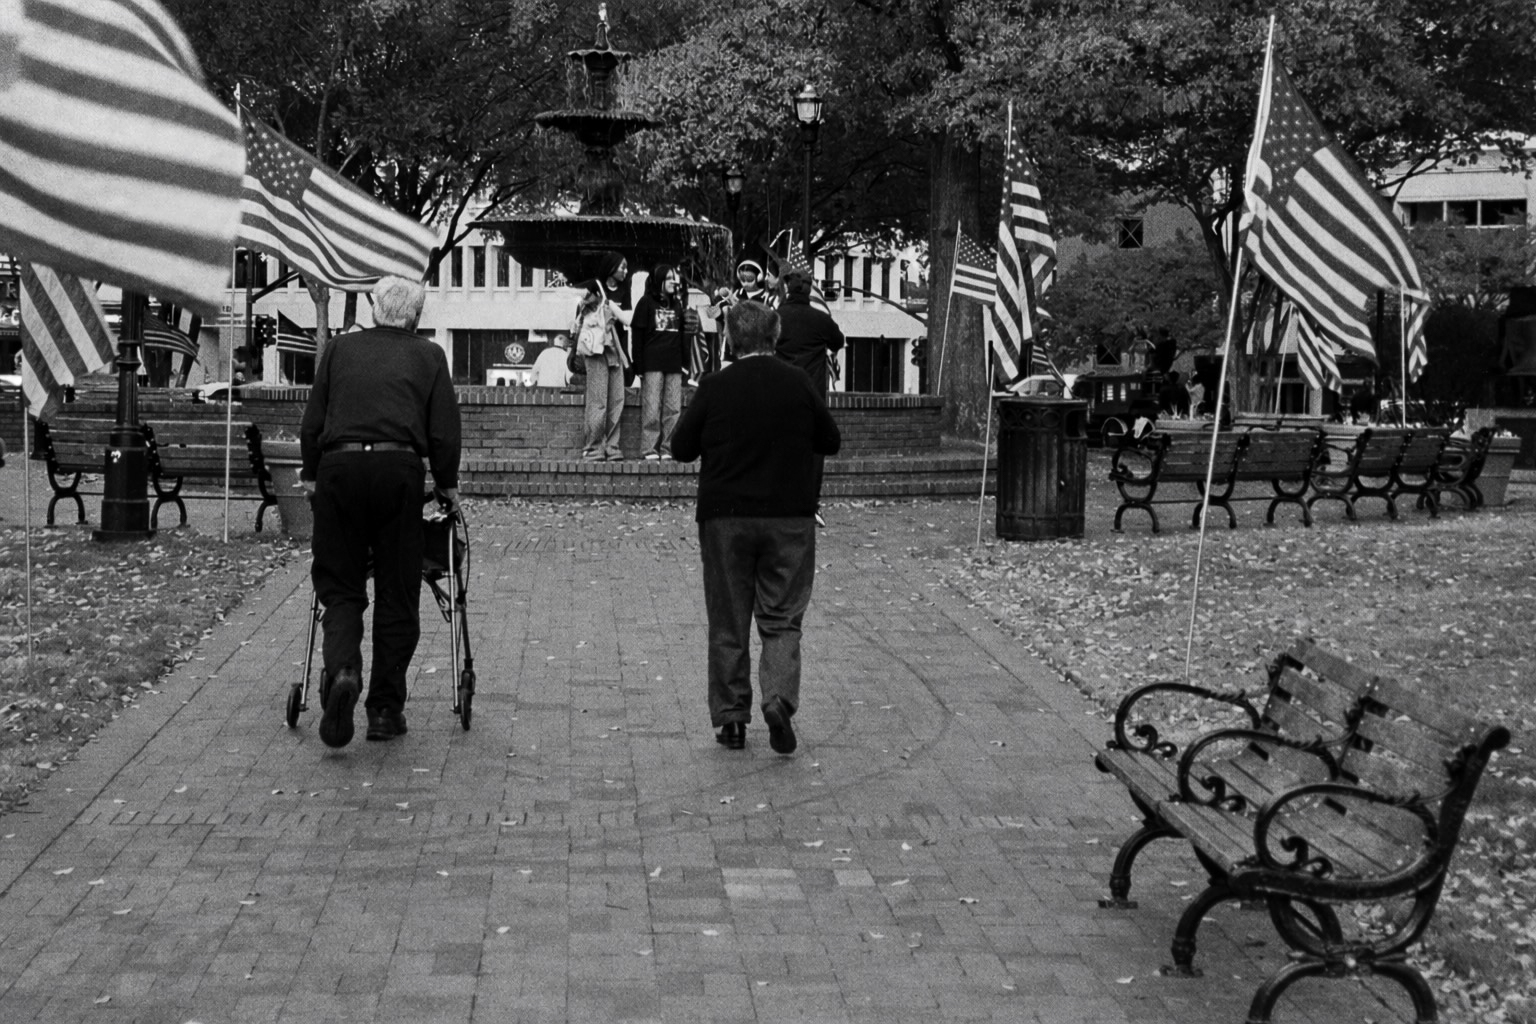
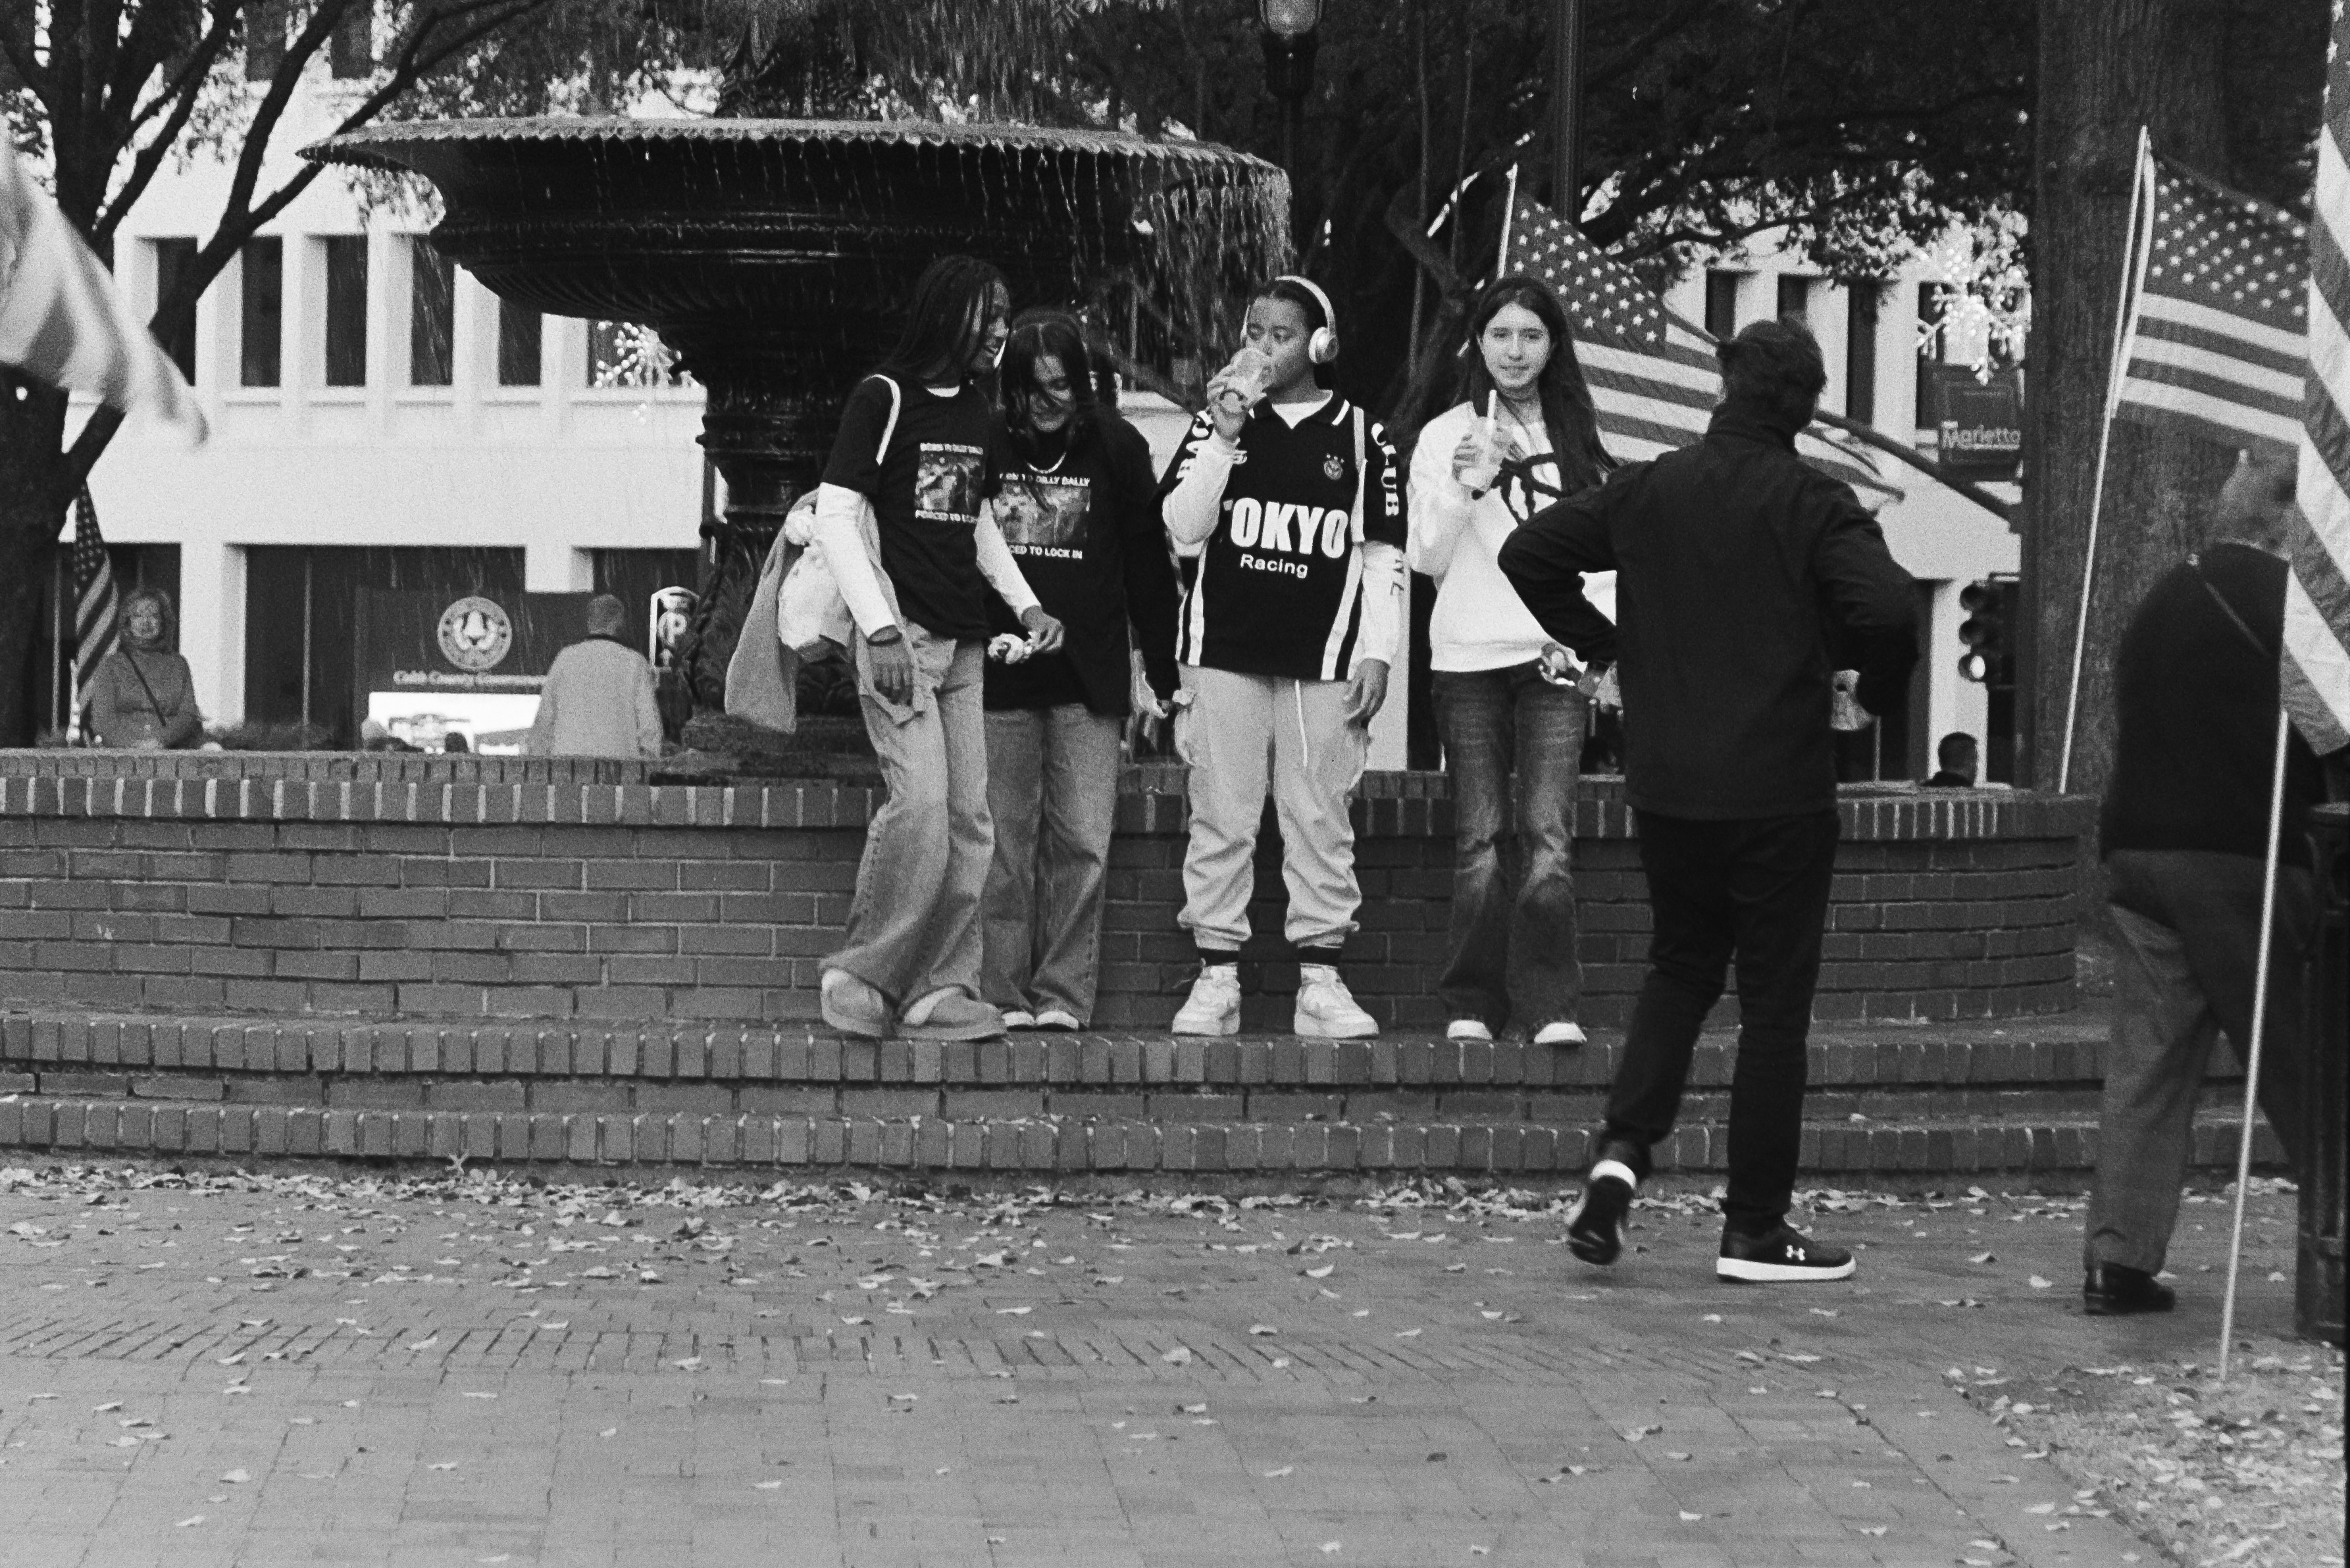
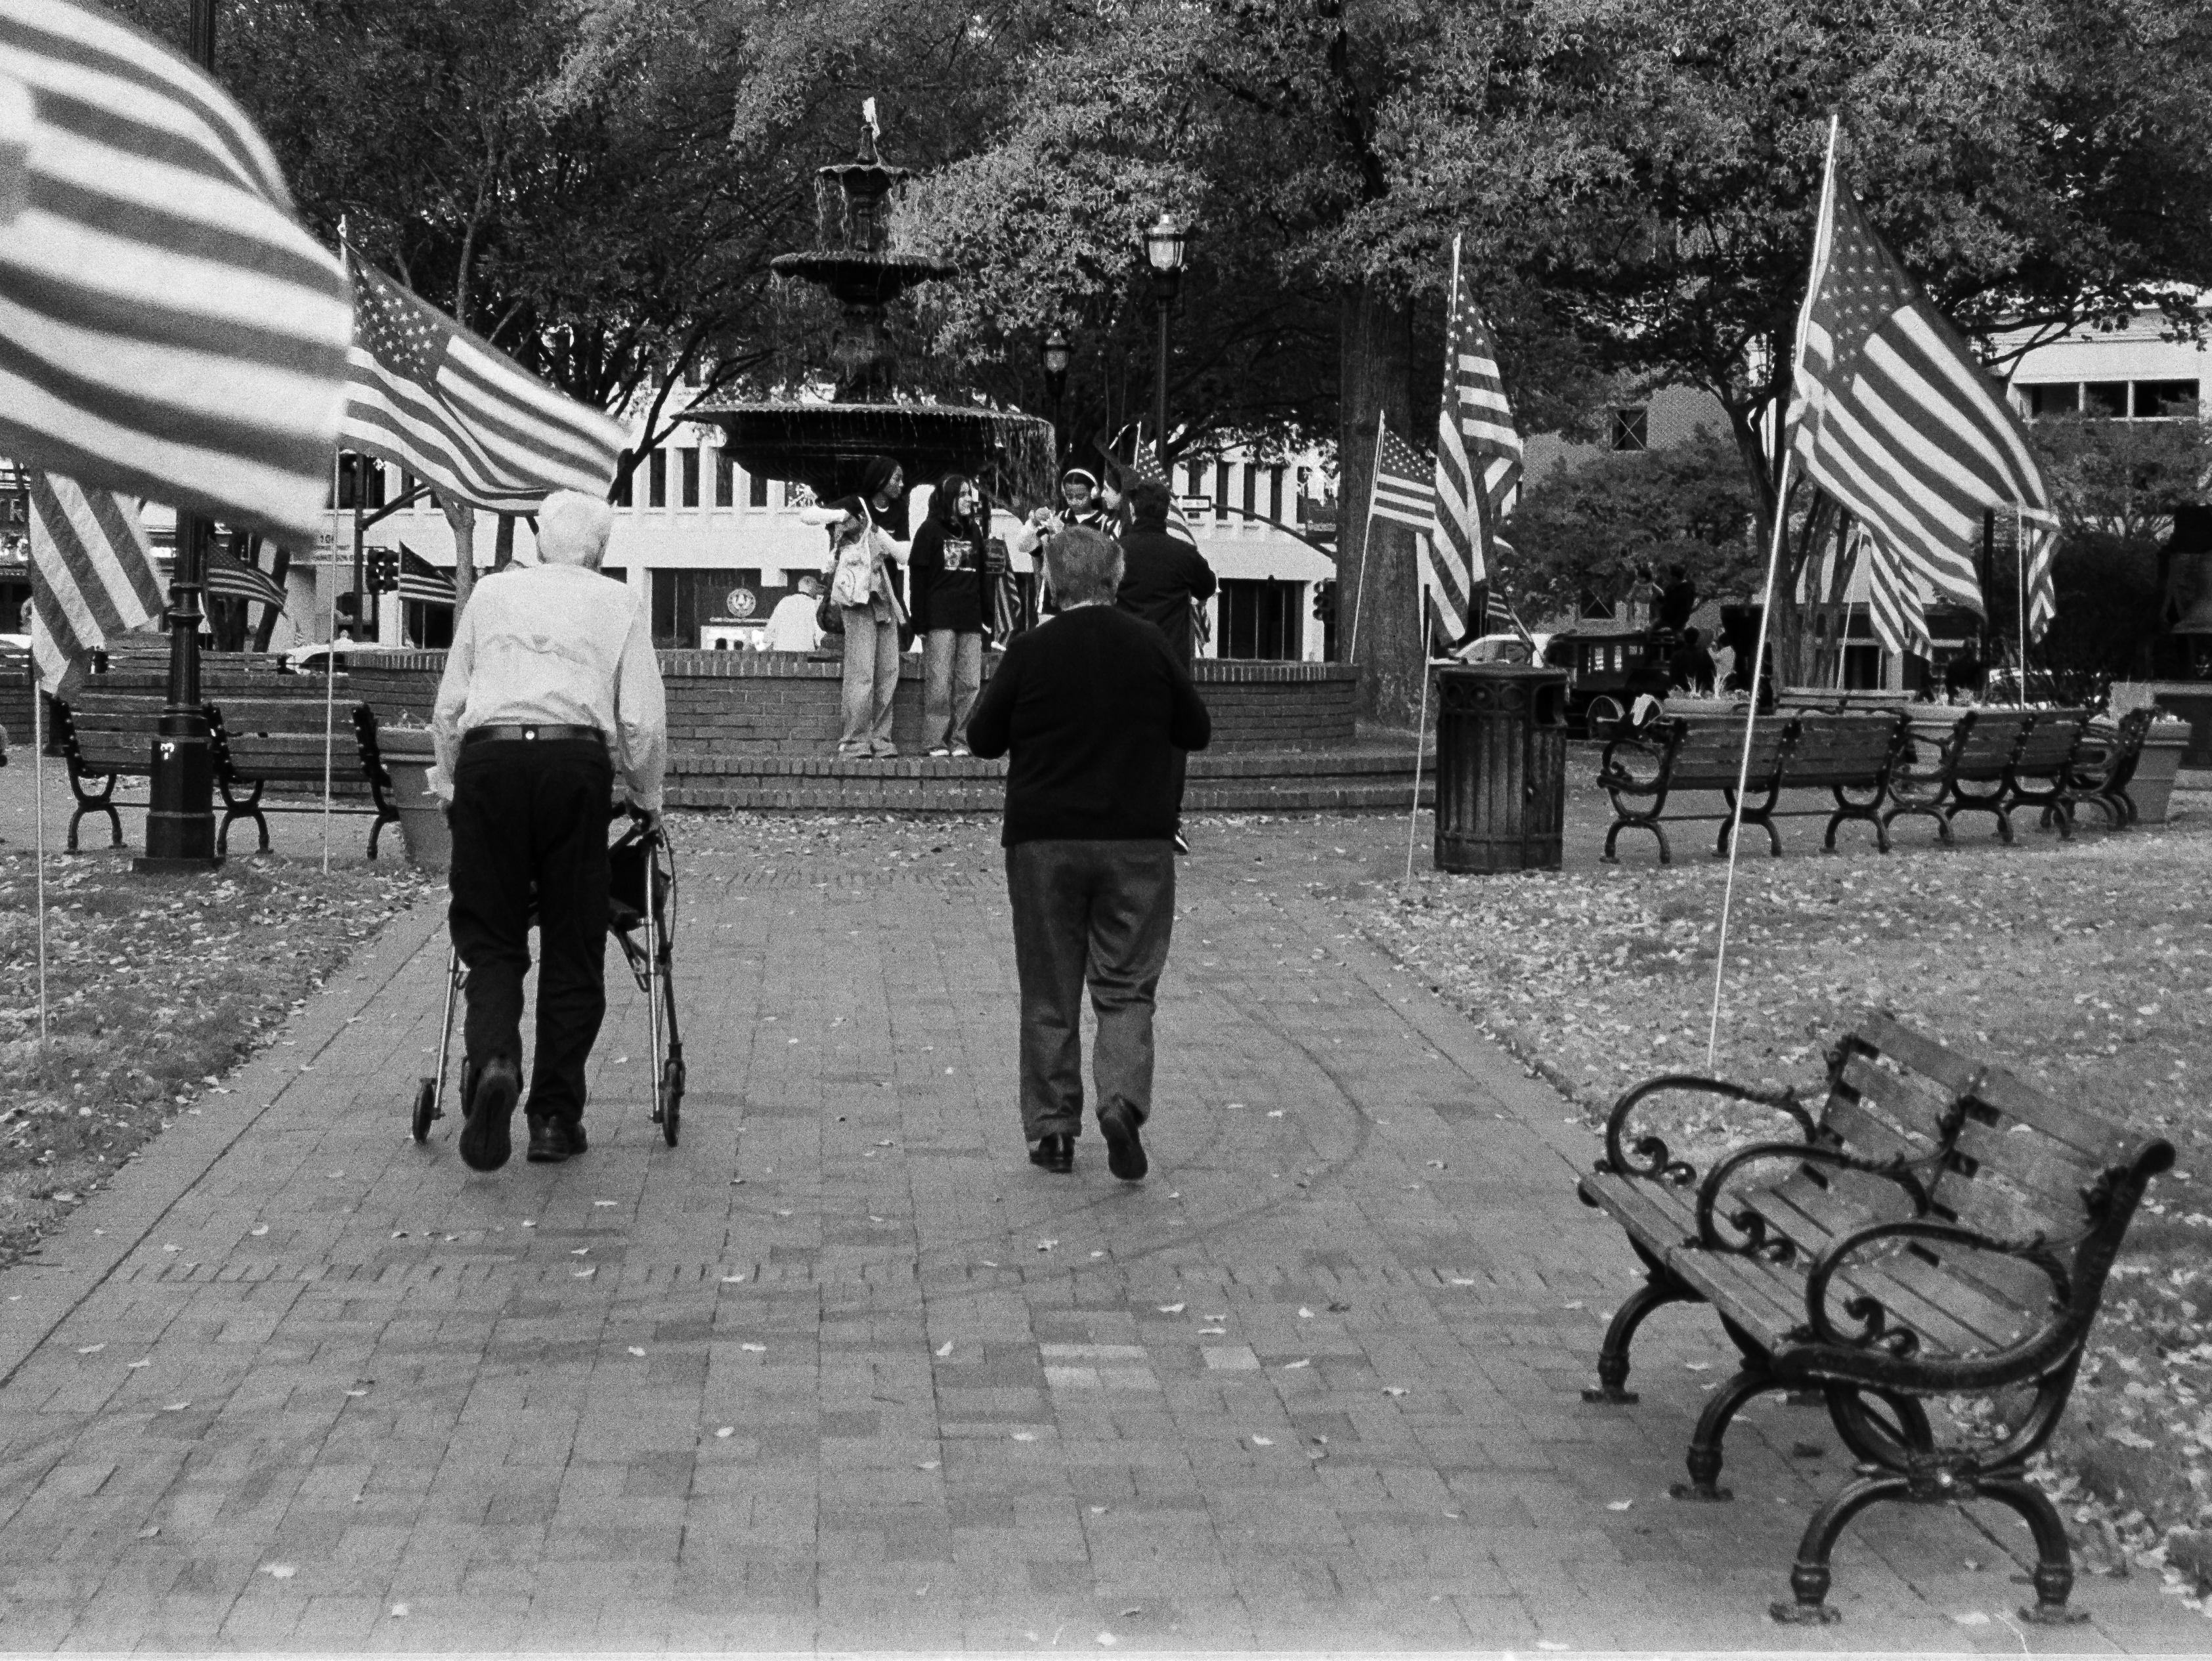
Marietta Town Square – Veterans Day – The tone of the shirt of the man on the left was changed in ChatGPT

The exposure determination also seems to have evolved positively with a three-zone evaluative system replacing the centered metering of the Photura 105. There is no exposure memorization and no magic +2EV button, but the evaluative metering of the “135” should perform better when the subject is backlit than the simpler system of the first Photura.

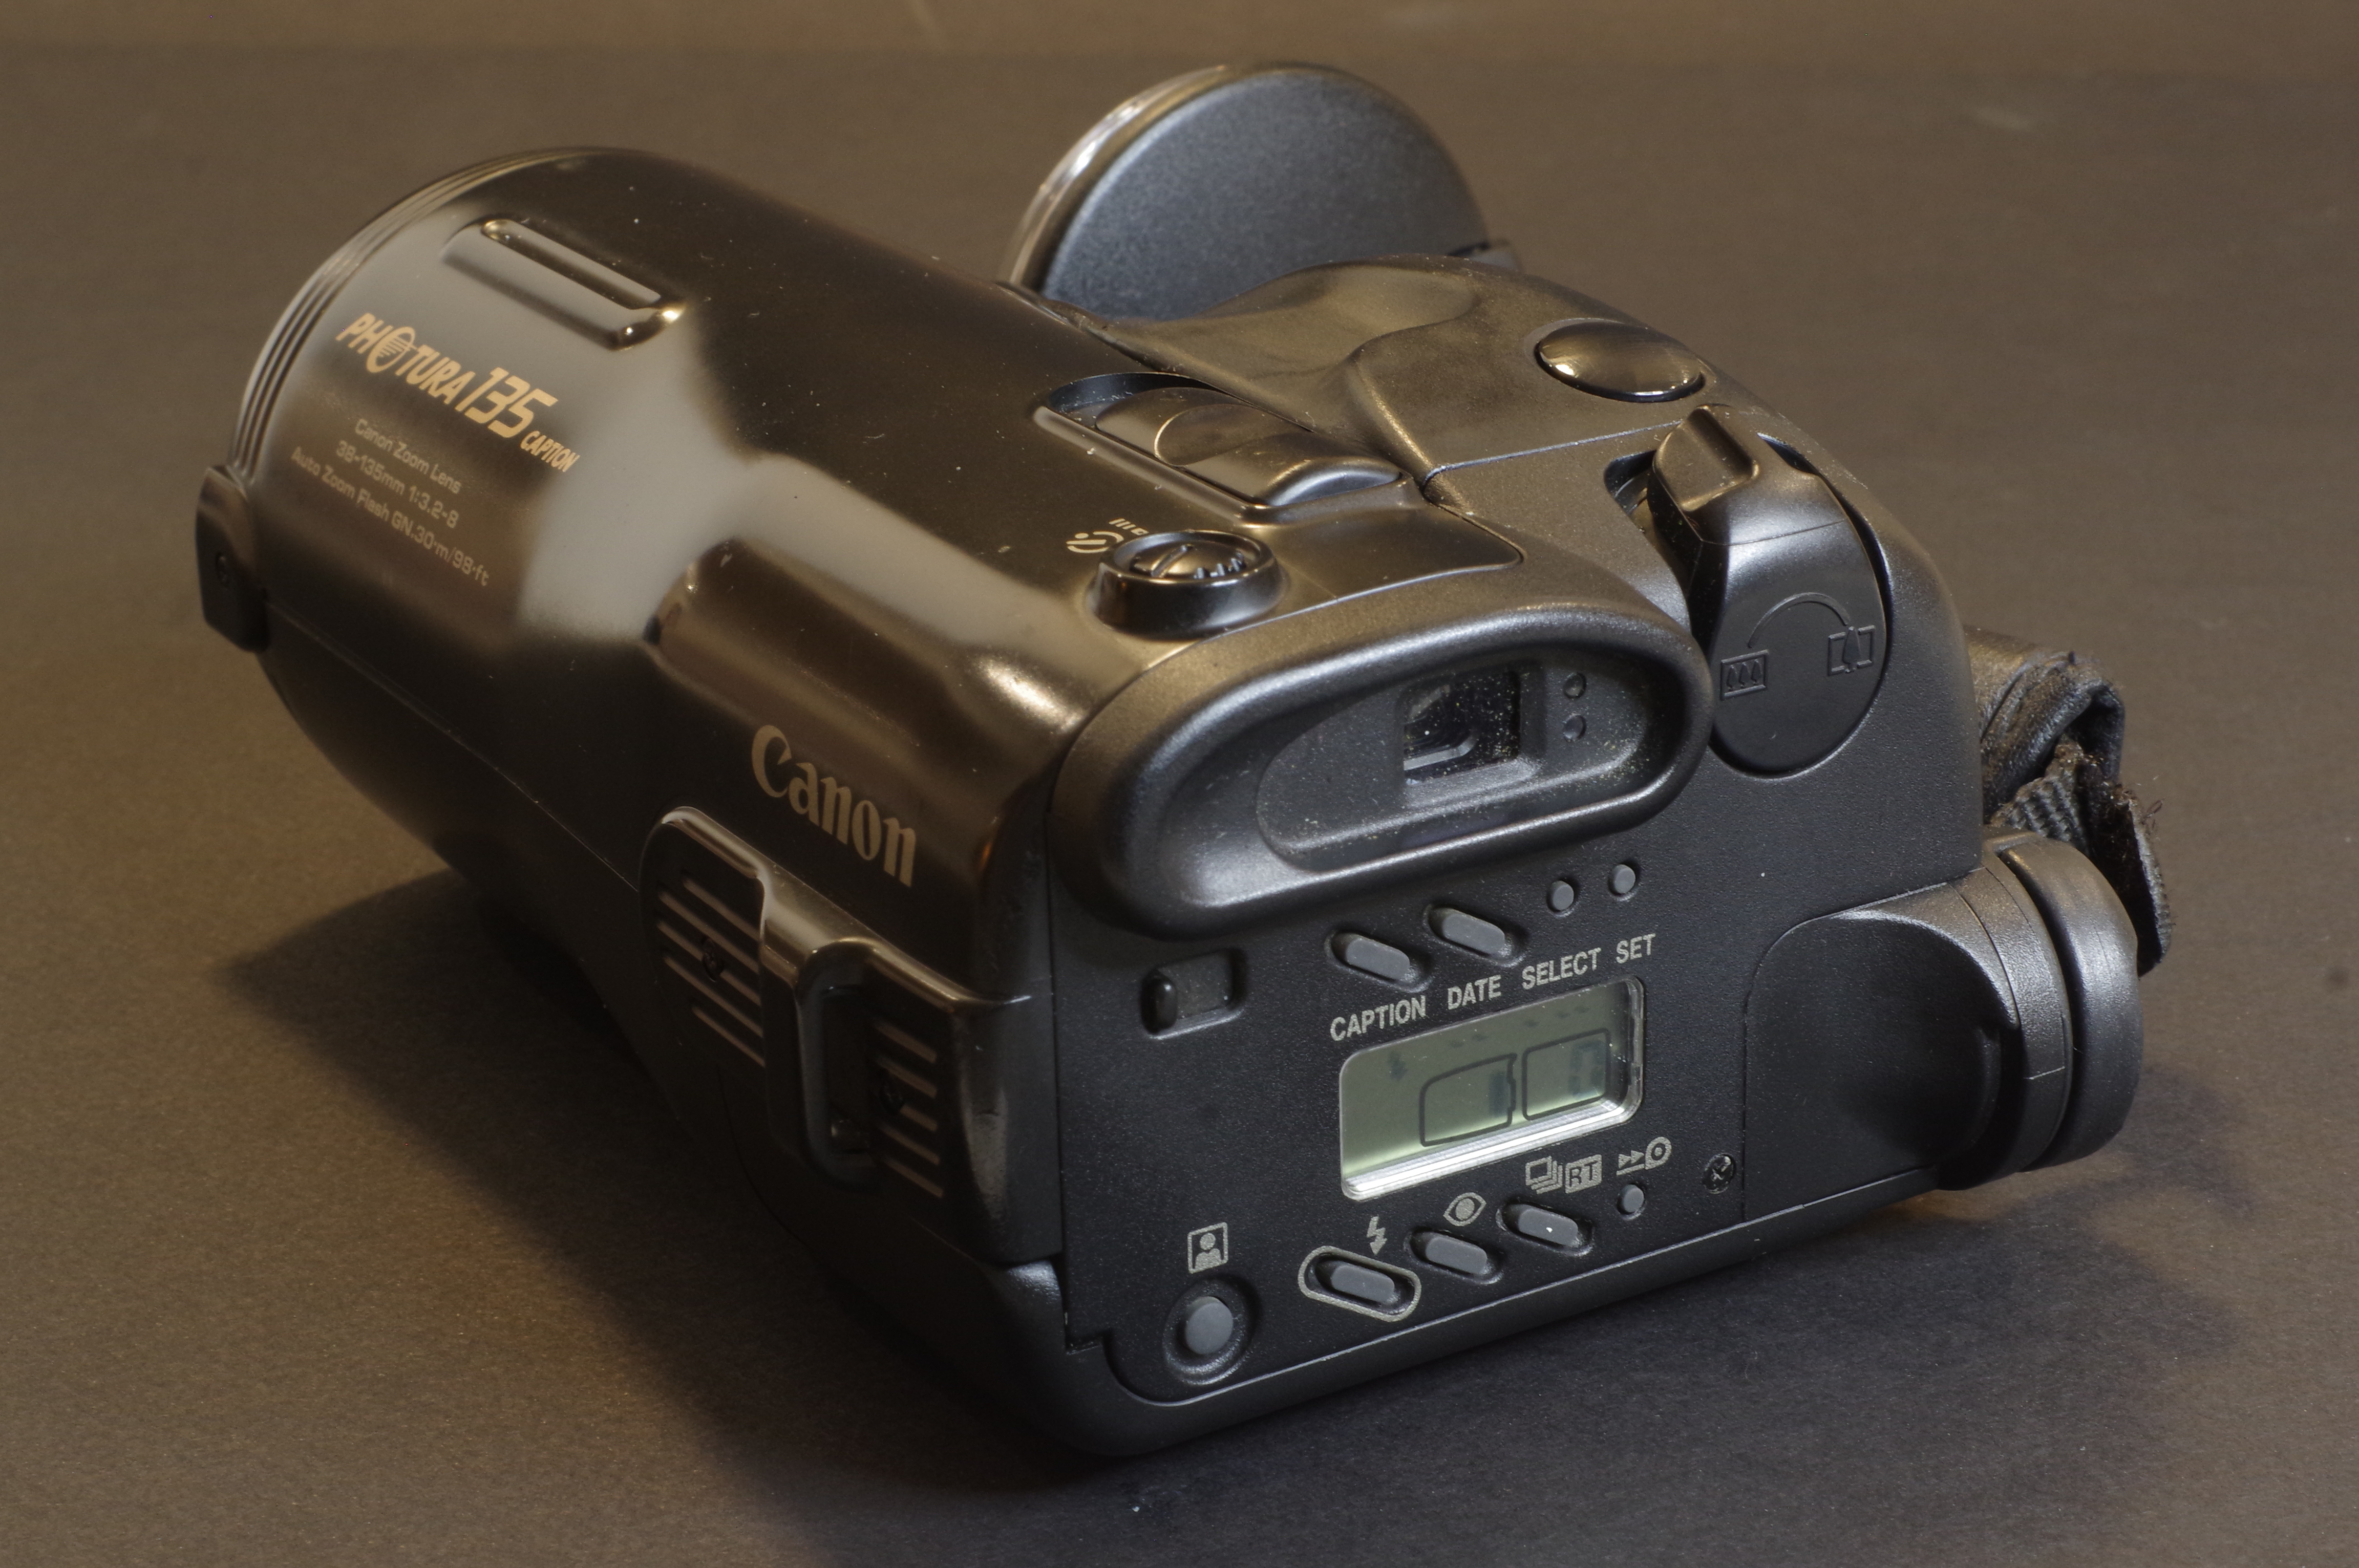
Canon Photura 135 Caption – Caption, Autozoom and Real Time buttons have been added.

Like the older Photura, the 135 Caption only operates under a single programmed auto-exposure mode, and is deprived of any “scene mode”. Being a camera from the nineteen nineties it does not offer any subject or face recognition capability. But like the Photura (and many Minolta cameras of the same vintage), it uses its power zoom to offer a sort of auto-framing capability, that ensures that in a series of shots, your human subject always occupies the same proportion of the image irrespective of its distance to the camera. I’m not sure I understand what the benefit is, but it seemed important enough to Canon’s engineers, who assigned a dedicated button to this function.

Lastly, the “Caption” version of the 135 gets a bigger self timer button, and the shutter can be fired remotely. The wireless remote controller and the extra strap that came with it originally must have been lost on my copy. Too bad.

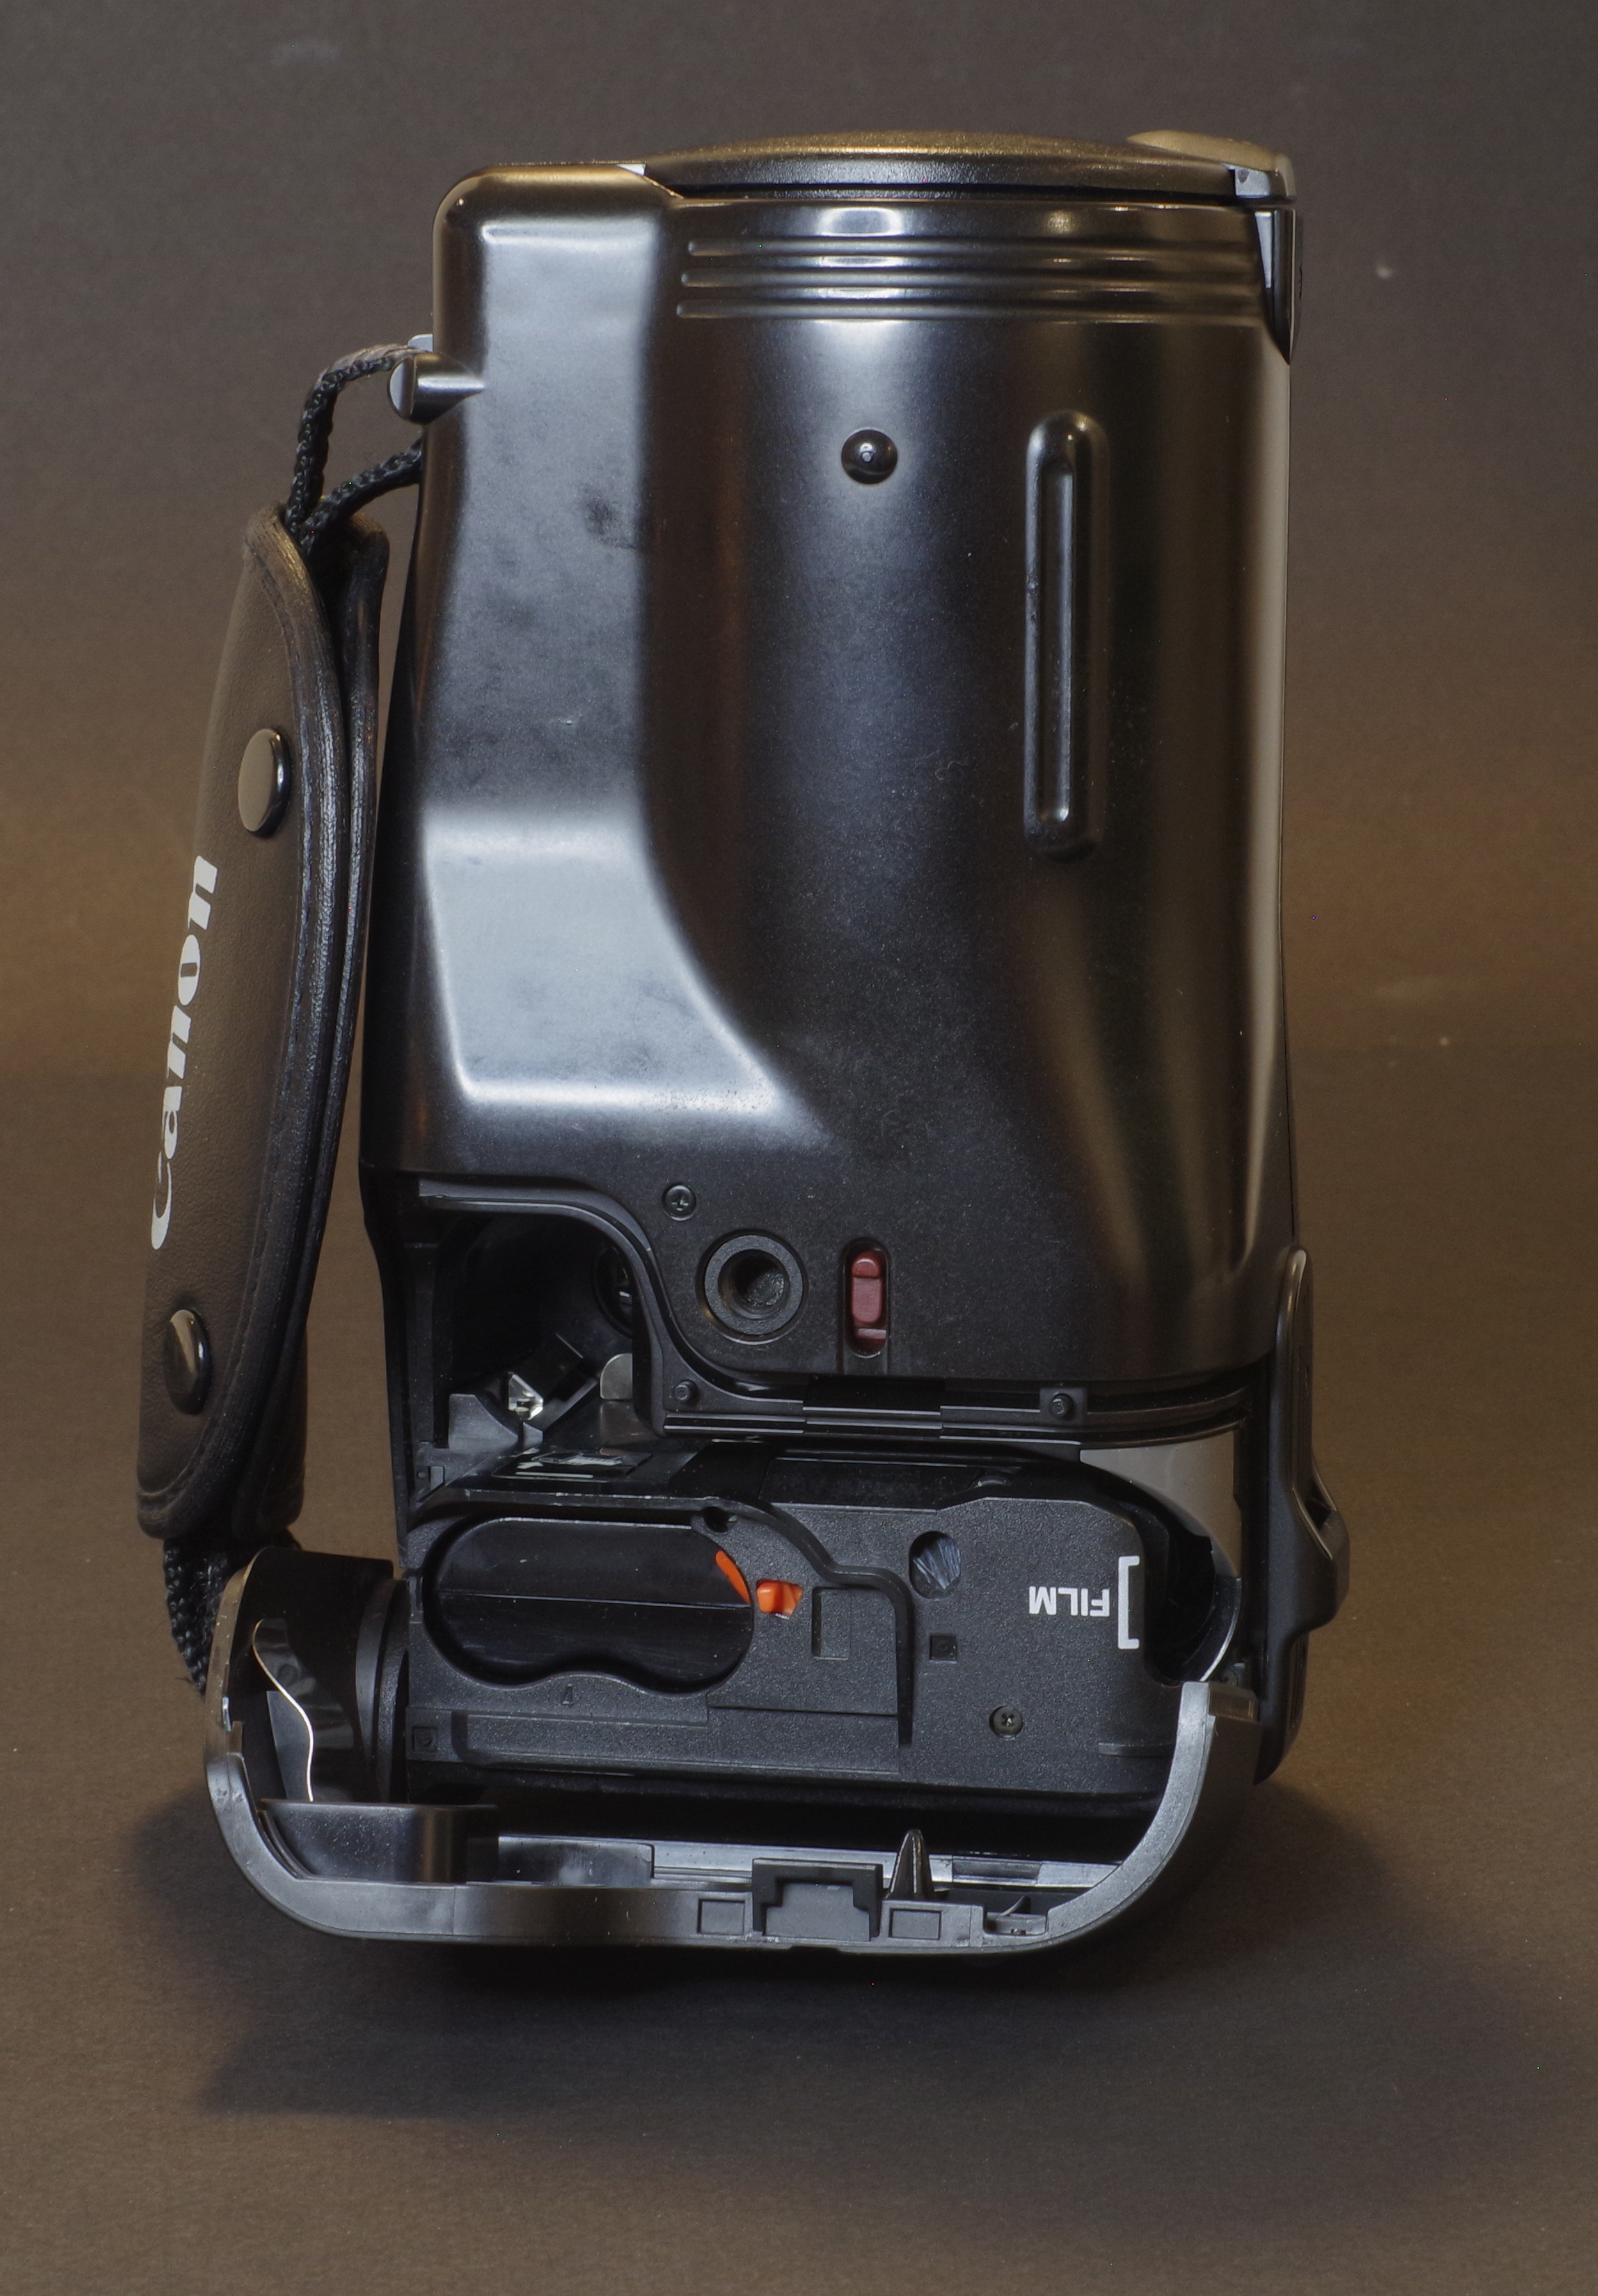
Canon Photura 135 – to load the camera, simply drop the film and pull the leader to the zone marked “film”.

Testing the Photura 135 Caption on Veterans Day in Downtown Marietta, GA

The square at the center of downtown Marietta is one of my favorite spots – Marietta is a big and modern city 15mi from Atlanta, but the square still has this unique “small town America” feeling. Even more so on Veterans Day.

I was impressed by the Photura 135. The first Photura (let’s call it the 105) was already a good camera, but the 135 is significantly improved – the autofocus is much more capable, and it’s really better at determining the exposure, even in tricky situations.

It’s not a Leica M for sure, but it can be used for street photography, with interesting results. Interior photography is still not its forte – the flash flattens the image – but when this camera was launched, no compact-zoom camera was good at that.

Canon Photura 135 – Ilford HP5 – Marietta, Veterans Day 2025

The biggest limitation of this camera is its zoom – or to be precise, its very narrow aperture, in particular at the long end. With a zoom opening at f/8 at the longest focal length, 400 ISO film really looks like a minimum, and at the end of my Marietta escapade, I wished I had loaded the camera with something faster than Ilford’s HP5 (on the Photura there is no way to override the DX coding and push film).

Would I bring this Photura 135 to my next travel destination? Yes, definitely. But I would also bring some 800 ISO film, just in case. The Photura 135 is not as easy to find as the first generation “Photura 105”, but if you’re interested in shooting with a bridge camera, I would recommend you make the effort of locating the “135” – it’s a case of version 2.0 fixing most of the issues of version 1.0.

Canon Photura 135 and Canon T90 – a family reunion of sorts the Photura is shaped like a tube and much easier to carry in your luggage than a more conventional camera
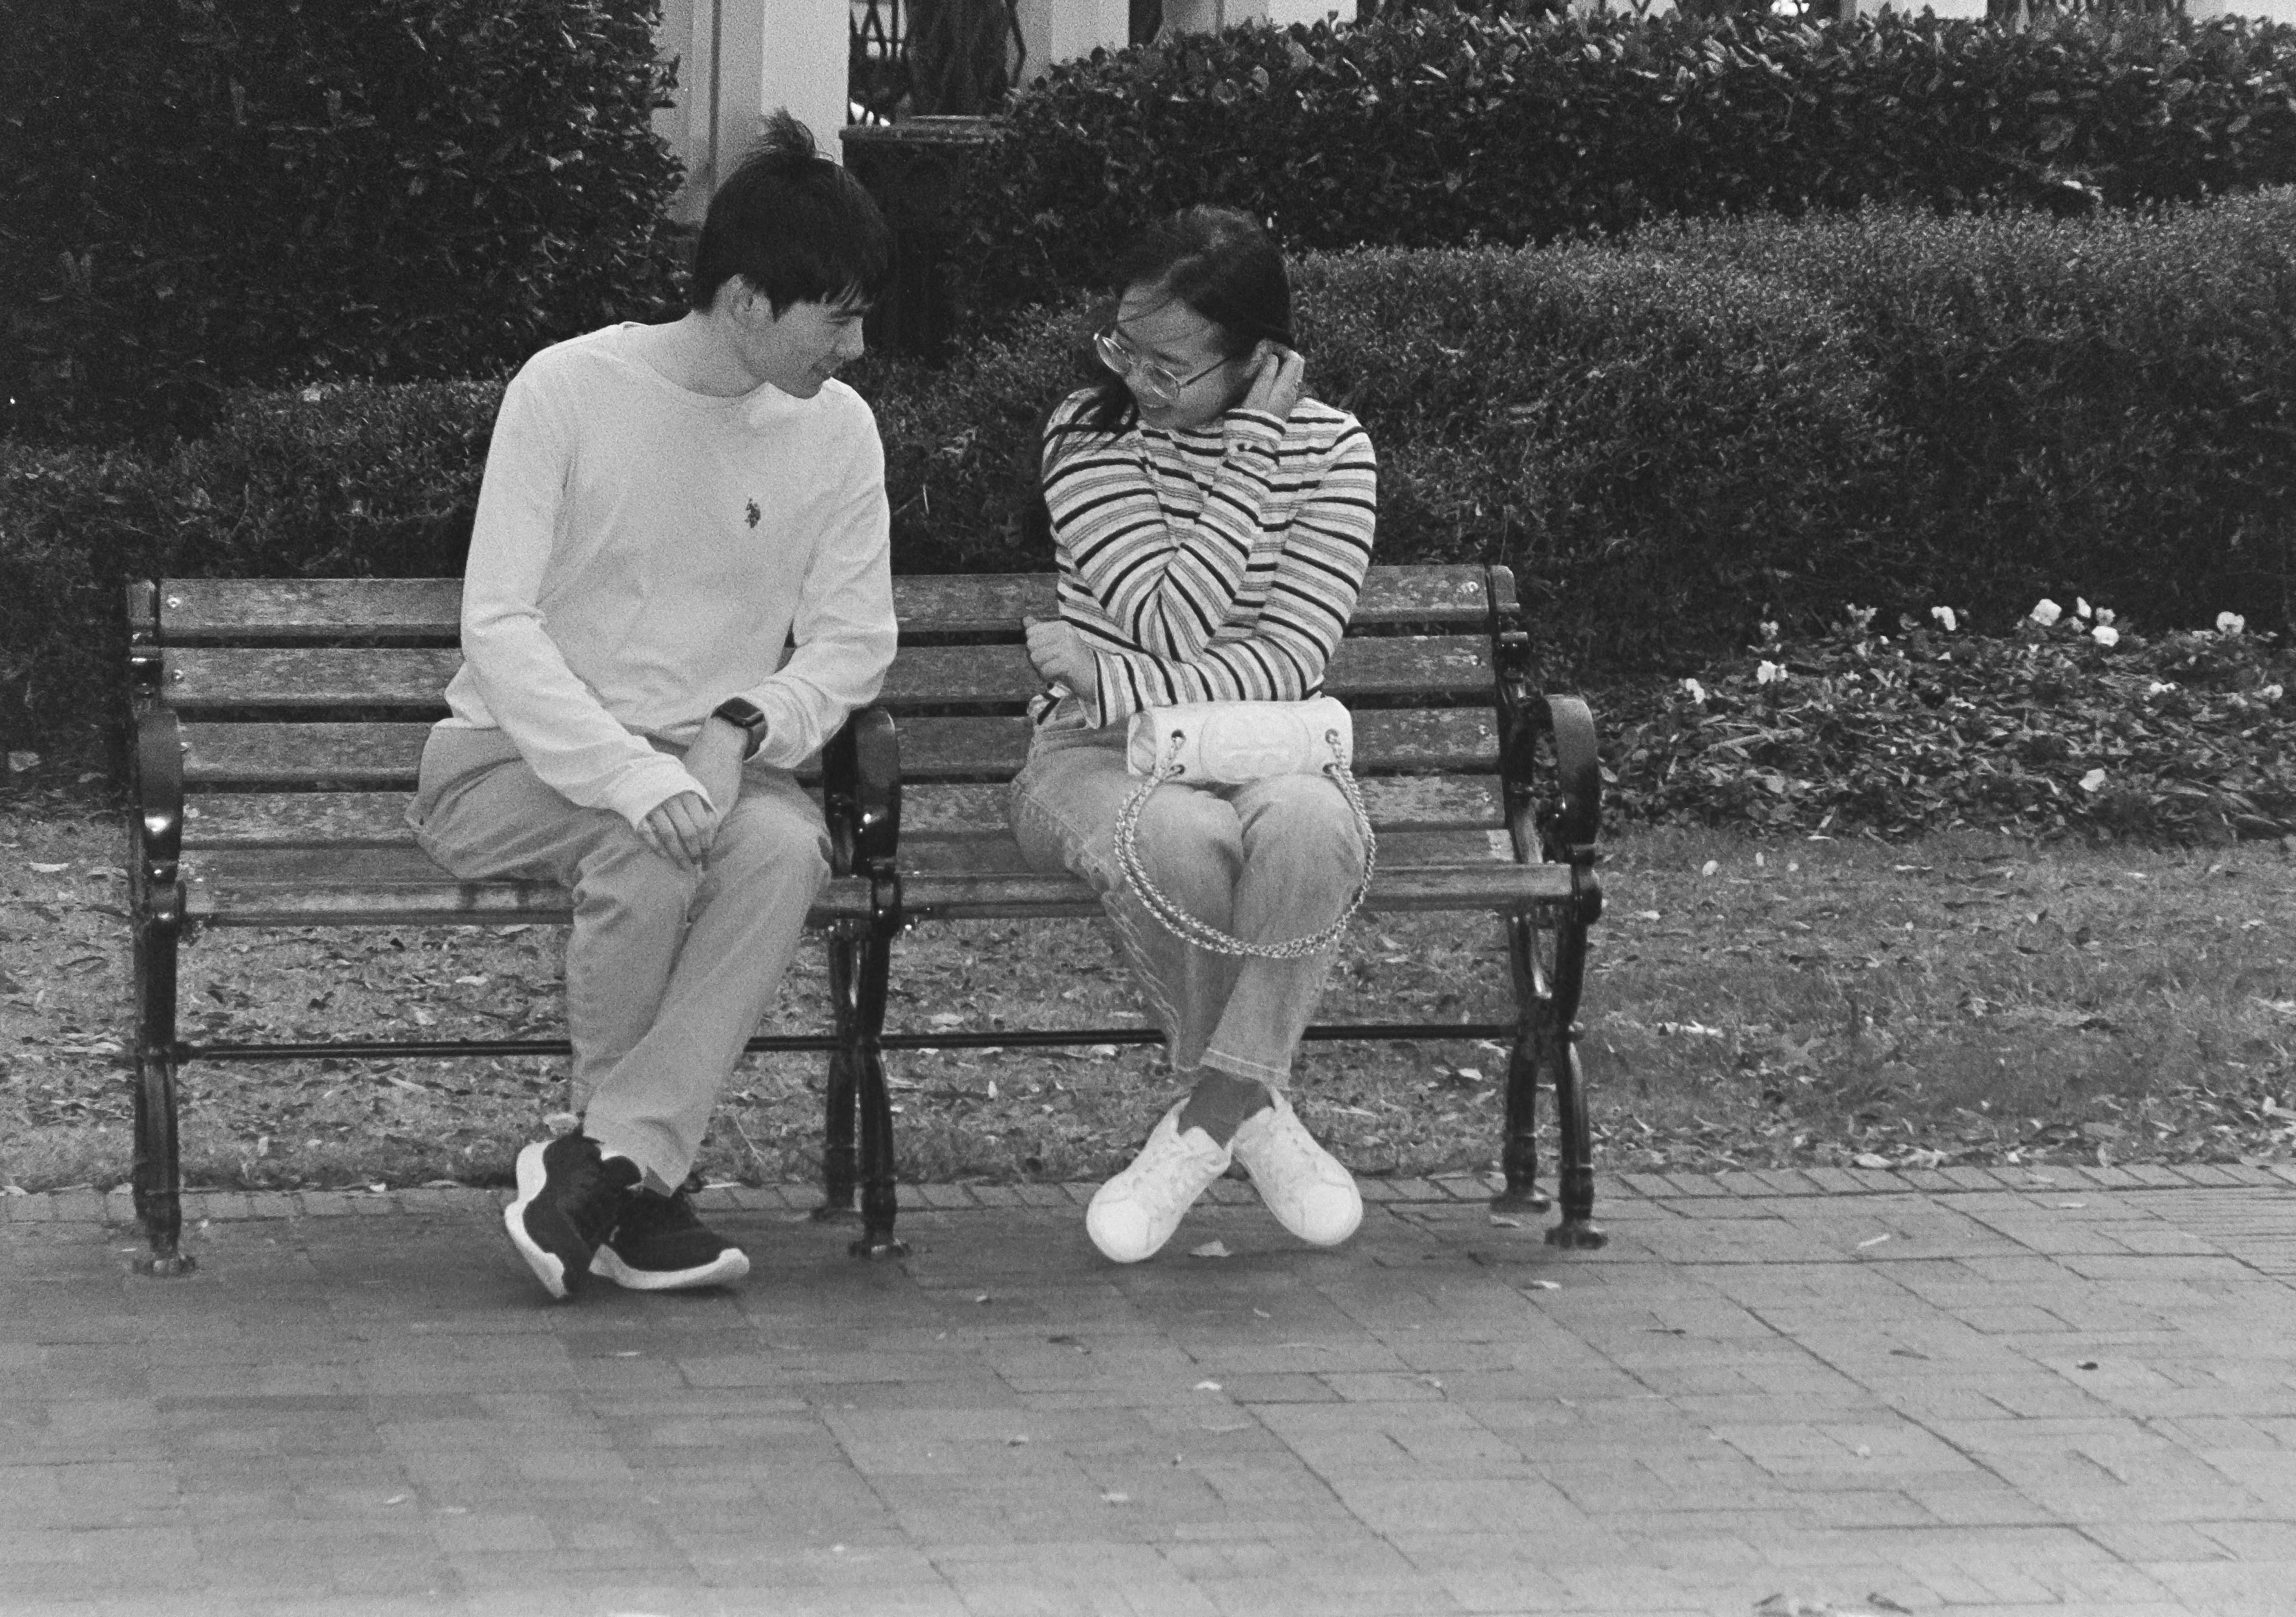
Marietta, Veterans Day 2025 – Canon Photura 135 – Ilford HP5 – S curve and micro contrast improved on ChatGPT

About asking ChatGPT to “Heal” my pictures – I submitted two of the pictures of this series to ChatGPT – for the first one (the man on the left with the walker) it simply changed the color of the shirt (it was bright white and too distracting). The picture of the two kids on the bench was taken at the end of the afternoon, at the long end of the zoom, and was a bit too soft (it lacked contrast and sharpness). I asked ChatGPT to increase the contrast of the image selectively, without touching the mid tones. It played on the two ends of the S curve and then increased the micro-contrast locally. And gave me a one page long explanation of what it had done and why. Everything it did I could have done with Photoshop if I had a Photoshop license, and was skilled enough to pull it off. I’m normally using Lightroom’s “Heal” functions, but in this case, I could not get the result I was expecting and I had to ask ChatGPT for help.

The originals:

Old gear, B&W film and AI – a match made in heaven? I’m sure we’ll have more opportunities to discuss the issue along the year.