Are the images you’ve scanned from film negatives really… yours?

And how is an image produced by the Frontier or the Noritsu scanner of a photo lab really more “yours” than an image totally reconstructed by an AI program such as ChatGPT?

We’ll try and answer this question in three successive blog entries – today, we’re looking at what a lab scanner really does. Next week, we’ll ask ChatGPT to “reconstruct” some of our technically weakest images and make them better. And finally, we’ll show that an AI general purpose program can’t compete with a 30 year old Frontier scanner.


I don’t scan my black-and-white film. Instead, I digitize it by photographing each negative with a digital camera, a macro lens and a “digitizing adapter“. It’s fast, and the only dedicated piece of equipment I need is a relatively cheap and low tech digitizing adapter (a film holder and a light source).

I tried applying the same workflow to color negatives, but getting the colors right proved far more challenging. Achieving consistently good results would probably require investing in a specialized Lightroom plugin such as https://www.negativelabpro.com.

Even for B&W images, with the same camera and film stock, my results often fall short of those produced by photographers who have their film scanned on a Frontier or Noritsu scanner at their favorite photo lab.

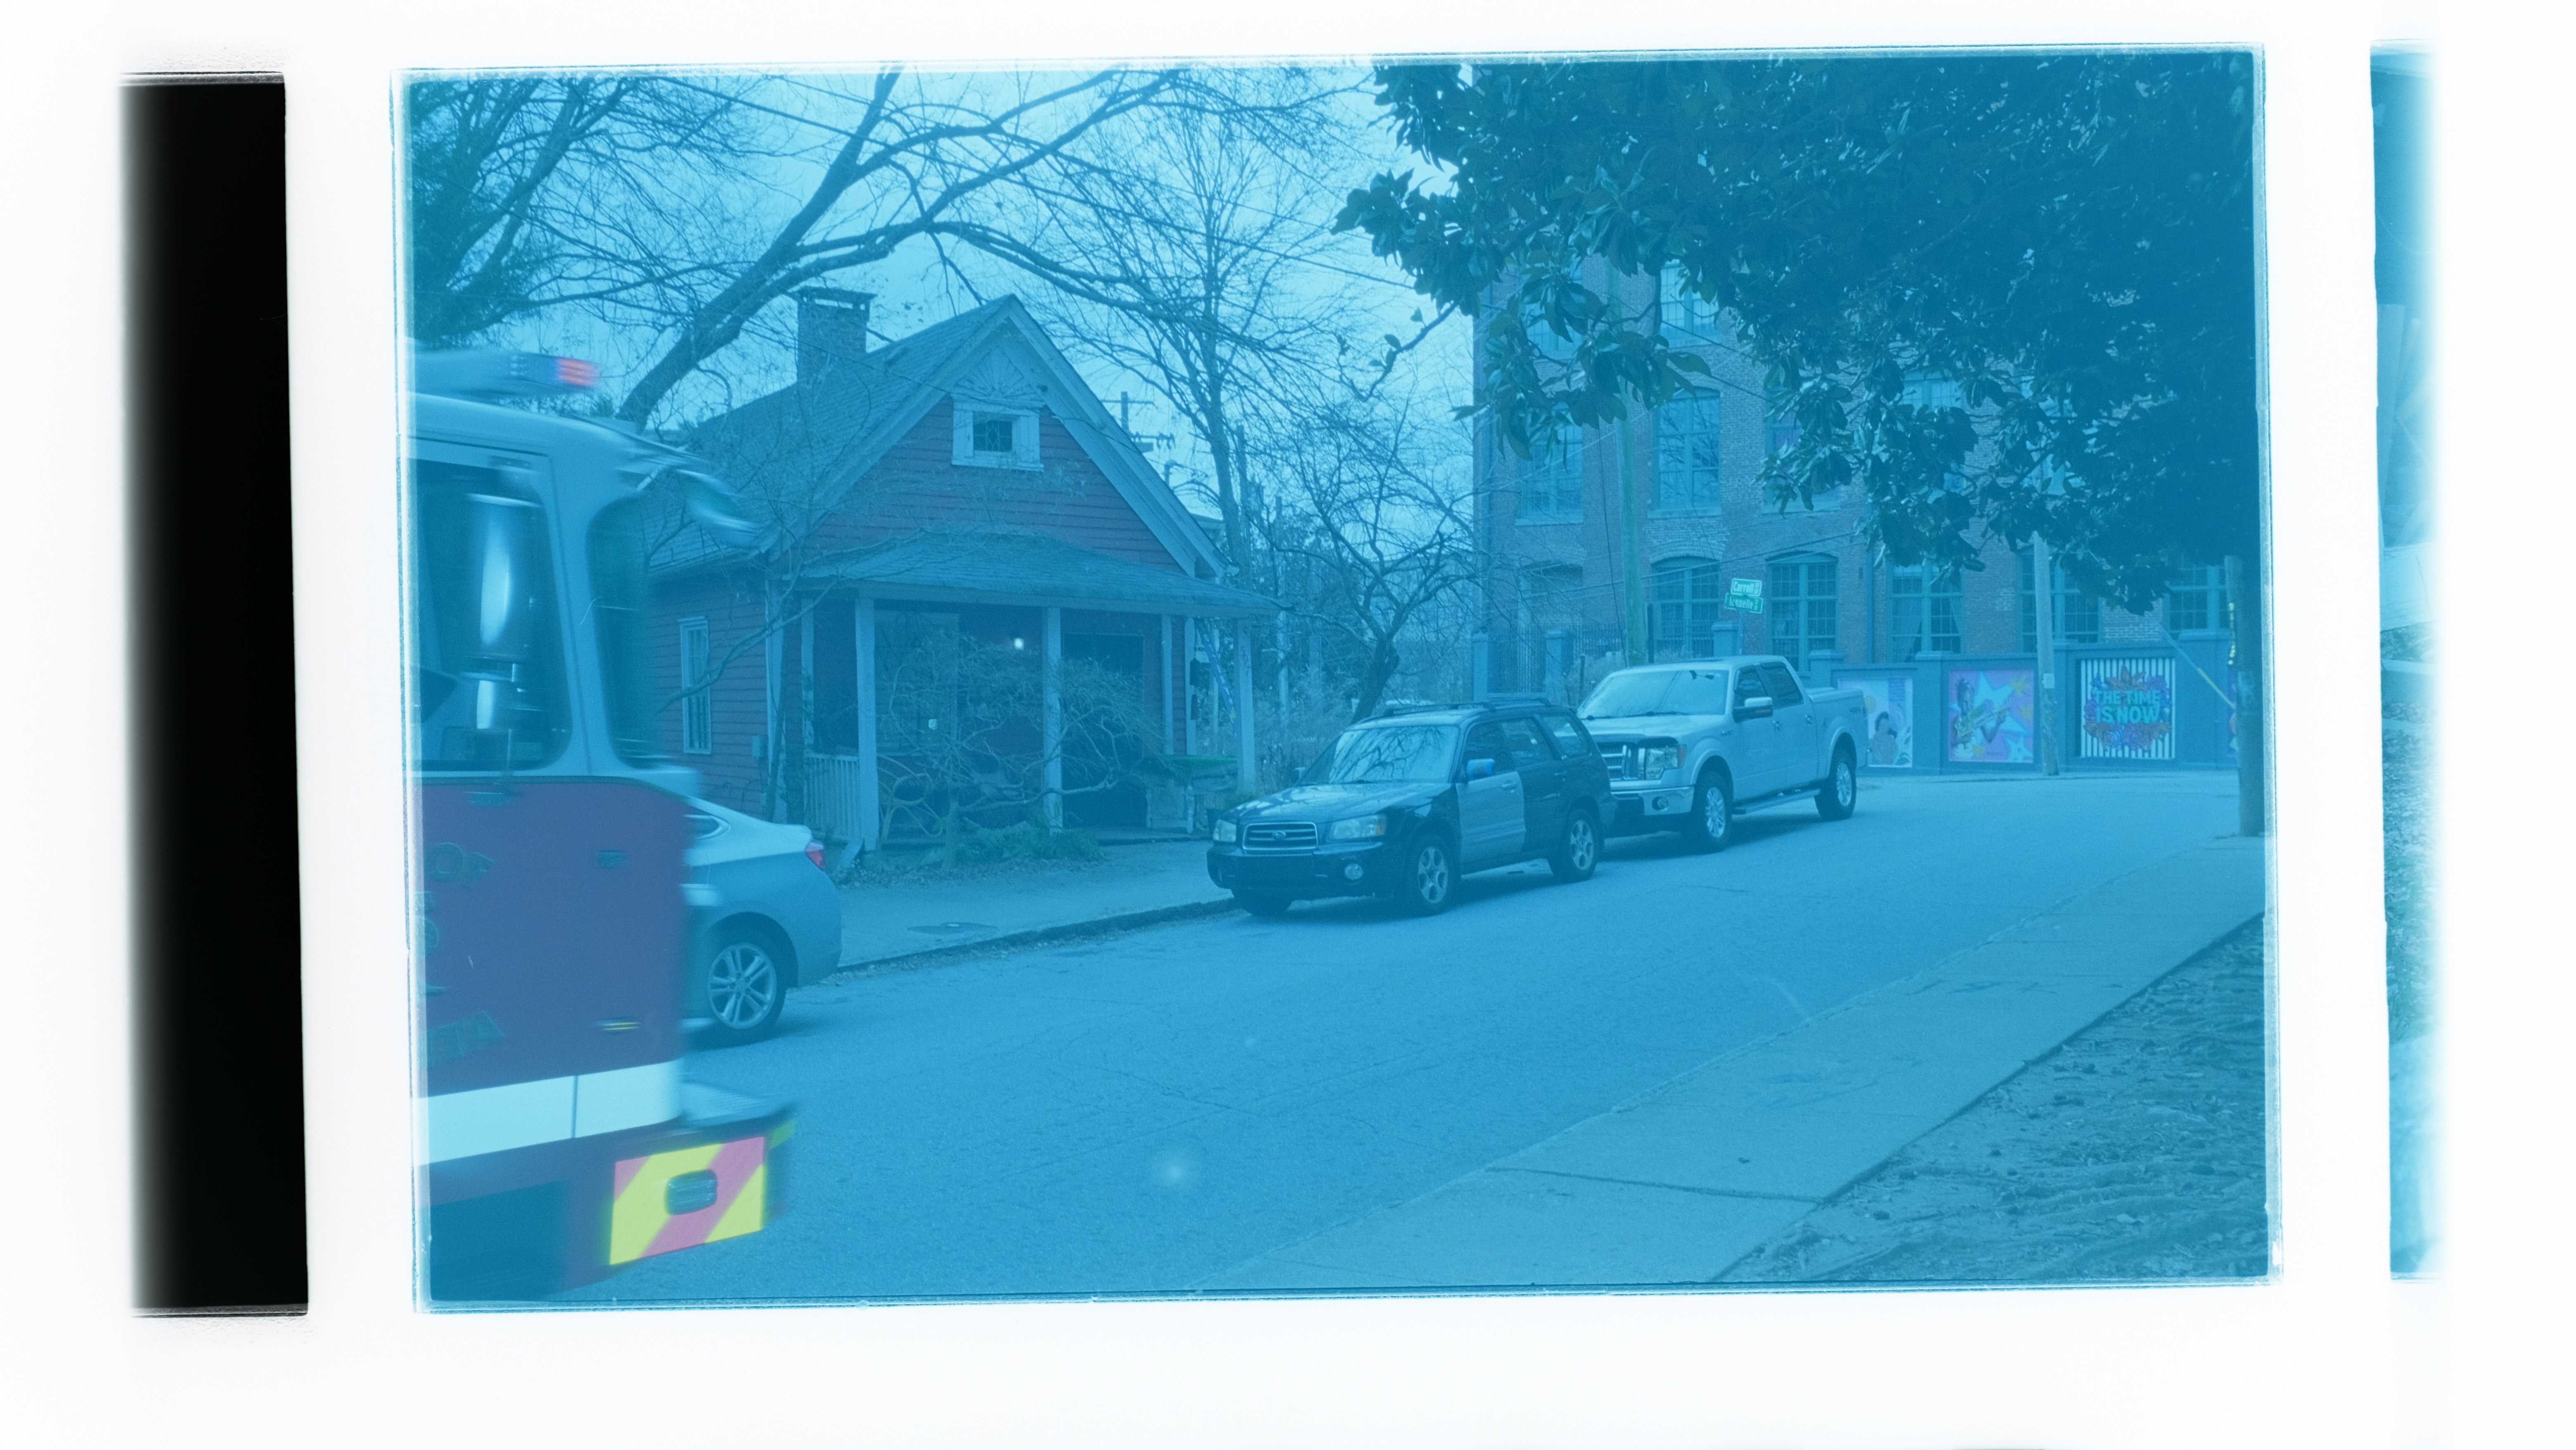
The color film simply inverted, no color correction. There is long way from this raw image to a color-corrected picture.

When I digitize conventional silver-halide black-and-white film, the main challenges are grain and low contrast. With color negatives, those are no longer the primary issues. Instead, once the negative has been inverted, getting the colors to look natural becomes the real issue.

Atlanta, Cabbagetown, digitized and inverted at home – no color correction applied.

Which brings two questions :

  • What exactly are Frontier and Noritsu scanners doing that my own film-digitizing workflow is not?
  • Could a general-purpose AI model such as ChatGPT or Claude apply to my digitized images the same optimizations performed by a Frontier or Noritsu scanner?
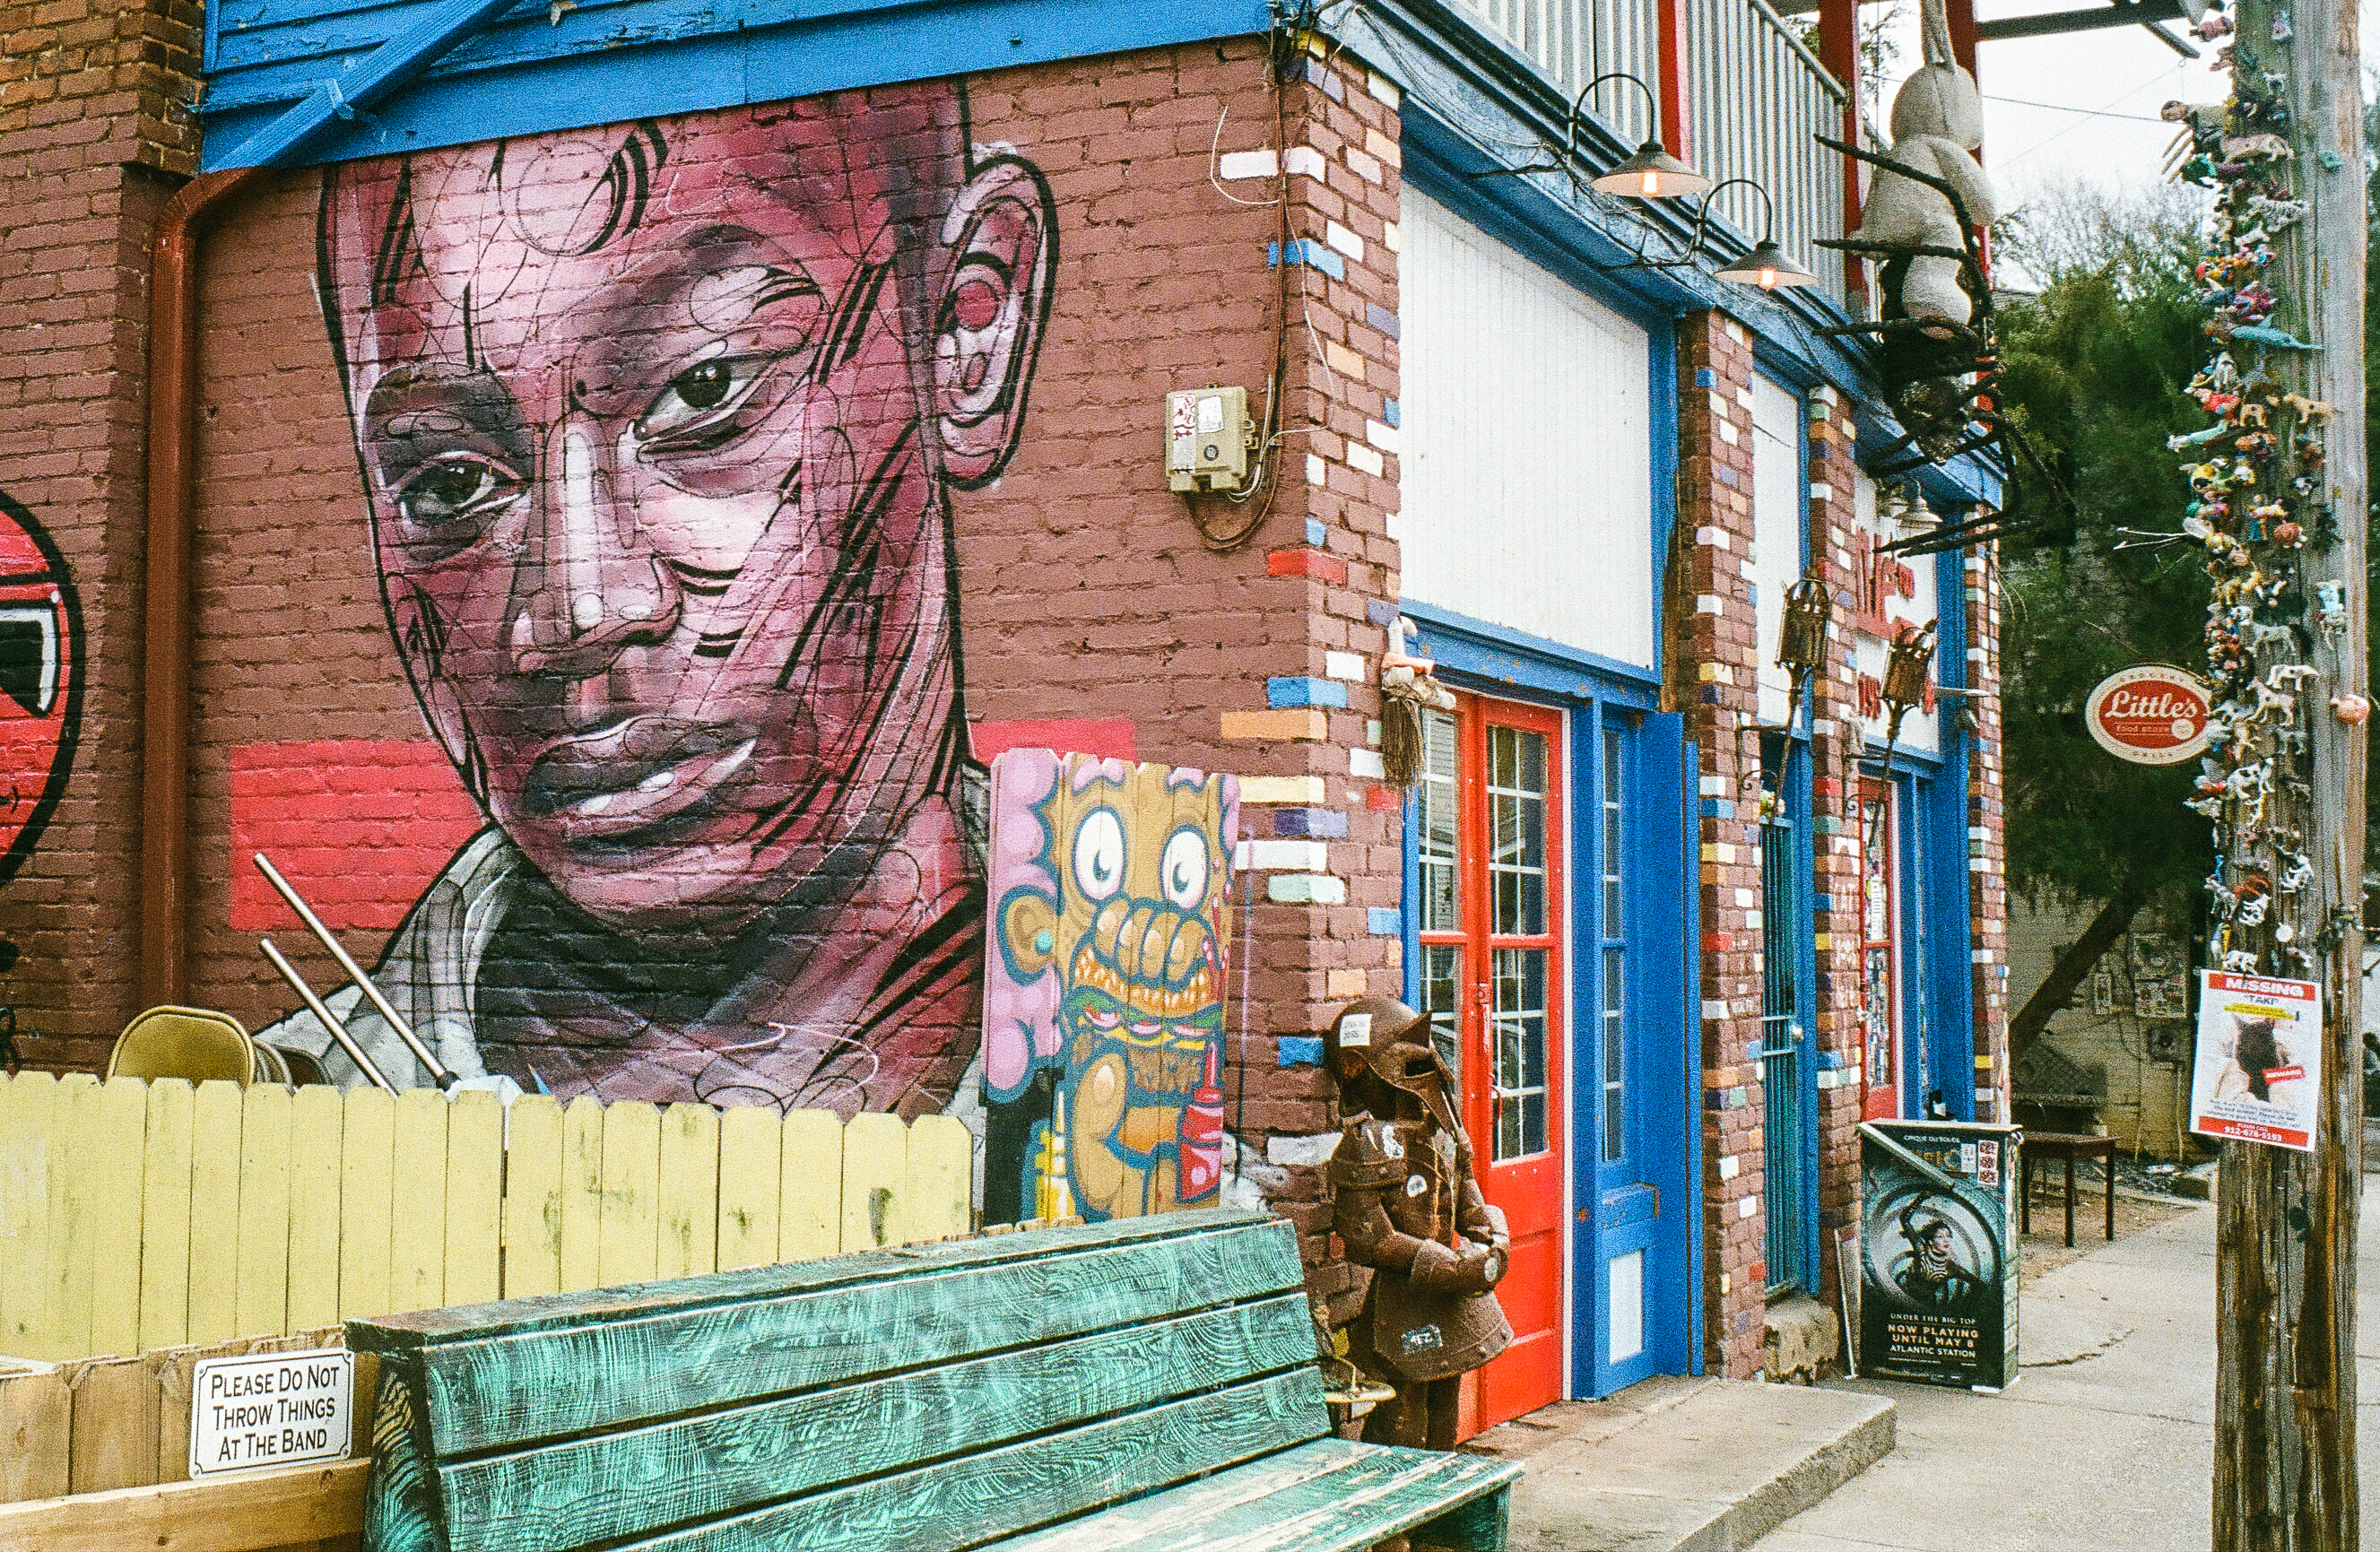
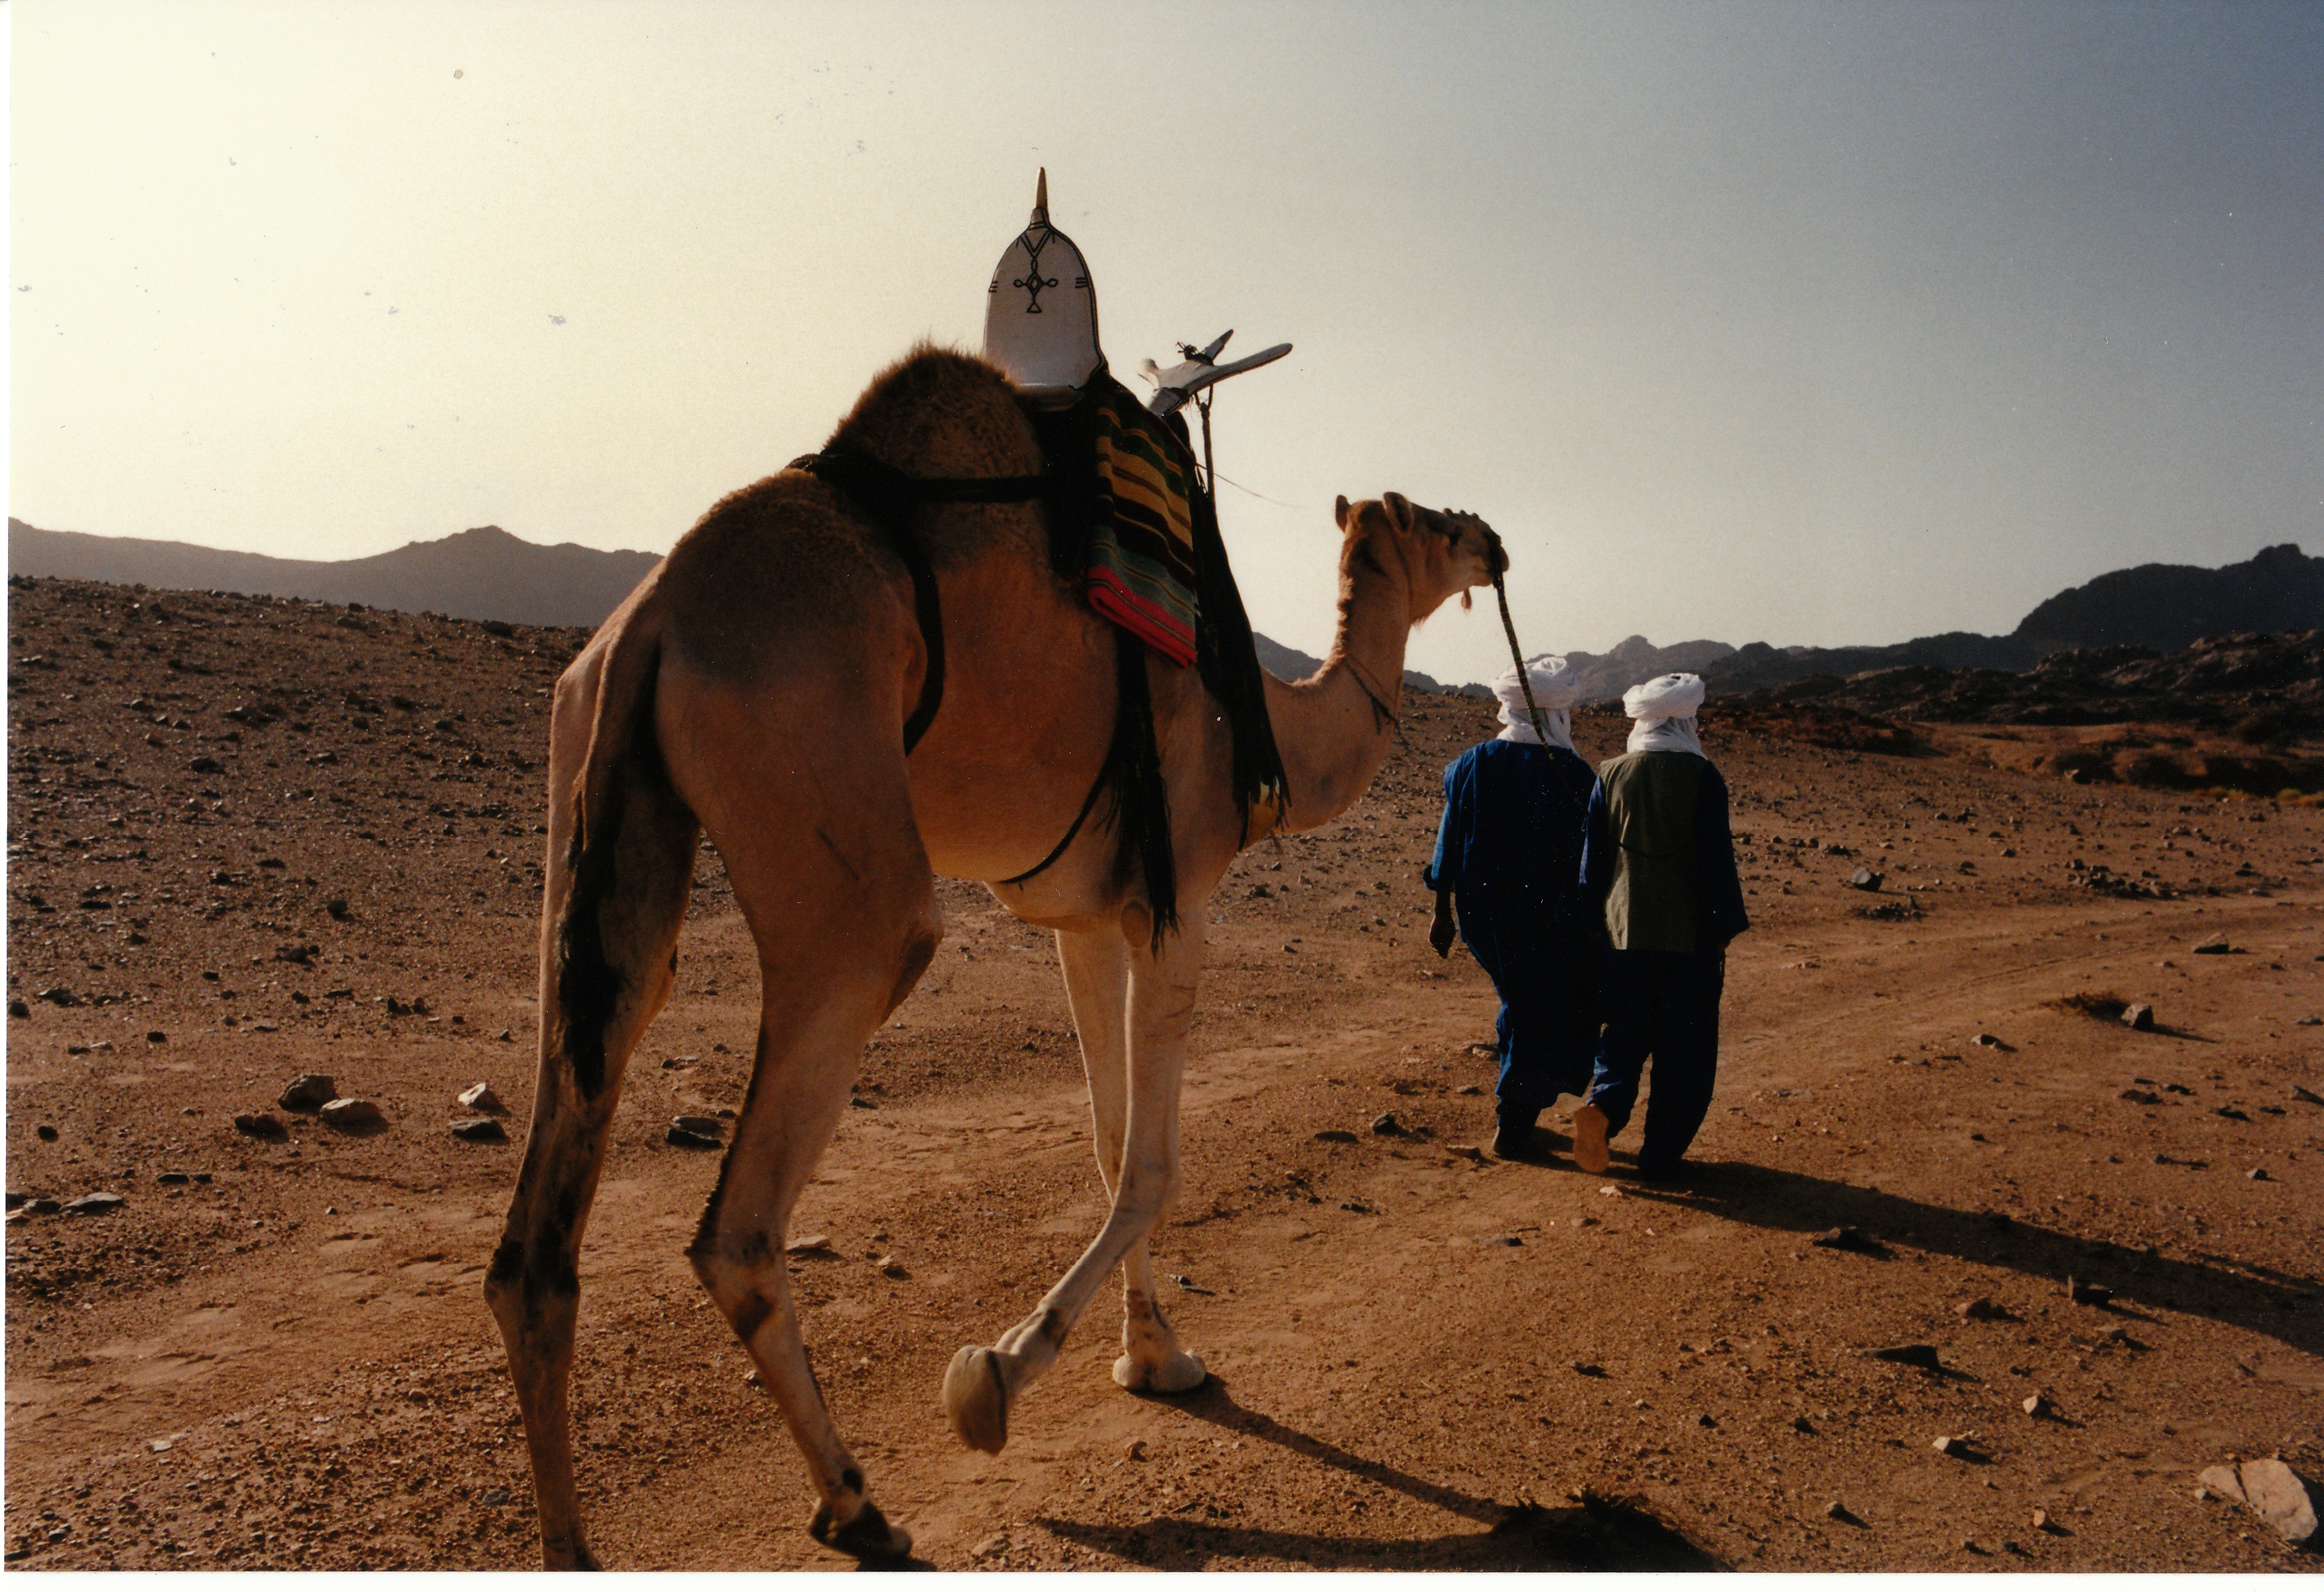
Kodak Ultra 400 negative, scanned by a professional lab using Noritsu scanner (Koki EZ Controller).

Fujifilm Frontier SP-3000 vs Noritsu HS-1800

The majority of the remaining pro photo labs scan the films of their clients on one of those two machines – in fact, most of them have both and let the client choose the one they prefer.

The Fujifilm Frontier SP-3000 is a product of the film era, dating back to the heyday of analog photography. The Noritsu, by contrast, is a more modern design that remains in production today. Both are high-resolution scanners, available with carriers for a variety of film formats, and can process up to 1,275 medium-resolution images per hour.

Far removed from the compact desktop film scanners available to consumers, Frontier and Noritsu scanners are imposing, desk-sized workstations. Built for professional photo labs, they are designed to be operated while seated, with the scanner, controls, and computer forming a single integrated system.

According to conventional wisdom, the Frontier is tuned to produce scans that look spectacular straight out of the scanner, particularly when printed on Fujifilm’s traditional photographic paper. The Noritsu, by contrast, is said to produce a more neutral file, giving photographers greater latitude for post-processing in applications such as Photoshop or Lightroom.

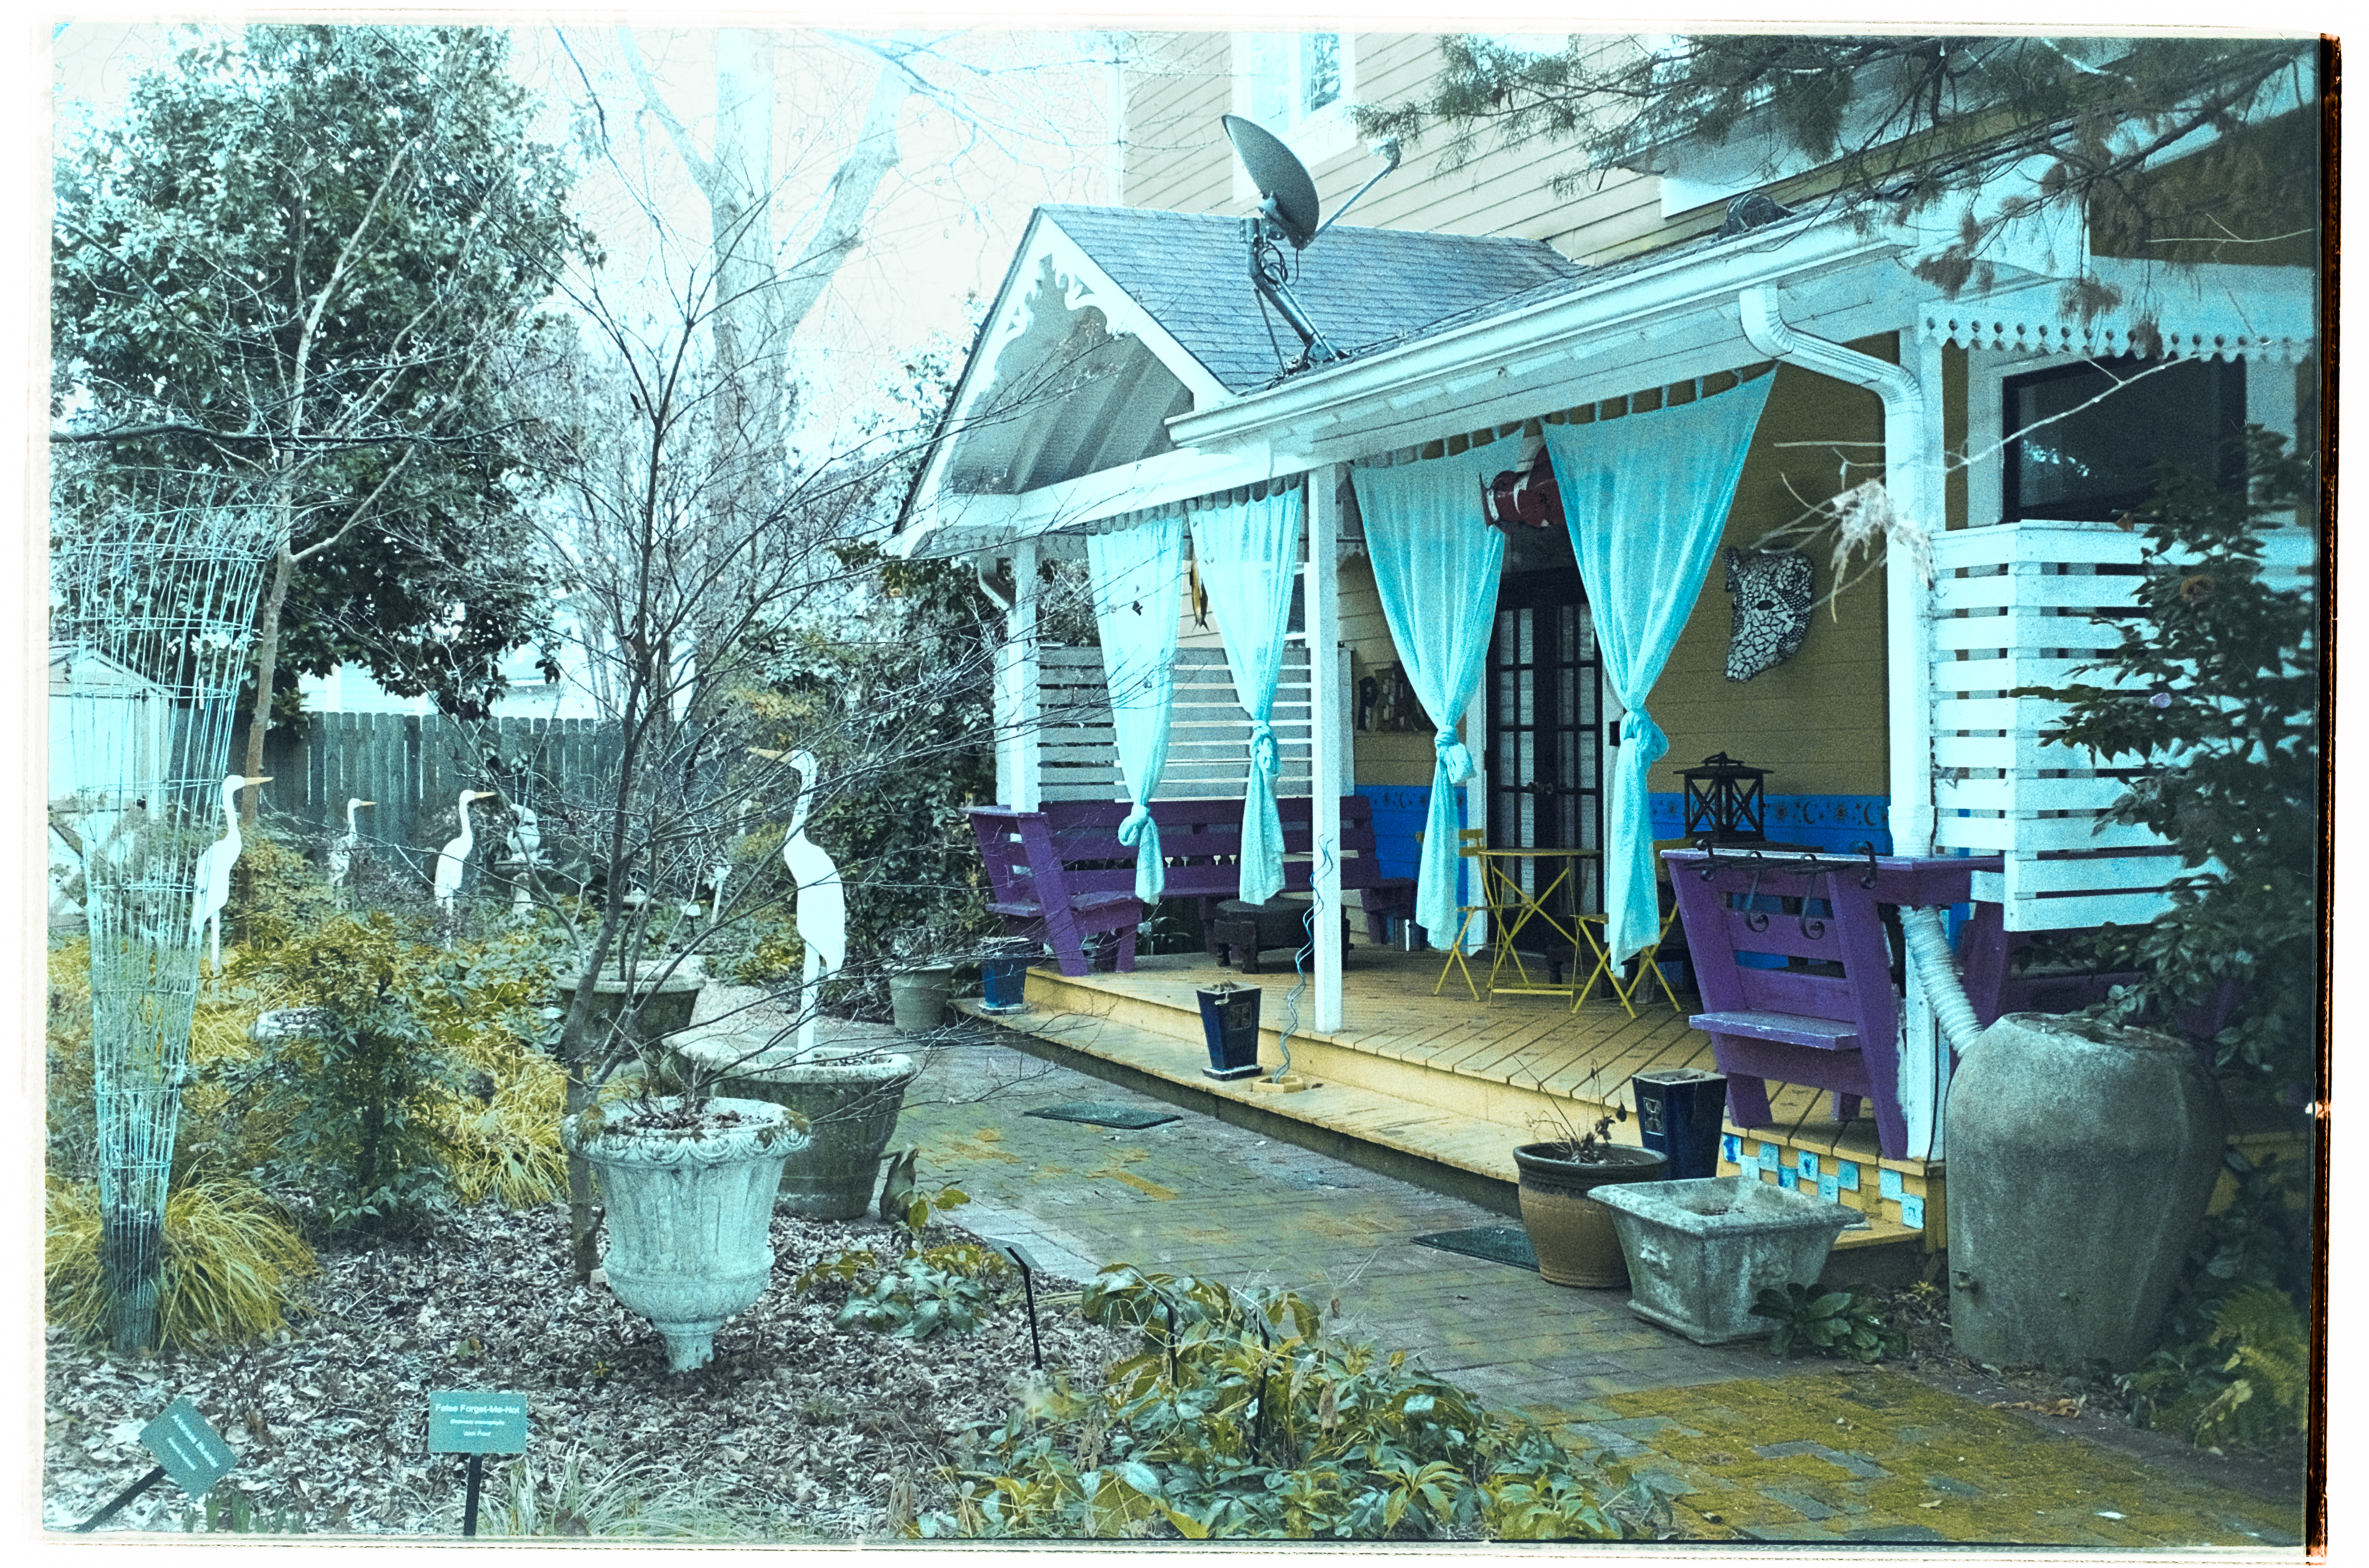
Atlanta, Cabbagetown, digitized and inverted at home – the best I could get playing with the color channels in Lightroom.

What are the Frontier and Noritsu scanner really doing?

The scanner’s interpretation of the negative typically involves :

  • Inverting the negative, removing the base orange mask of the color negative film, and eliminating scratches and dust, if present,
  • After the operator has selected the film type (Kodak Gold, Portra 400, Fujifilm 400, etc.), applying the vendor’s color science and corrections (tailored color matrices and tone curves),
  • Performing automatic white balance and color correction,
  • Increasing the contrast with tone mapping,
  • Analyzing the scene—and, on newer Noritsu scanners, recognizing faces—to optimize exposure and density for each frame,
  • Enhancing sharpness, increasing local contrast, reducing the appearance of film grain, and finally saving the image as a JPEG or TIFF.

And remember – those scanners are controlled by an operator, who may further adjust the settings, to correct an issue with an image, or to respect the preferences of a particular client.

As we can see, the so-called film look of an image produced by a Frontier or Noritsu scanner is as much a product of the scanner’s processing (and its operator’s skill) as it is of the camera and the film.

Atlanta, Cabbagetown district – Scanned by a pro lab on Noritsu Koki EZ.

By comparison, a negative digitized with a digital camera is more akin to a RAW file. It captures the information, but realizing its full potential requires careful post-processing in an application such as Lightroom before it can rival the output of a professional film scanner.

Why are color negatives so difficult to scan?

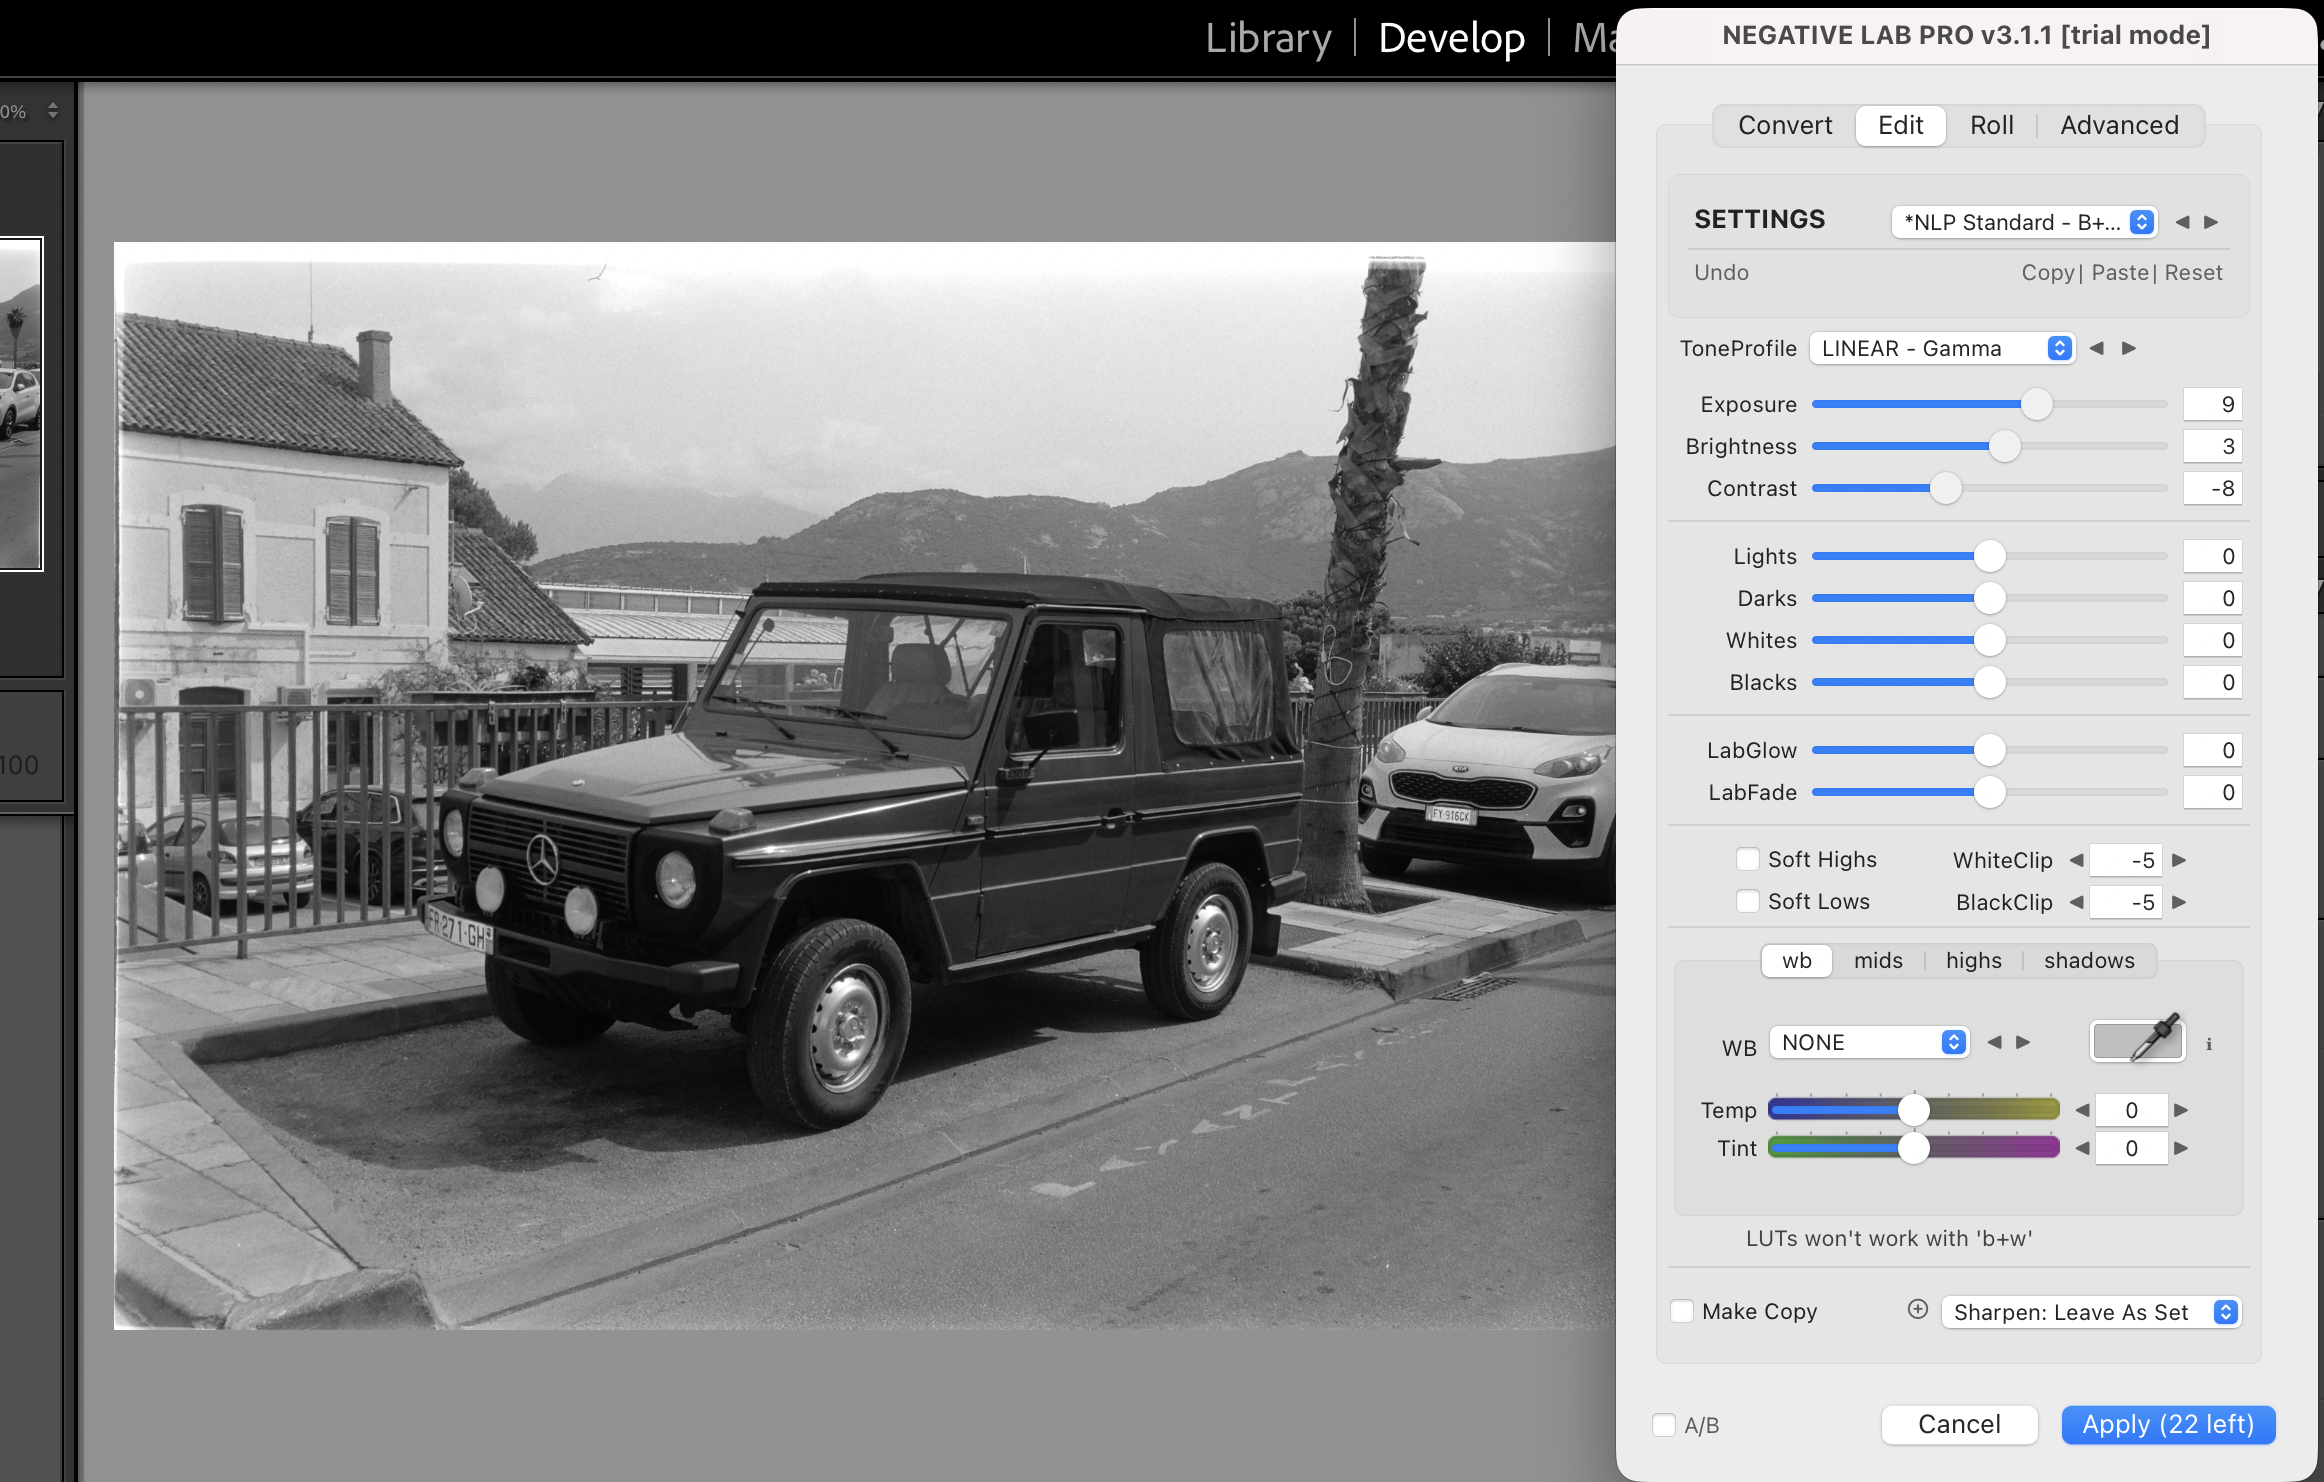
Inverting a B&W negative that you have digitized with a digital camera is easy. You simply flip the tone curve upside down (in a tool like Lightroom), adjust the black and white points, and it’s done. You can get the assistance of a Lightroom Classic plug-in like Negative Lab Pro, but in my experience, it’s not really necessary.

Inverting a B&W digitized negative with Negative Lab Pro in Lightroom Classic – so easy you don’t really need a plug-in

Inverting a color negative and get the colors right, one the other hand, is going to require hard work and persistence.

Because color negative film is not simply B&W film with an orange mask. It’s more akin to the superposition of three B&W layers, each sensitive to a different part of the color spectrum. The orange mask further shifts the relationship between the three color channels. Getting the colors right requires removing the effect of the orange mask and finding the right correction for each color channel. No mean feat.

Are there alternatives to Frontier and Noritsu scanners?

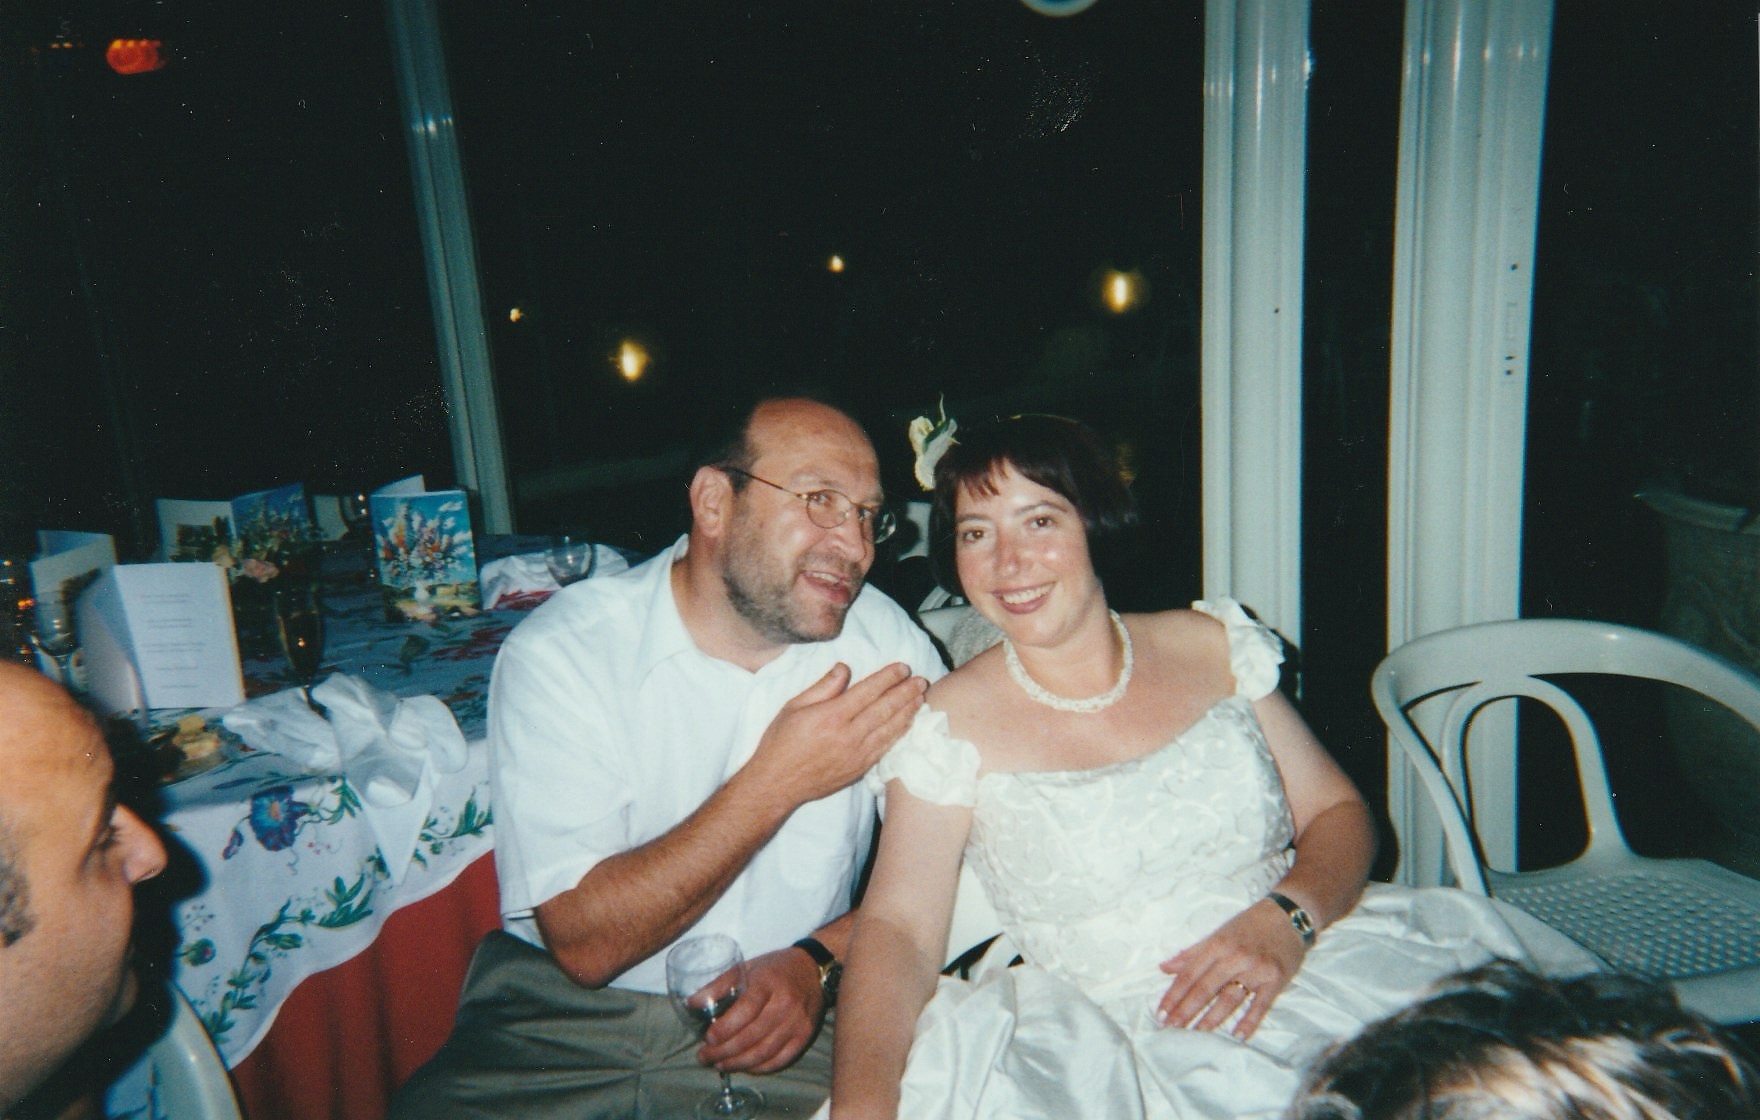
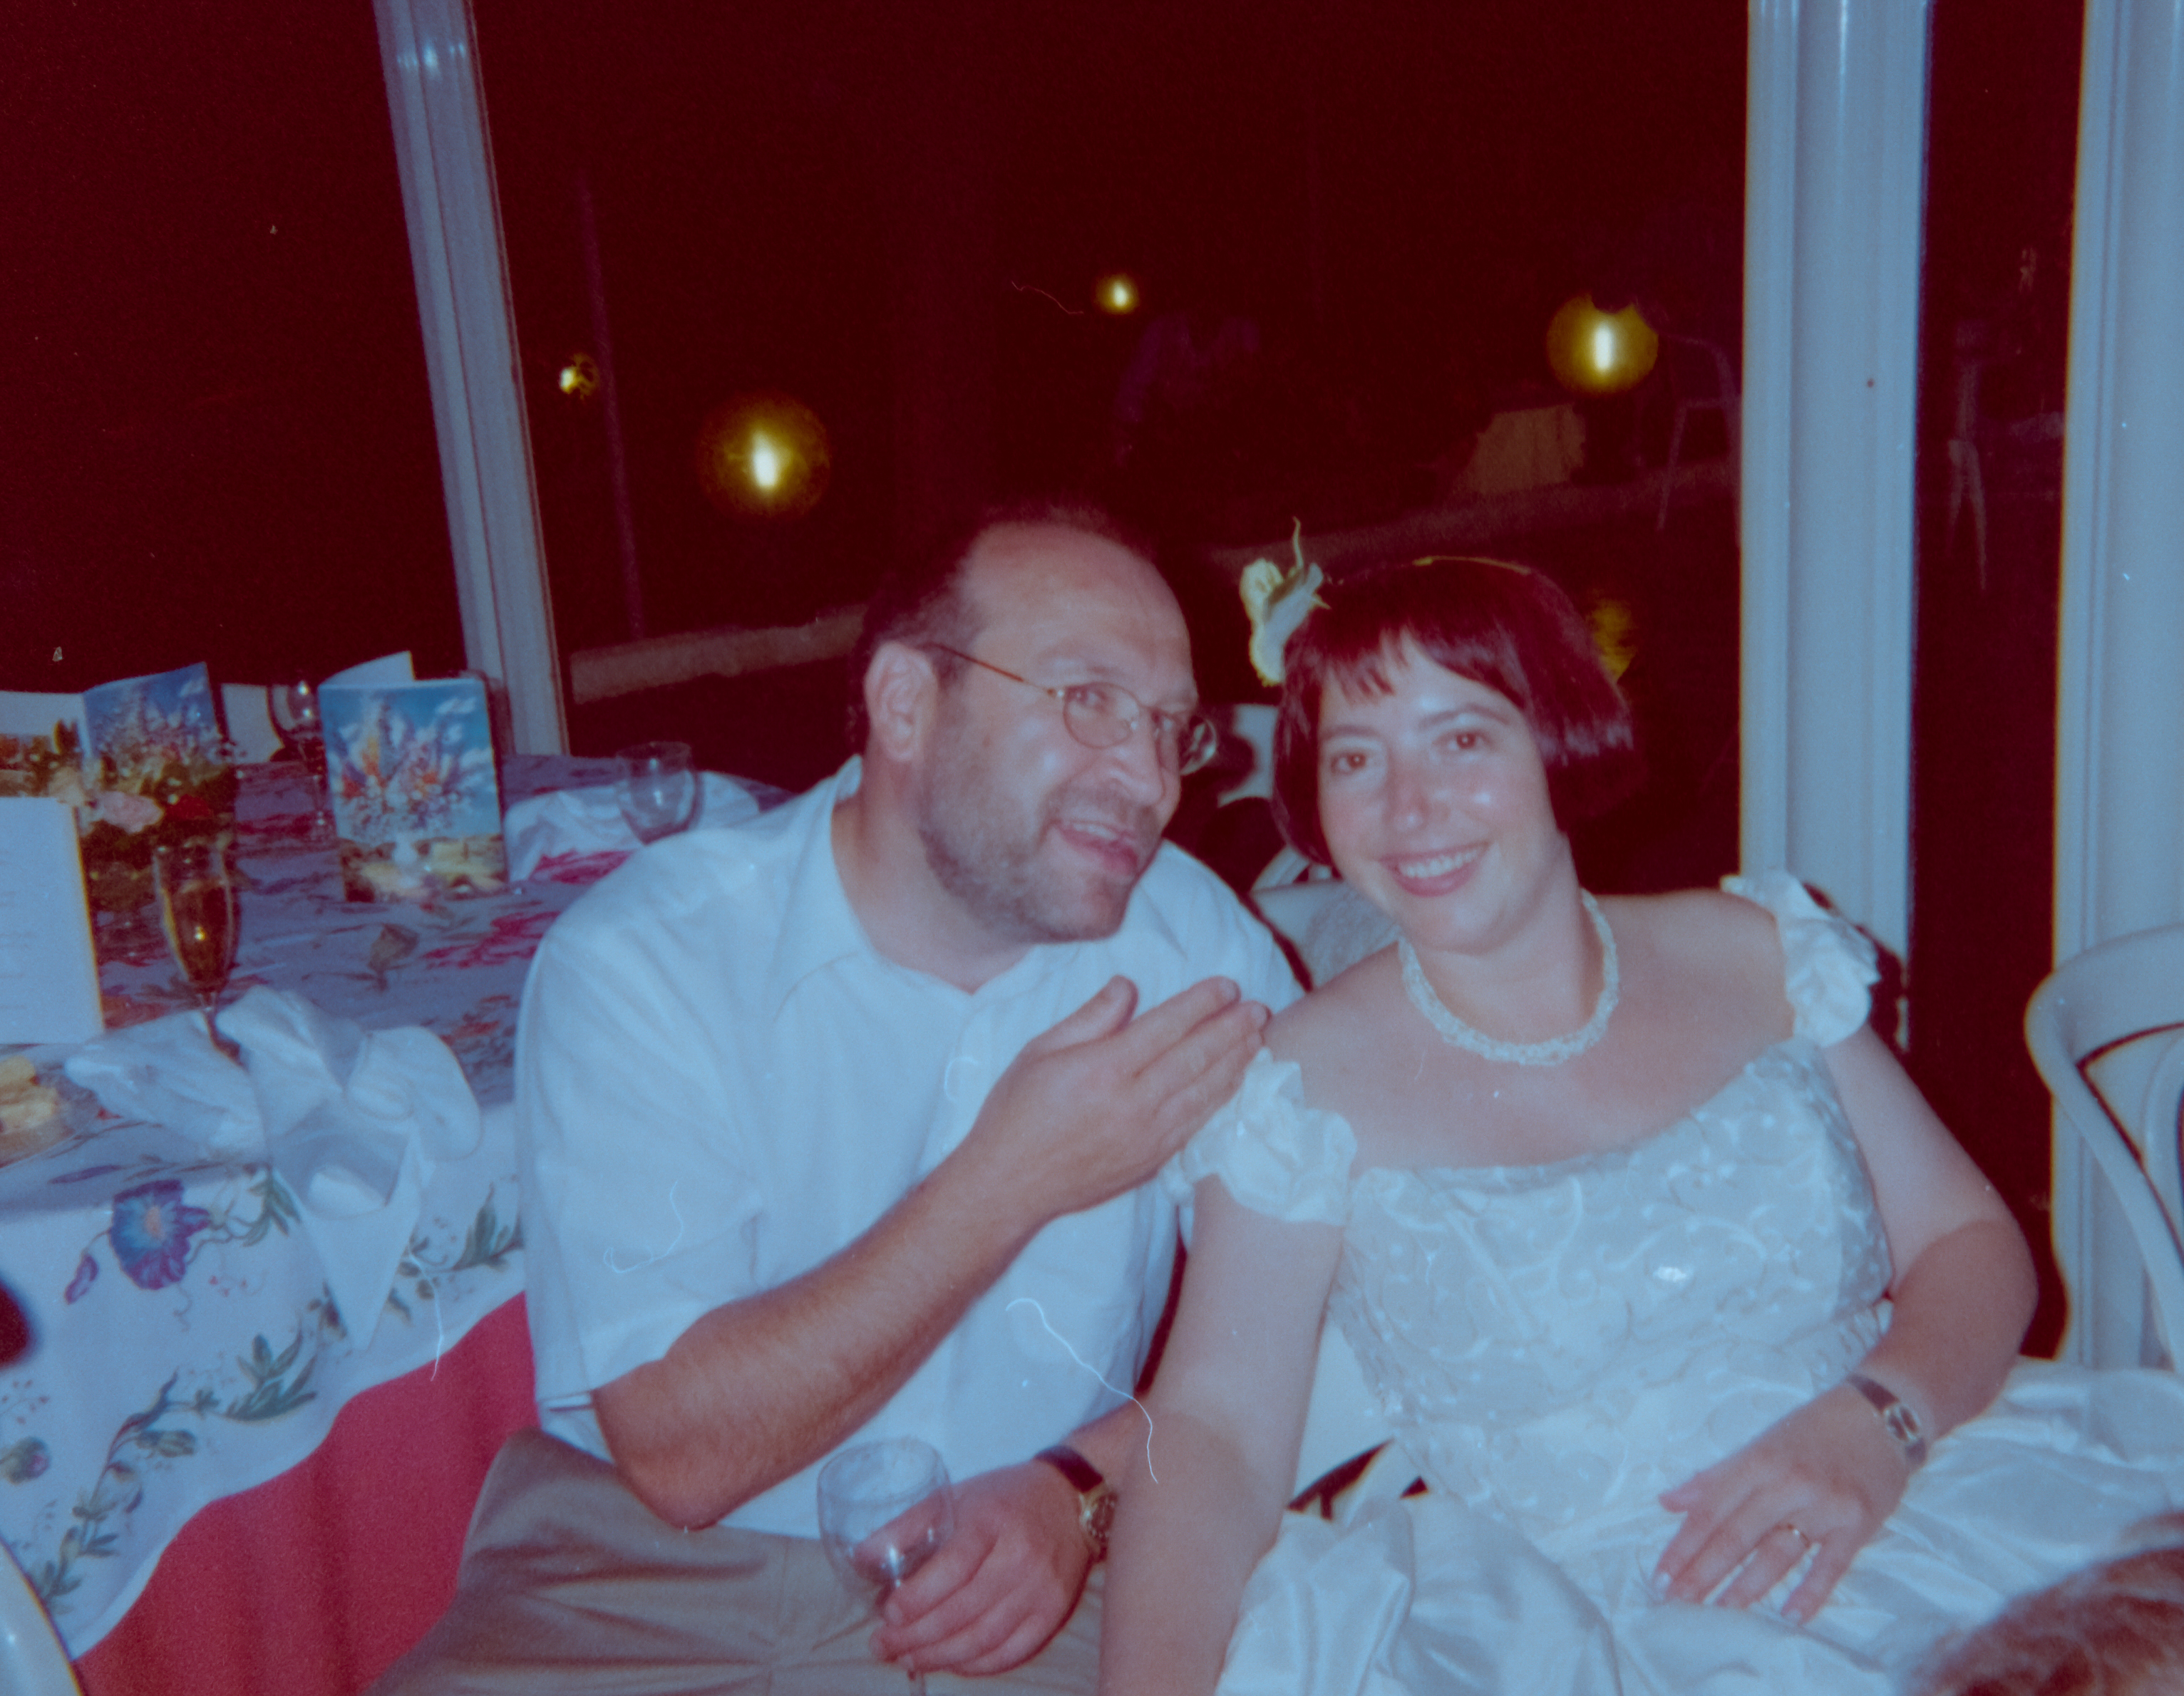
Yes, there are – but they involve some work. And only pay off once you’ve accumulated some experience. Take this snapshot taken with a single-use camera at a wedding, and processed by a local minilab, 25 years ago.

Disposable Kodak camera – Scanned from a 4×6 print – Kodak Paper – Circa 2000

The image was a typical amateur snapshot, with a blue-ish hue caused by the electronic flash of the camera.

The strip of negatives was stored with the prints in lab’s envelope. I digitized the corresponding negative with my Fujifilm X-T4 mirrorless camera and uploaded it in Lightroom CC.

The Kodak color negative, digitized with a Fujifilm X-T4 mirrorless camera.

After some trial and error, I managed to get this image in Lightroom CC:

I inverted and adjusted the colors in Lightroom CC (no plug-in)

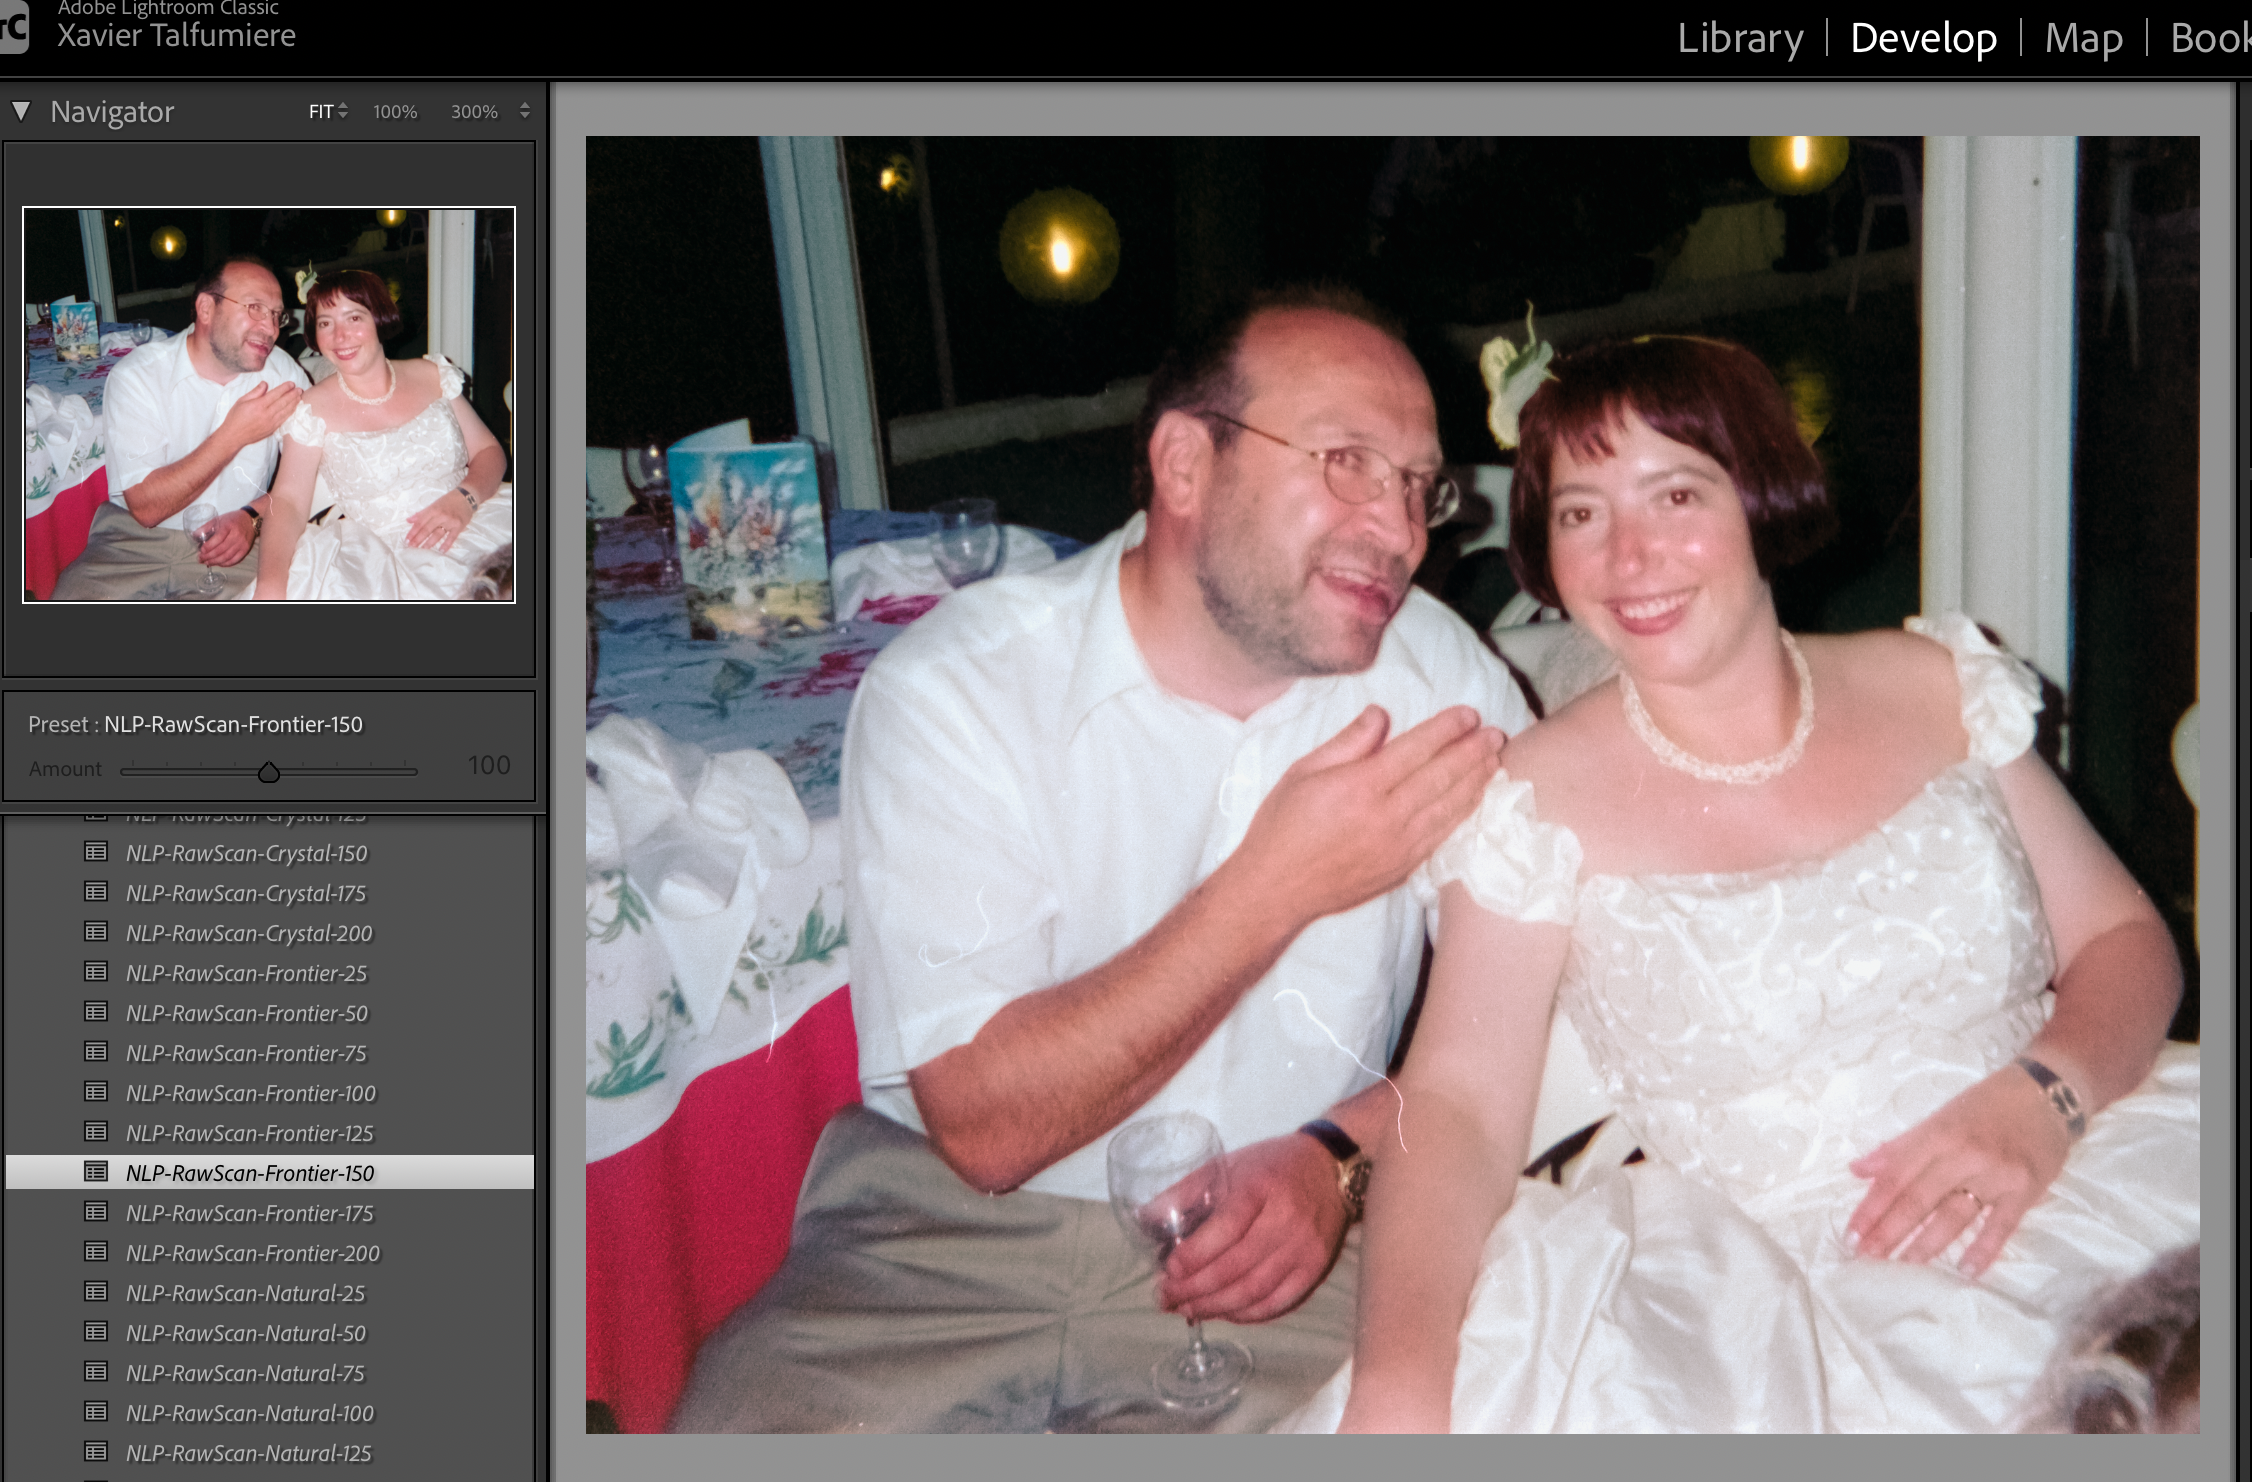
I also imported the same digitized image in Lightroom Classic, downloaded Negative Lab Pro, and tried my luck. Negative Lab Pro is loaded with presets and options, and because I only spent a few minutes on the image, I could only get a very approximate and unsatisfactory image. If you adopt Negative Lab Pro, there will be a learning curve before you get color images you can be proud of.

Negative Lab Pro in Lightroom – the number of options and pre-sets is staggering – with experience you should get much better results than what I got in a few minutes.

I also tested what AI could do – ChatGPT has not been able to invert correctly any of the images I submitted – sometimes the colors were completely wrong, sometimes it had avoided the difficulty and replaced whole sections of the image with its own creation – a “highly plausible reconstruction” as it says. On the other hand, when I submitted an image already processed in Lightroom and simply asked ChatGPT to get the skin tones right, it did the job.

Digitized with a Fujifilm mirrorless camera, inverted and color balanced in Adobe Lightroom CC, with final color corrections by ChatGPT.

As a conclusion…

Beginning in the late 1990s, photo labs increasingly stopped making optical enlargements and instead scanned every negative they processed. Those scans were then used to drive the digital printers that produced customers’ 4×6 prints on traditional photographic paper.

Although the final print was still a genuine silver-halide photograph, the familiar film look was already being shaped by the Frontier or Noritsu scanner. Long before the image reached the printer, the scanner had interpreted the negative, applied its own color science, and enhanced the scan according to its proprietary algorithms.

Thirty years later, Frontier and Noritsu have come to define what photographers associate with the “film look”. They provide images of a tremendous quality, and at least for color negatives, getting comparable results in Lightroom (even with specialized plug-ins) will require hard work and experience.

As for the general purpose AI programs, they can not be trusted to reliably invert a digitized negative. For AI, it’s simply too tempting to reconstruct a totally new image and forget about your original picture. No such thing with a Frontier or Noritsu scanner – they may enhance your image, but the final product is still undoubtedly “yours”.


More about the Frontier and Noritsu scanners – on the blogs of two photo labs

Carmencita Film Lab blog: Frontier vs Noritsu

Optik-oldschool.com: Frontier vs Noritsu – why film scans look different – and how to get the best results.


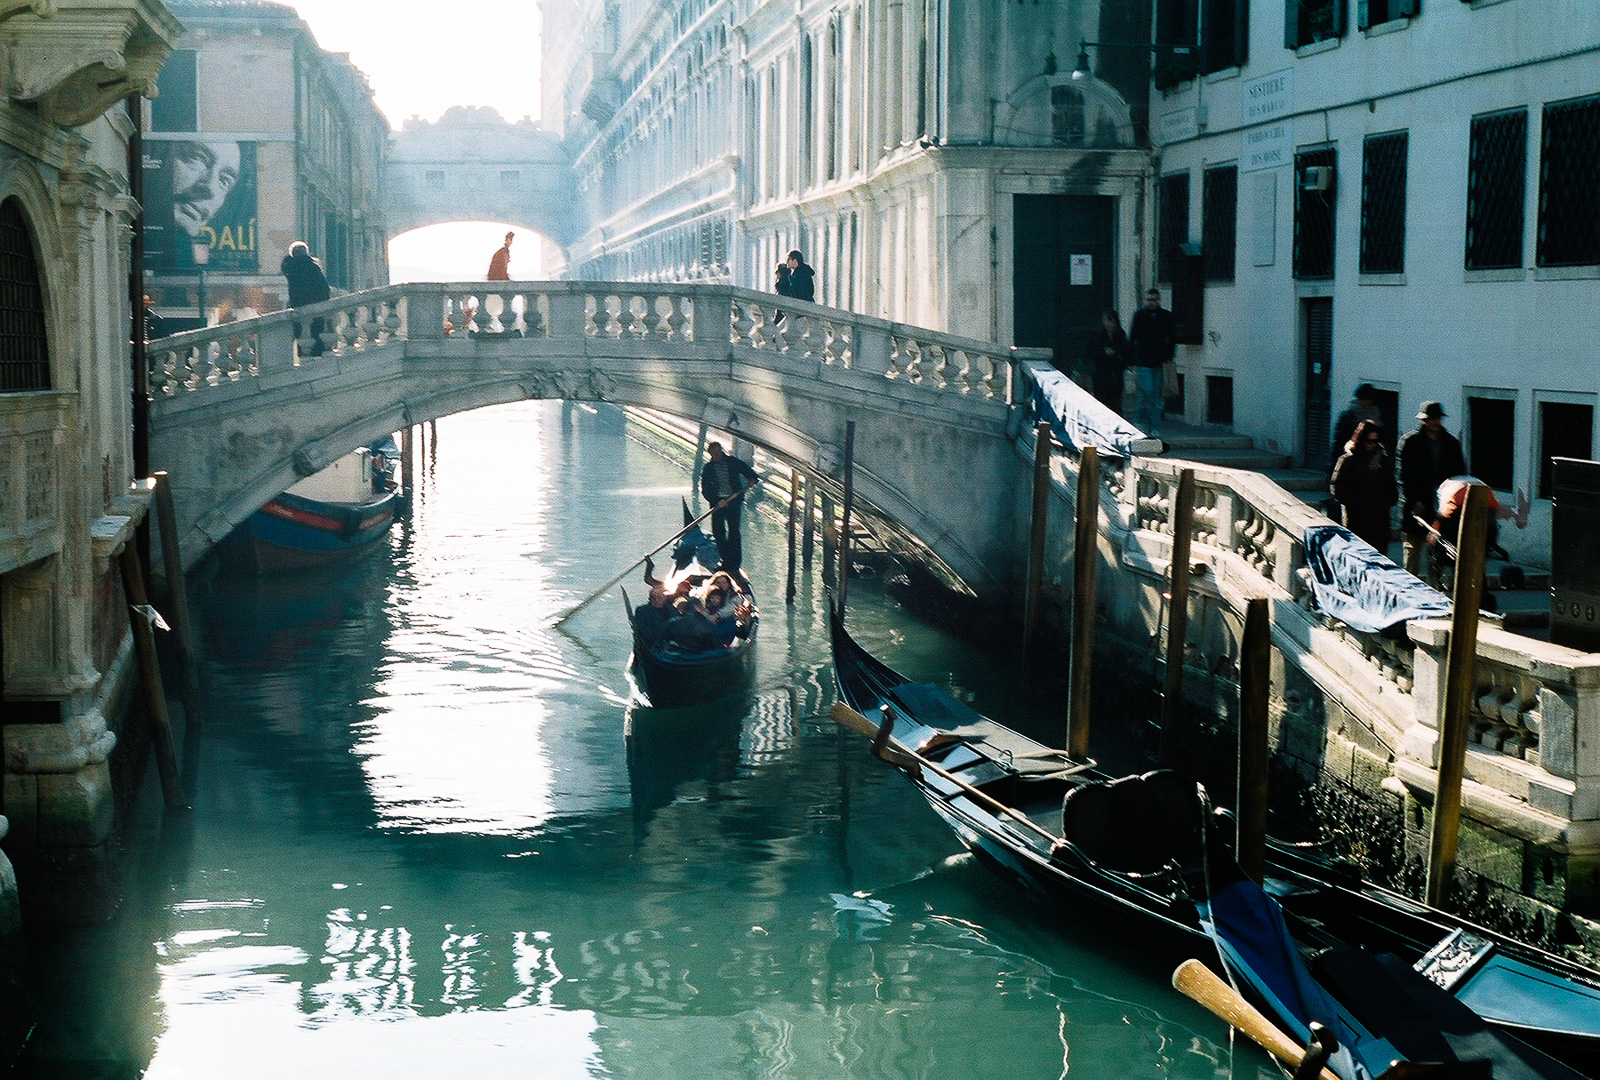
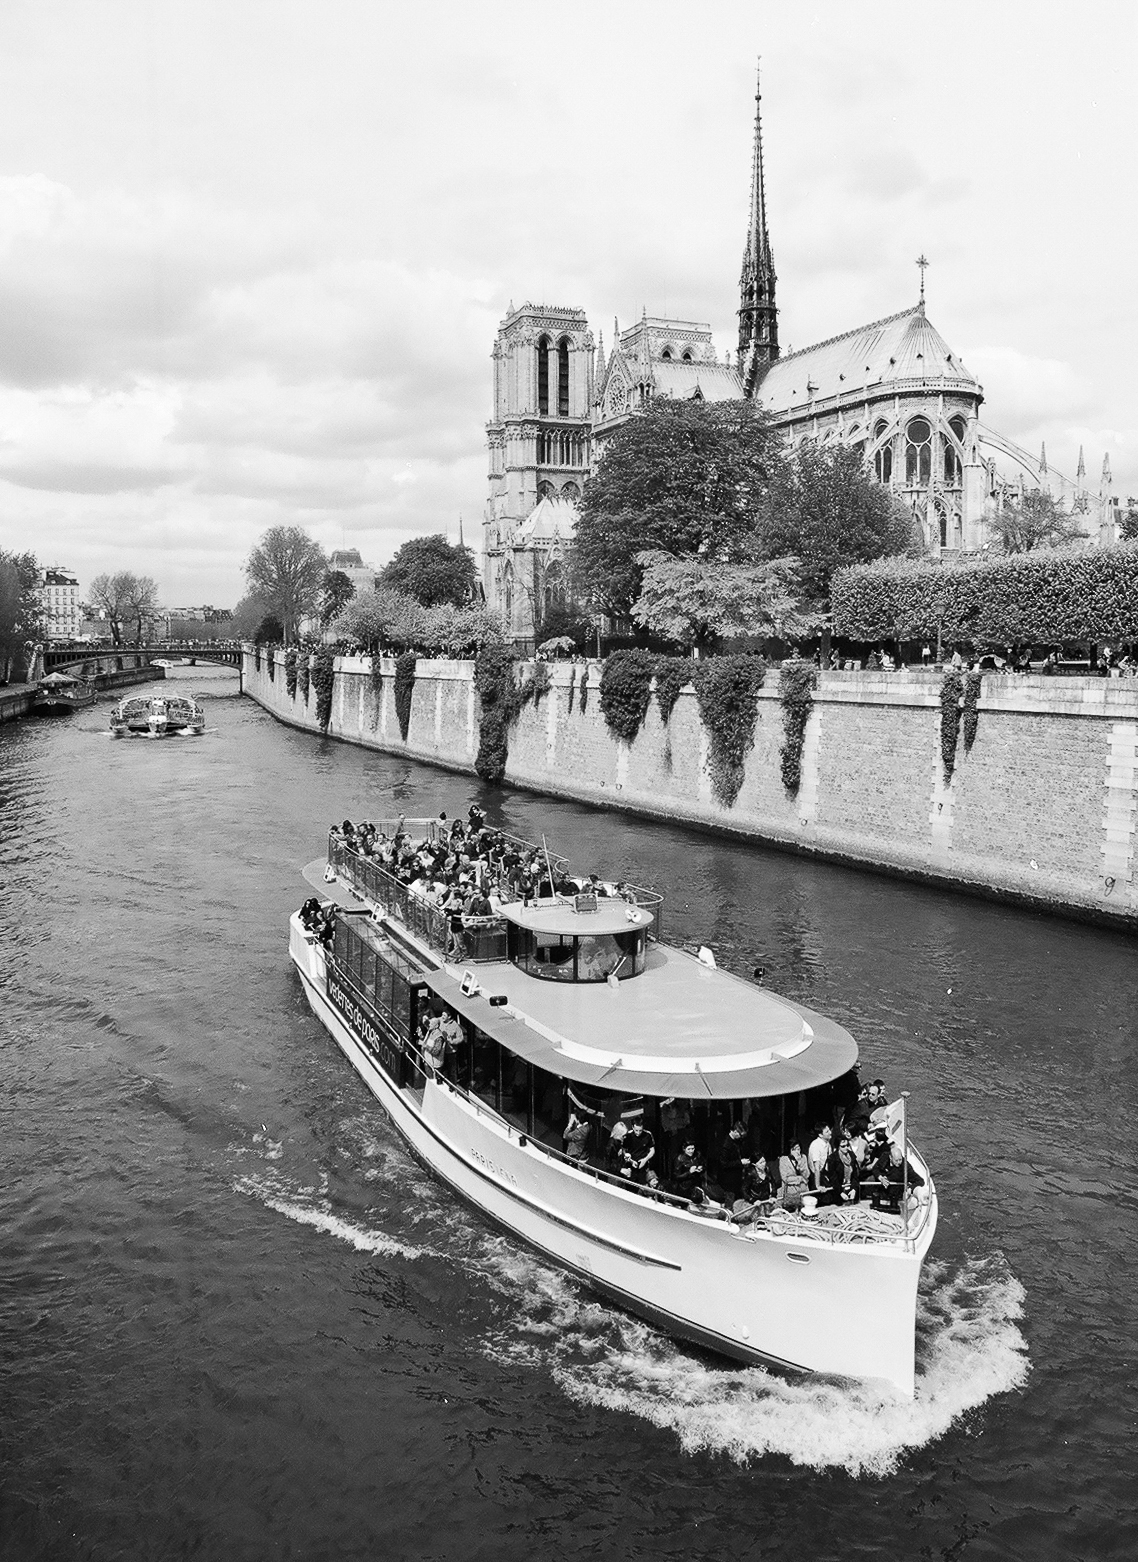
Lab scanners at their best:

Petra, Jordan – Nikon F501, Kodak Ektar 100, scanned by a pro lab using a Nortitsu Koki EZ Controller
Venice – Bridge on the Rio de Palazzo o de Canonica – Shot with Nikon FE2. Jan. 2012
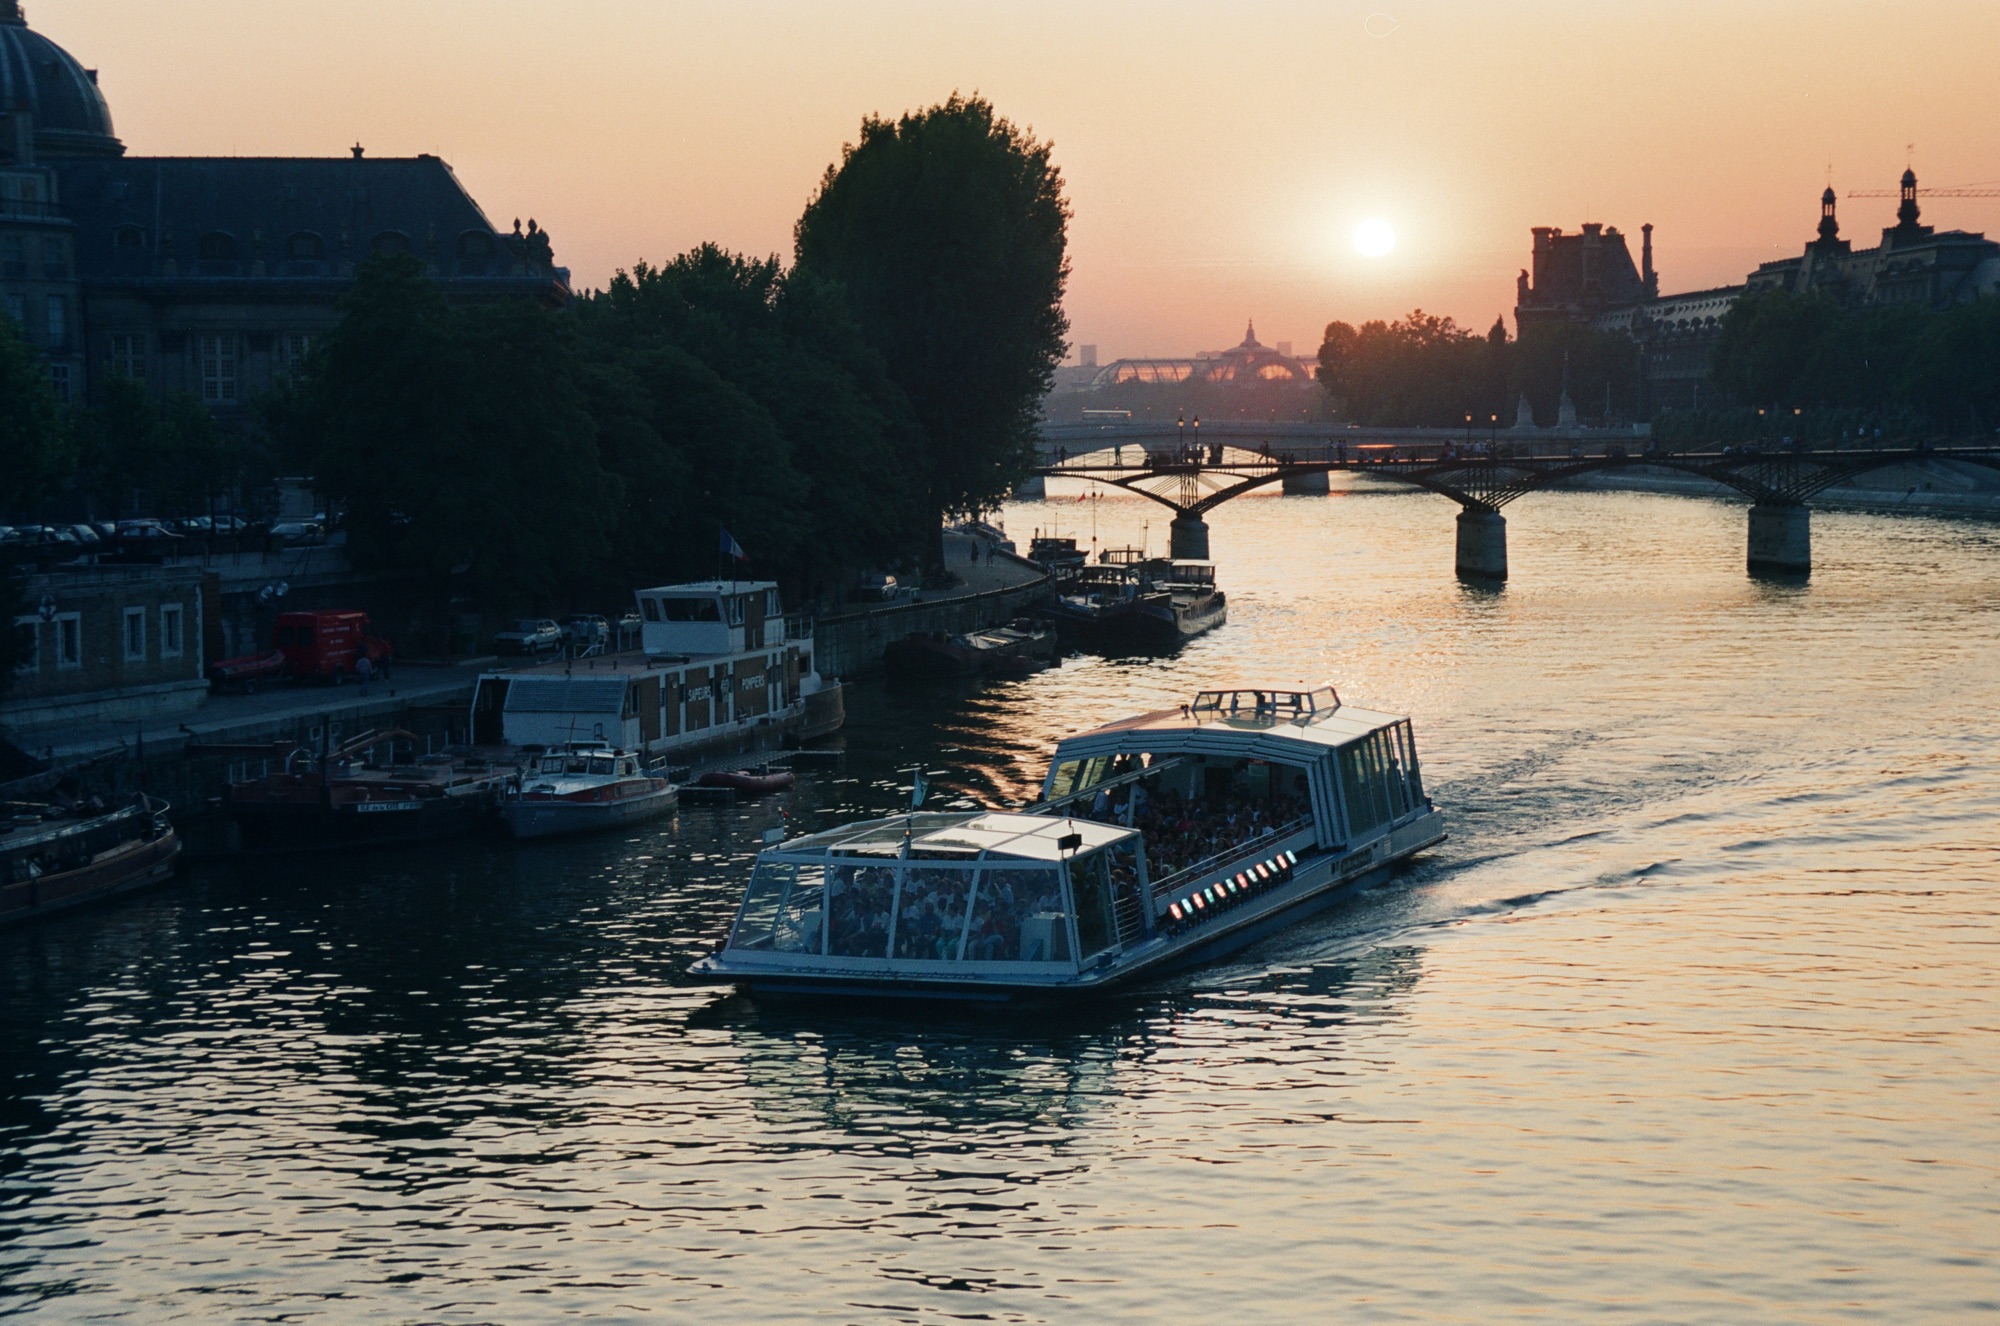
Paris – Nikon F3 – Noritsu Koki QSS
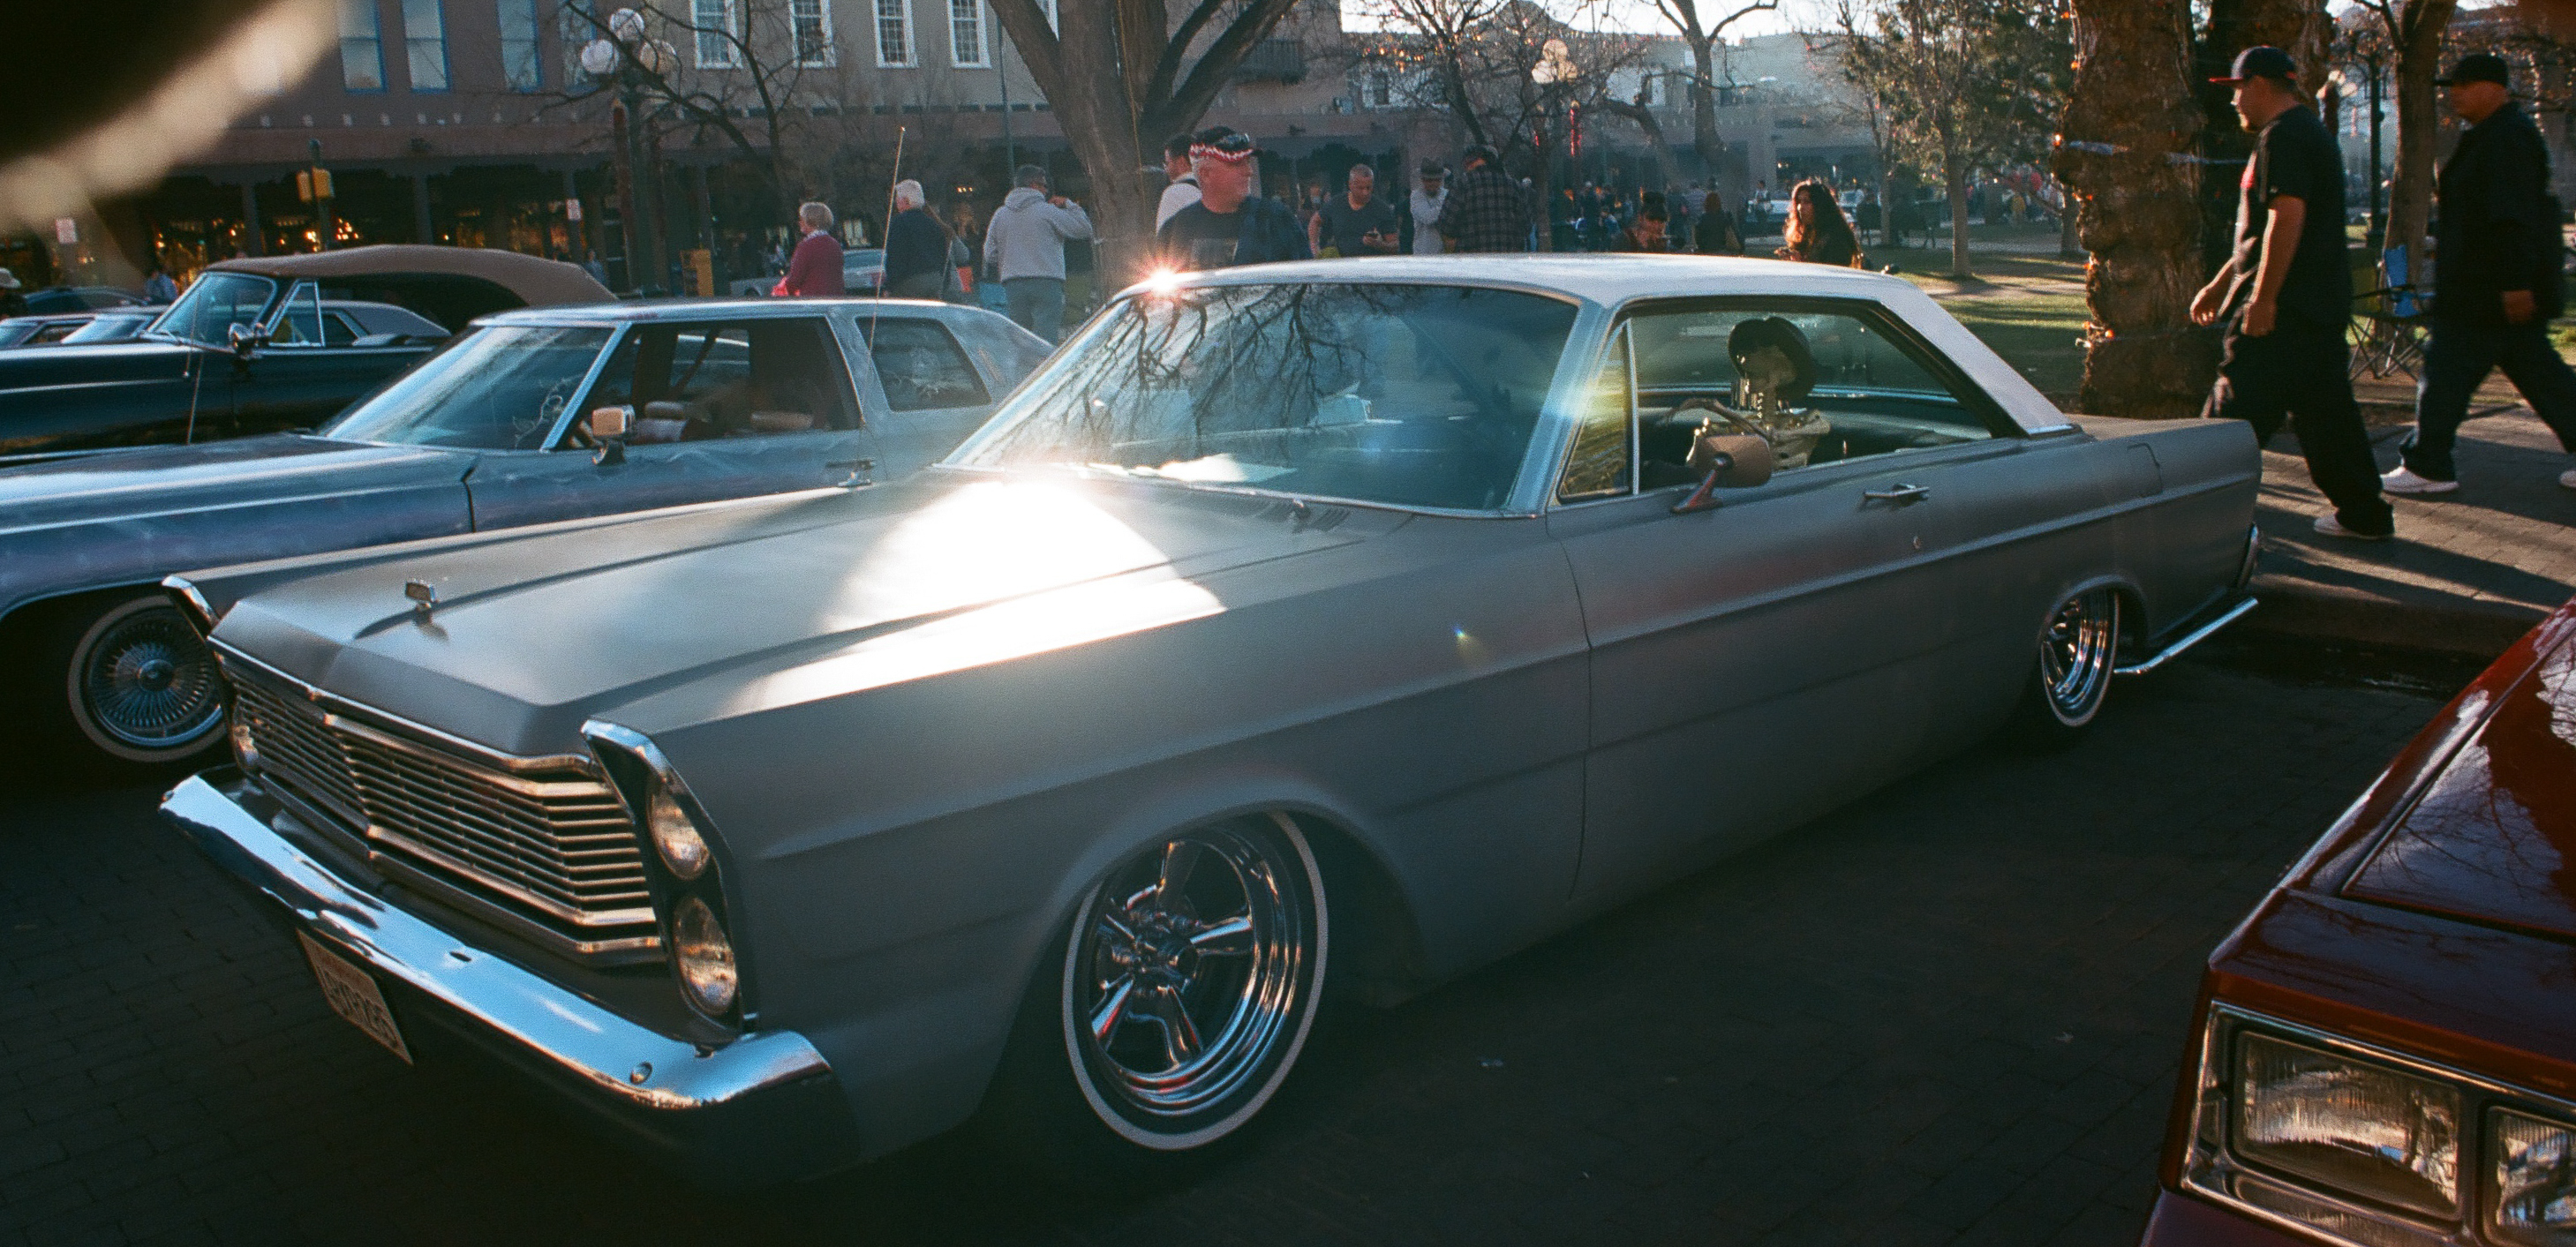
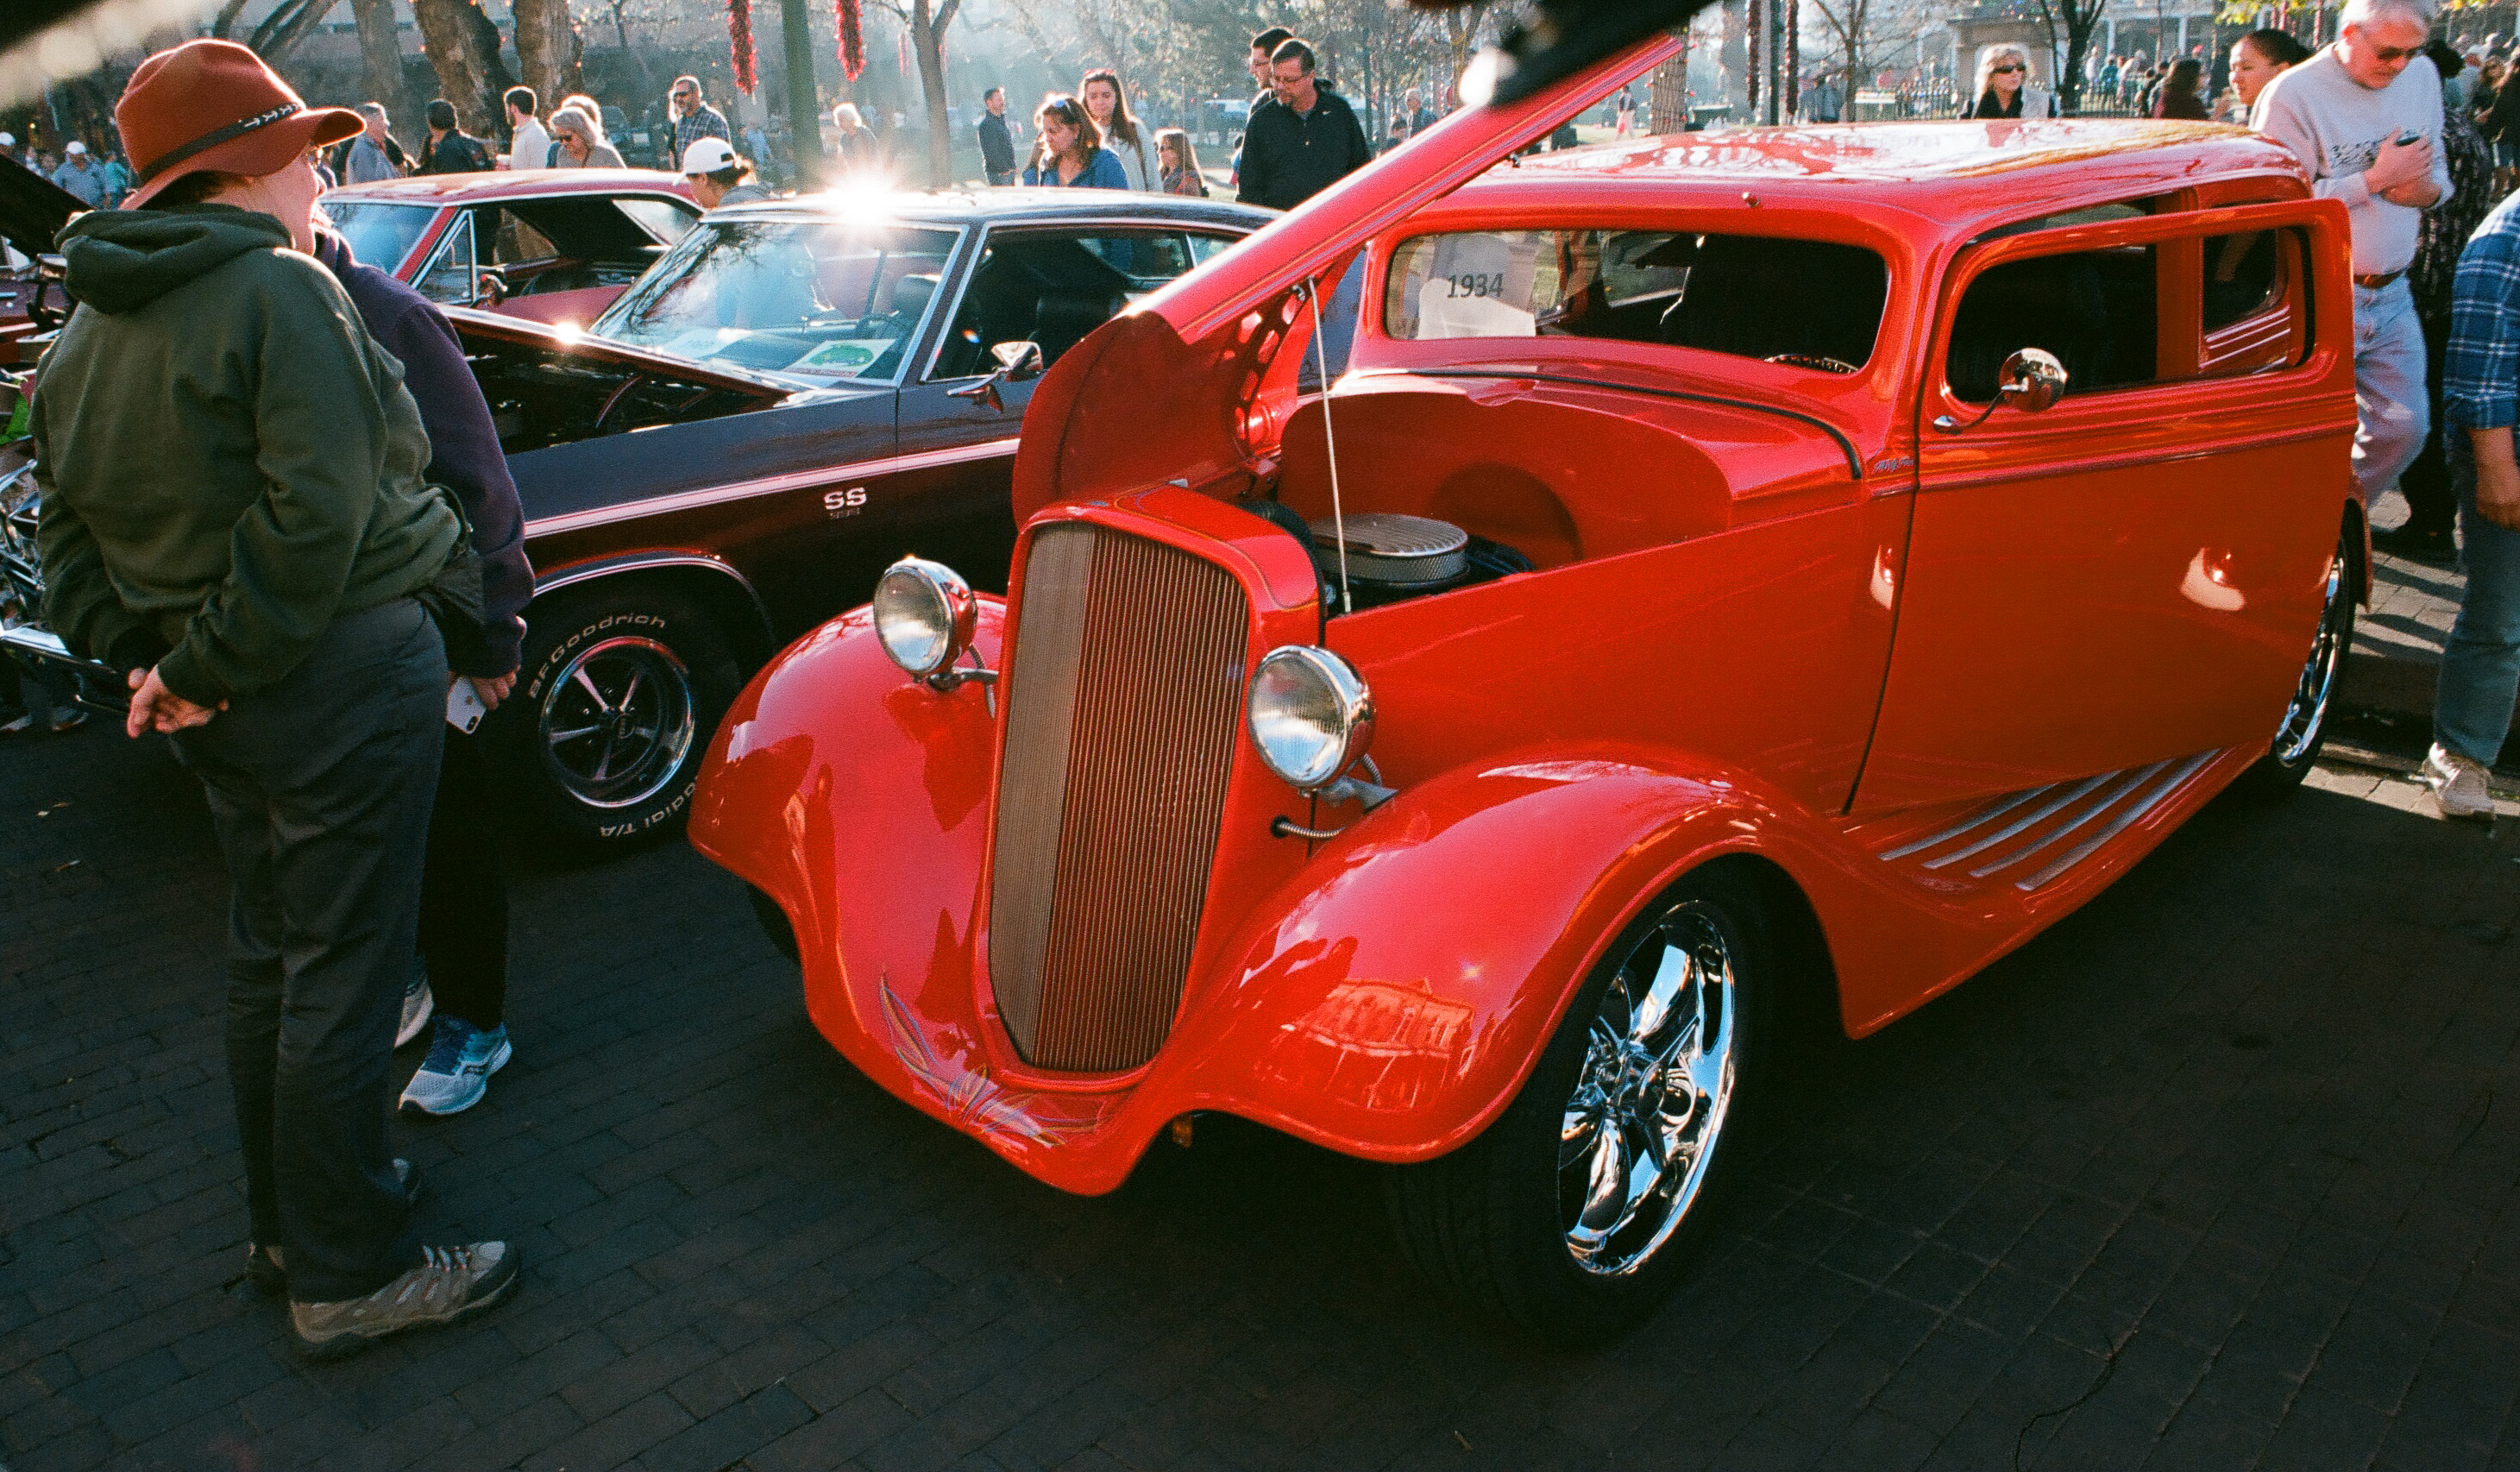
Santa Fe, NM – Noritsu Koki EZ Controller

Catalog, Print or Delete? What to do with your pictures after you’ve shared them on social media?

I’m afraid most people rush to share the pictures they take, attaching them to emails, text messages, or publishing them on various forms of social media. Images – or more precisely the interest of their family, friends and followers for those images – tend to be ephemeral. Shot, shared, forgotten.

If you visit these blog pages, I’ll assume that you’re interested in photography. And I will bet that when you shoot pictures, they’re important to you, and you take time to reference and archive them. If you still shoot film, you probably store the negatives and slides in binders with their contact sheet, and if you shoot digital, you certainly rely – at a minimum, on Apple or Google’s photo management services – or, more likely, use more specialized software to catalog, process and archive your images.

Of course, beyond the few Gigabytes of free storage you get with your smartphone (5 GB with Apple, 15 GB with Google), you need to pay a monthly suscription fee – $3.00 /month for 200 GB with Apple, $2.00 for 100 GB with Google. It’s not much to store 10,000 to 20,000 images (assuming 10 Mbytes /image) – but I’m surprised by the number of people I know who go regularly through their Photo apps and delete images they like (and might be happy to look at again five years from now) just for the sake of saving two or three dollars a month.

Sunset at the beach. Near St Anne, Guadeloupe

And when, for an happy event (wedding, graduation, big life milestone …) they’re being asked to send a few of their images to contribute to a family slide show or to a shared photo-album, they can’t find any – or so few.

At the risk of being provocative, I’ll say that in photography, Archival and Retrieval are at least as important as taking the pictures in the first place. So, what are the options?

The Photo Management Service provided by the OS vendor of your phone, tablet or personal computer.

We’re talking of Apple Photos, Google Photos, and Microsoft… Photos, of course. The “App” is the front end of a set of cloud based services, that provide photo storage, editing, cataloging and sharing capabilities, increasingly with the help of AI.

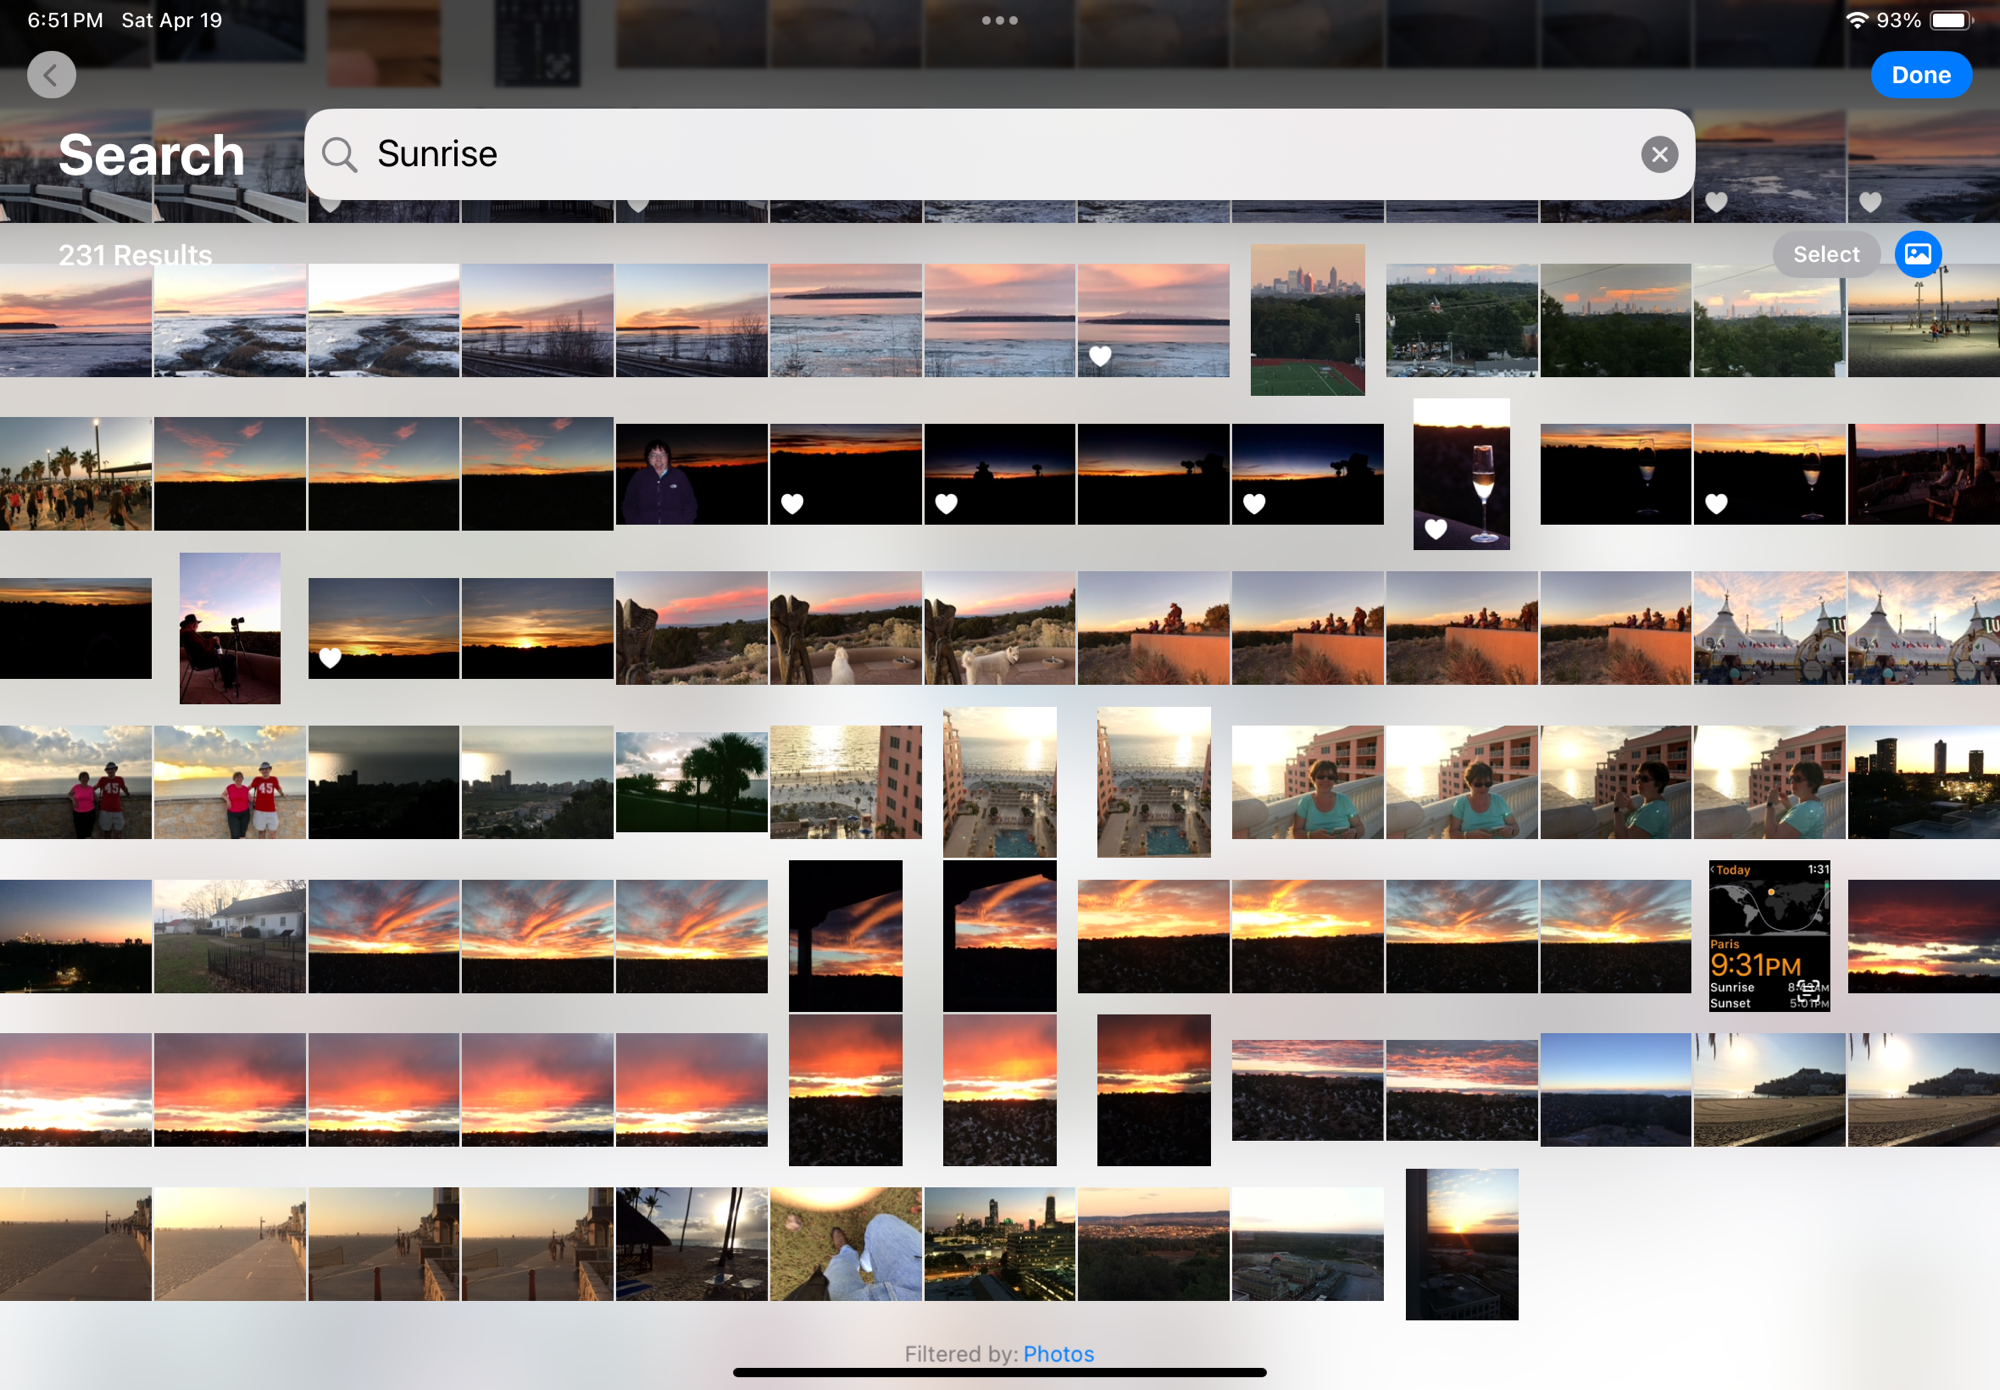
Apple Photos on iPad – search for “sunrise” – “sunset” returns almost identical results

Even without being passionate about photography, it’s easy to accumulate a few tens of thousands of pictures in a few years. The challenge is to organize them, and to retrieve the one you need without having to spend hours browsing galleries.

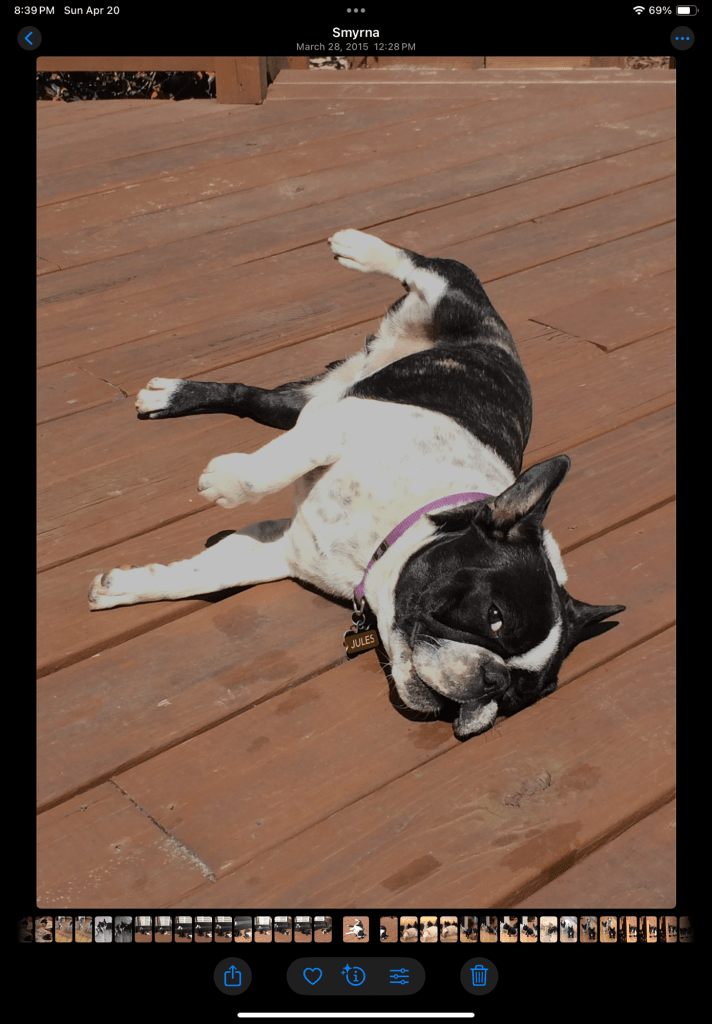
The photo management apps try and organize your photo library by date (easy), by theme, by trip, but what’s particularly impressive are the search capabilities – the app is using information it reads in the images (like the name tag of a dog), combining that with what it knows for sure (like the date and the GPS coordinates stored in the picture file) and what it has learned about you and your entourage to help you retrieve images. Without requiring you have entered captions or keywords to identify your subject. If Jules is a dog, it will answer questions such as “Jules in Chattanooga in 2014”. It even works with objects: “My Jeep in Destin” returns pictures of my Jeep in Destin, FL, “pictures of a ball pen” returns… ball pens, and searching for the word “dawn” will return all the pictures taken at sunrise (and sunset – the search algorithm is not perfect).

Searching for “Jules in Smyrna” – Apple Photos has read the name tag of the dog.

If the picture has been taken with a smartphone, it will be managed “natively” by the app. If it has been taken with a dedicated camera, the image will first need to be imported – most cameras vendors provide their own app that will transfer selected images from the camera to the Photo app of the device over a WiFi connection.

For Apple and Google, what matters the most is their ability to retain their client in their eco-system in the long run, from phone to phone to phone (they call that the stickiness). Once you’ve stored 10,000 photos in their Photo app, you’ve put yourself in a very sticky situation, and you will think twice before switching to the other side. Of course, transferring your images from Apple to Google or Google to Apple is always possible, but it won’t be immediate or straightforward and you may lose some information in the process (some metadata, and proprietary features like Apple’s Live Photos and RAW files, for instance).

Tarpon Bay, FL
Sunset, Tarpon Bay, FL

Photo cataloging / photo editing tools from specialized software vendors

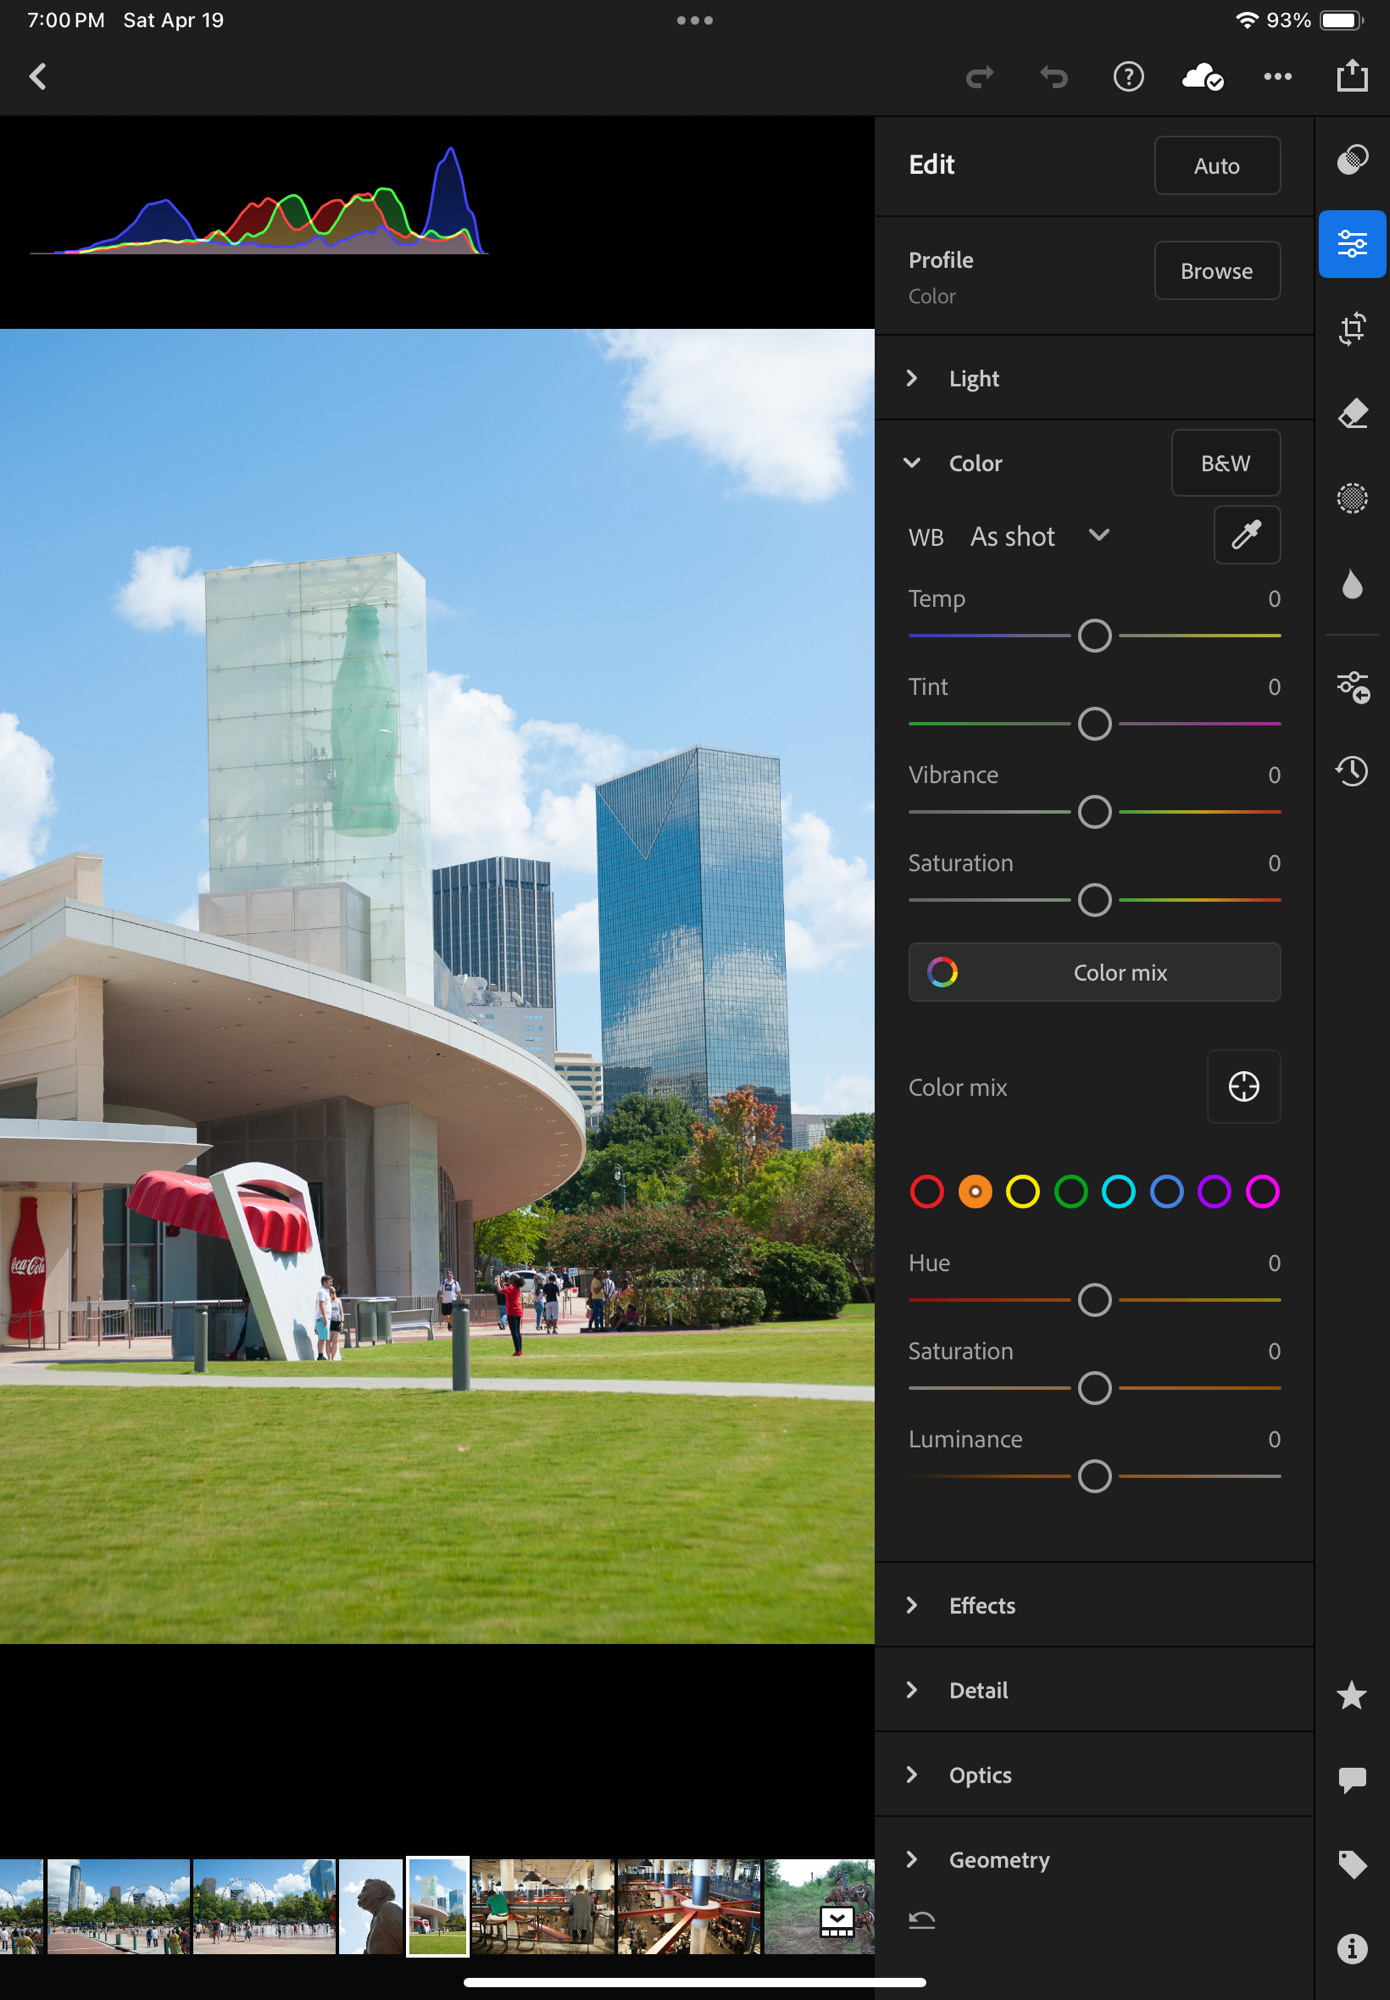
If Apple or Google’s photo apps don’t give you enough, or if you don’t want your images to be stored in a cloud, or you don’t want to pay a monthly subscription fee and would rather buy conventional perpetual licenses, there is certainly a specialized photo management software that meets your needs.

Generally speaking, dedicated photo management software will offer more options for tagging the pictures, and more powerful photo editing tools, but, if the example of Adobe is representative of the industry, will not be as good as Apple and Google at automatically organizing and easily retrieving your images: they still rely predominantly on captions and keywords to identify an image.

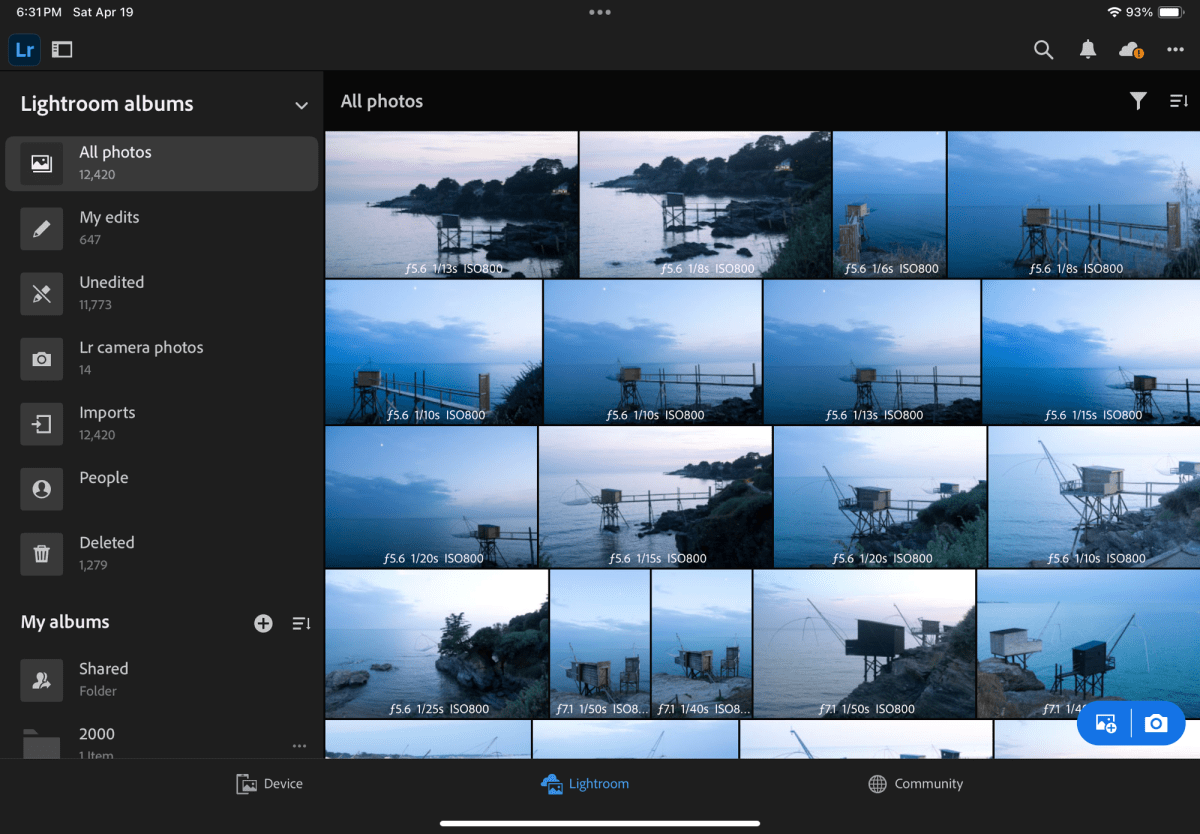
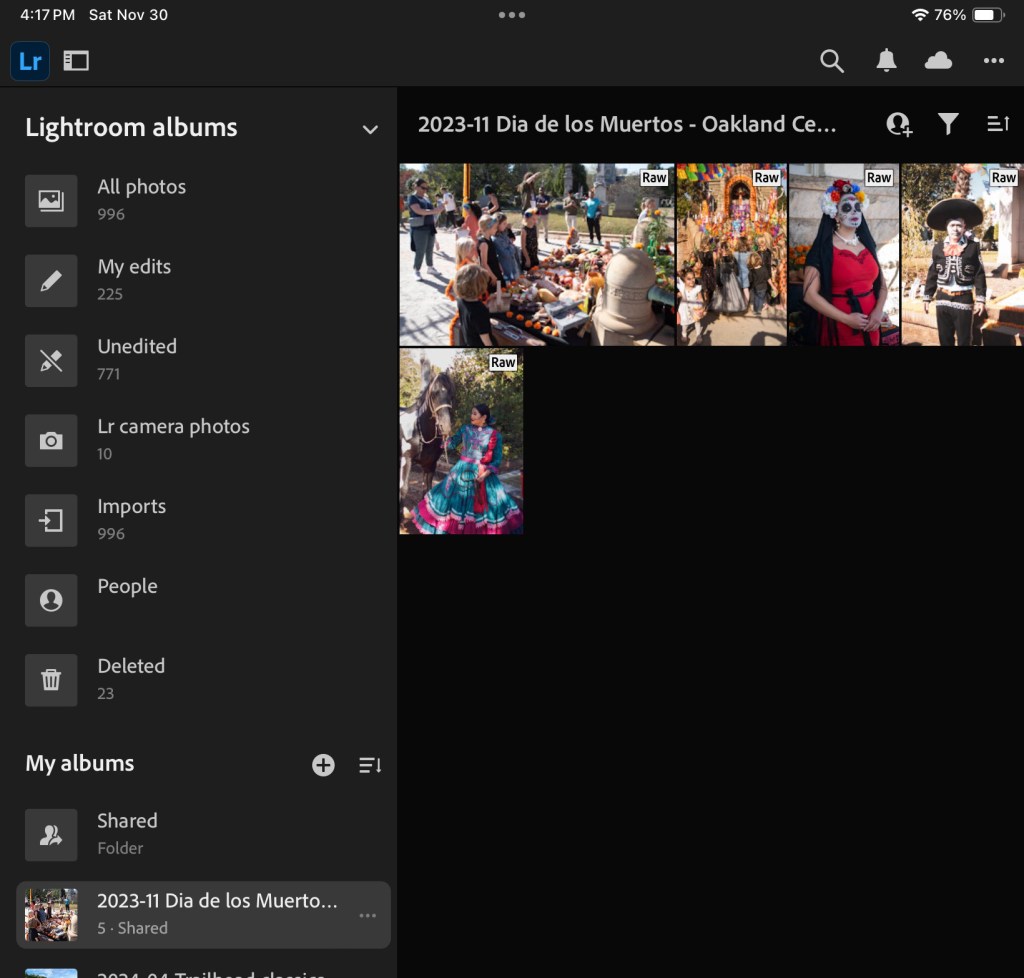
Specialized photo management tools offer more image editing options

If you opt for local storage, you will have to invest in physical storage (directly attached drives or NAS) and you will need to protect your images with a good backup system (preferably off site, if you want it to protect your images from disasters). And off site backup plans have a cost.

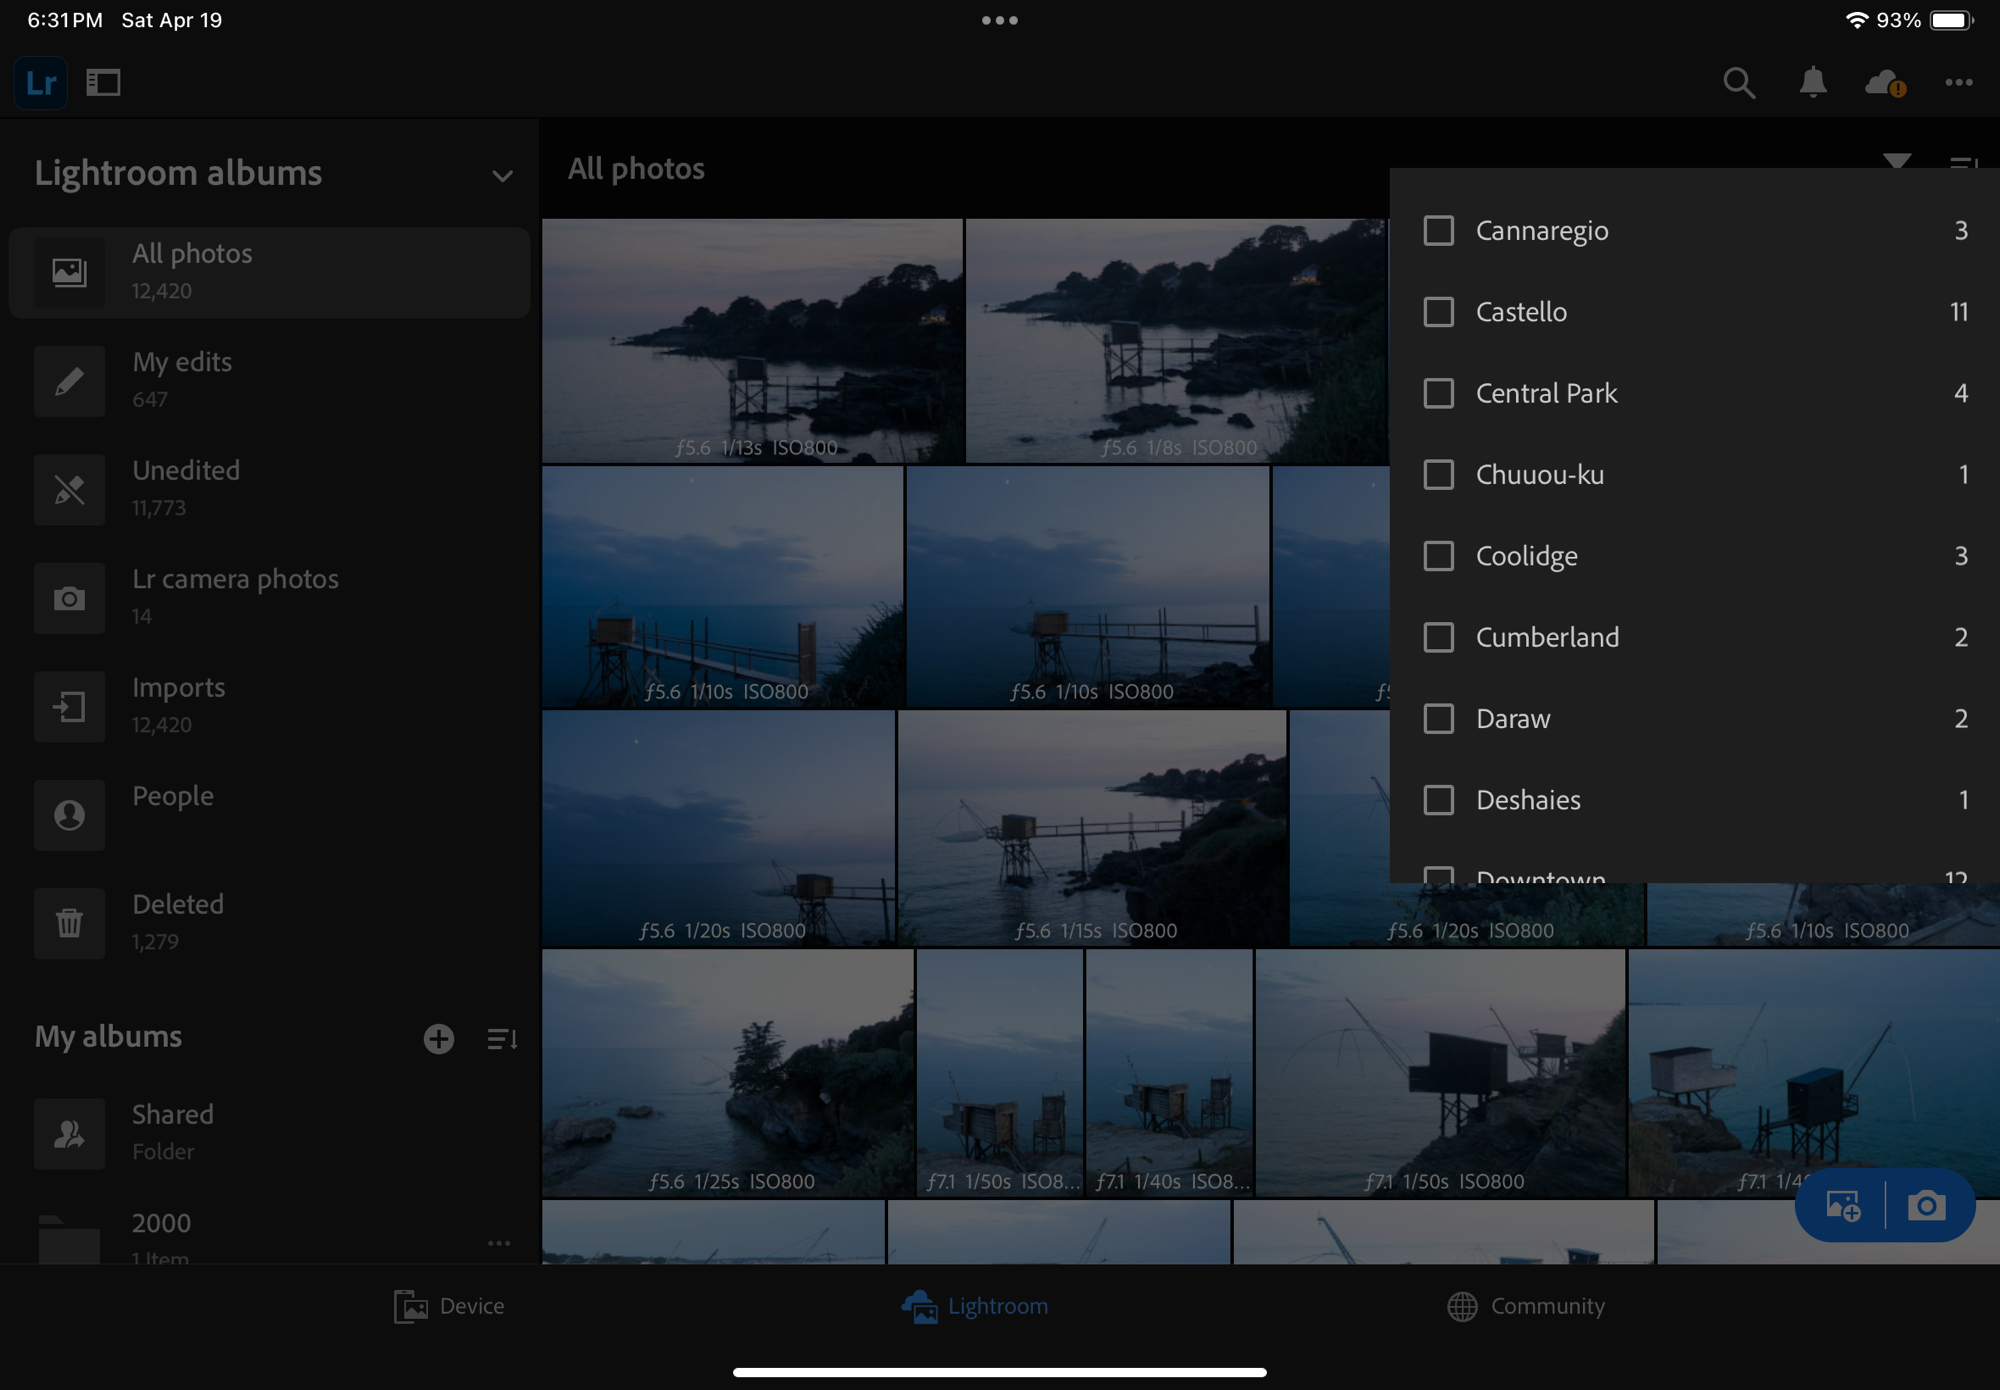
… but the search is still heavily based on keywords and captions that have to be entered when the image is uploaded.

Cloud storage options are very broad – going from general purpose storage services like iDrive or Dropbox to more specialized offerings like Adobe’s Lightroom “Photography Plan” – but once you’ve exhausted the limited time promotional offers, the prices are relatively similar – around $10.00 /month for 2TB for most of them. iDrive seems to be the cheapest, Dropbox is in the same ballpark as Apple and Google ($9.99 /mo for up to 2TB). As of this morning, Adobe’s “Photography Plan” includes 1TB of storage for $11.99 /month, but in all fairness the cost also includes the Lightroom Mobile, Web and Classic subscription fees, so it’s not that bad of a deal.

What are the alternatives? Placing prints in a photo album?

A physical photo album is not a substitute for an electronic catalog, but it’s a mostly forgotten way to keep the images you love together, and return to them when you feel like it. You can even scan the prints if you can’t find the negatives or the original digital files (I’ve done it, shame on me), so it’s also a form of backup.

I lost the negatives a long time ago – but I had a photo album and scanned the print

The ability to create photo books used to be integrated in the photo cataloging apps: the option existed in Apple’s iPhoto – you picked the images, worked the layout and (of course) paid a hefty fee, and Apple would send you a printed photo album with a little Apple logo on the back. I’ve not used a recent version of Adobe Lightroom Classic but I believe the option to create photo books still exists (in conjunction with the Blurb photo book printing service). It does not exist on the “non-classic” versions of Lightroom.

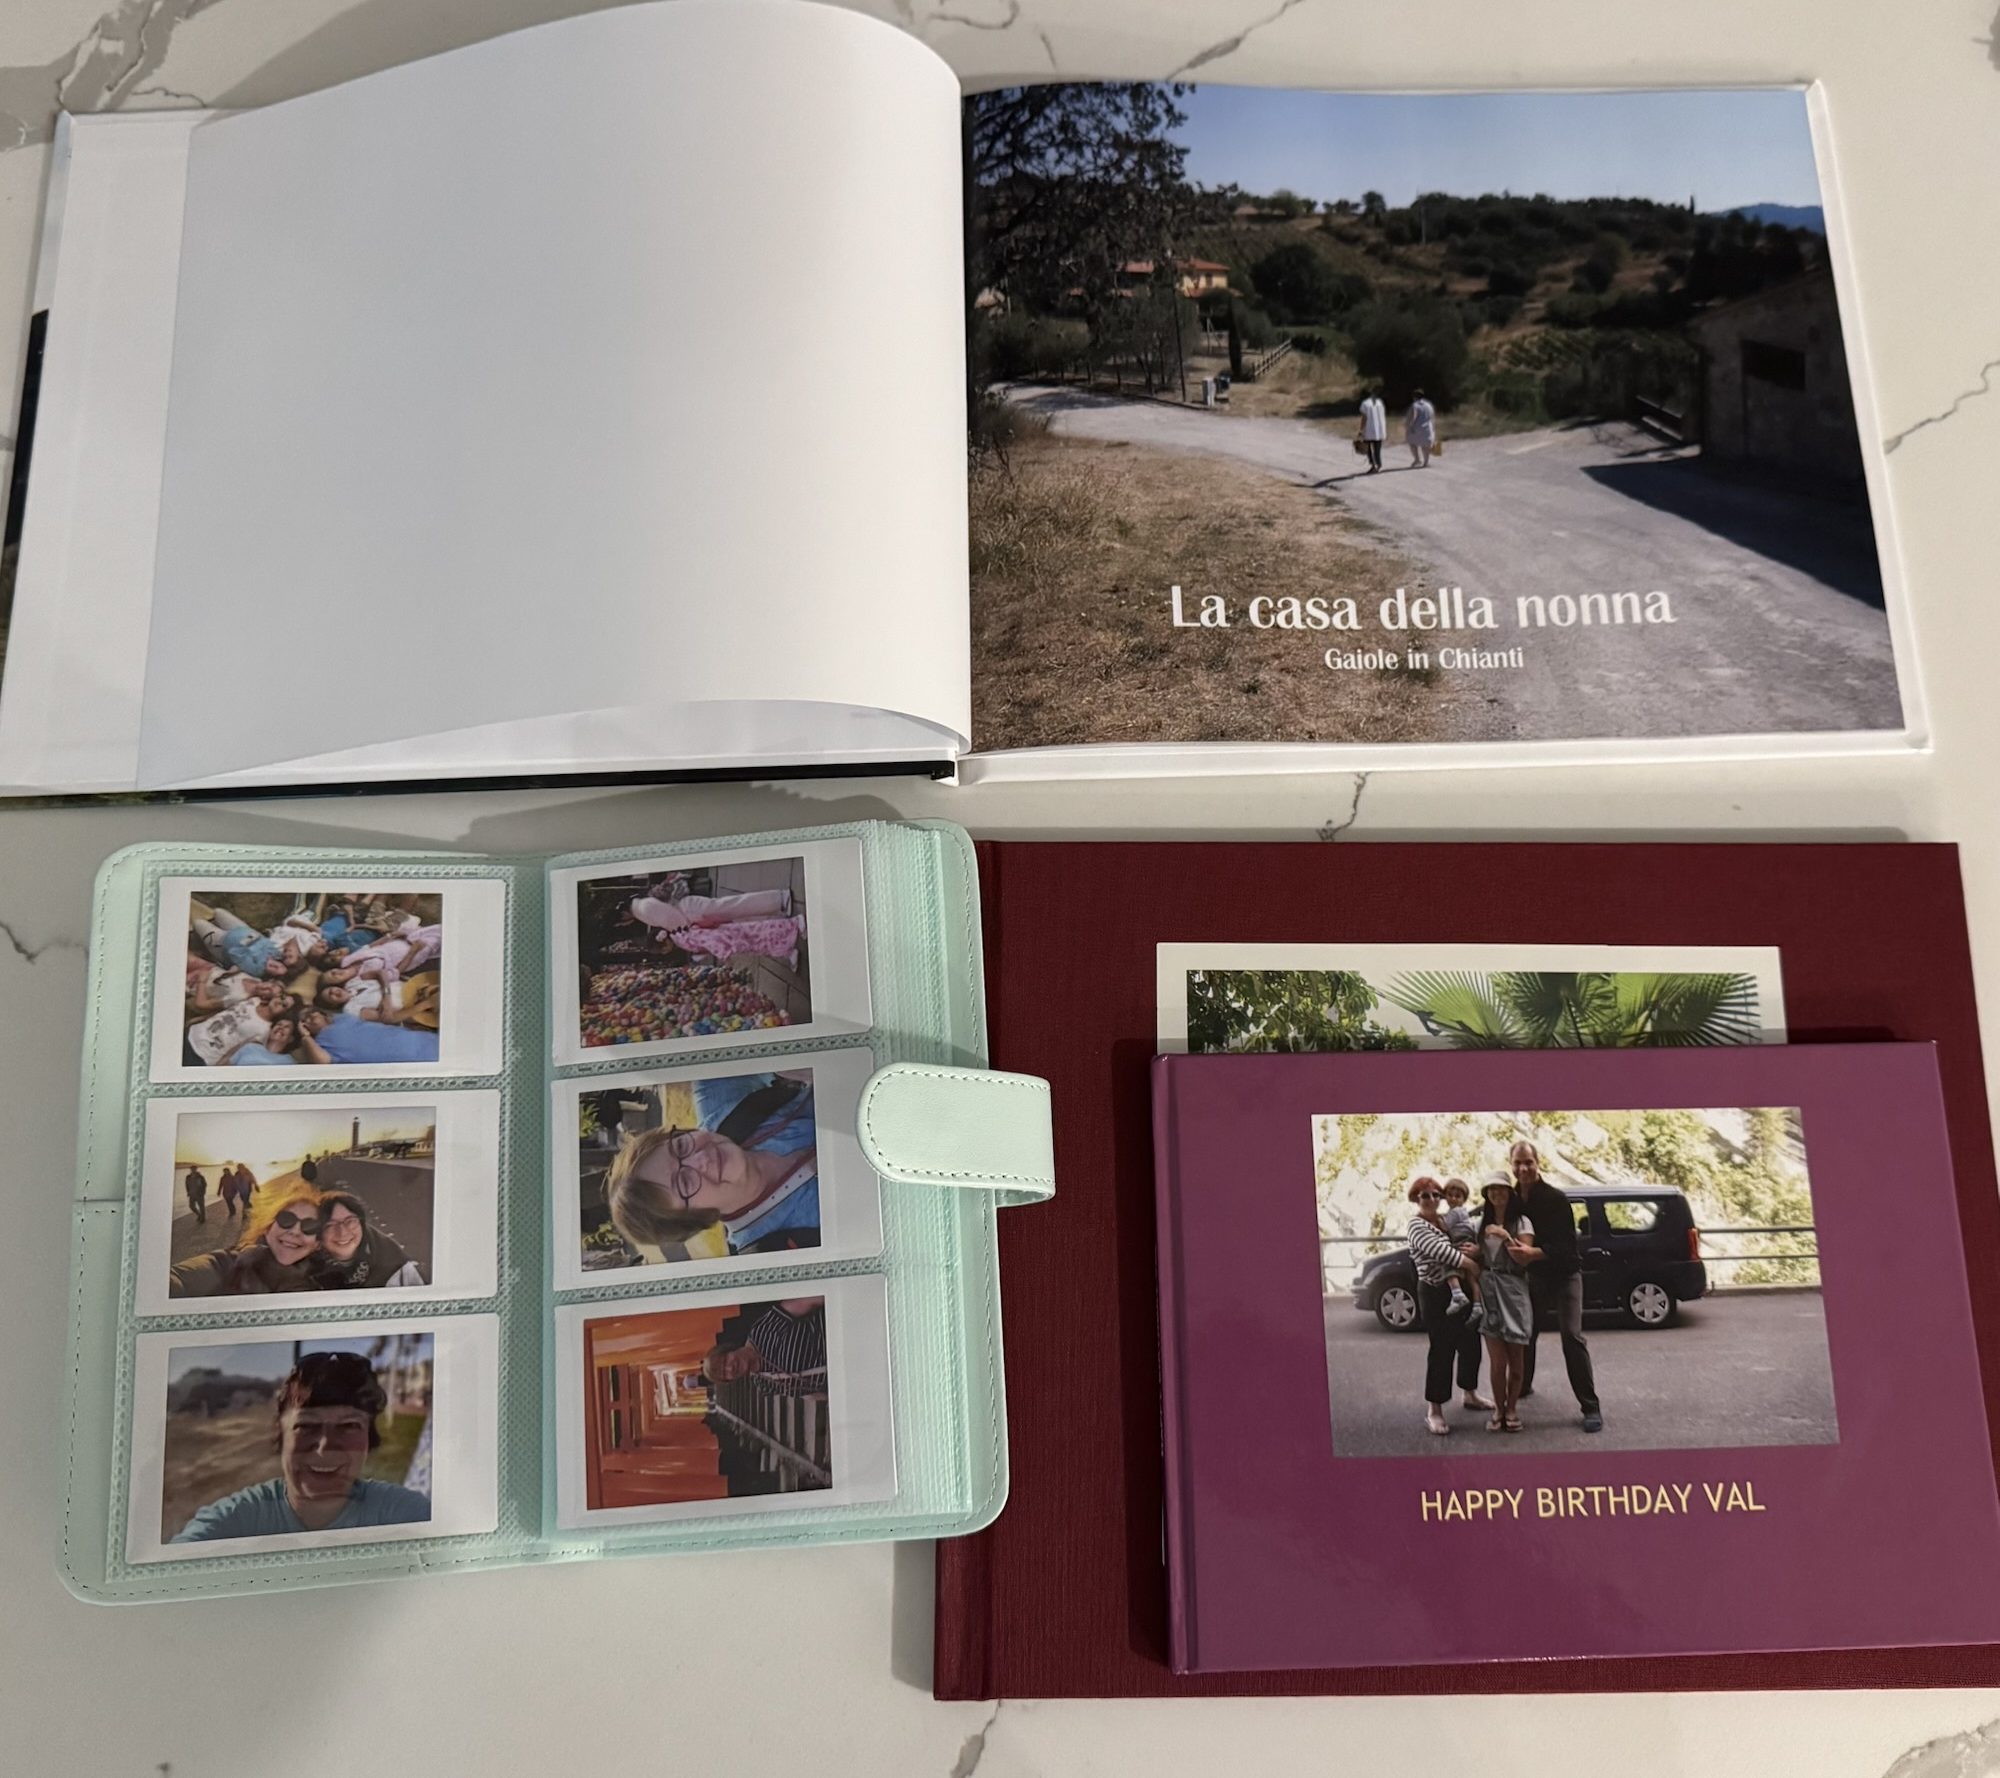
Photo albums of all types and sizes (printed by Mixbook, ifolor, Apple, and self printed Fujifilm Instax)

Maybe the combination of Lightroom Classic and Blurb is still the reference to beat – but I’ve not been impressed with the alternatives – I tested Mixbook – and while the quality of the printed books was satisfactory, I found the solution difficult to use and also very expensive.

If you need multiple copies of a photo album, creating a photo book with one of those services makes sense, although it will cost you, but if you only need one copy, it may be simpler, faster and cheaper to print the pictures at home, and place them in a good old (physical) photo album.

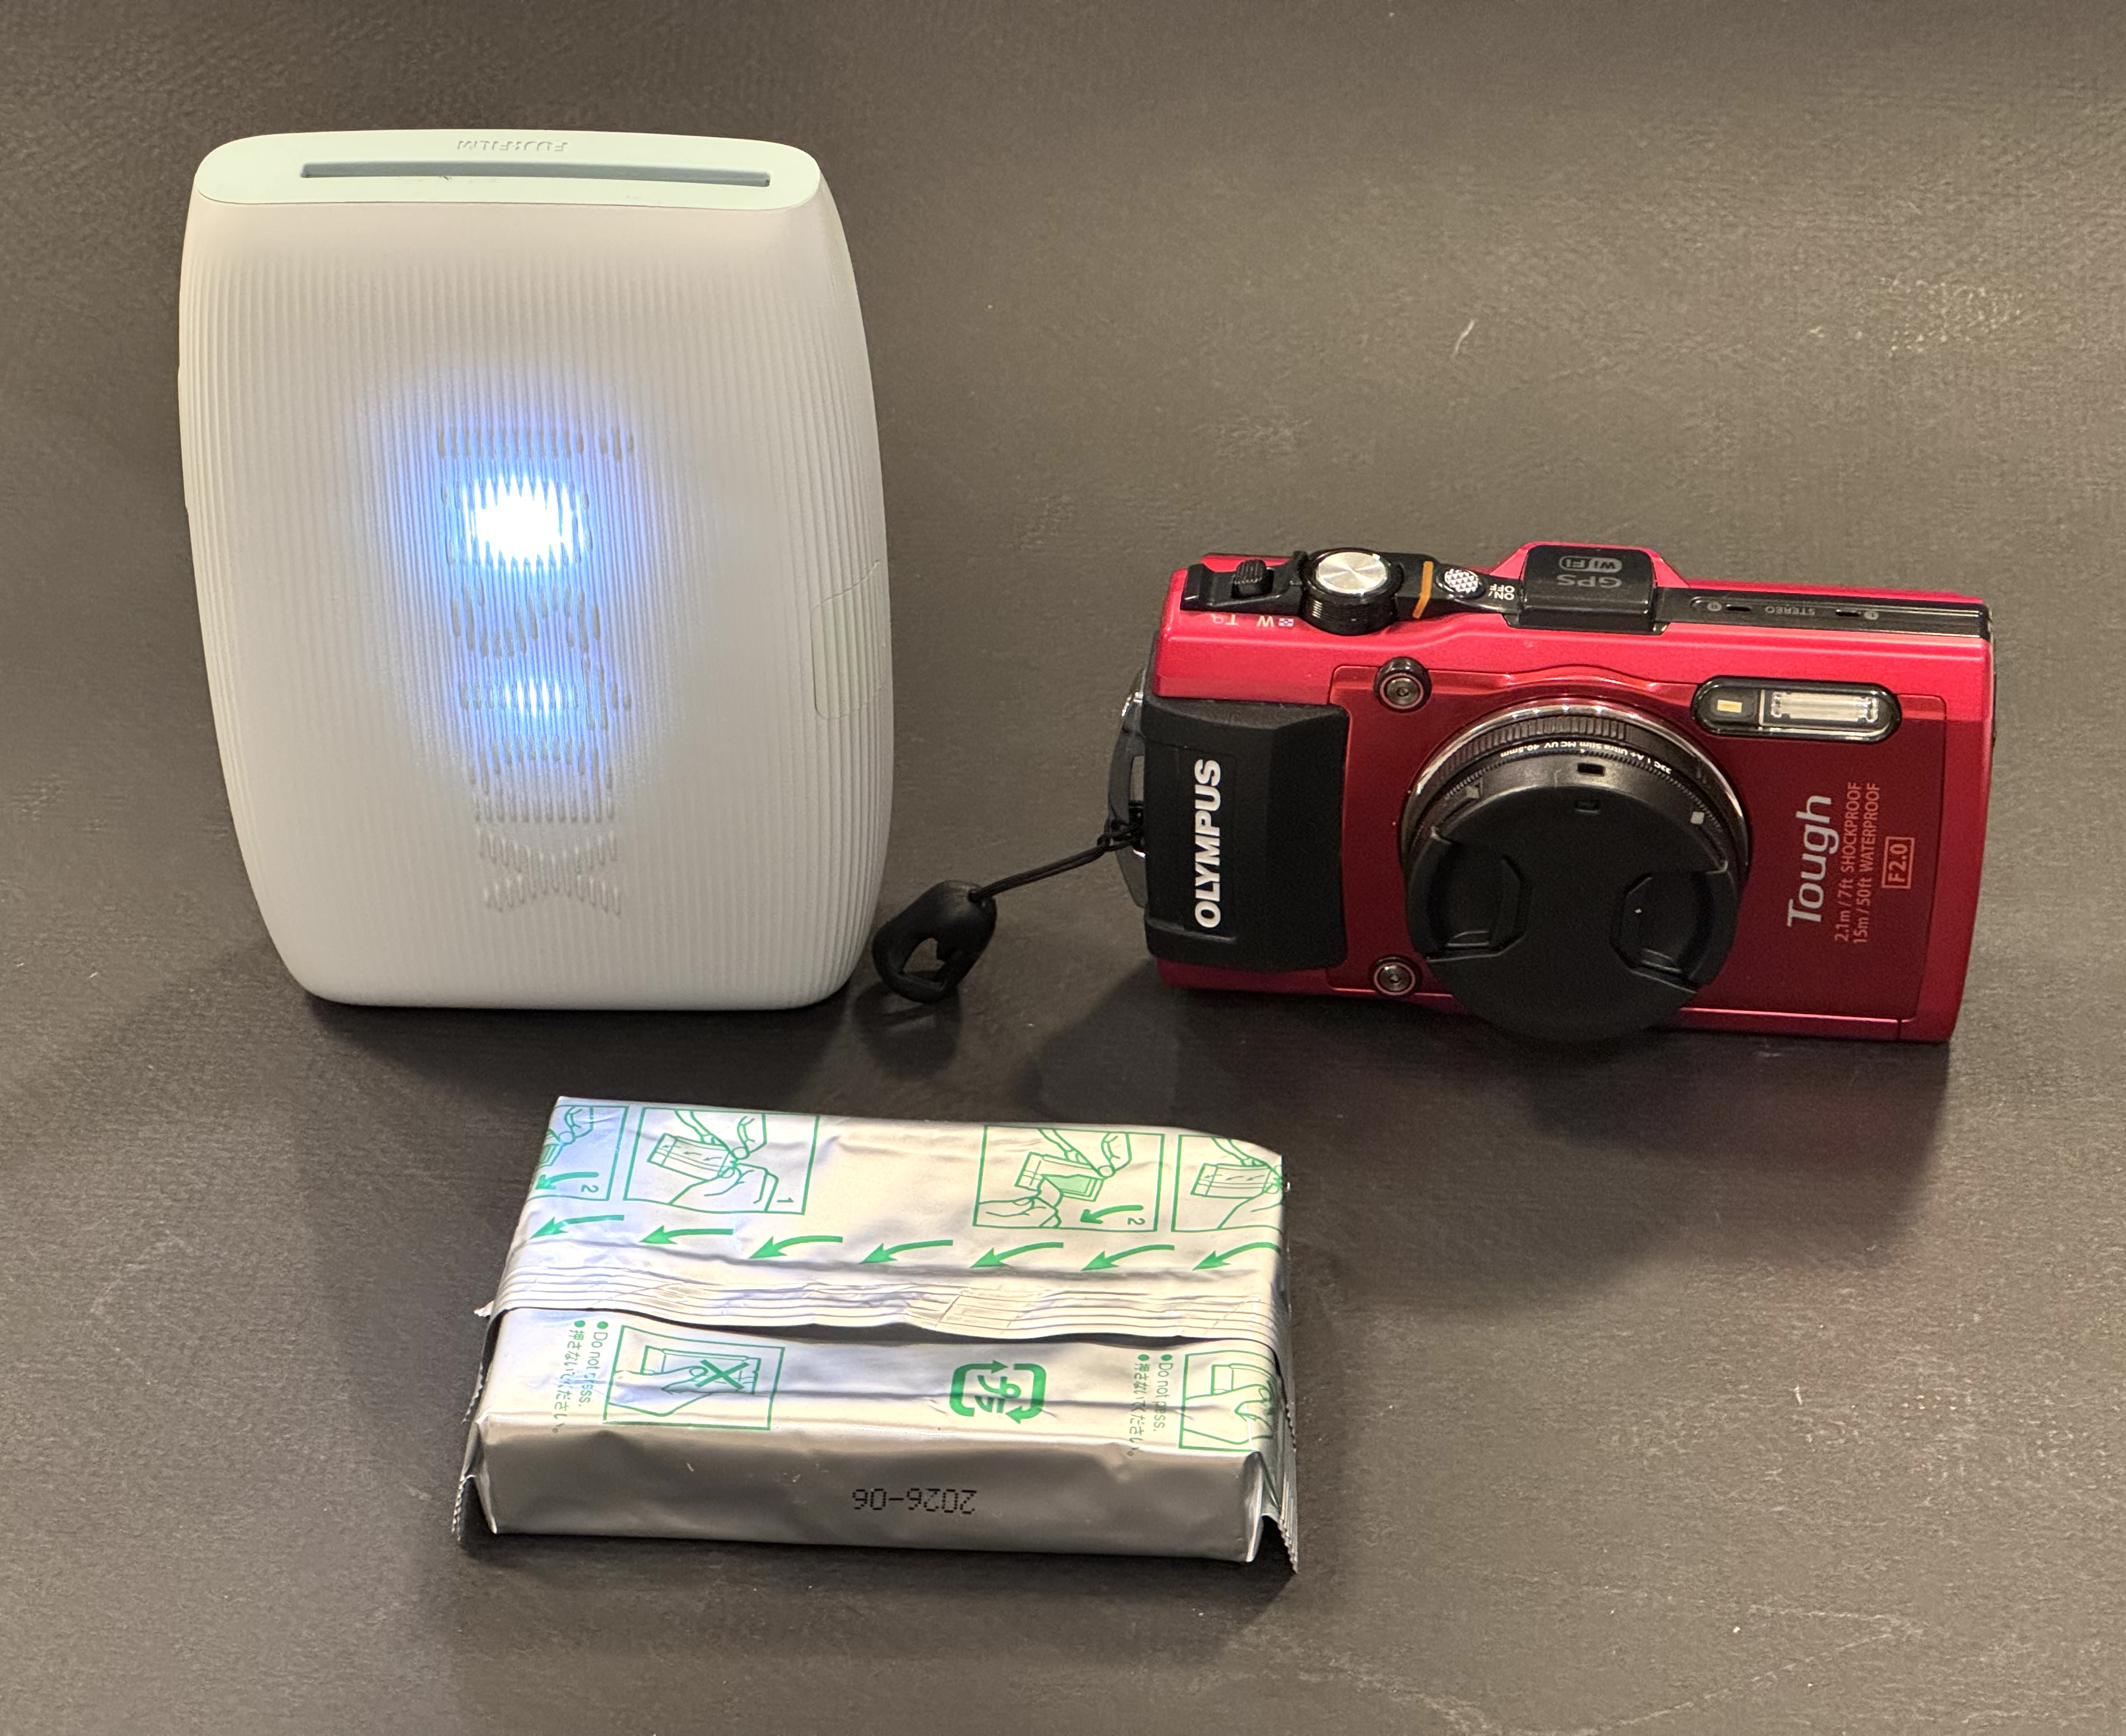
Fujifilm’s Instax film is available in three sizes, so are the Instax Printers.

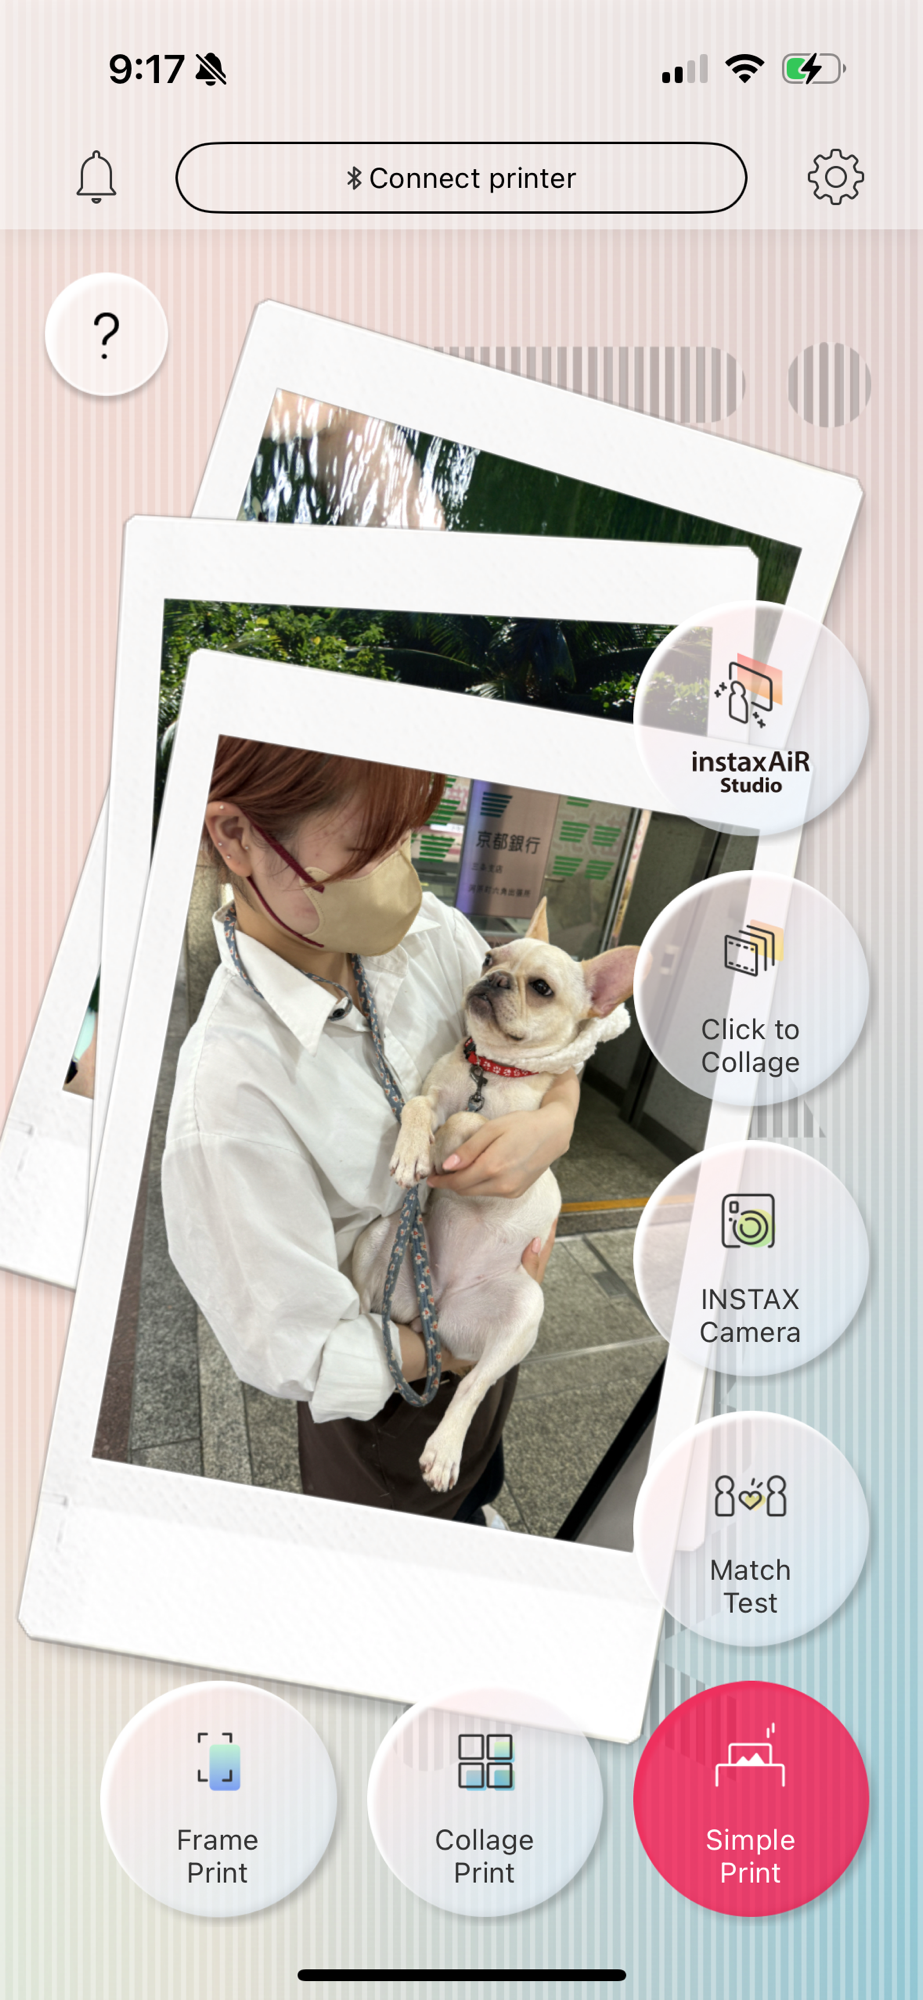
Last by not least, Canon, Fujifilm, HP, Kodak and Polaroid (in alphabetical order) all propose easy to use ultra-portable printers, that will let you print images from a smartphone or a tablet – and place them in small photo albums that they can also provide. Fujifilm and Polaroid printers use instant film packs, Canon, HP and Kodak use a technology named “zero ink” (a sophisticated thermal paper). In my personal experience, assembling a mini photo album of 20 pictures is quick, easy, and ultimately cheaper than configuring a photo book from Blurb, Mixbook and dozens of their competitors.

More about Lightroom Mobile and Instant Film printers:


More sunsets

Lake Lanier, July the 4th
Belem, Portugal
Paris, Place de la Concorde