Nikon D80 – the CCD-look at its best ?

The “CCD Sensor look” is all the rage nowadays, and after having resuscitated my old Canon Digital Elph SD400 (that still impressed me) and bought a Pentax *ist DS (that one was a disappointment), I was still curious, and eager to reunite with a camera equipped with what is considered the best APS-C CCD sensor ever, the Sony 10 Mpix ICX493AQA. This chip (or one of its a close relatives) was integrated in Nikon’s D200, D80, D40X, D60 and D3000, as well a few models from Pentax (the K10D, K200D and K2000/k-m) and Sony’s early Alpha series cameras (the A100, A200, A300 and their derivatives).

Nikon D80 – the prototypical “enthusiast” dSLR.

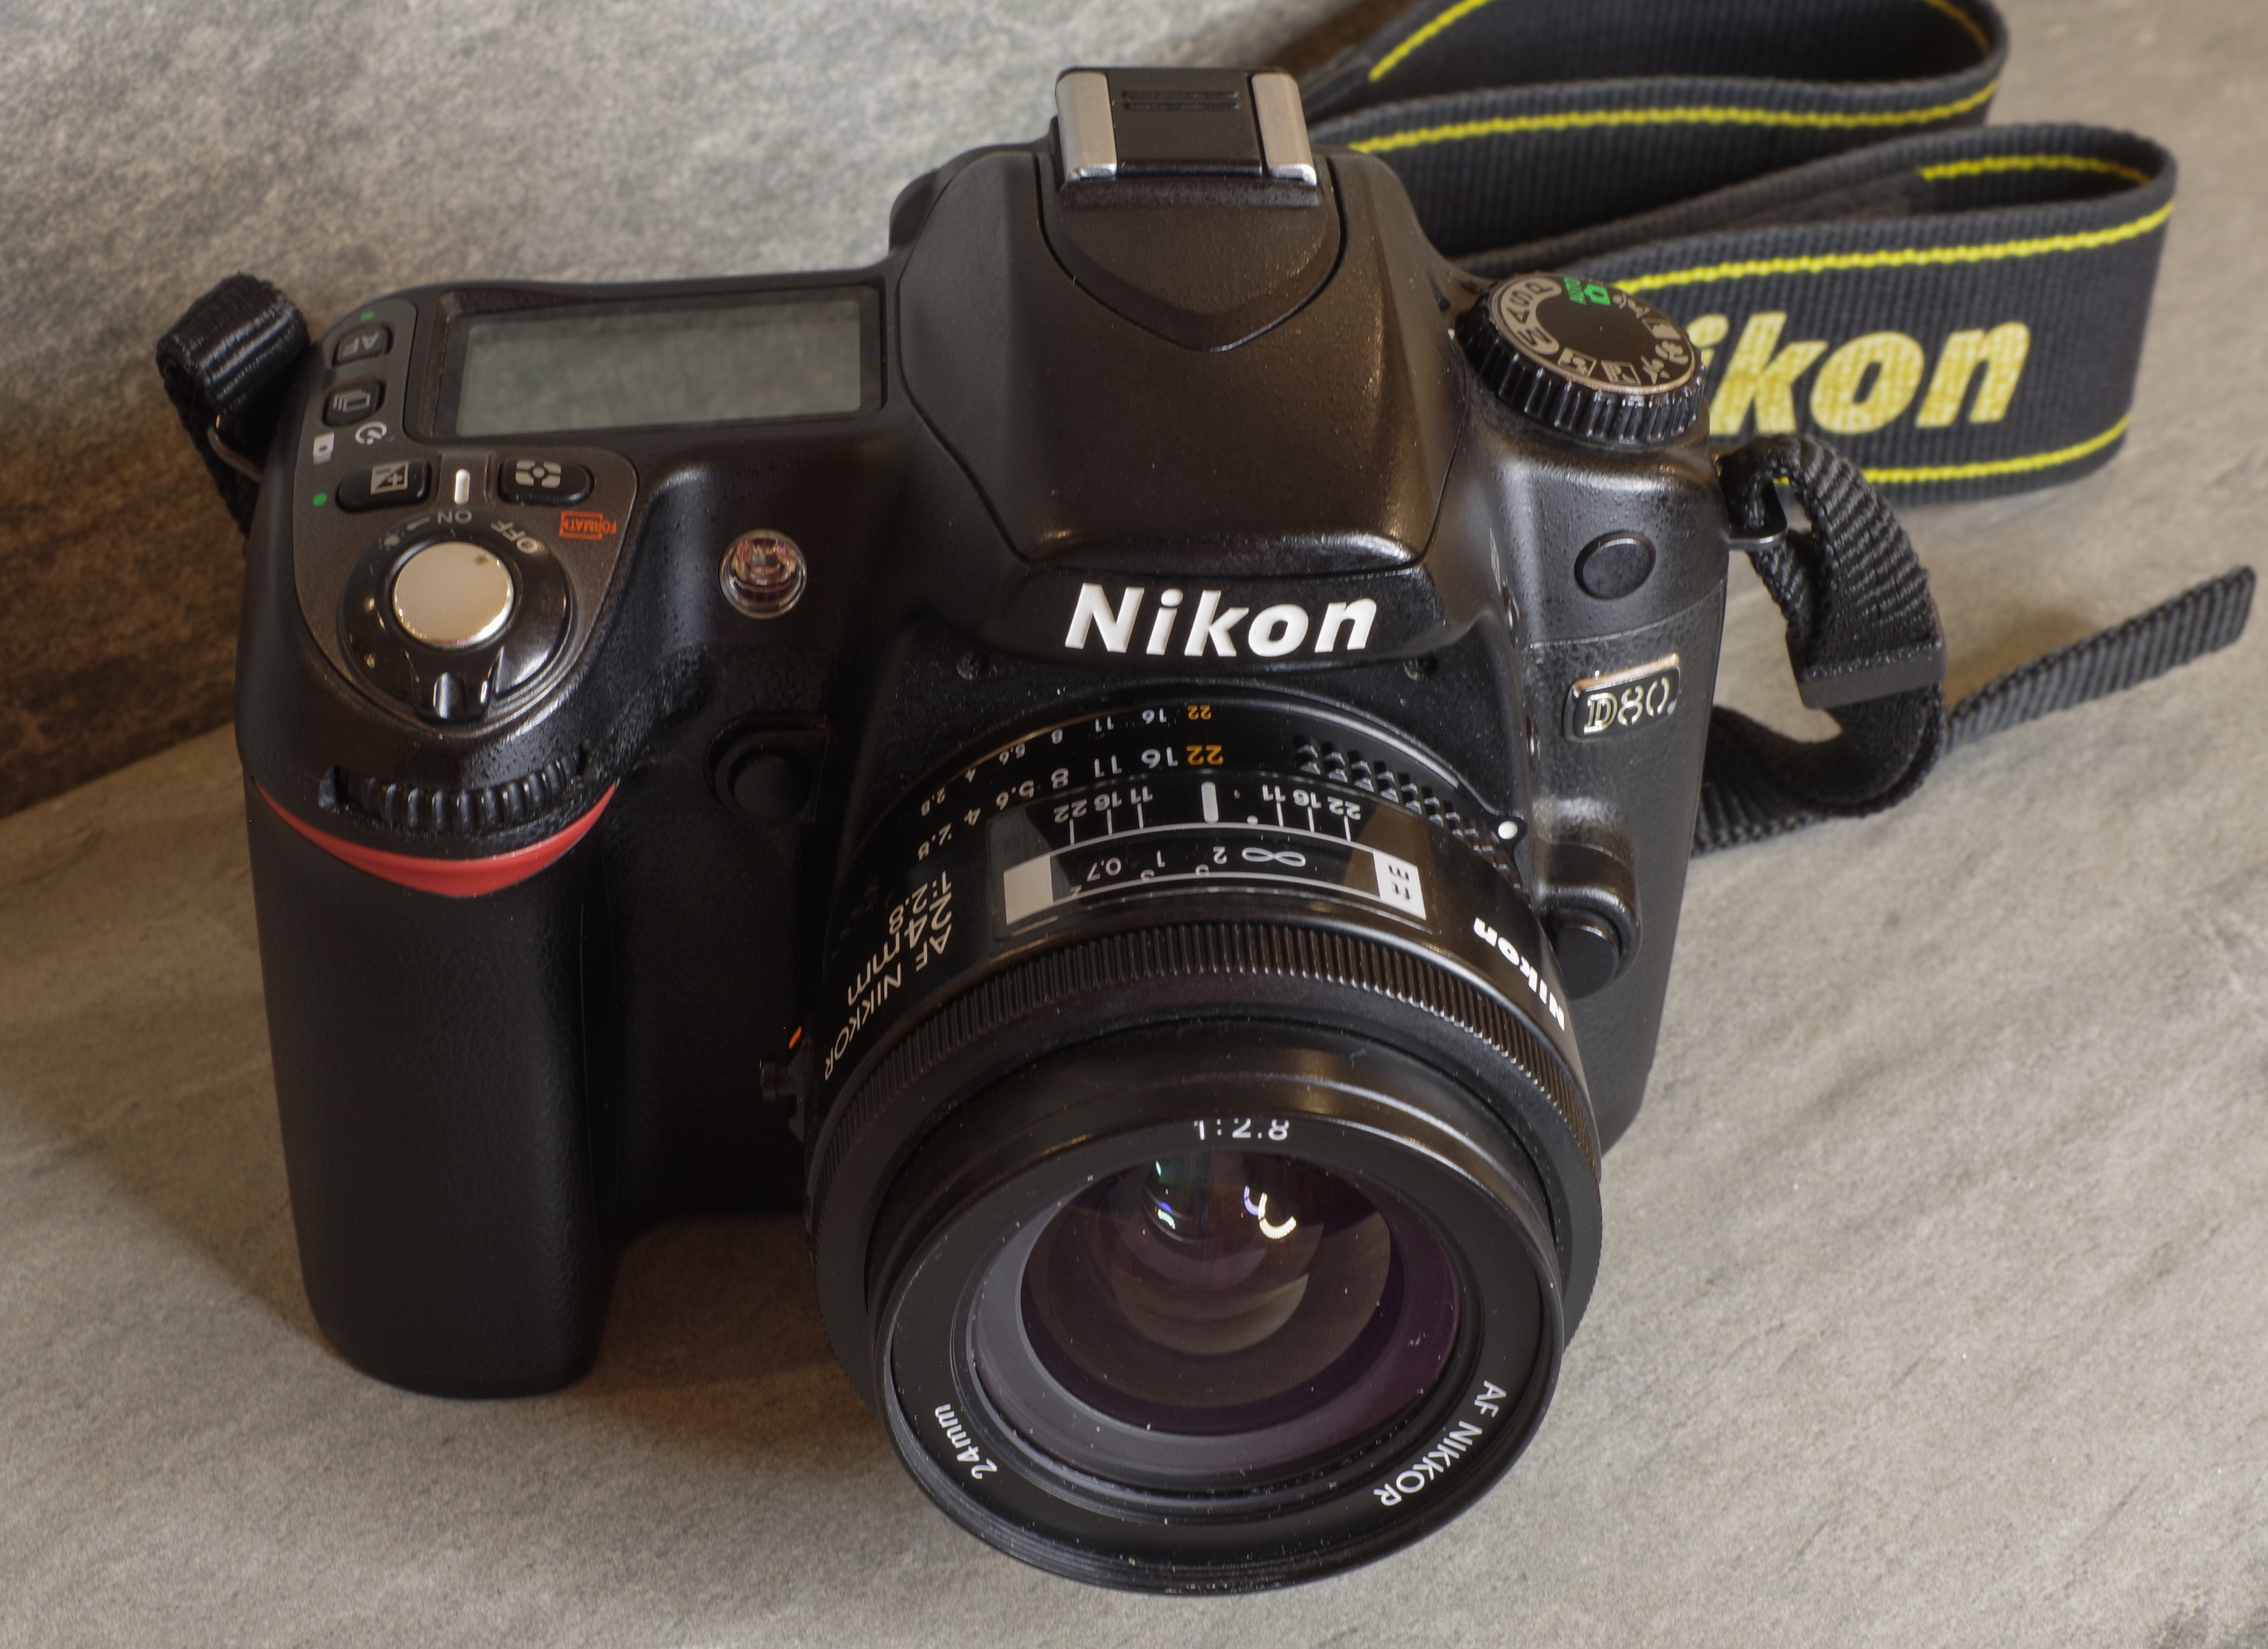
In this list, the Nikon D80 was the easy choice. To me, it was a known quantity, – a D80 had been my main camera for 8 years – I still have a few Nikon “screw-drive” autofocus prime lenses, and I like the ergonomics and the UI of Nikon’s middle of the range dSLRs. And good copies of the D80 are still abundant, and cheap.

I had briefly considered buying one of the “CCD” Pentax bodies, but they are all significantly more expensive than the D80 (surprising? a supply and demand thing, I presume), and are not known for the quality of their JPEGs (the “CCD look” is a JPEG thing and the Pentax JPEGs were lagging their competition).

June 2026 – Nikon D80 – Nikon AF 24mm F/2.8 Lens – 200 ISO – the white cladding of the building is not burnt, and the colors pop.

So, I bought a Nikon D80. And because the goal of this return to the D80 was to produce the most “CCD-like” images possible, I configured it with a Custom Picture profile featuring slightly increased sharpening and color saturation, combined with reduced tone compensation to keep contrast under control. I chose the Color Mode IIIa, fixed the white balance to Daylight, and applied a modest exposure compensation of –0.3 EV.

Nikon D80 – a very comprehensive set of controls.

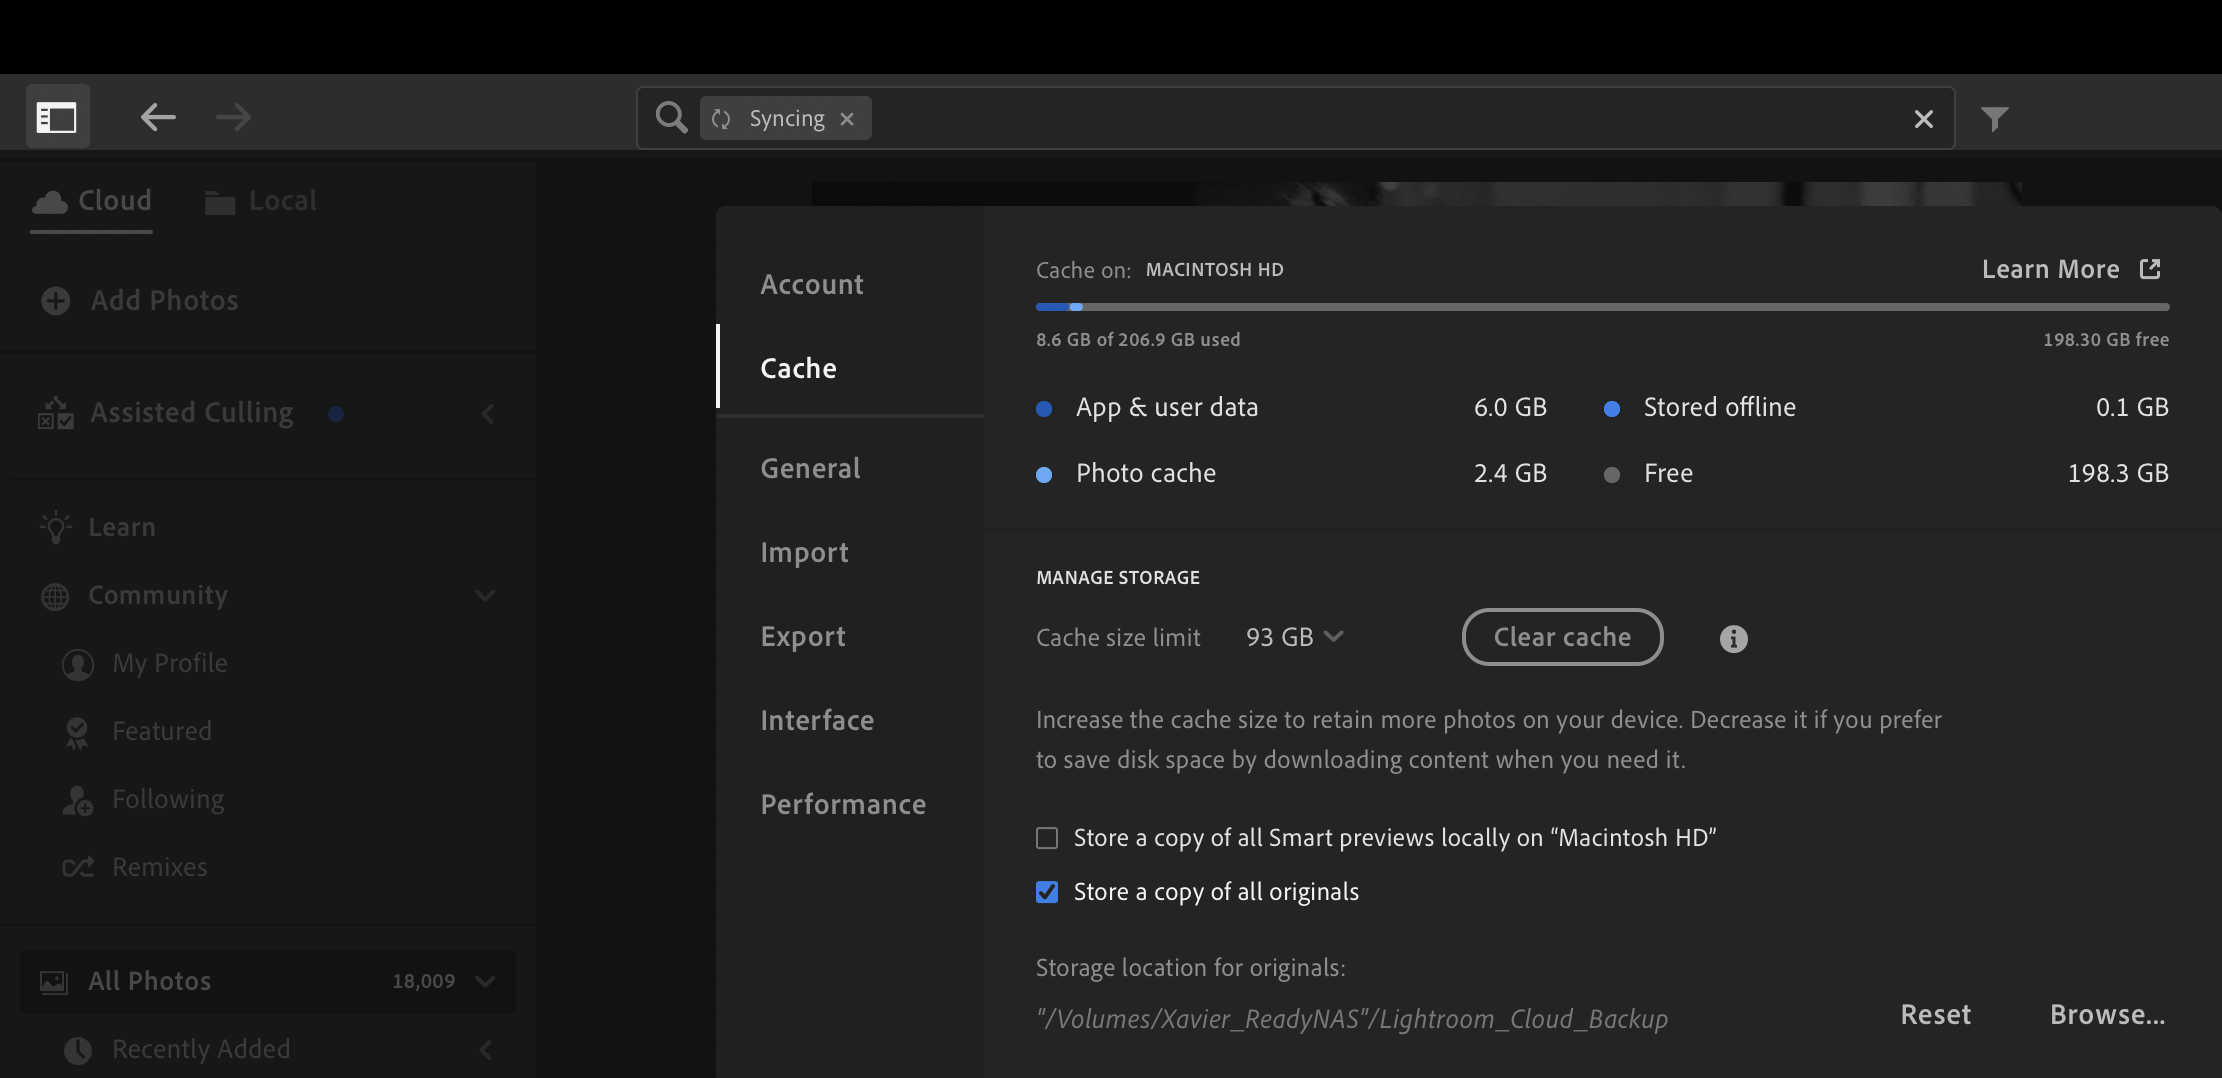
The camera was set to record both JPEG and RAW files, with the JPEGs intended as the primary output and the RAW files kept as a safety net for any images that might benefit from additional processing.

The original CCD Look: Rome (2008) – Nikon D80 – Tokina 12-24mm – 200 ISO

Shooting with the D80 20 years after it was launched

When shooting stills (it does not record videos), the D80 is still perfectly usable – it’s reactive, and gets focus and exposure right, as long as there’s enough light – but not too much of it. And compared to modern mirrorless ILCs, it does not look too big – as long as it’s fitted with a small prime lens.

The ergonomics are good, the viewfinder is luminous and large enough, but a long list of limitations shows its 2006 roots:

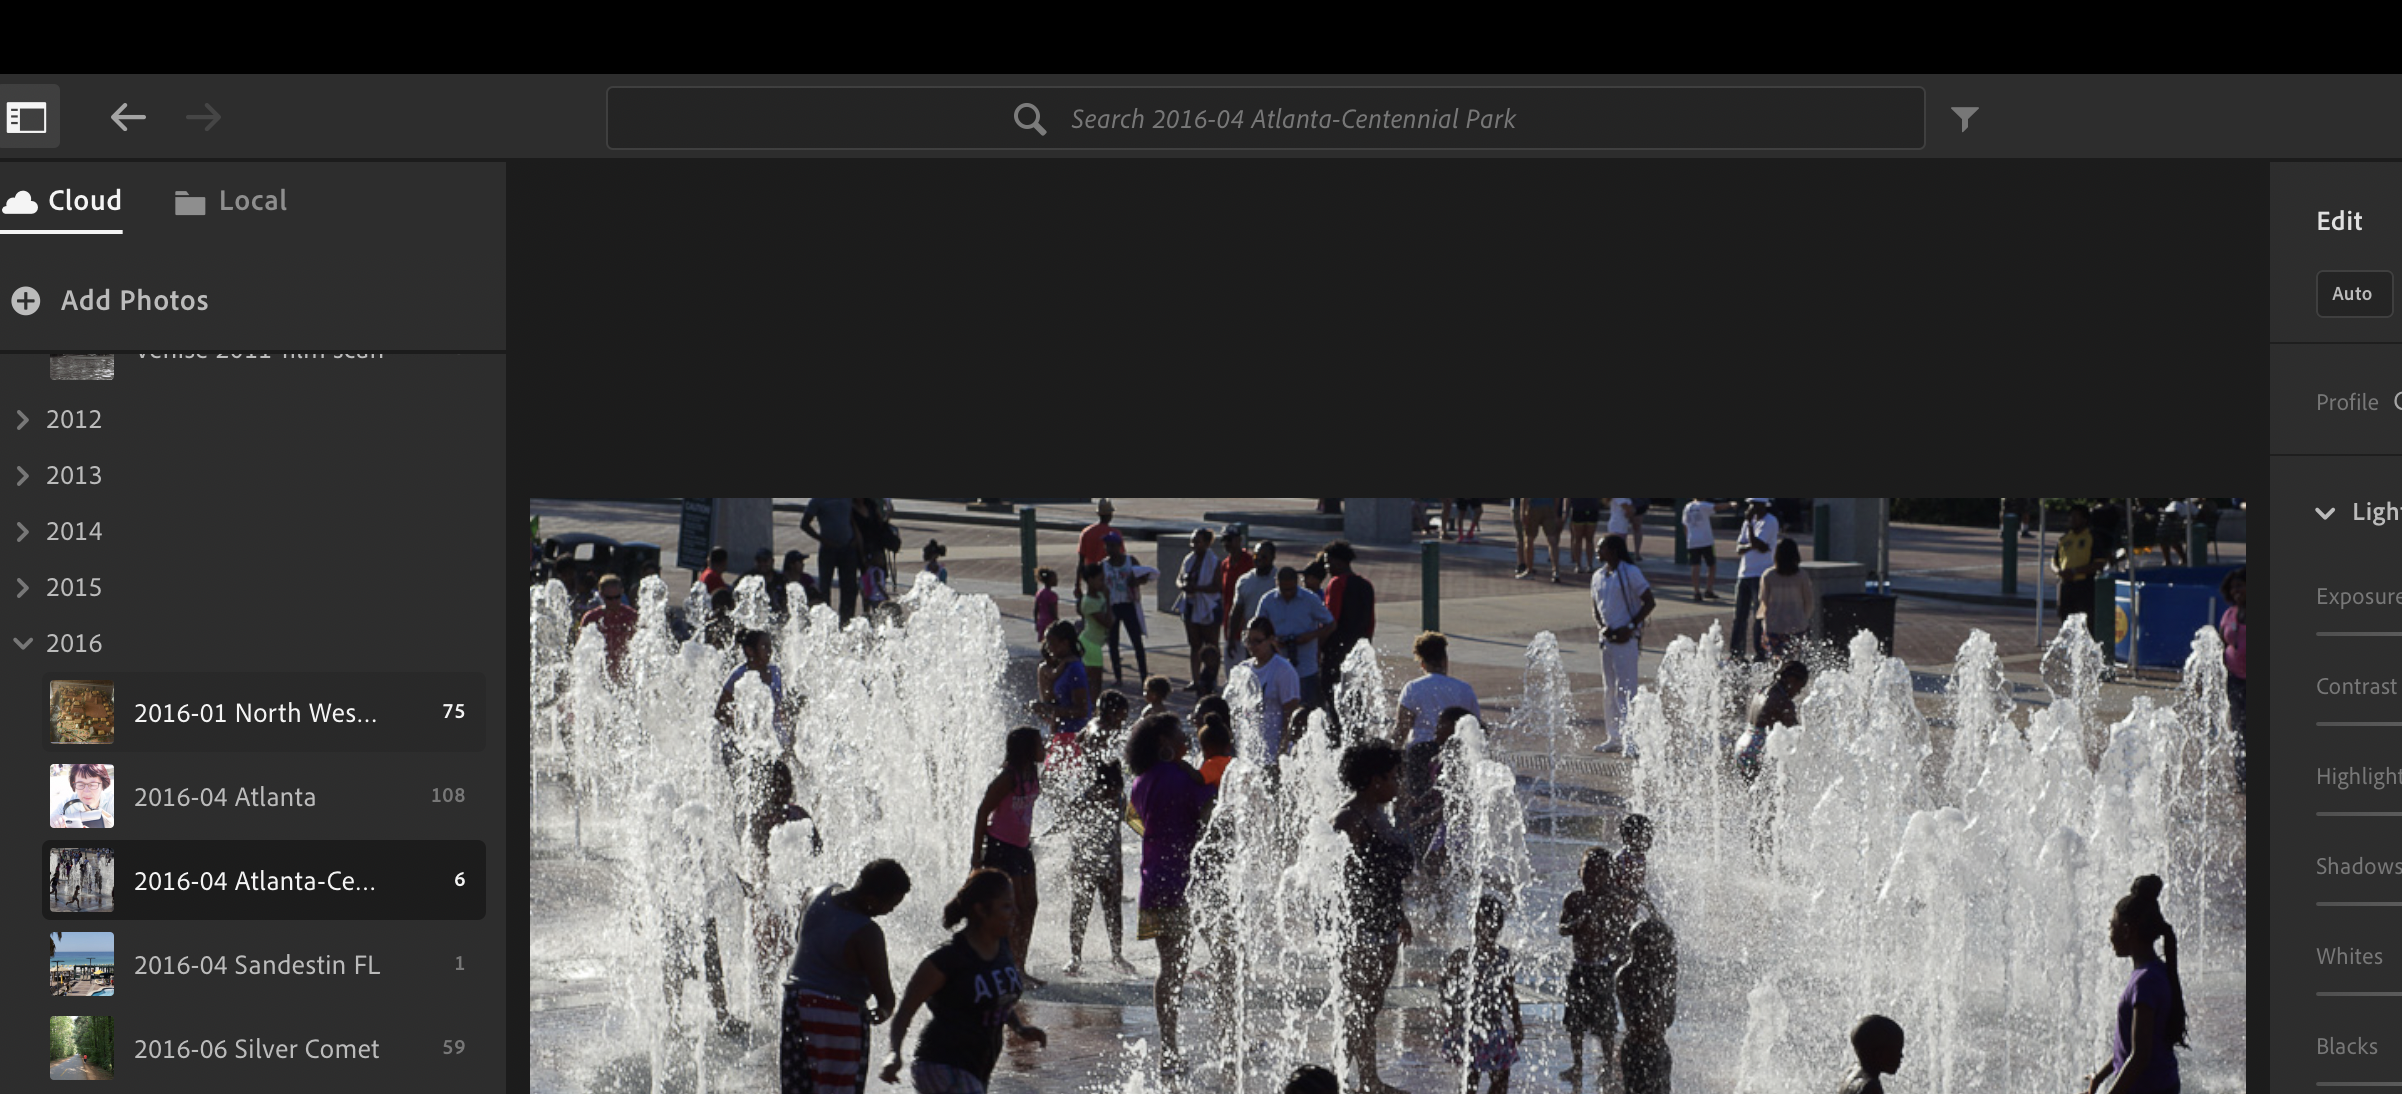
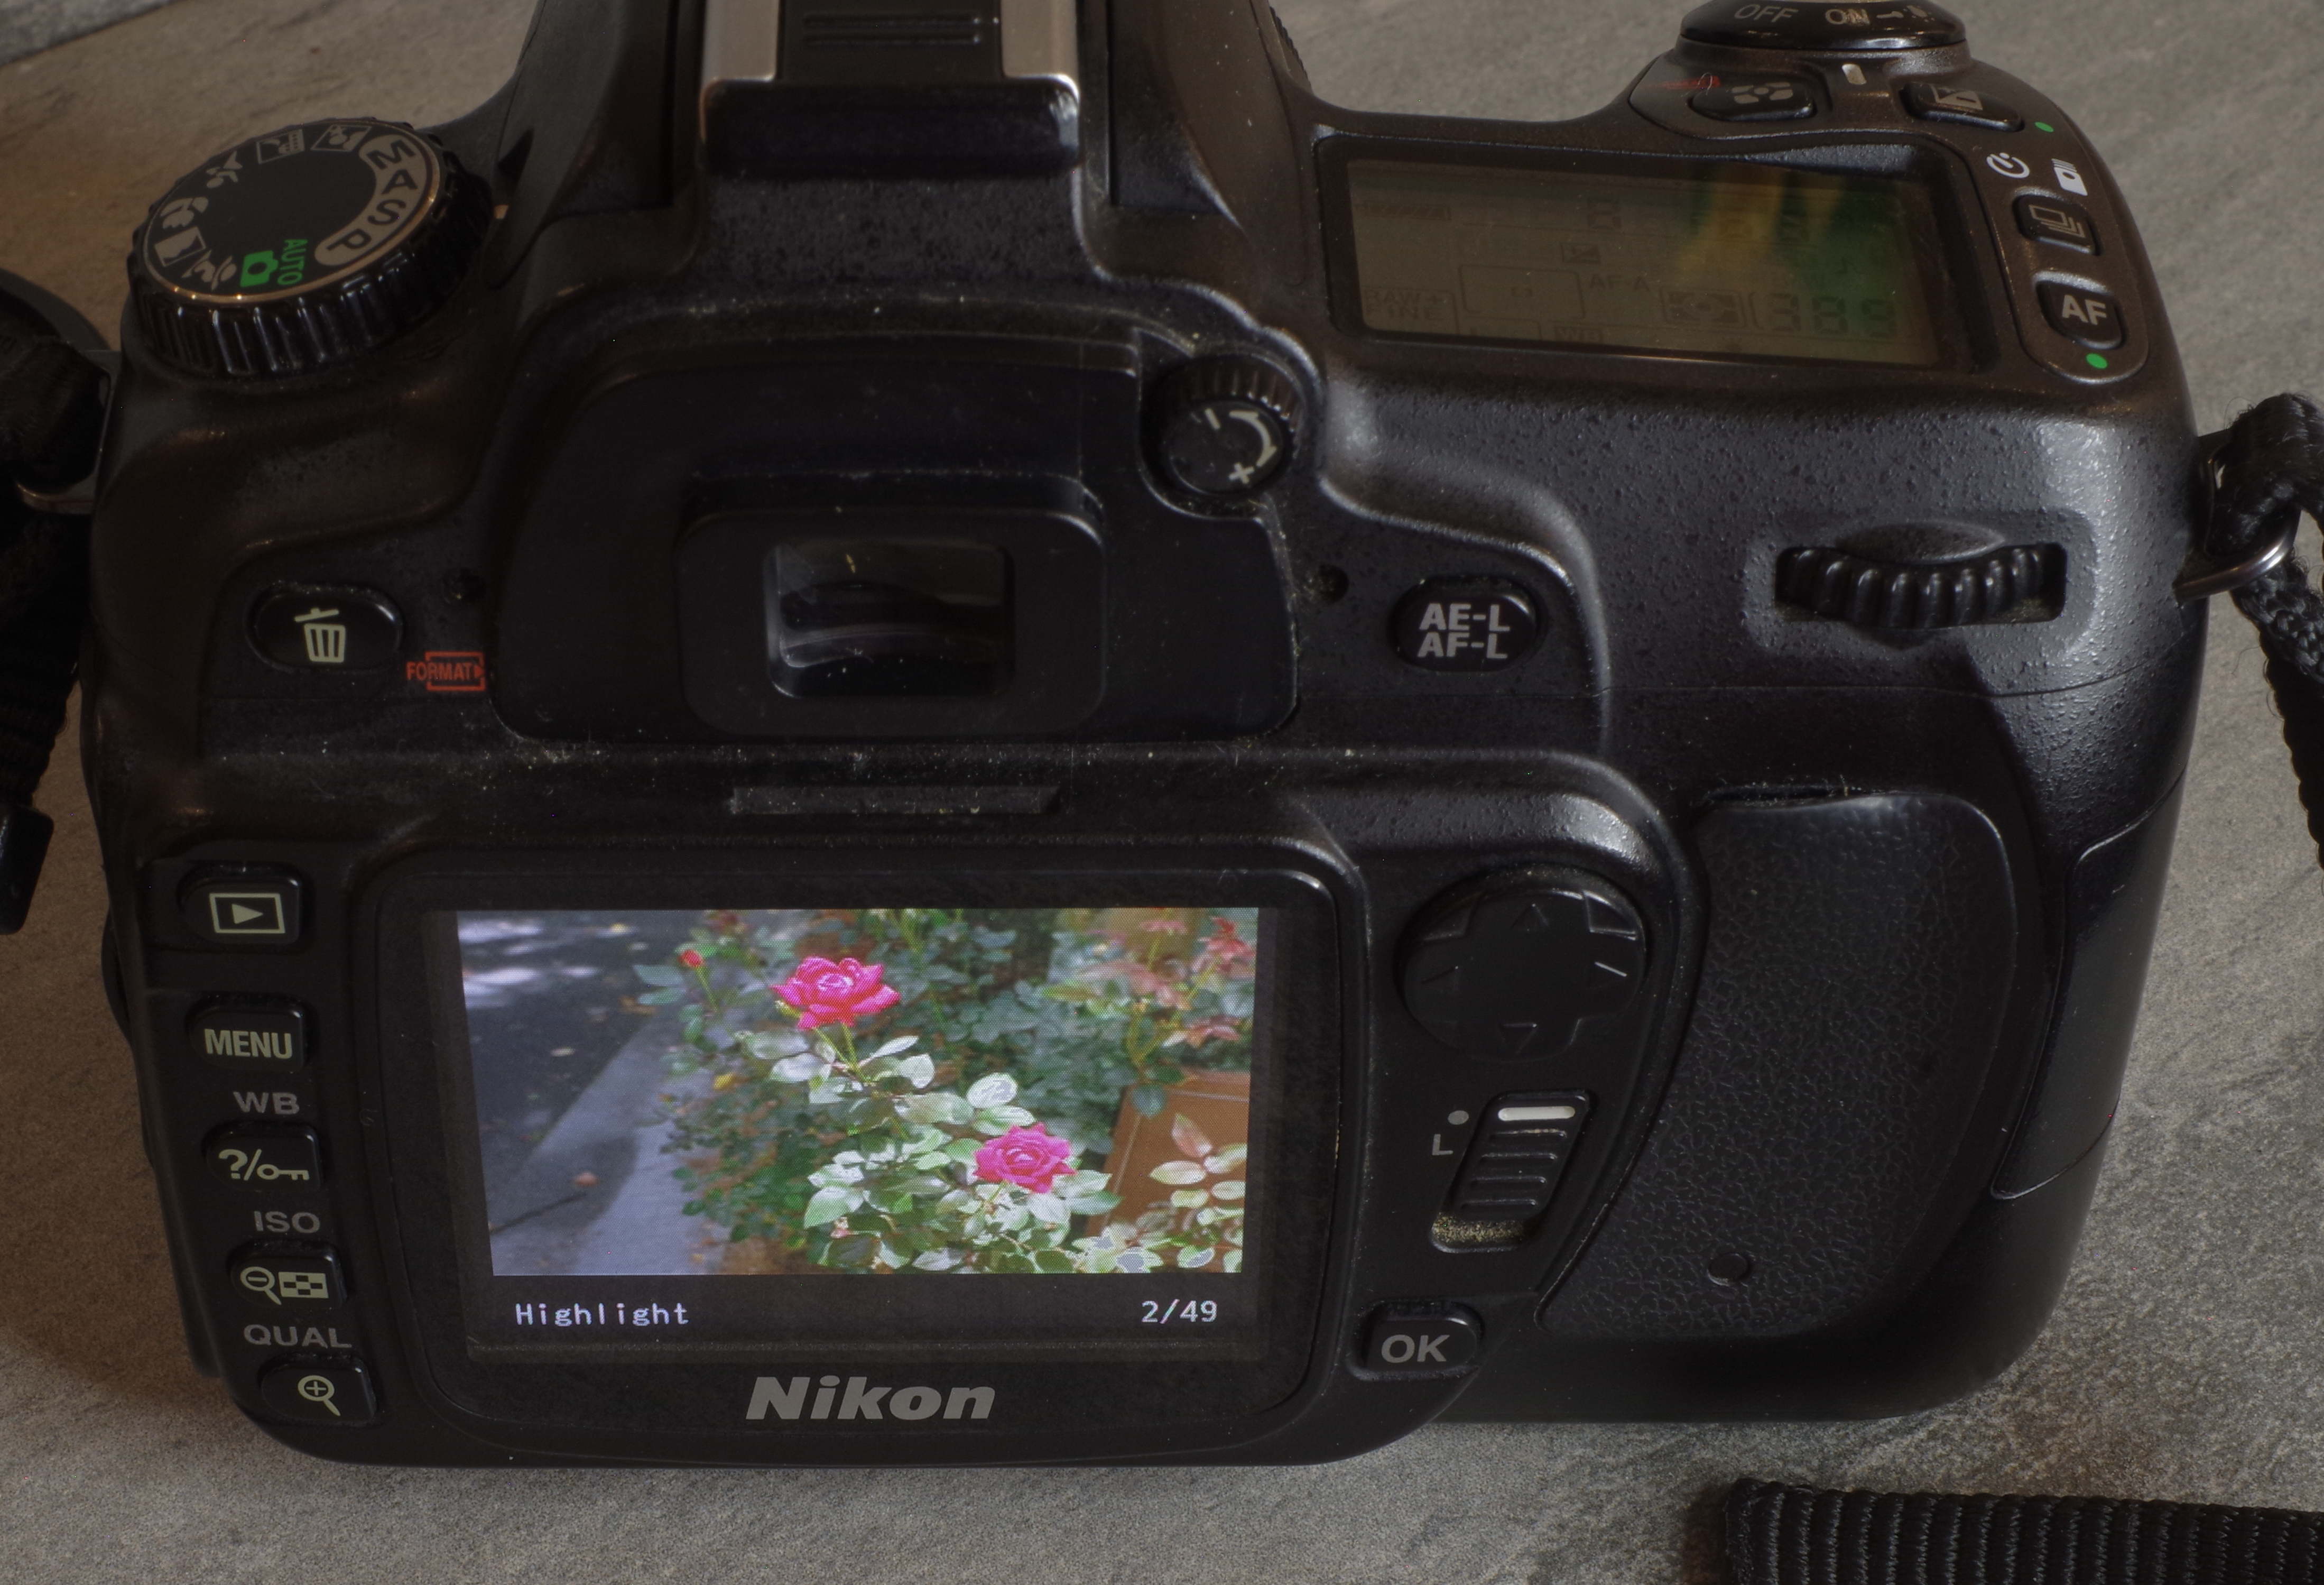
  • The limited dynamic range – the control of the highlights is clearly the biggest challenge of this camera (and its sensor), and my camera is set with “highlight warning” as the default playback option. It is generally recommended to expose for the highlights, and – if necessary – to try and save the shadows in post production (starting from the RAW file).
  • A limited usable ISO range – 200 is the normal sensitivity, anything beyond 800 is only to be used in last resort.
  • No IBIS (in-body image stabilization)
  • The 3 points above combine to severely limit the performance of the D80 in low light and make the purchase of a good flash (a cobra with a big reflector) almost mandatory.
  • The small and poorly defined rear display (2.5in, 230,000 points) makes it difficult to judge quality of a picture before you’re back home and upload the SD Card to a PC.
  • None of the comforts of modern cameras: no Quick Menu, no Face Detection AF, no WiFi, no Bluetooth, no USB charging, no touch screen, no joystick.
  • And the usual limitation of the Nikon F system – no native APS-C (aka DX) prime lens except for a 35mm f/1.8, a 40mm f/2.8 macro and a 10mm fish-eye. Nikon never invested in a line of APS-dedicated prime lenses. It is particularly an issue on the wide angle side: you either have to shoot with a DX zoom, or with wide angle prime lenses designed for Full Frame cameras. Both tend to be big and expensive. And it also means that there is no “pancake-style” lens like the Fujifilm XF 18, 23 and 27mm, or Pentax DA Limited 21 or 40mm. Nikon have always expected their most “serious” photographers to shoot Full Frame, and not be too concerned with the size, weight or cost of their equipment.
The original CCD Look – Rome 2008 – Nikon D80 – Quantaray 55-200 zoom – 200 ISO

What about the images?

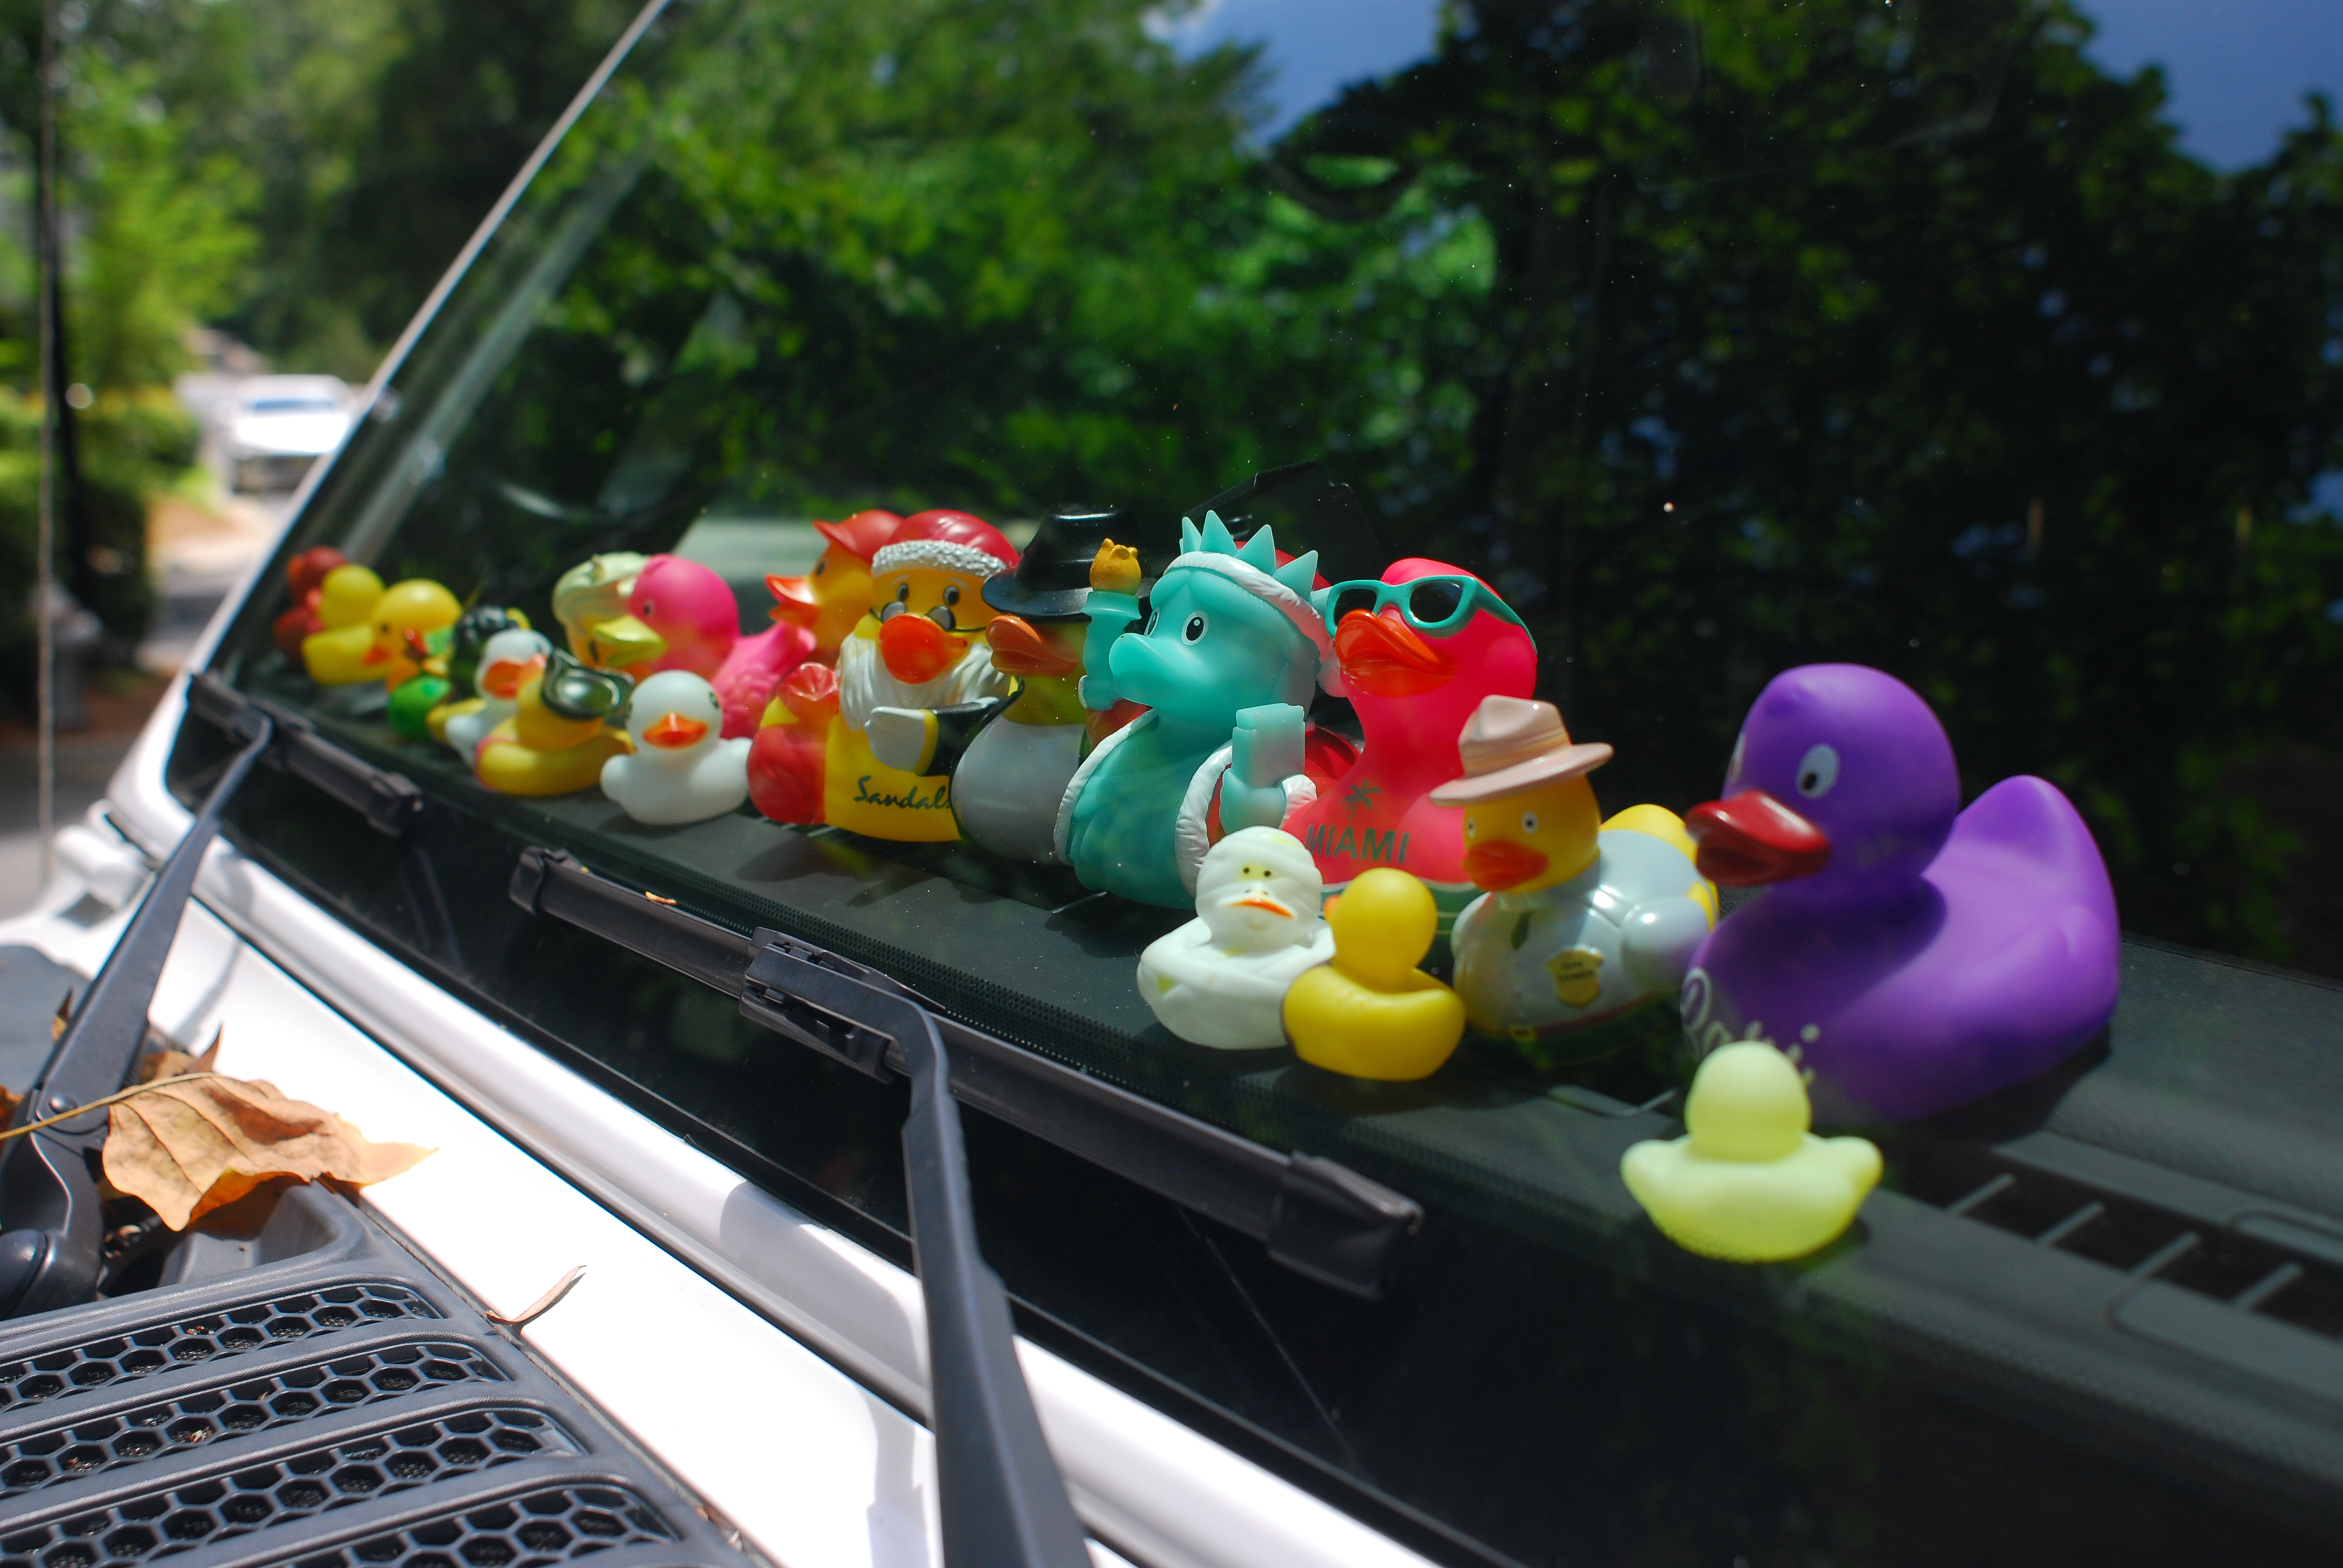
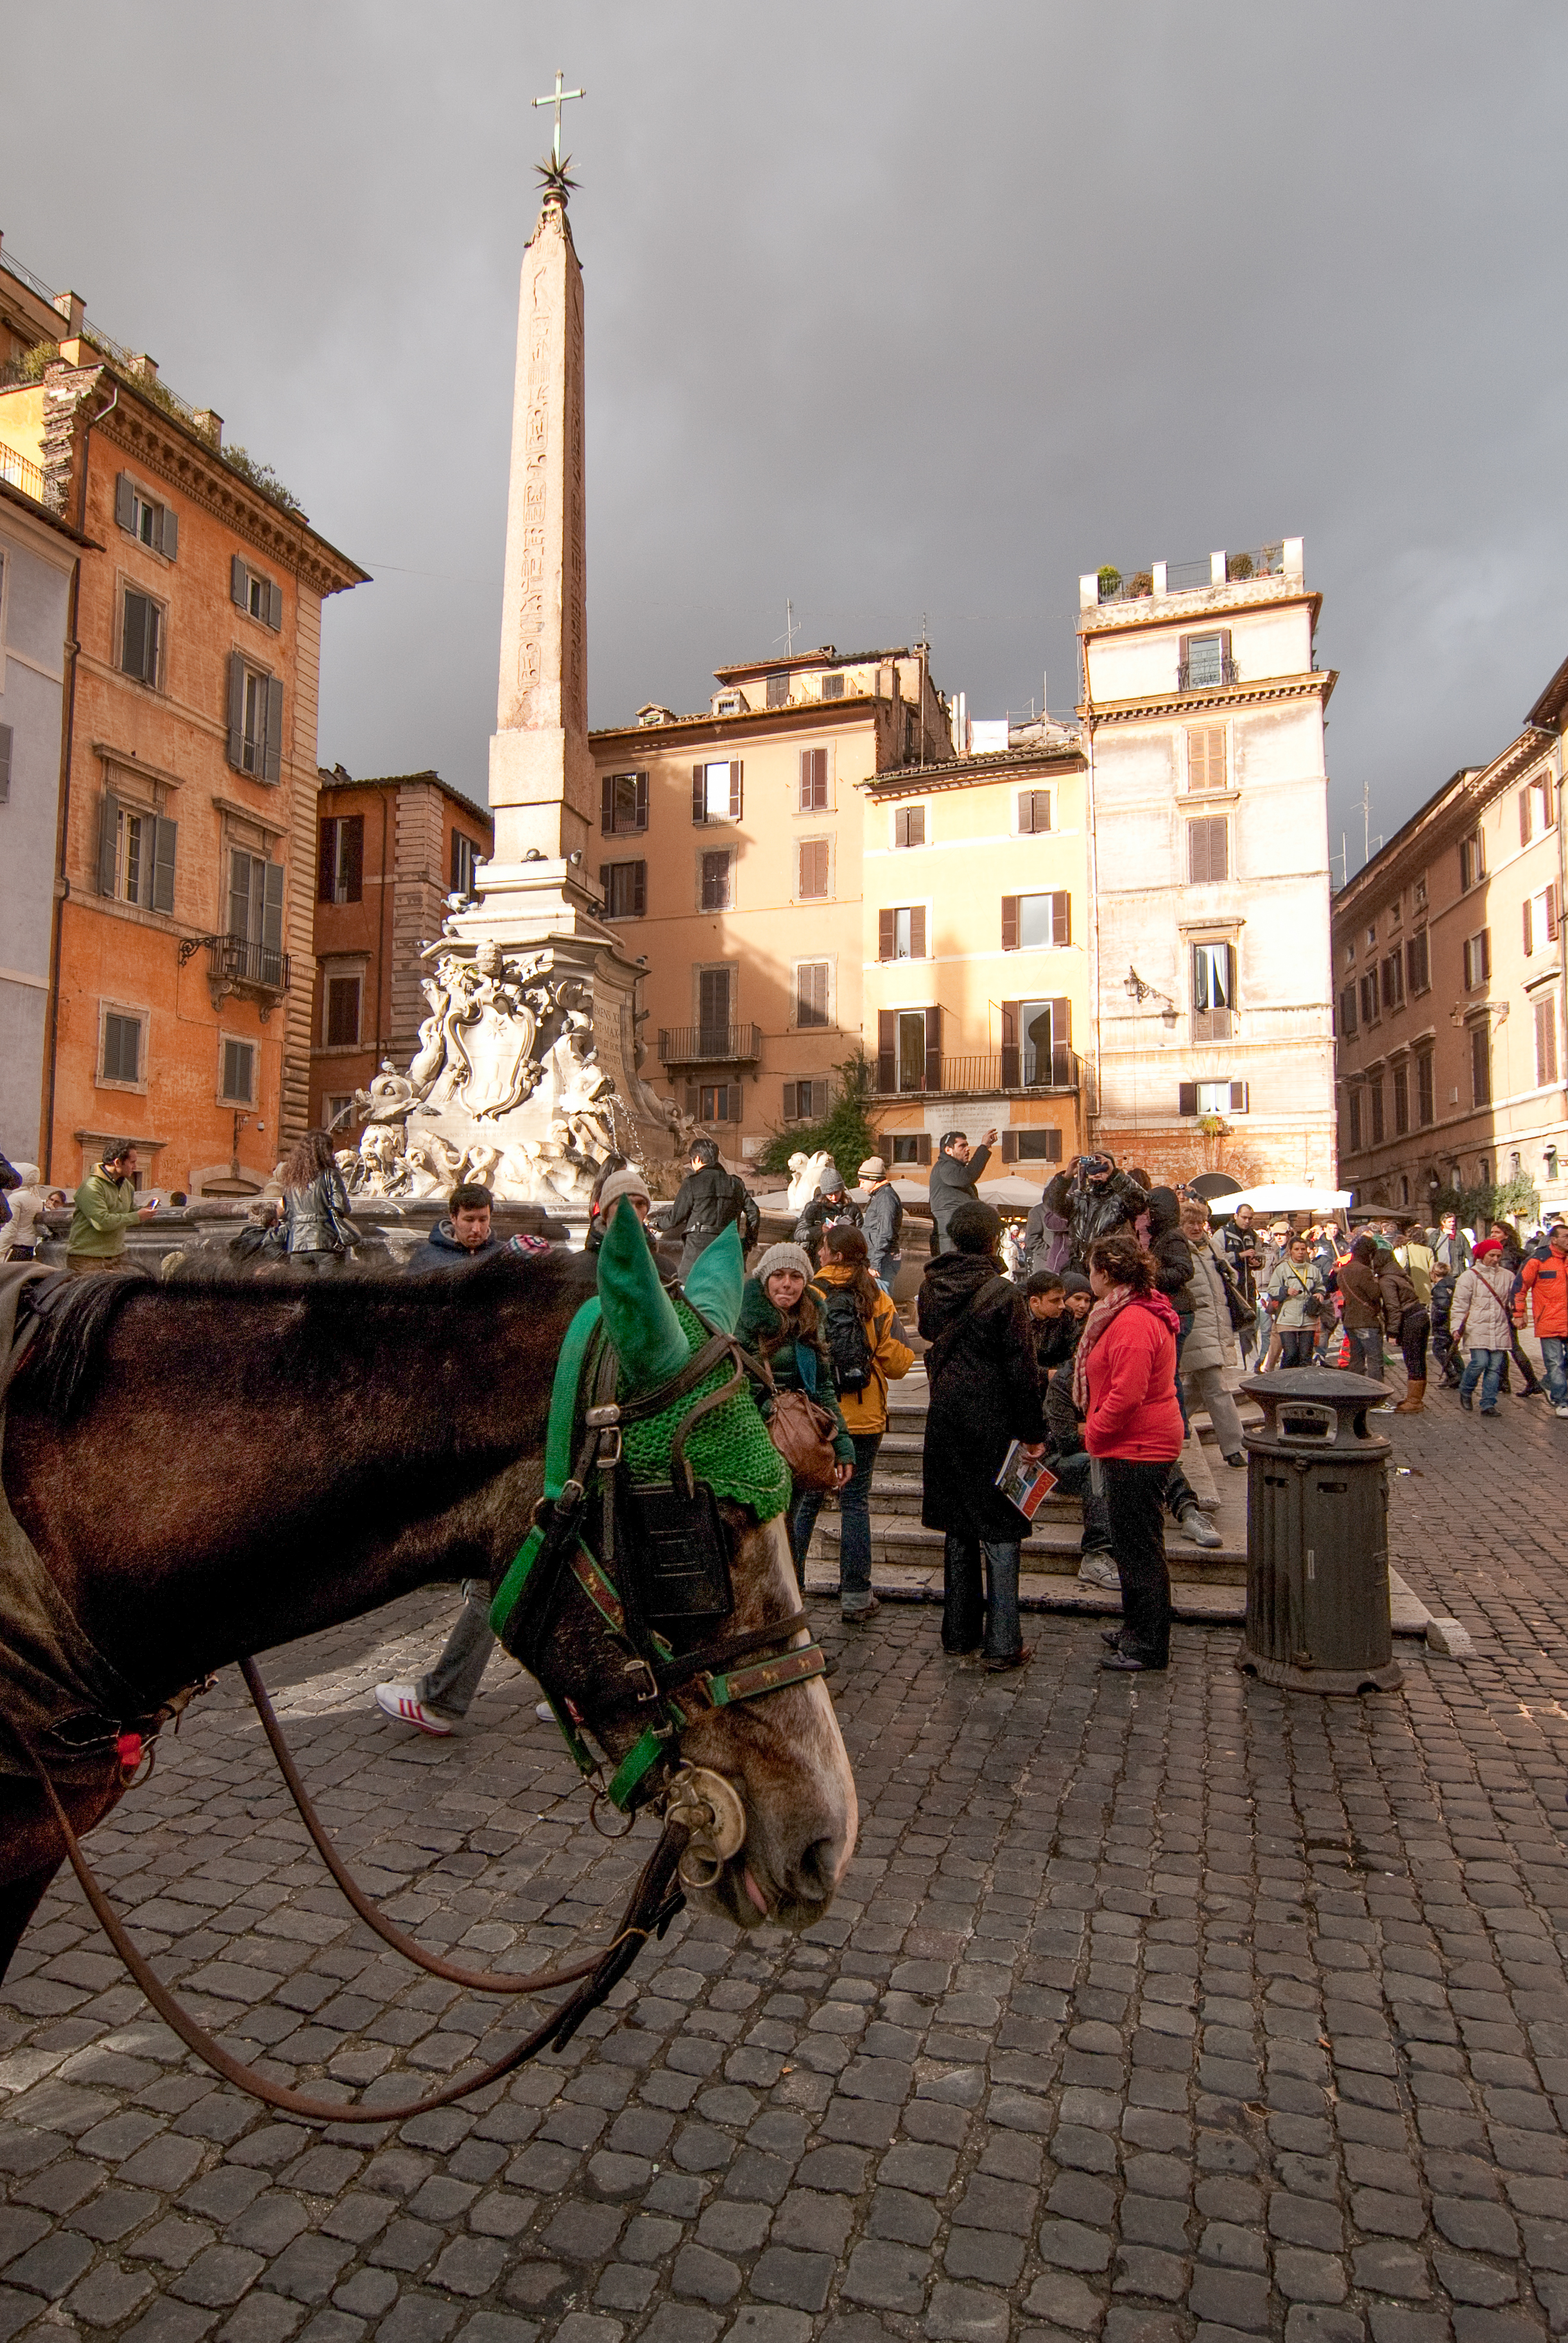
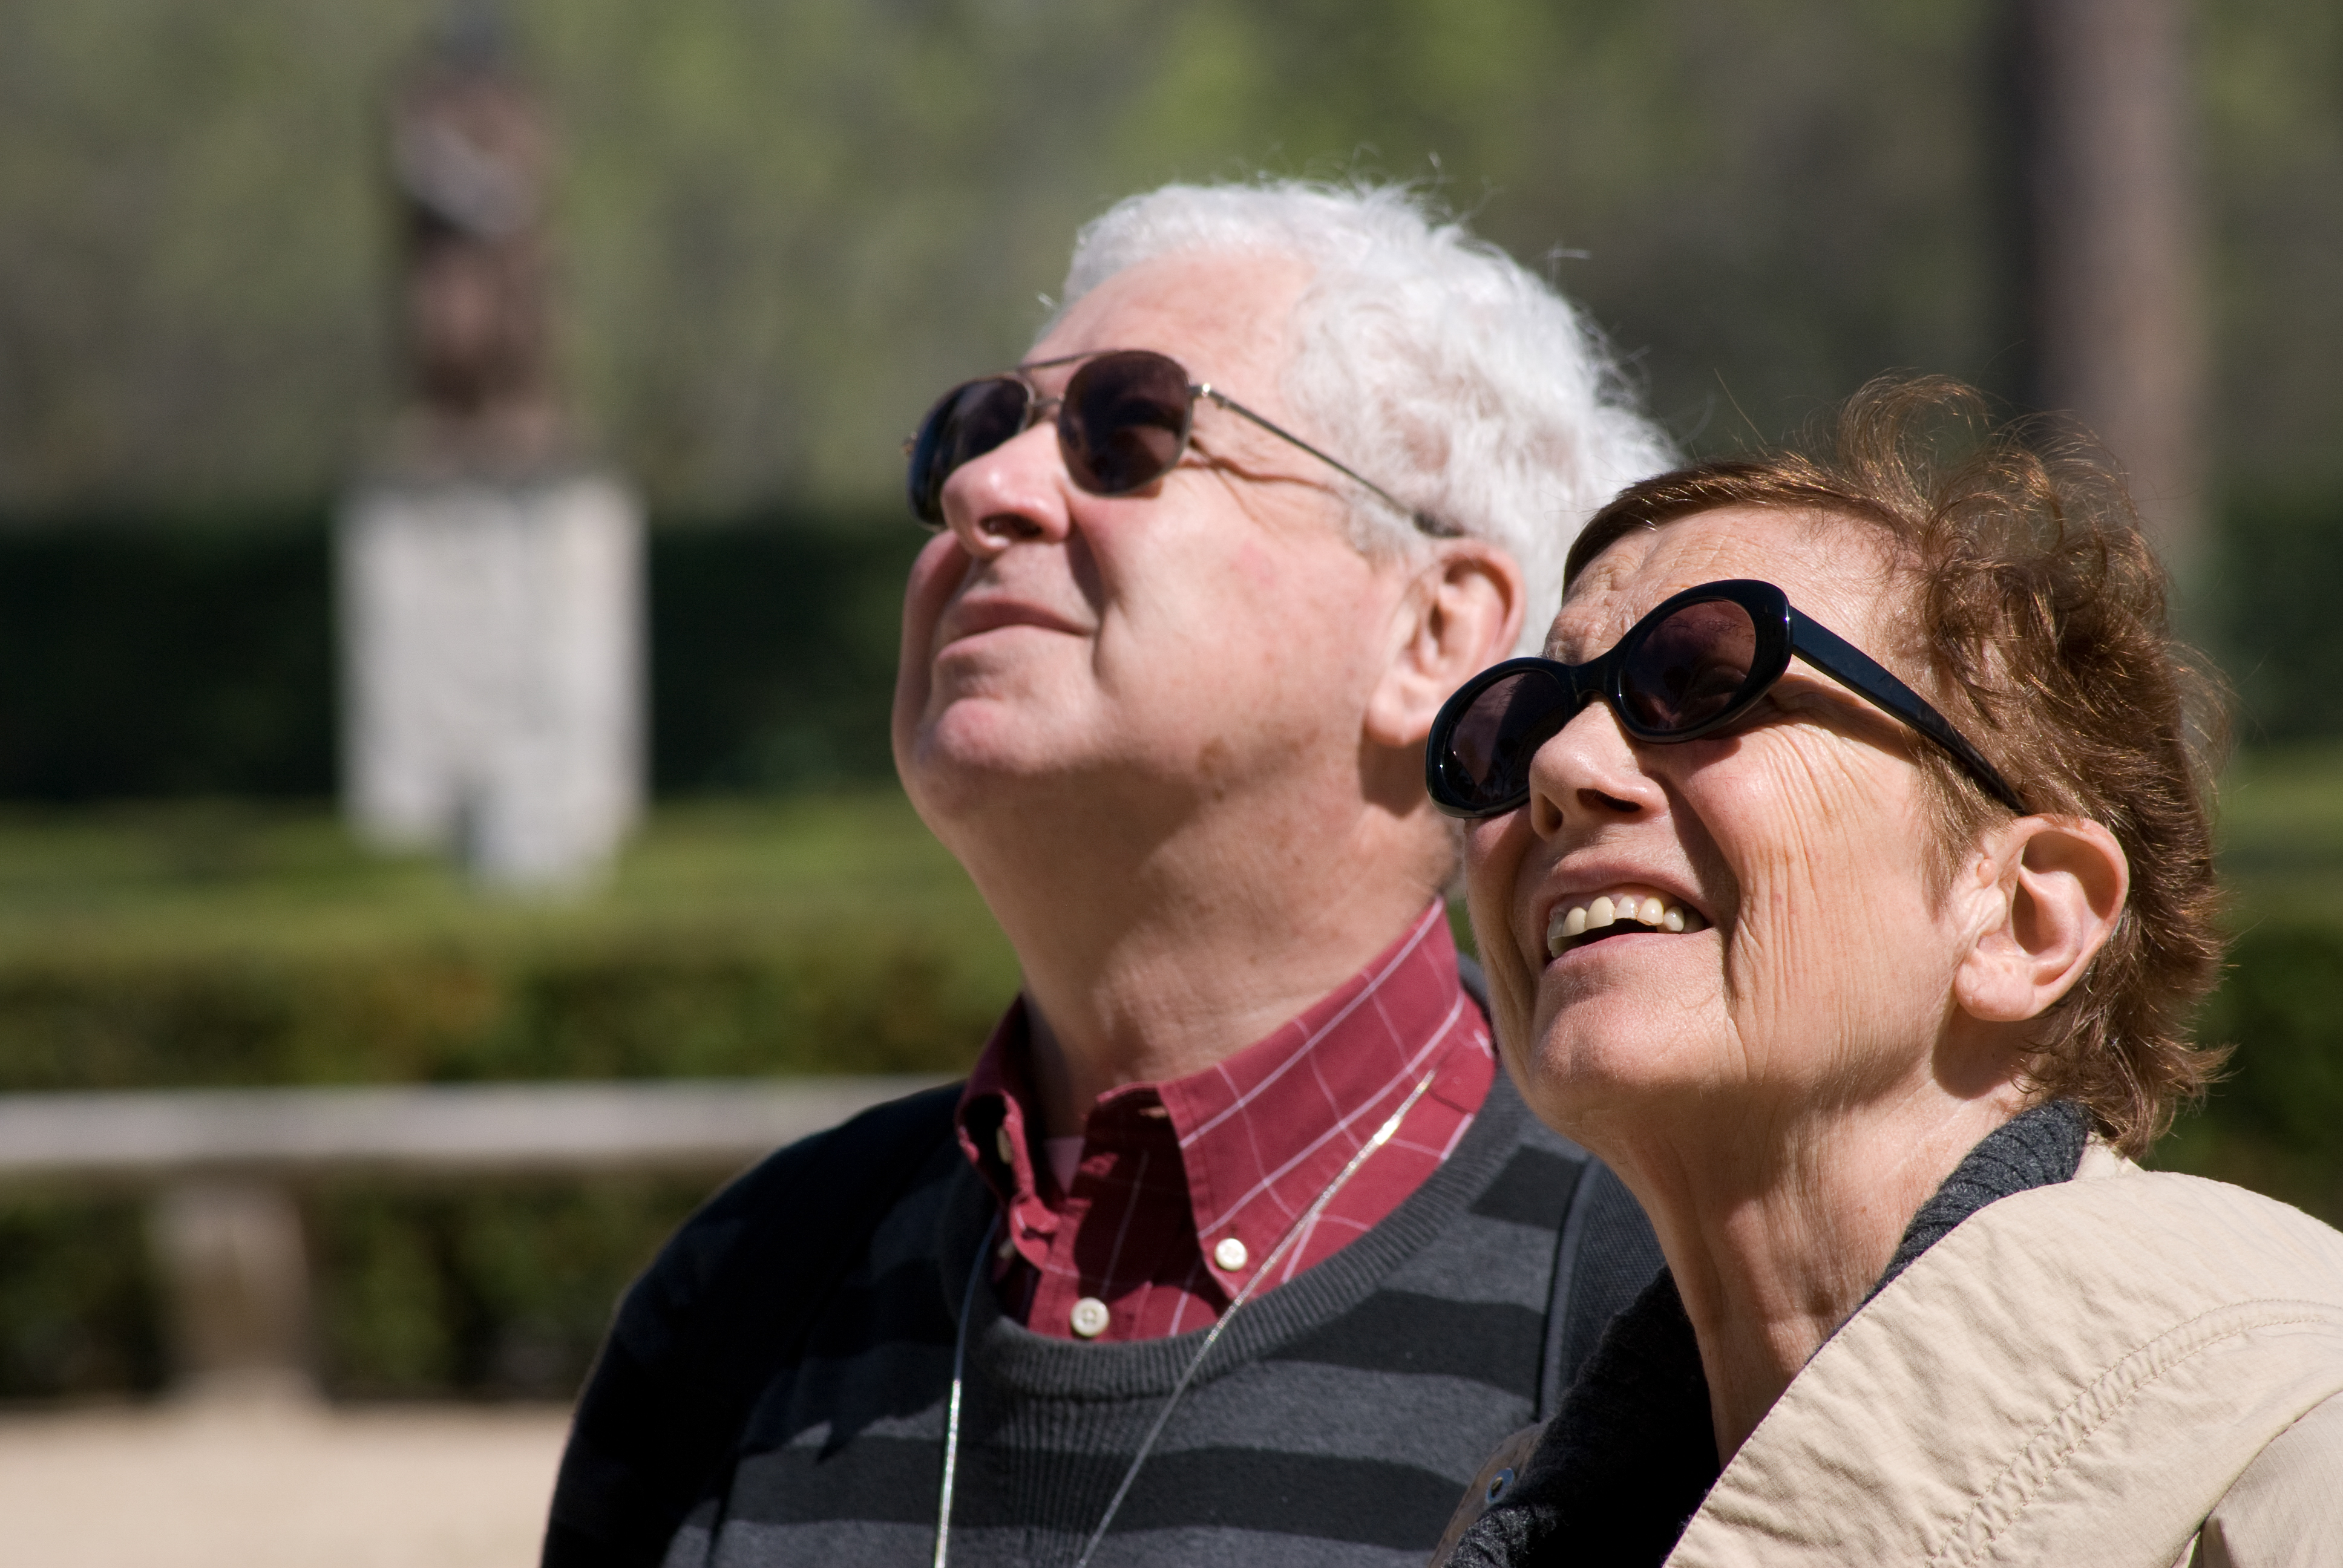
Within the limits of its sensor (limited dynamic range, tendency to burn the highlights and inability to deliver usable images above 1600 ISO), the Nikon D80 used to deliver very nice pictures, with beautiful skin tones and deep blues and greens. Nothing has changed today and the output of the camera is still very satisfying.

The Original CCD Look – Harbor of Essaouira – Morocco (2007) – Nikon D80 – Nikon 18-70 – 400 ISO – the sky is totally burned on the right of the picture, but the blue of the boats is beautifully rendered.

As far as the CCD-look is concerned, I’ve found my benchmark. Of course, a camera from 2006 comes with all sorts of limitations, and cameras a few years younger (like a Fujifilm X100 or a Pentax K-5) will be much more flexible and can be set to deliver images approaching the “CCD-Look”, without any of the limitations of the Nikon D80. That’s what I’m going to confirm in the coming weeks.

Nikon D80 – the rear LCD display looks much nicer in this picture than in the reality (it’s small and not very defined).

CCD-look or not, this D80 is nonetheless a very good choice, and a good introduction to conventional photography: Nikon build quality, full compatibility with almost any Nikon lens made since 1977, great ergonomics, great images, long battery life, in a relatively compact package, and for next to nothing. Two weeks after I had bought this nice little D80 for less than $80.00 (shipping and taxes included), I was still receiving offers from competing eBay stores, proposing equally nice D80s for as low as $65.00.


Why (specifically) a D80 and not a D40X or a D60 or a D3000?

In Nikon’s camera line up of the time, there were three levels: consumer, enthusiast or expert consumer, and professional. The D80 was the model dedicated to the “enthusiast-consumers”, that is to say photographers who wanted most of the features and most of the performance of a Nikon “Pro” camera, but did not need a tool capable of shooting 100 frames a day, every day, for five years, in the most demanding environments.

The D40X and its derivatives D60 and D3000 were clearly targeting the mass market, and were made smaller, lighter (and cheaper) than the D80 primarily by abandoning the compatibility with screw-drive autofocus lenses, and trading a pentaprism viewfinder for a pentamirror. The D40X was a very nice little camera in its own right, but 20 years later there is not much of a cost difference between a D40X and a D80 on the used equipment market, and a photographer interested in learning more about the technical side of photography will be better served by a D80.


More about the Nikon D80

The original review of the Nikon D80 in DPReview: https://www.dpreview.com/products/nikon/slrs/nikon_d80

A (recent) opinion about the Nikon D80: https://www.cameralabs.com/nikon-d80-retro-review/


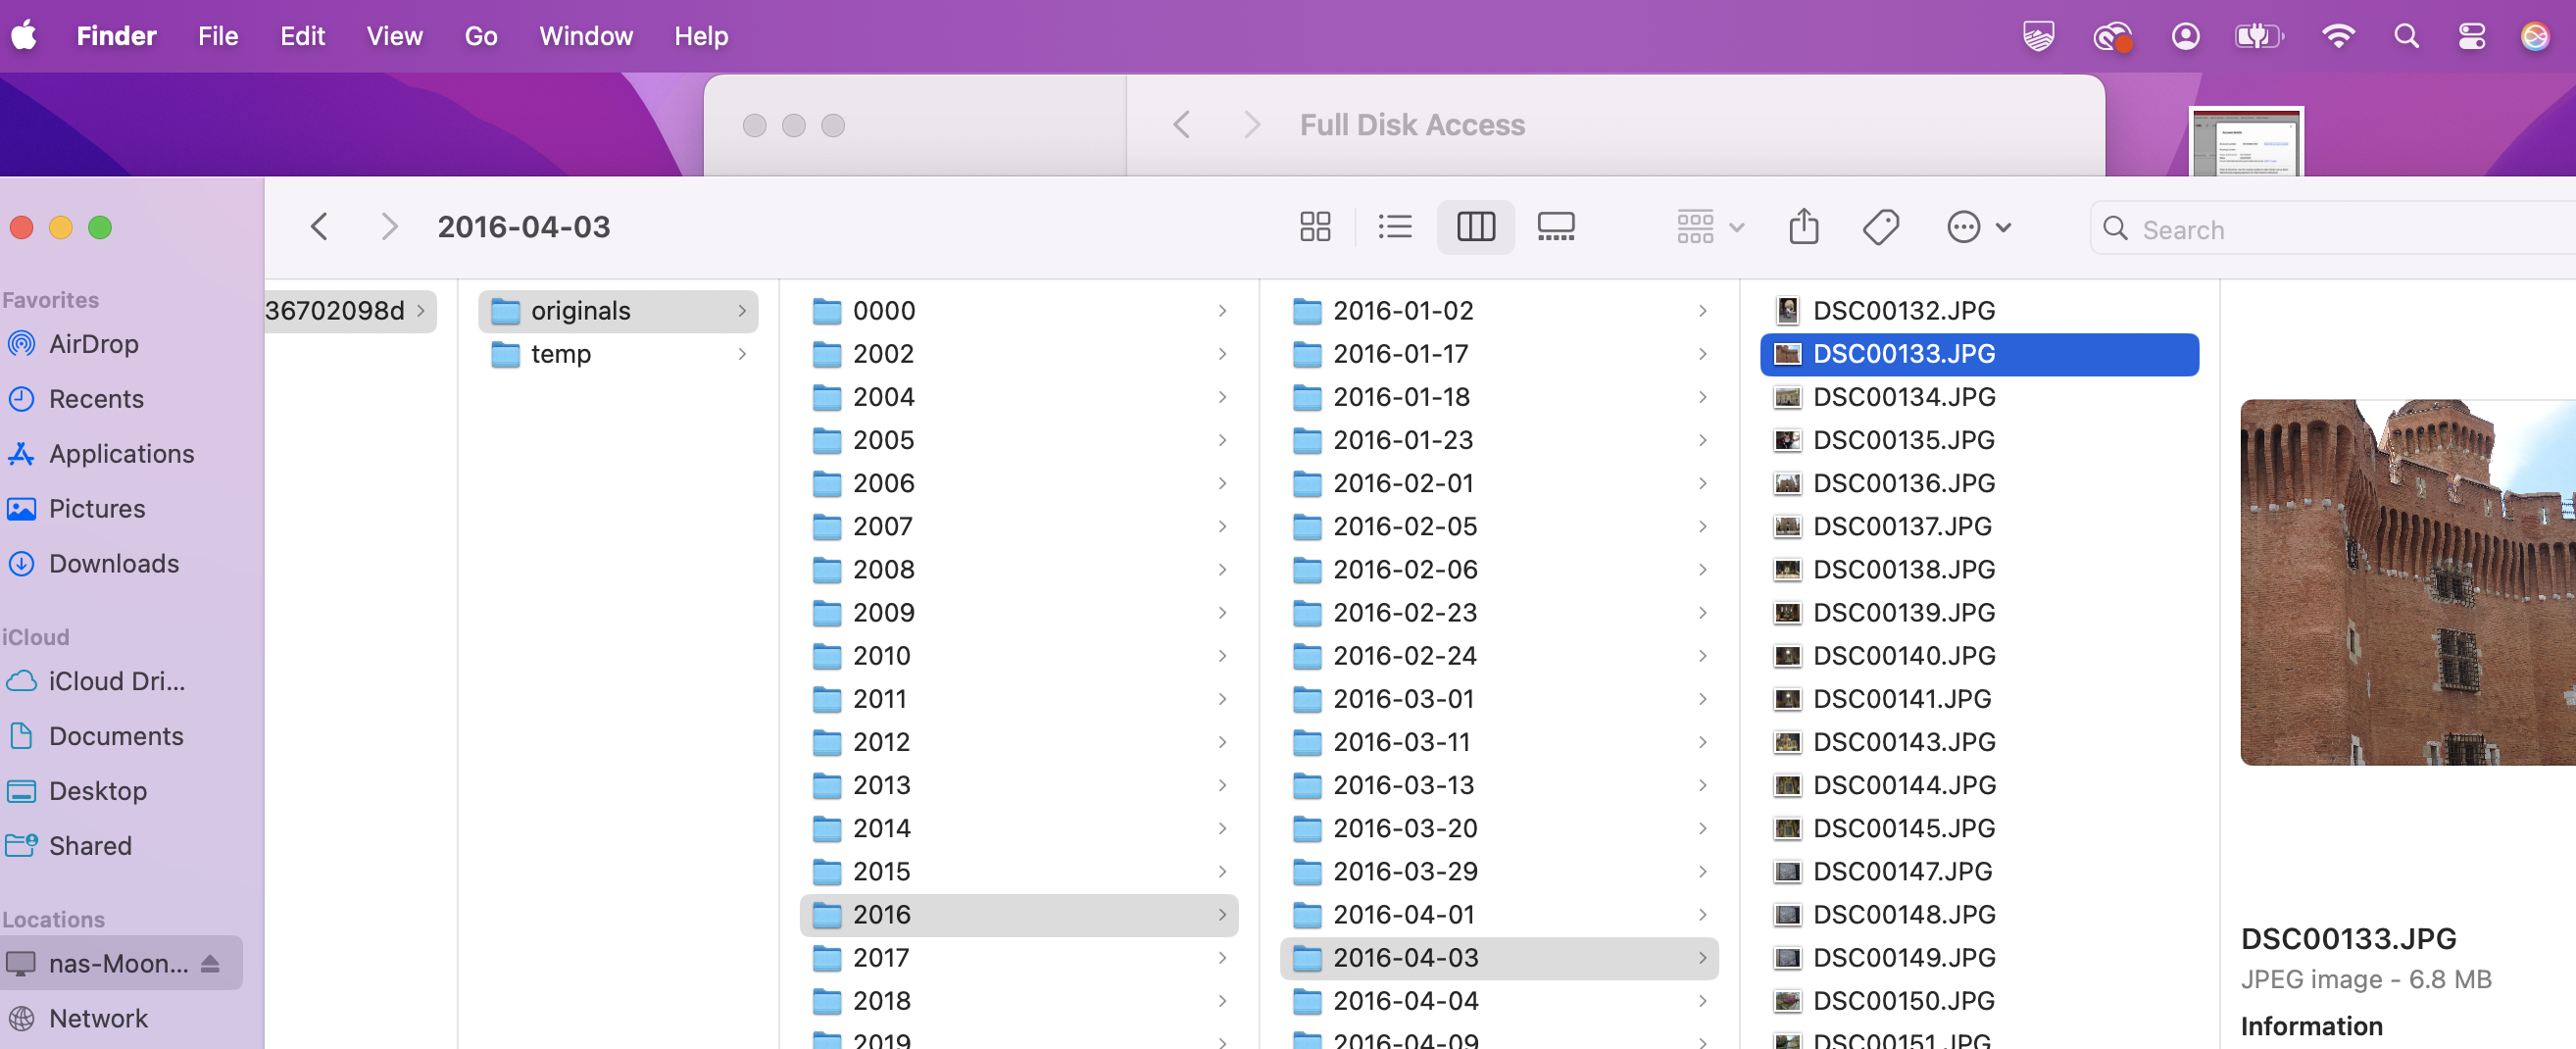
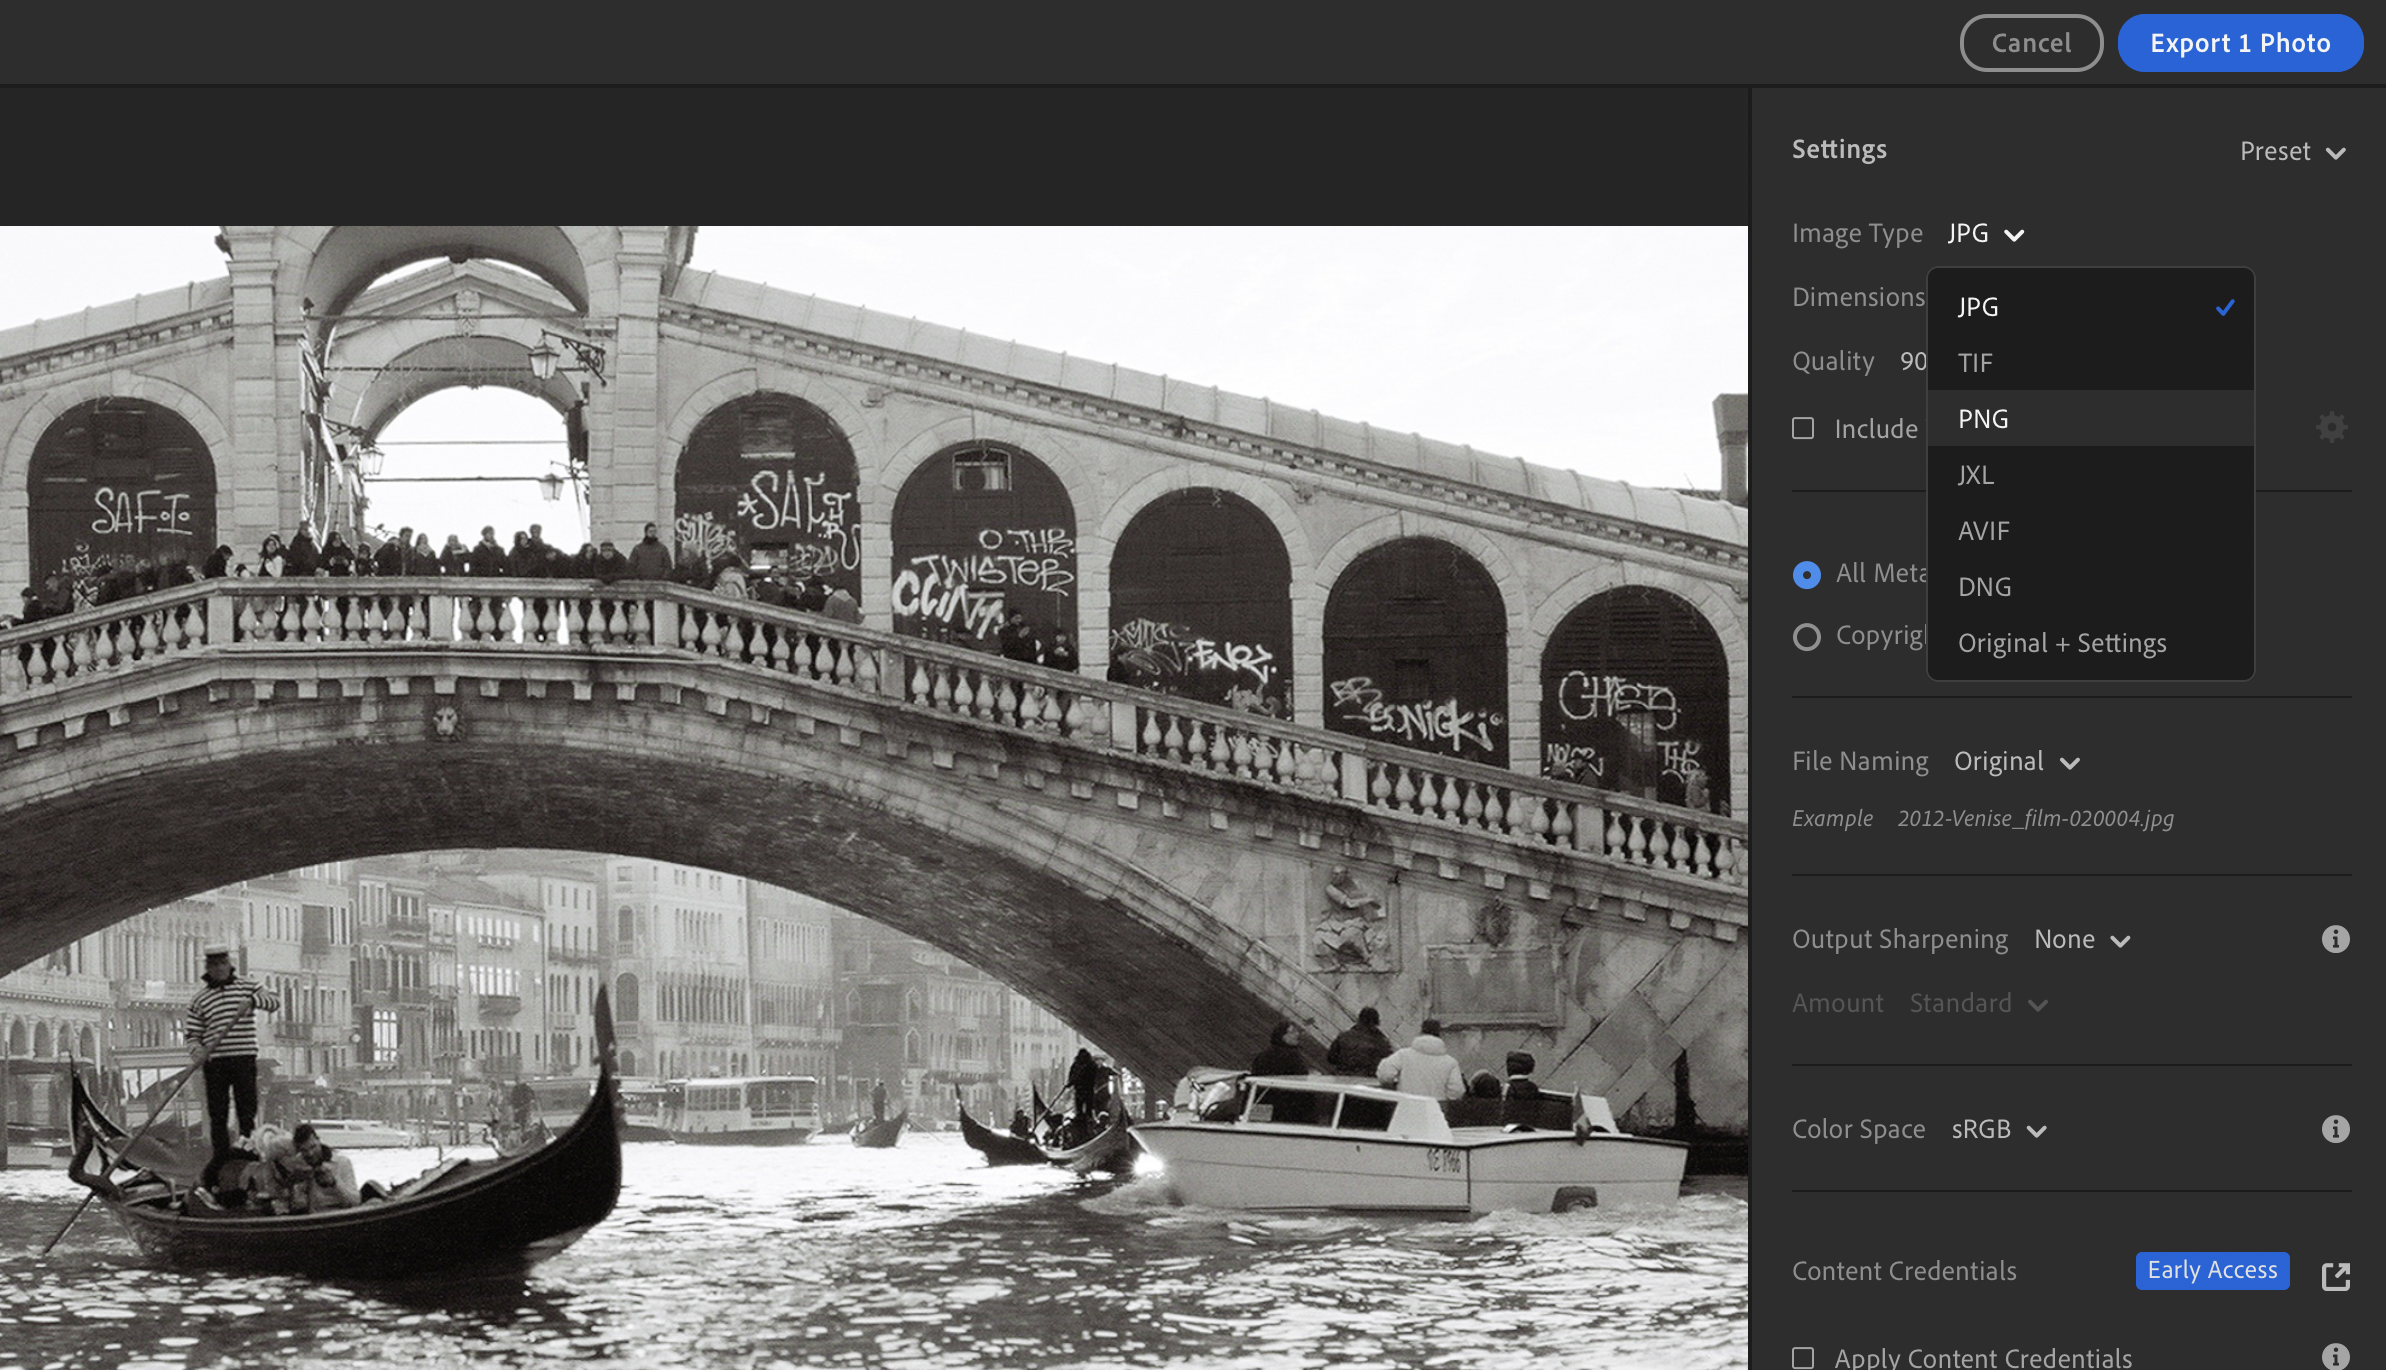
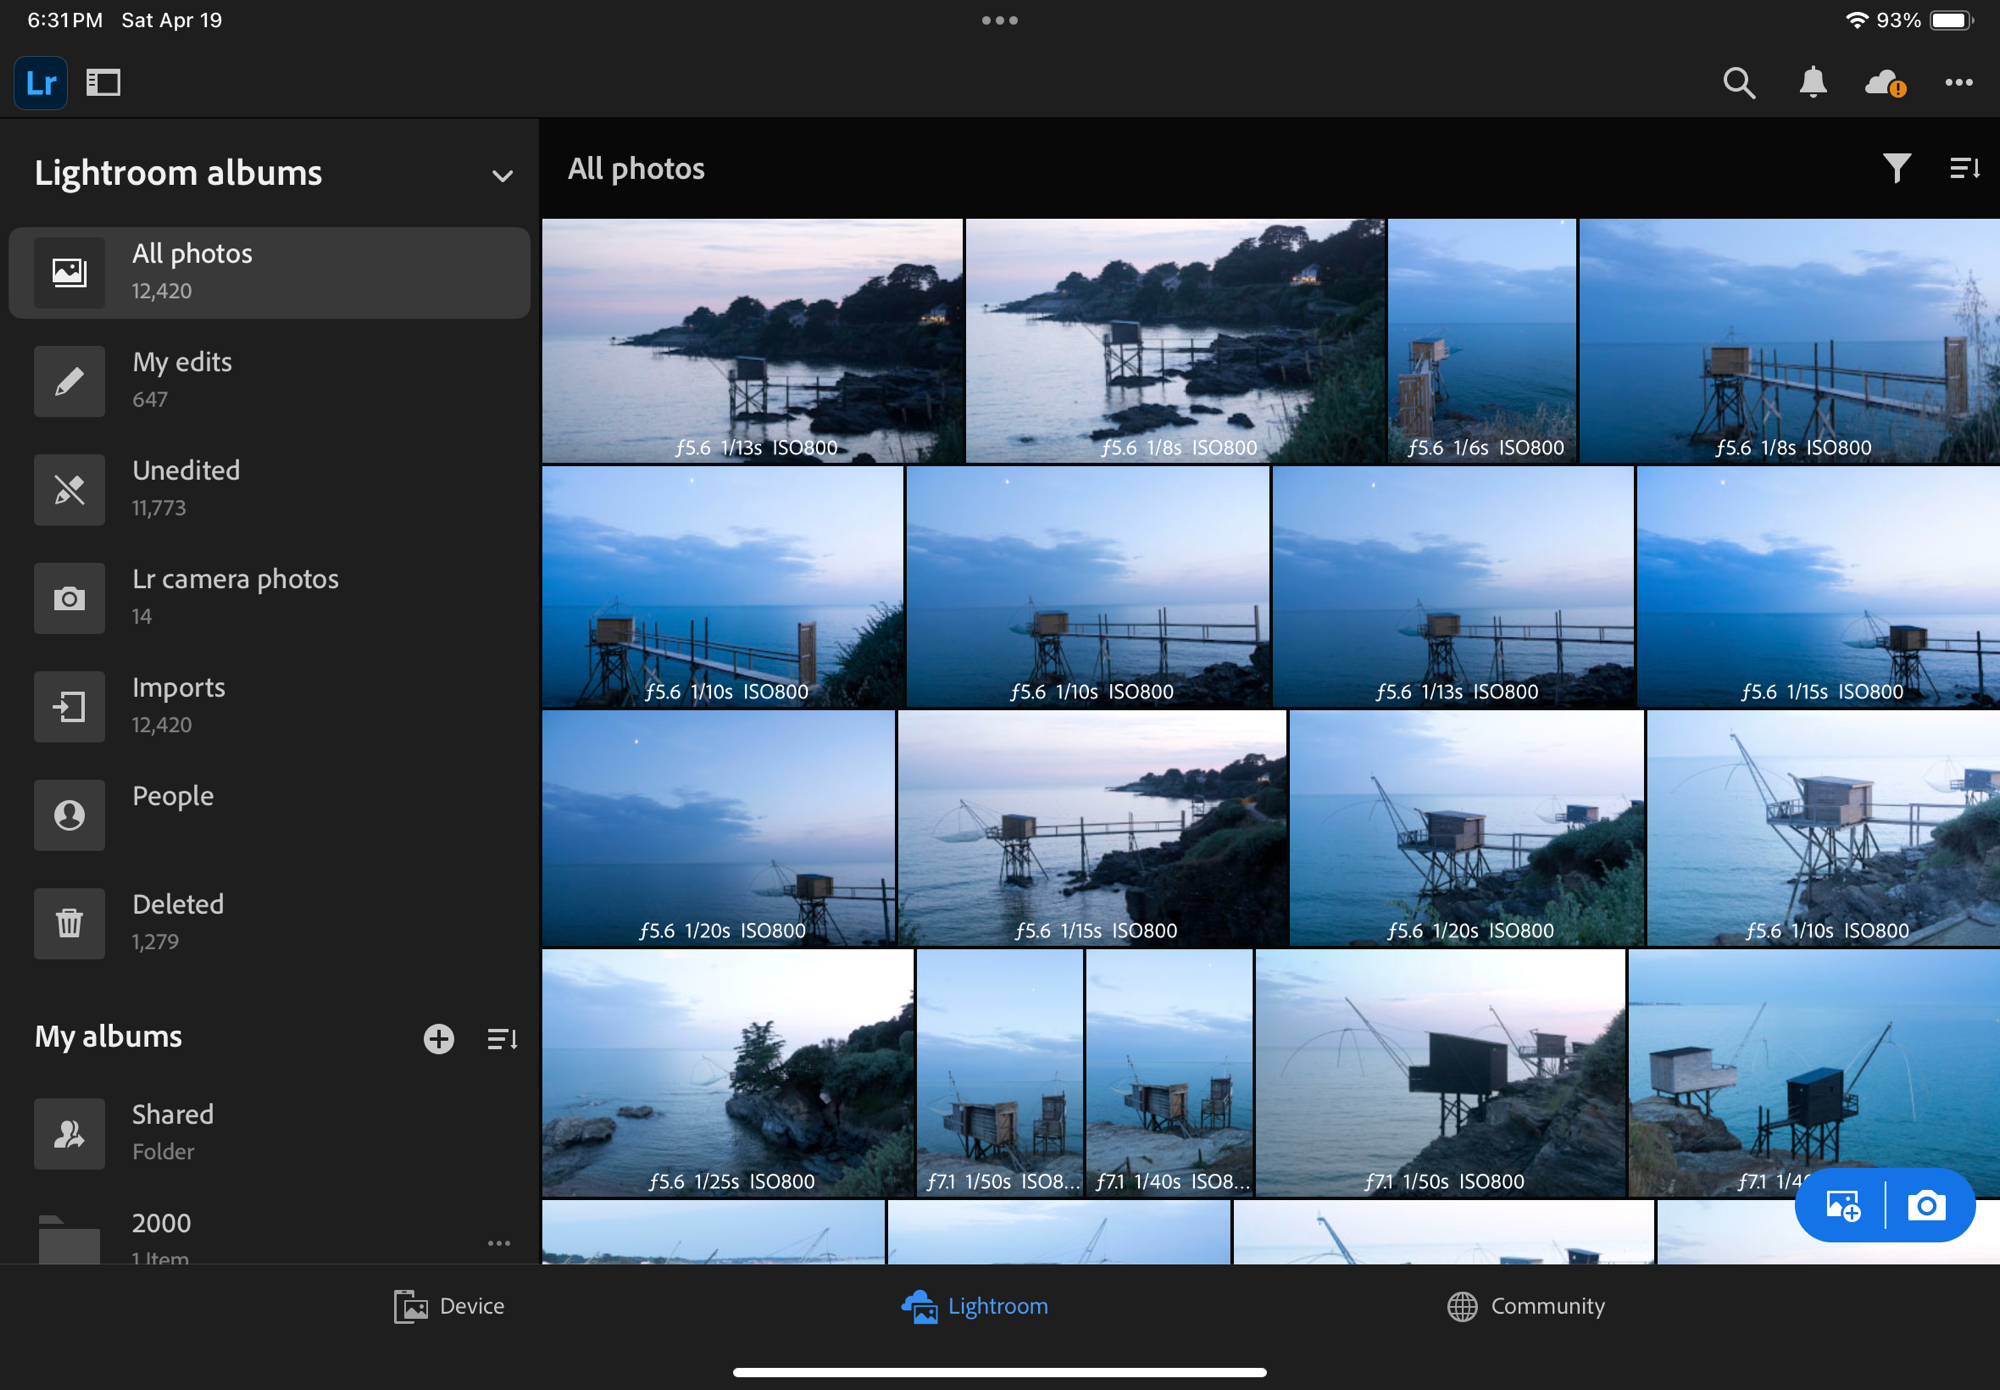
All images in this series are JPEGS – with minimal adjustments in Lightroom (exposure and highlights, mainly)

June 2026 – Nikon D80 – Nikon AF 24mm F/2.8 Lens – 200 ISO – a Jeep and its ducks – the colors pop.
June 2026 – Nikon D80 – Nikon AF 24mm F/2.8 Lens – 200 ISO – the Yarbrough House (built 1880)
June 2026 – Nikon D80 – Nikon AF 24mm F/2.8 Lens – 200 ISO – in the neighborhood.
June 2026 – Nikon D80 – Nikon AF 24mm f/2.8
June 2026 – Atlanta, Poncey-Highland neighborhood – Nikon D80 – Nikon AF 24mm f/2.8

A backup strategy for the images you edit in Lightroom Creative Cloud

My big 2025 photography project was to move all my pictures out of my hardware dependent local storage, and migrate them to Adobe’s Creative Cloud. I knew I would not convert my Lightroom 6 catalogs (theoretically possible, but too cumbersome), but the folders on the Network Attached Storage device (NAS) where the originals were stored had always been carefully organized. I thought I would not lose much by not converting the catalogs. I subscribed to Adobe’s Lightroom Creative Cloud (first through the Apple Store, later directly on the Adobe Store), and uploaded all the original images, folder by folder, to Lightroom. The process was described in detail is a series of blog entries dedicated to Lightroom.

Which means I’m now trusting Adobe for preserving 28 years of scanned negatives and digital images in their cloud. What can possibly go wrong?

A recent post by Jim Grey (about “the lost photos era”) and interactions I’ve had with cloud service providers in a professional context brought back to my attention that storing my images in a cloud was a good first step but not enough.

Rome – Fontana de Nettuno – Piazza Navona. Nikon D80 – Jan 2010

The “shared responsibility model”

All cloud service providers (CSPs) operate under a shared responsibility model. It’s the CSP’s job to ensure that their technical platform remains available and secure, and that the data entrusted to them can be recovered in case of a disaster in their data centers. As the client, it’s your responsibility to “govern your content”: manage the uploads, the regular cleanups, and configure how the data is accessed and shared.

The grey area is of course backup – CSPs generally commit to recovering your data at Day Minus One if something really bad happens to their infrastructure, but they won’t be obligated to do anything if you deleted a folder by mistake, or if you wanted to recover a group of files as they were at a specific point in time. CSPs generally consider that backups and restores are the responsibility of the client.

Although Adobe is a reliable company, I know I have to protect my images from a catastrophic error on their part, and from a major mistake (fat finger?) on mine.

Rome, Jan 2010 – Nikon D80

A reminder – the differences between Adobe Lightroom and Adobe Lightroom Classic

Adobe Lightroom Classic is the current iteration of Adobe’s original image edit and management software, launched in 2007 as Lightroom 1.0.

It’s a “fat client” application designed to work on Windows or MacOS workstations (desktop or laptop), which stores your images locally (on the hard drive of your workstation or on some form of higher capacity local storage, DAS or NAS). Lightroom maintains at least one local catalog of your images, which contains all the ratings, flags, titles, captions you have entered, as well as a log of all the edits and setting changes (crops, exposure, color balance, sharpening,…) performed on the images.

The system is totally self contained – but as everything (catalog, images and edits) is kept locally, it’s your responsibility to manage the storage, the backup and the disaster recovery of your images.

Under the same Lightroom brand, Adobe is selling a totally different range of cloud based products simply named Lightroom or Lightroom CC, whose lightweight clients run on a smartphone (iOS or Android), a tablet (iPadOS or Android) and on a desktop or laptop (Windows or MacOS). All those products share the same on-line library (hosted on Adobe’s Creative Cloud).

Contrarily to Lightroom Classic, the Creative Cloud versions of Lightroom (smartphone, tablet, PC or Mac) don’t keep any image or catalog on your device – just a cache to reduce the response time. The whole system works very well: I can upload images from my camera through a smartphone while traveling, perform light edits on a tablet at the hotel the same day, and spend more time perfecting the images on a laptop when I’m back home – it’s seamless. As long as I keep paying for the subscription, of course. And bar a catastrophic event in Creative Cloud.

Rome – Fontana de Nettuno – Piazza Navona. Nikon D80 – Jan 2010

Backup workflows don’t live forever

Even if the image formats themselves (jPEG and DNG) have been remarkably stable over the last 20 years, the hardware, the software and the cloud services offerings have not stopped evolving – and what used to work reliably ten years ago does not work any more. Which means that every now and then, we need to take a hard look at our workflow and re-engineer it.

When I put it in place in 2018, my image preservation workflow made sense – I was using Adobe Lightroom 6 running on a Mac to edit my photos and manage my libraries. Lightroom 6 was keeping the catalog on the local hard drive of my Macbook and was pointing to a volume on the Netgear NAS to store the images themselves. I was also running a backup application named Arq on the Macbook, and using it to keep a backup of the NAS in Amazon’s long term storage, AWS Glacier.

Along the years, this finely tuned workflow crumbled.

First, the OS of my old MacBook stopped being supported, and I saw its capabilities decline progressively as it could not access the services that Apple (and others) kept on making more secure with more refined security protocols and longer encryption keys.

To make the matter worse, Netgear decided to get out of the network storage business – my RN214 NAS still works, but is not supported and (of course) its OS and its built-in backup apps are not updated anymore.

Last but not least, AWS has now sunset Glacier as I was using it – it’s not a stand alone product anymore, just a storage class in the S3 product portfolio, using different APIs.

Rome, Jan 2010 – Nikon D80

My storage and backup strategy was crumbling and I had to act. That’s why I migrated the libraries themselves to Adobe’s Creative Cloud last year, and why I’m now implementing a new backup and restore workflow now.

My new workflow – saving the “digital negatives

As often nowadays, I called ChatGPT for help. The workflow it recommended, and that I implemented, is still based on Adobe Creative Cloud being my primary image store, the “source of truth”. Lightroom (the PC/Mac edition of Lightroom) on my MacBook will act as a sort of gateway to the NAS, and the NAS volume will store my local replica of the originals stored in Creative Cloud.

It’s important to remember that for Lightroom, a local storage volume is nothing more than the place where it stores a local cache. What is being replicated to the local volume is the source image – the original JPEG or raw files exactly as they were originally uploaded from the camera – before any transformation, optimization or edit was performed. The images are grouped on the SAN by date (one folder per year, one subfolder per day) and the album structure you defined in Lightroom is not respected. Again, it’s a cache that we use as a way to backup our source images, not a backup of the final images after Lightroom has processed them.

The local cache on the SAN shows the original files grouped by date of capture – the Lightroom Album structure and the edits are not preserved, only the original image itself (compare with the structure of April 2016 in Lightroom, as shown below).
Lightroom CC – the folder/album structure (here, April 2016). In Lightroom the images are grouped in user defined folders and albums.

How to setup Adobe Lightroom

Once the Mac is logged in the Network Attached Storage volume, simply click on the “Adobe Lightroom” option at the top left of the screen, select “Cache”, and under Performance, check the “Store a copy of all originals option”, and point to the folder of the NAS where the original images will be dropped.

The sync process is managed automatically by Lightroom. Every time you add new pictures to Lightroom, it will start replicating them to the SAN.

If you’re working with Lightroom away from your home network, no problem. Adobe will consider that the cache is not available, and will download the images from the cloud.

In Lightroom CC – check the “Store a copy of all originals” option and point to the NAS as a the local storage

Creating an off-site backup of the Network Attached Storage volume

The primary storage location of my images is Adobe Creative Cloud. I keep a replica of the originals on a network attached storage device (NAS) at home. It’s a pretty solid data protection system, but it’s only keeping one replica of Creative Cloud’s originals – and a replica is not a backup (because it only keeps the most recent version of a file). It is not very complicated or expensive to make it even more robust, and create an off site backup of the original images.

Duplicati – the backup job (it took it 12 hours to backup 110 Gbytes of pictures – not bad at all).

That’s what I used to do with Amazon Glacier – and having an off site backup of my photo library was a saving grace when my first Netgear NAS device gave up the ghost. Restoring the images from Glacier took a week, but it’s better than losing everything.

The target Google Drive after the backup – the data is grouped in blocks of 50 Mbytes.

This time, I tried different options (Arq, Backblaze) which for various reasons (performance, cost, no support of network attached devices) did not work for me. My current setup is based on an open source software named Duplicati, which is pushing the Lightroom replica on the NAS to a Google Drive. It works, backups are reasonably fast (around 2.5 Mbytes/sec), and it’s flexible enough: I can recover a specific image in a few minutes if I need to.

Validating that the setup works

Backup and restore workflows are fragile, and they can fail for all sorts of reasons (expired passwords or keys, OS or software upgrade, hardware or network related issues, human error). And it’s not because the backup is successful that the restore will be.

Restoring the data – selecting the document to restore is easy and the restore takes no more than a few minutes.

I had to validate that, with the Mac and Lightroom CC up and running, and the NAS volume mounted, that:

  • any new image added to the Lightroom CC library was replicated to the SAN, in its original state,
  • the backup software would catch the new image and back it up to the Google drive,
  • and that I could restore any image or any group of images as needed.

The tests were successful.

Saving the final images

You may also want to preserve a copy of the final state of your images, after Lightroom has applied all of its edits.

The challenge of course is that in Lightroom, the images don’t really have a final state. Adobe keeps your original photo and a sort of log of the transformations you performed, and dynamically creates a file containing the image you want after you have requested an export. You pick the quality, the dimensions, and the file format (small JPEG, large JPEG, PNG, TIFF, DNG, …) with or without sharpening – depending on what you intend to do with the image (email attachment, social media, photo gallery, photo album, print, …). And the image you need is created on the fly.

Lightroom – so many ways to export a photo

I understand that a professional photographer delivering images to many clients may want to keep a trace of what was delivered, and have an archival system specifically tuned to preserve them. (And pros may prefer working Adobe Lightroom Classic, anyway).

I’m not in this situation and I’ve never really given much thought about it. I simply export the images I need to the same shared folder in Apple’s iCloud, that all my Apple devices (iPhone, iPad, MacBook) can access.

Final words

In the days of film, it was not easy (or cheap) for amateur photographers to create duplicates of their color slides or their negatives, and store them in a second location as a backup. Photographers were at the mercy of fire, floods and burglaries, and could lose the images of a lifetime in a few minutes.

Digital images can be easily duplicated, and the duplicates stored in totally different locations, on totally different media. The setup described here is very easy to implement: a NAS is not even needed (the local SSD of a PC or a Mac would work as well), and many of our subscriptions (Microsoft Office Family for instance) already include 1 TB of storage and could be used as backup target.


More about Lightroom and fifty five camera reviews:


All the images of this series were shot in Rome, in April 2009 and in January 2010, with a Nikon D80. They were saved as originals on multiple generations of storage, recovered from a catastrophic NAS failure, and imported in Adobe’s Creative Cloud last year. I just adjusted a few sliders before exporting them to WordPress.

Rome, Jan 2010 – Nikon D80