I don’t know much about the genesis of the first version of the camera sold by Canon under the names of “Photura”, “Epoca” or “Autoboy Jet”. Being a profoundly original camera (which, because of its unusual shape, probably required some very specific tooling in Canon’s manufacturing plants), I can only guess that the version 1.0 was not rushed to market but was the product of a long and well thought out development process instead.
Case in point, the model that replaced it two years after its launch, the Photura 135, was not that different from the original. It simply addressed some of the weaknesses of Photura 1.0, and its two main points of differentiation over its predecessor were its longer zoom (a 38-135mm instead of the 35-105mm of the first Photura), and the color of its body.
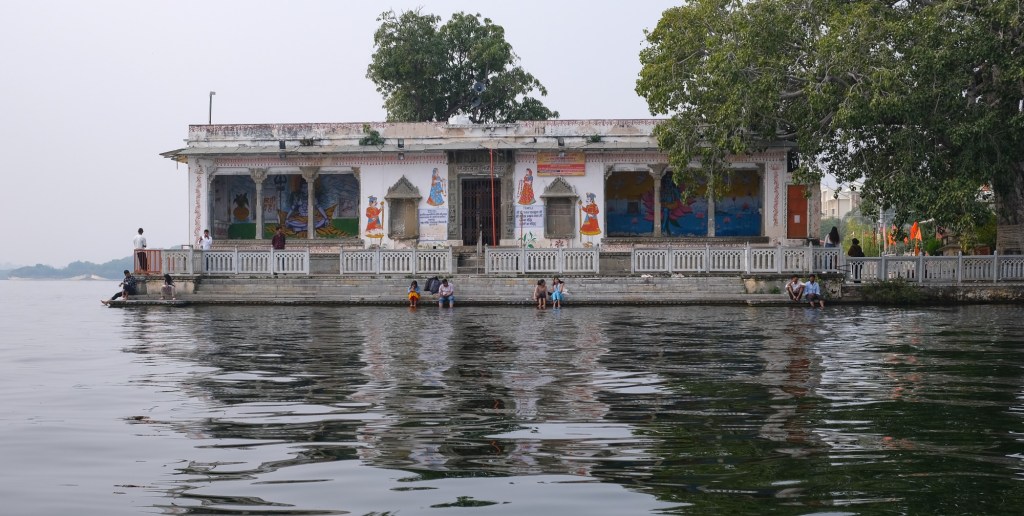
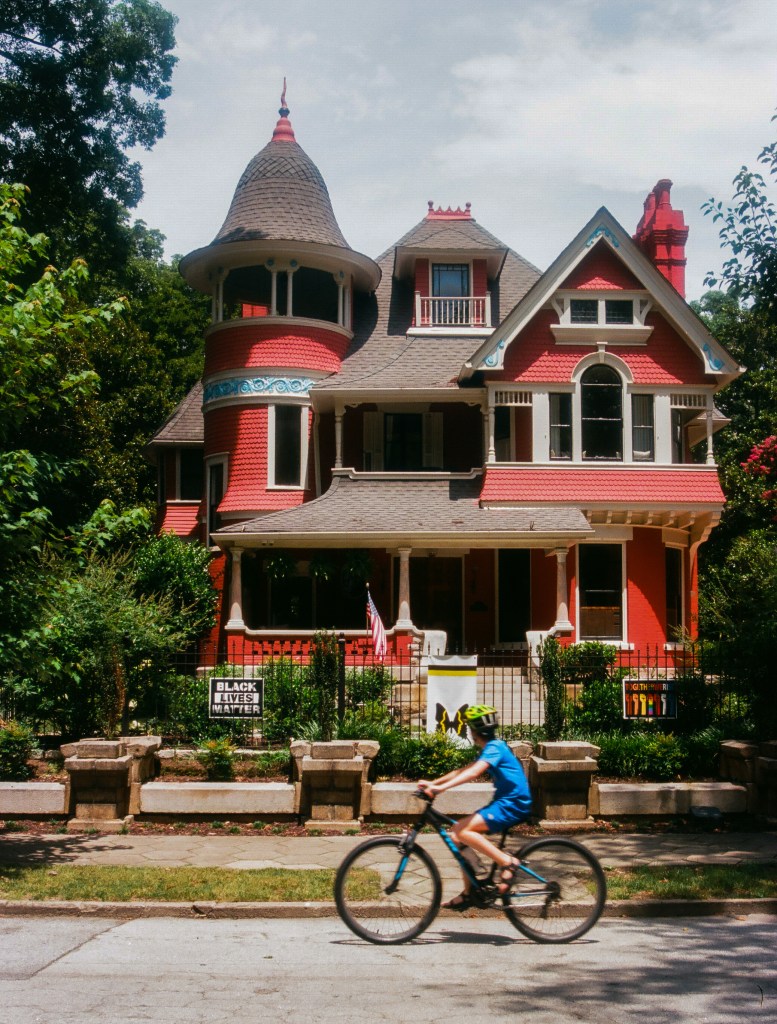
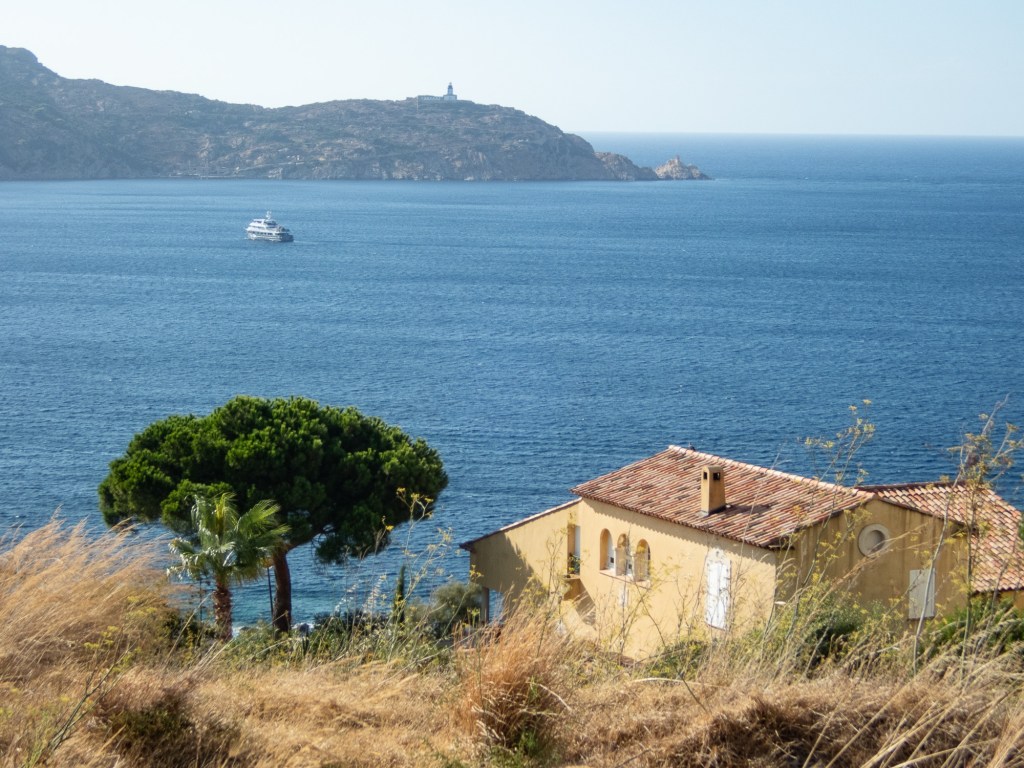
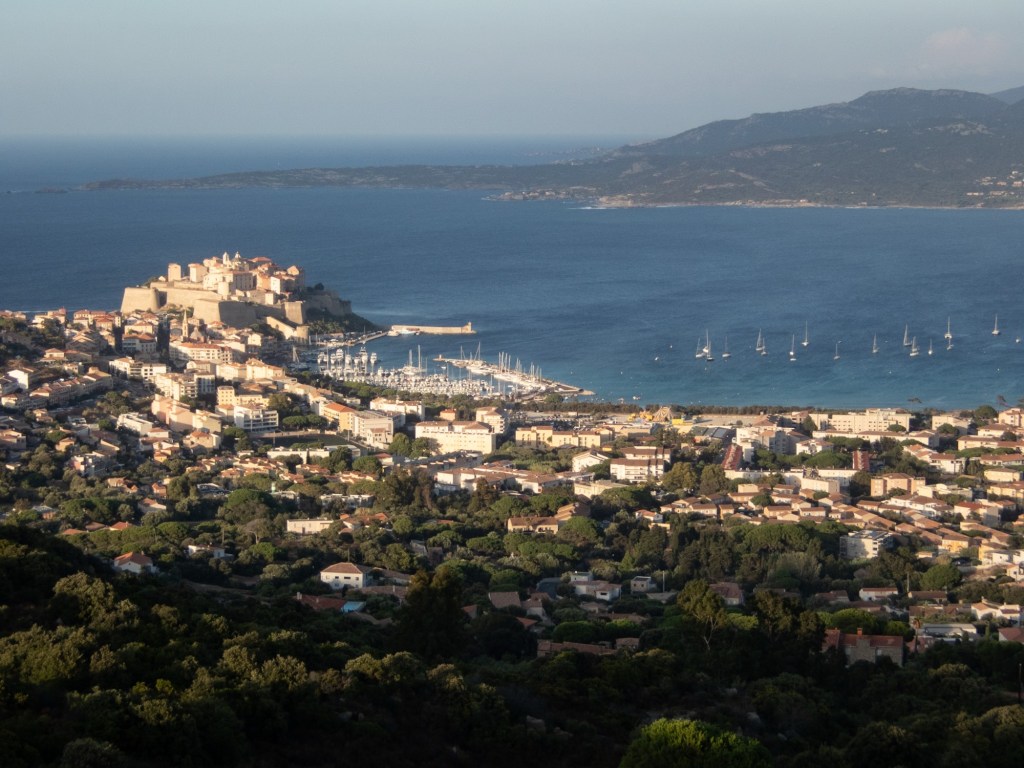
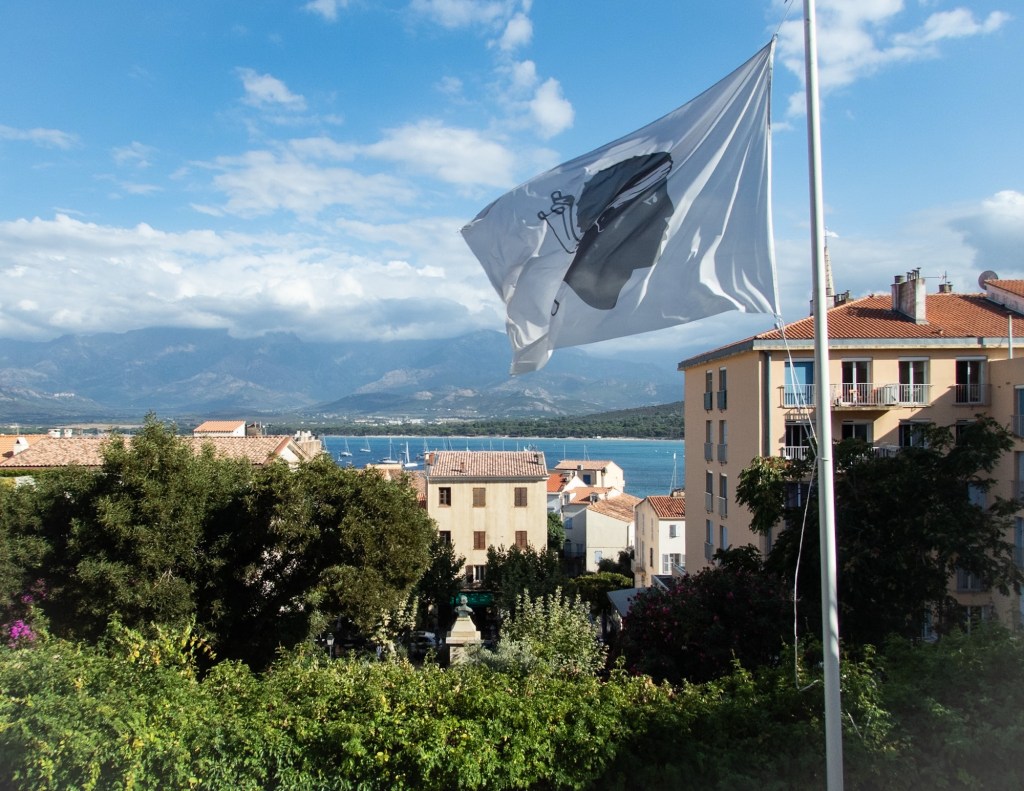
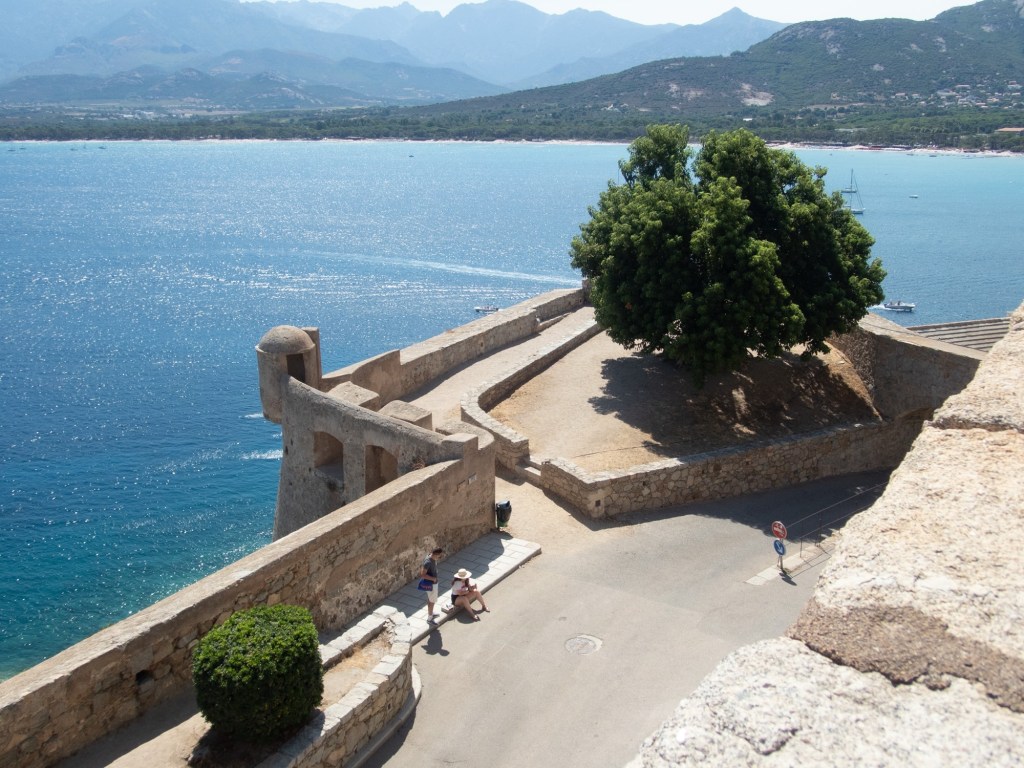
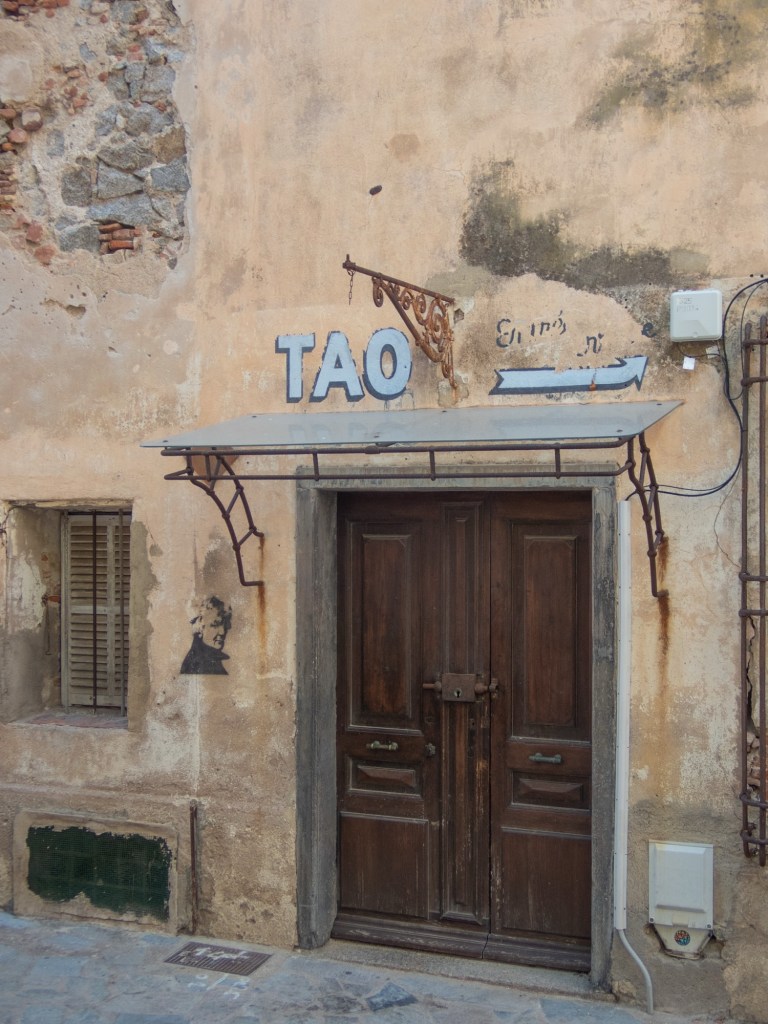
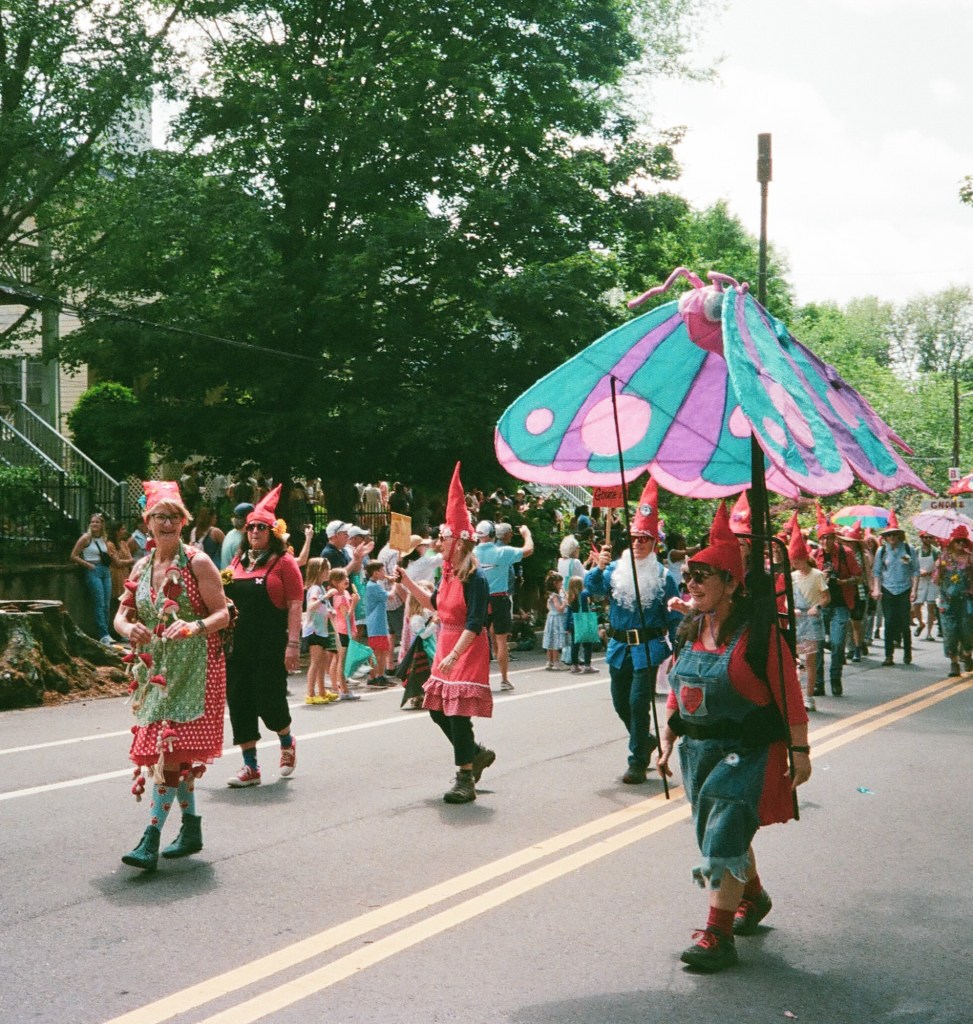
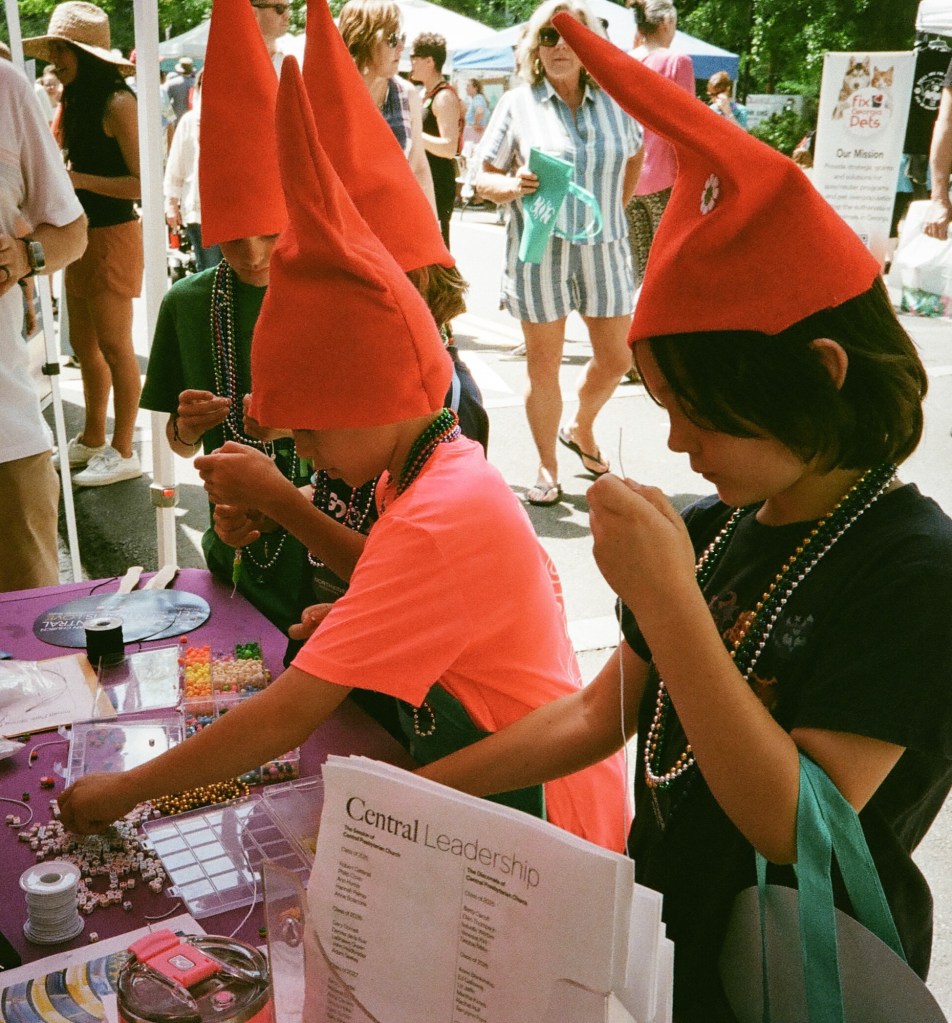
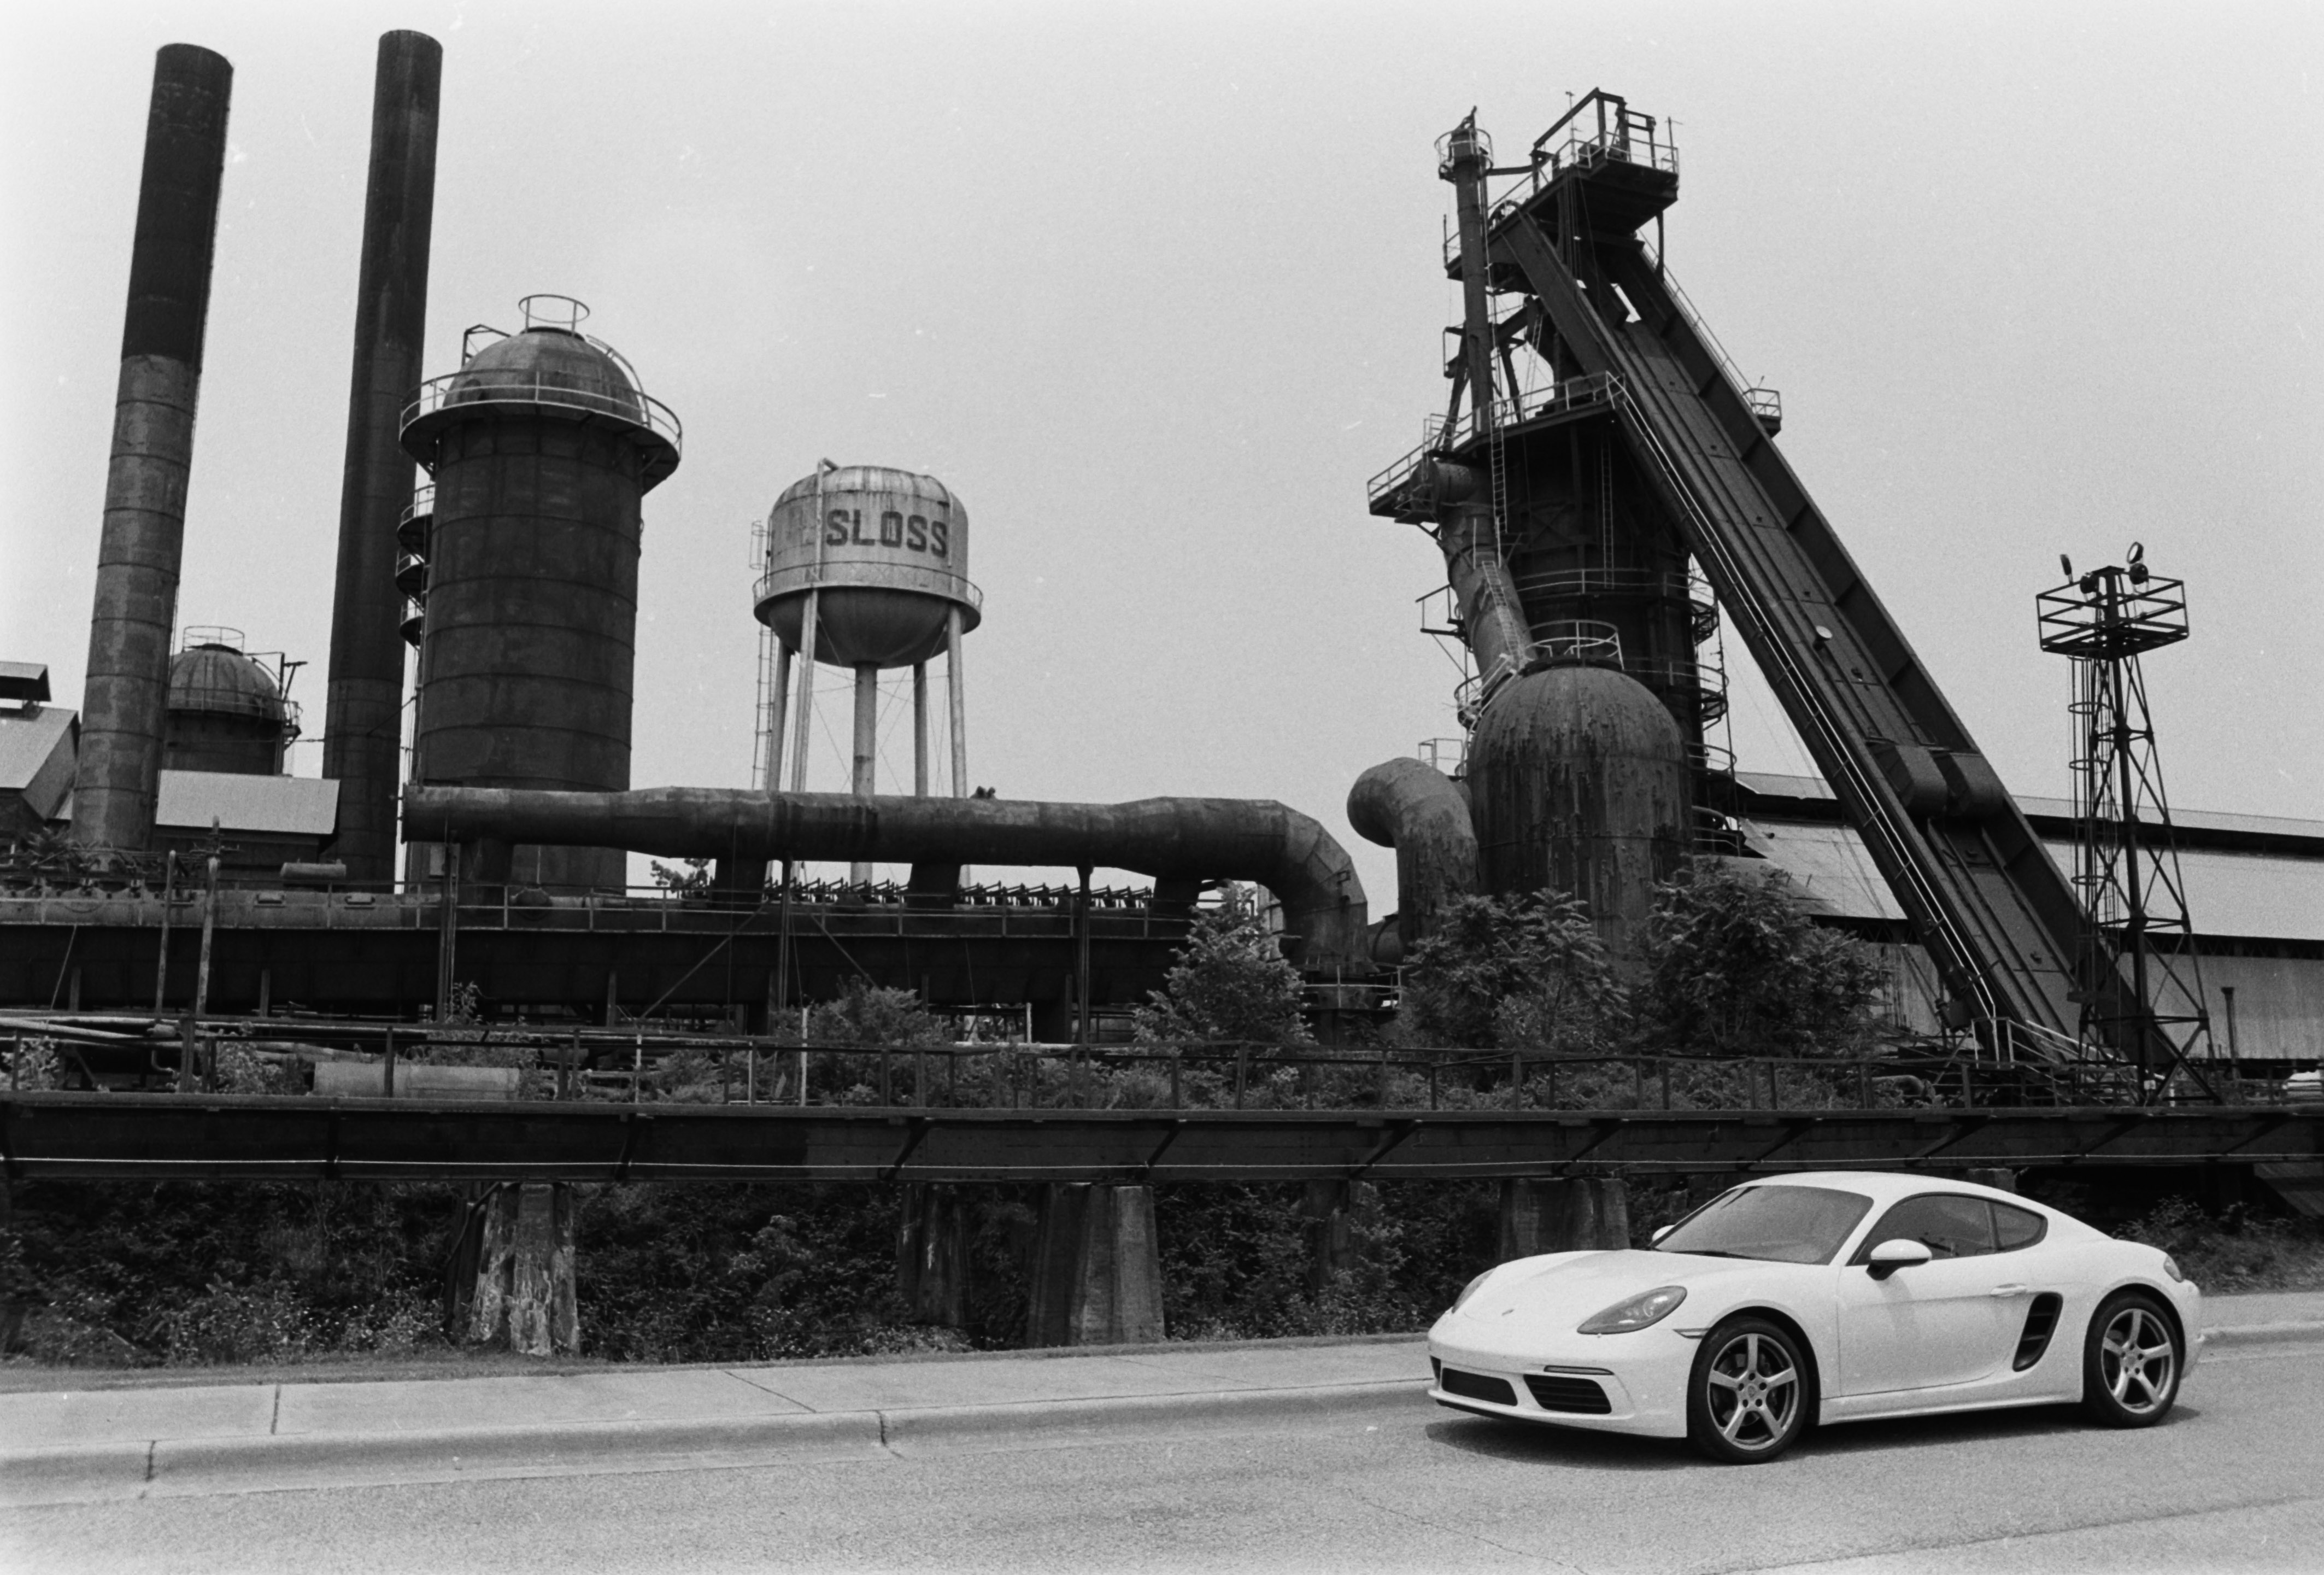
I had been so pleasantly surprised by the first series Photura when I had tested it in the Cabbagetown neighborhood in Atlanta, that I decided to bring it with me to a trip in Corsica, where it did not disappoint, for the most part.
In spite of its size, I found it easy to store in a bag (it’s shaped like a tube, at the opposite of the normal SLR shape, which is more like a long a tube attached to a large brick). It’s easy to keep your right hand wrapped around it when walking around town, and it’s fairly reactive for an autofocus point and shoot. The color pictures I had taken with it in Atlanta had impressed me (the exposure and the focus were tack on, the colors pleasant), and most of the B&W pictures I shot in Corsica and in the Riverside neighborhood happened to be pretty good as well.
My biggest gripe with the first Photura was that it its autofocus system was still very primitive, incapable of focusing on its own on a human being when held in portrait orientation (it needed a complex gymnastic to memorize the focus before re-framing). It also required the photographer to force the focus to infinity when shooting landscapes (by pressing a tiny rubber key at the back of the camera while pressing the shutter release). And the camera missed the exposure in some tricky situations.
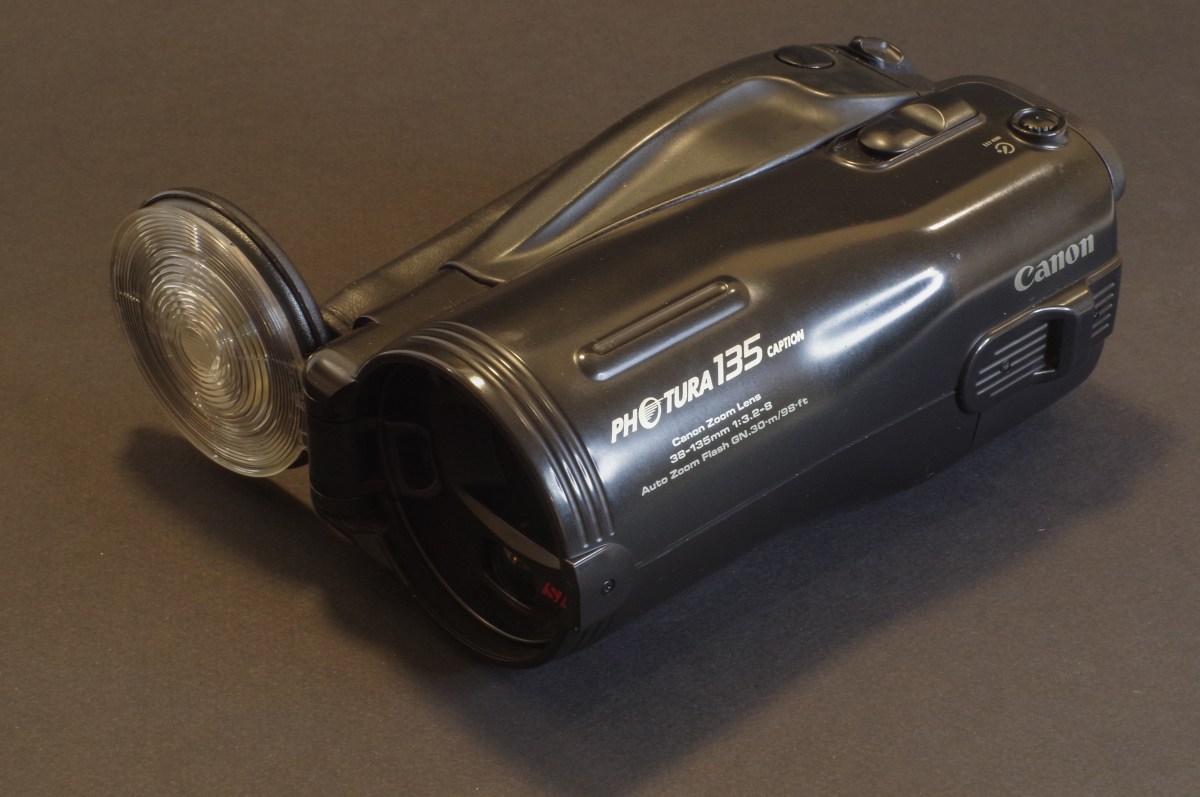
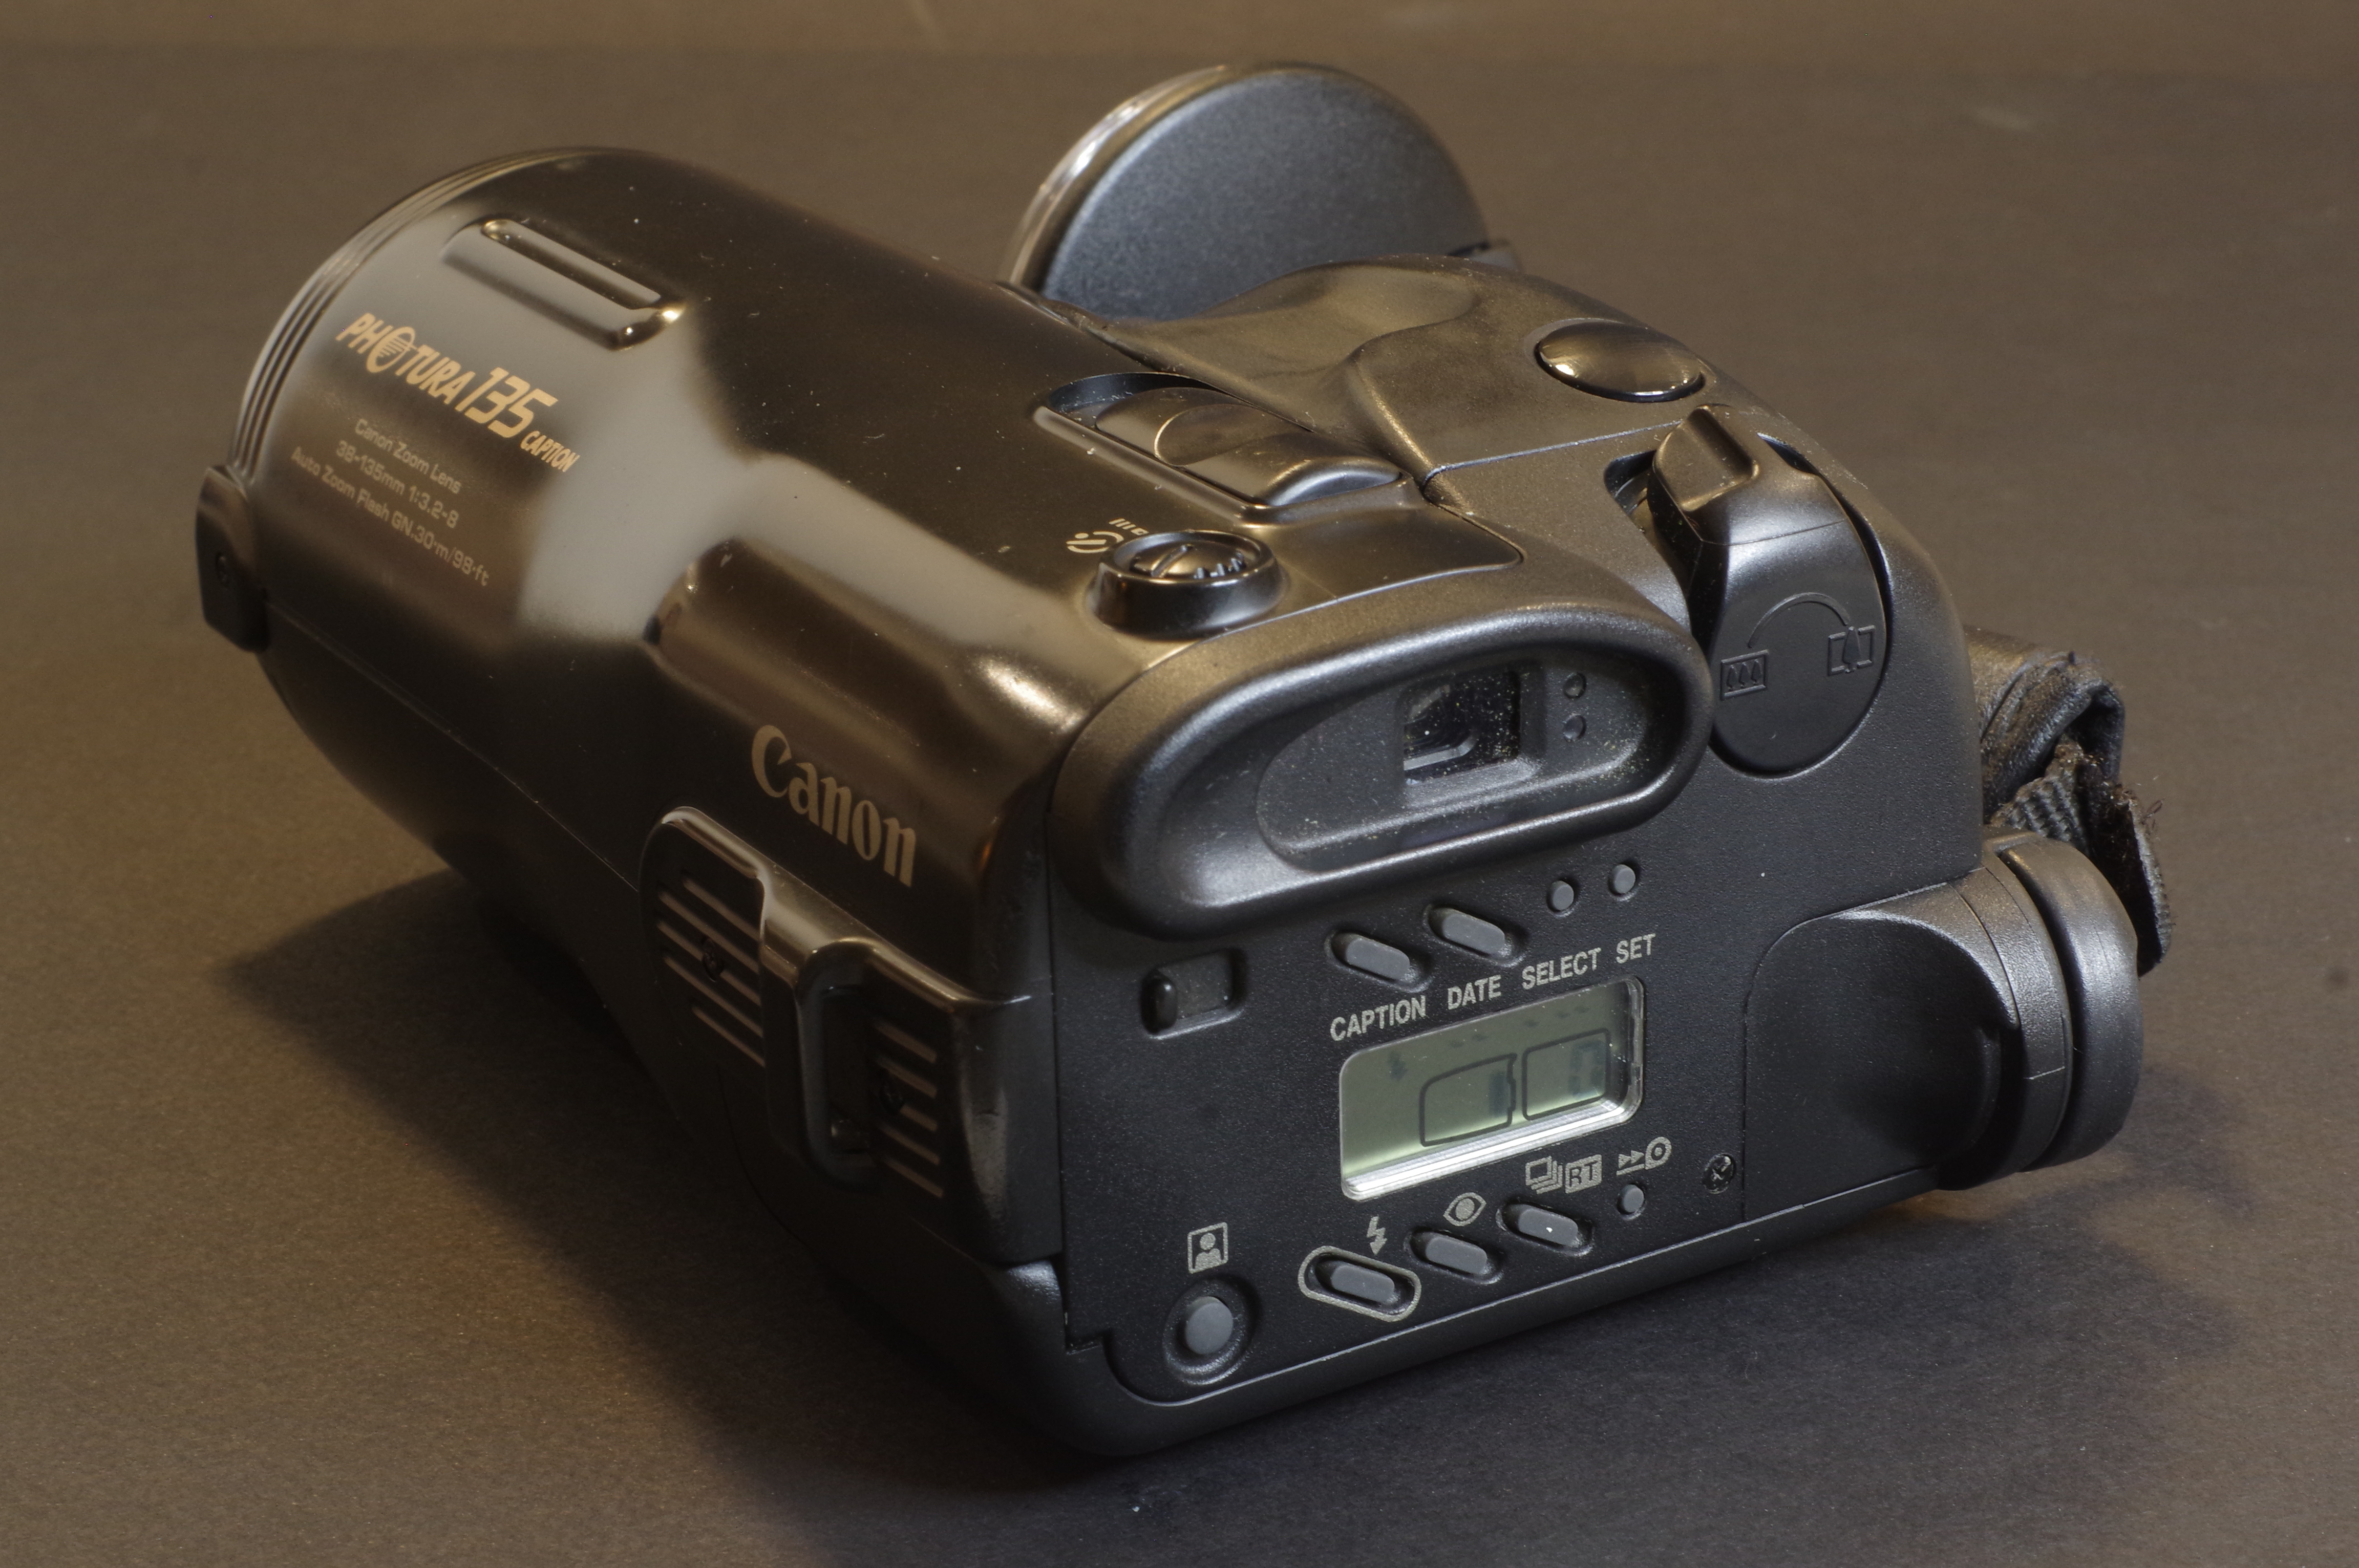
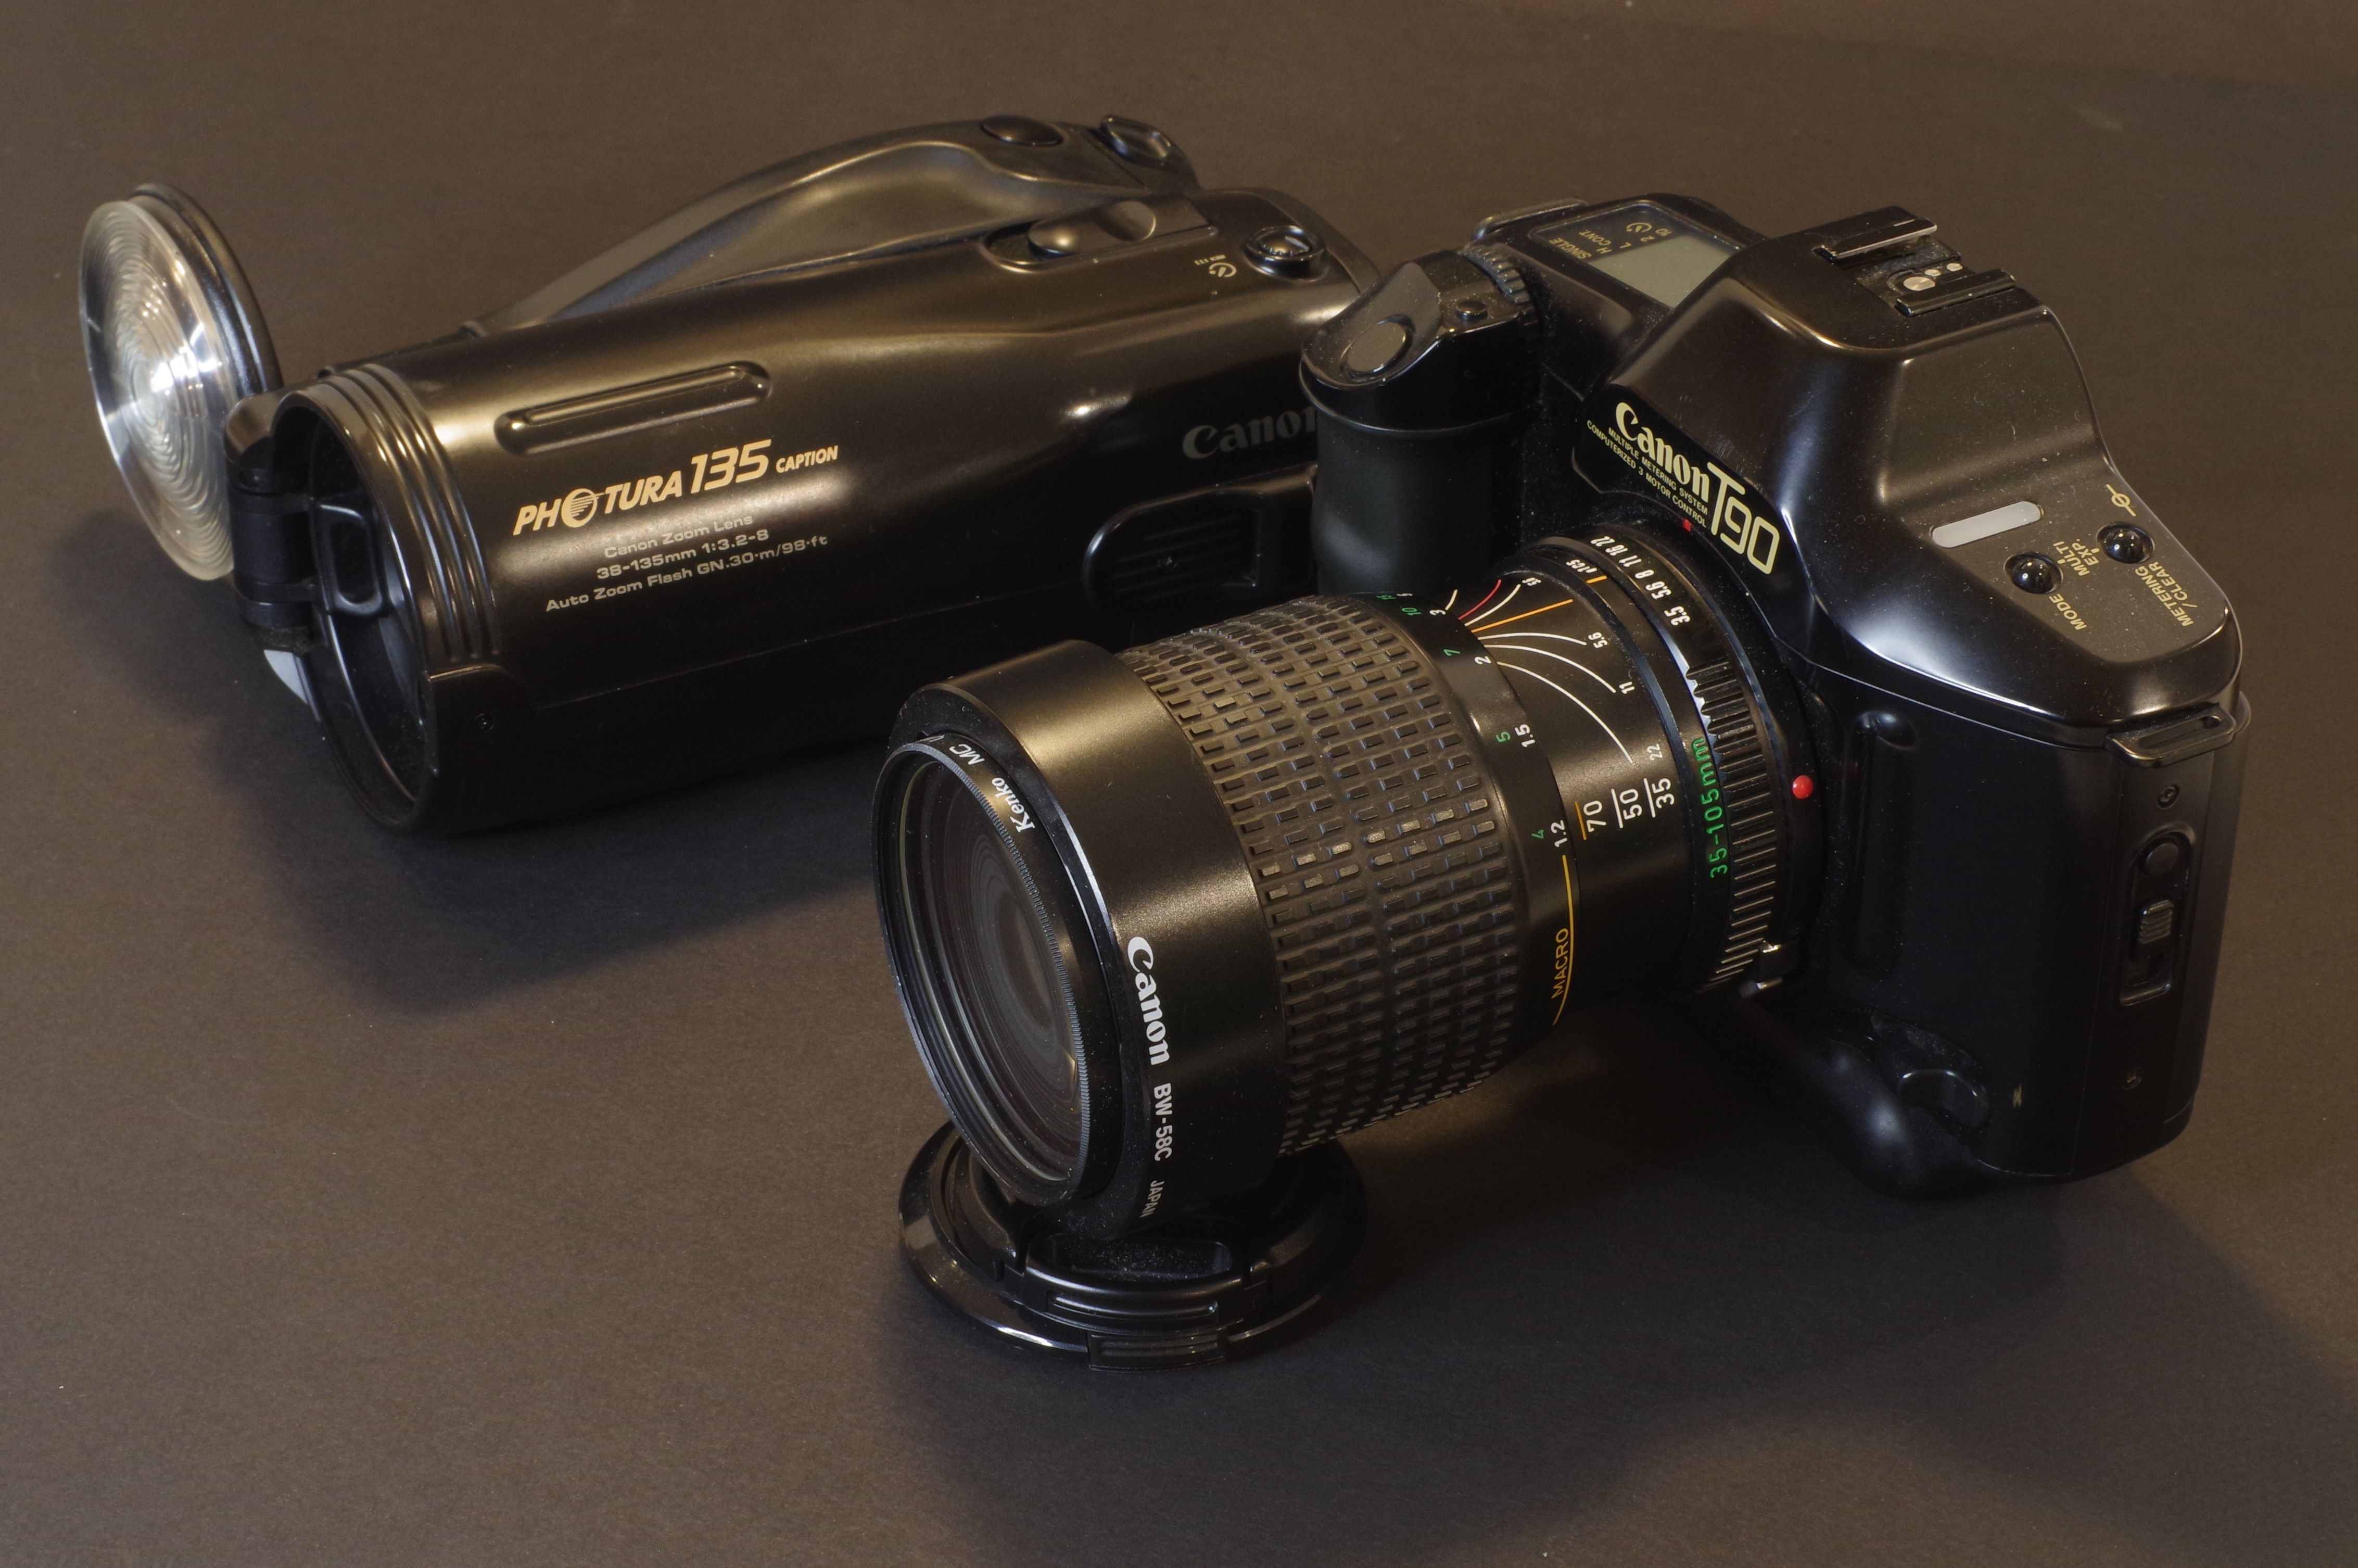
The Photura 135 Caption
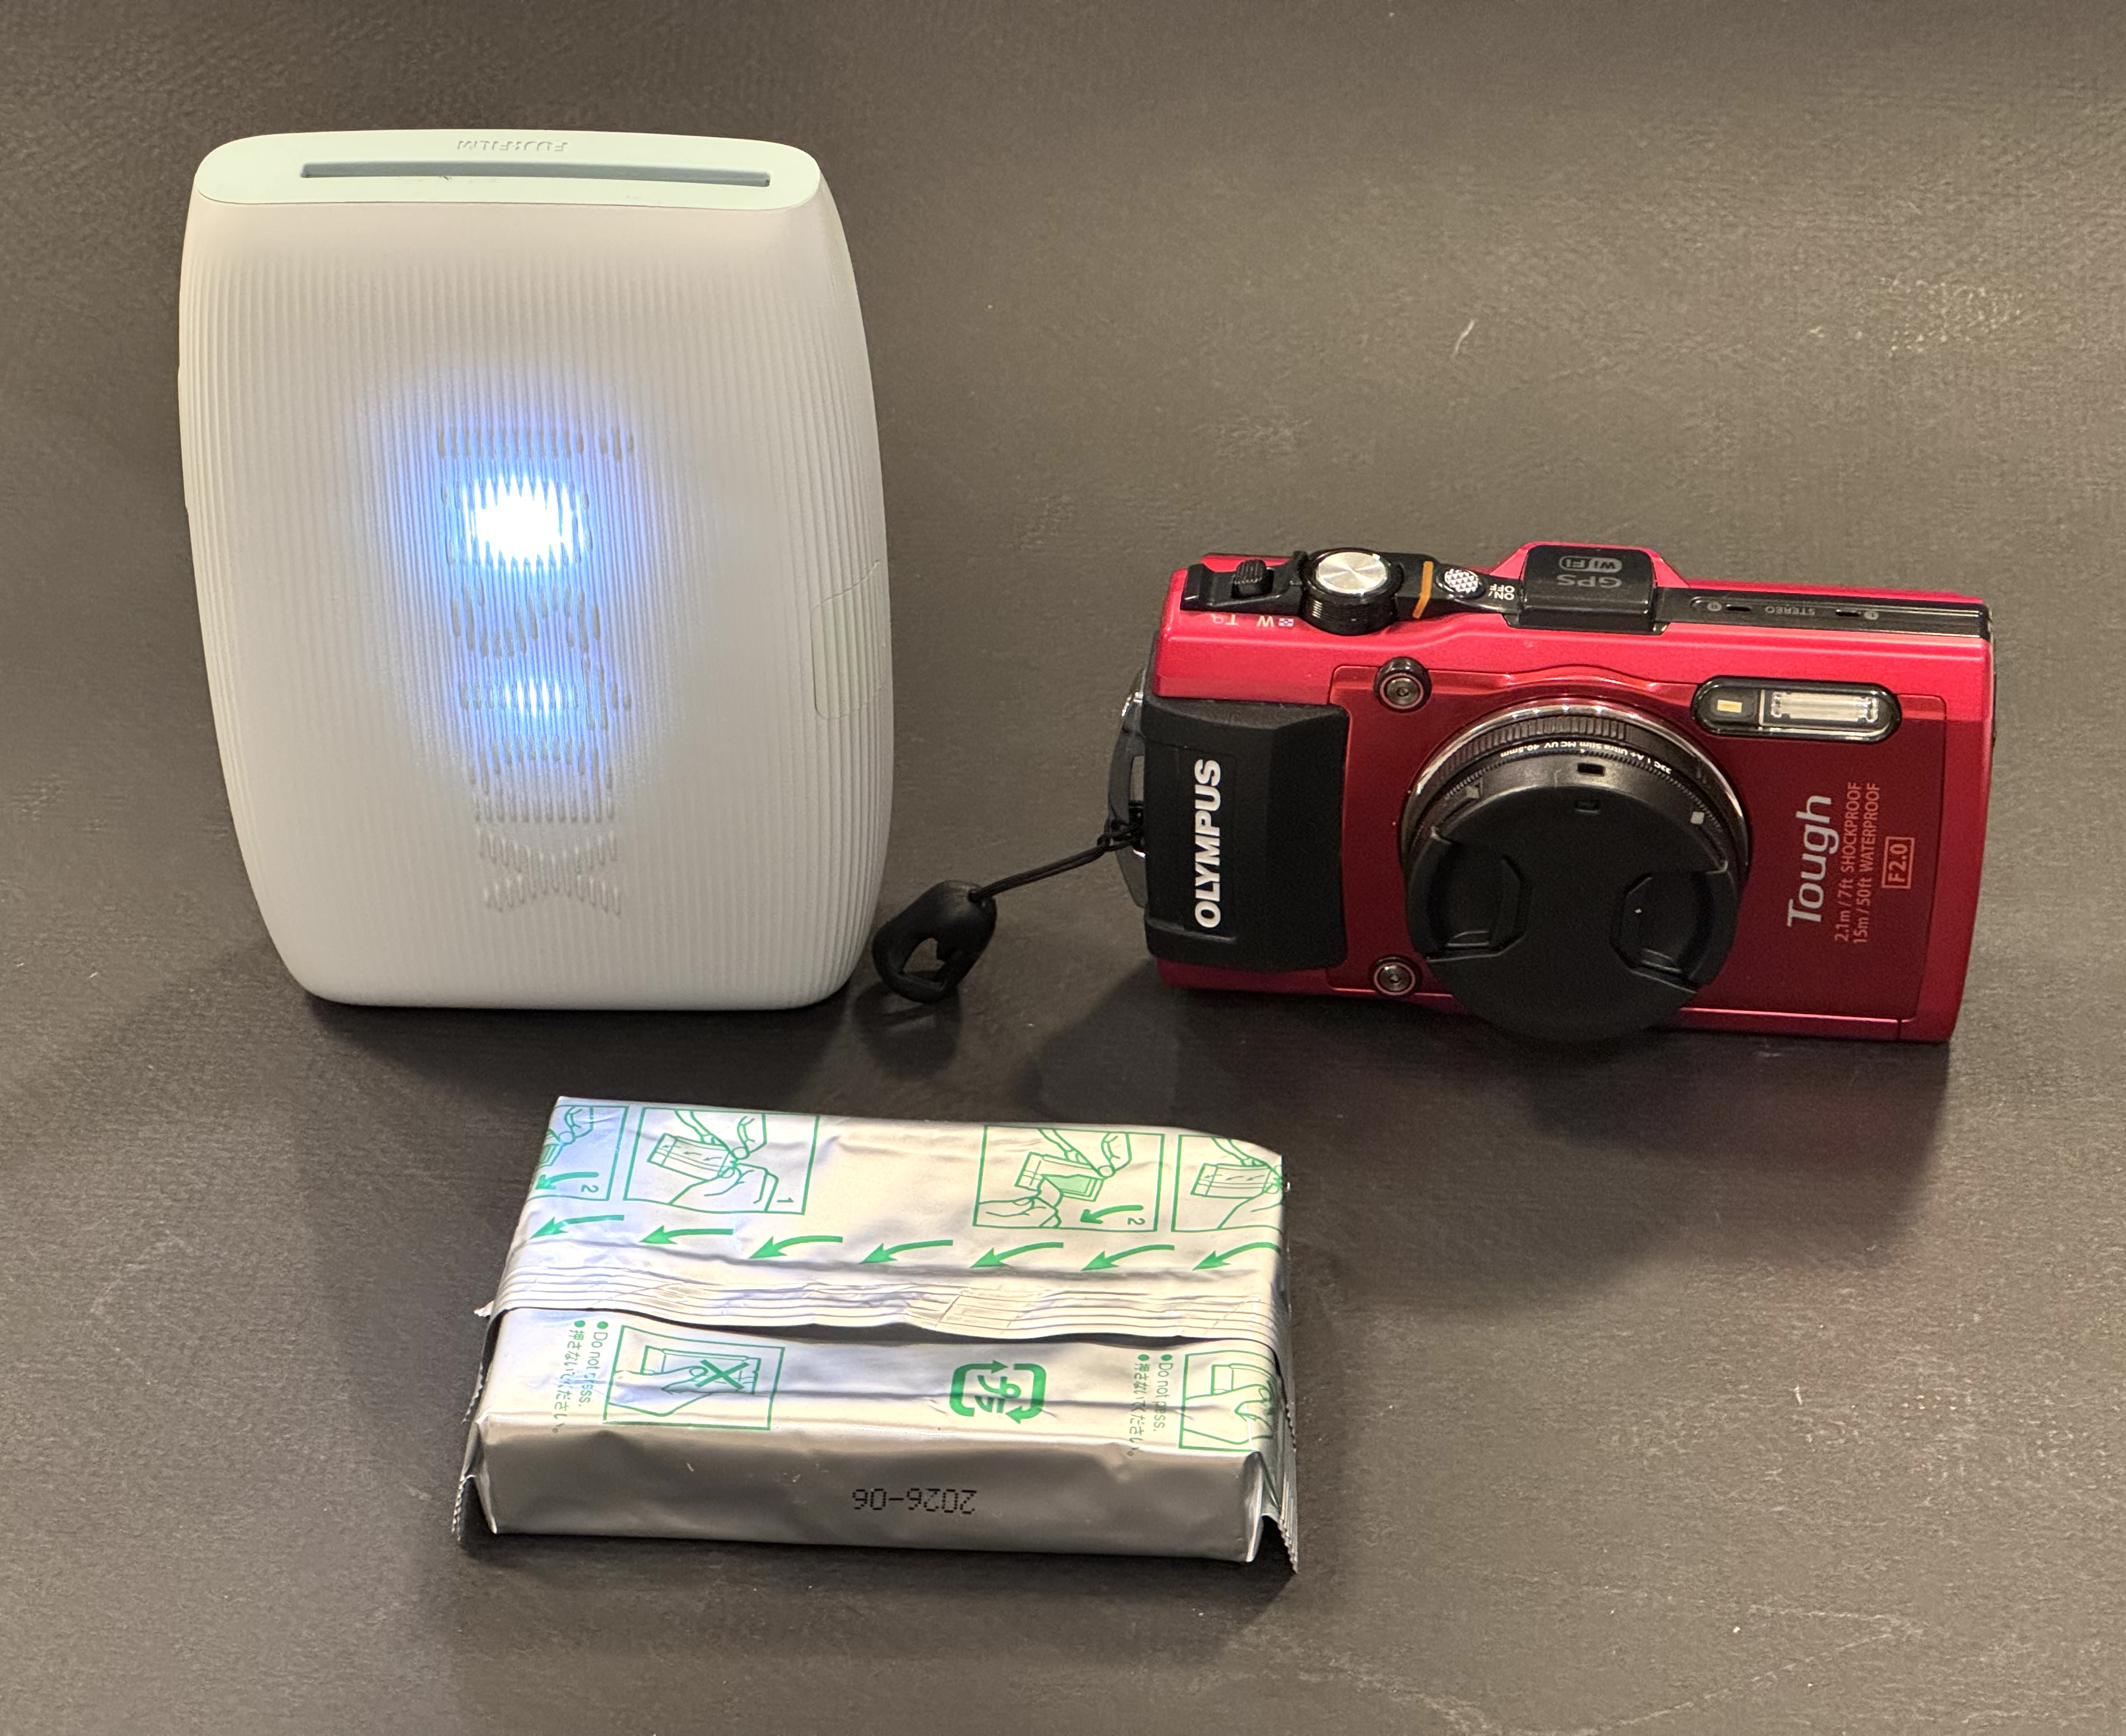
This “Canon Photura 135 Caption” is another of my Shopgoodwill finds – there were two of them for sale the week I bought it, and only one bidder, me. I picked what I believed was the nicest of the two for $19.00.
Canon created at least three different variants of the Photura 135, the “Base”, the “Caption” and the “Panorama”. Mine is a “Caption”. It can print the date or a choice of 5 messages on the negatives. Cool!
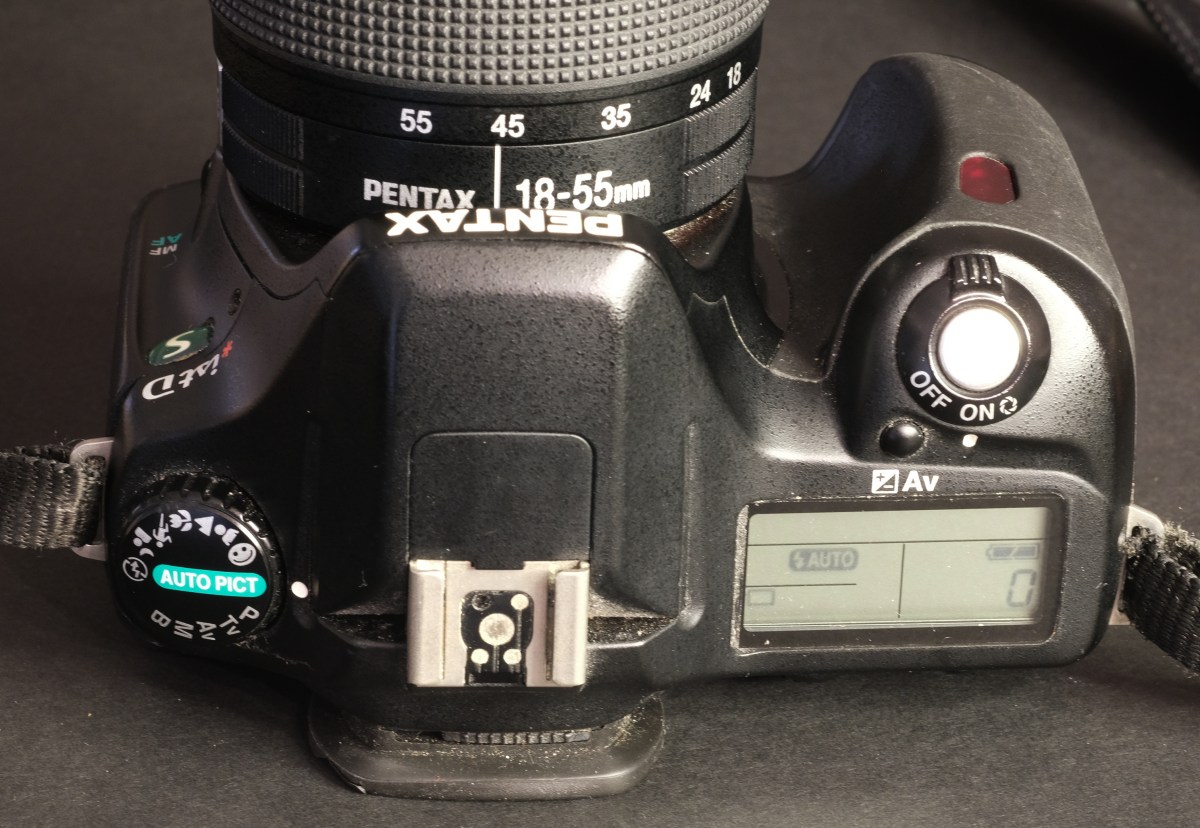
Contrarily to my Photura 105 which was a bit scruffy, this “135 Caption” is in a very good shape, cosmetically. And it’s finished in satin black, with pale, matt gold lettering. It may sound tacky, but it’s done with restraint, and the camera is rather pleasant to the eyes.
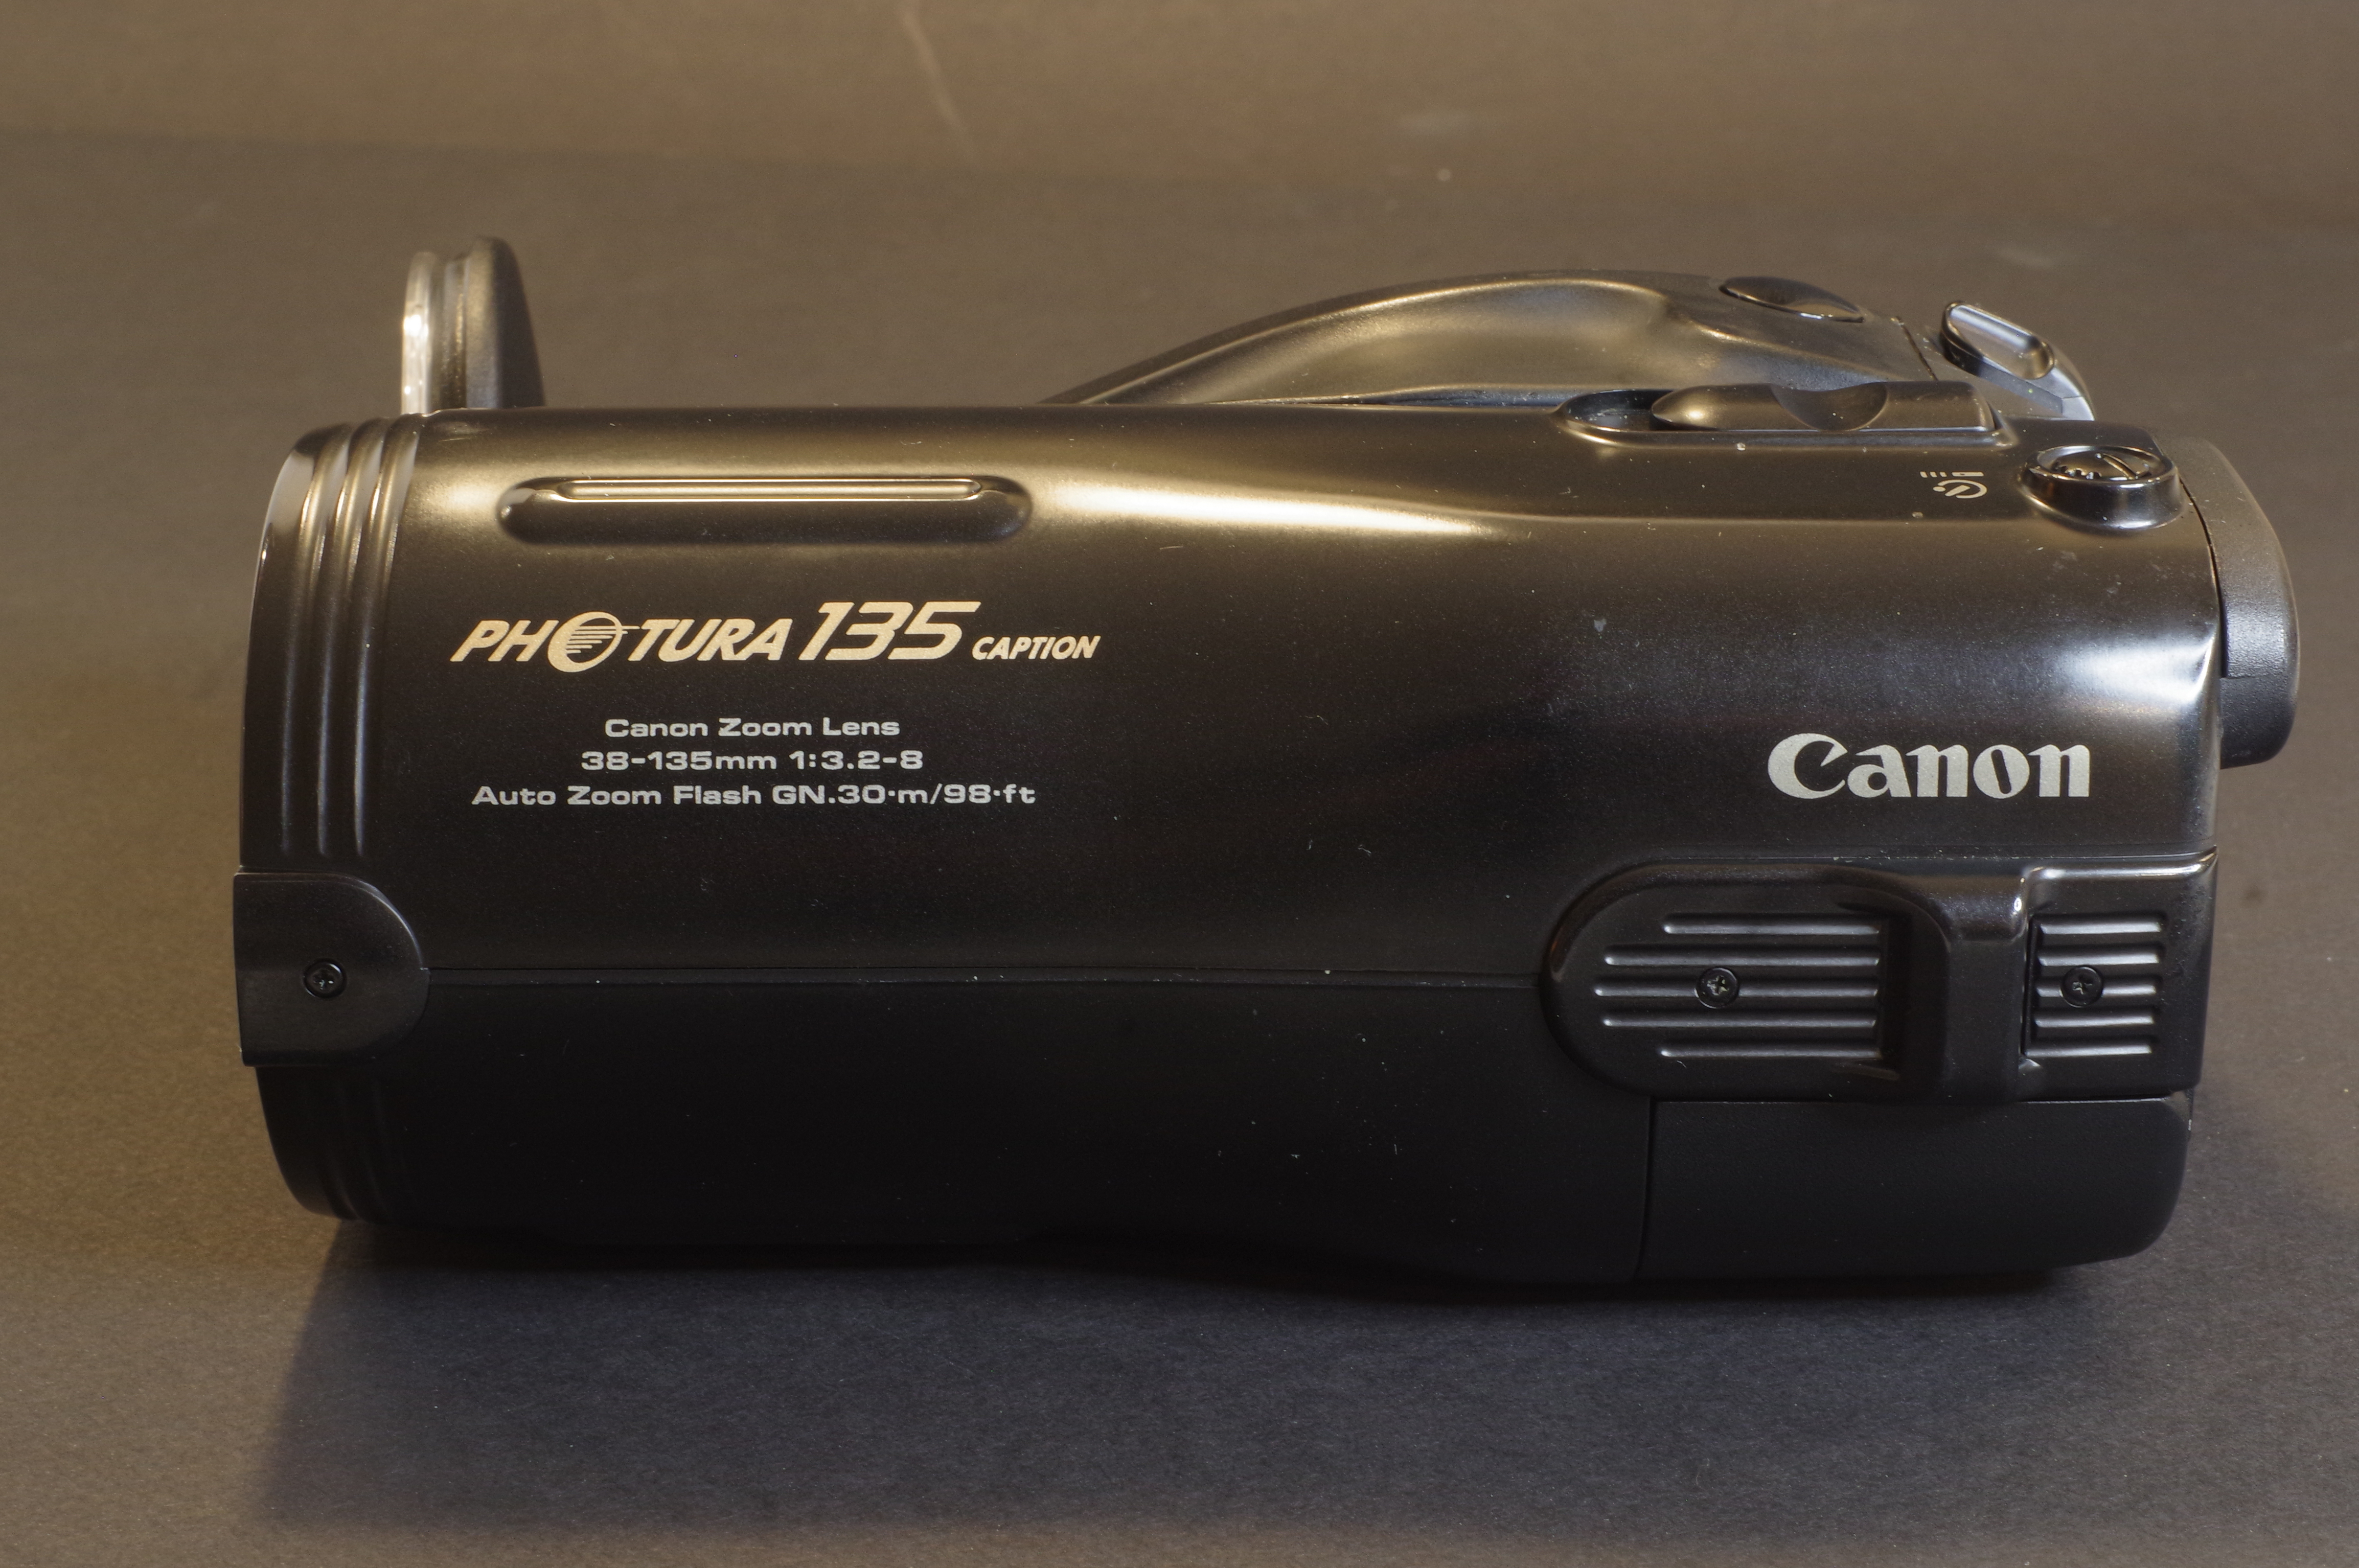
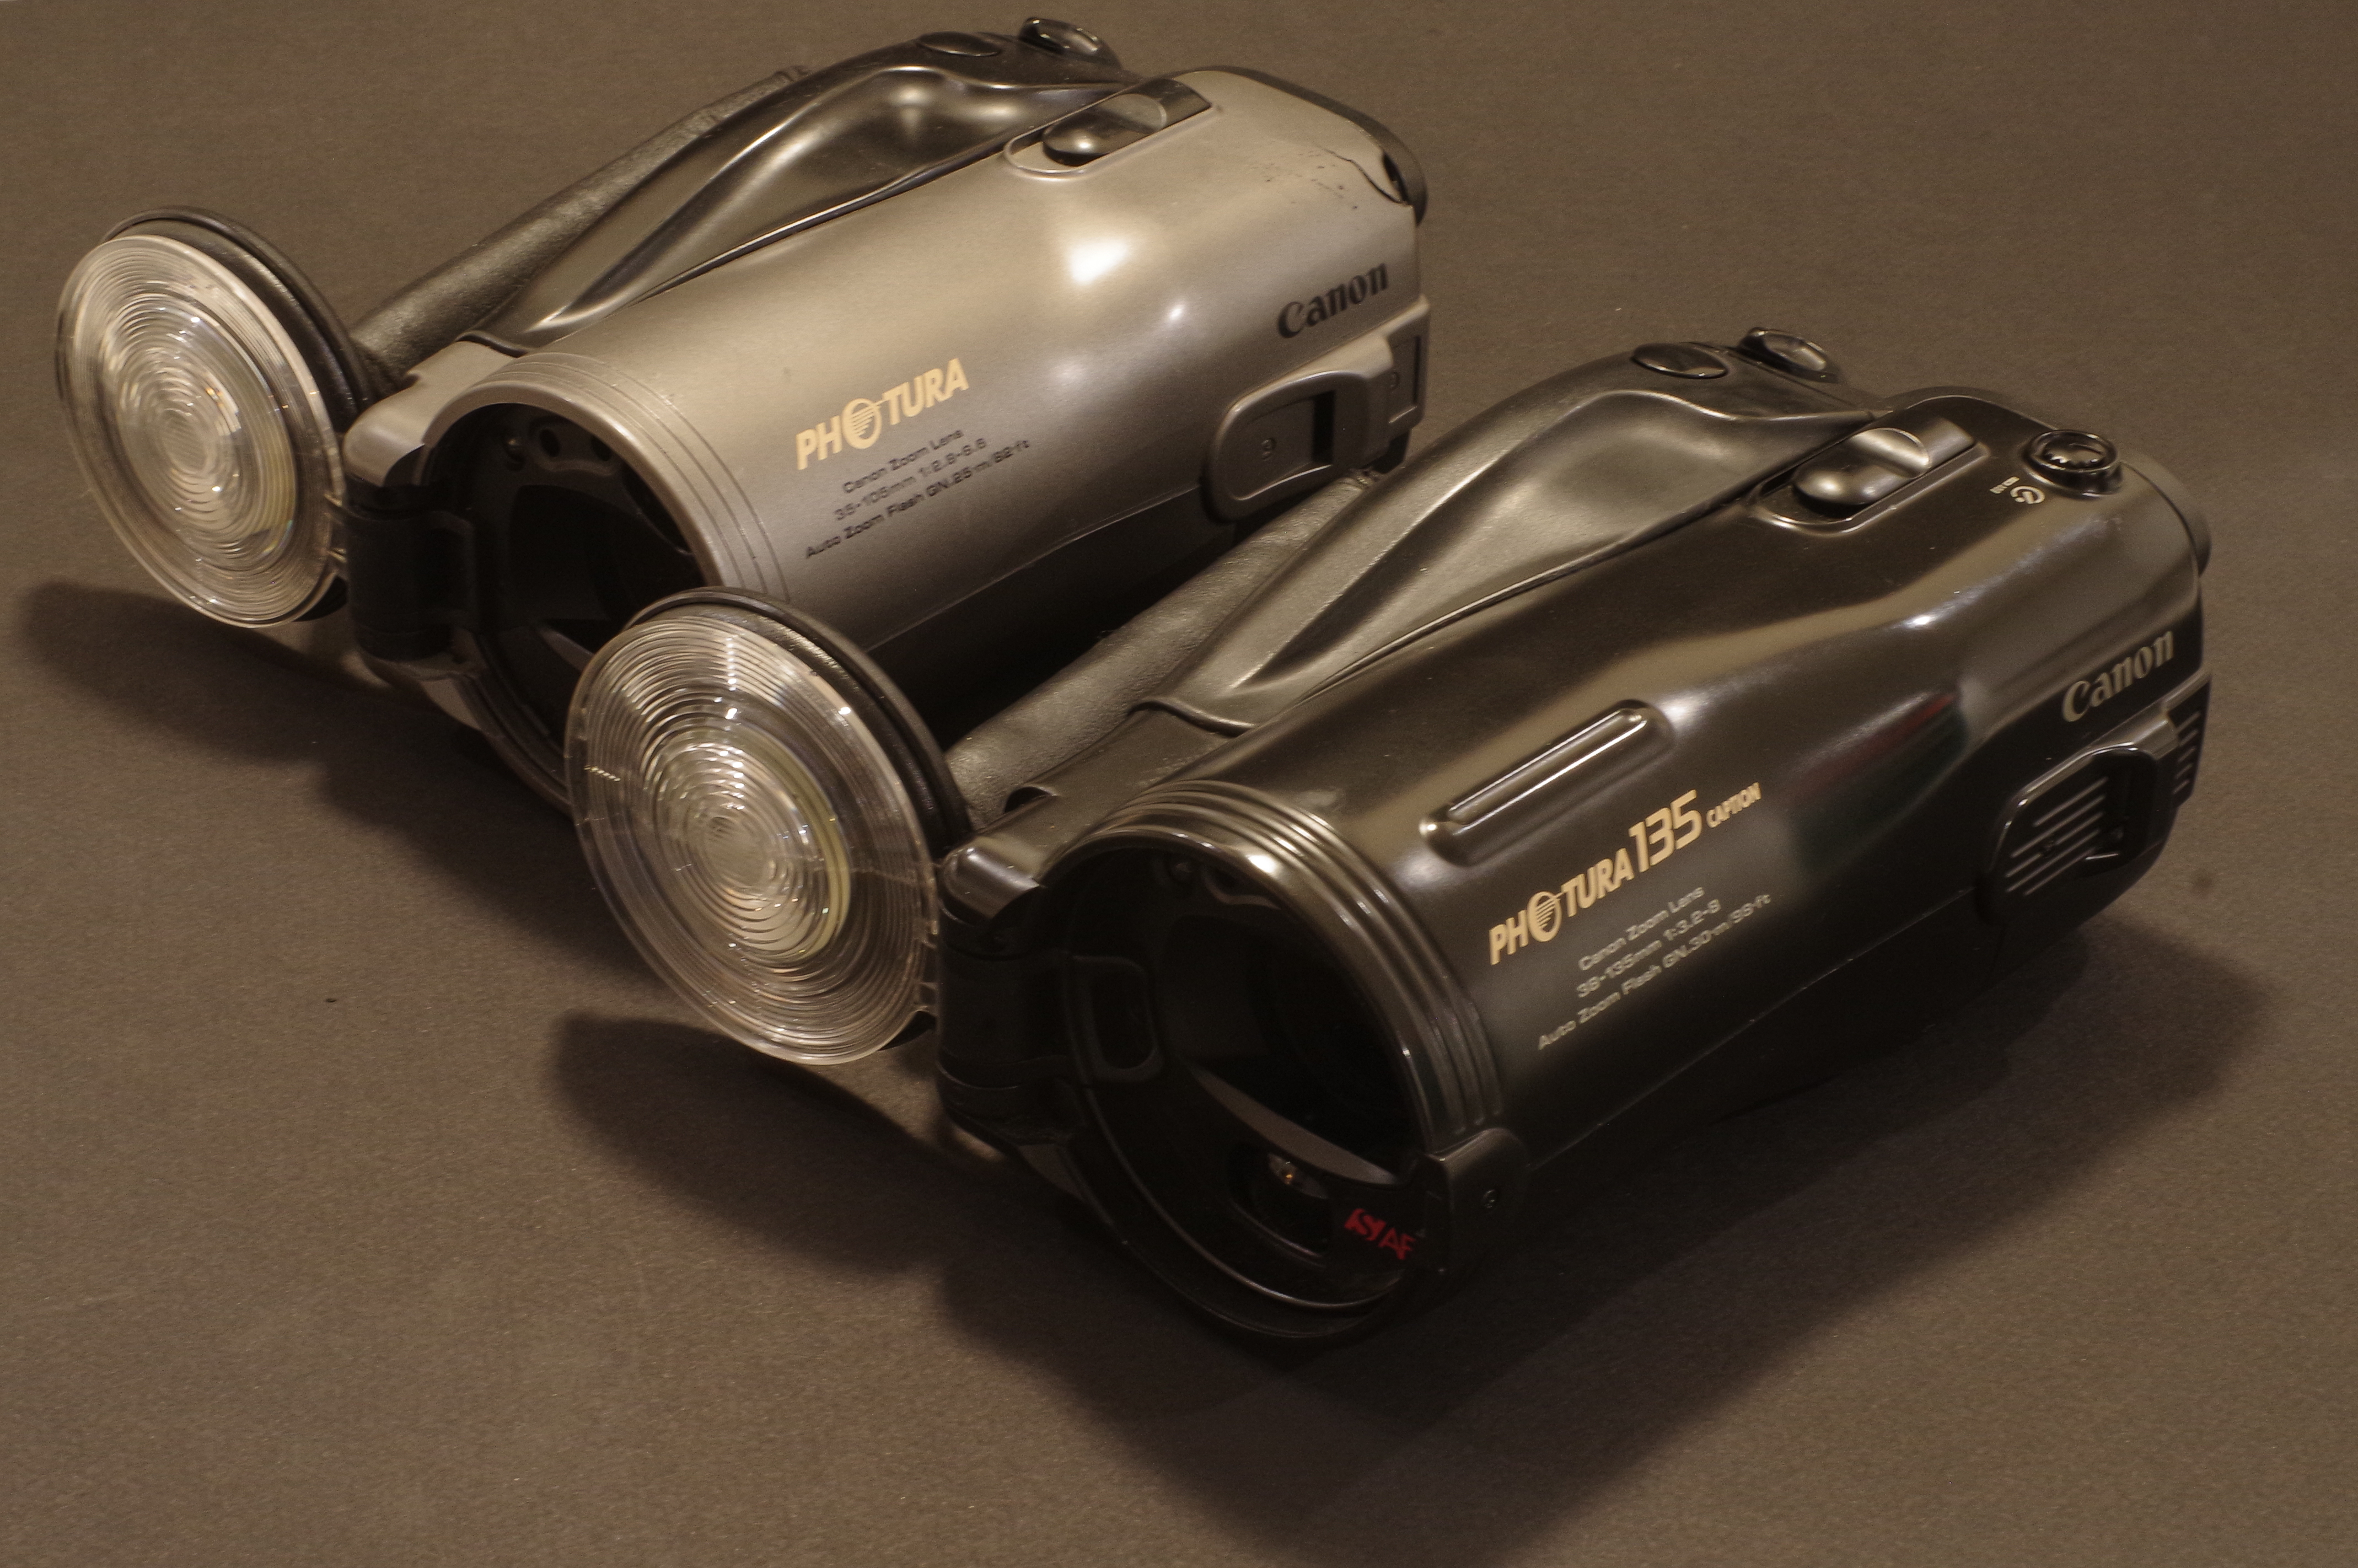
The Photura 135 is marginally longer than the 105, no doubt because of its longer zoom. I’m not sure that extending the longer focal length is a benefit, though, as we’re losing a bit on the wide angle side (38mm instead of 35mm) and a lot when it comes to luminosity – the largest aperture of the lens varies between 1/3.2 at 38mm and 1/8 at 135mm – which makes shooting with 400 ISO film almost mandatory.
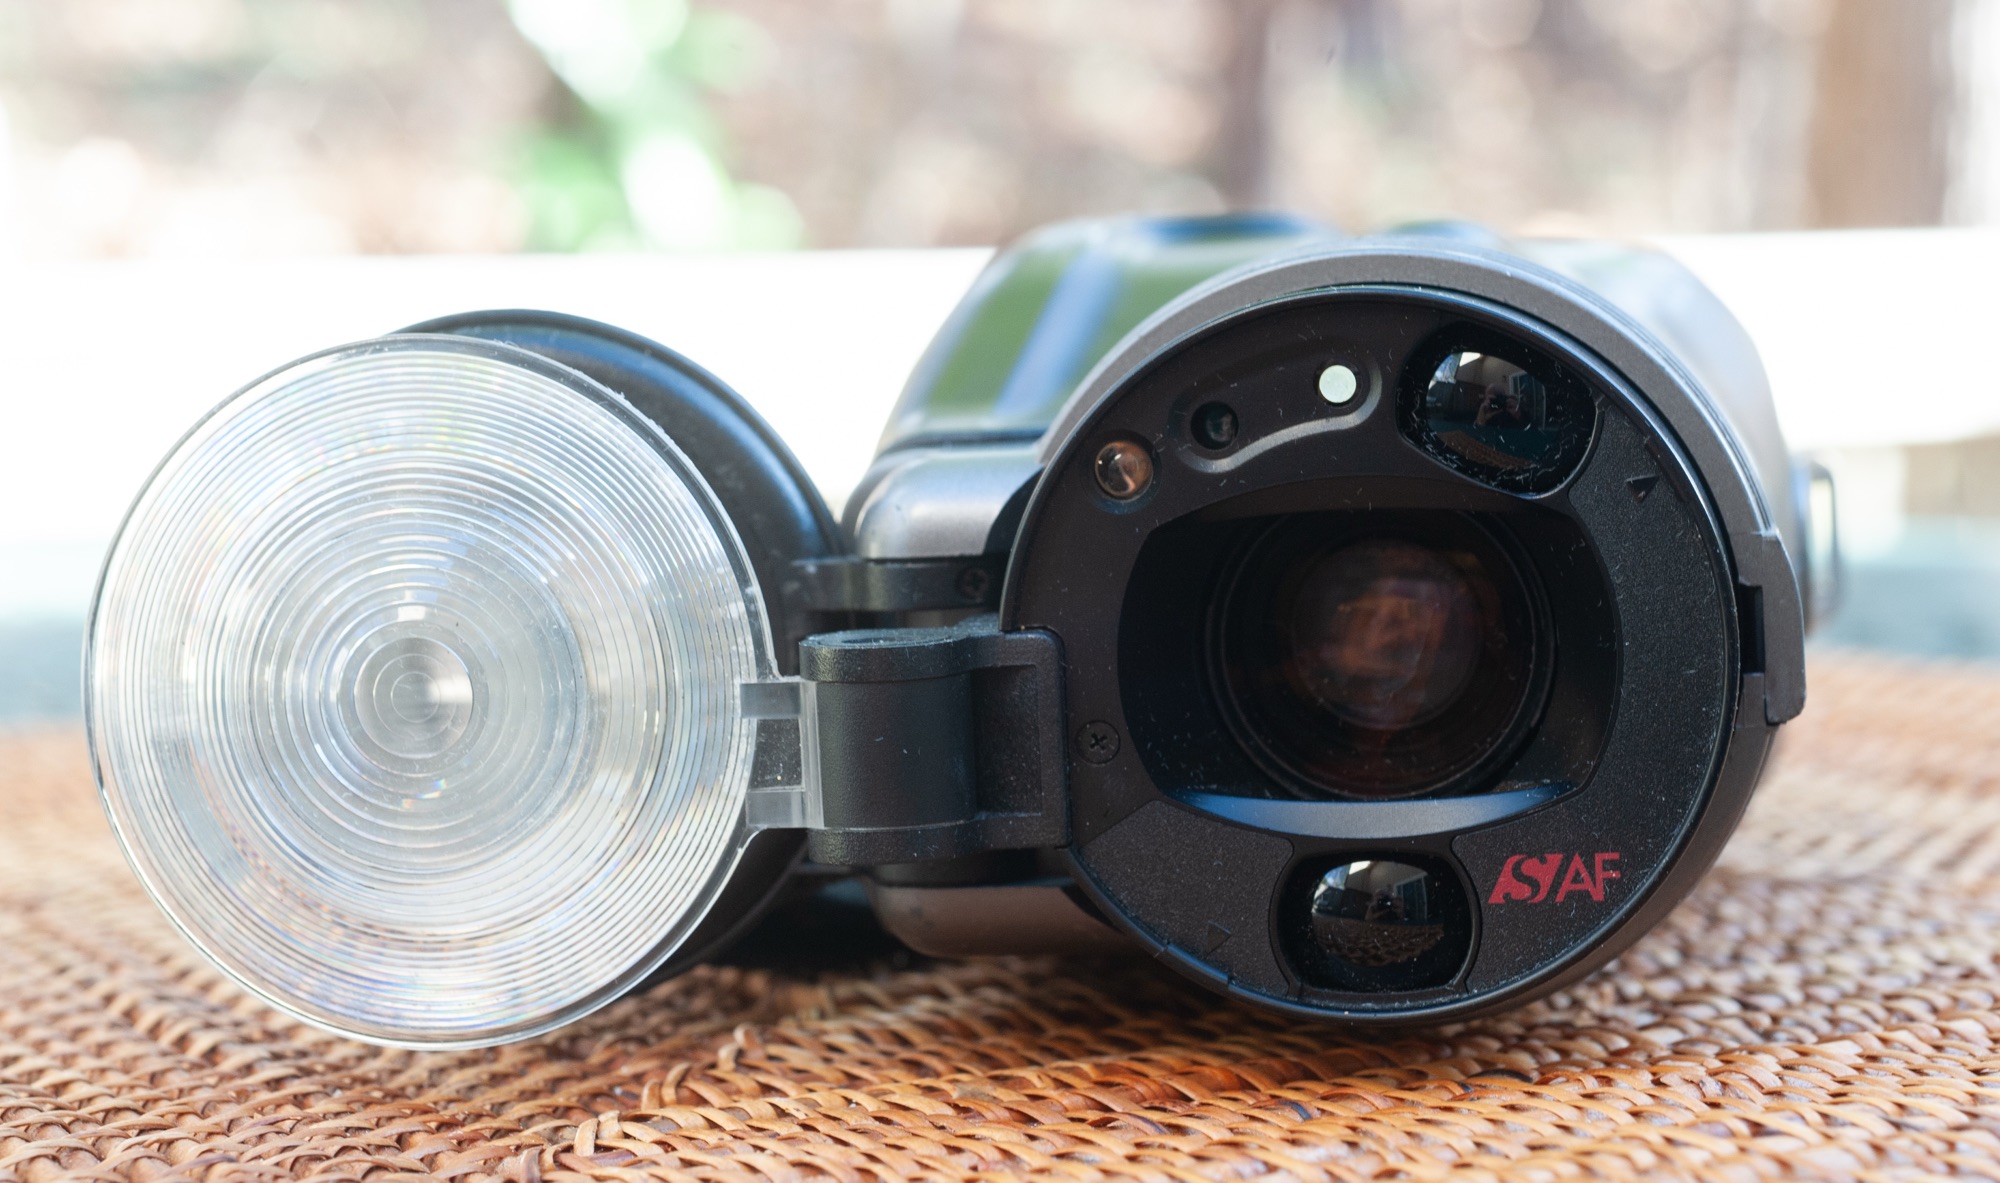
The autofocus system seems to have been improved : the AF frame is visibly larger in the viewfinder, the button to force the focus to infinity has disappeared, and according to the documentation, it now relies on 5 infra red detection beams (!).

The user manual is not very clear but I assume that focus and exposure are pre-determined on a central area of the scene when the photographer presses the shutter release half way and then evaluated again on a larger area when the shutter release button is fully depressed. On the 135 models, a “real-time” feature has been added (the lag time of the shutter release is reduced to 0.018 sec.), and the user manual recommends to use it to memorize the focus point, in particular when composing an image vertically (in “portrait mode”). The real-time mode skips the second focus determination step and only relies on what the central autofocus sensor has detected during the focus “pre-determination”, which acts as a sort of selective AF lock.
The exposure determination also seems to have evolved positively with a three-zone evaluative system replacing the centered metering of the Photura 105. There is no exposure memorization and no magic +2EV button, but the evaluative metering of the “135” should perform better when the subject is backlit than the simpler system of the first Photura.
Like the older Photura, the 135 Caption only operates under a single programmed auto-exposure mode, and is deprived of any “scene mode”. Being a camera from the nineteen nineties it does not offer any subject or face recognition capability. But like the Photura (and many Minolta cameras of the same vintage), it uses its power zoom to offer a sort of auto-framing capability, that ensures that in a series of shots, your human subject always occupies the same proportion of the image irrespective of its distance to the camera. I’m not sure I understand what the benefit is, but it seemed important enough to Canon’s engineers, who assigned a dedicated button to this function.
Lastly, the “Caption” version of the 135 gets a bigger self timer button, and the shutter can be fired remotely. The wireless remote controller and the extra strap that came with it originally must have been lost on my copy. Too bad.

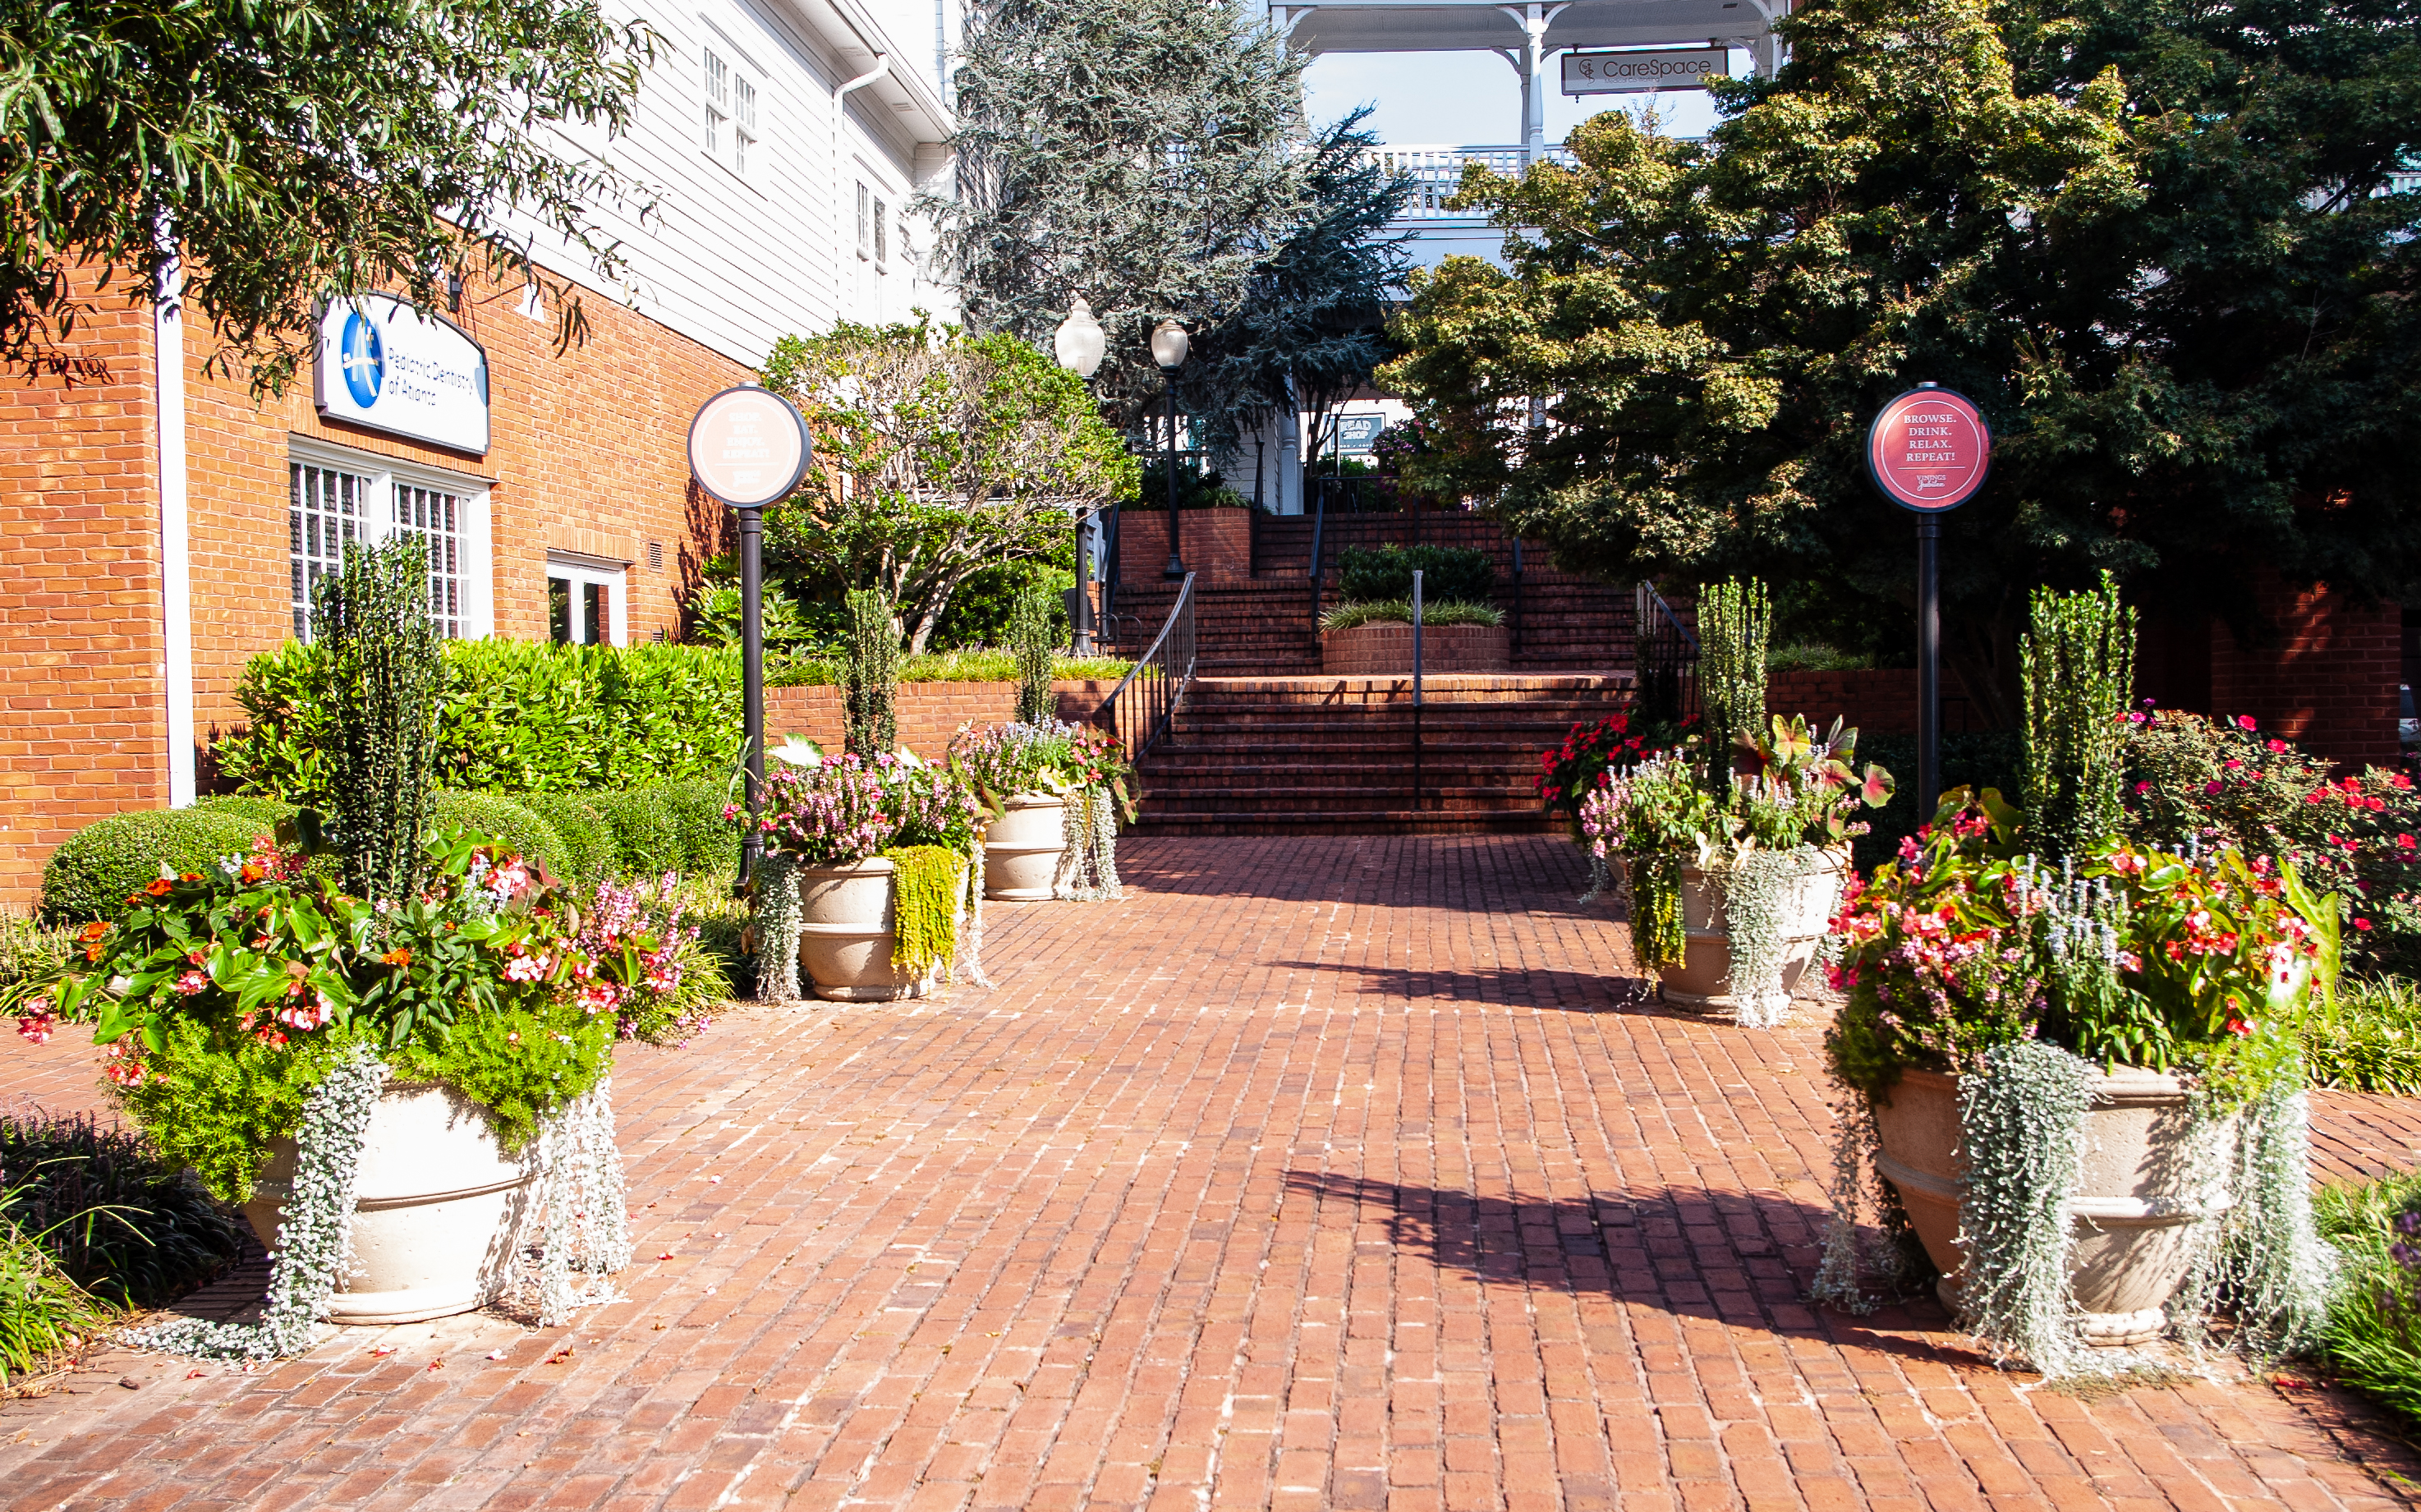
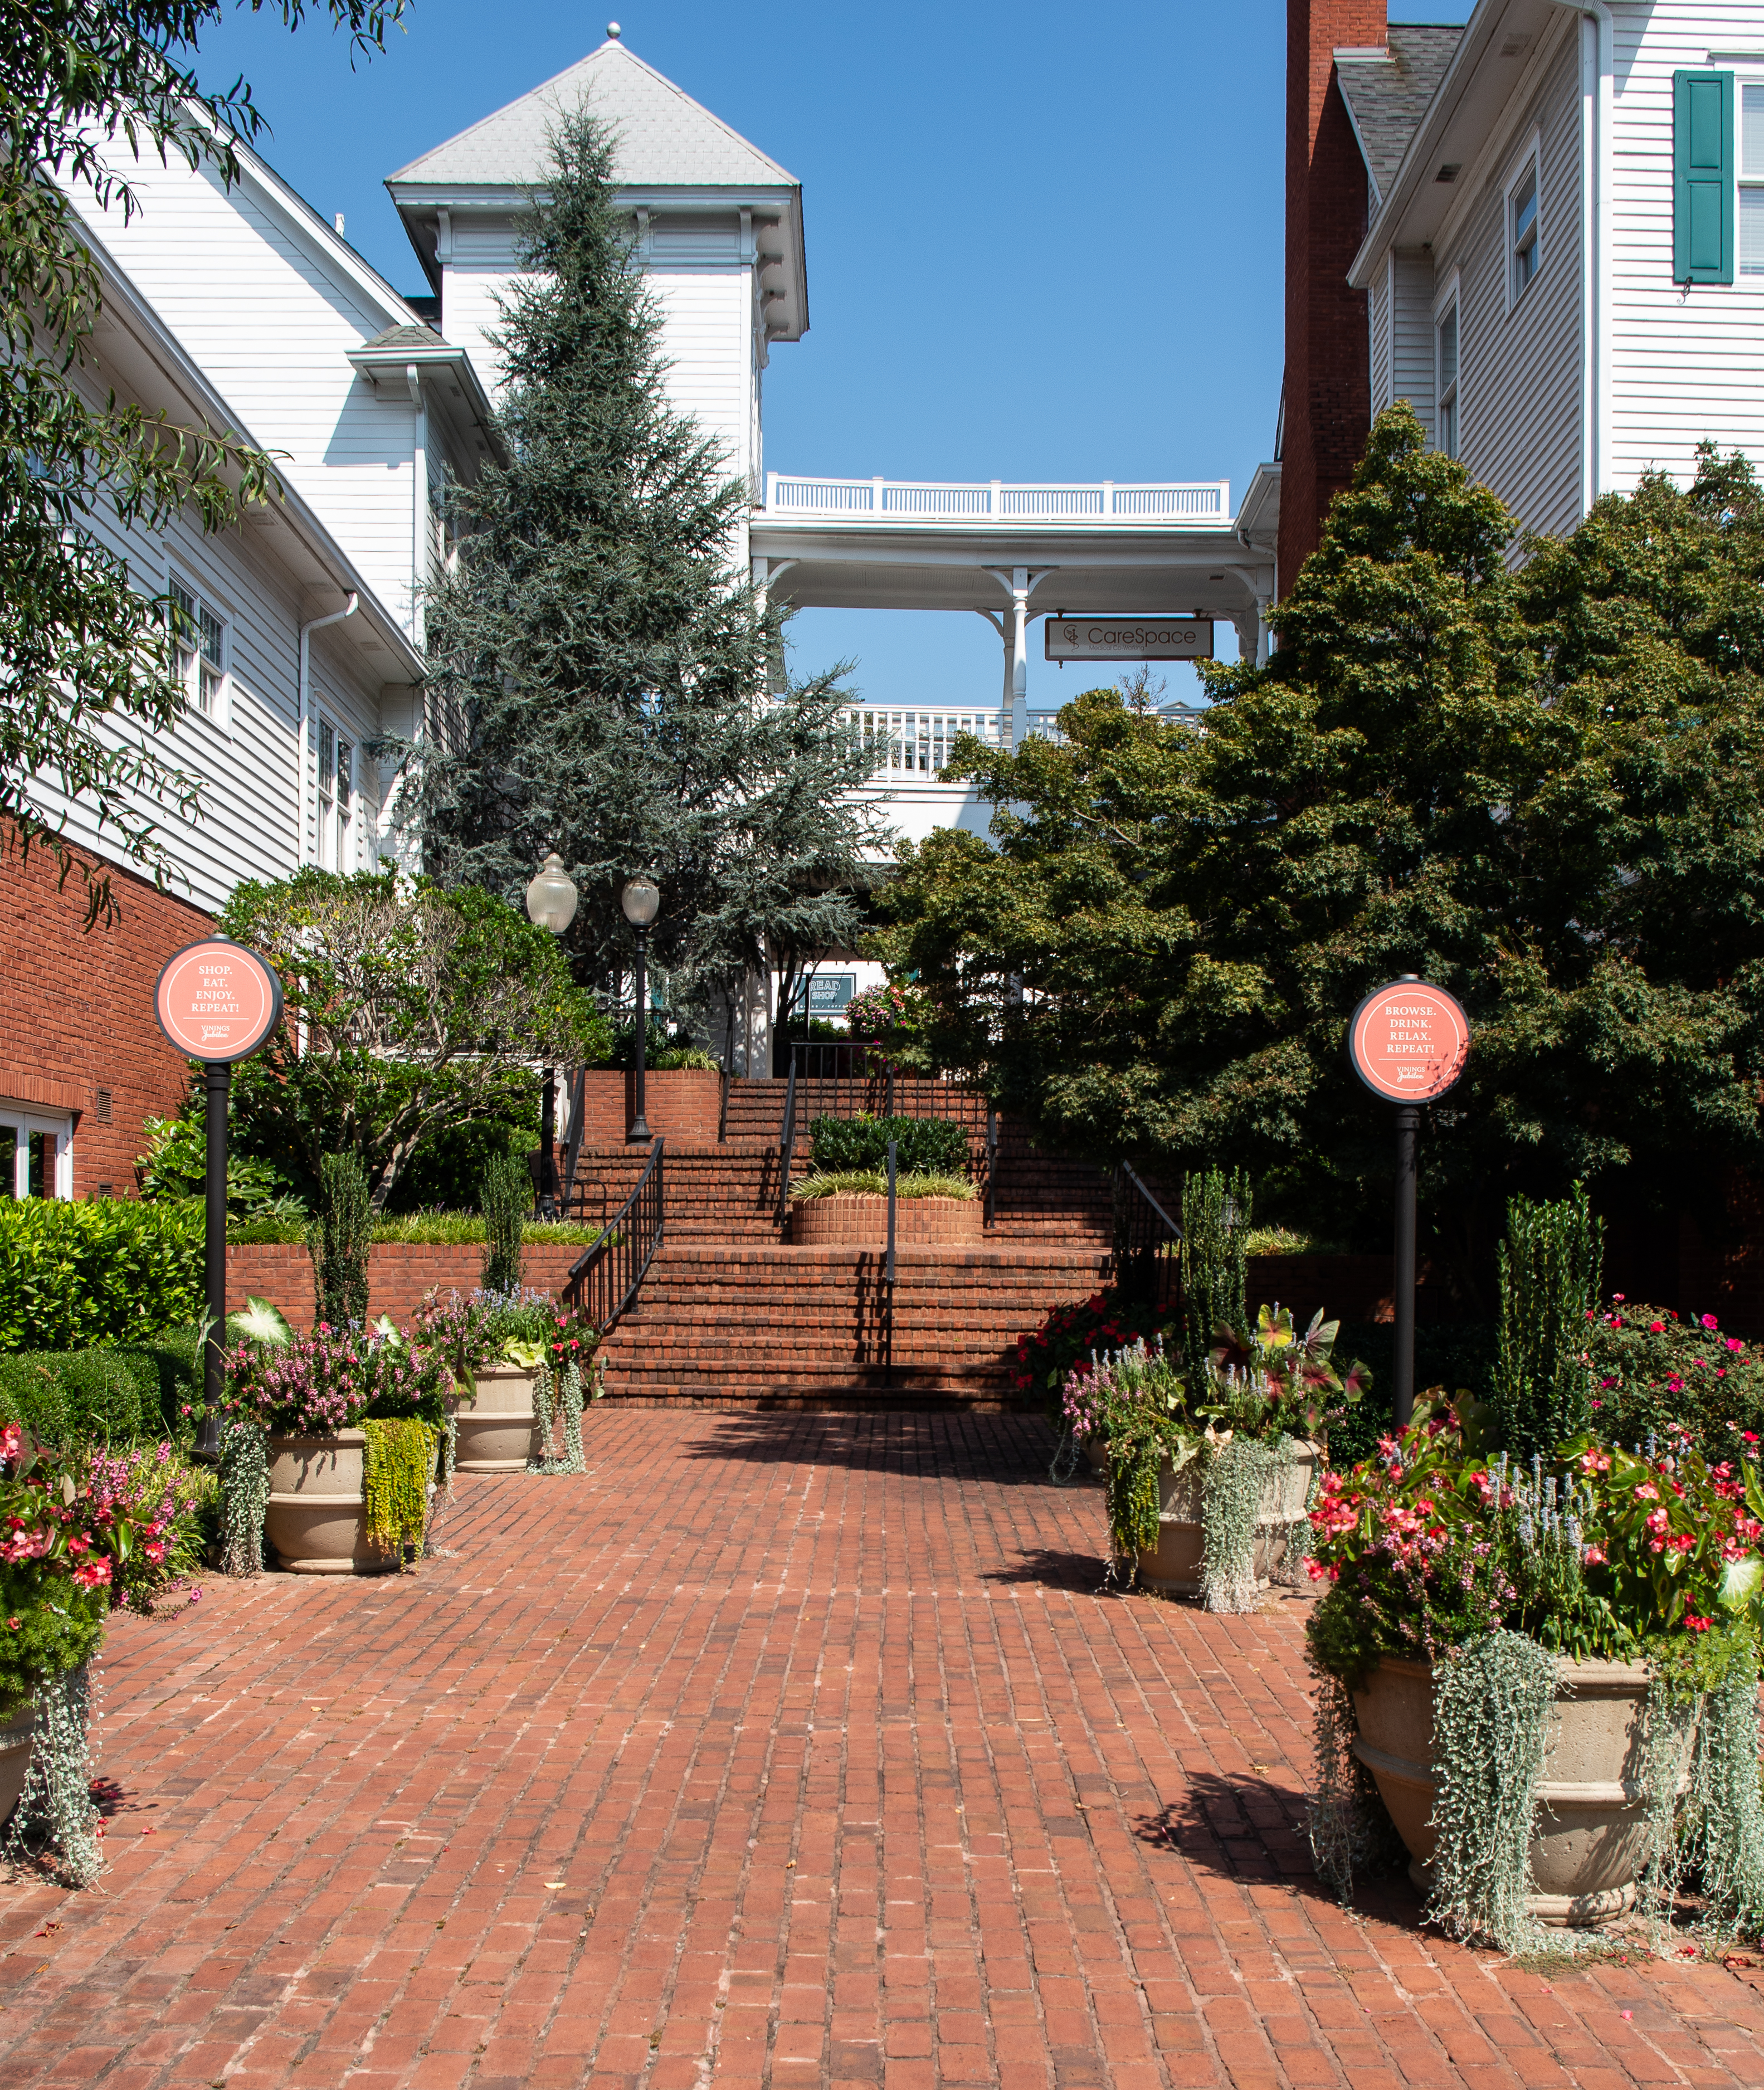
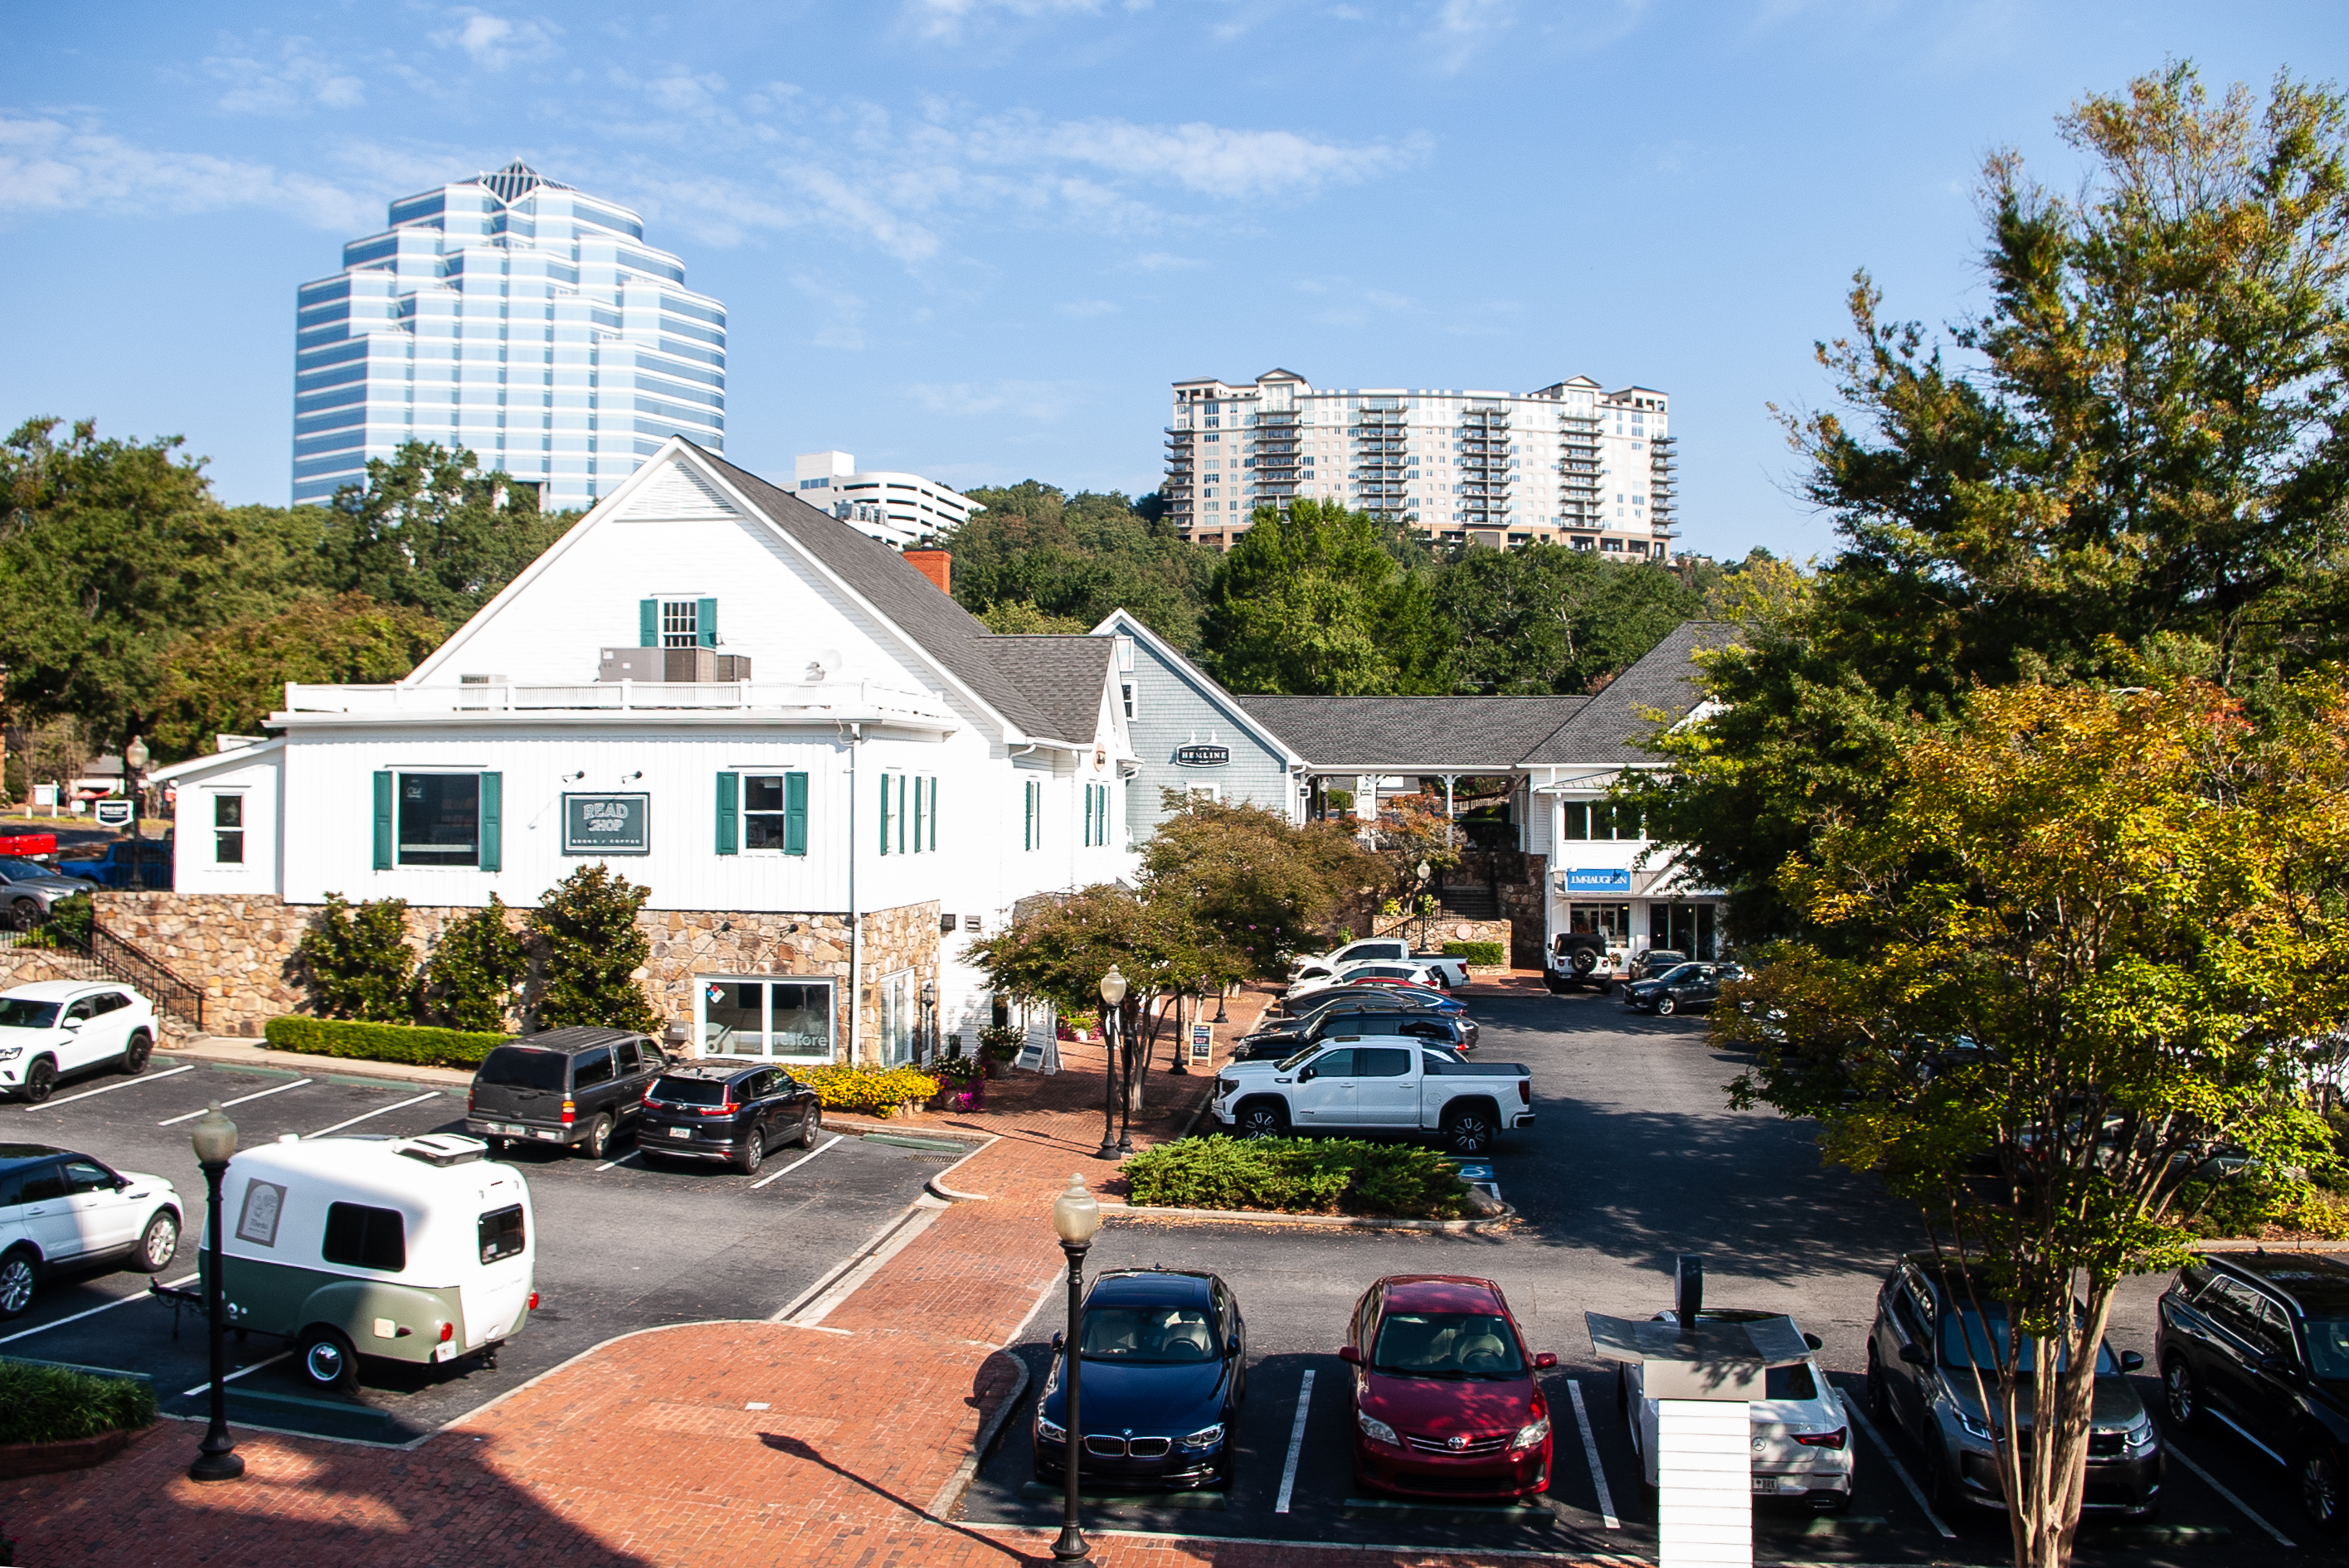
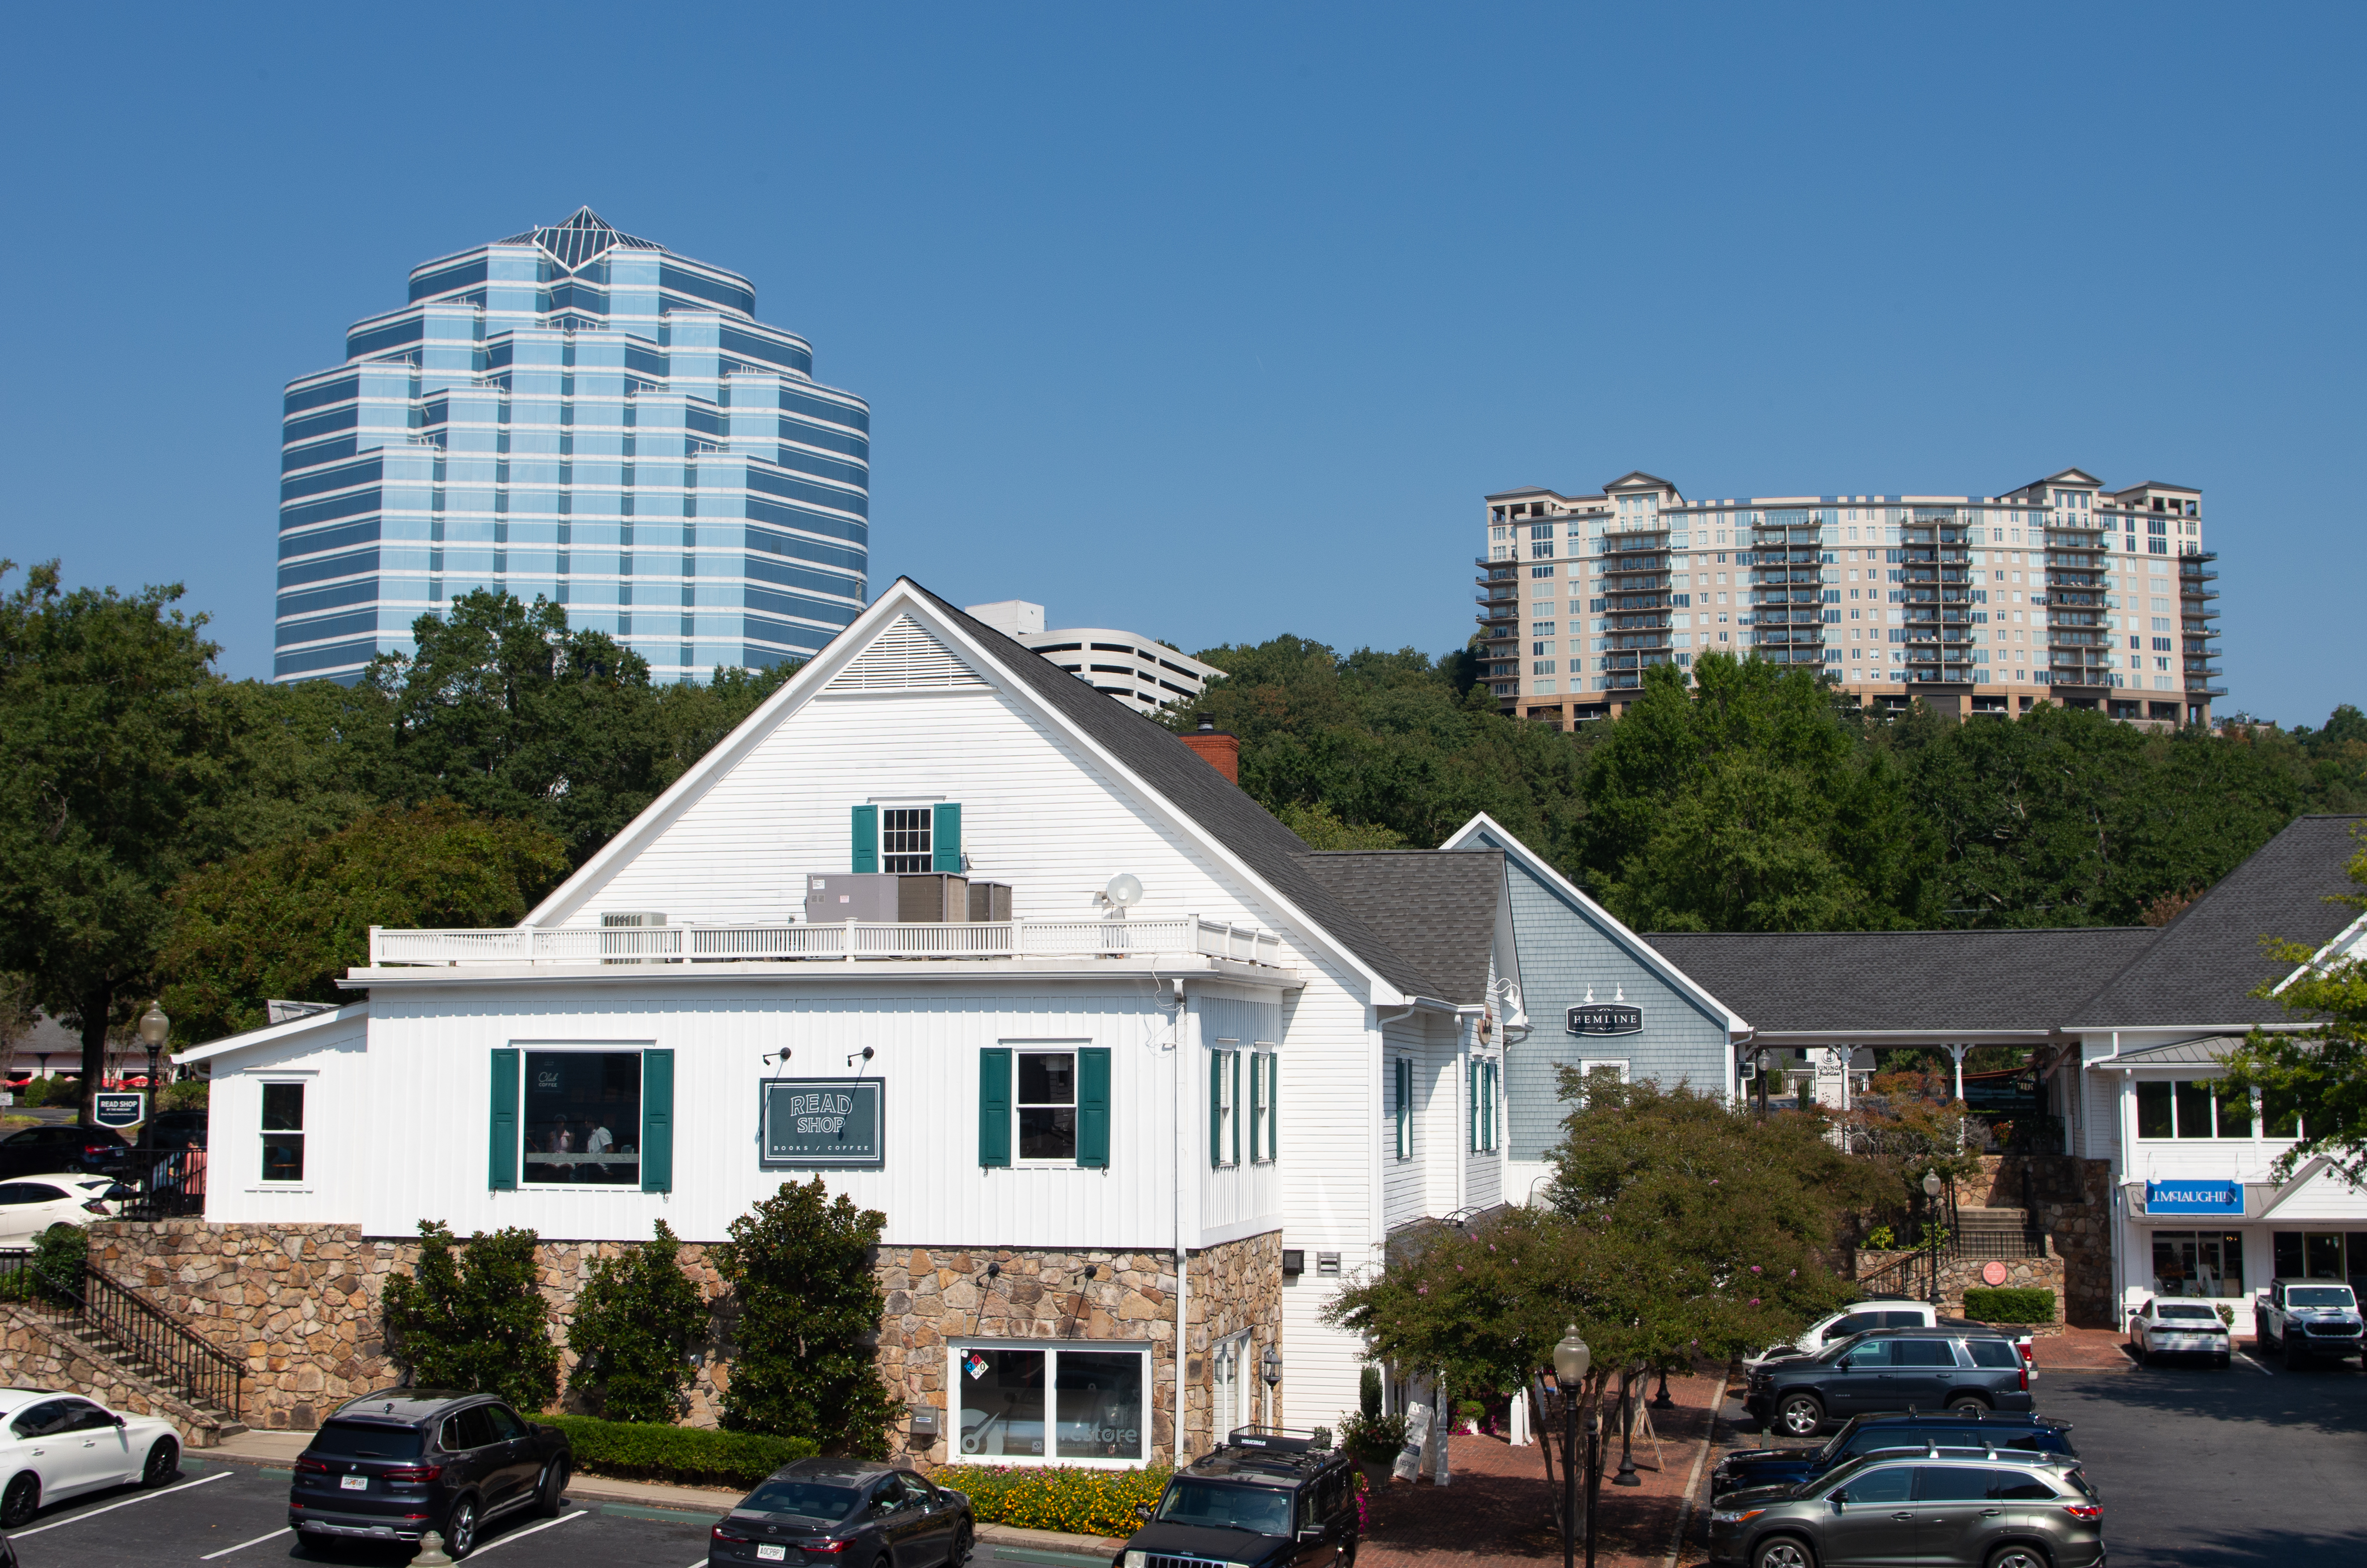
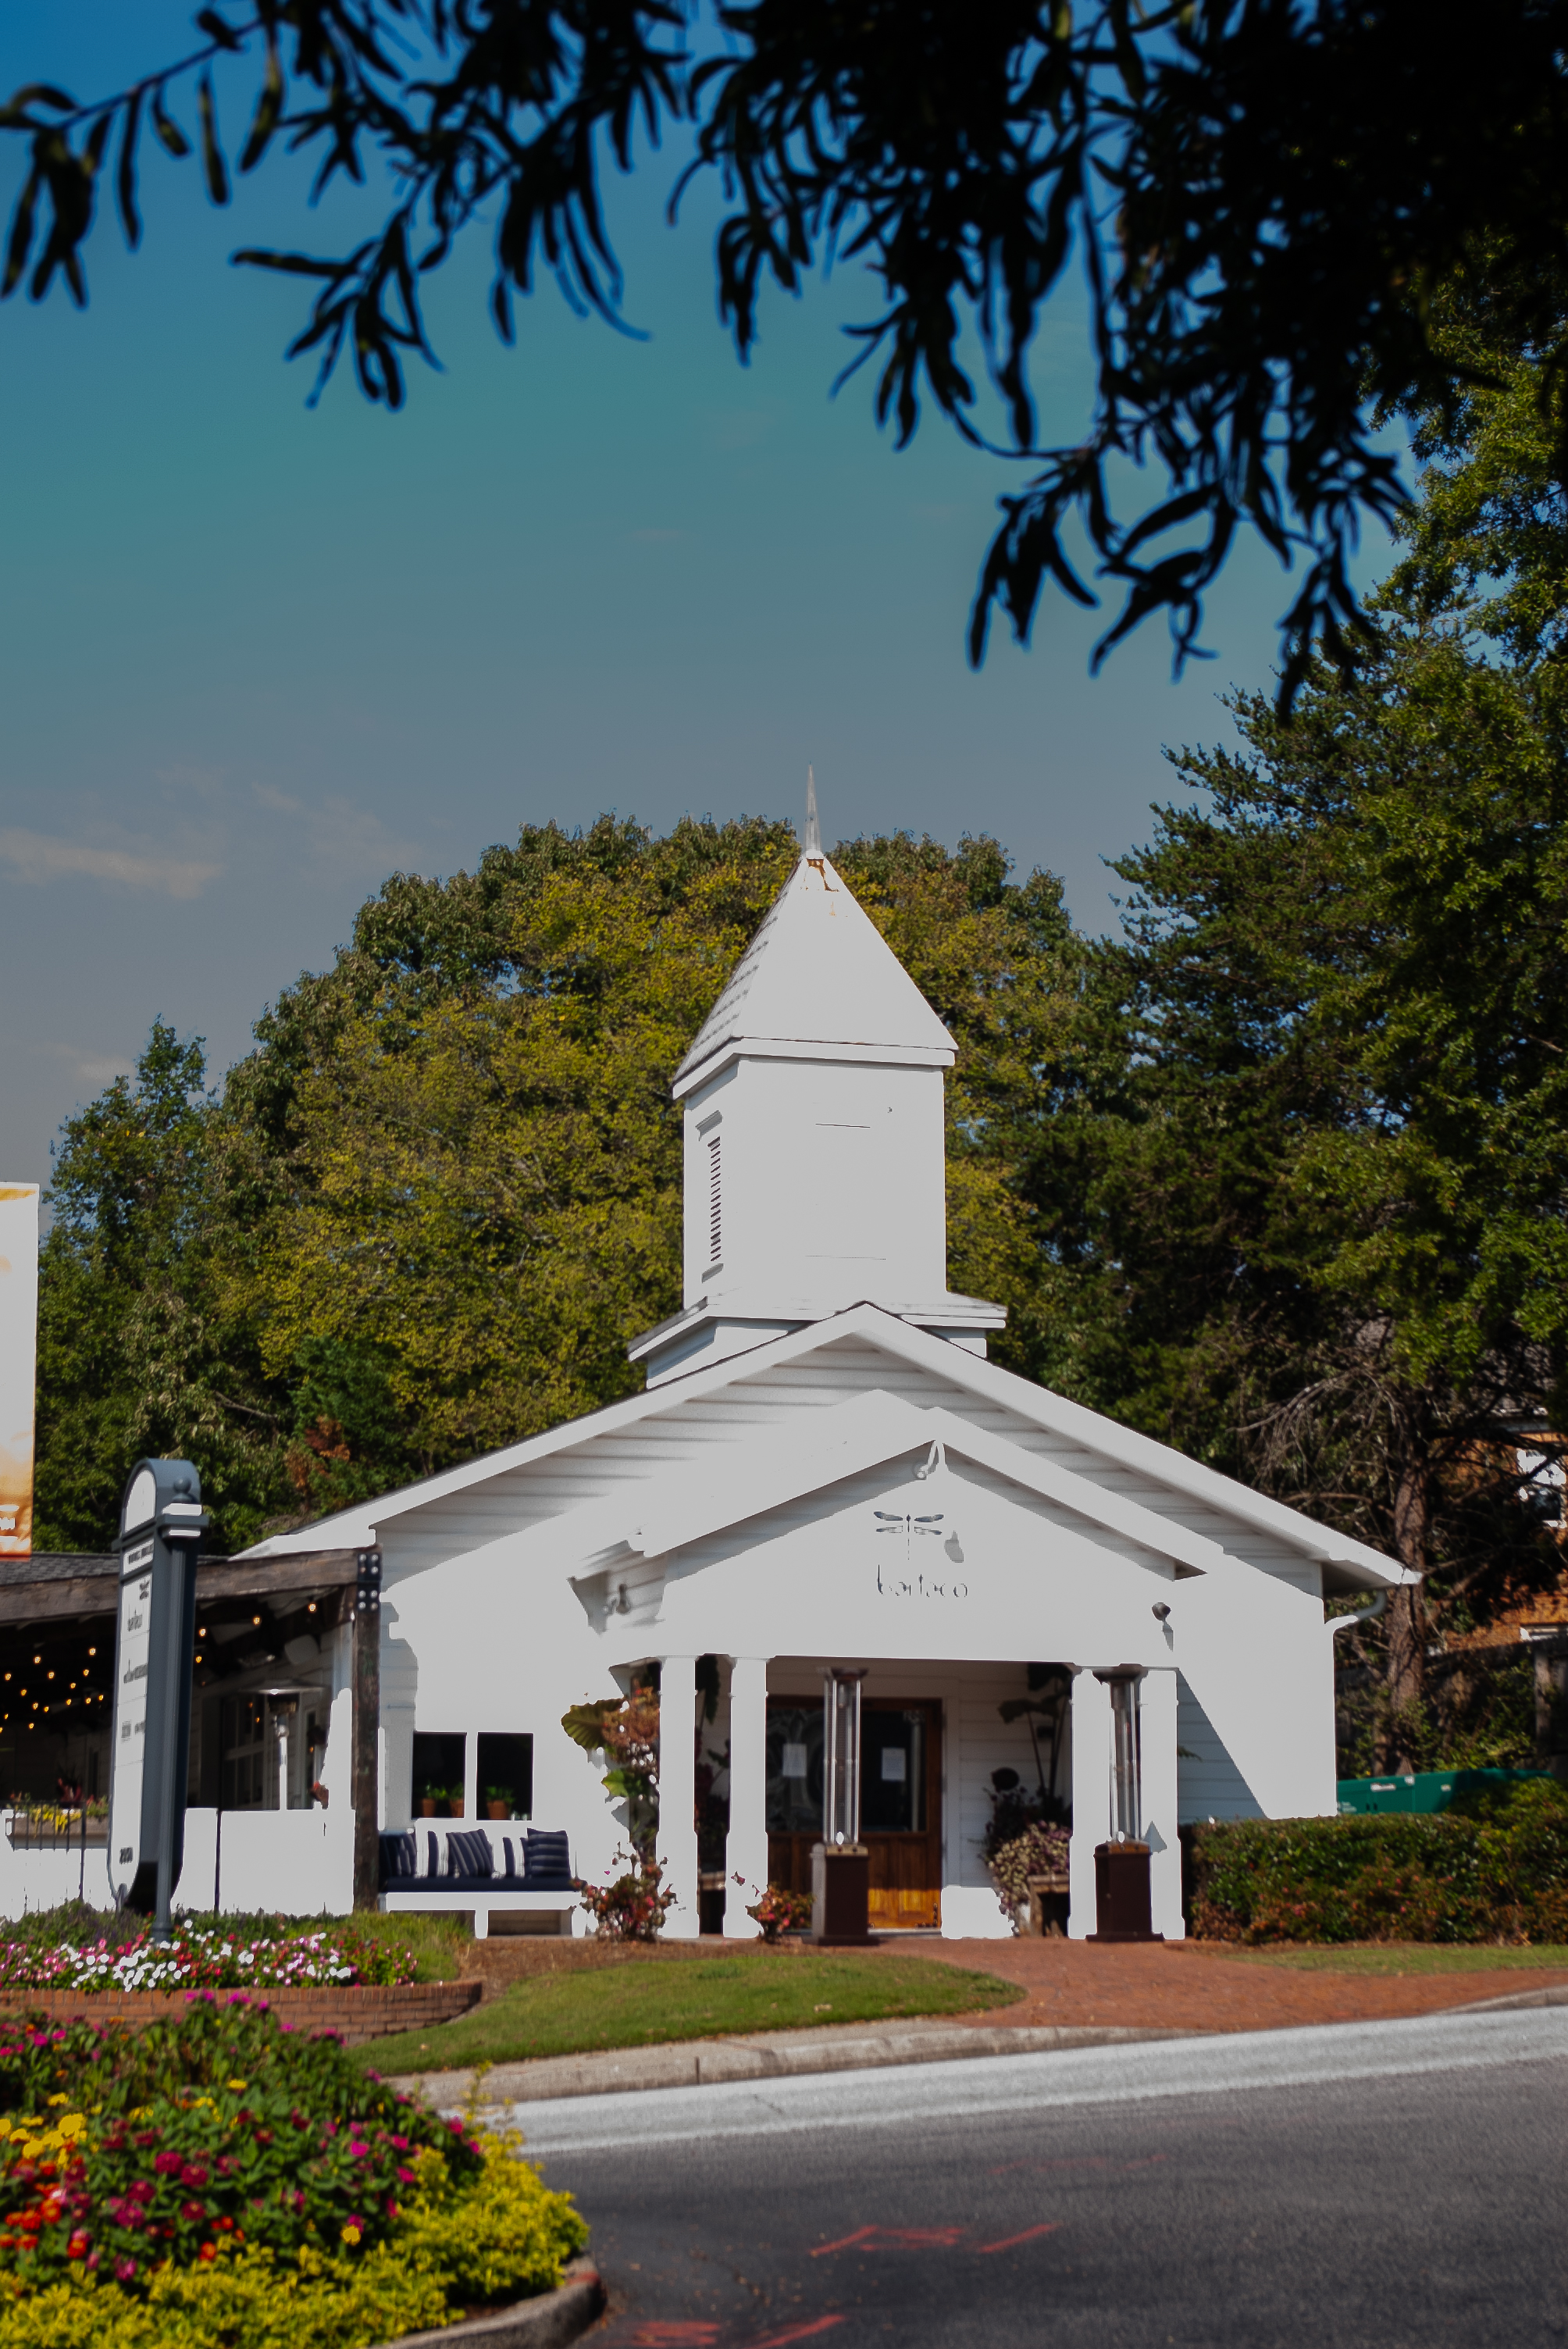
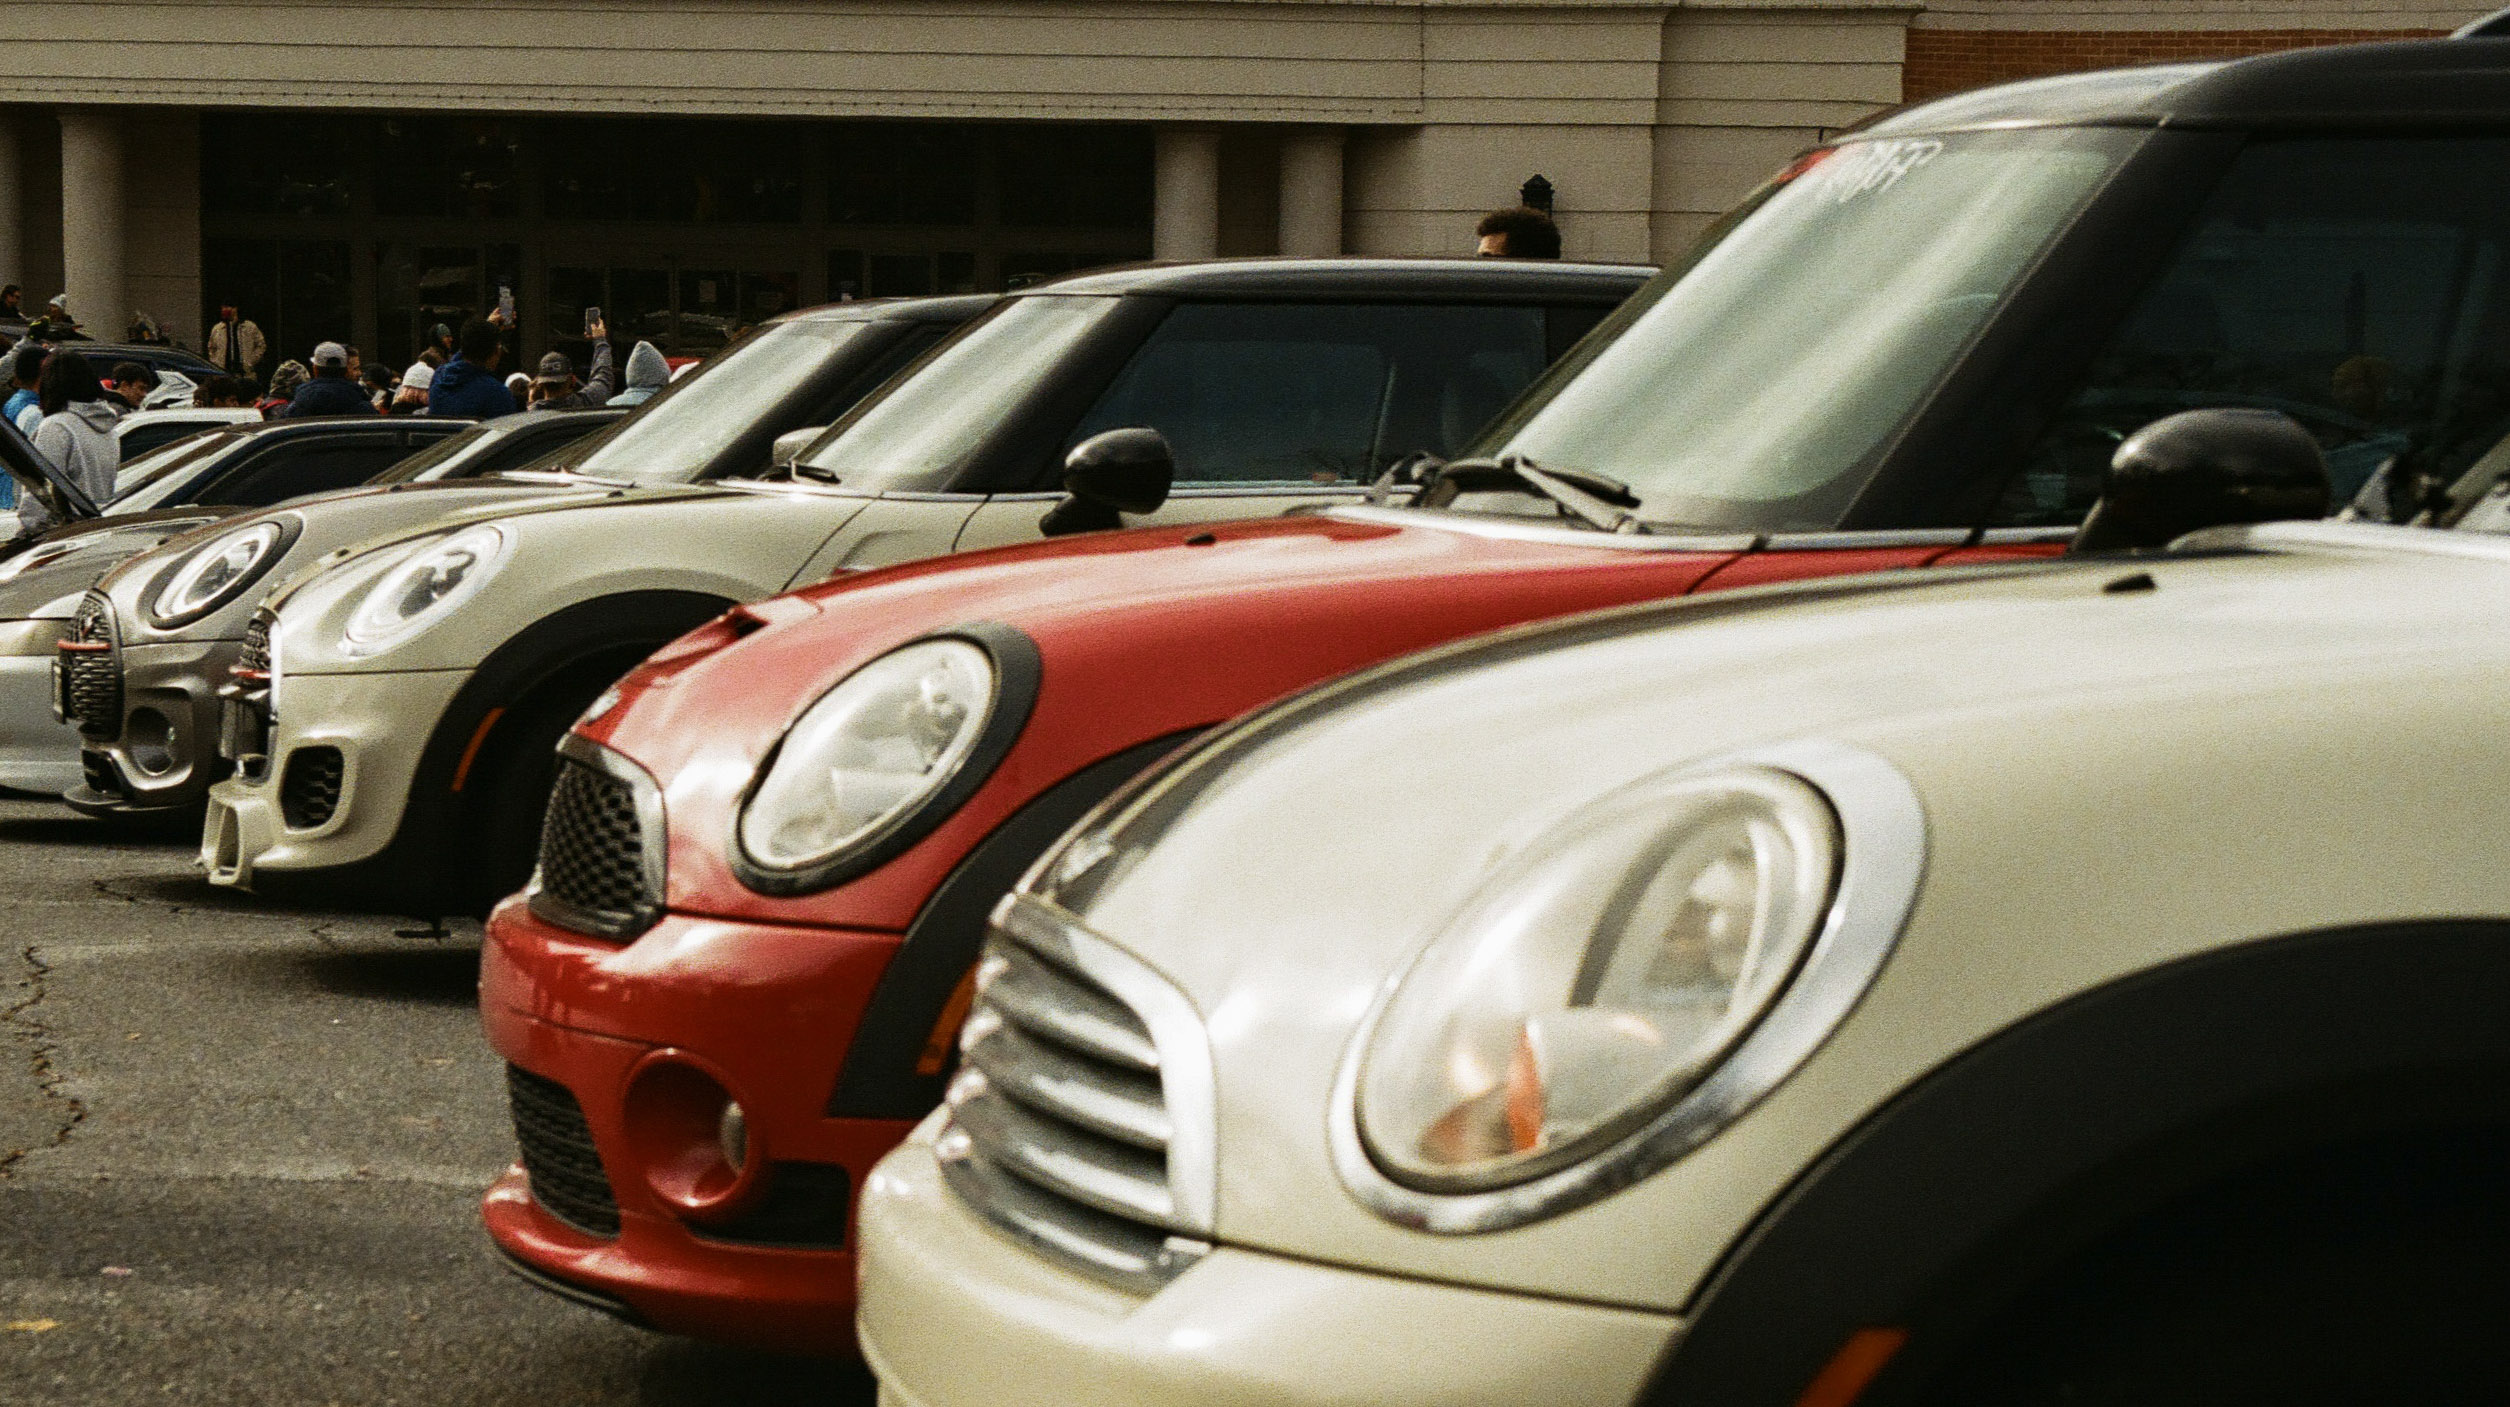
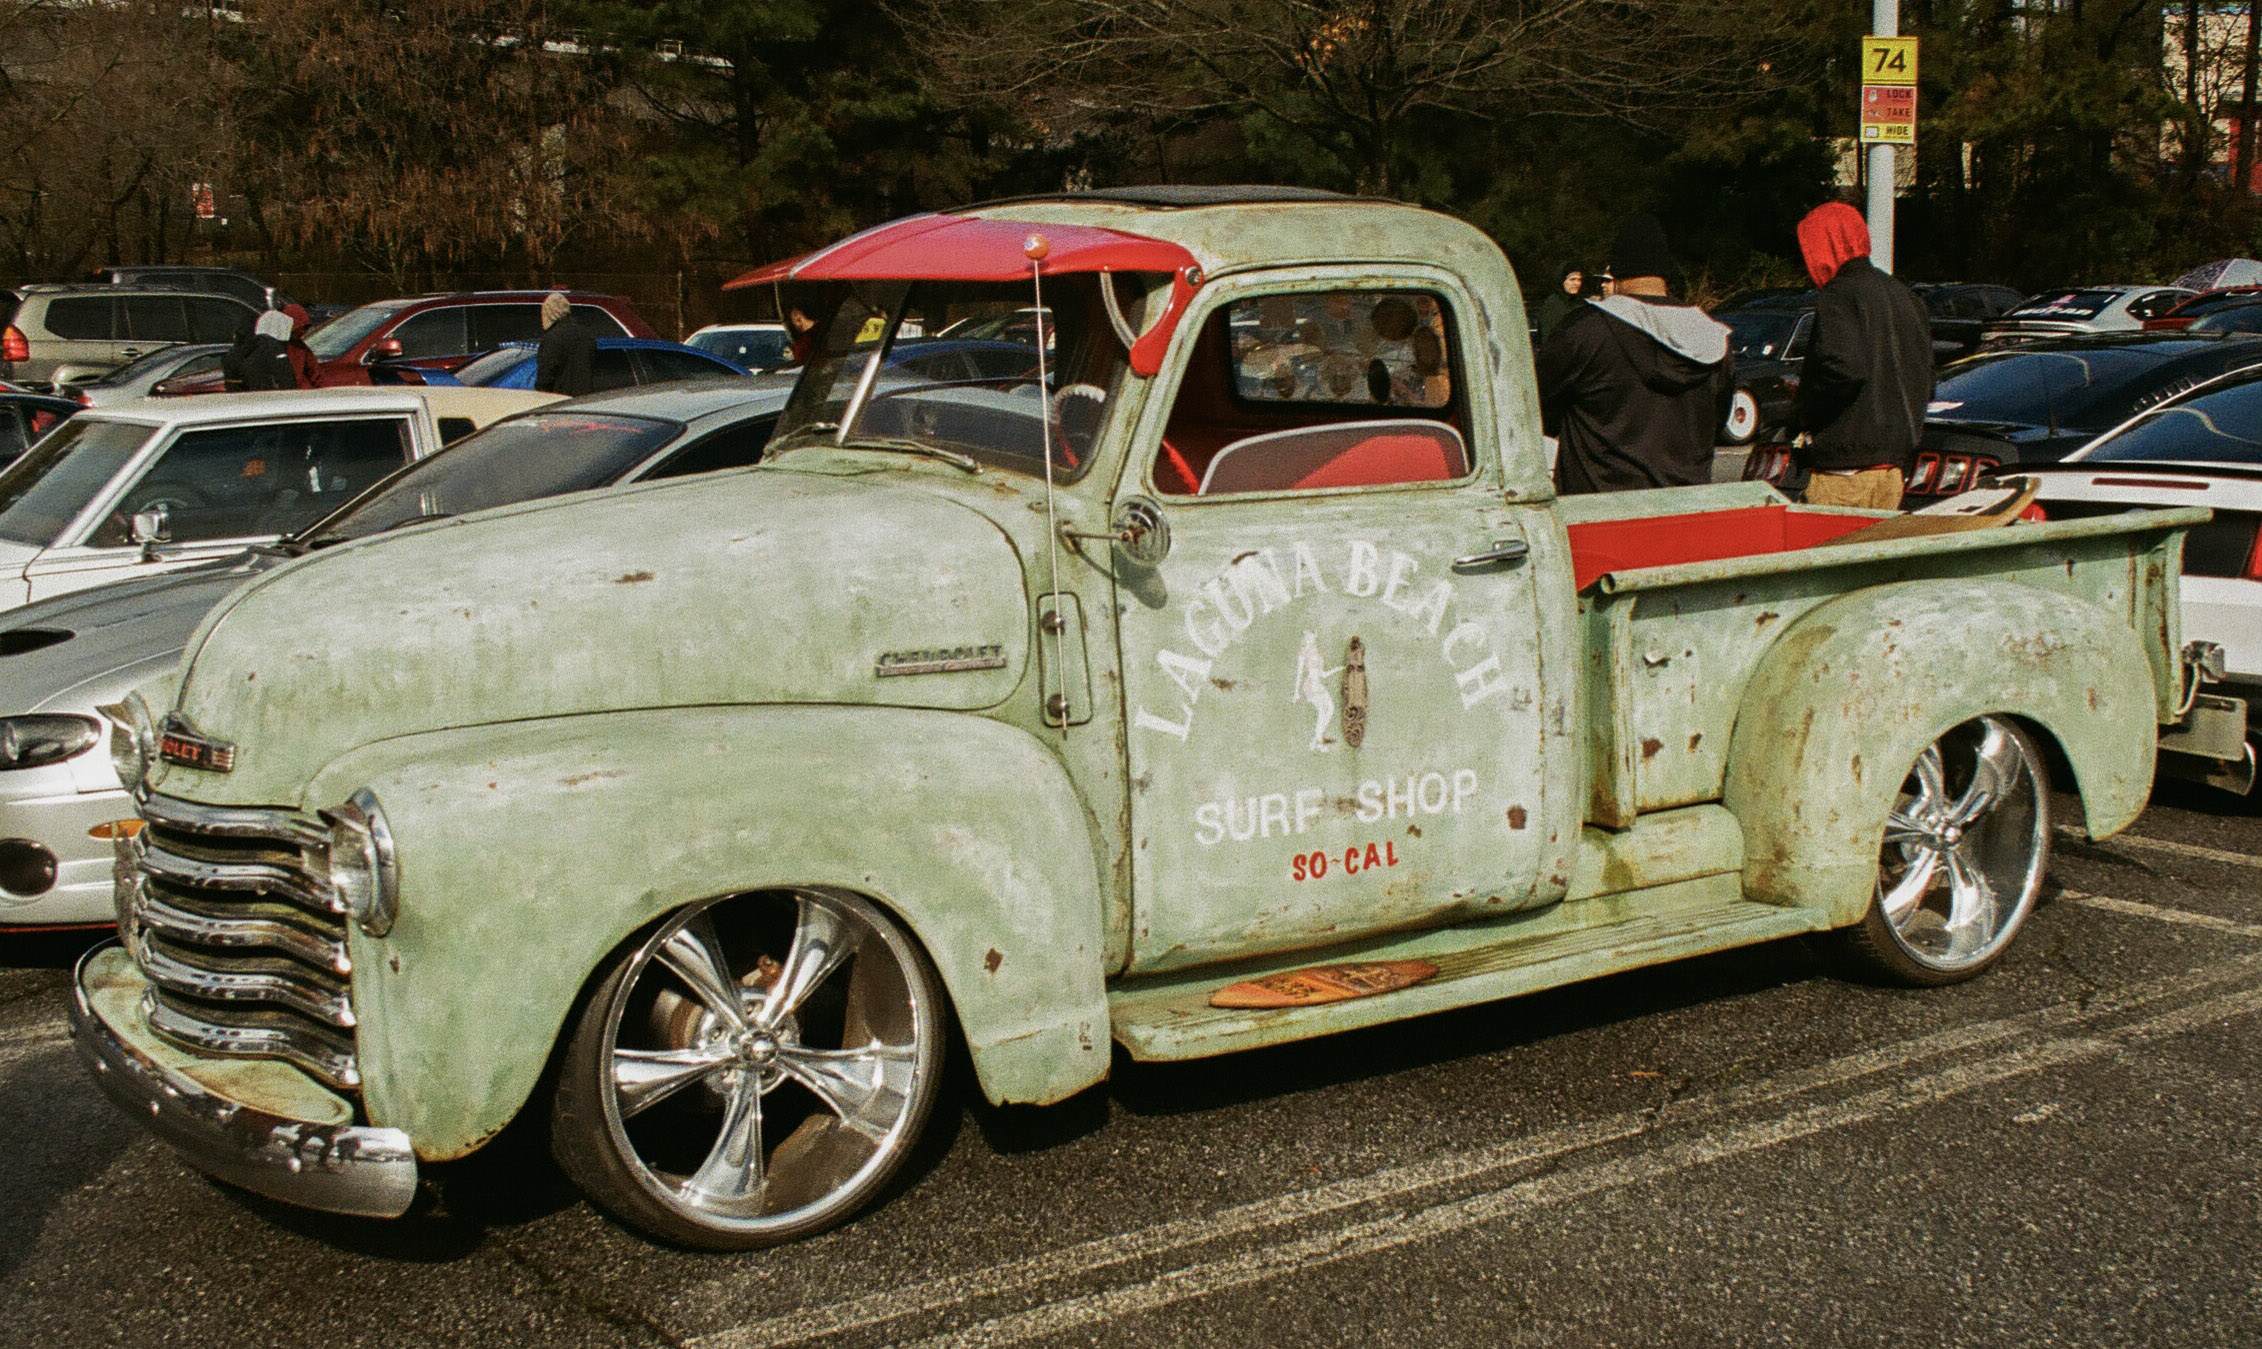
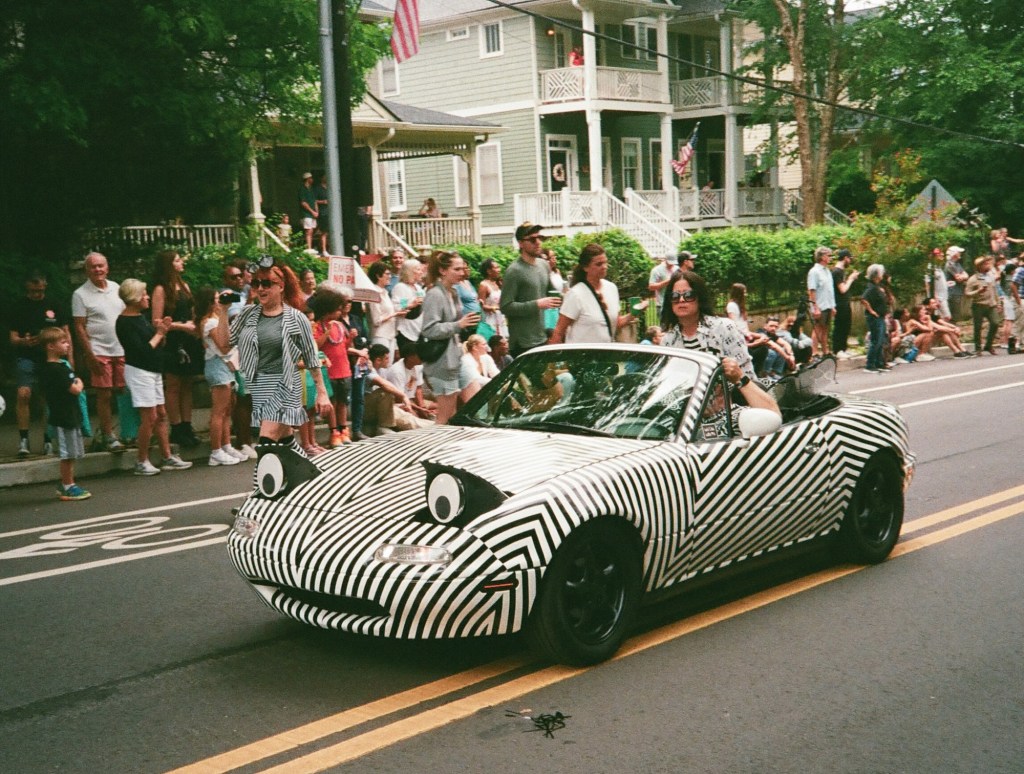
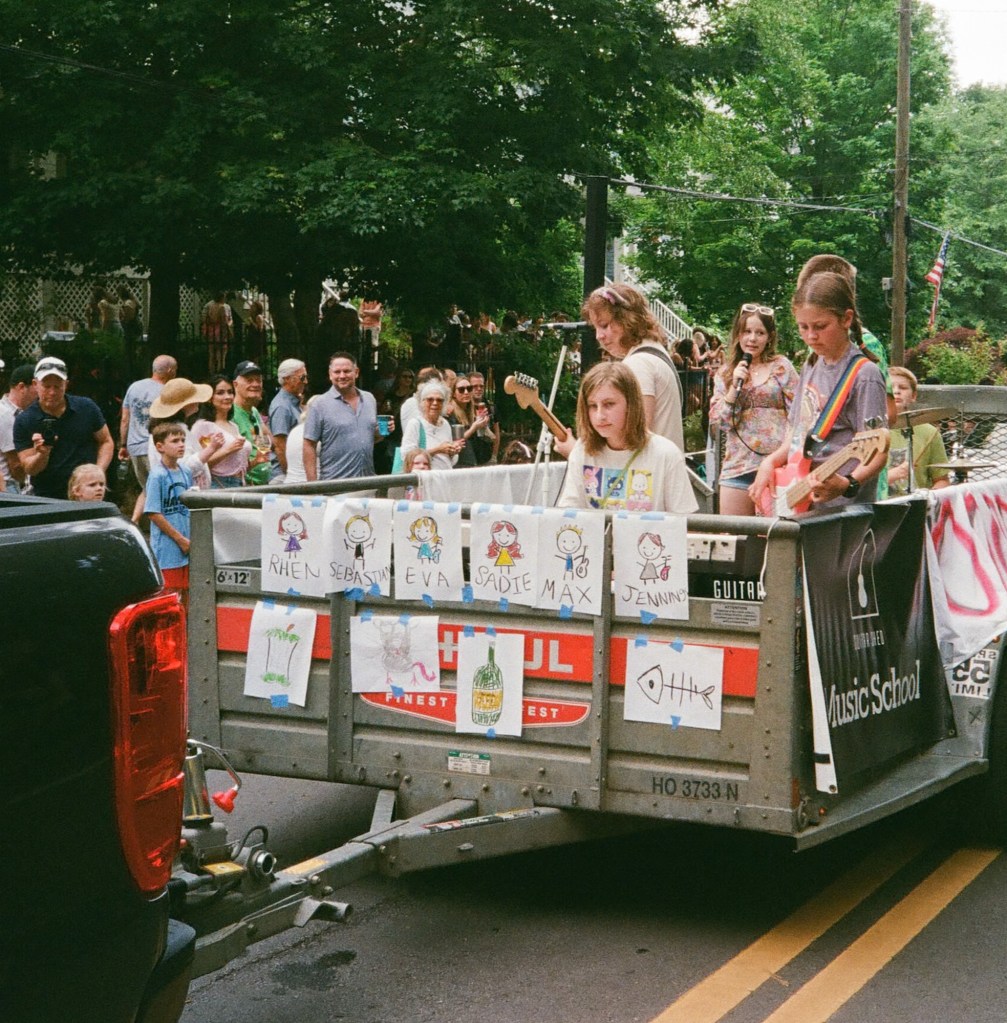
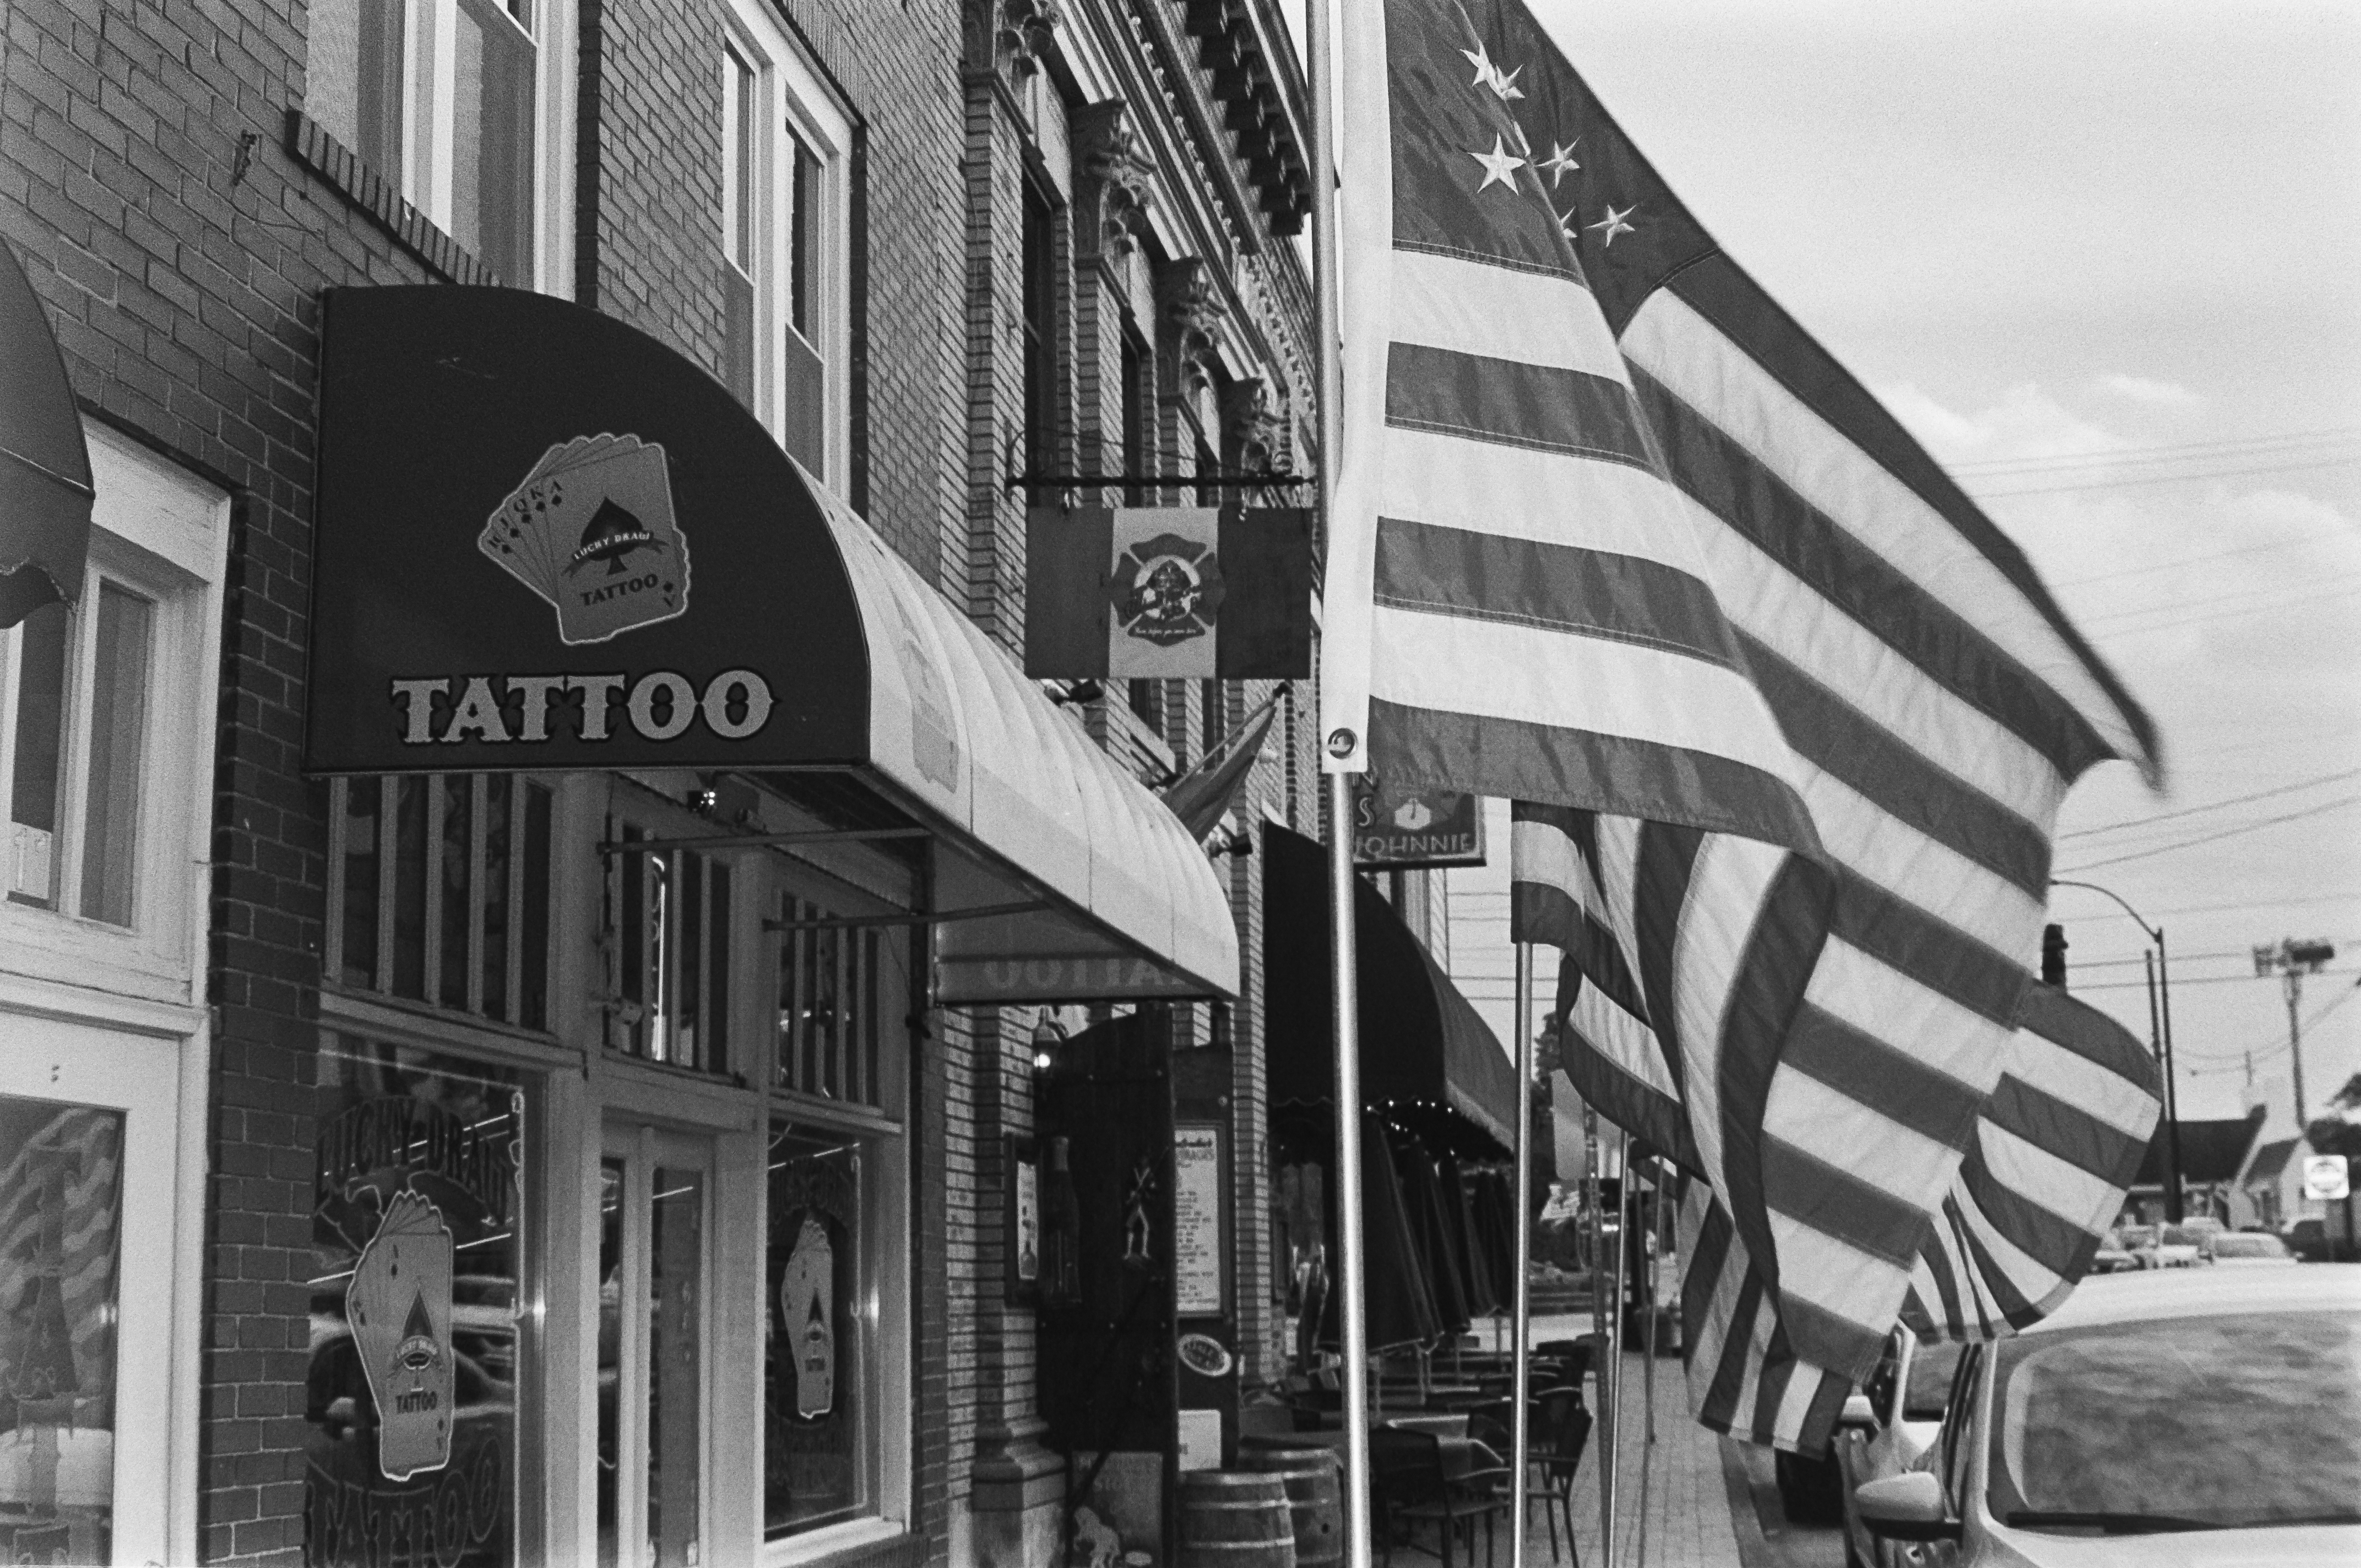
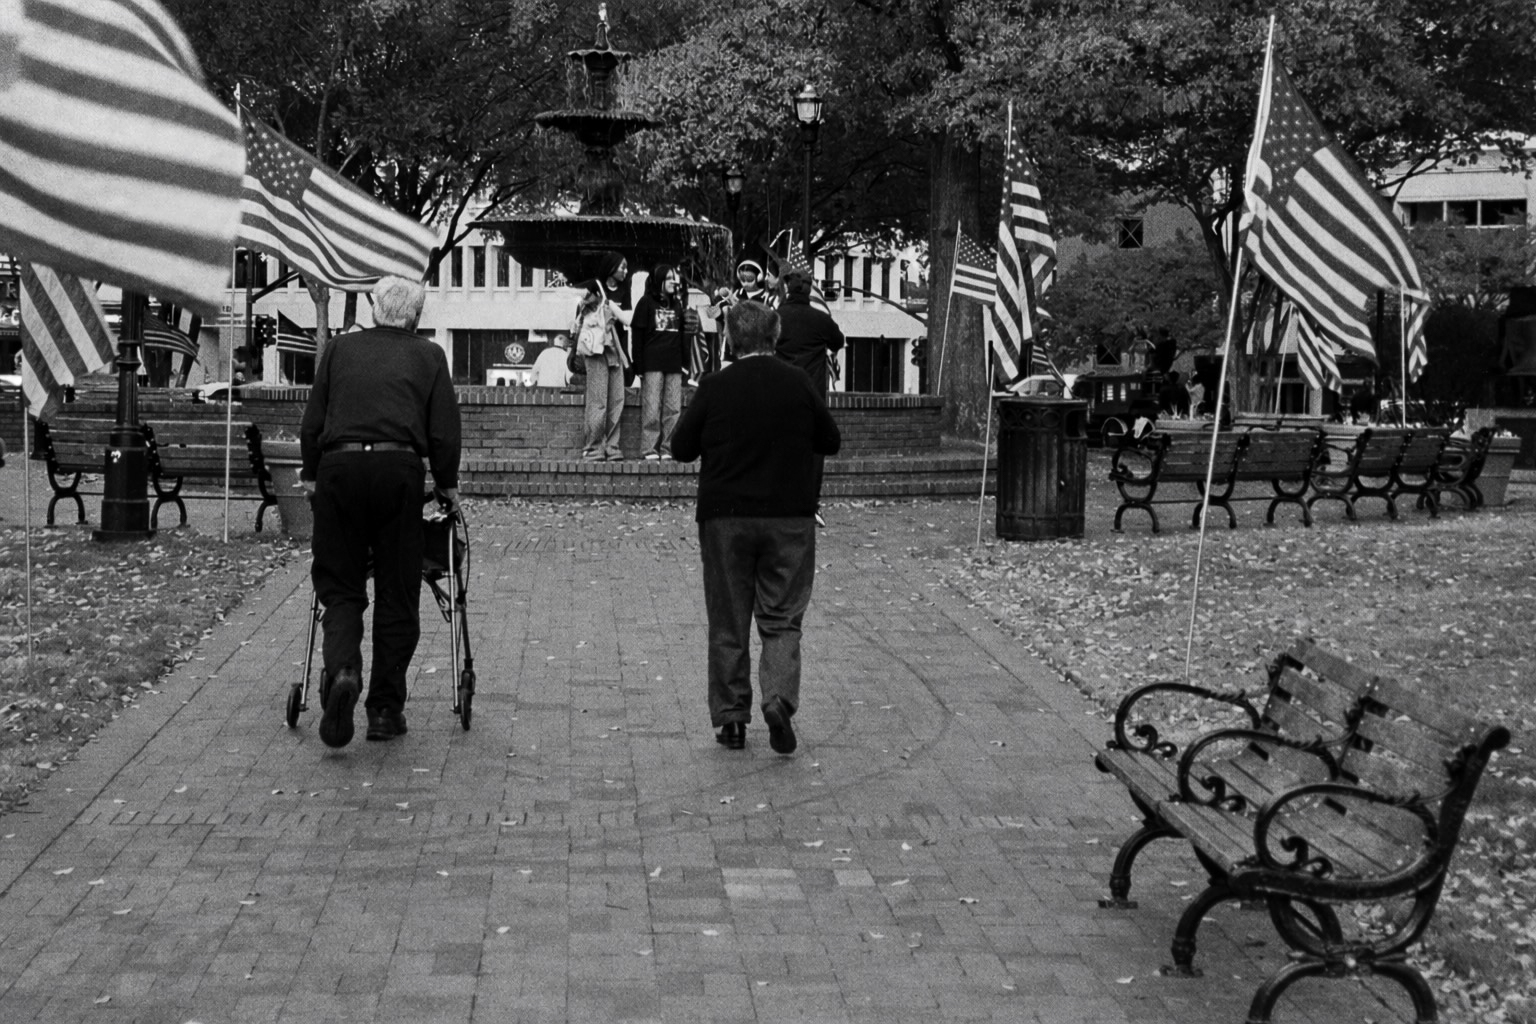
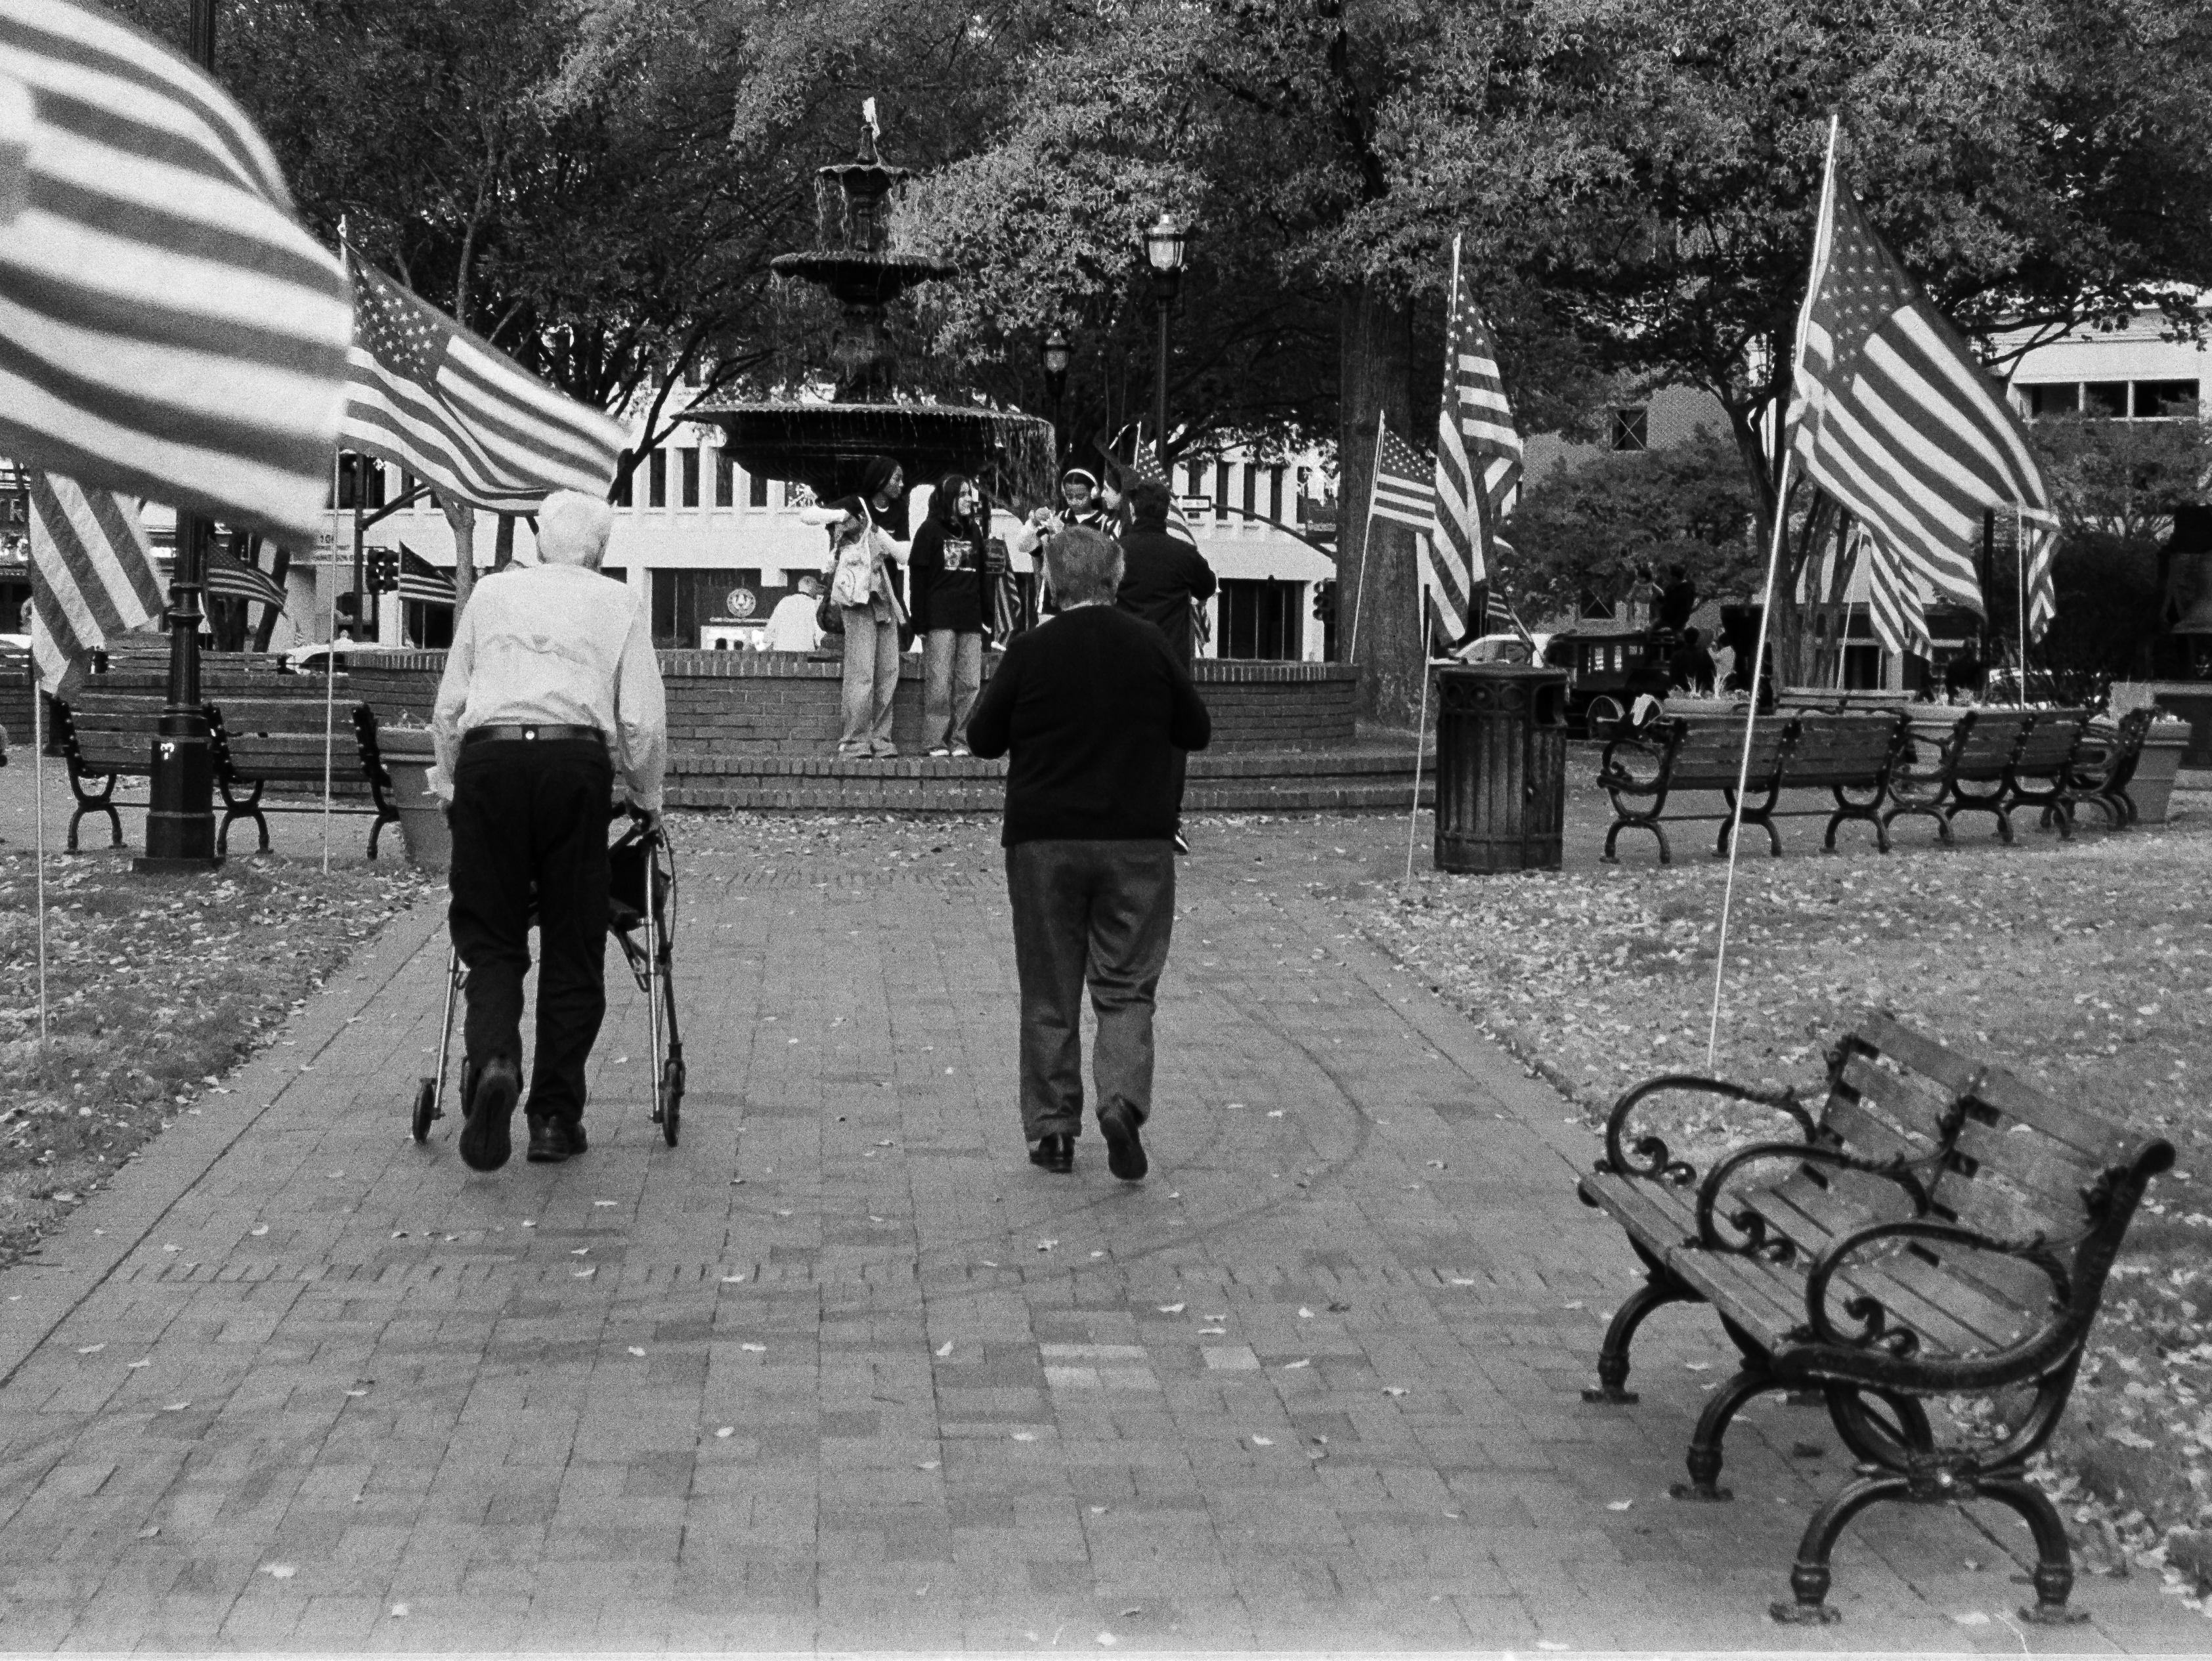
Testing the Photura 135 Caption on Veterans Day in Downtown Marietta, GA
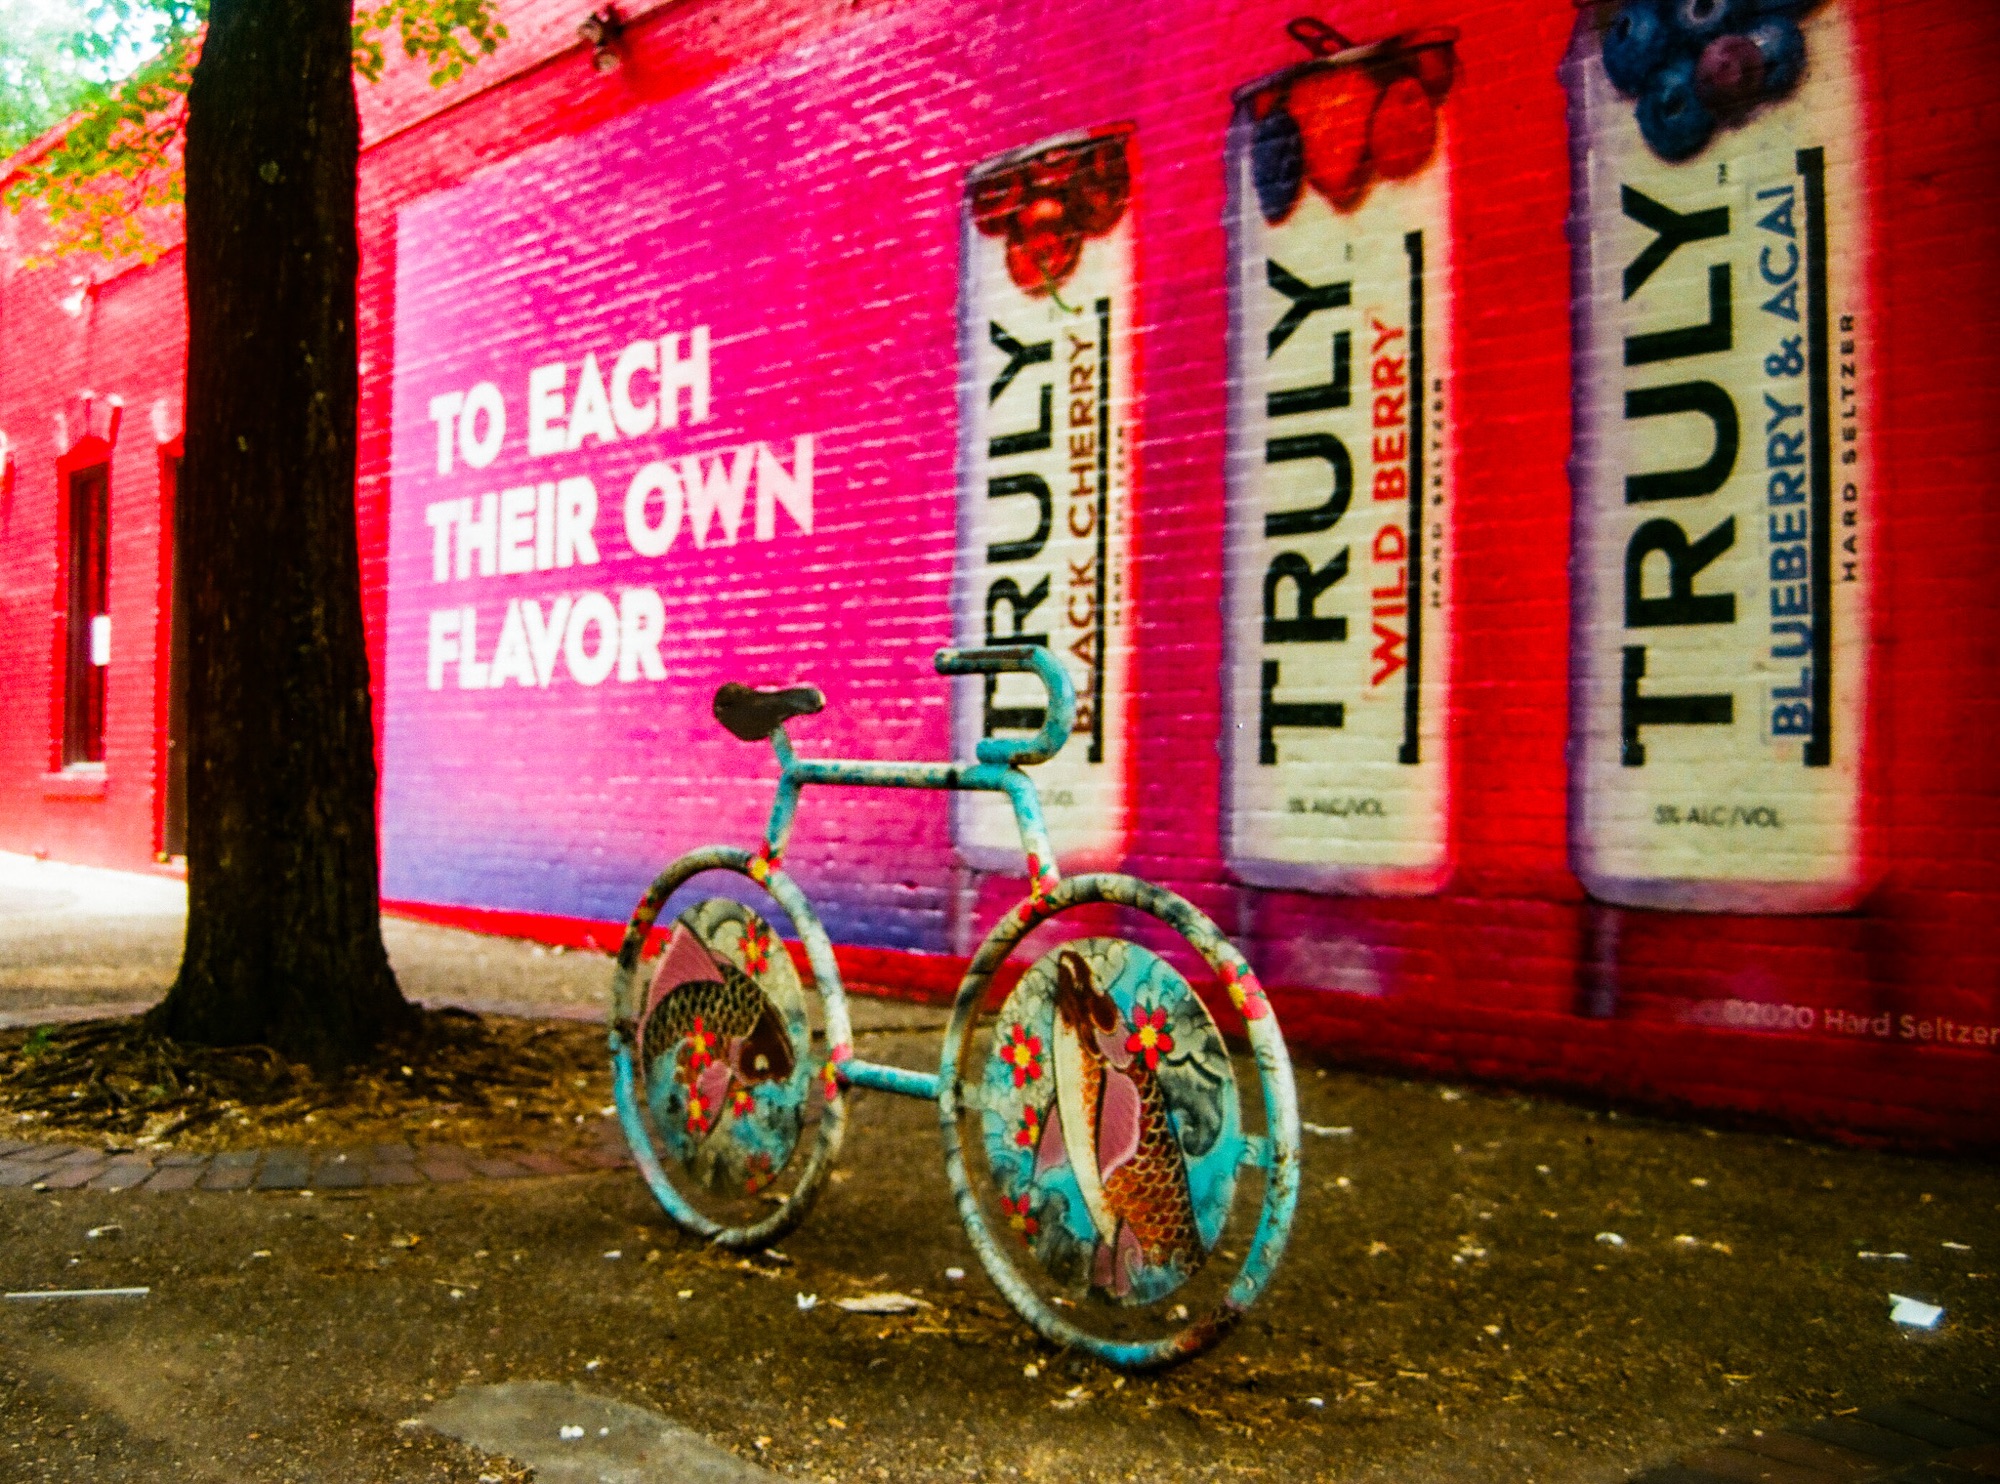
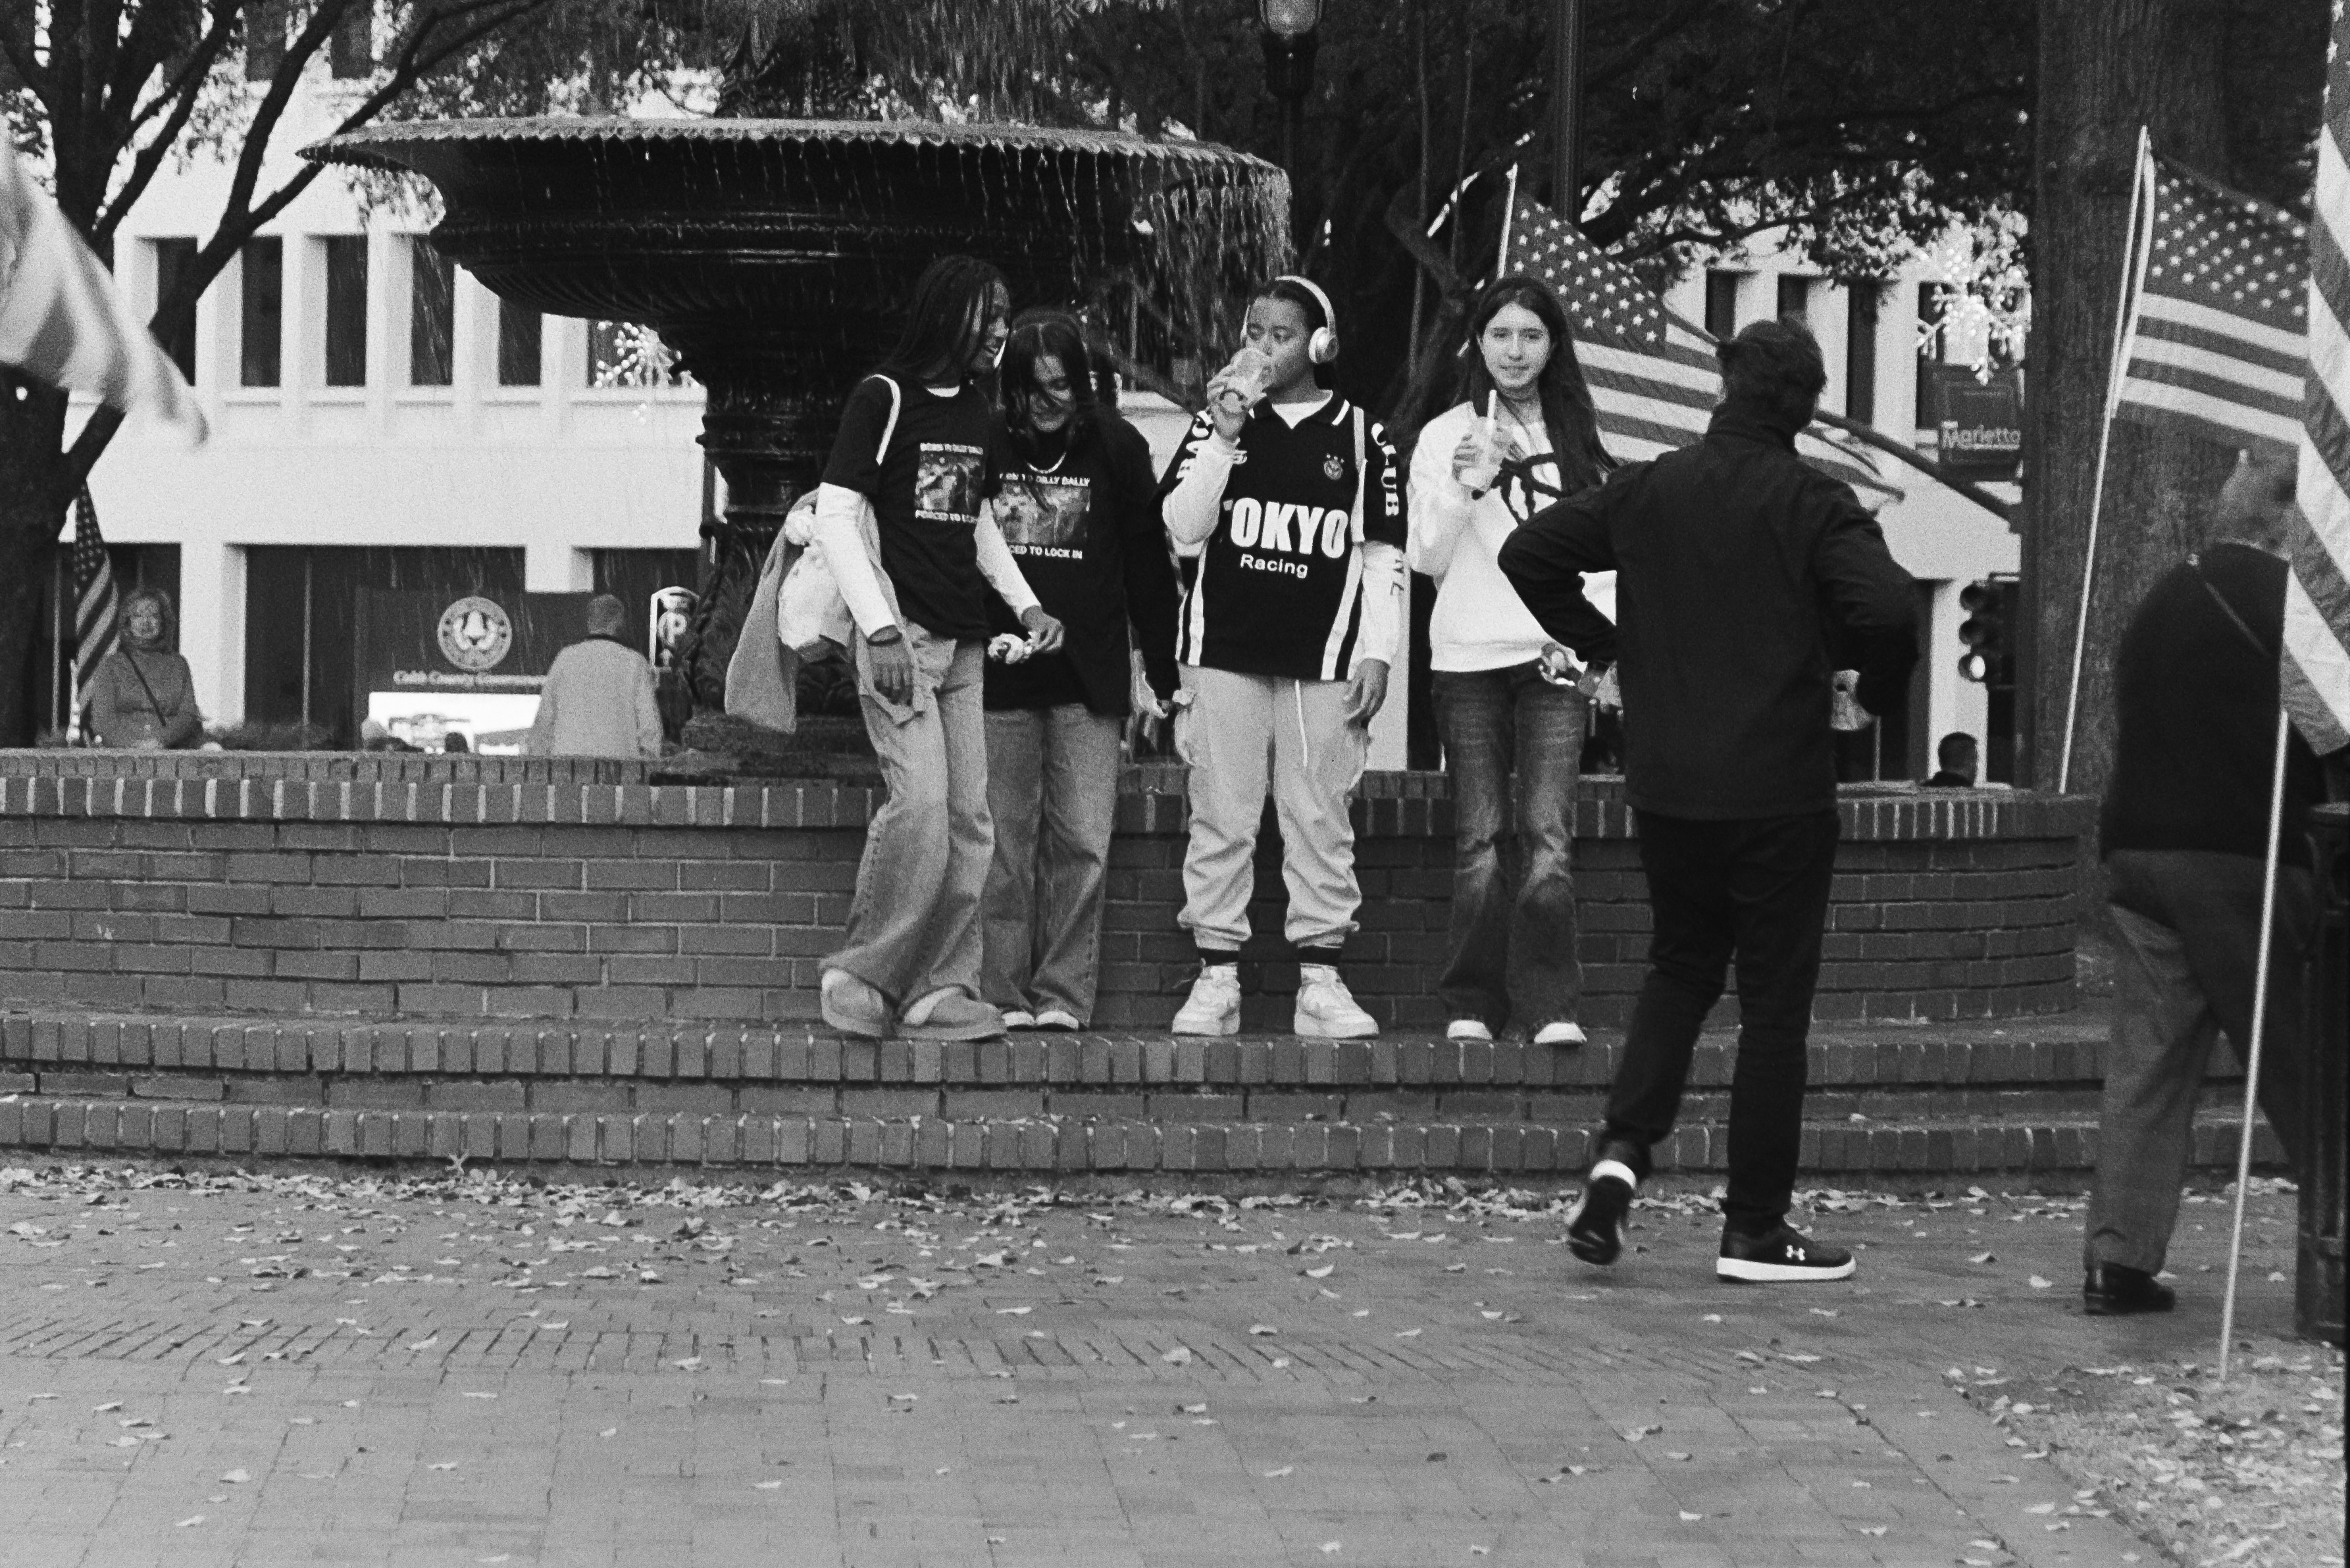
The square at the center of downtown Marietta is one of my favorite spots – Marietta is a big and modern city 15mi from Atlanta, but the square still has this unique “small town America” feeling. Even more so on Veterans Day.
I was impressed by the Photura 135. The first Photura (let’s call it the 105) was already a good camera, but the 135 is significantly improved – the autofocus is much more capable, and it’s really better at determining the exposure, even in tricky situations.
It’s not a Leica M for sure, but it can be used for street photography, with interesting results. Interior photography is still not its forte – the flash flattens the image – but when this camera was launched, no compact-zoom camera was good at that.
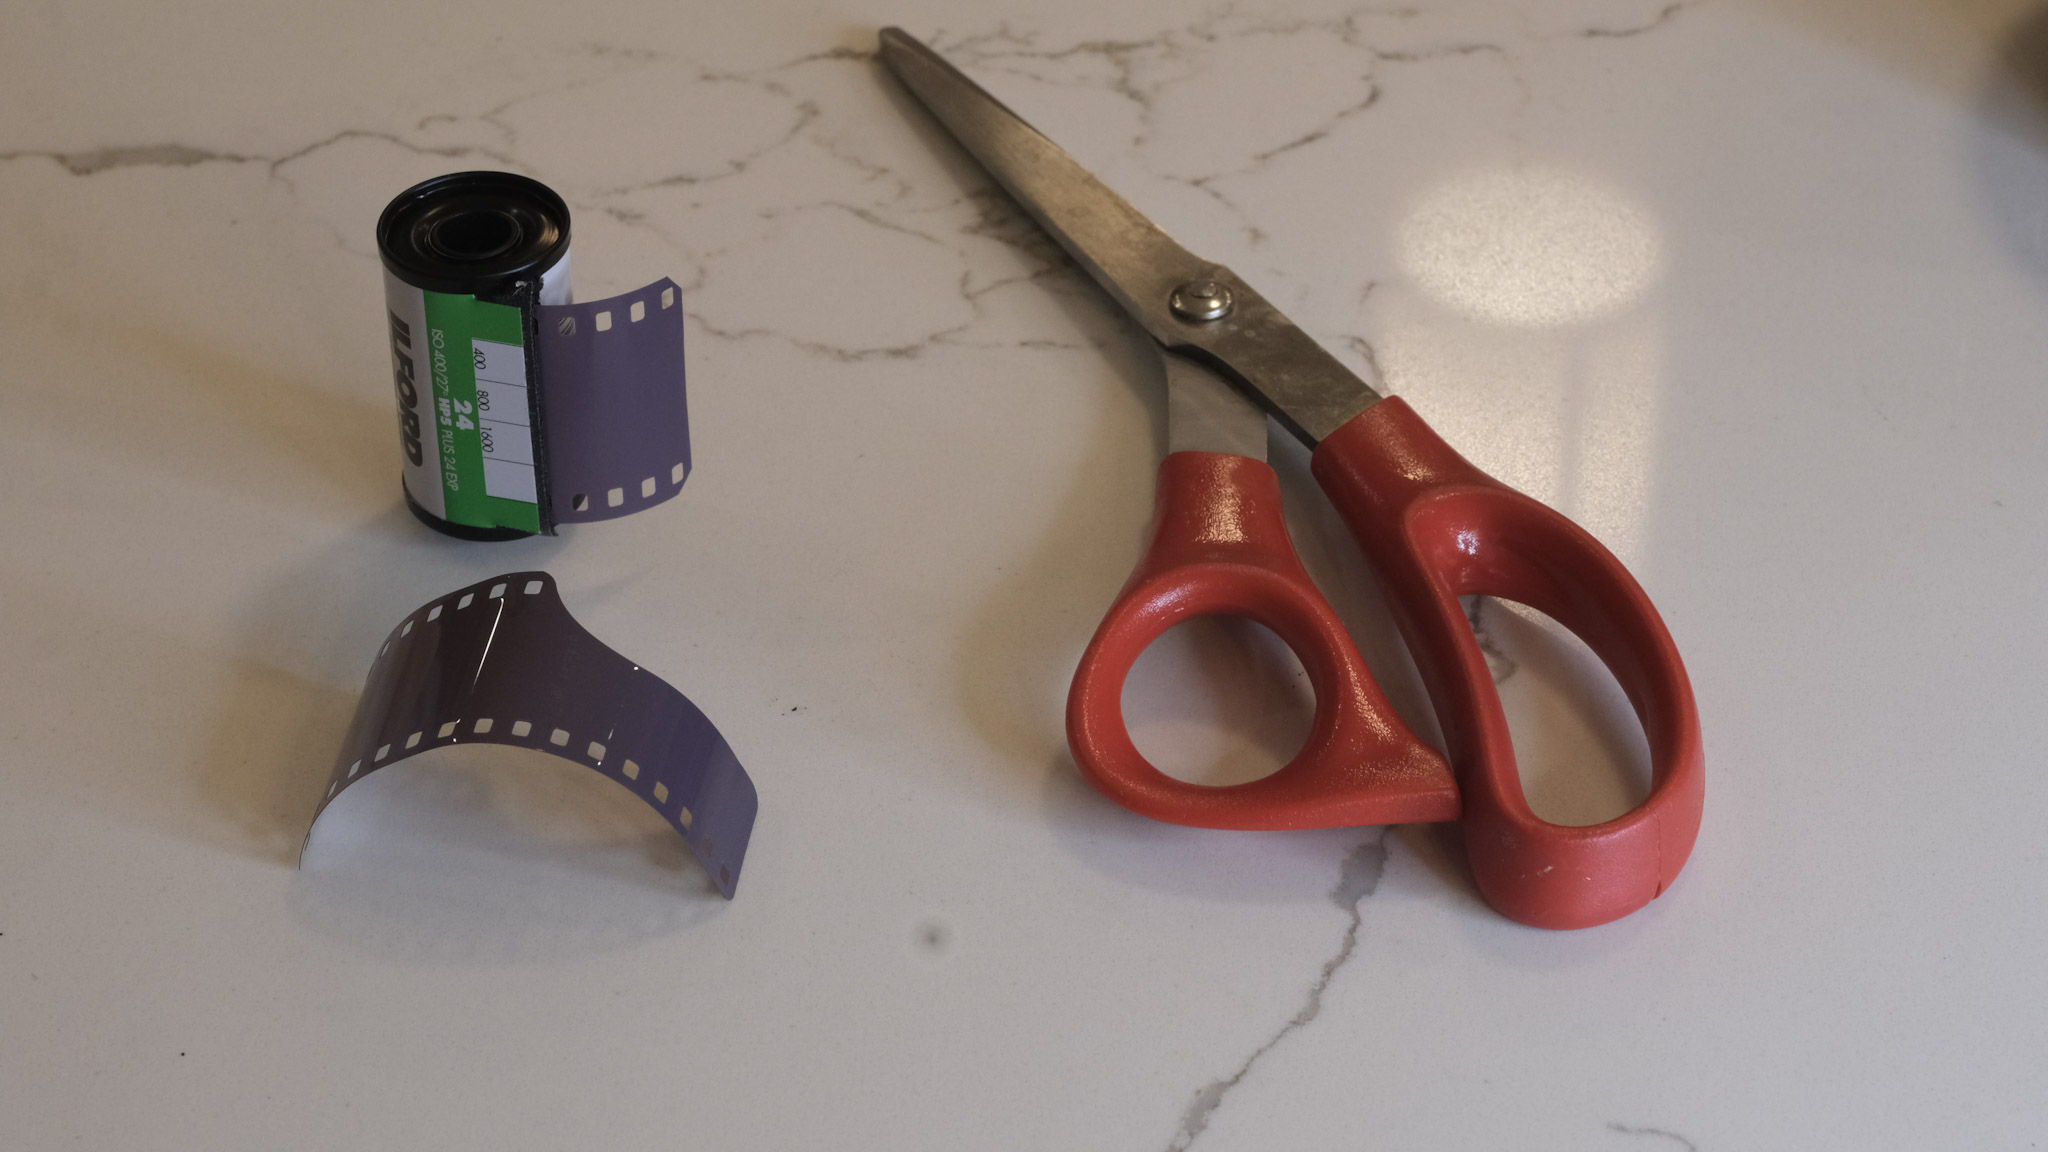
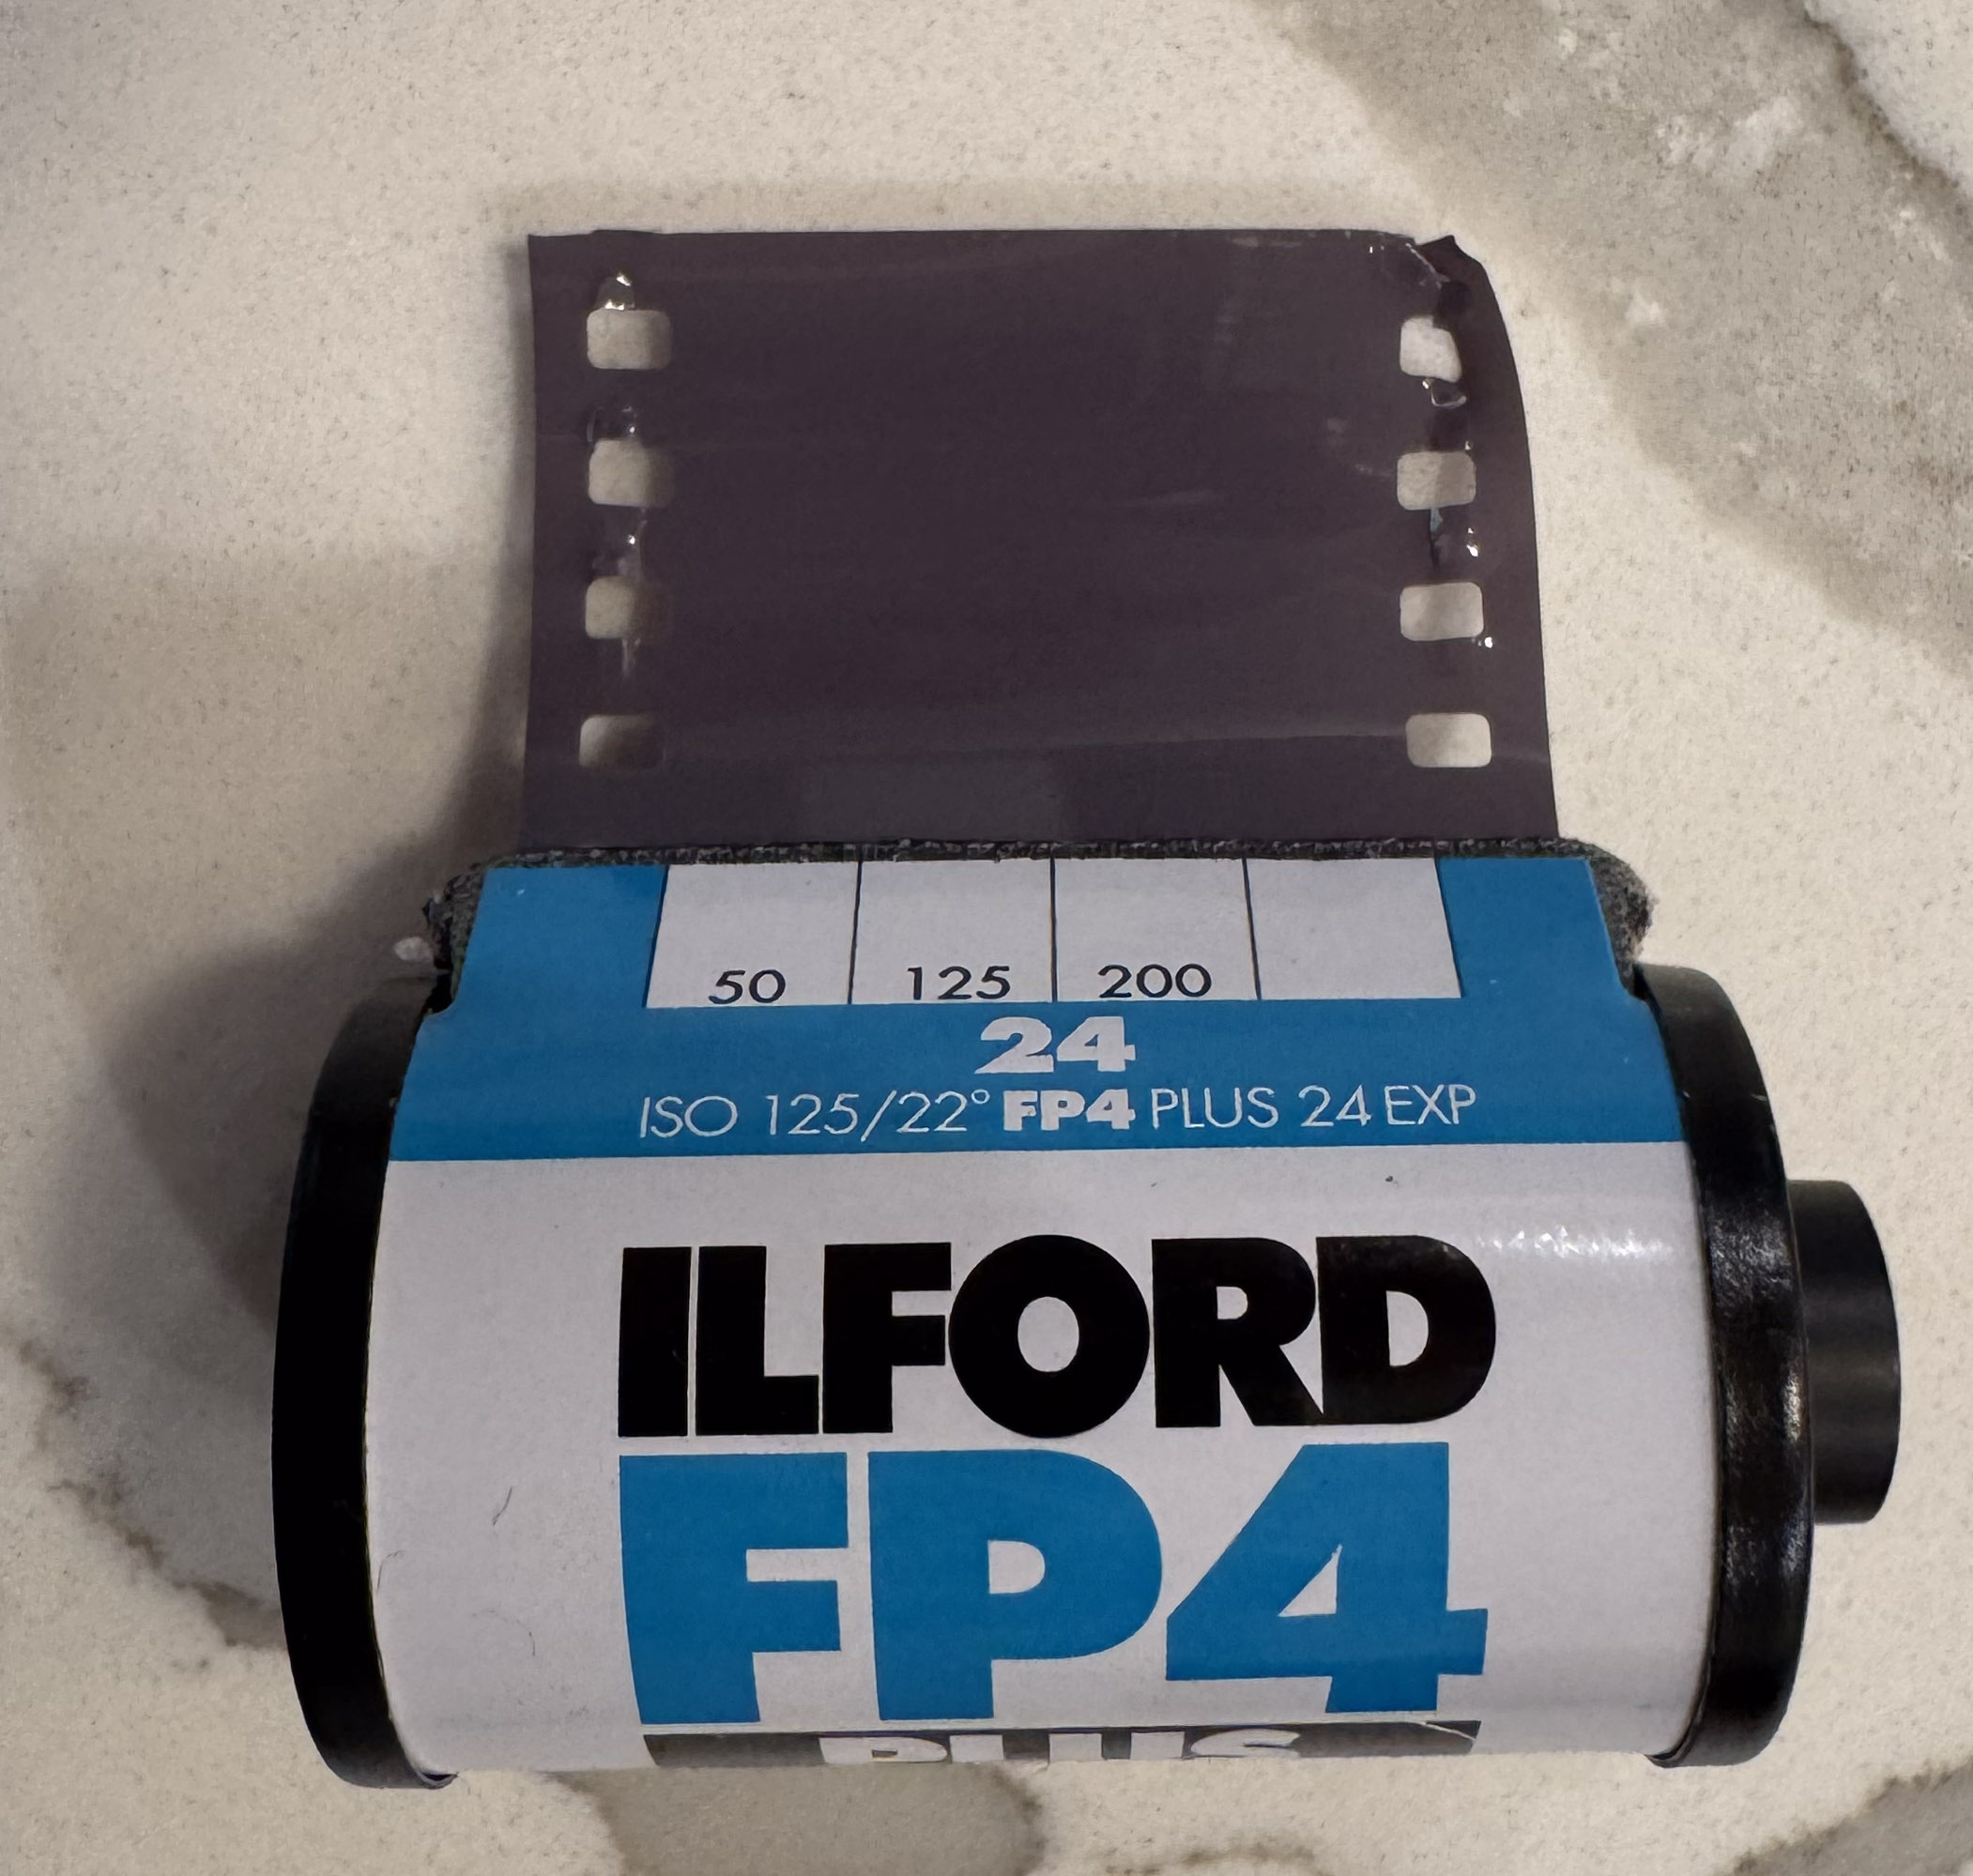
The biggest limitation of this camera is its zoom – or to be precise, its very narrow aperture, in particular at the long end. With a zoom opening at f/8 at the longest focal length, 400 ISO film really looks like a minimum, and at the end of my Marietta escapade, I wished I had loaded the camera with something faster than Ilford’s HP5 (on the Photura there is no way to override the DX coding and push film).
Would I bring this Photura 135 to my next travel destination? Yes, definitely. But I would also bring some 800 ISO film, just in case. The Photura 135 is not as easy to find as the first generation “Photura 105”, but if you’re interested in shooting with a bridge camera, I would recommend you make the effort of locating the “135” – it’s a case of version 2.0 fixing most of the issues of version 1.0.

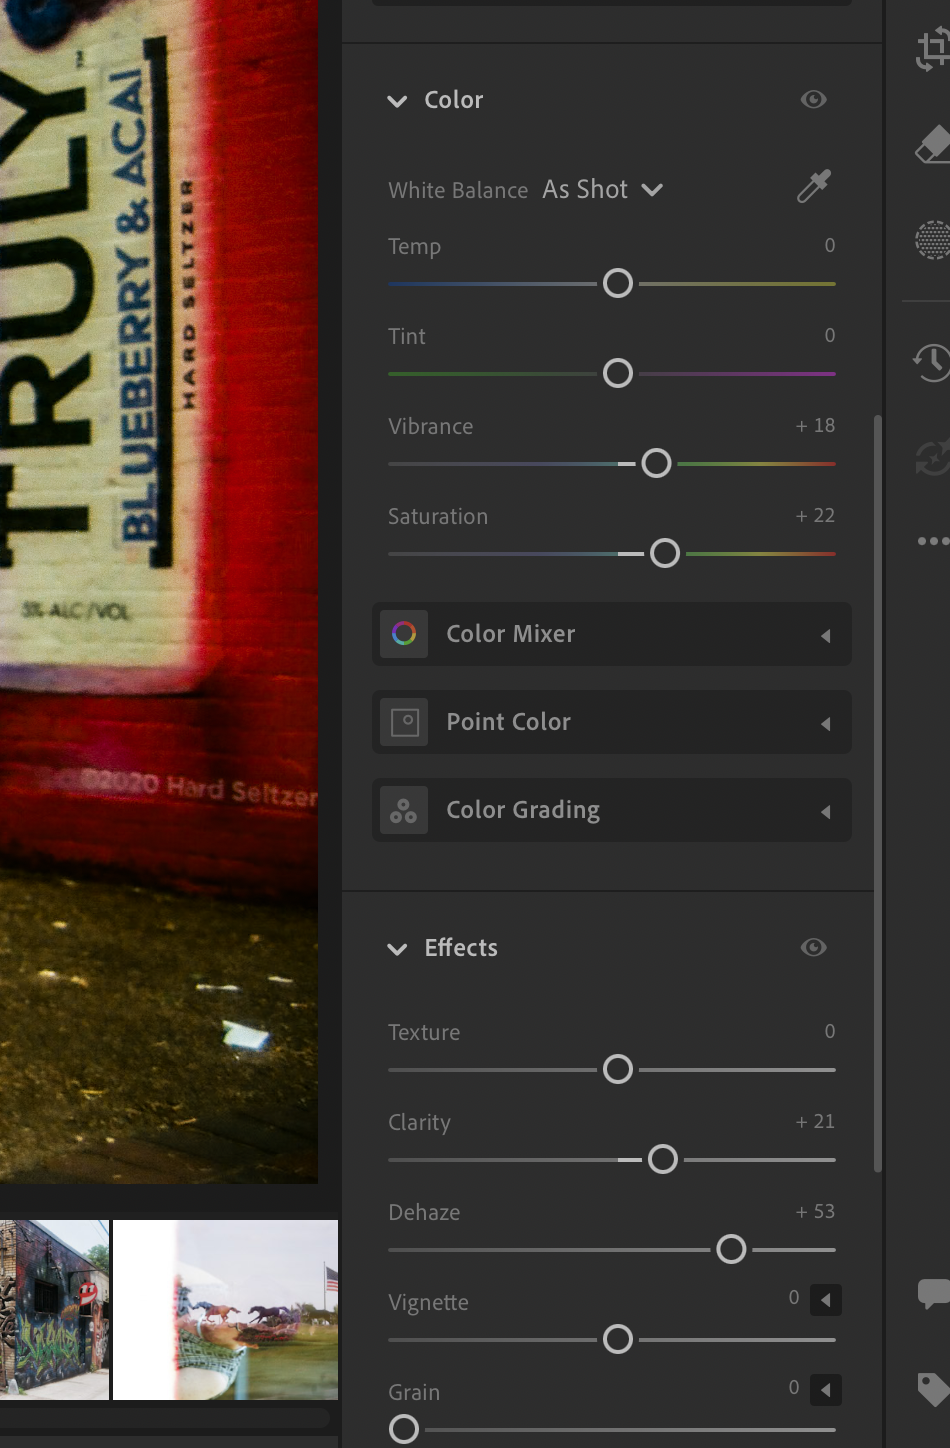
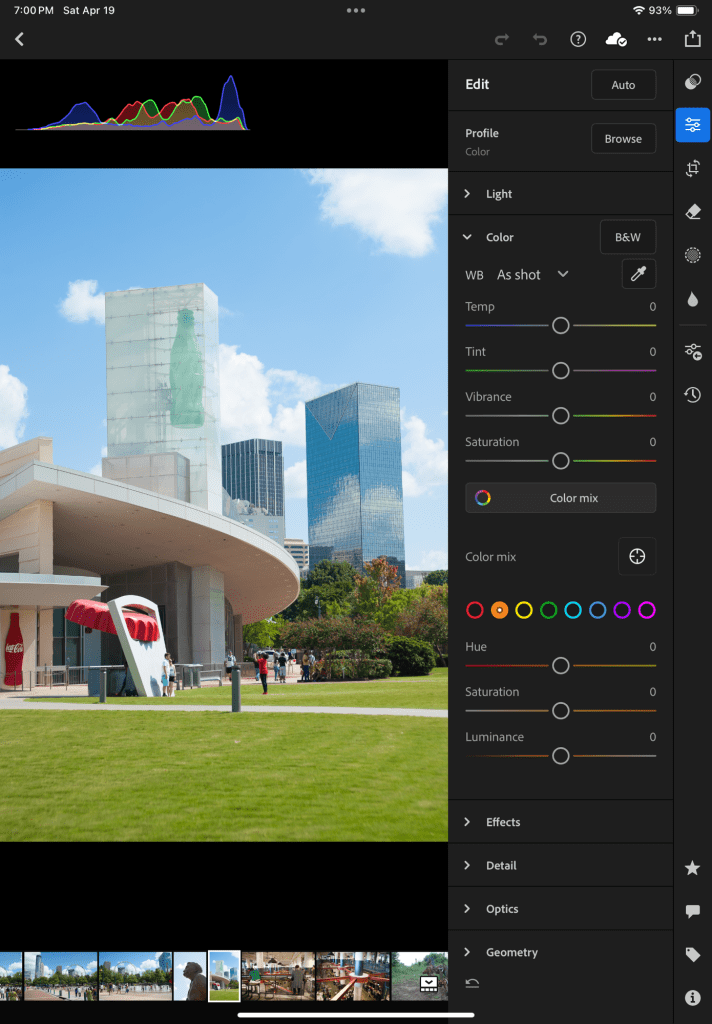
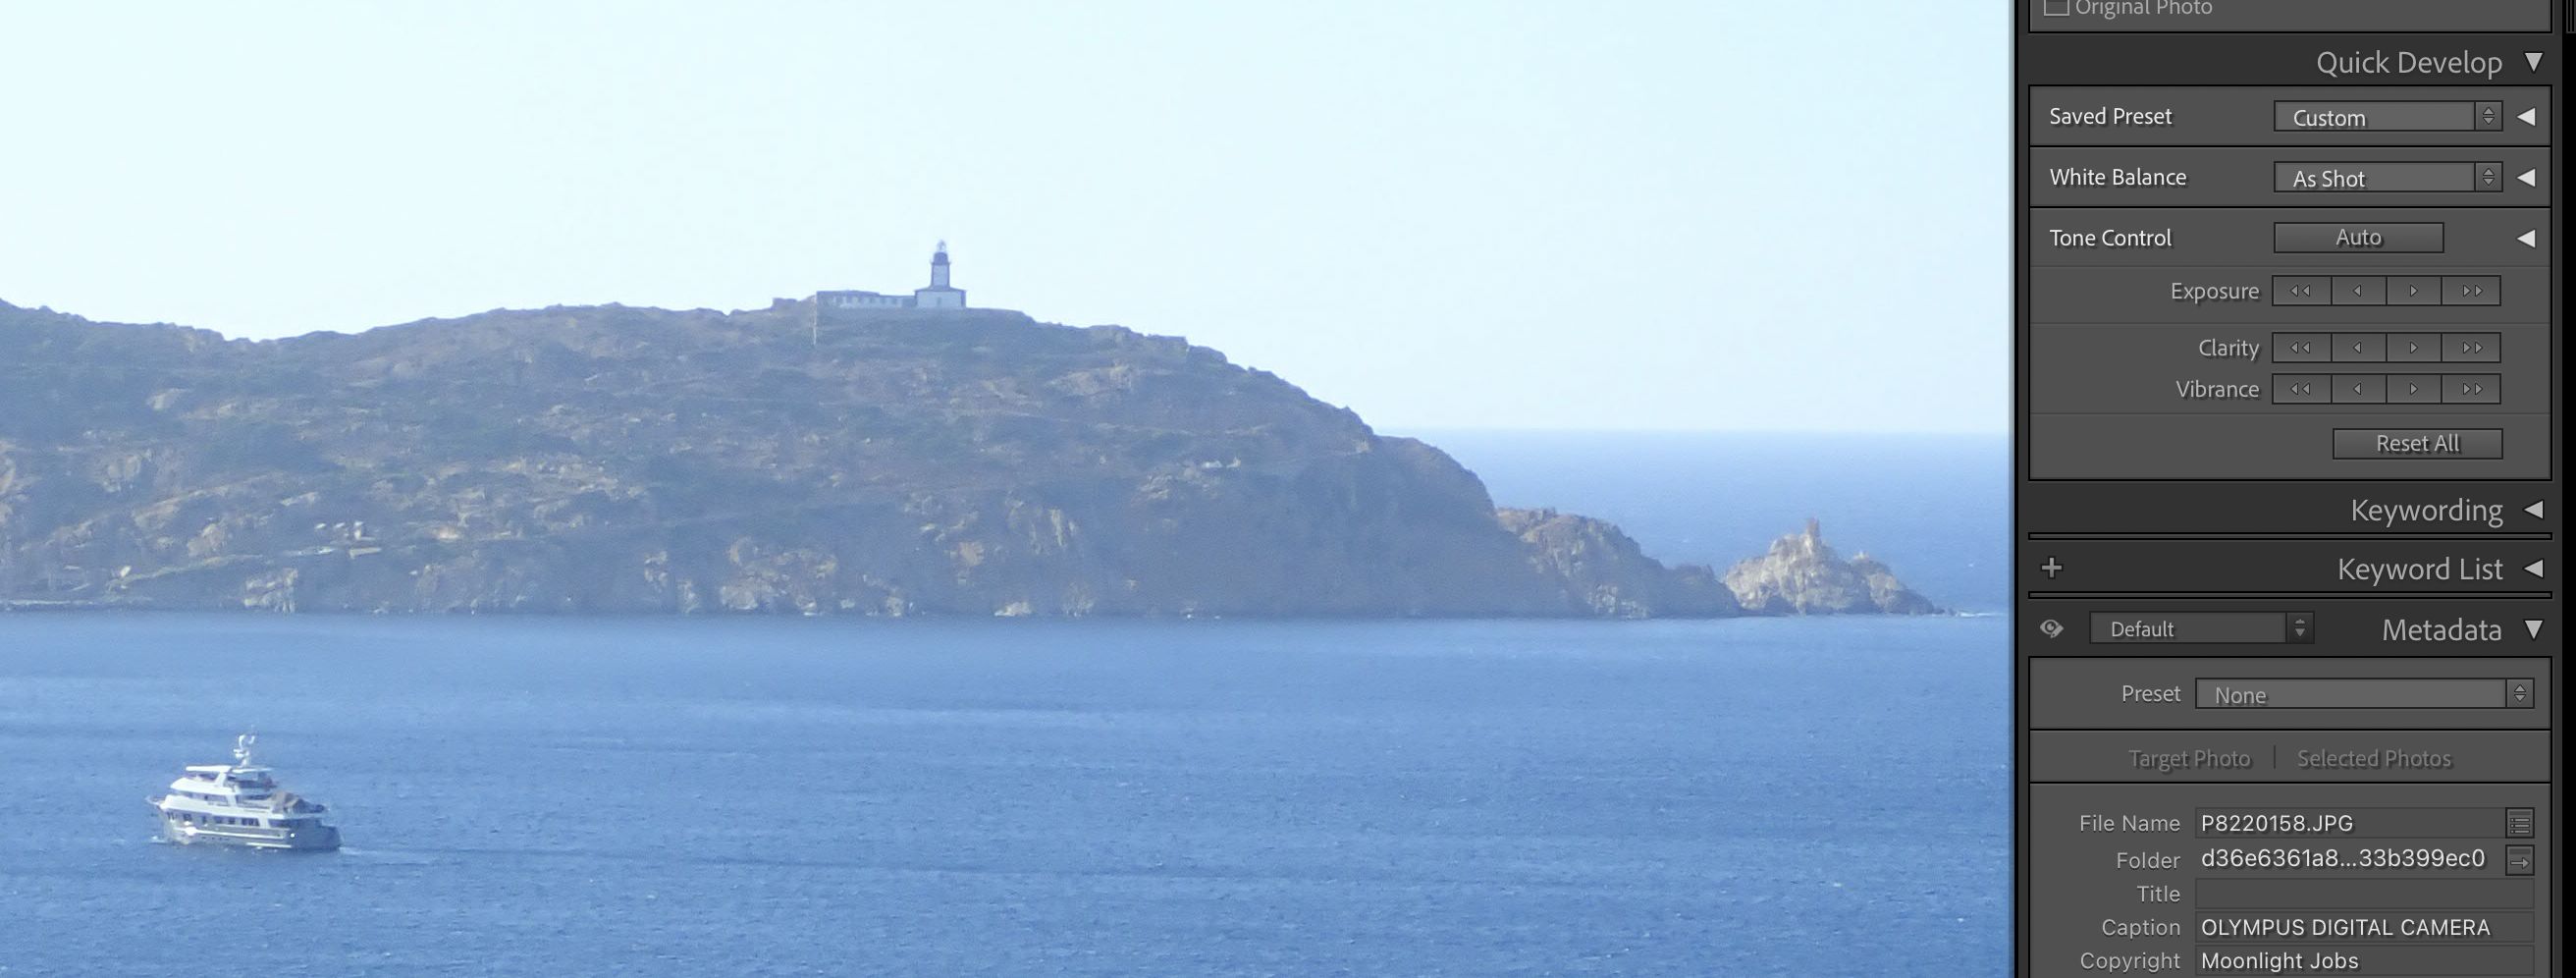
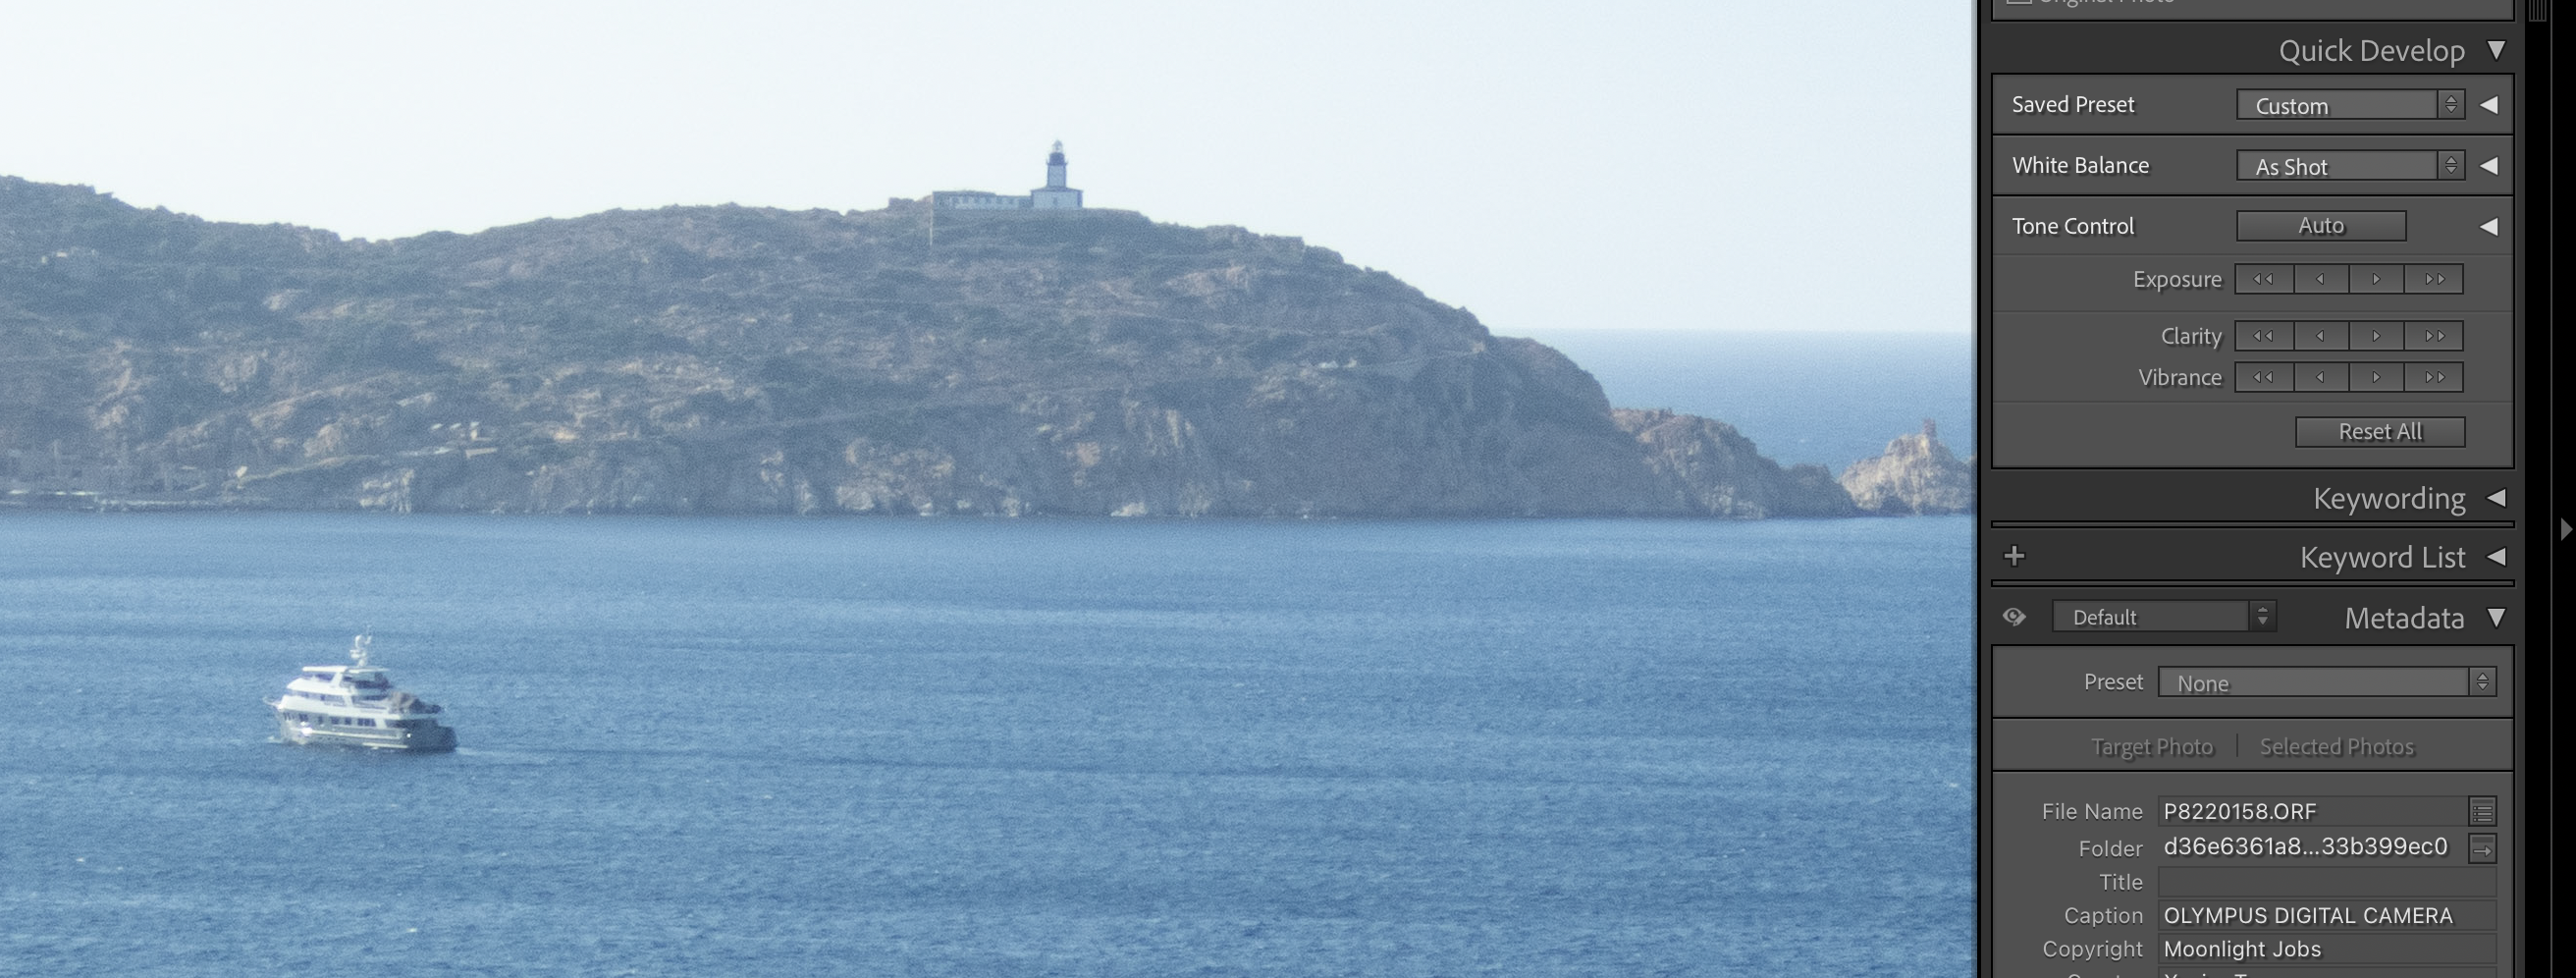
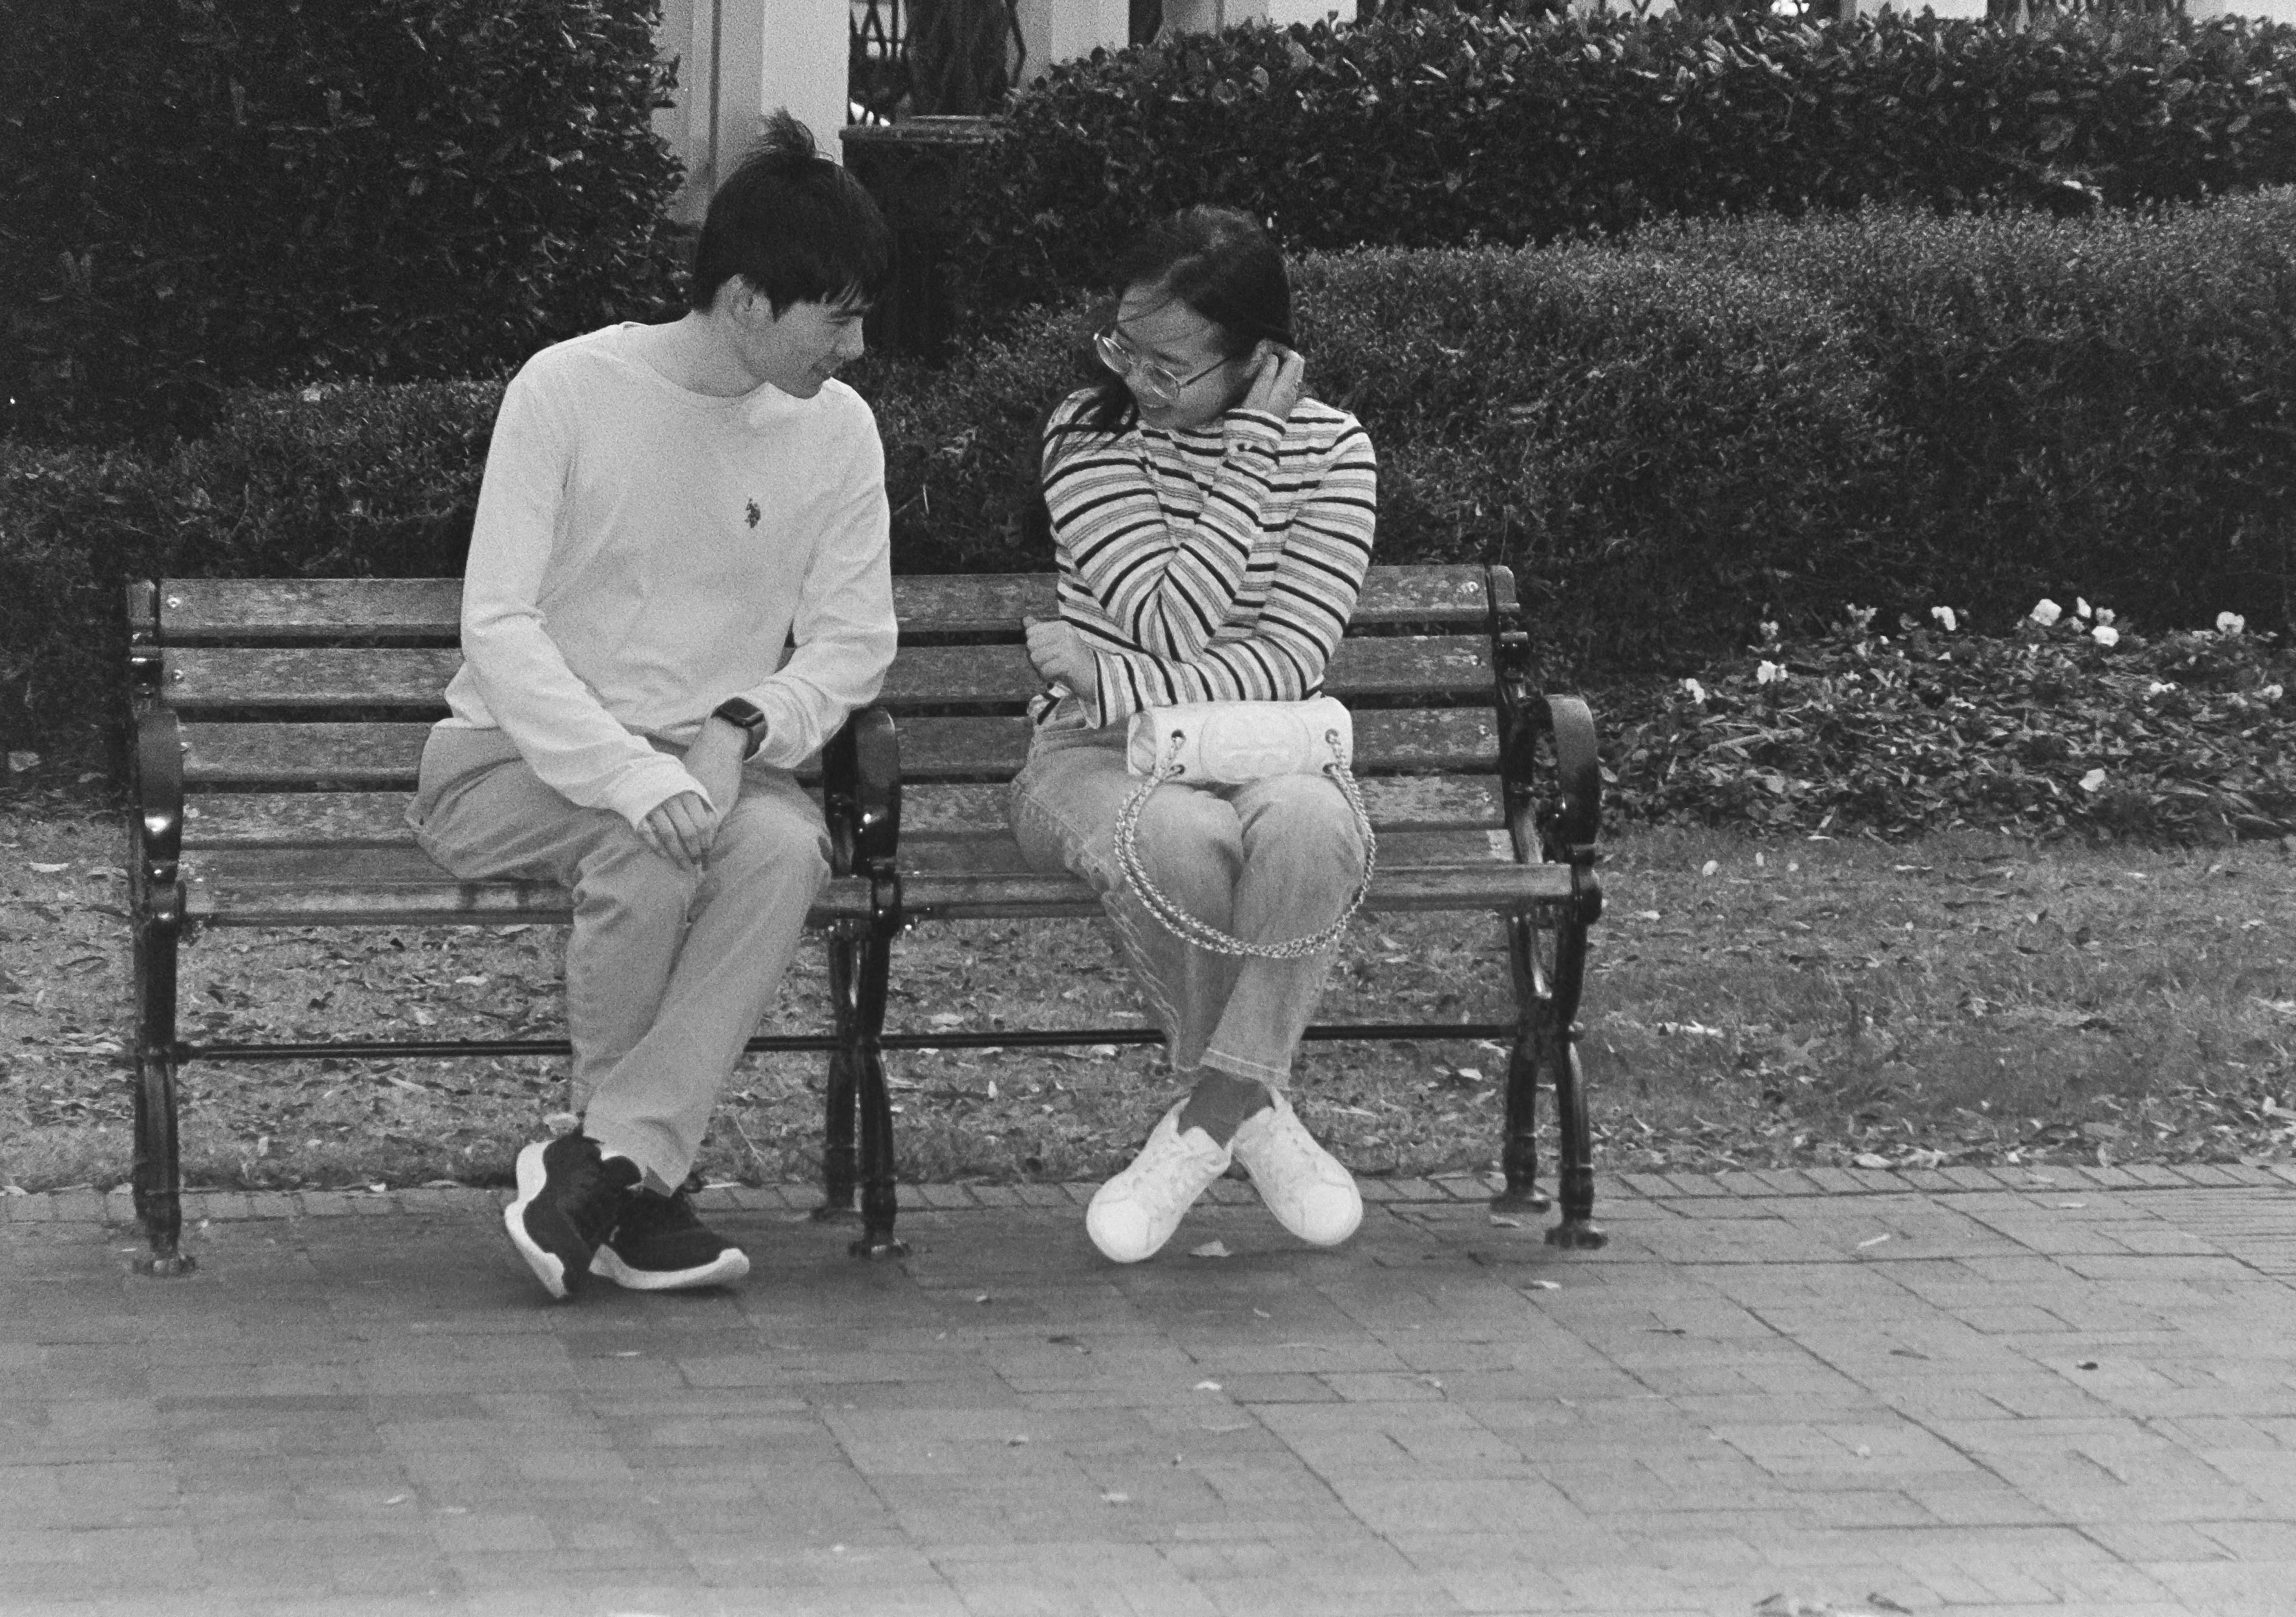
About asking ChatGPT to “Heal” my pictures – I submitted two of the pictures of this series to ChatGPT – for the first one (the man on the left with the walker) it simply changed the color of the shirt (it was bright white and too distracting). The picture of the two kids on the bench was taken at the end of the afternoon, at the long end of the zoom, and was a bit too soft (it lacked contrast and sharpness). I asked ChatGPT to increase the contrast of the image selectively, without touching the mid tones. It played on the two ends of the S curve and then increased the micro-contrast locally. And gave me a one page long explanation of what it had done and why. Everything it did I could have done with Photoshop if I had a Photoshop license, and was skilled enough to pull it off. I’m normally using Lightroom’s “Heal” functions, but in this case, I could not get the result I was expecting and I had to ask ChatGPT for help.
The originals:
Old gear, B&W film and AI – a match made in heaven? I’m sure we’ll have more opportunities to discuss the issue along the year.