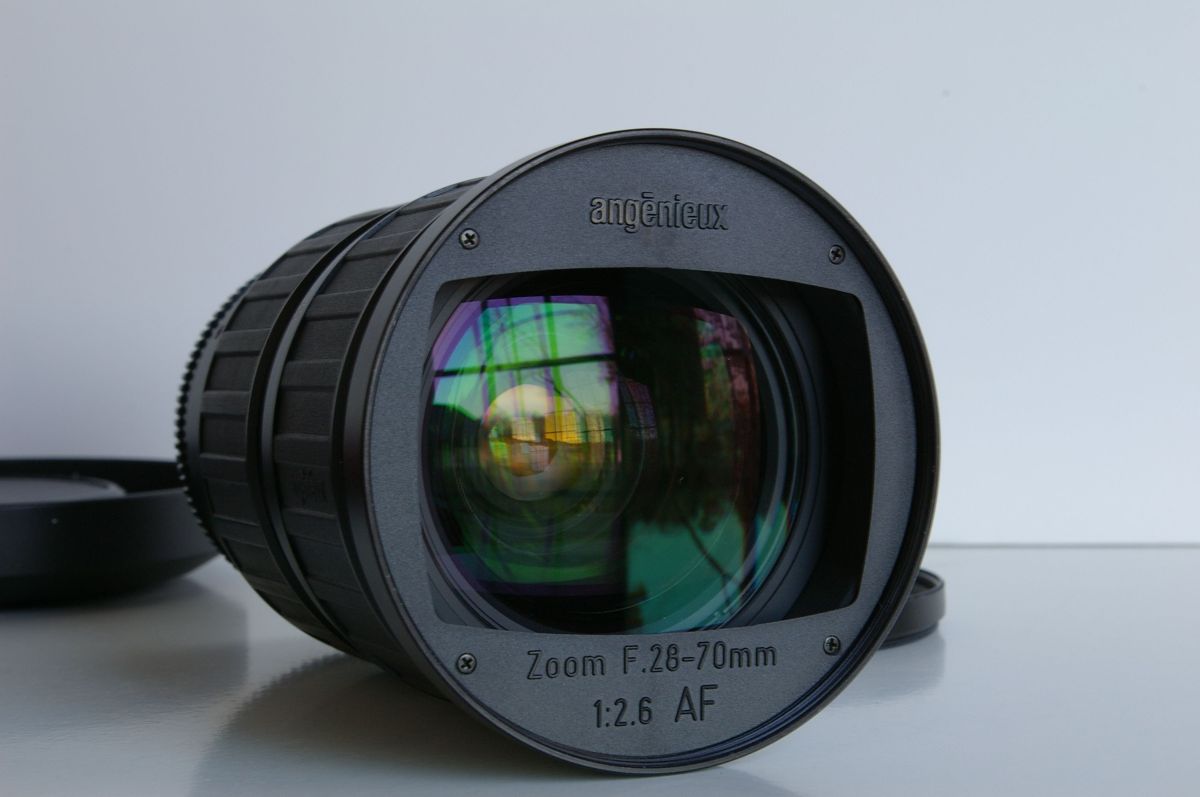
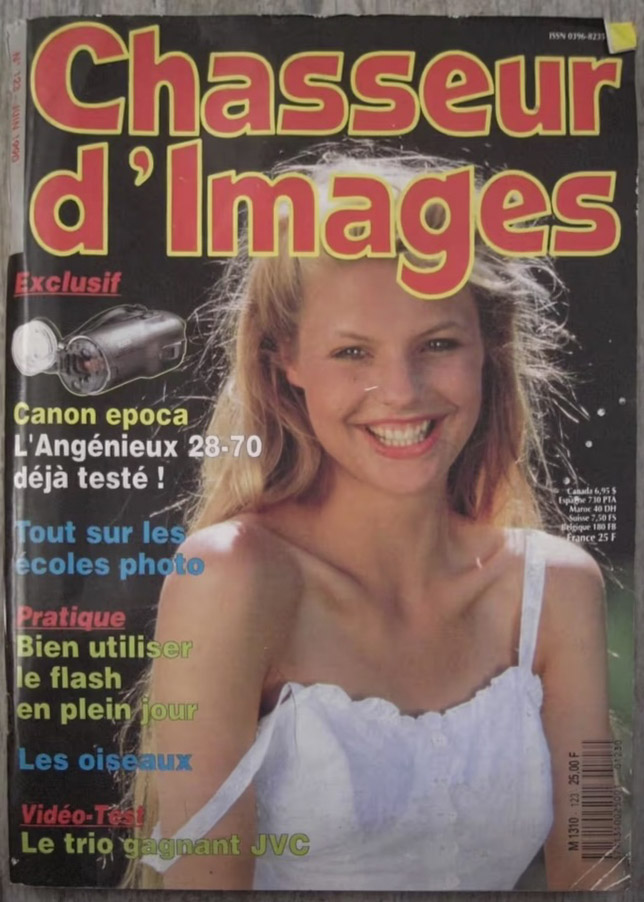
I’ve been an avid reader of the excellent French photography magazine “Chasseur d’Images” for a very long time, and there are still a few dozens of (very old) issues stored in my mom’s attic. The last time I explored the place I found the issue #123 of the magazine (published in June 1990, I believe), where the CI crew were testing the Angenieux 28-70 f/2.6 zoom. There is no flatbed scanner at my mom’s place, and I just took a few pictures of the article with my phone.
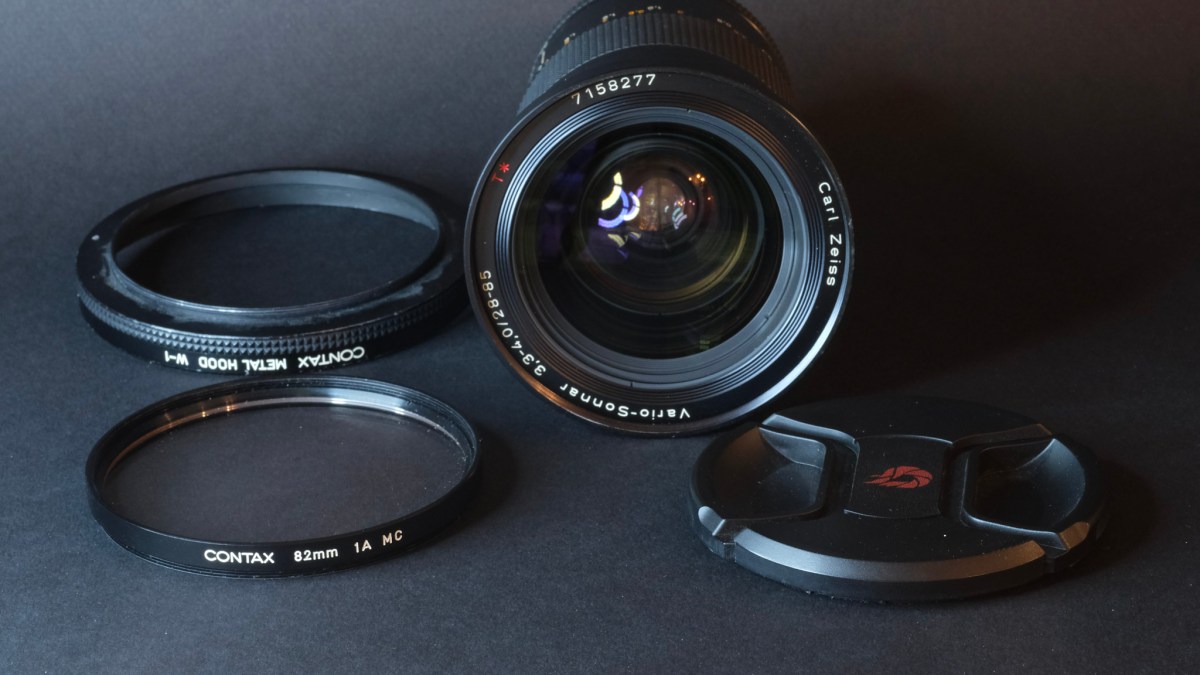
That zoom was the last attempt by Angenieux to maintain a presence in the consumer photography market (they’re still in business, but now develop lenses for the movie industry and for aerospace and defense systems). The specs sheet of this lens is extremely close to the Tokina 28-70 f/2.6-2.8 AT-X Pro zoom that the Japanese optics company launched in 1994 – to the point where it’s difficult to tell if Tokina bought the blue prints from Angenieux when they decided to leave the consumer photography market, or if the Angenieux zoom itself was the result of a collaboration with Tokina from the beginning.

In any case, the Angenieux was labeled “Made in France”, which implies that “the most significant part of its manufacturing” took place in France. More on this subject in: CamerAgX: the truth about the Tokina 28-70 f/2.8 lens.

Since this site has seen a constant interest for the original 28-70 Angenieux zoom and its Japanese cousins, I took the liberty of asking ChatGPT to transcribe and translate the original article from 1990.
Below is the English translation of the Chasseur d’Images review of the lens, as well as the original test charts – courtesy of ChatGPT.
Enjoy.
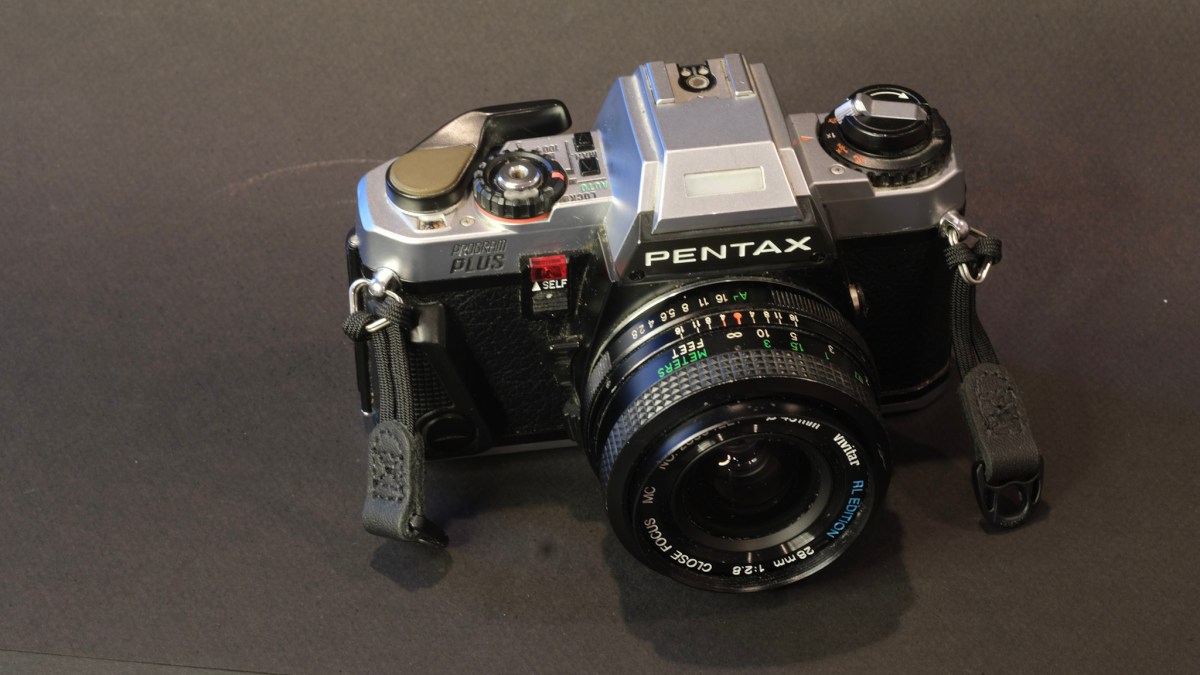
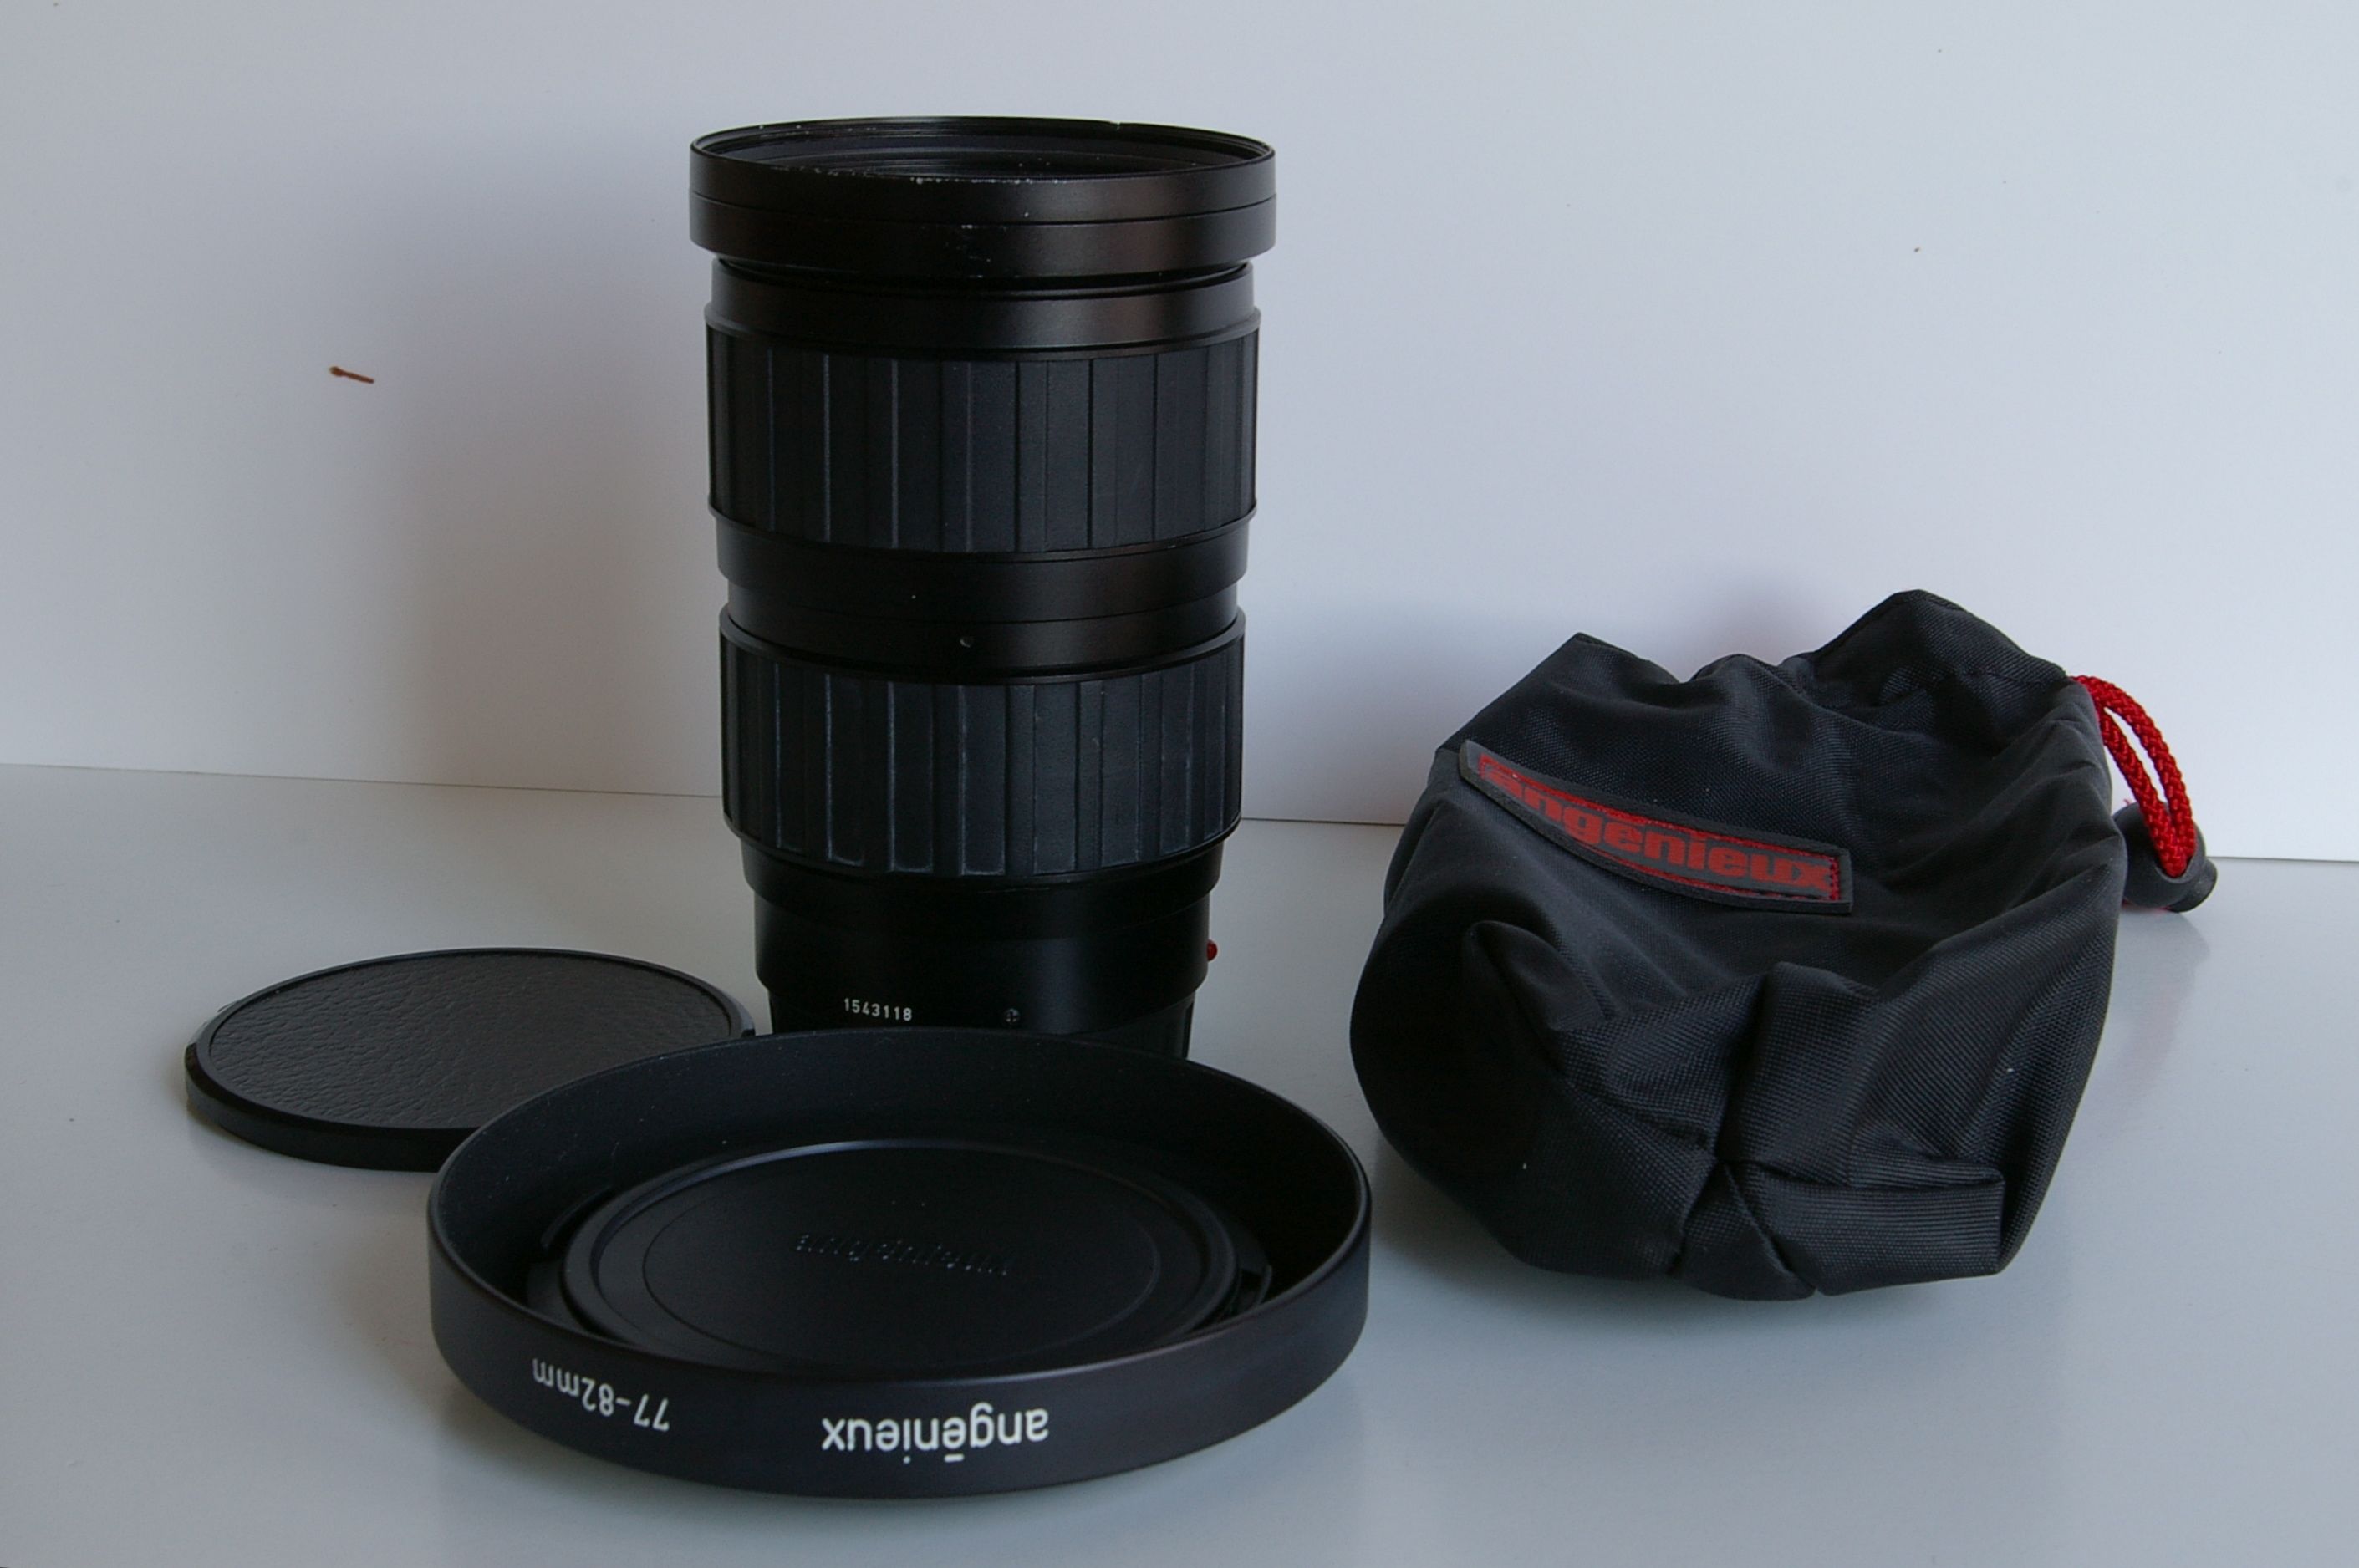
“Presented in Nikon AF mount at the 1989 Photo Show, its commercial release—announced as imminent—was delayed several times due to production difficulties. This time, it’s finally here, but the quantities delivered will be far from meeting demand! There’s very little polycarbonate on this lens—instead, it has a solid construction made of a beautiful, lightweight black satin-finish alloy. Fairly bulky and heavy due to its large aperture, it still handles quite easily.
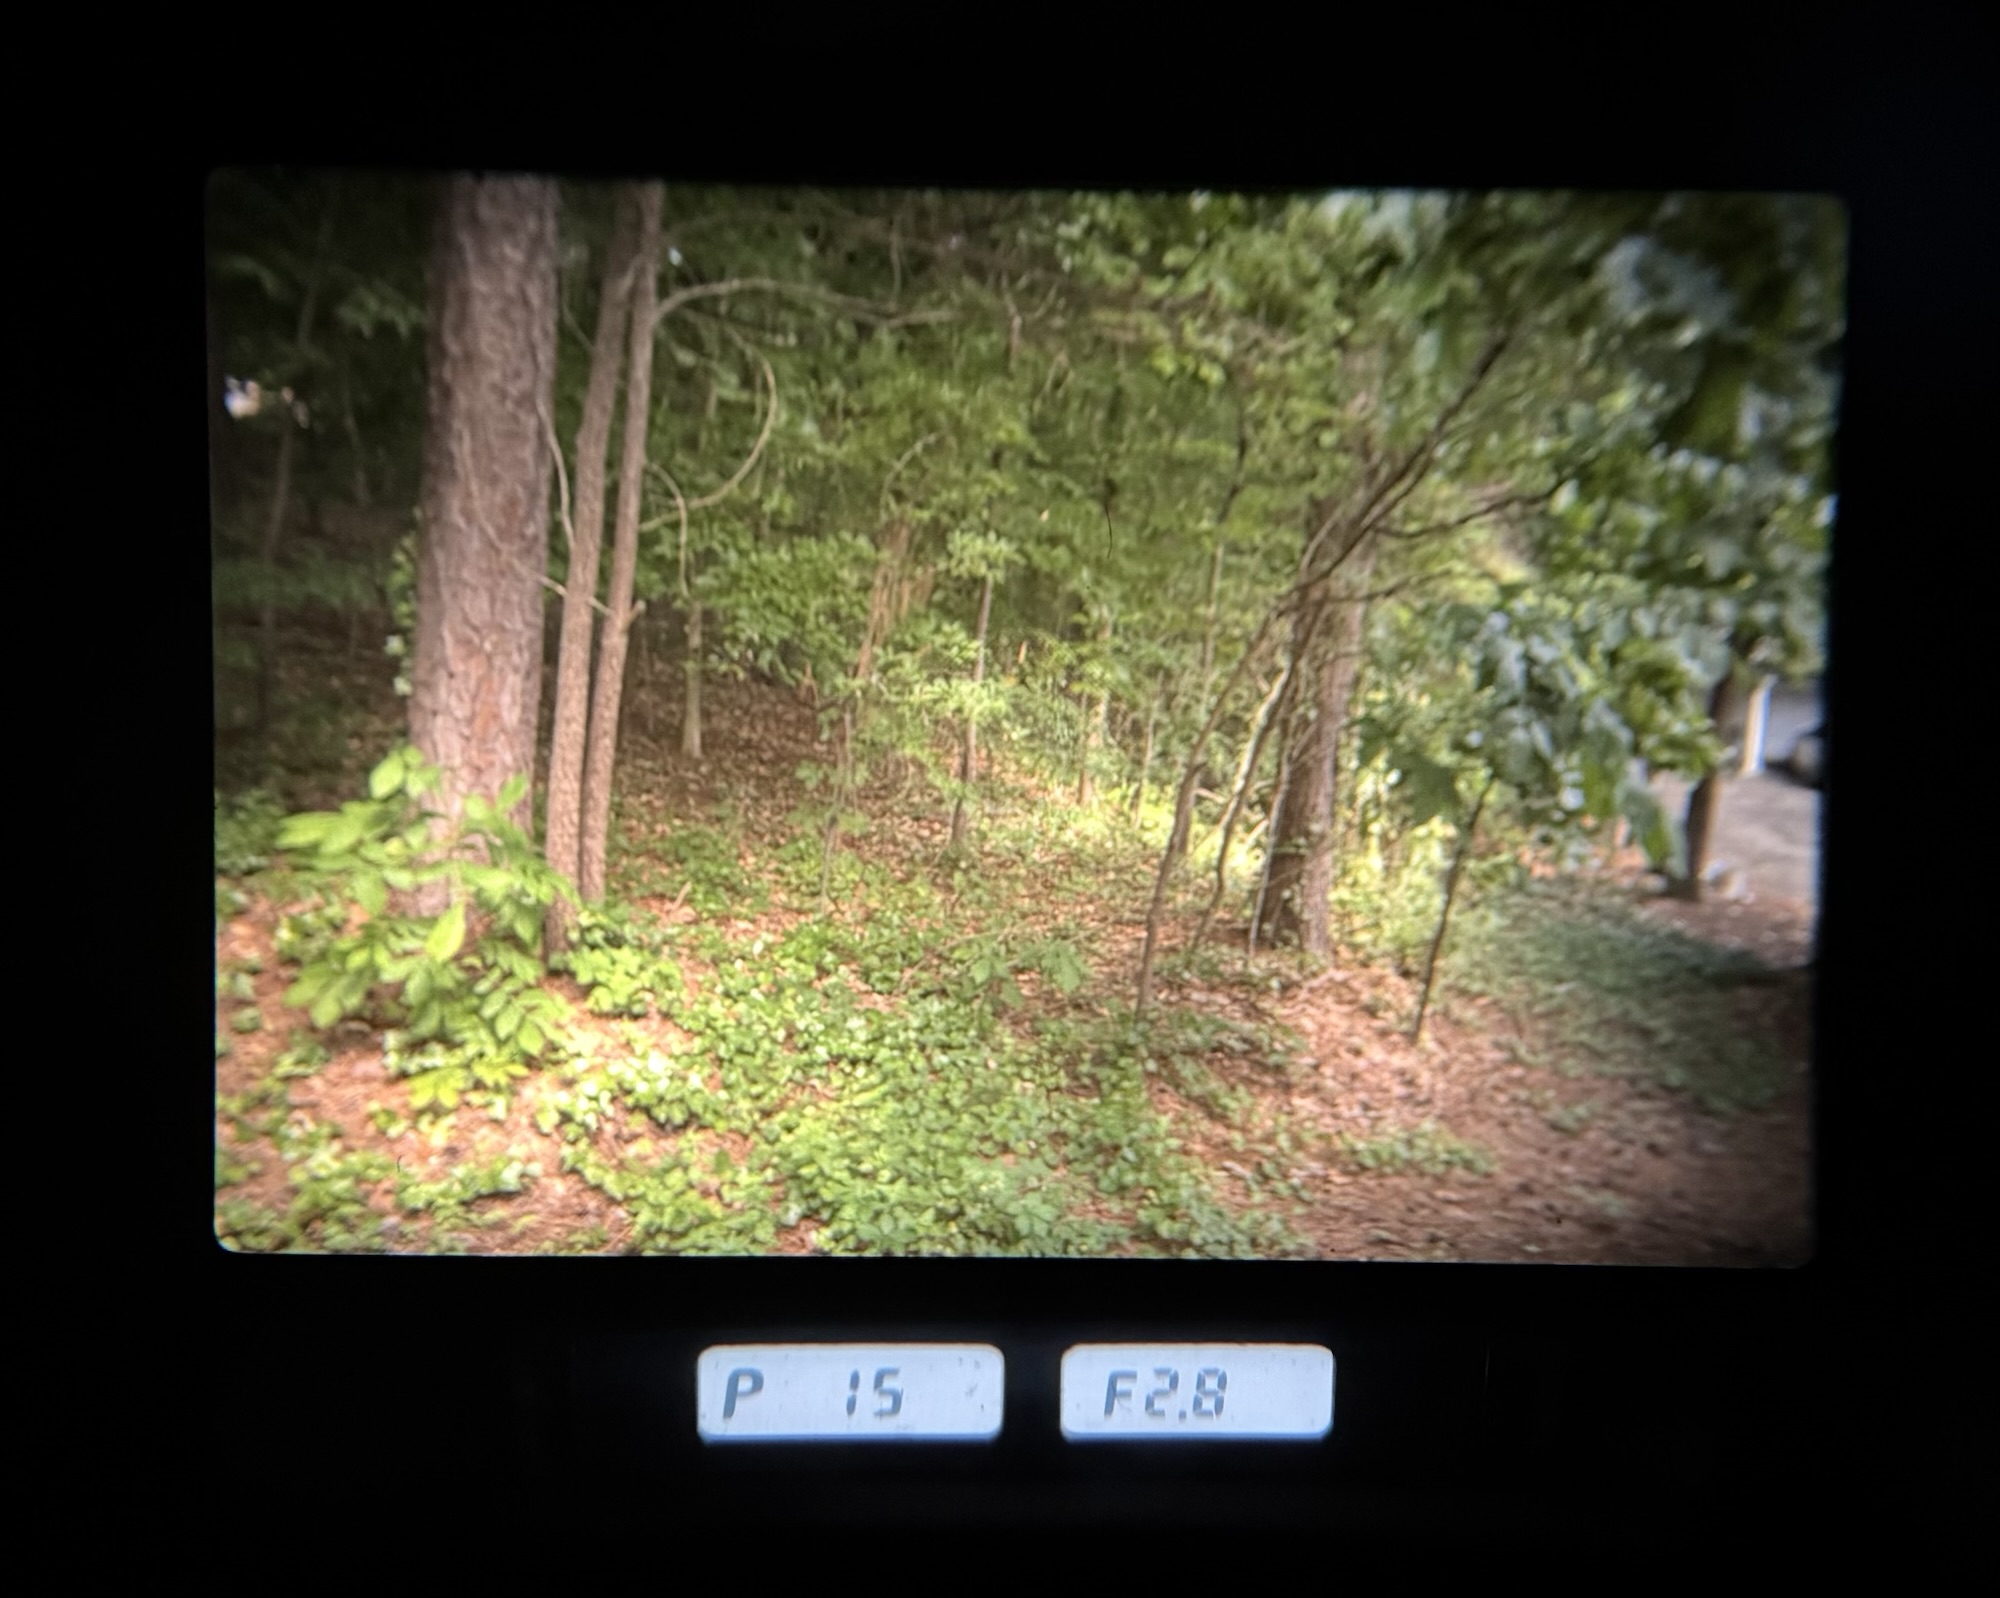
Regarding the aperture, we found that it wasn’t entirely photometrically consistent (a variation of 0.4 EV between 28 and 70 mm). As for the Nikon F-801 and F4 bodies, they don’t recognize the f/2.6 aperture, always displaying f/2.8 in the viewfinder. This is a minor inconvenience. The zoom ring operates with smooth and progressive movement. The autofocus is precise and very fast, though rather noisy. Be careful not to accidentally hinder the very wide focus ring that turns during AF searching.
In manual focus, it performs its role properly, although the rotation is not sufficiently damped. A minimum focusing distance of 0.65 m is acceptable, but nothing more. We noted with satisfaction the presence of a depth-of-field scale for the 28 mm focal length—a very rare (and very useful) feature on a two-ring zoom! The Ø77 filter mount remains fixed during focusing. The lens hood is only available as an option.
From our testers
This lens has only two weaknesses: at 28 mm and f/2.6, the edges—and especially the corners—lack definition, and at 70 mm, still at full aperture, the overall contrast is rather low. However, as soon as the aperture is stopped down, its optical performance becomes very good and even excellent at medium apertures, showing remarkable consistency regardless of the focal length. A slight decentering does slightly affect the results on either the right or left depending on the focal length tested, but in a completely insignificant way and only at the two largest apertures. As expected, it is at 28 mm that vignetting and distortion are most noticeable. Very good color rendering with no perceptible color cast. You can leave the supplied UV filter on the lens permanently, as it has no significant impact on performance.
Summary
Zooms of this type with (practically) constant aperture can be counted on one hand. In our opinion, the Angénieux is the best currently available. Its only direct rival, the Tokina 28–70 f/2.8, is certainly less expensive but also noticeably less capable. Compared to the Nikkor AF 35–70 f/2.8, it also proves superior (at equivalent focal lengths), even if the difference is minor in this case. Only the very expensive Canon 28–80 mm f/2.8 delivers more consistent results at shorter focal lengths, thanks to its two aspherical elements. We should point out that this new Angénieux clearly outperforms the older 35–70 mm version, with better distortion correction at 35 mm and better sharpness at 70 mm.
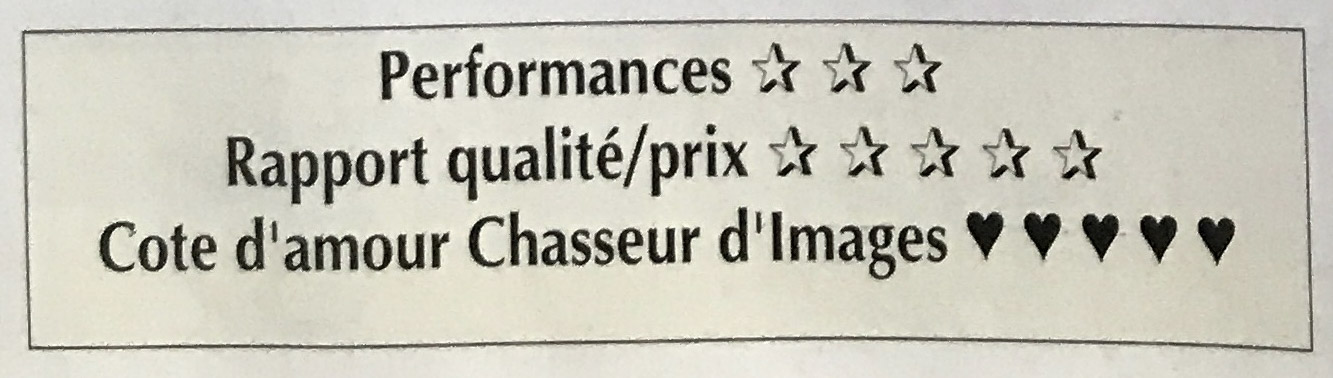
Our very rigorous testing procedure made it narrowly miss a fourth star in performance. However, as its price is reasonable given its outstanding features and performance, we award it five stars for value for money. A zoom lens “made in France.” The first European AF lens! After all, why not say it…”
(from” Chasseur d’Images – Issue #123 ” – Transcribed and translated by ChatGPT).
As for the charts, ChatGPT could only translate the legends – it did not rebuild the charts for me.
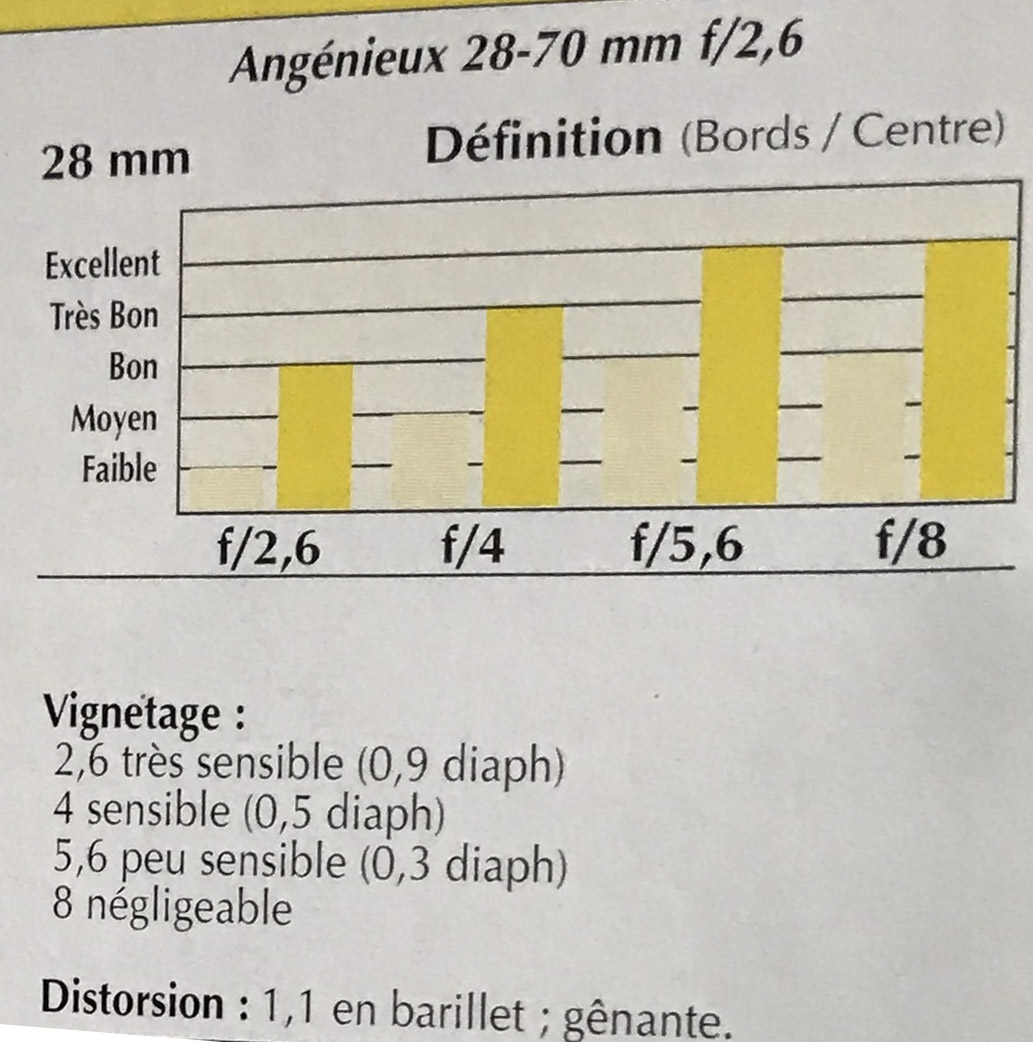
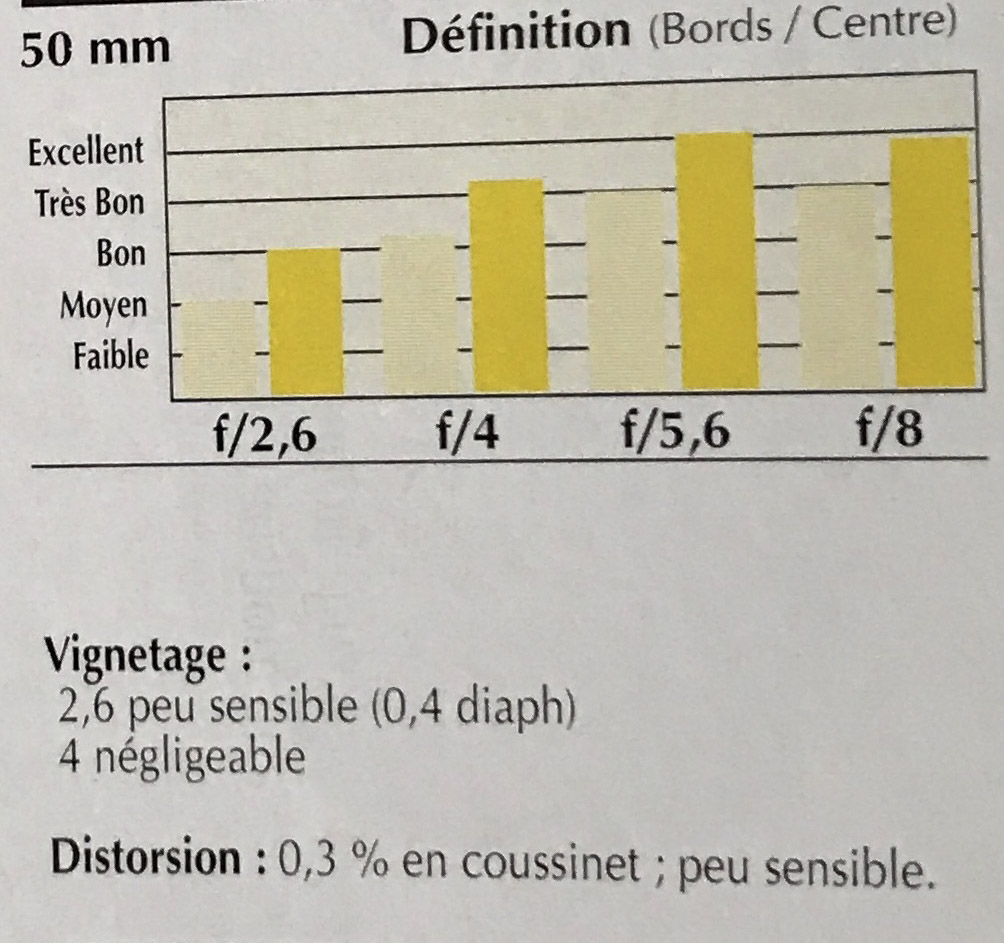
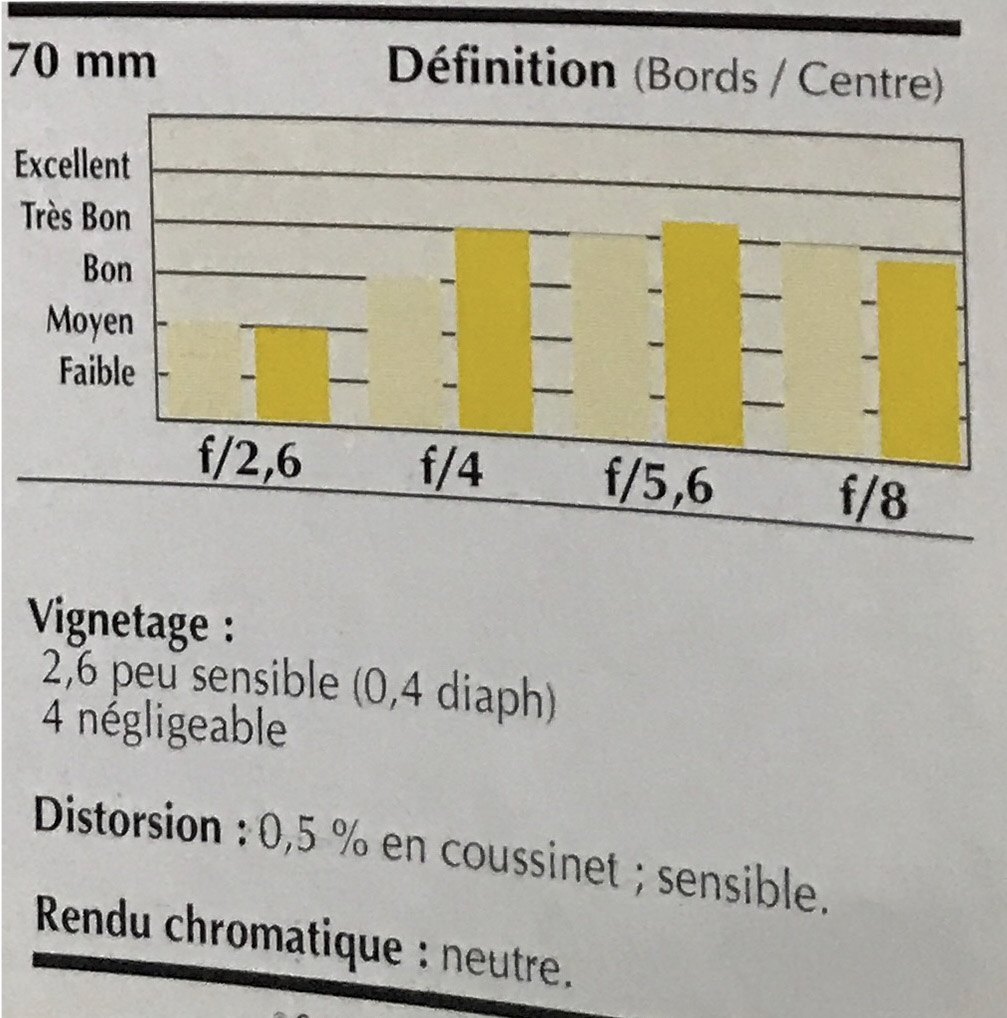
For all charts:
Définition (Bords / Centre) = Sharpness (Edges / Center)
Sharpness rating levels:
- Excellent = Excellent
- Très Bon = Very Good
- Bon = Good
- Moyen = Average
- Faible = Poor
Of course, you have to place this test in the context of the time. In 1990, I don’t think it had any real competition. Nikon’s 35-70 f/2.8 AF had been available for a few years but it covered a more limited range, and Canon’s EF 28-80 f:2.8-4 L USM was larger, heavier and even more expensive. Direct competition from the 28-70 f/2.8 zooms of the “big three” would not come until 1993 for Canon and Minolta, and 1999 for Nikon. As for the independent Japanese optical companies, they didn’t have Angenieux’s prestigious reputation. For a few years, Angenieux had the market for themselves.
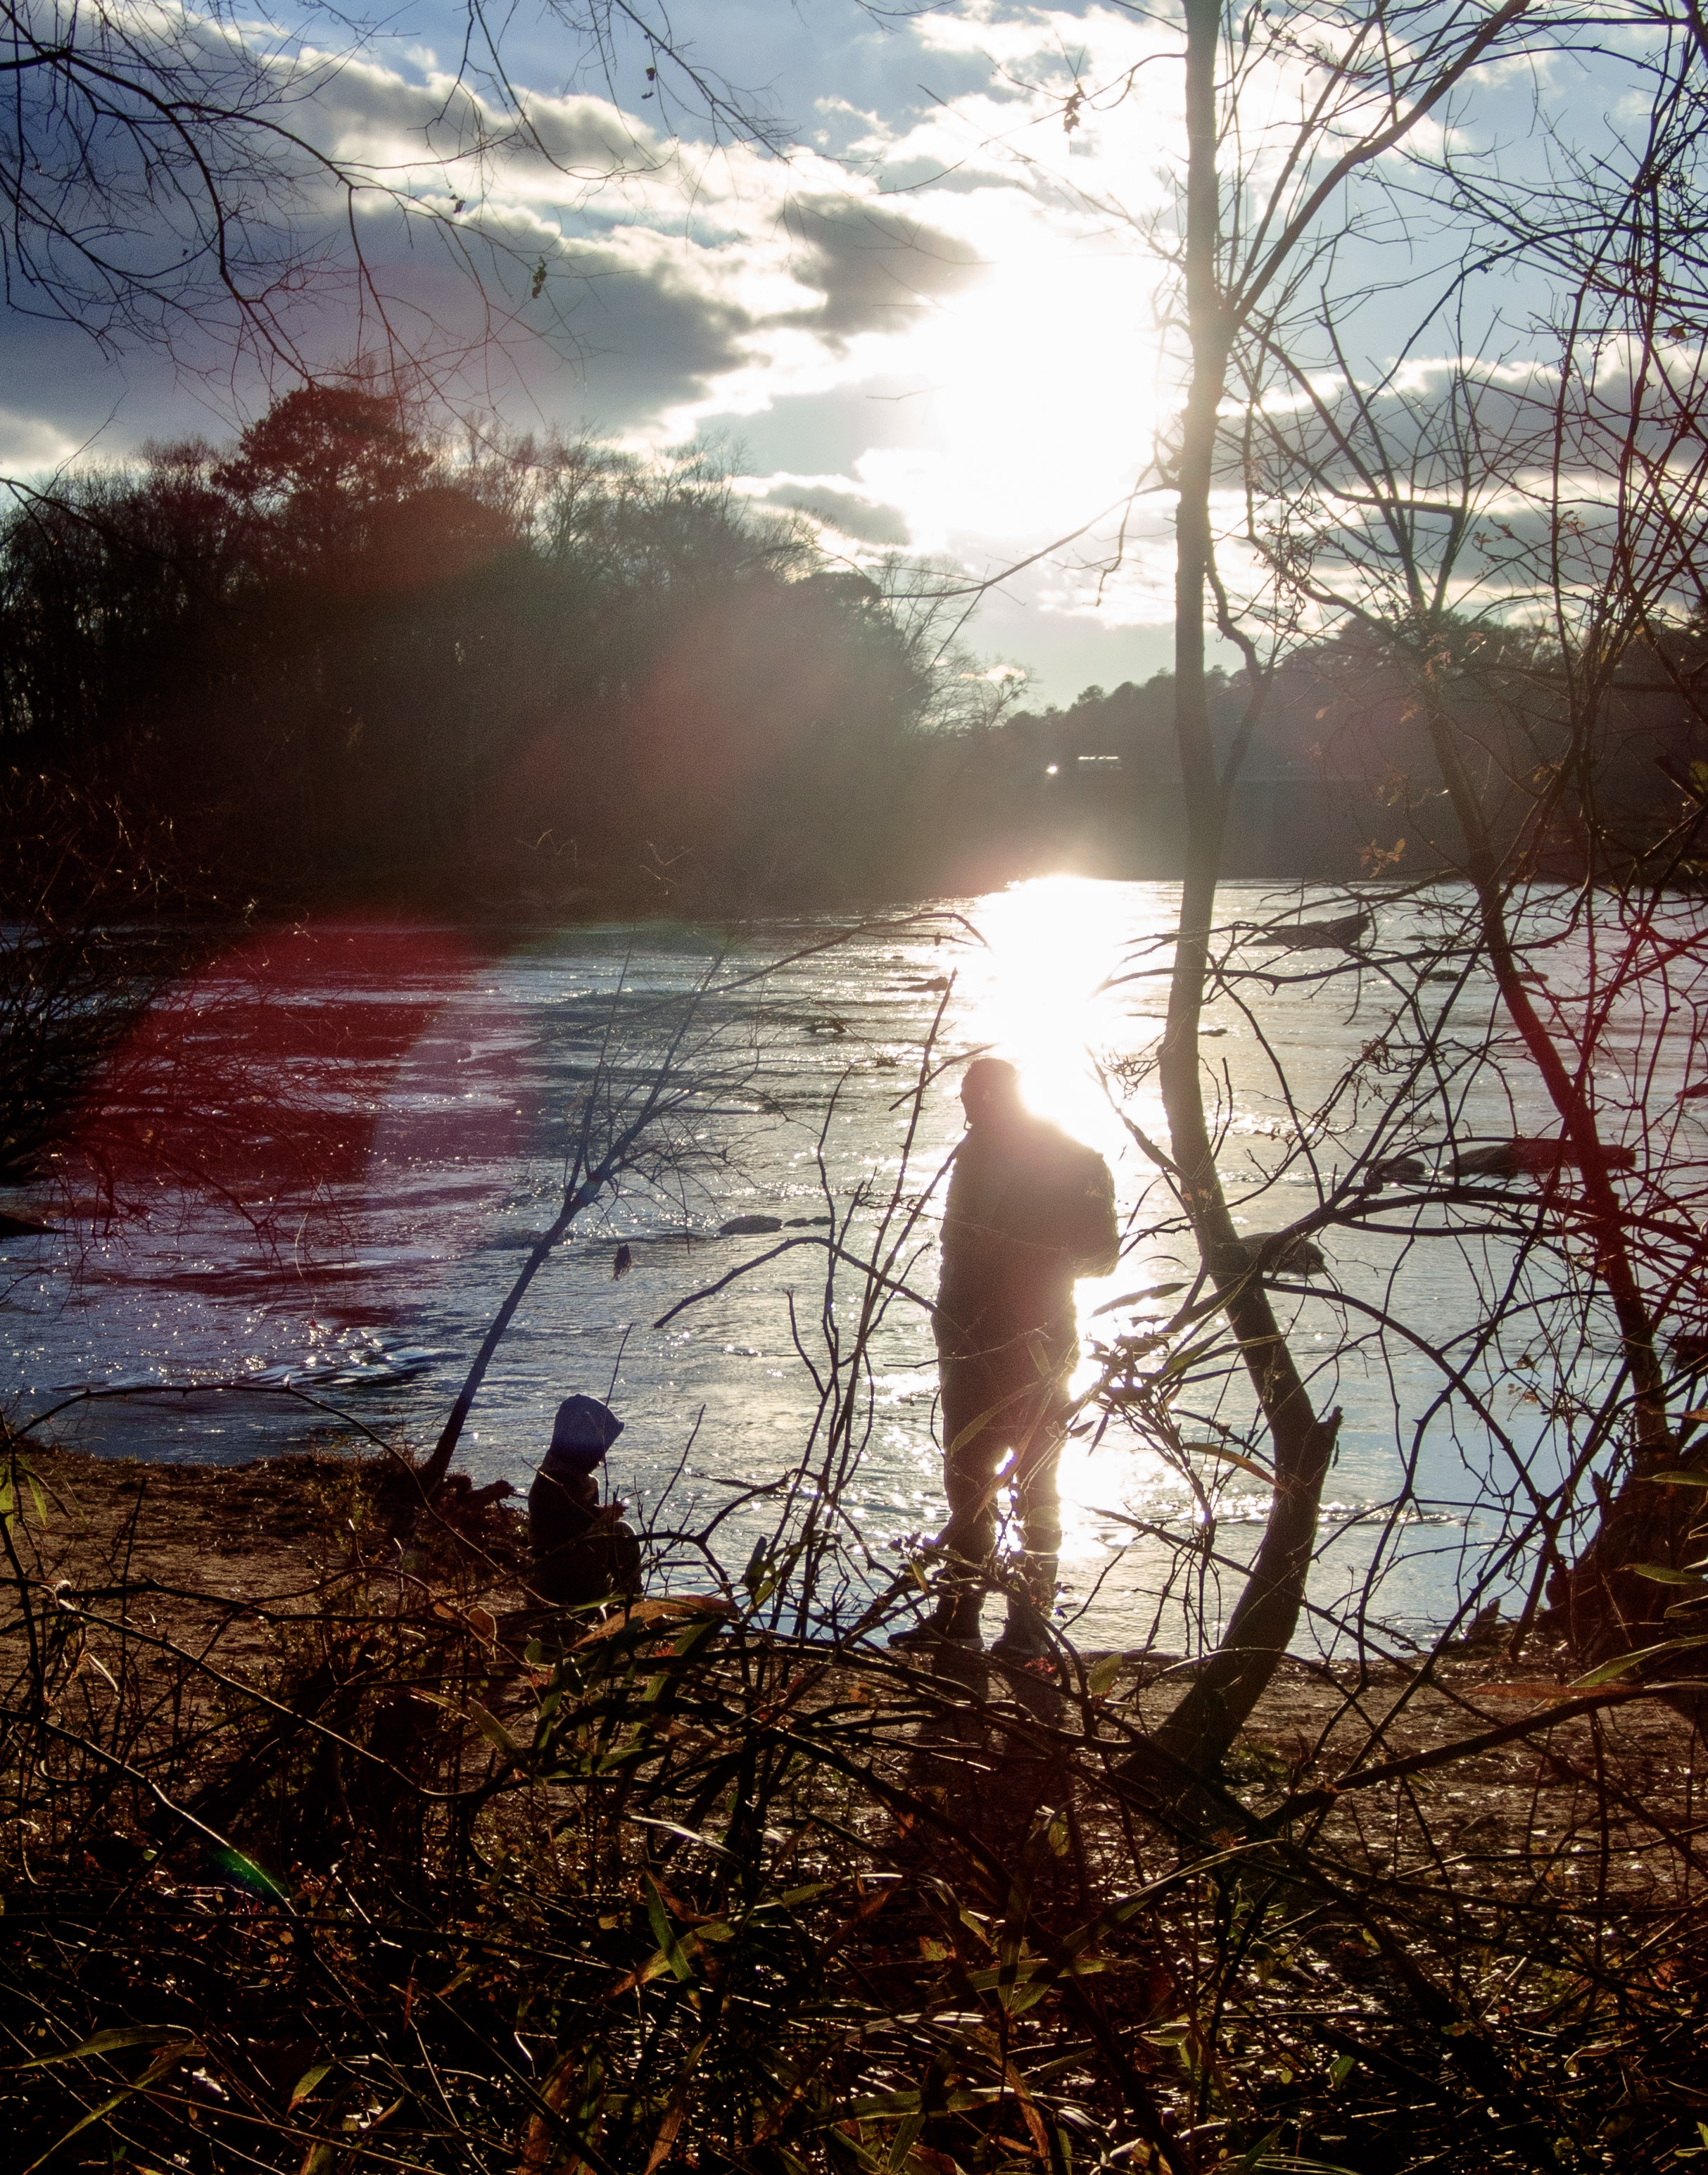
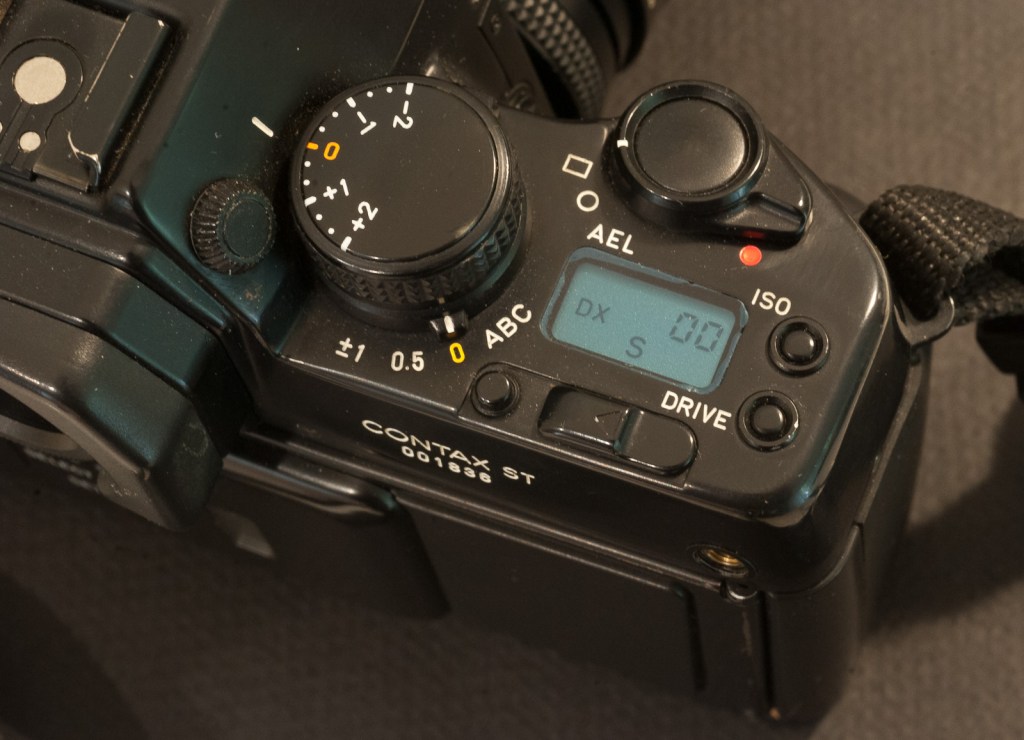
I was shooting with Minolta Maxxum/Dynax cameras at the time and I broke my piggy bank to buy that lens in 1991. It remained my everyday lens for a good ten years, until I switched to digital. I remember it as a very beautifully designed and very solidly built object, whose fully metallic construction made the typical Minolta autofocus back and forth between close-up and infinite rather loud. I never tested the lens “scientifically” (not my style), but when I look today at the pictures I’ve taken with it, I’m still impressed by its resistance to flare. Of course it was large and heavy, and it saw less use when I started shooting with the Minolta Vectis S-1 (one of the only two interesting APS (film) cameras), which made for a much lighter and smaller combo with its tiny 22-80mm zoom.
By the mid 2000s, Konica-Minolta was in deep trouble, and I had lost hope that they would ever design a digital SLR worthy of the Angenieux zoom, and I sold it. For a good price, but nothing to be compared to what it would fetch today.
The Angenieux 28-70 f/2.6 zoom is now a collector (nothing on eBay for less than $3,500), when its competitors of the early nineteen nineties trade for a few hundreds of dollars at best.
More about Angenieux 28-70 zoom and its Japanese cousins in CamerAgX


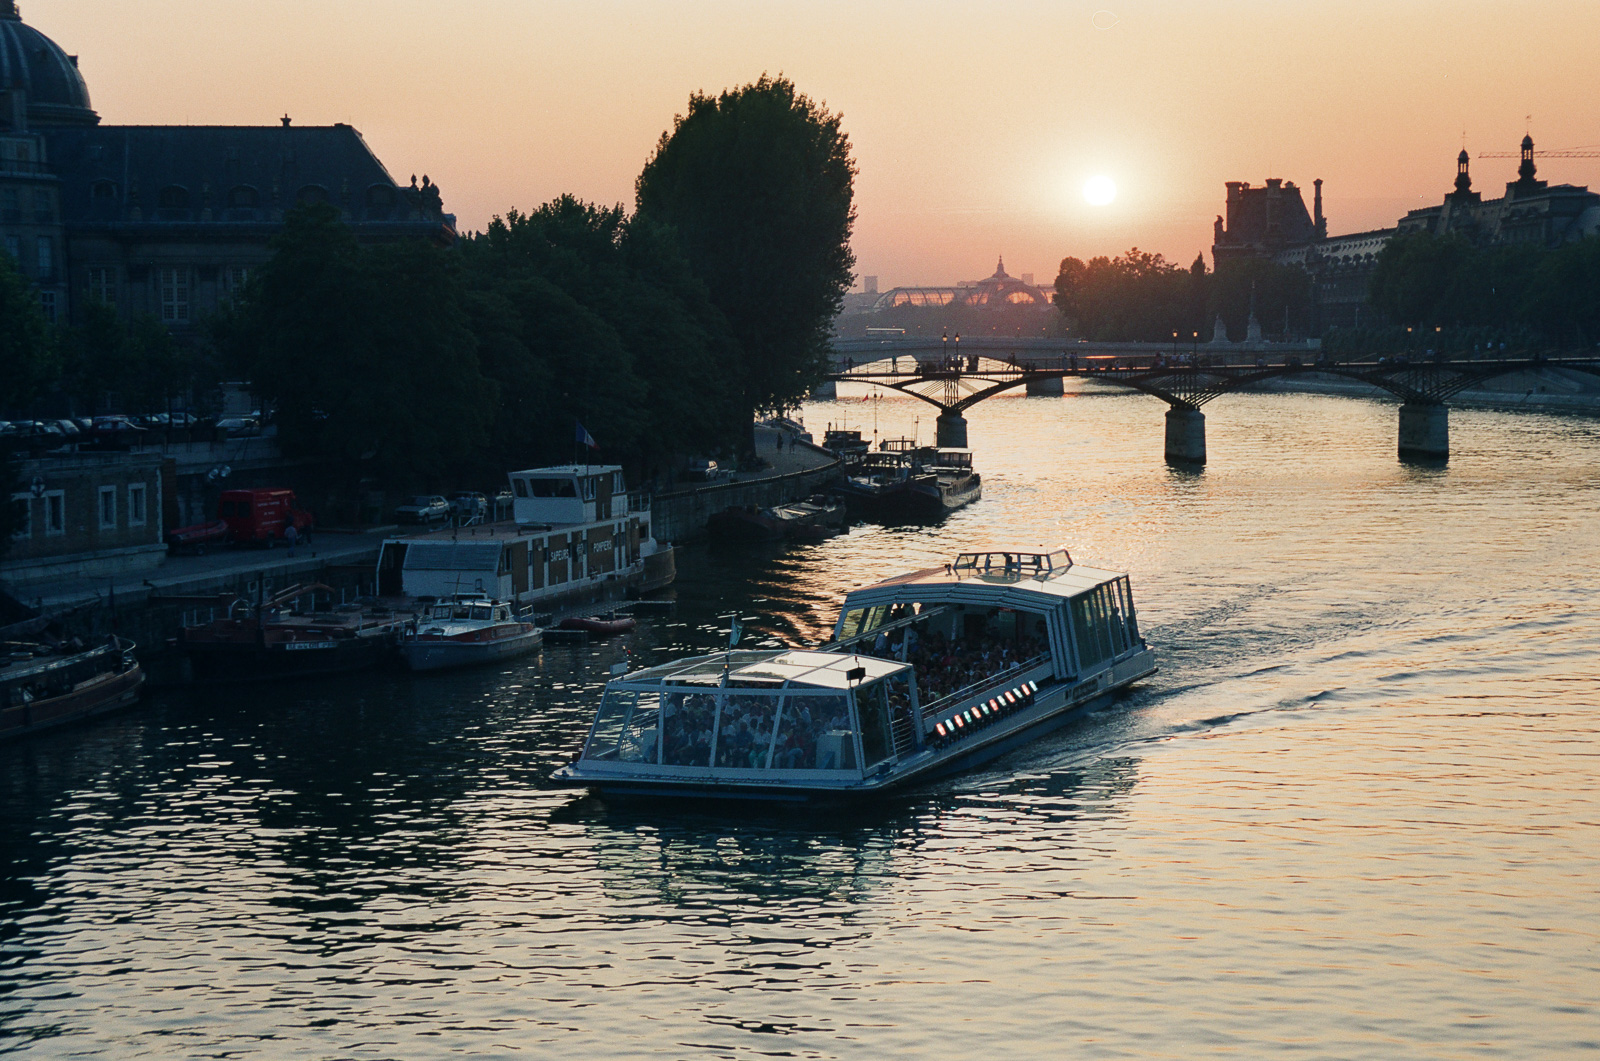
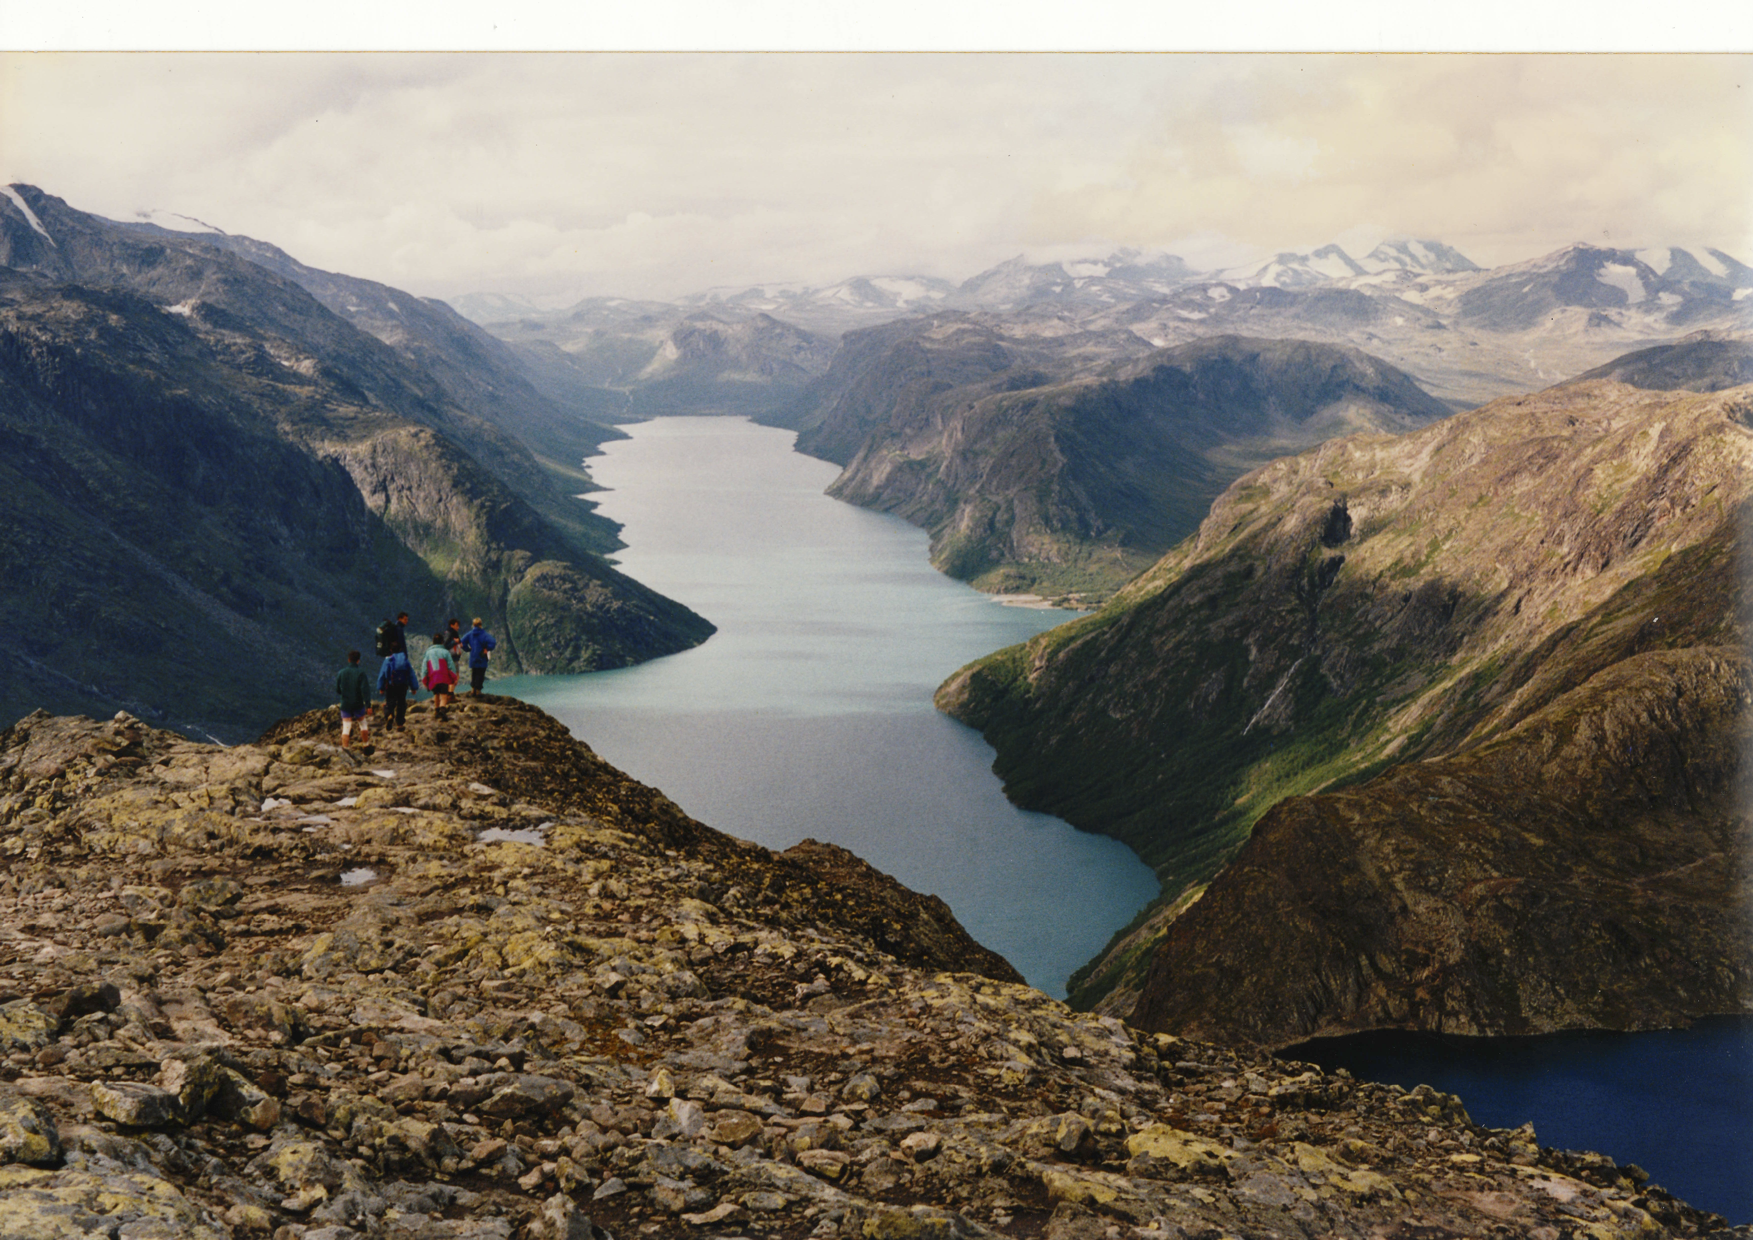
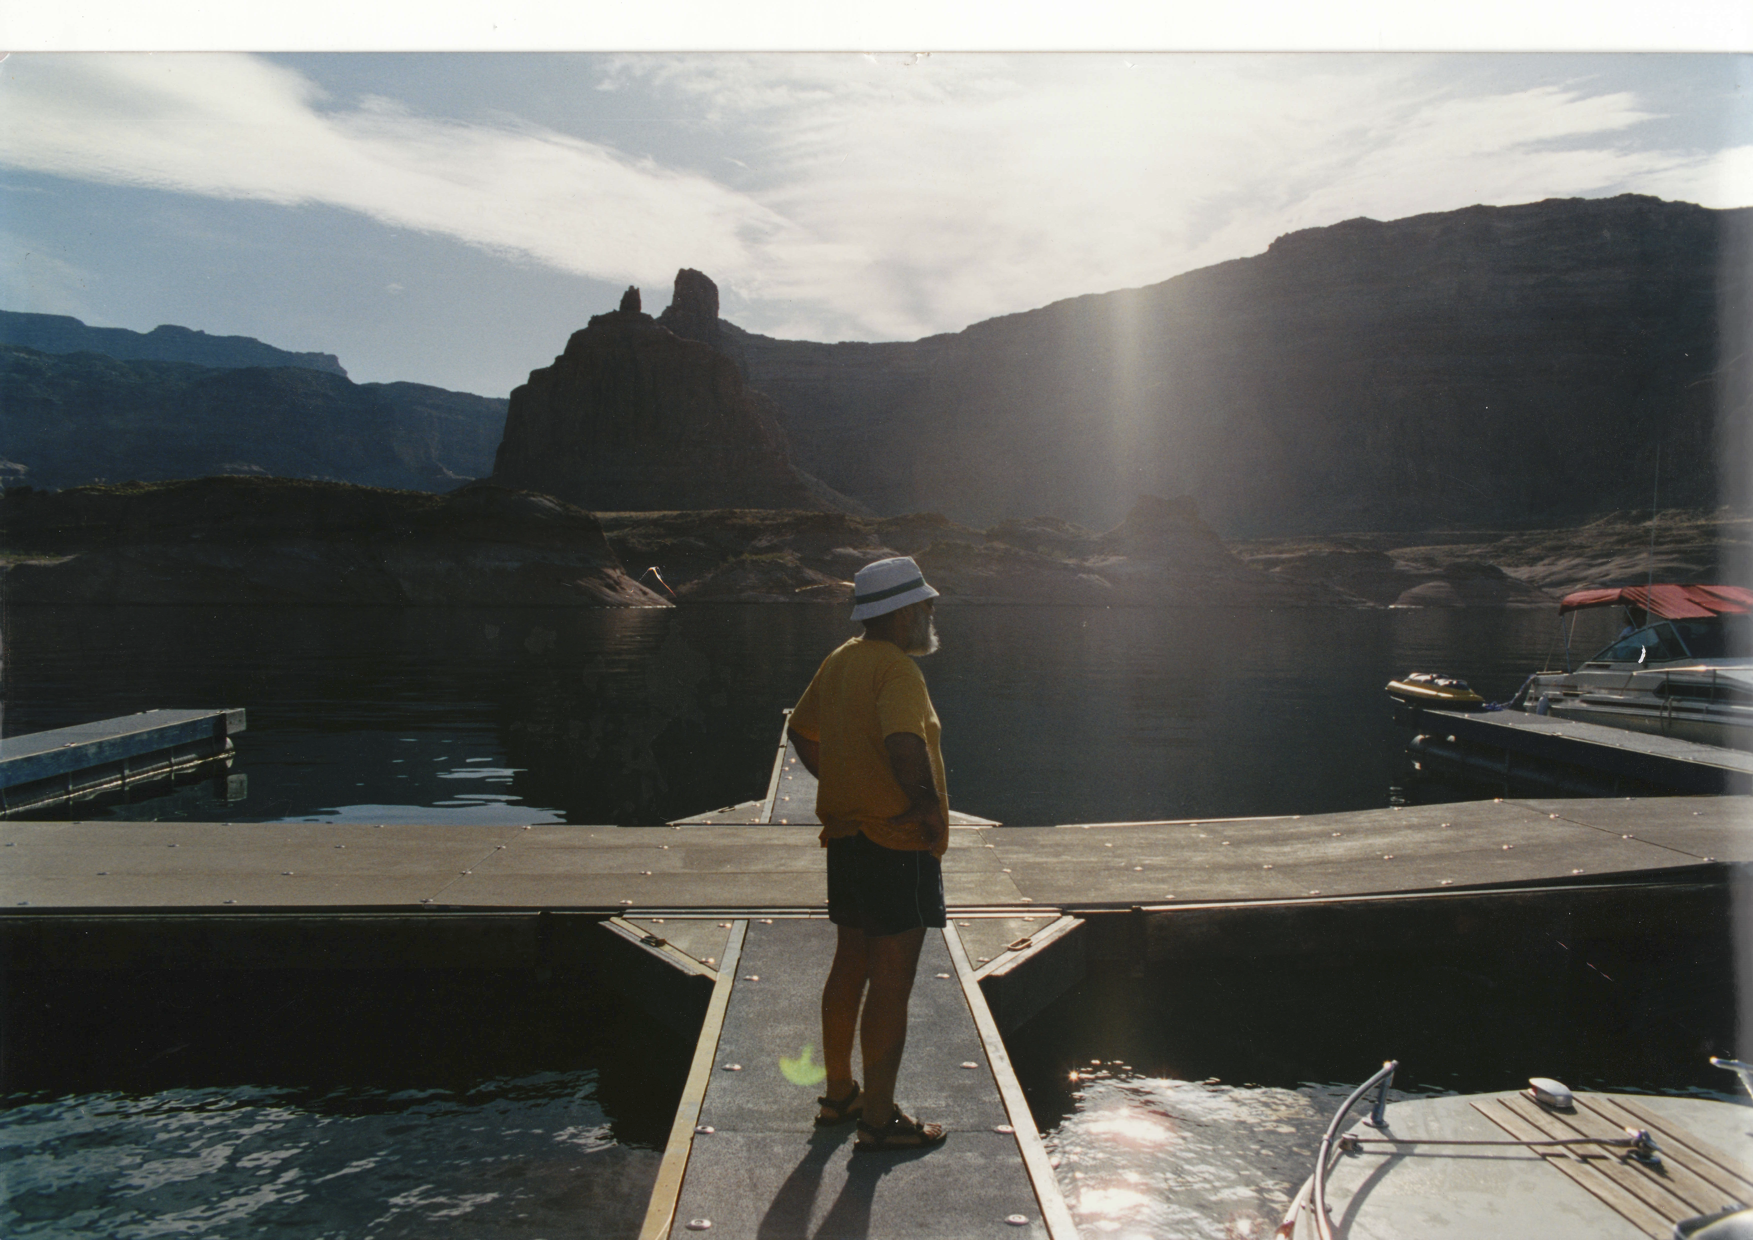
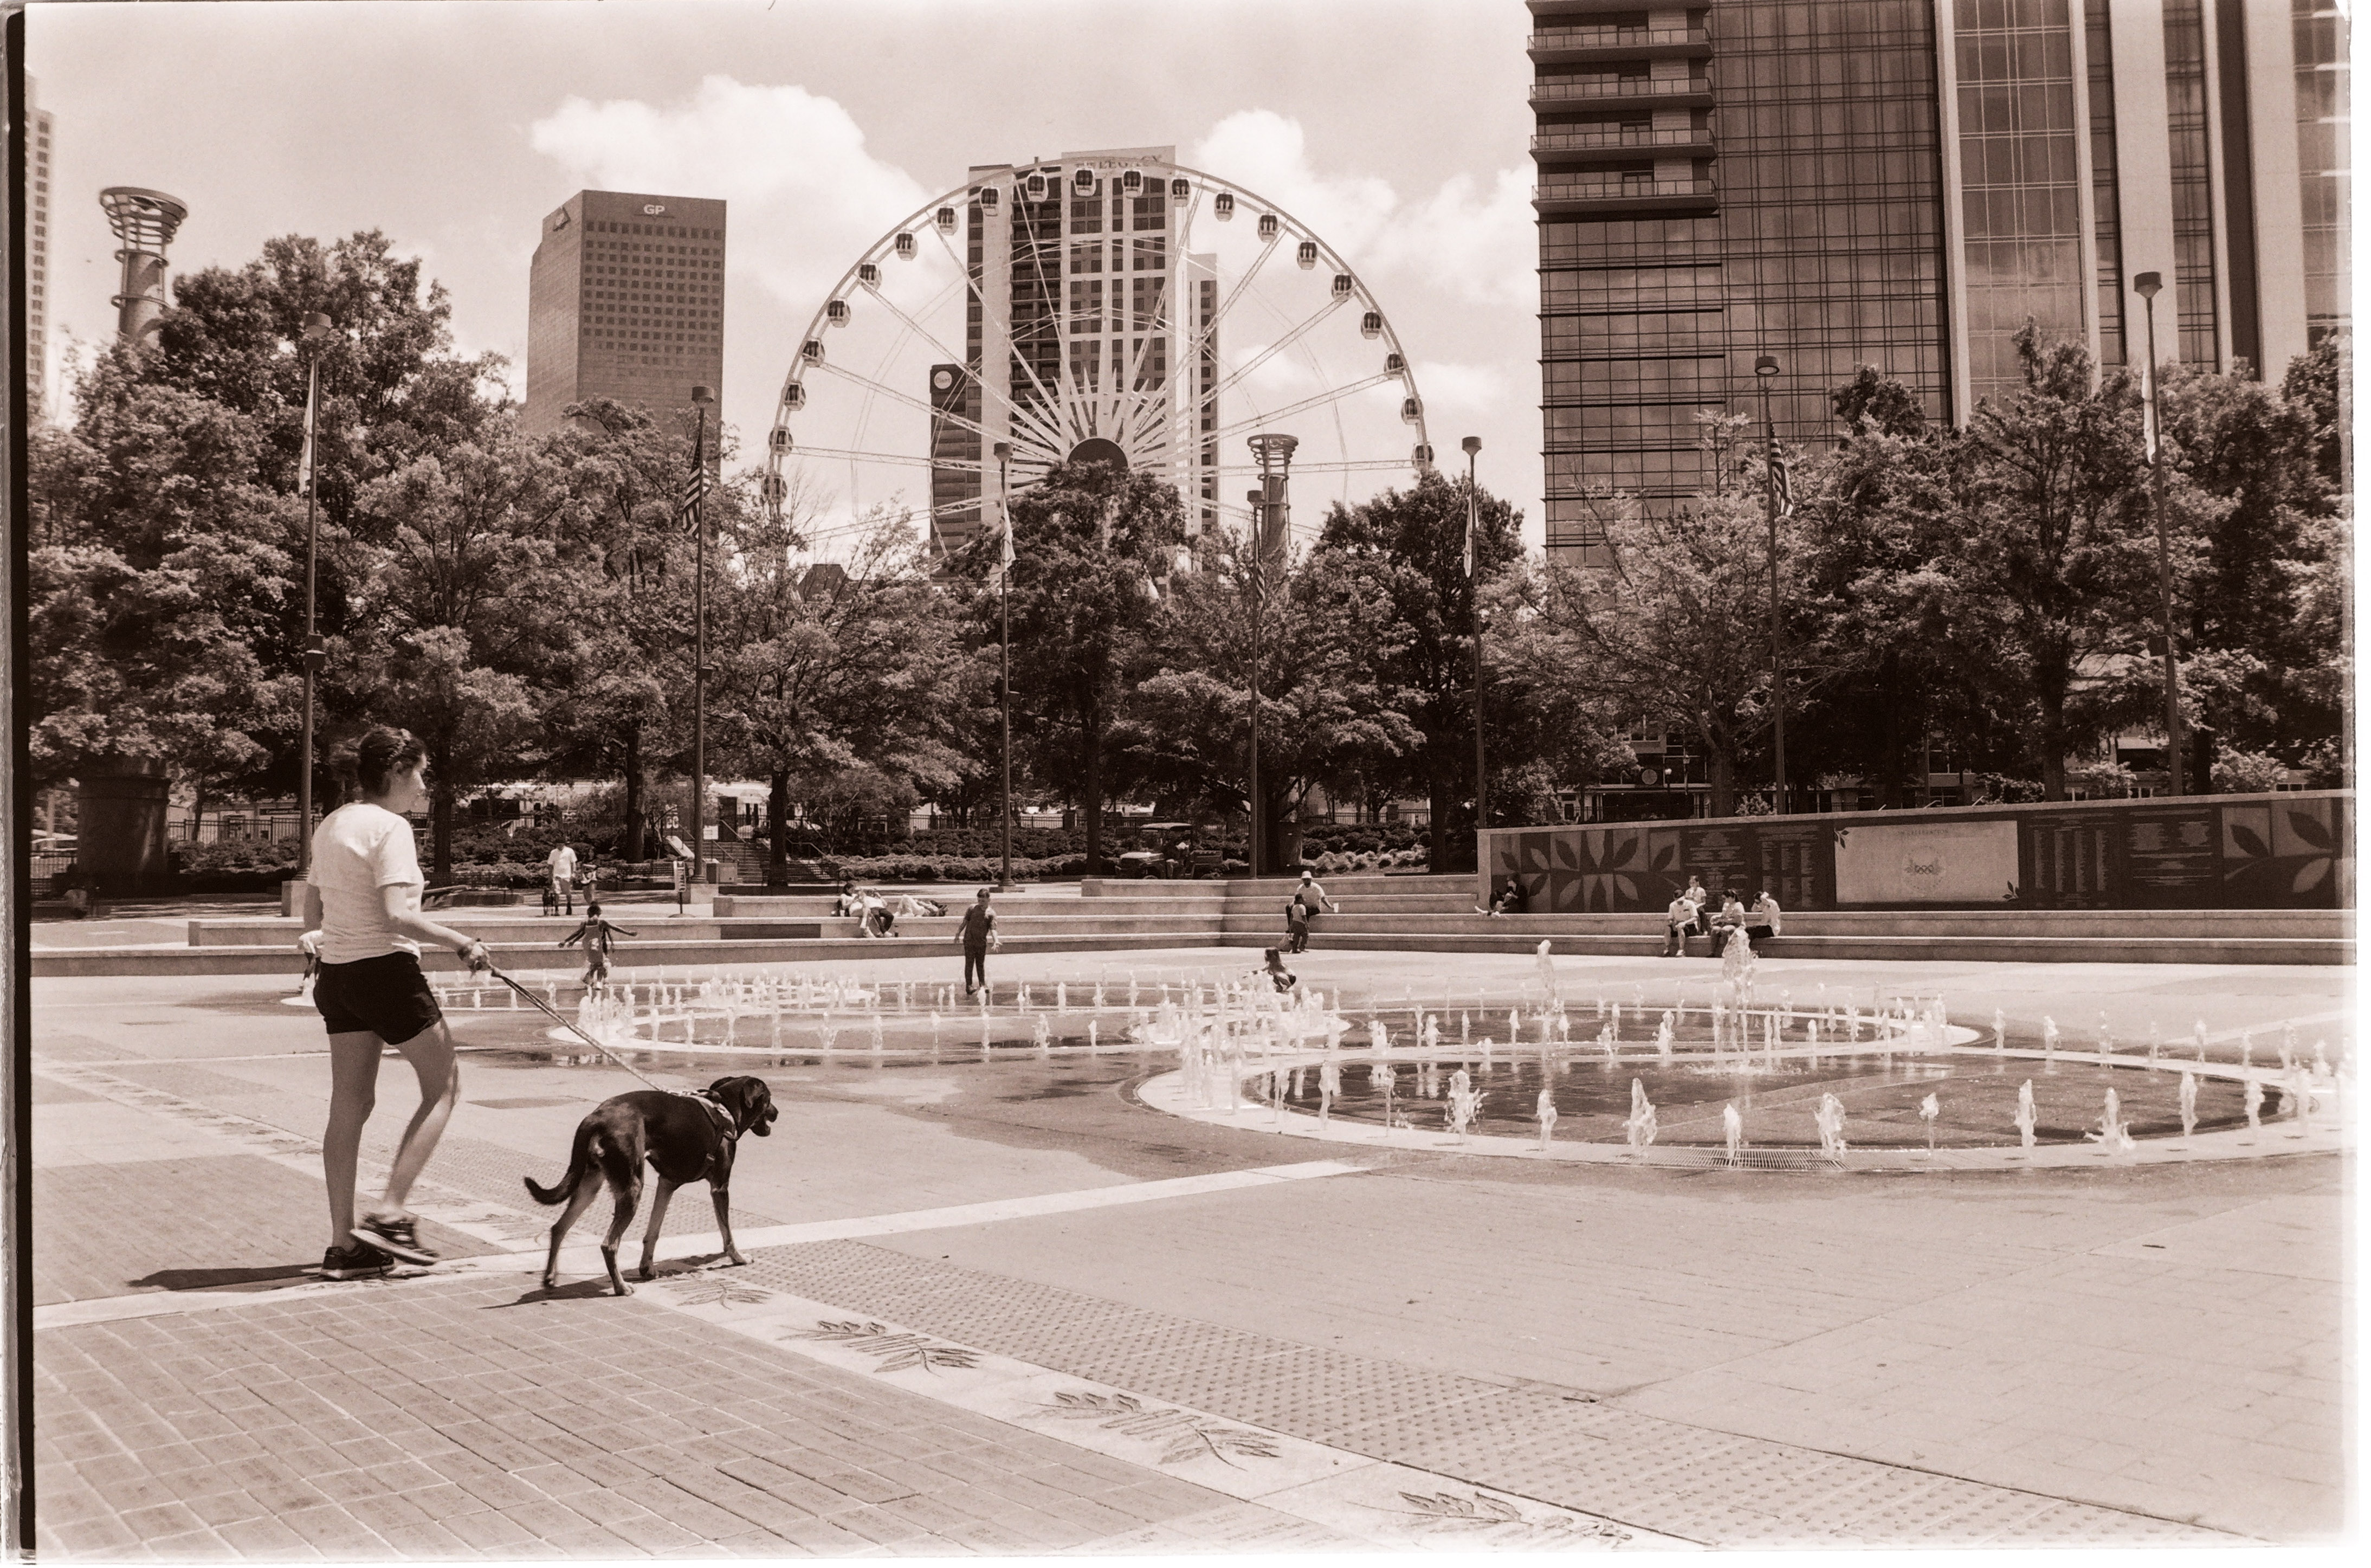
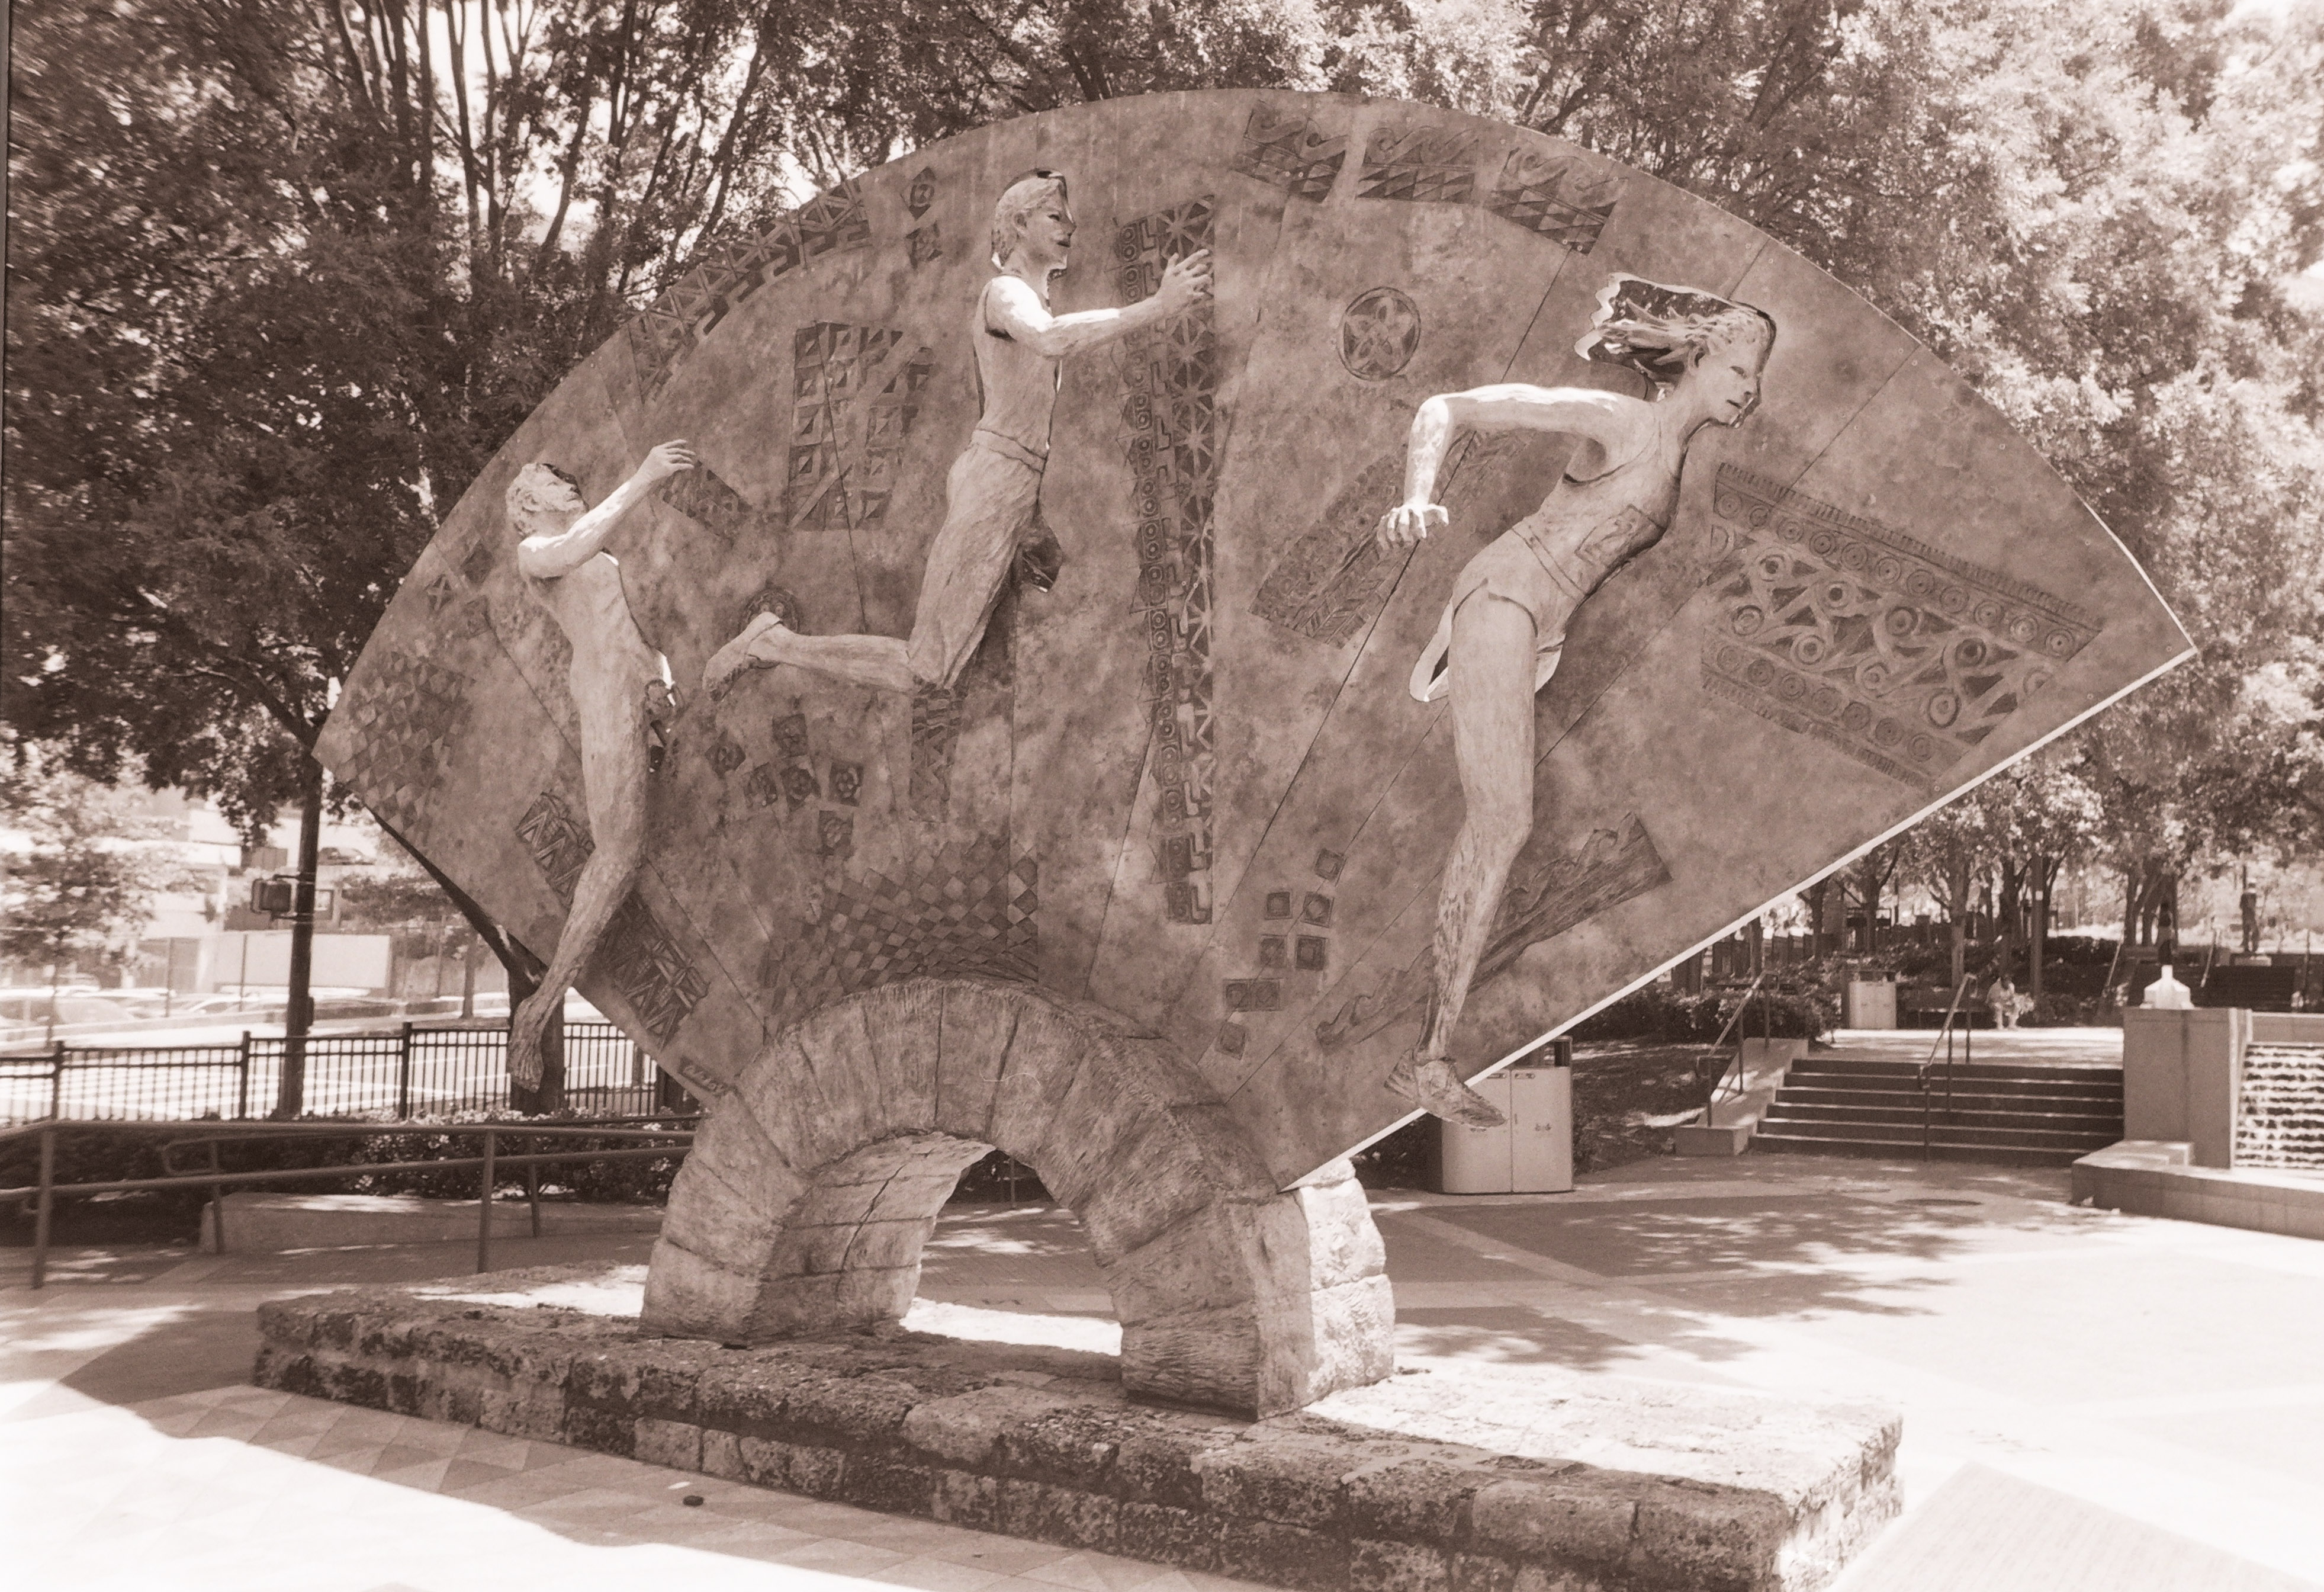
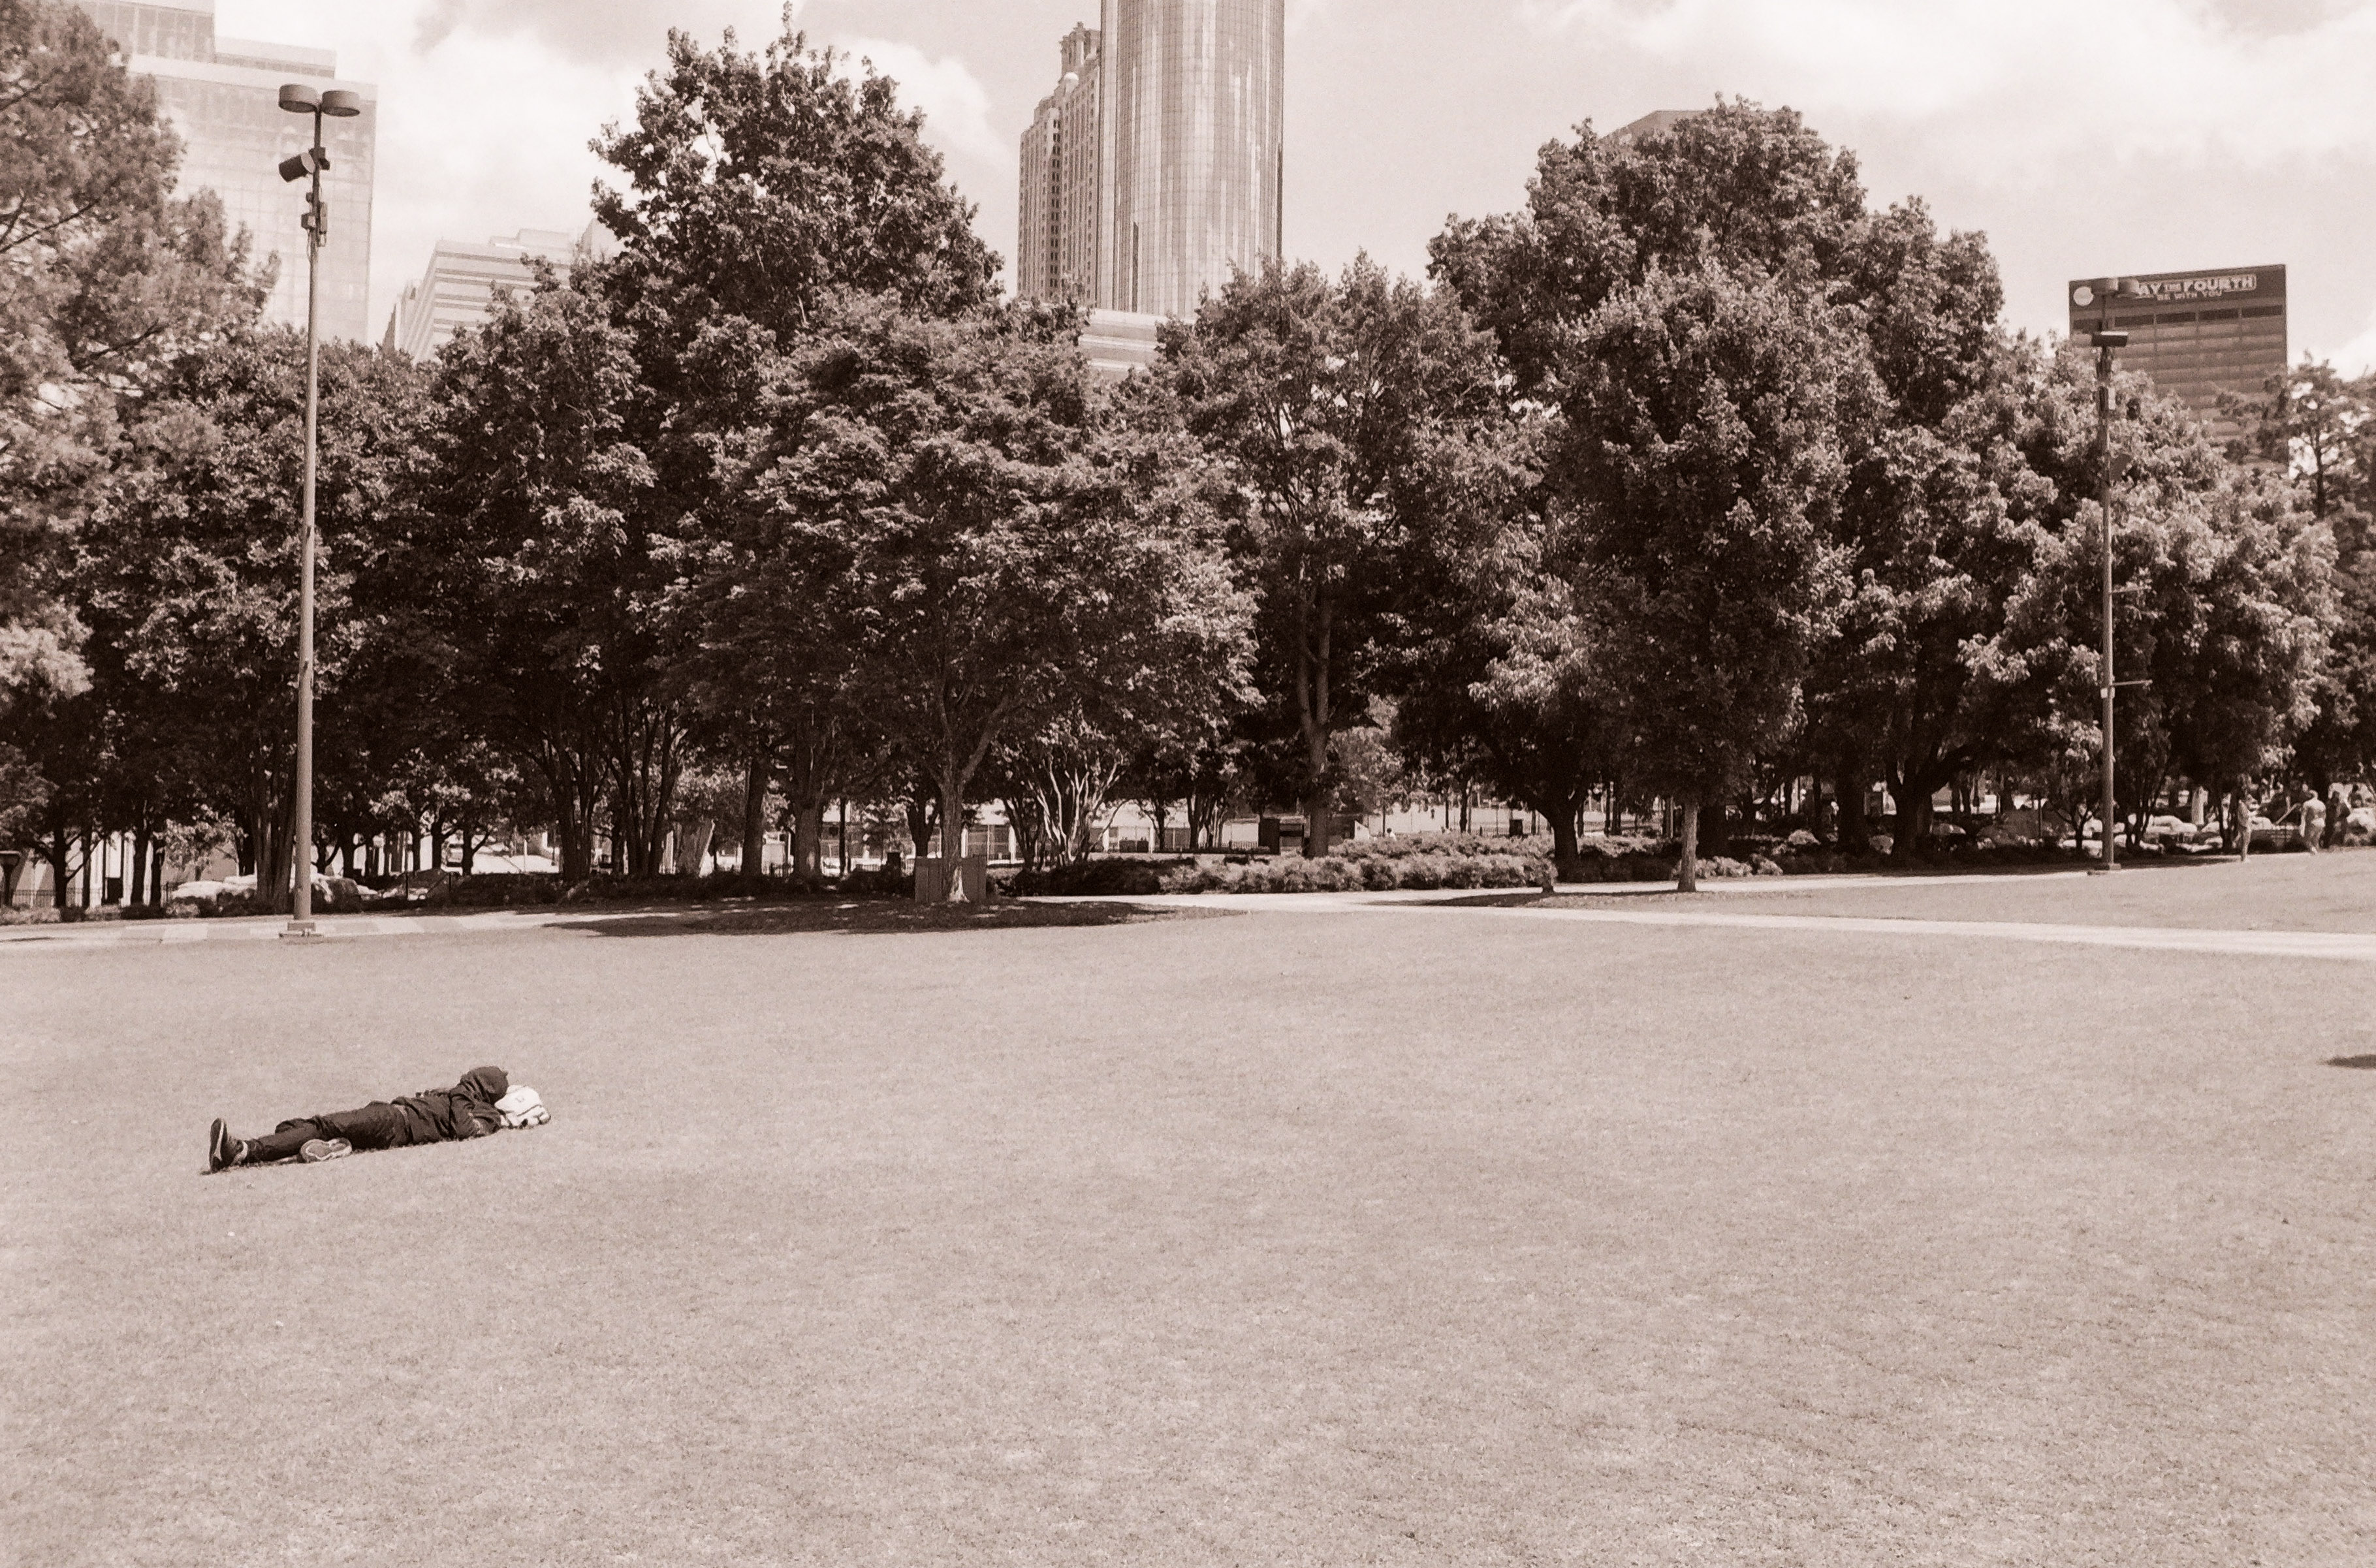
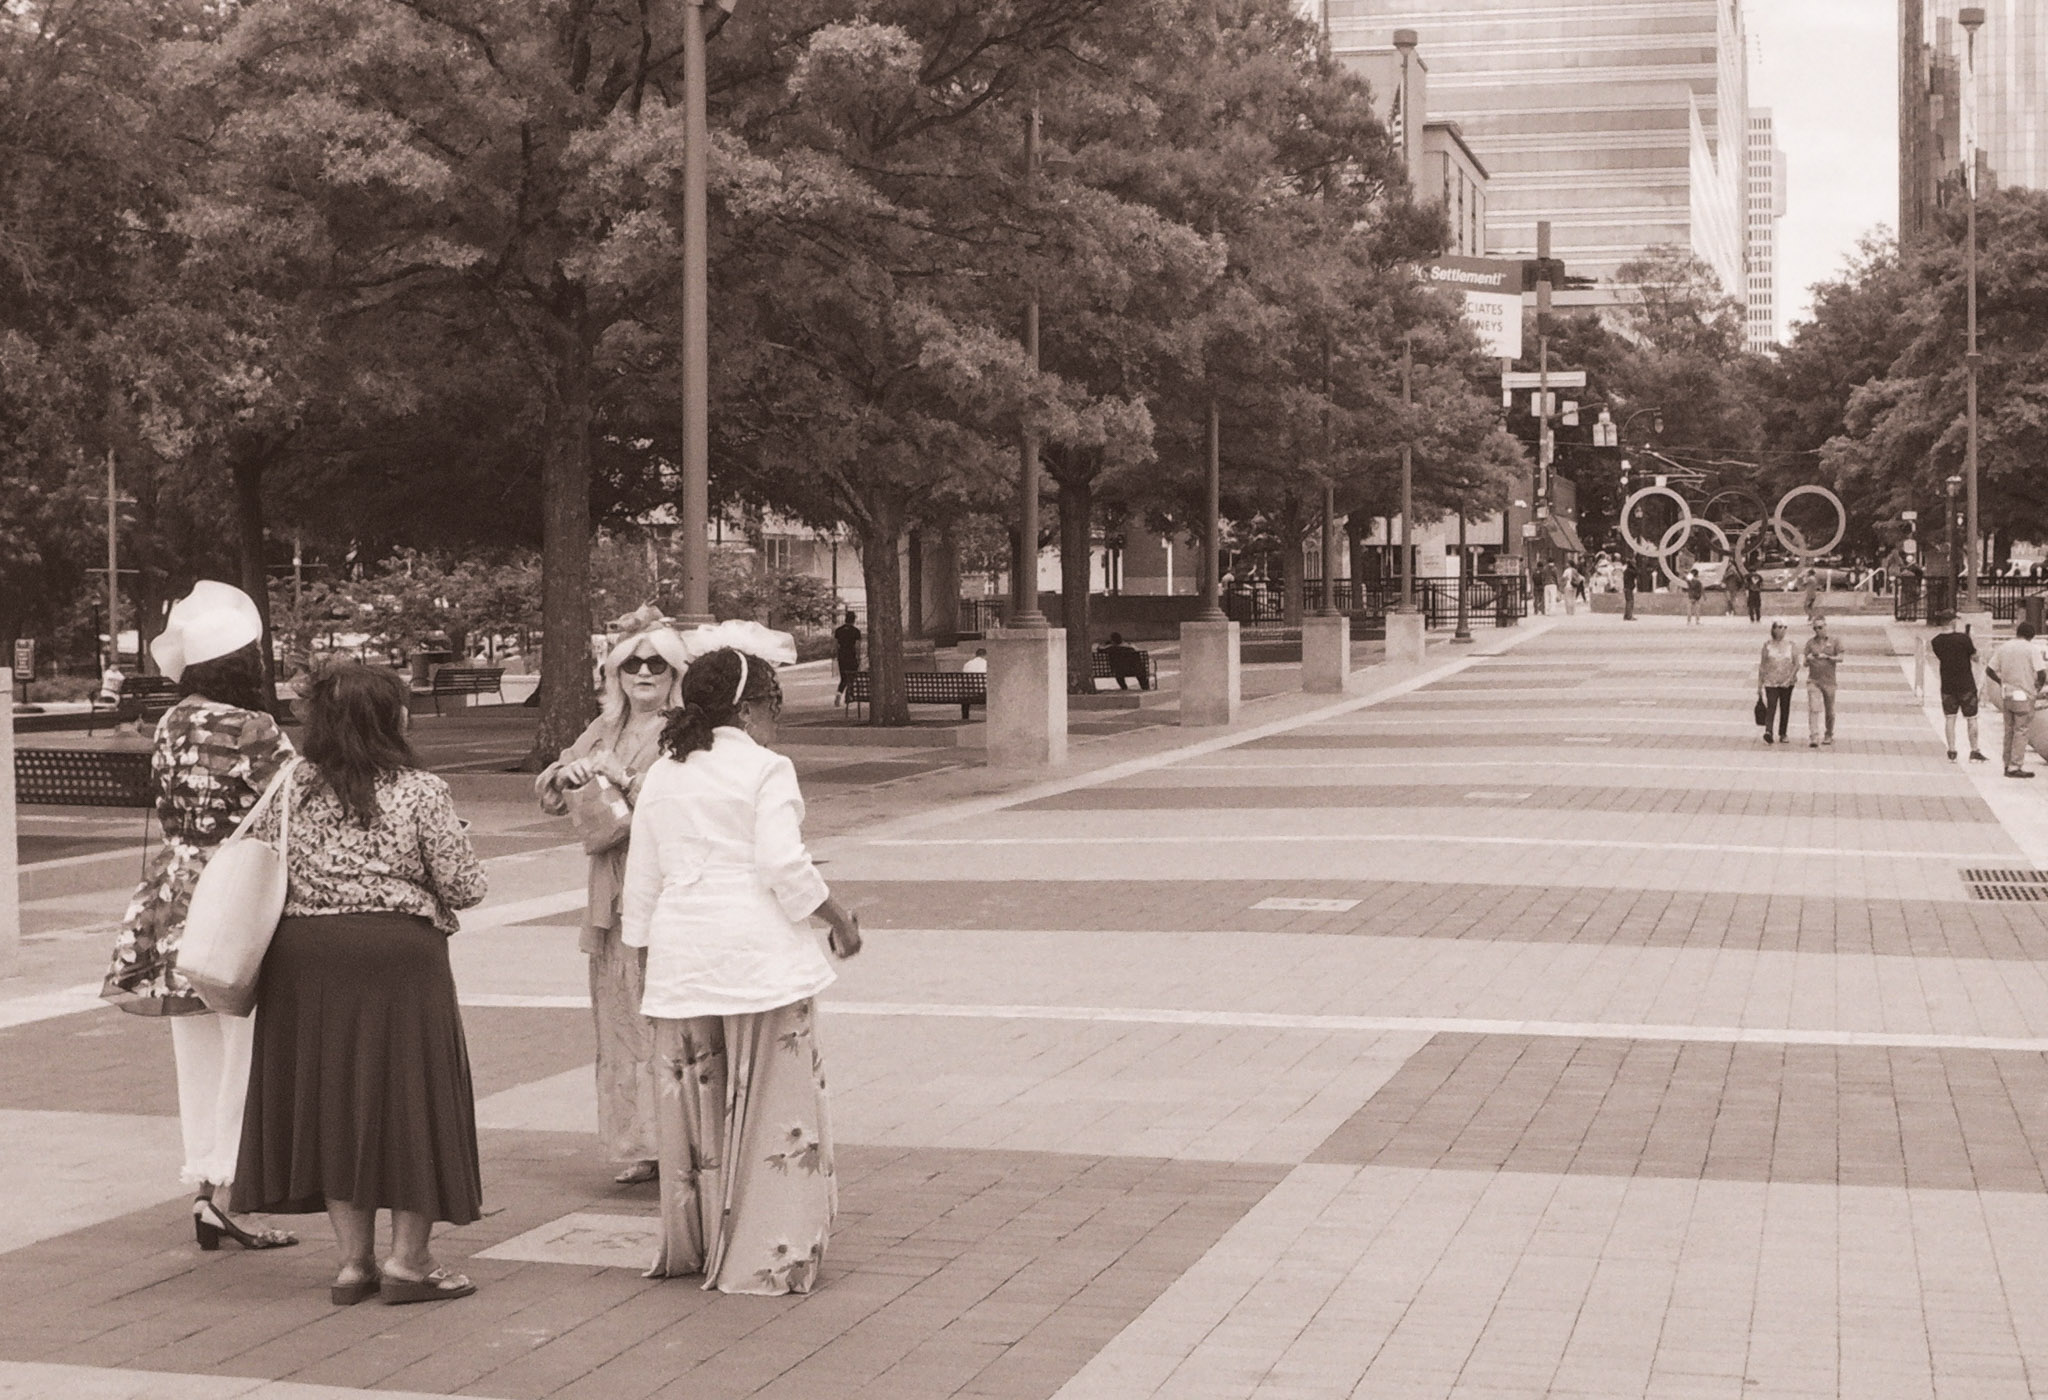
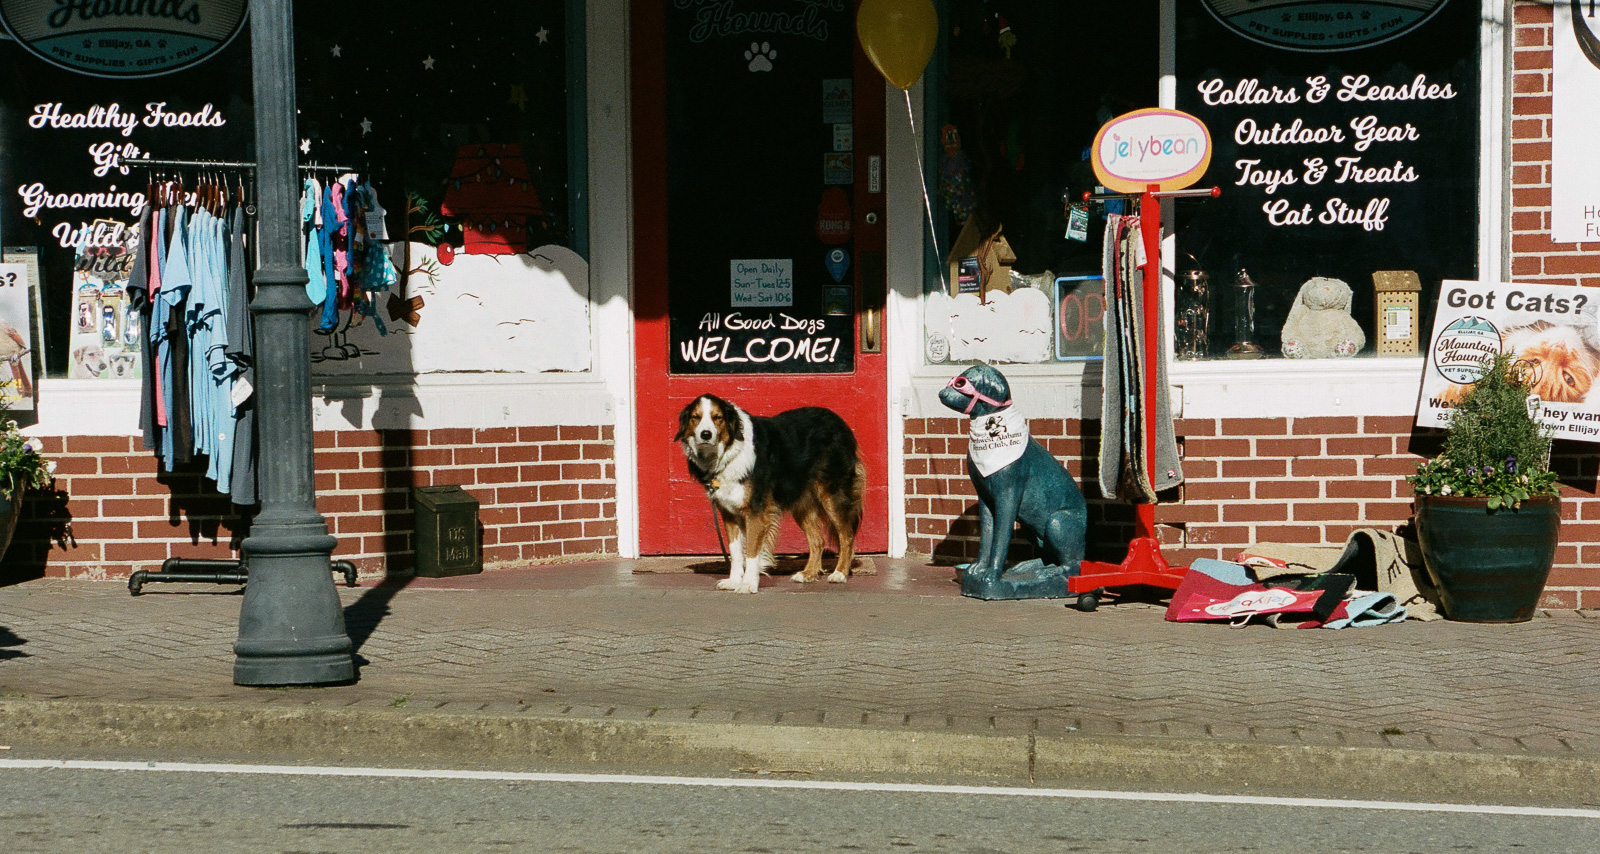
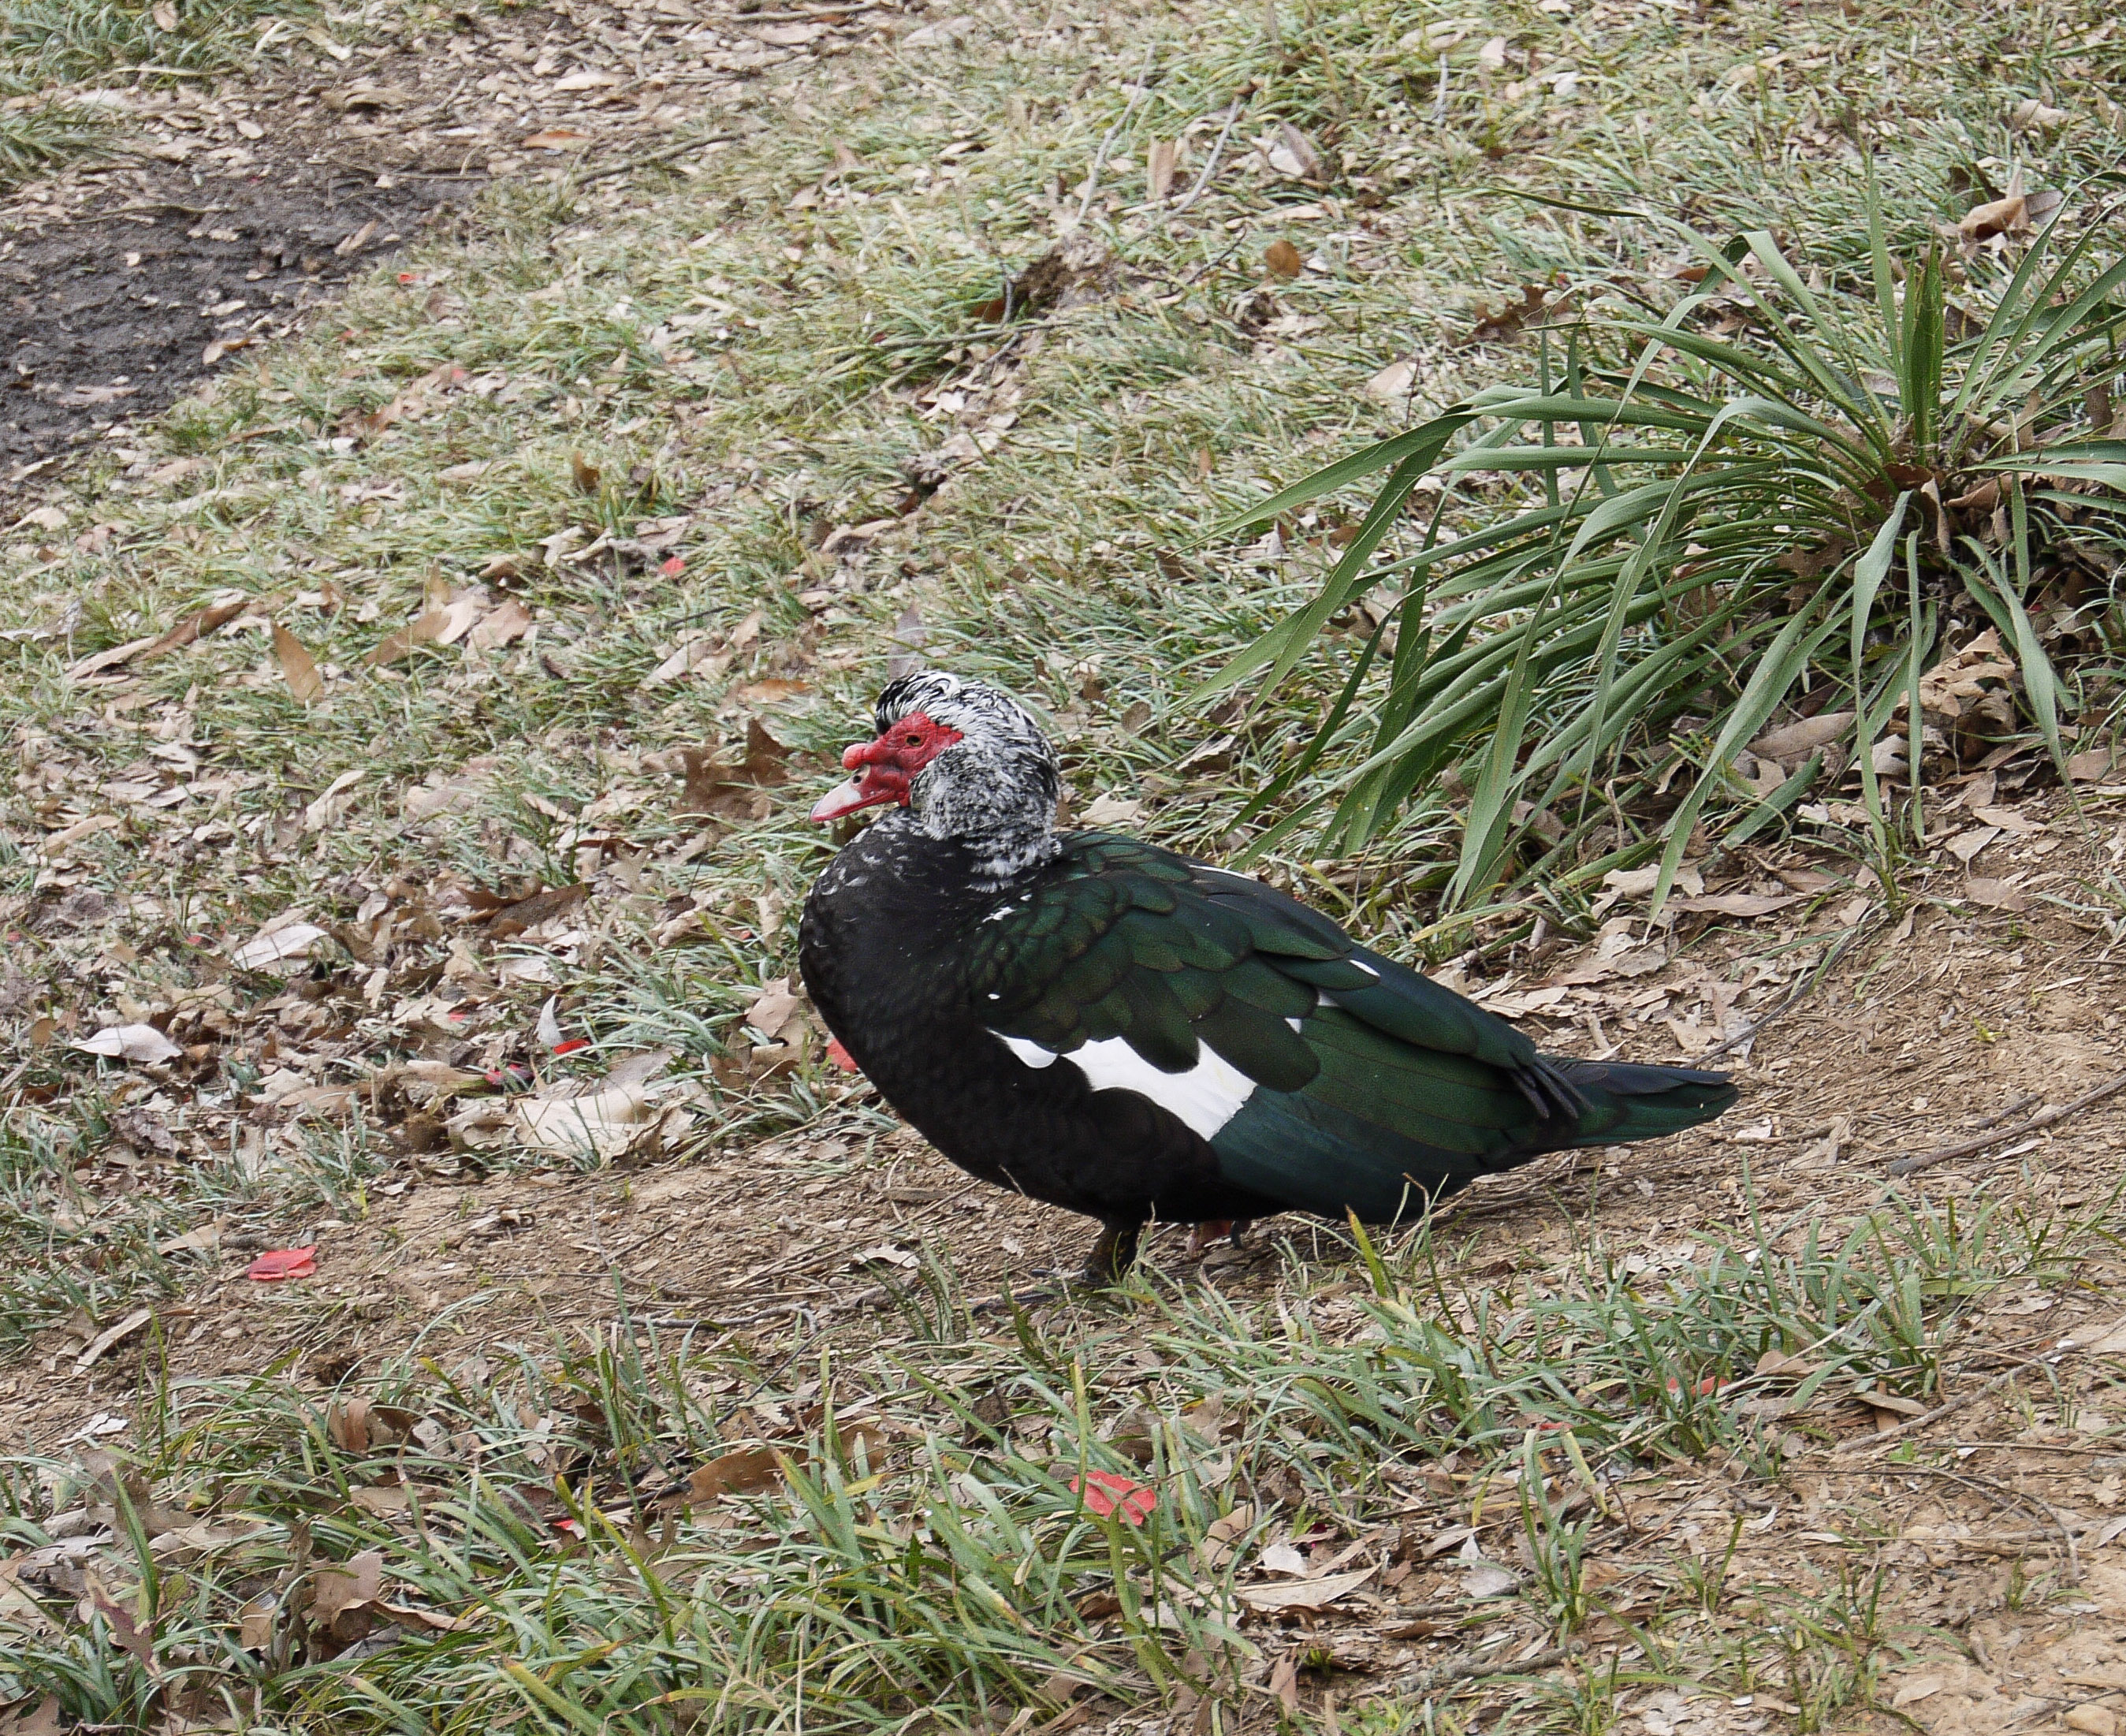
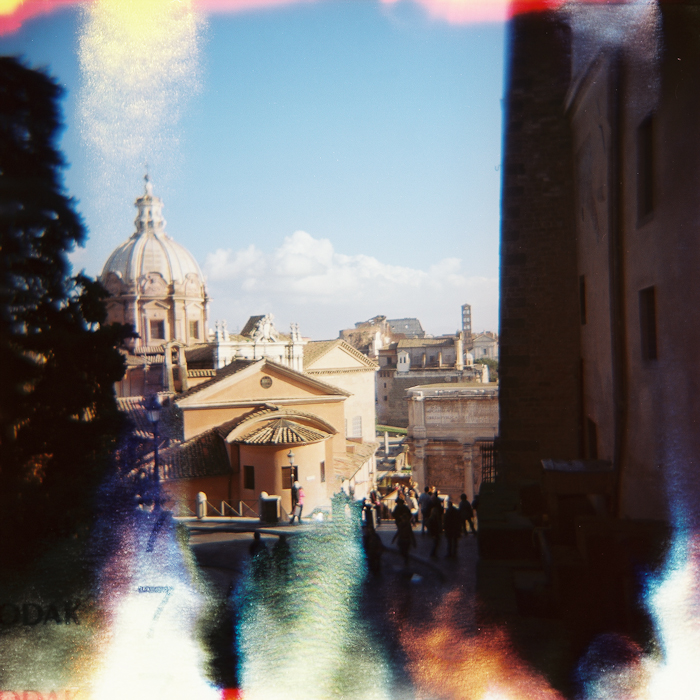
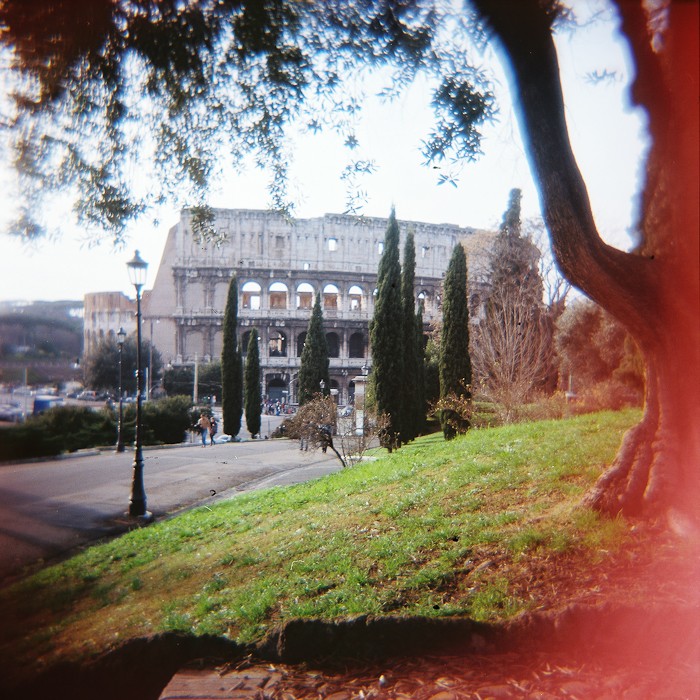
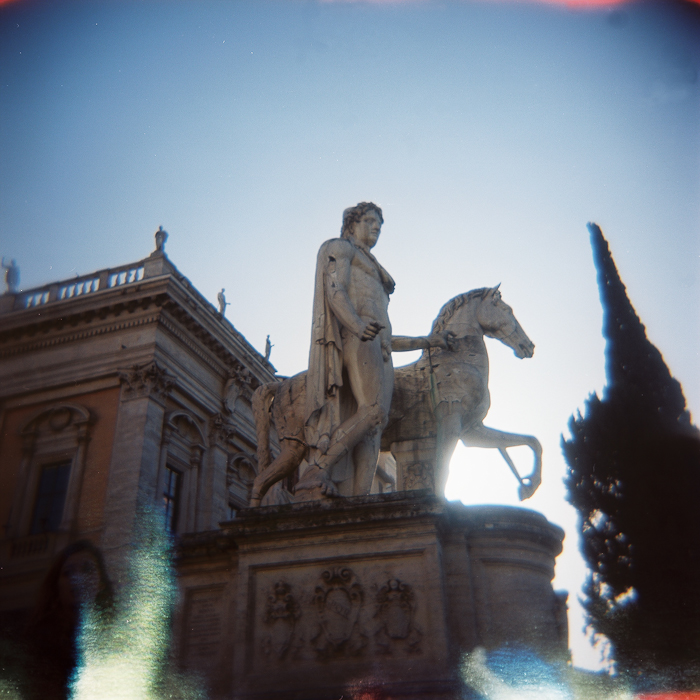
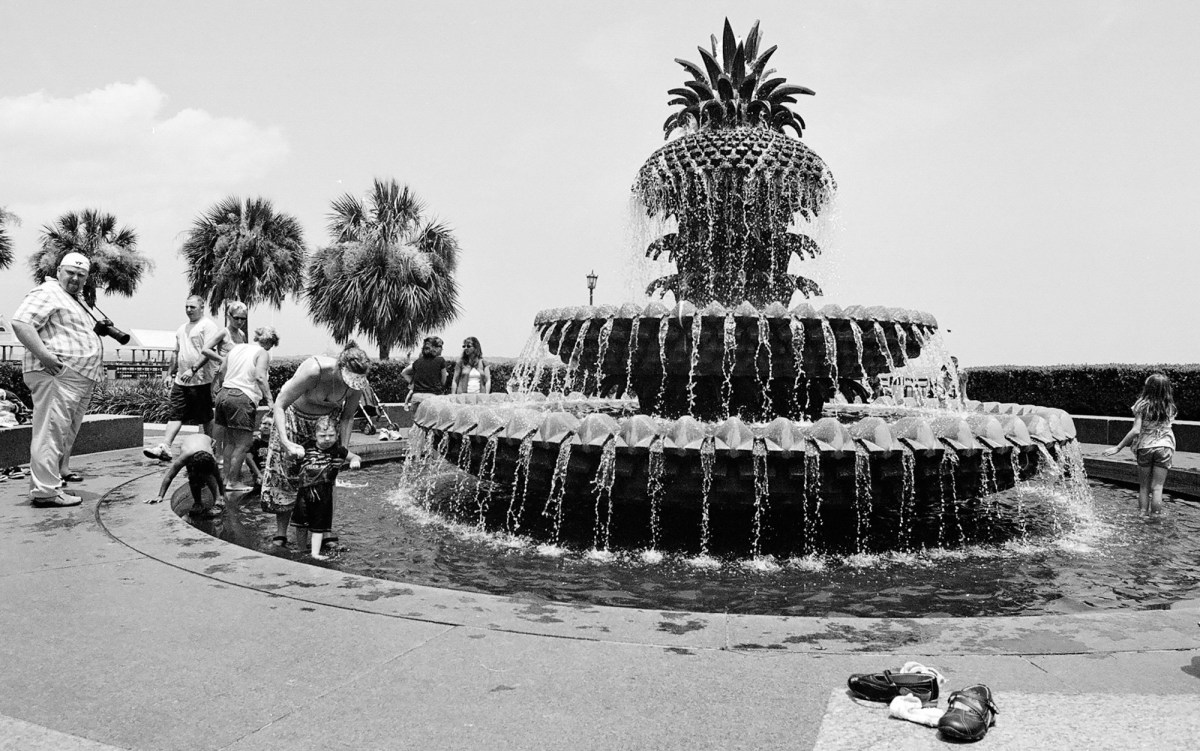
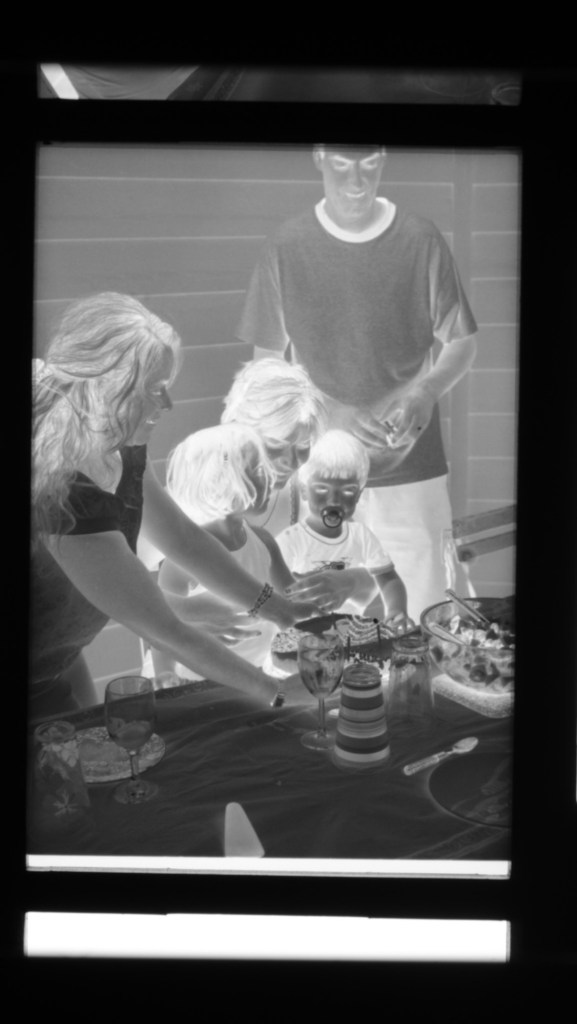
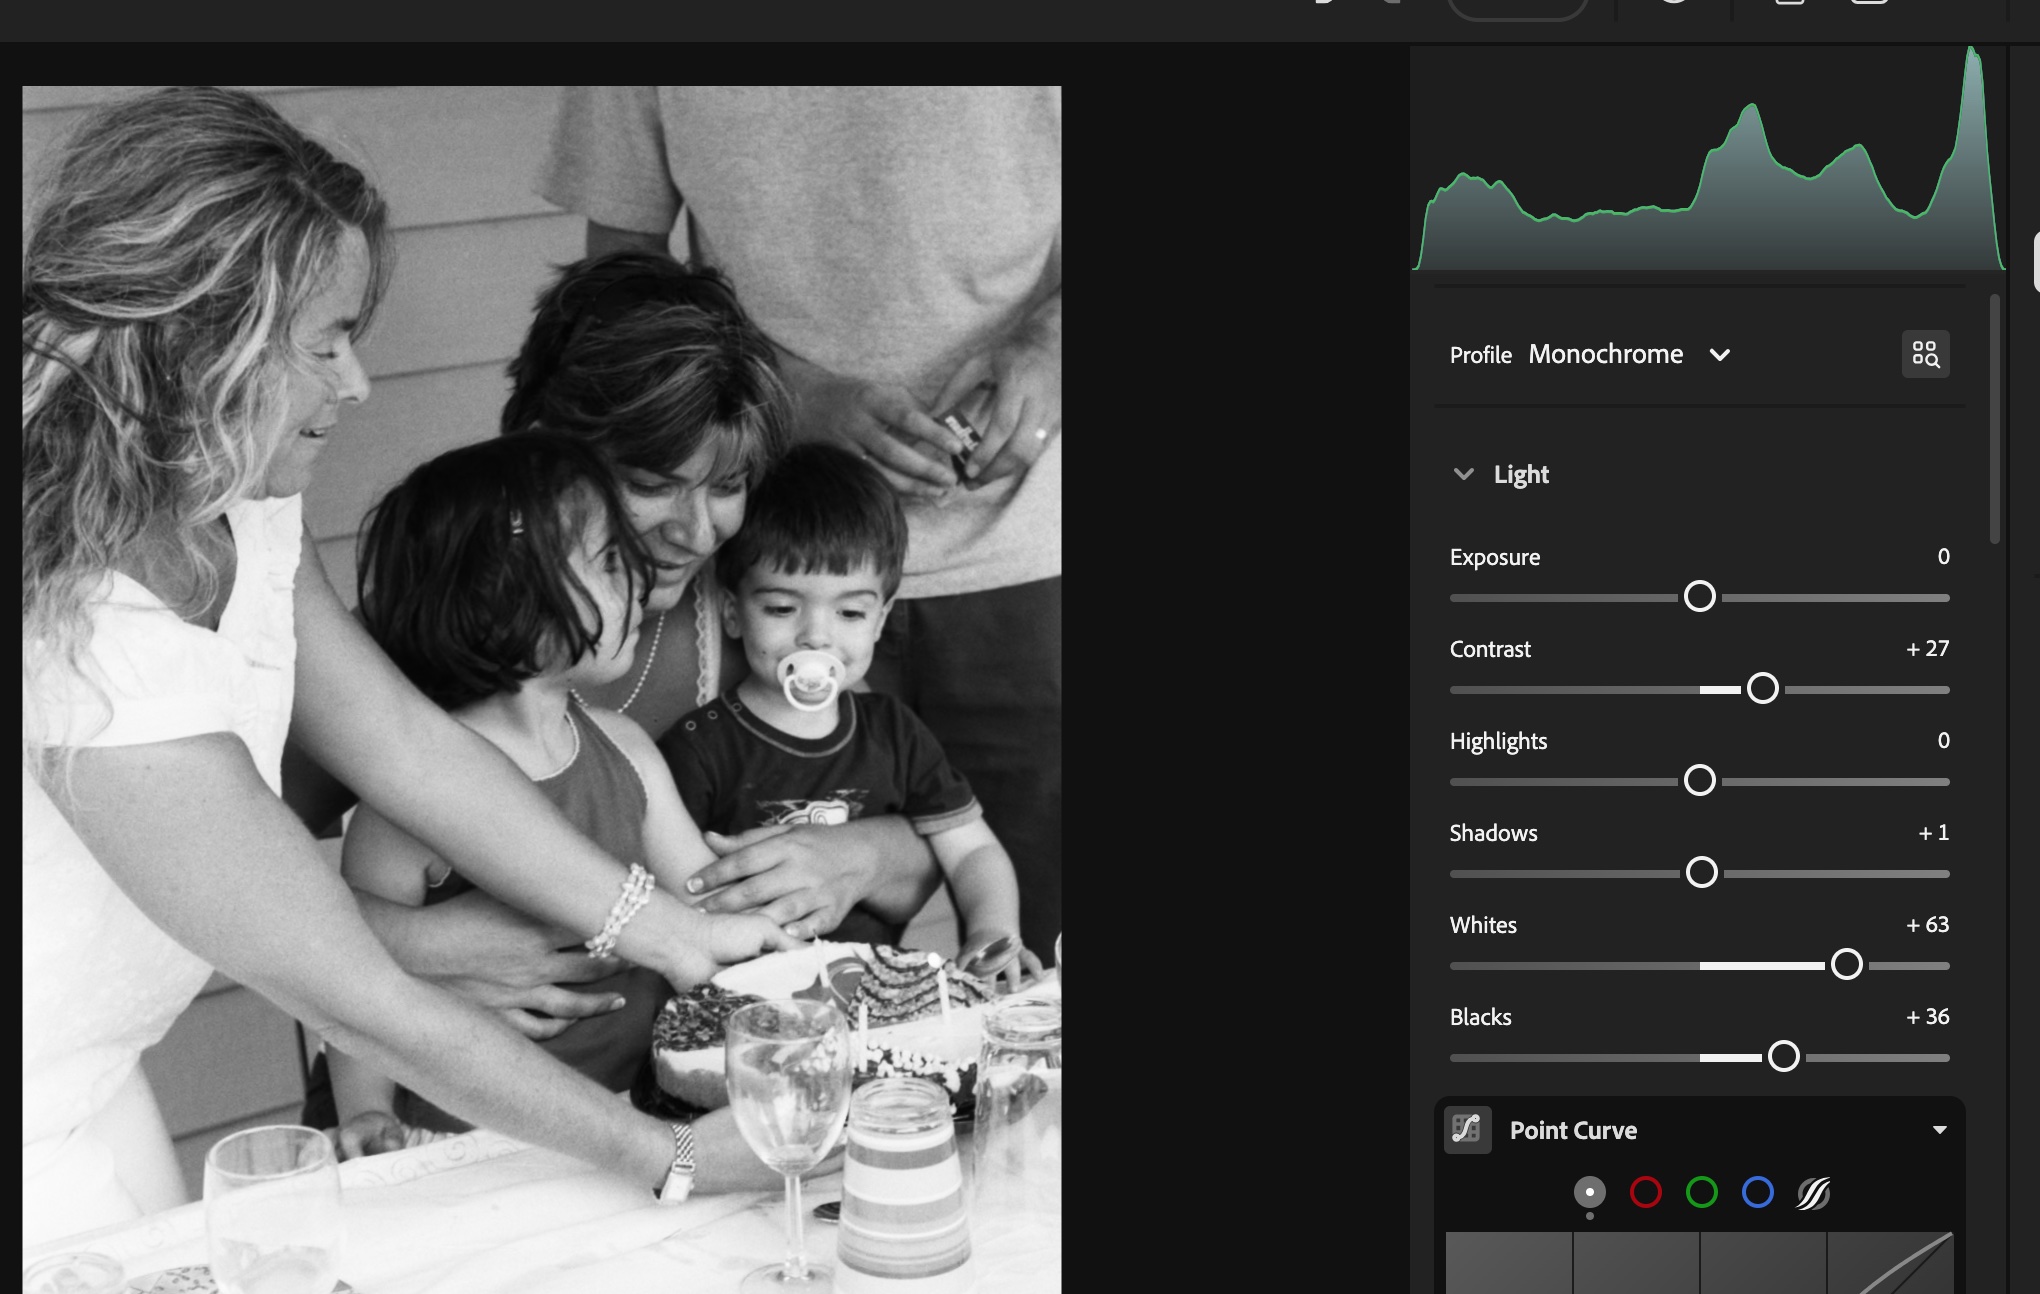
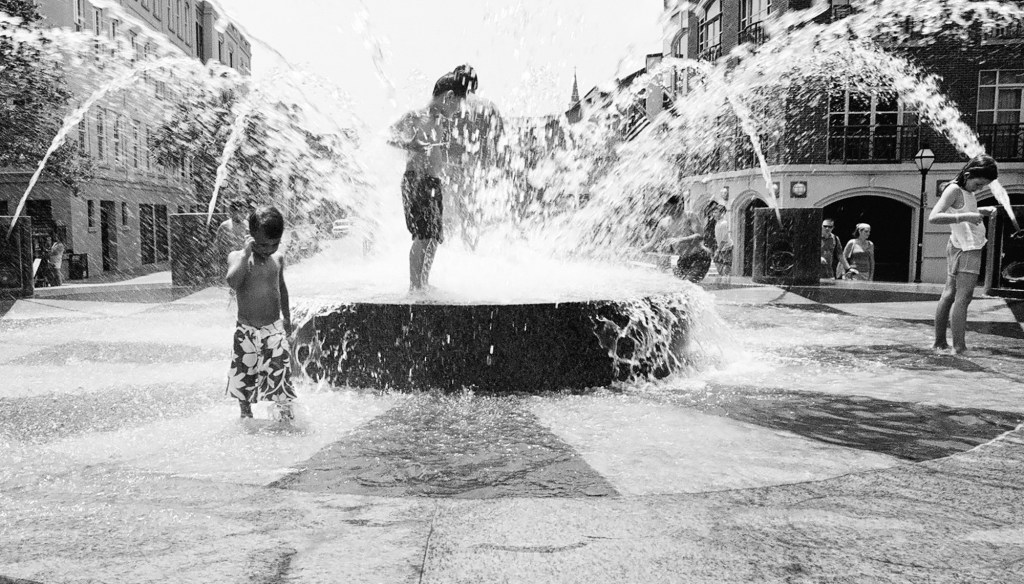
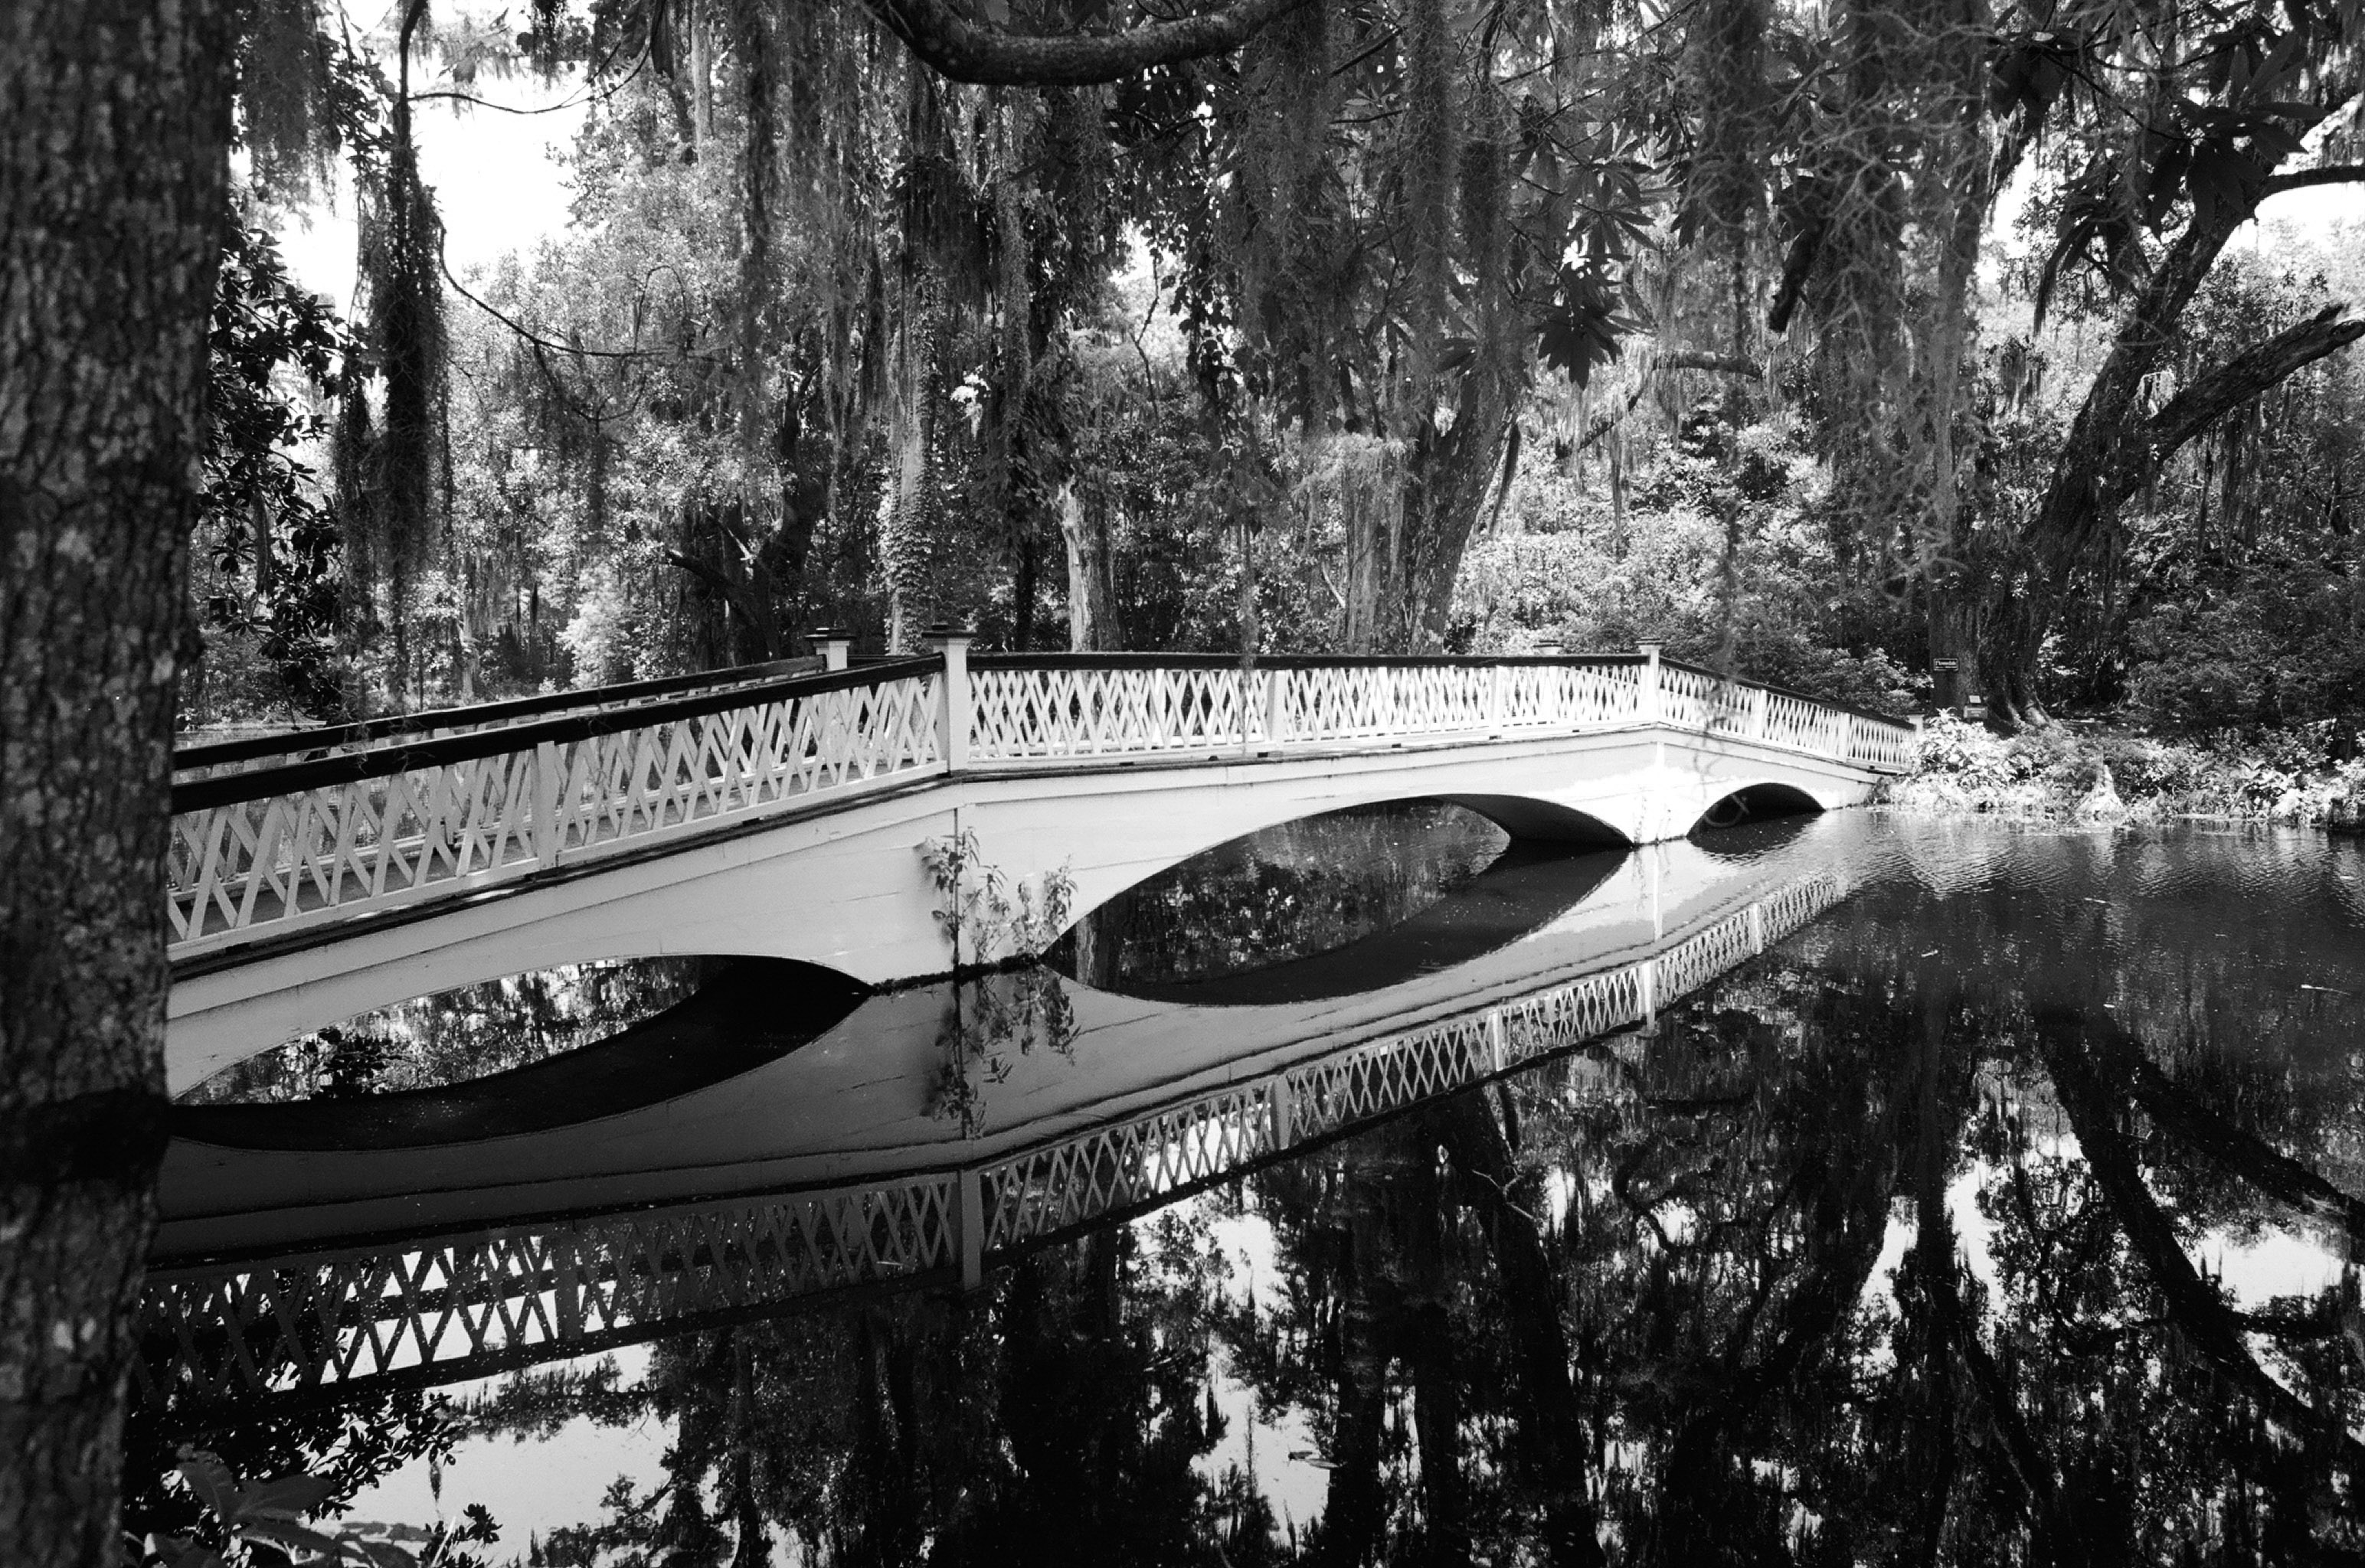
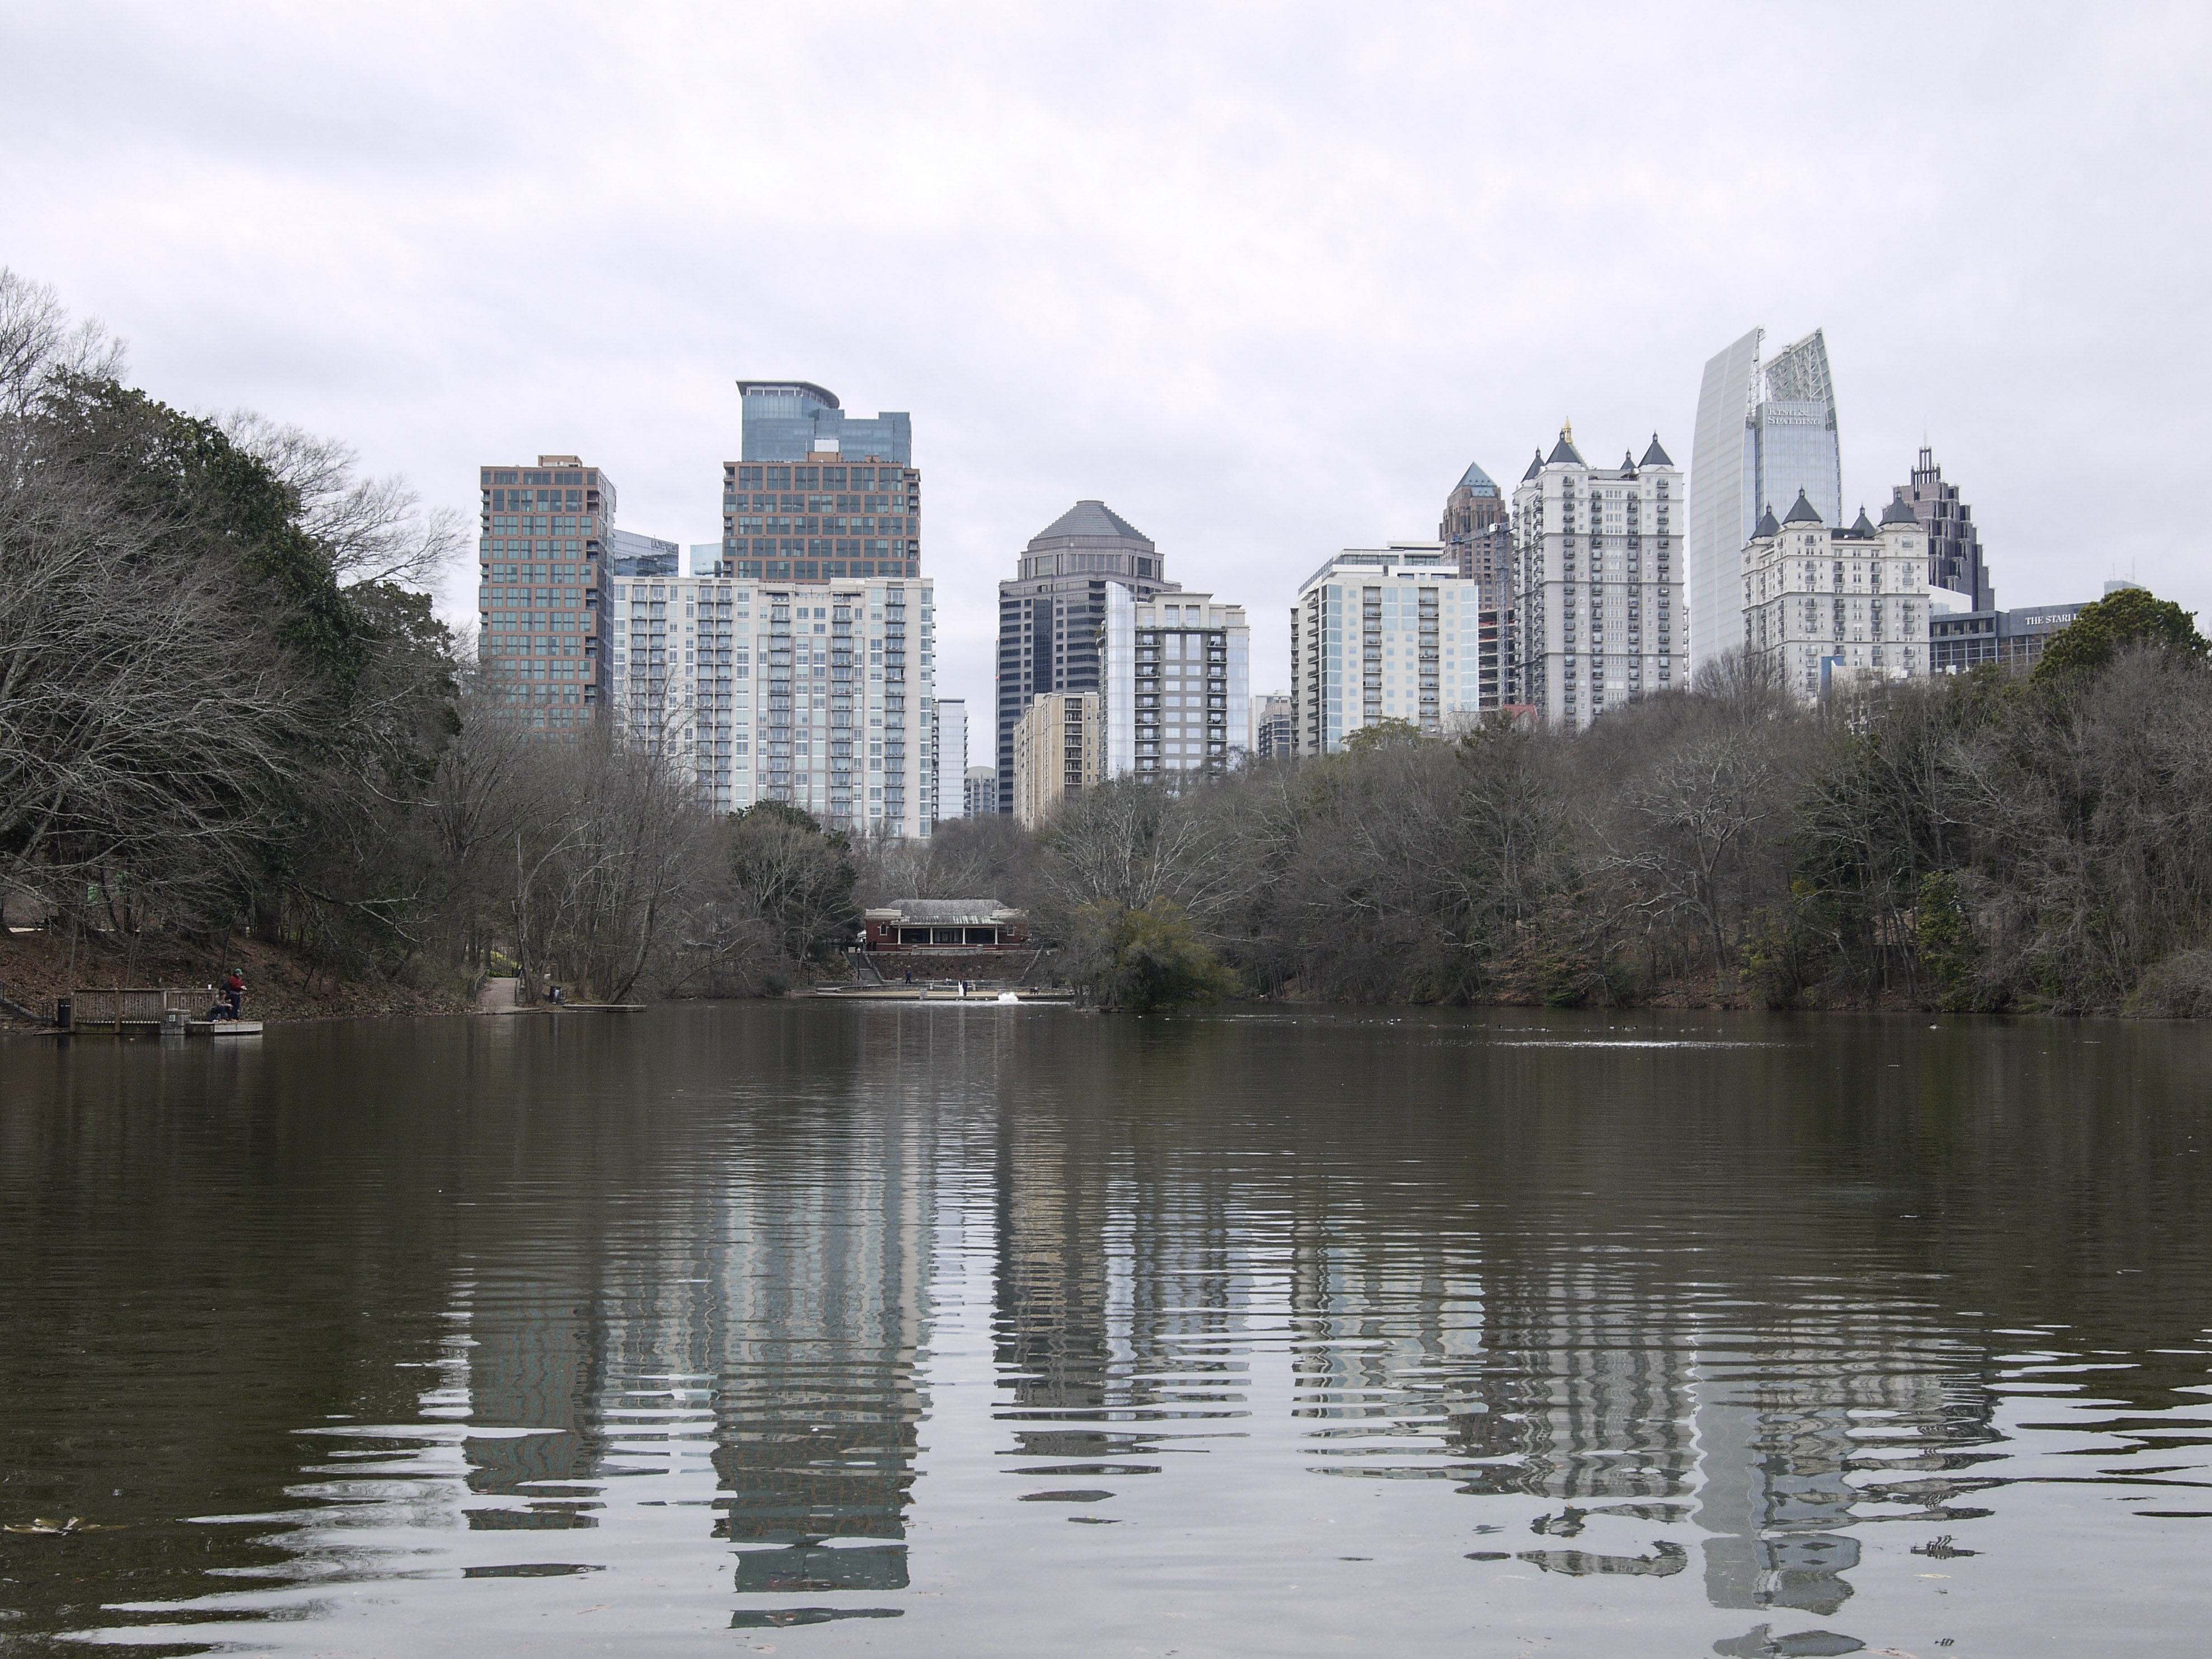
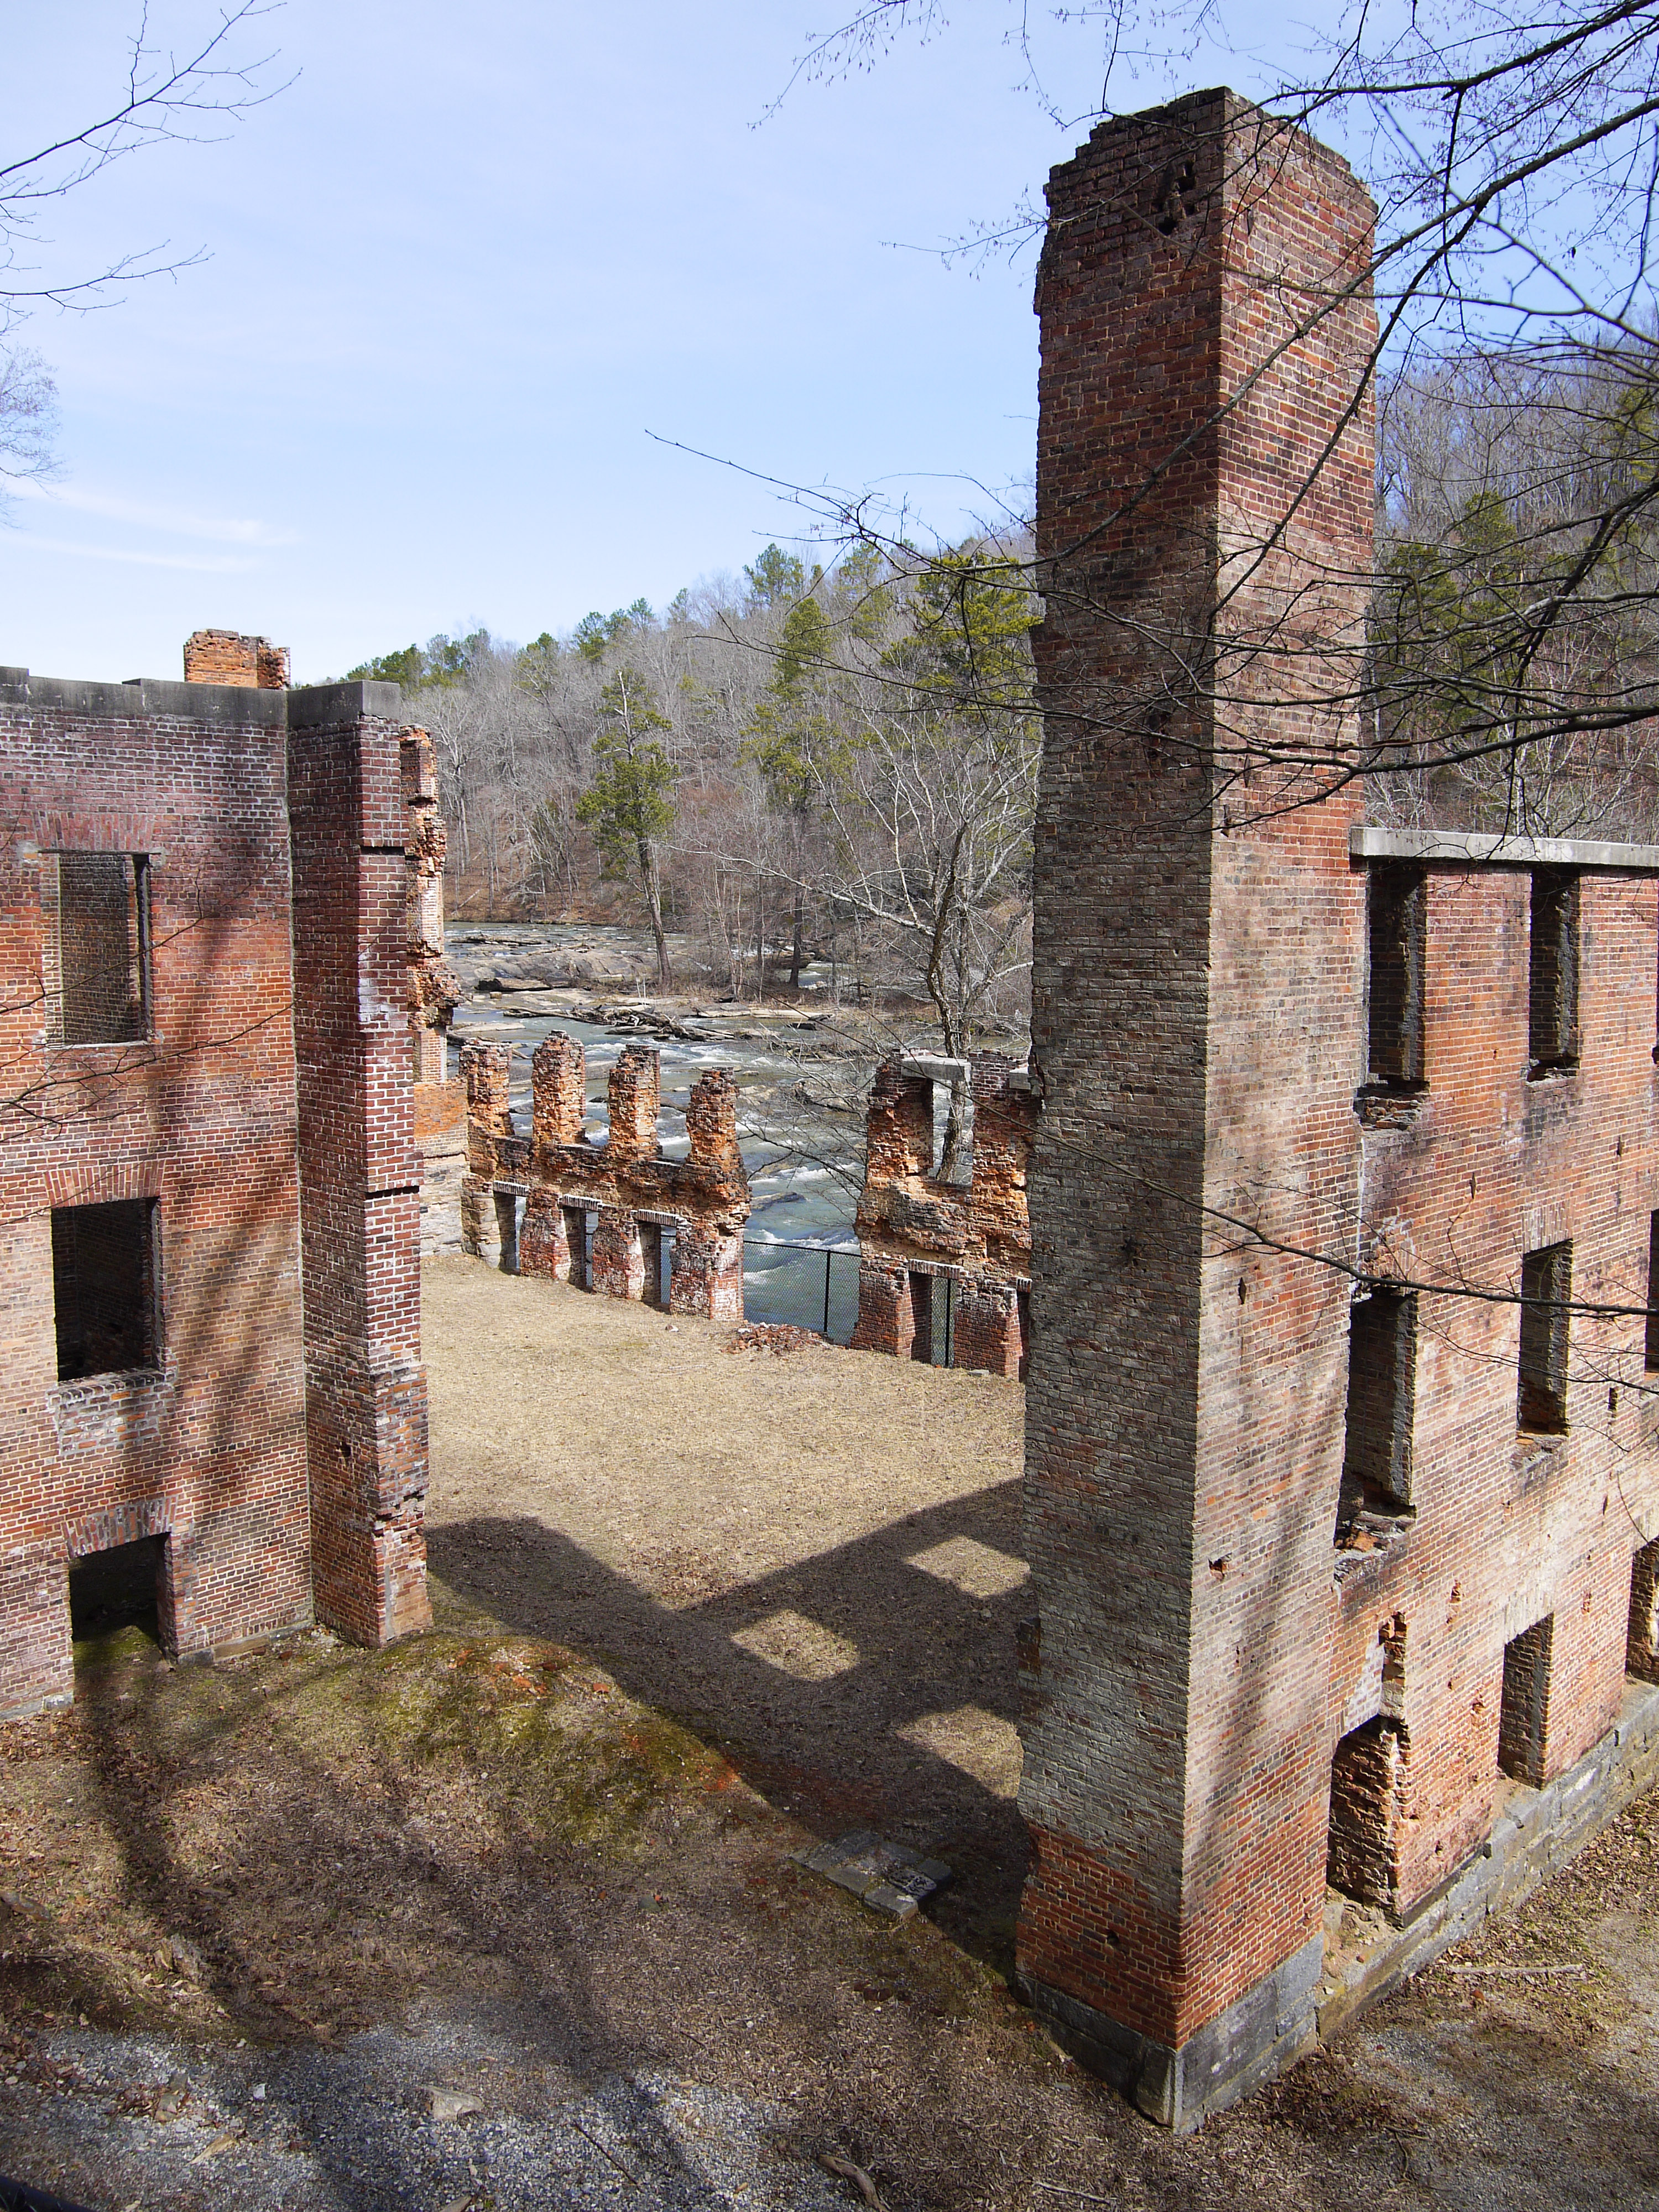
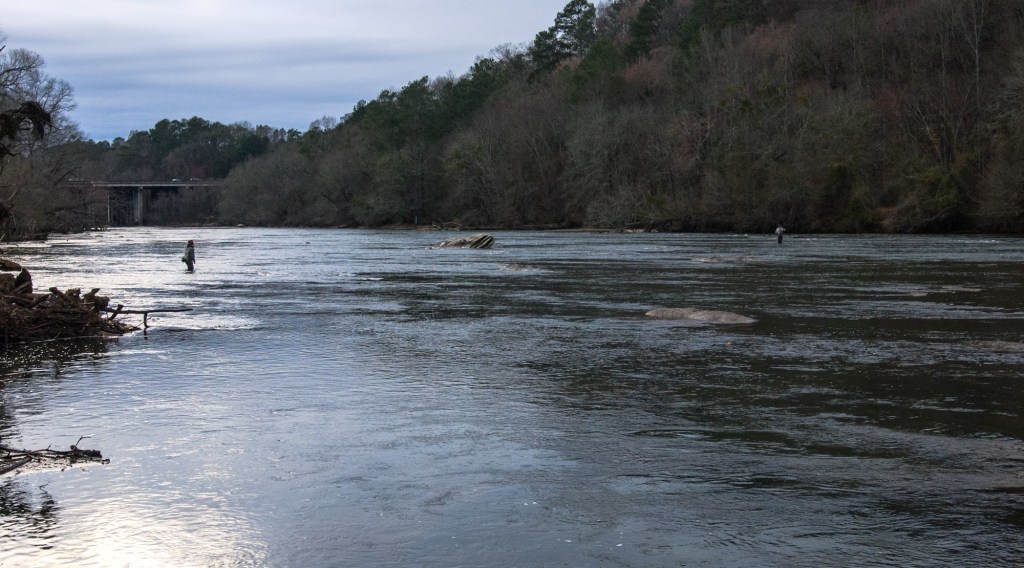
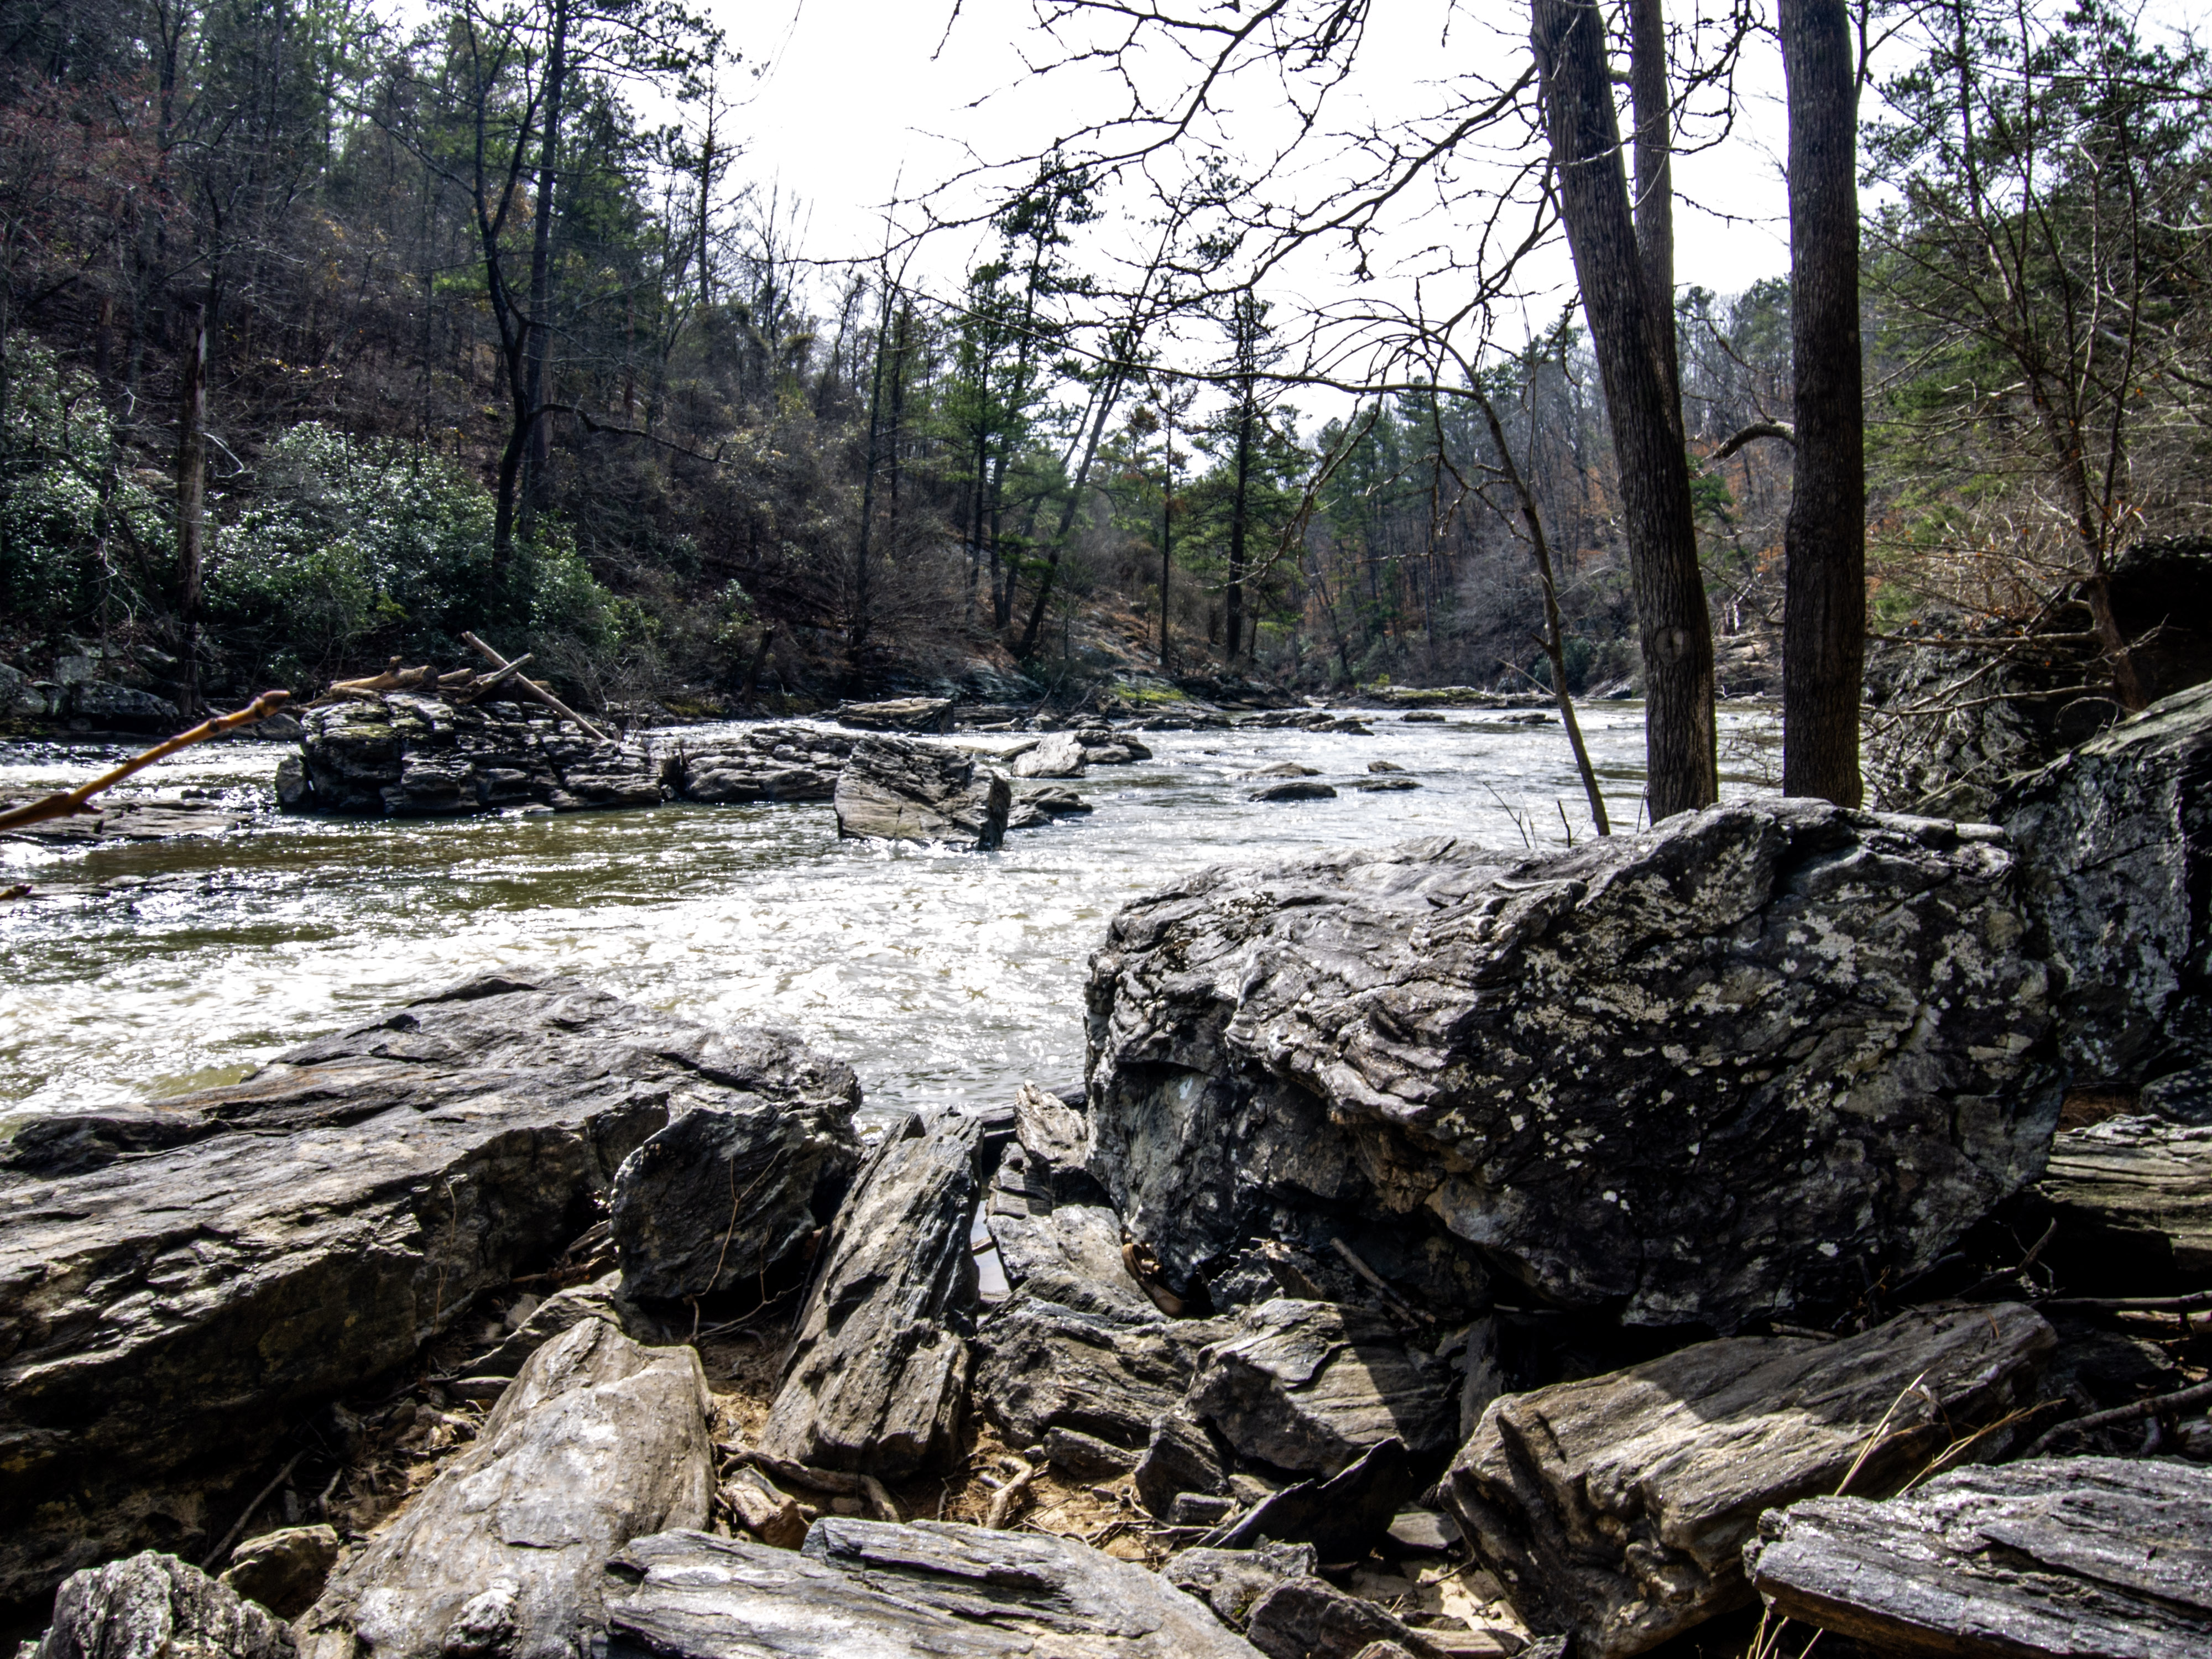
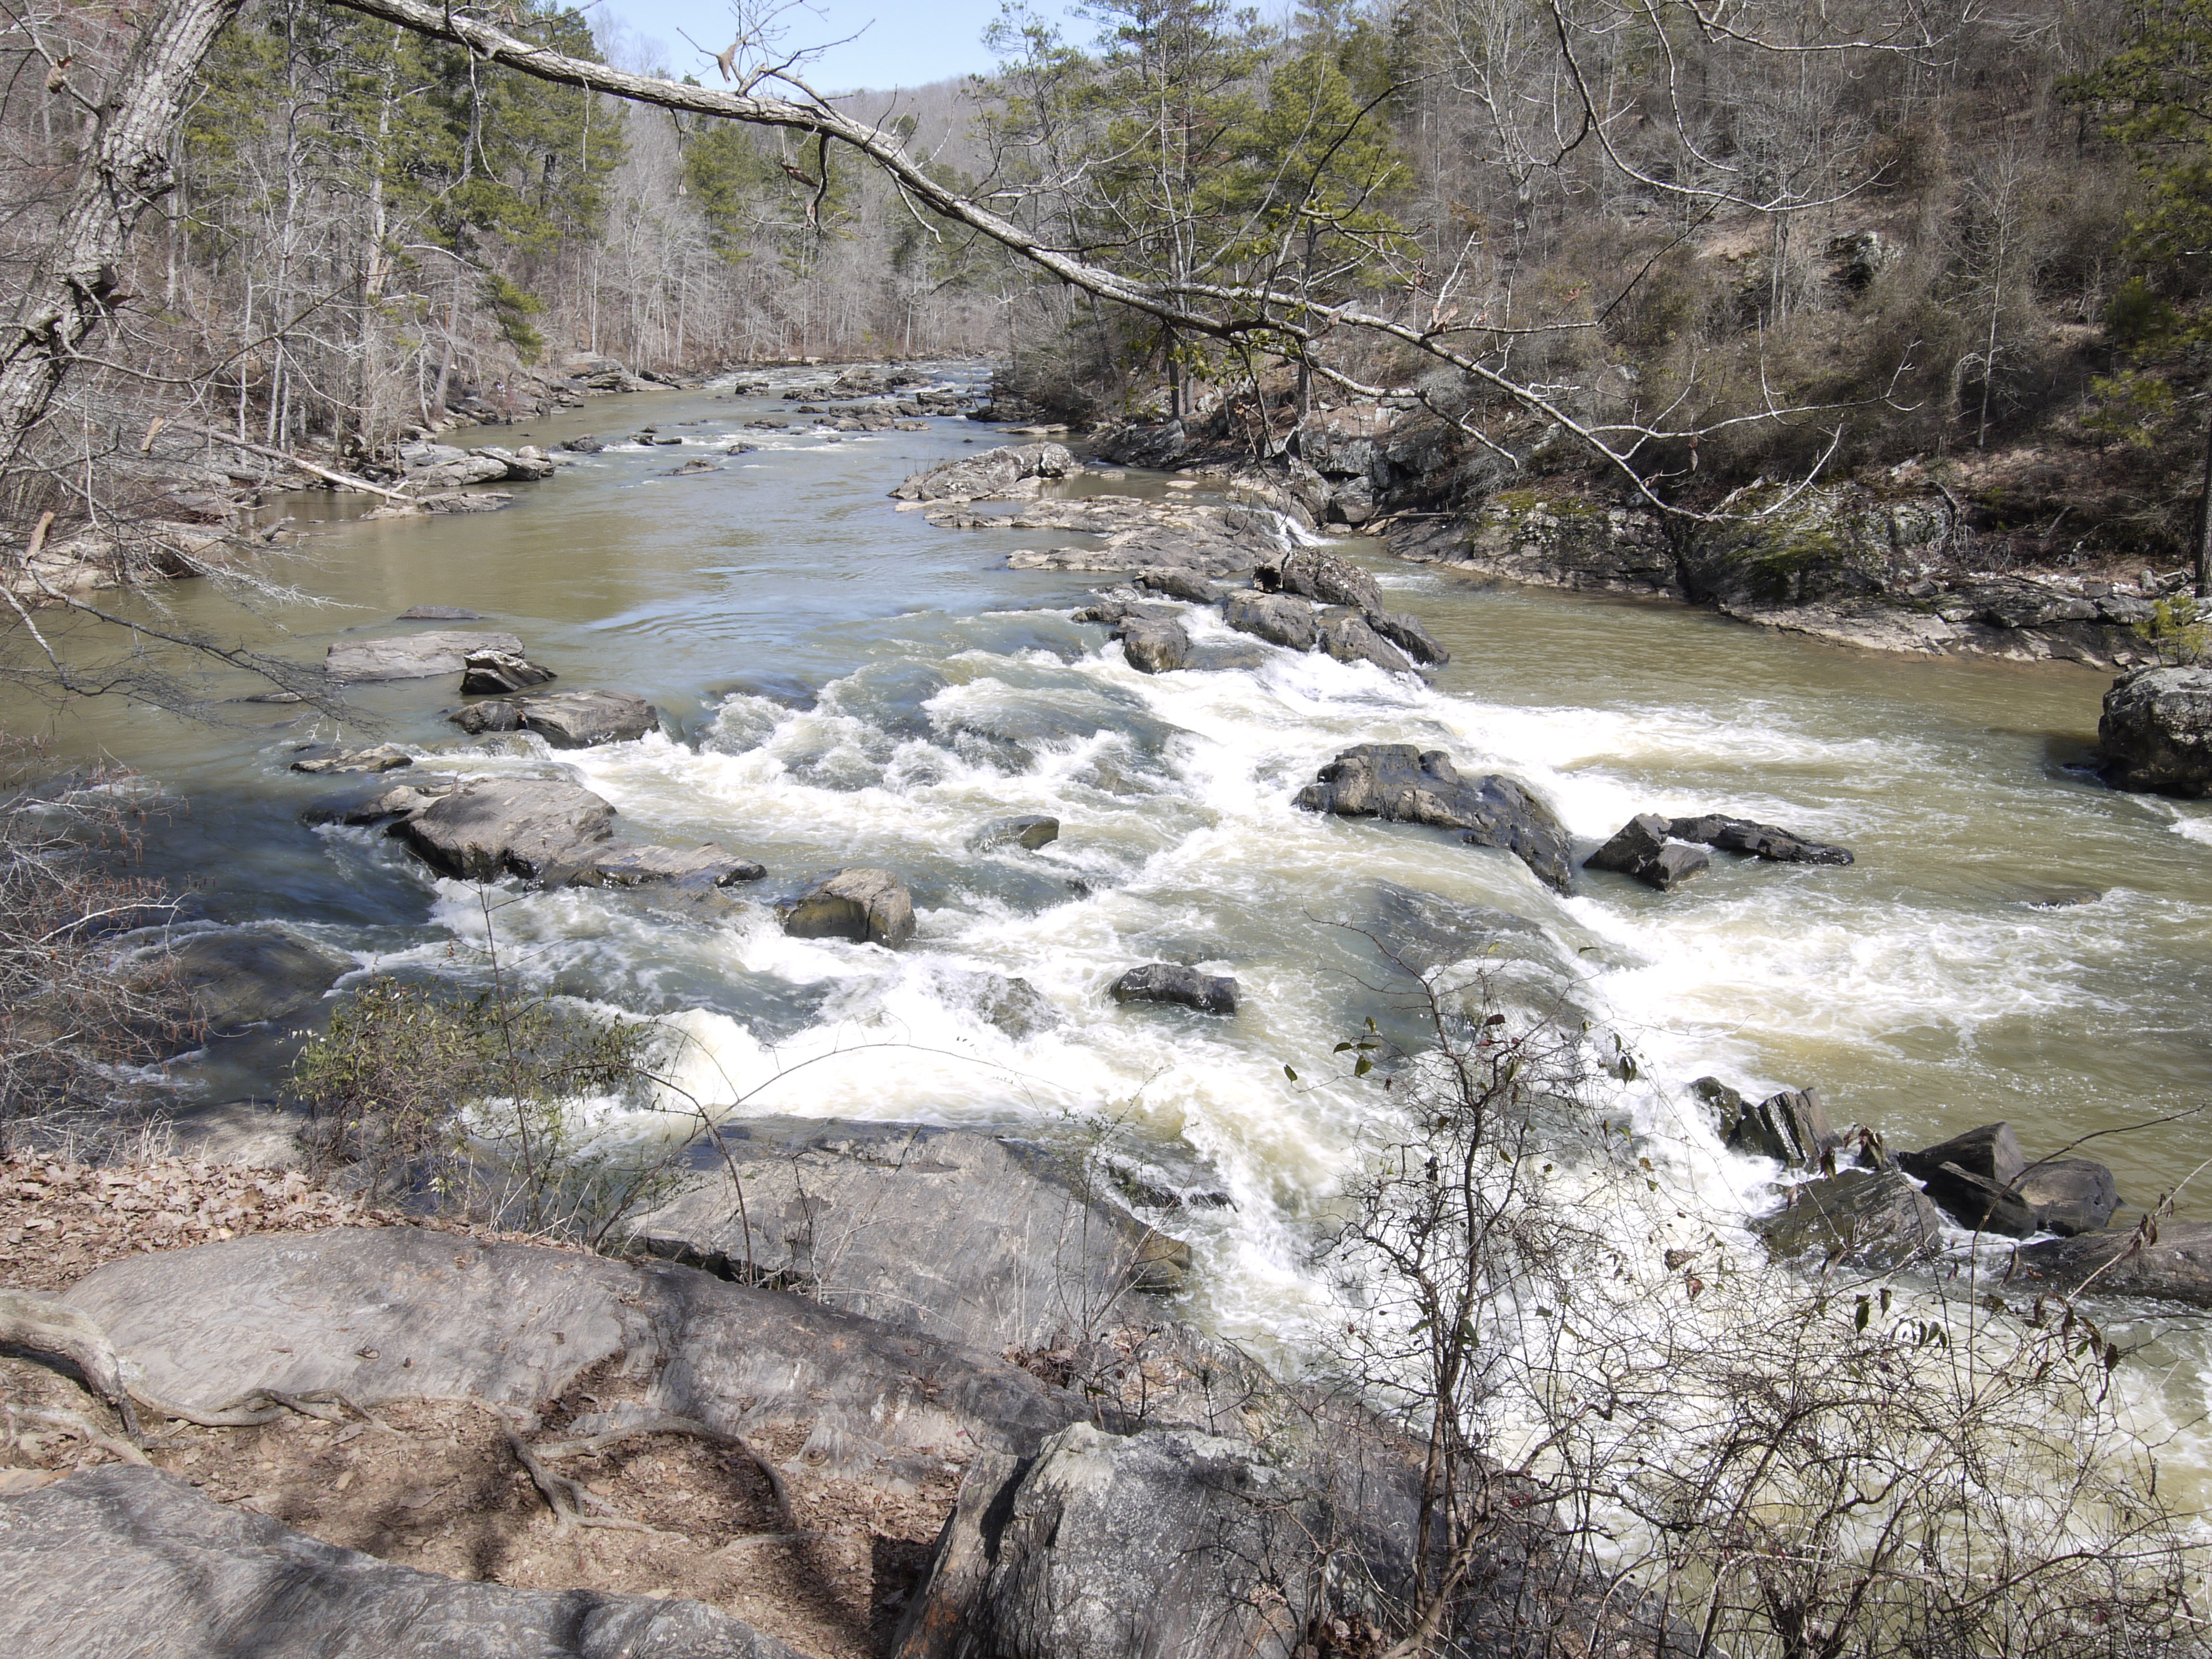
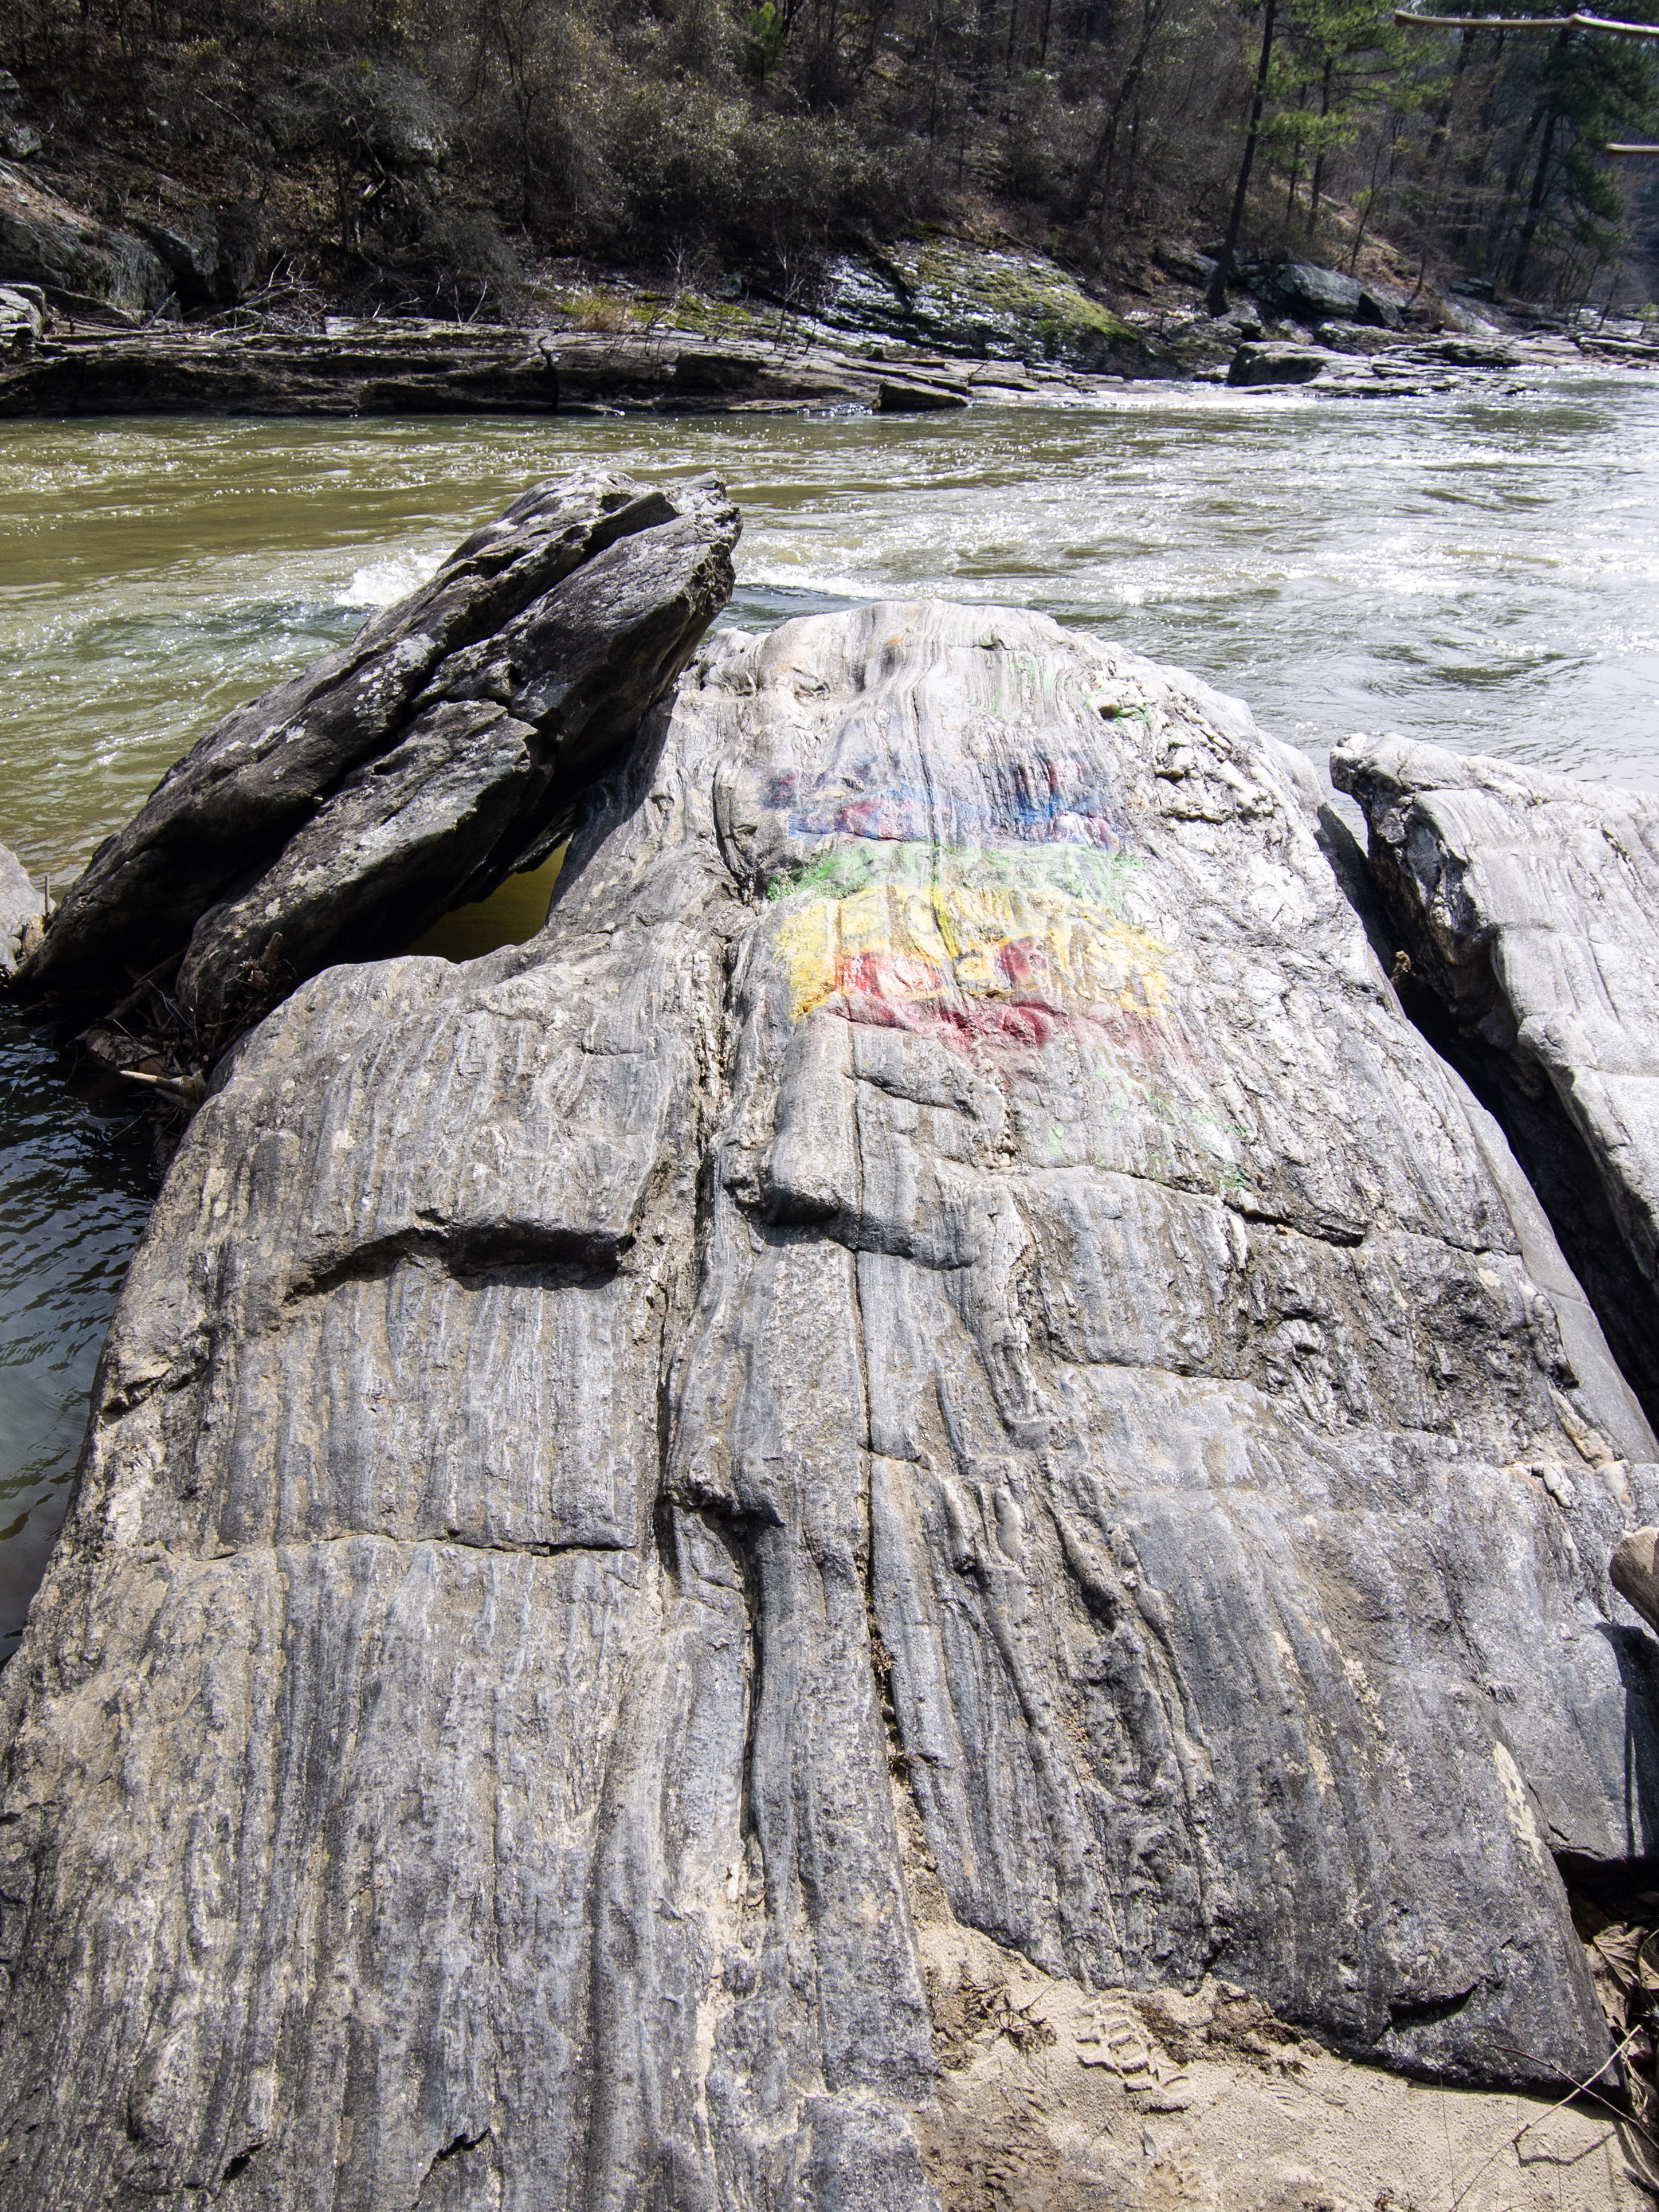
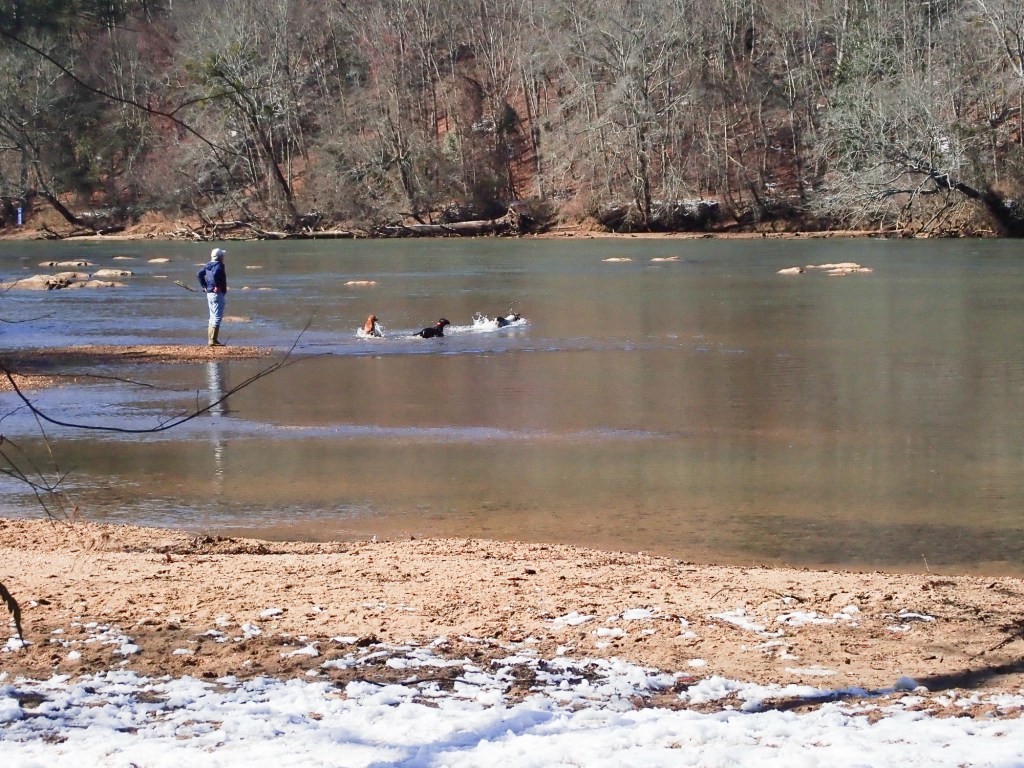
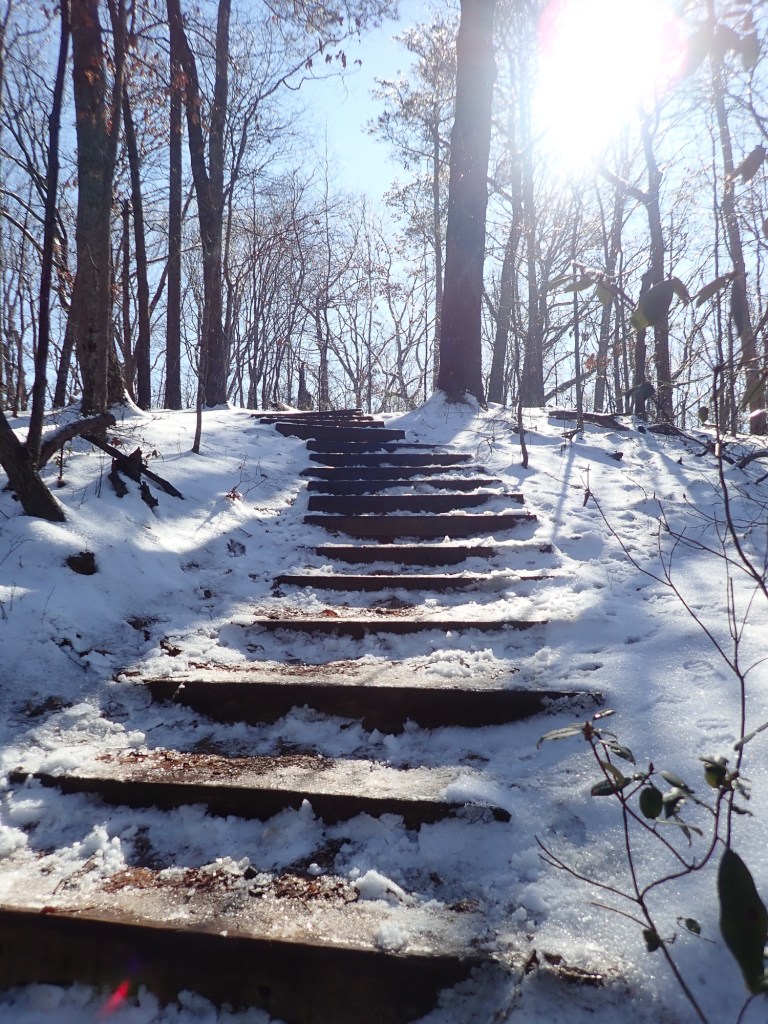
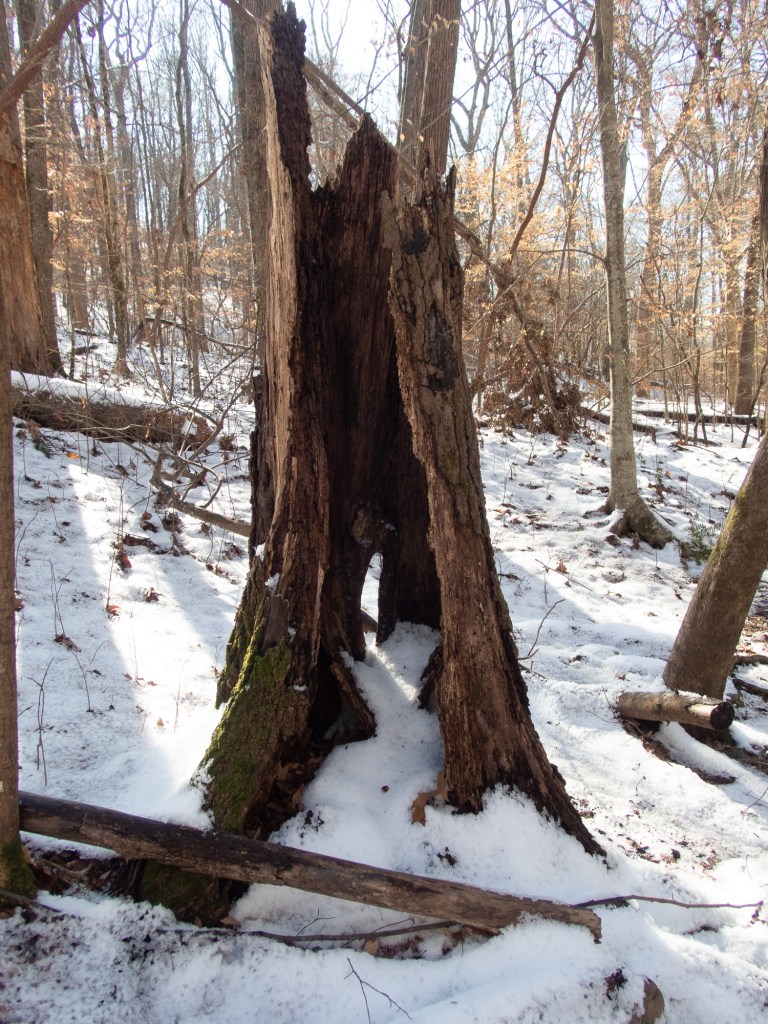
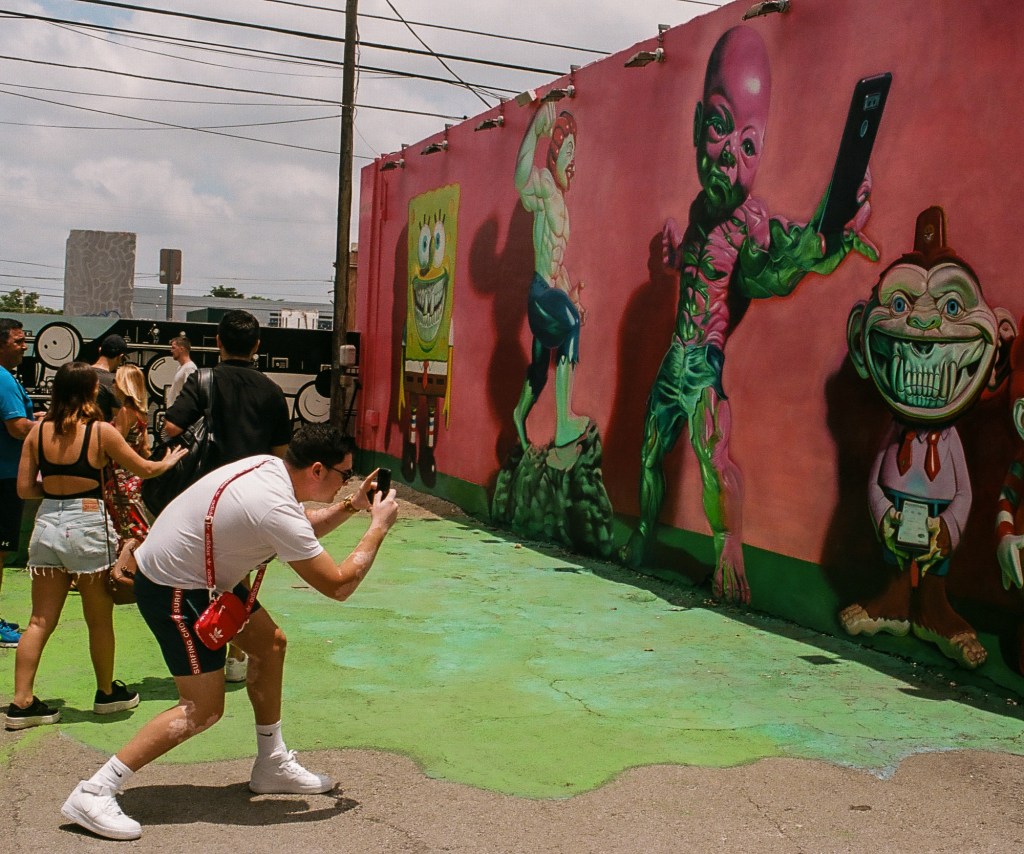
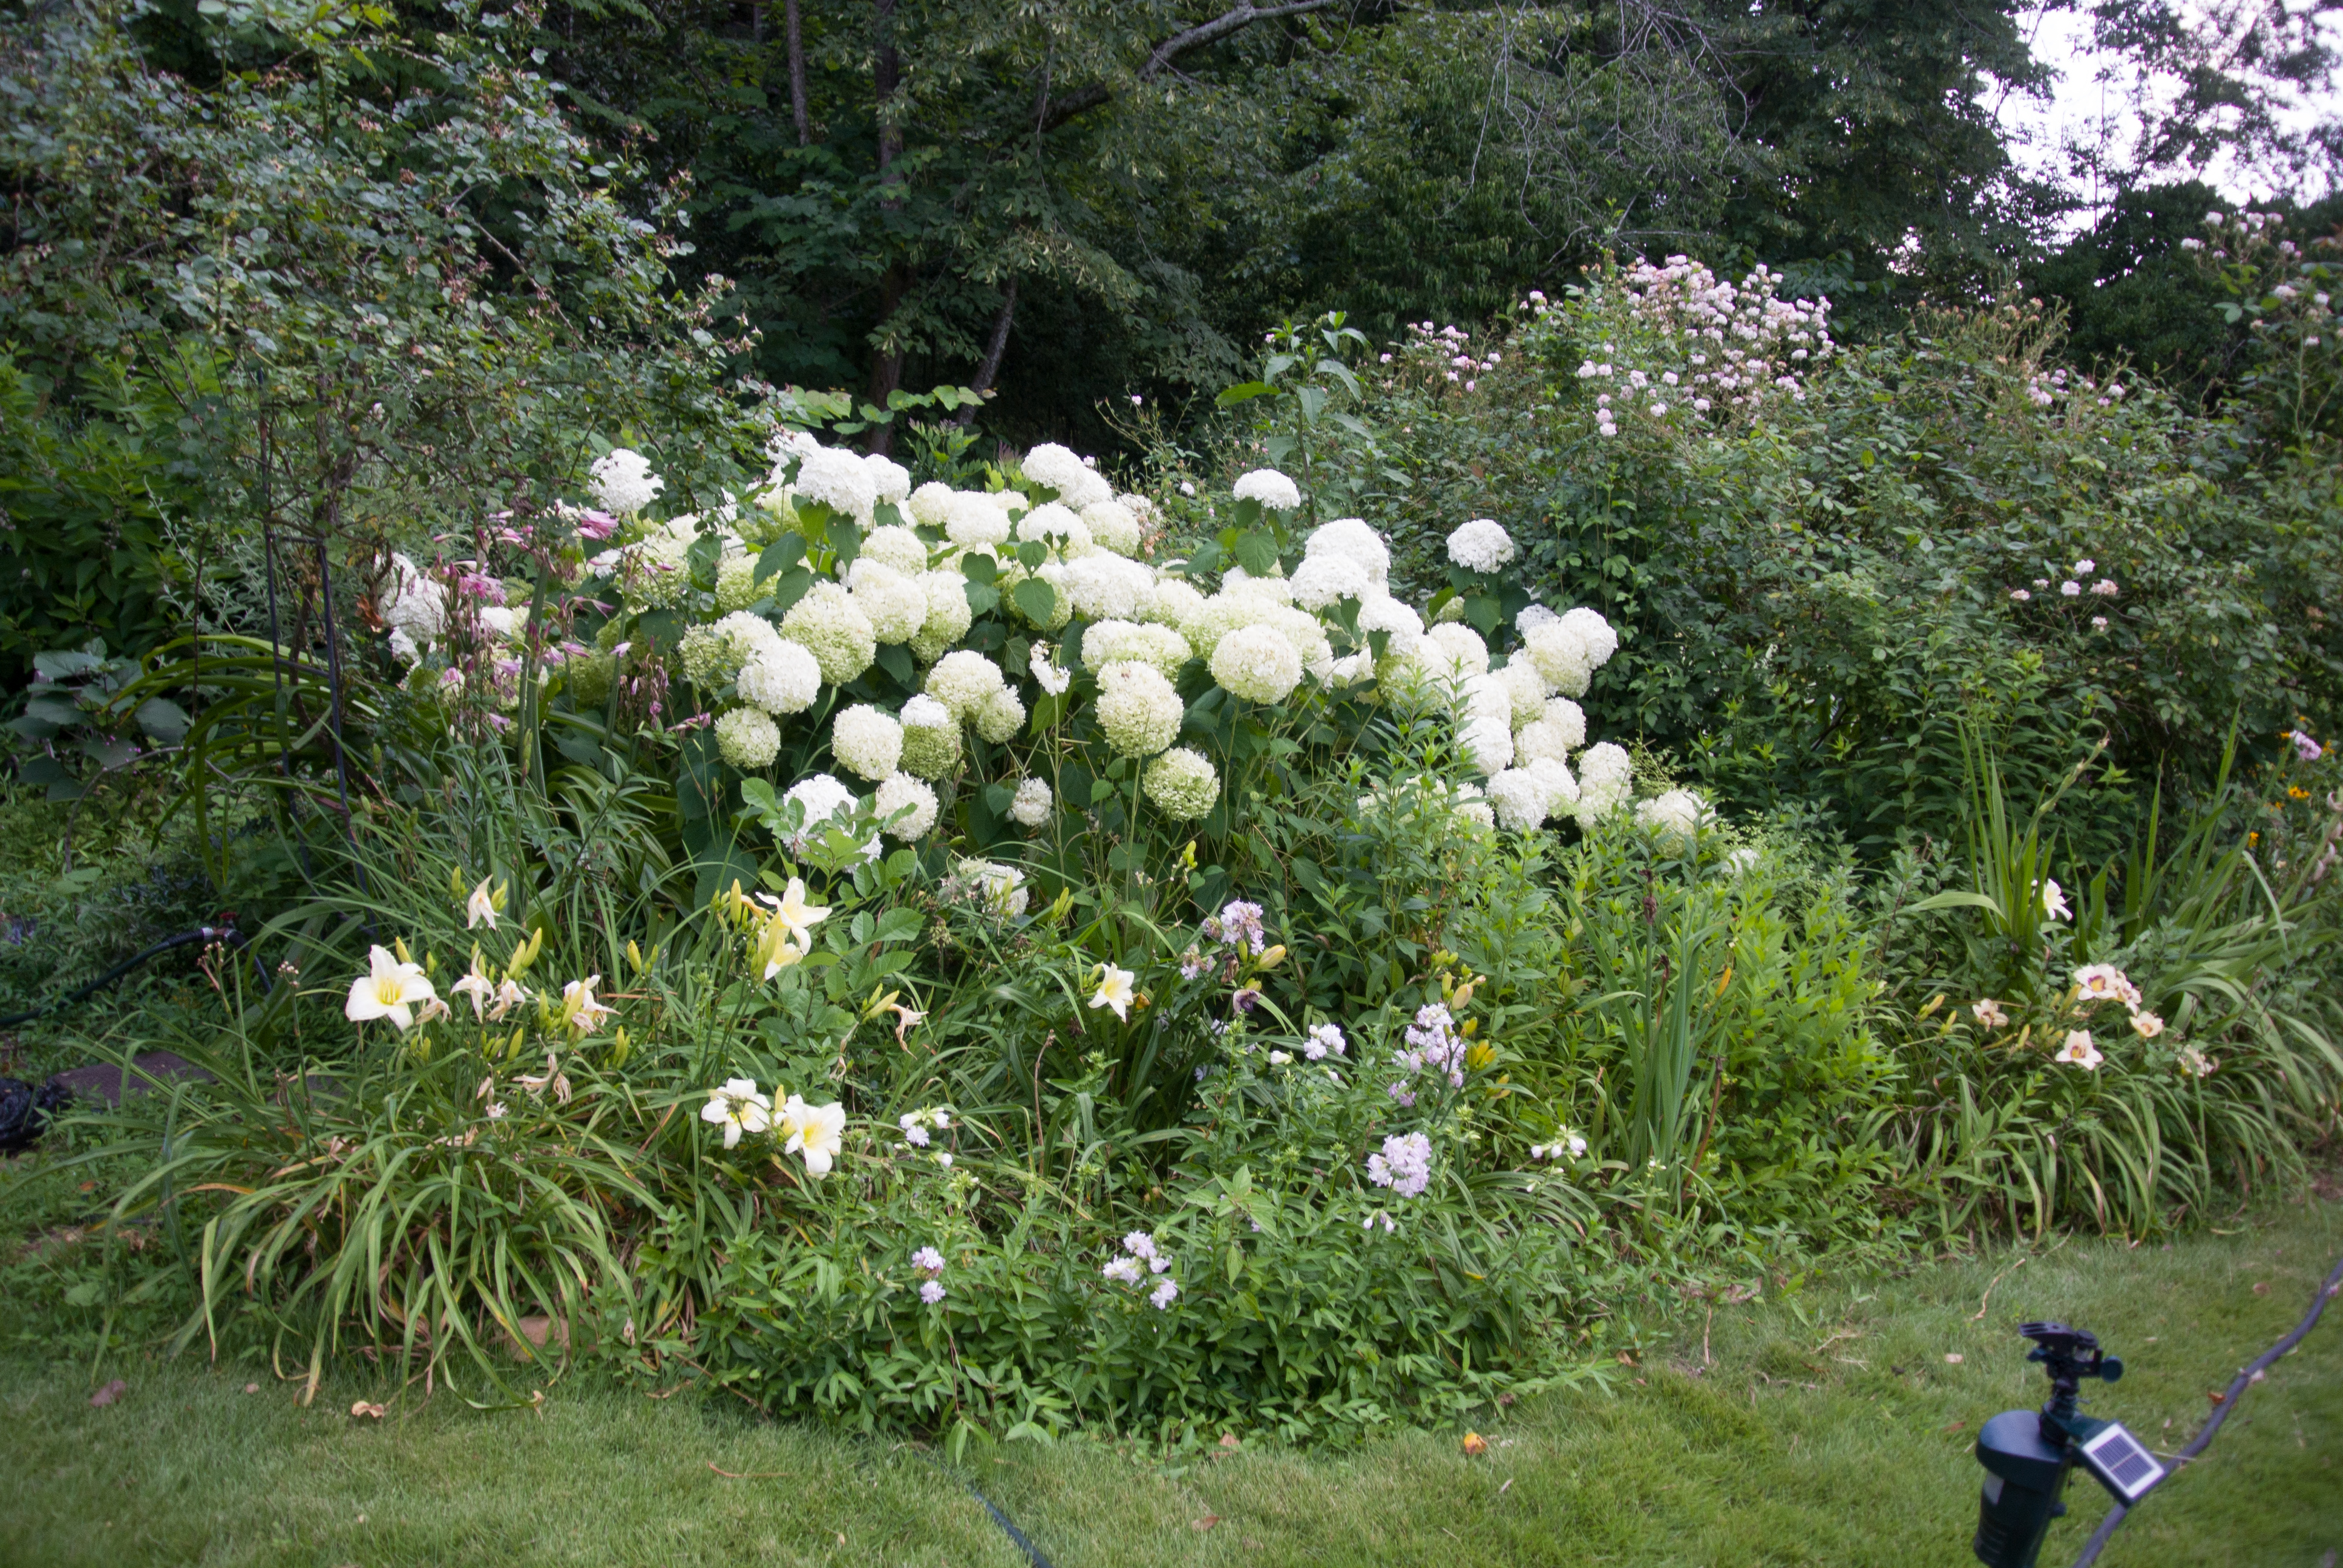
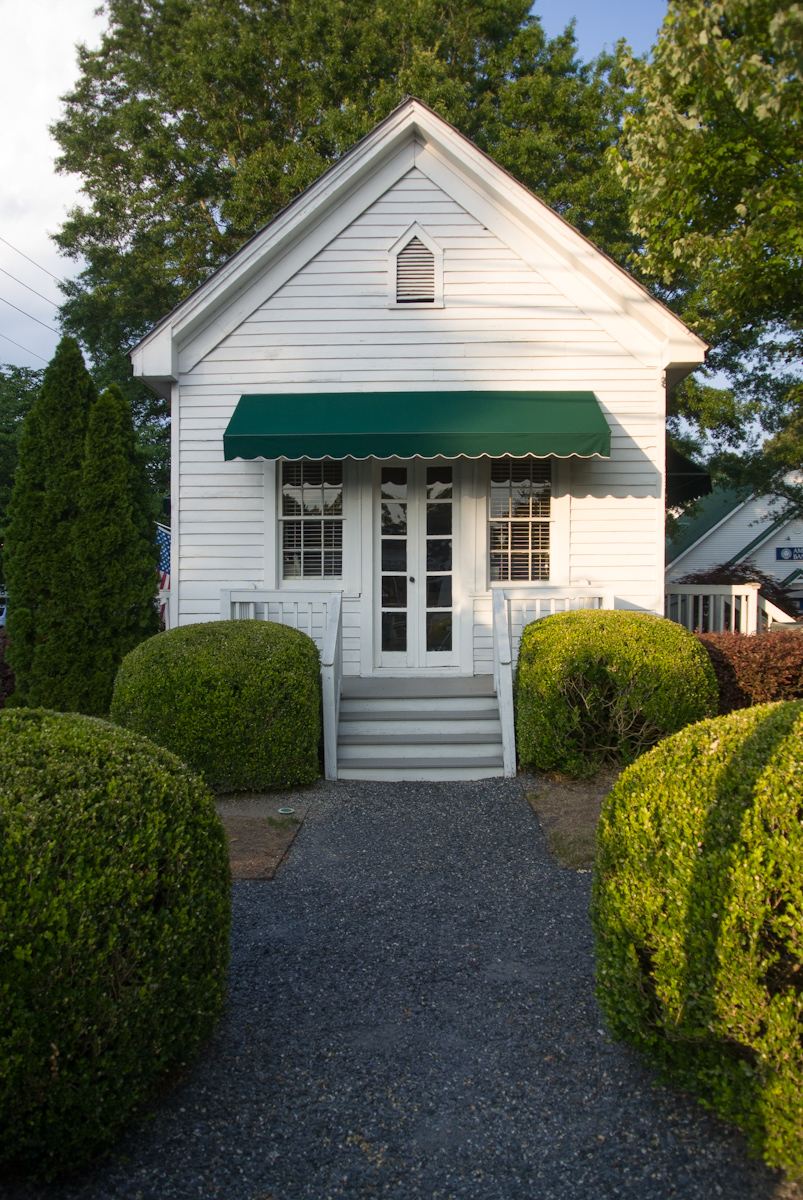
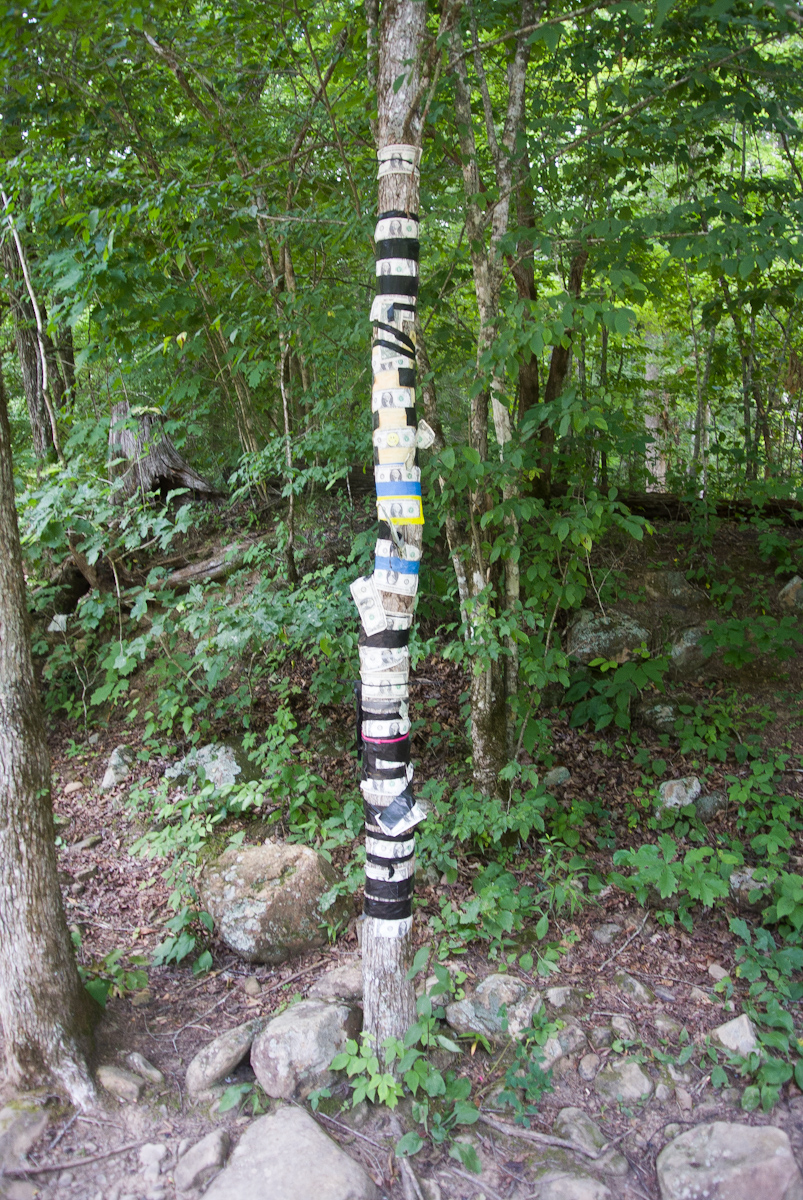
A few images from my “Angenieux” years.
35mm film cameras did not record EXIF information and my archival system was not very refined at that time – I kept my best pictures in photo albums but did not keep track of what camera and what lens had been used to take a specific picture.
But until I bought the Vectis S-1, a Maxxum was my main camera, and the Angenieux was the lens I shot the most often with. The pictures below are therefore “assumed” to have been shot with the Angenieux 28-70 f/2.6 zoom, even if I can’t be 100% certain of it.