The first generations of dSLRs from Konica-Minolta-Sony, Nikon, Olympus and Pentax were all built around CCD image sensors. Then, around 2006, the camera makers started integrating CMOS sensors, and within a few years CCD sensors were history.
Today, some photographers compare the images they get from their modern cameras (all equipped with CMOS sensors offering a very broad dynamic range and reaching very high ISO sensitivities without much noise), with the images they were taking with the best cameras of the CCD era, and they like the photos taken with the old cameras better. What is so special about CCD sensors, and why have they disappeared if they were so good?

Why CMOS won
For all the hype surrounding CCD sensors, they had reached their peak in the 2006-2009 years – the last CCD sensors from Kodak and Sony were either unreliable or performing poorly above 800 ISO – and the technology of CMOS sensors had much more potential.
In 2006, camera makers started switching to CMOS sensors because they saw three main advantages in them:
- a much lower power consumption – we now tend to forget that the CCD’s high power consumption and the related heat dissipation were major engineering issues at that time,
- a much faster data acquisition,
- a potential for higher ISO performance and wider dynamic range.
Live-view (composing the photo on the rear LCD of dSLRs), video capture in available light and mirrorless cameras were only made possible by the generalization of CMOS sensors, and would have been next to impossible with the CCD sensor technology.
Why this love for CCD sensors ?
In a few words, photographers tend to believe that images captured with a CCD sensor equipped camera are more “film like”.

I suffered for you and watched half a dozen Youtube videos where the authors are comparing the pictures taken with some of the best CCD equipped dSLRs with images taken with the CMOS equipped cameras that immediately followed. The conclusion is that if you make a serious apples to apples comparison on RAW files (same brand of camera, same lens, same resolution), there may be a difference, but really minimal. Images taken with a CCD may have a bit more punch, a bit more contrast, and the transition between colors may be more abrupt than on images captured with a CMOS. But again, the differences are marginal, only visible to pixel peepers.
So, if the RAW files are to a large extend similar, where is the perception coming from, that CCD sensors deliver more natural images than CMOS sensors? Could it be that the supporters of CCD sensors are only shooting JPEGs?
CCD and CMOS are different technologies, and their noise characteristics are not the same. They also behave differently in presence of strong highlights (the tone curve of images captured with a CMOS sensor is linear, as opposed to film and, to a lesser extent, CCD, which have a more S shaped tone curve). At the beginning of the transition from CCDs to CMOS sensors, camera vendors had more experience dealing with the noise patterns and tone curve characteristics of the images coming from CCDs than from CMOS sensors, and as a consequence their JPEG rendering algorithms were giving more “natural” (understand crowd pleasing) results when starting from the raw data of CCDs.
The CCD bias of the JPEG Rendering engines did not last. Camera manufacturers learned how to take advantage of the larger dynamic range and the lower level of noise of CMOS sensors to deliver images that mimic film behavior more closely than CCD sensors ever did.
The generalization of CMOS also allowed a raise in the pixel density of the sensors, and with it the end of the need for an “anti-aliasing” filter (the Nikon d800e launched in 2012 was the first dSLR deprived of an AA filter). By 2014, the “new normal” was a camera with a 16 to 24 Megapixel sensor and no anti-liaising filter, capable of a much higher real-life resolution than a 6 or 10 Mpix CCD operating behind an anti-liaising filter. No wonder a photographer upgrading from an early dSLR was a bit surprised by the “surgical” nature of the JPEGs.

So…
- The “CCD look” was a JPEG thing.
- the “film like” look of images captured with CCDs was the result of lower resolution sensors, thick anti-liaising filters, and above all a product of the JPEG image processing algorithms used at that time.
- With modern cameras, “film like” behavior can be emulated to a much higher degree than what the JPEG engines of the cameras of 2005 could do. Film emulation (or Picture Styles or whatever the camera manufacturer calls its brand of JPEG rendering recipe) is not only good at mimicking the tonal response and the colors of film, but also its grain.
- Now that every camera maker is proposing some form of “Picture Control” or film simulation to customize the output of their JPEG rendering engine, it’s remarkable that nobody is proposing “CCD emulation”. Maybe it was not so much of an issue after all?
- CCD equipped cameras are still available on the second hand market, are generally very cheap, and will give your images the full CCD look if it’s what you’re after.
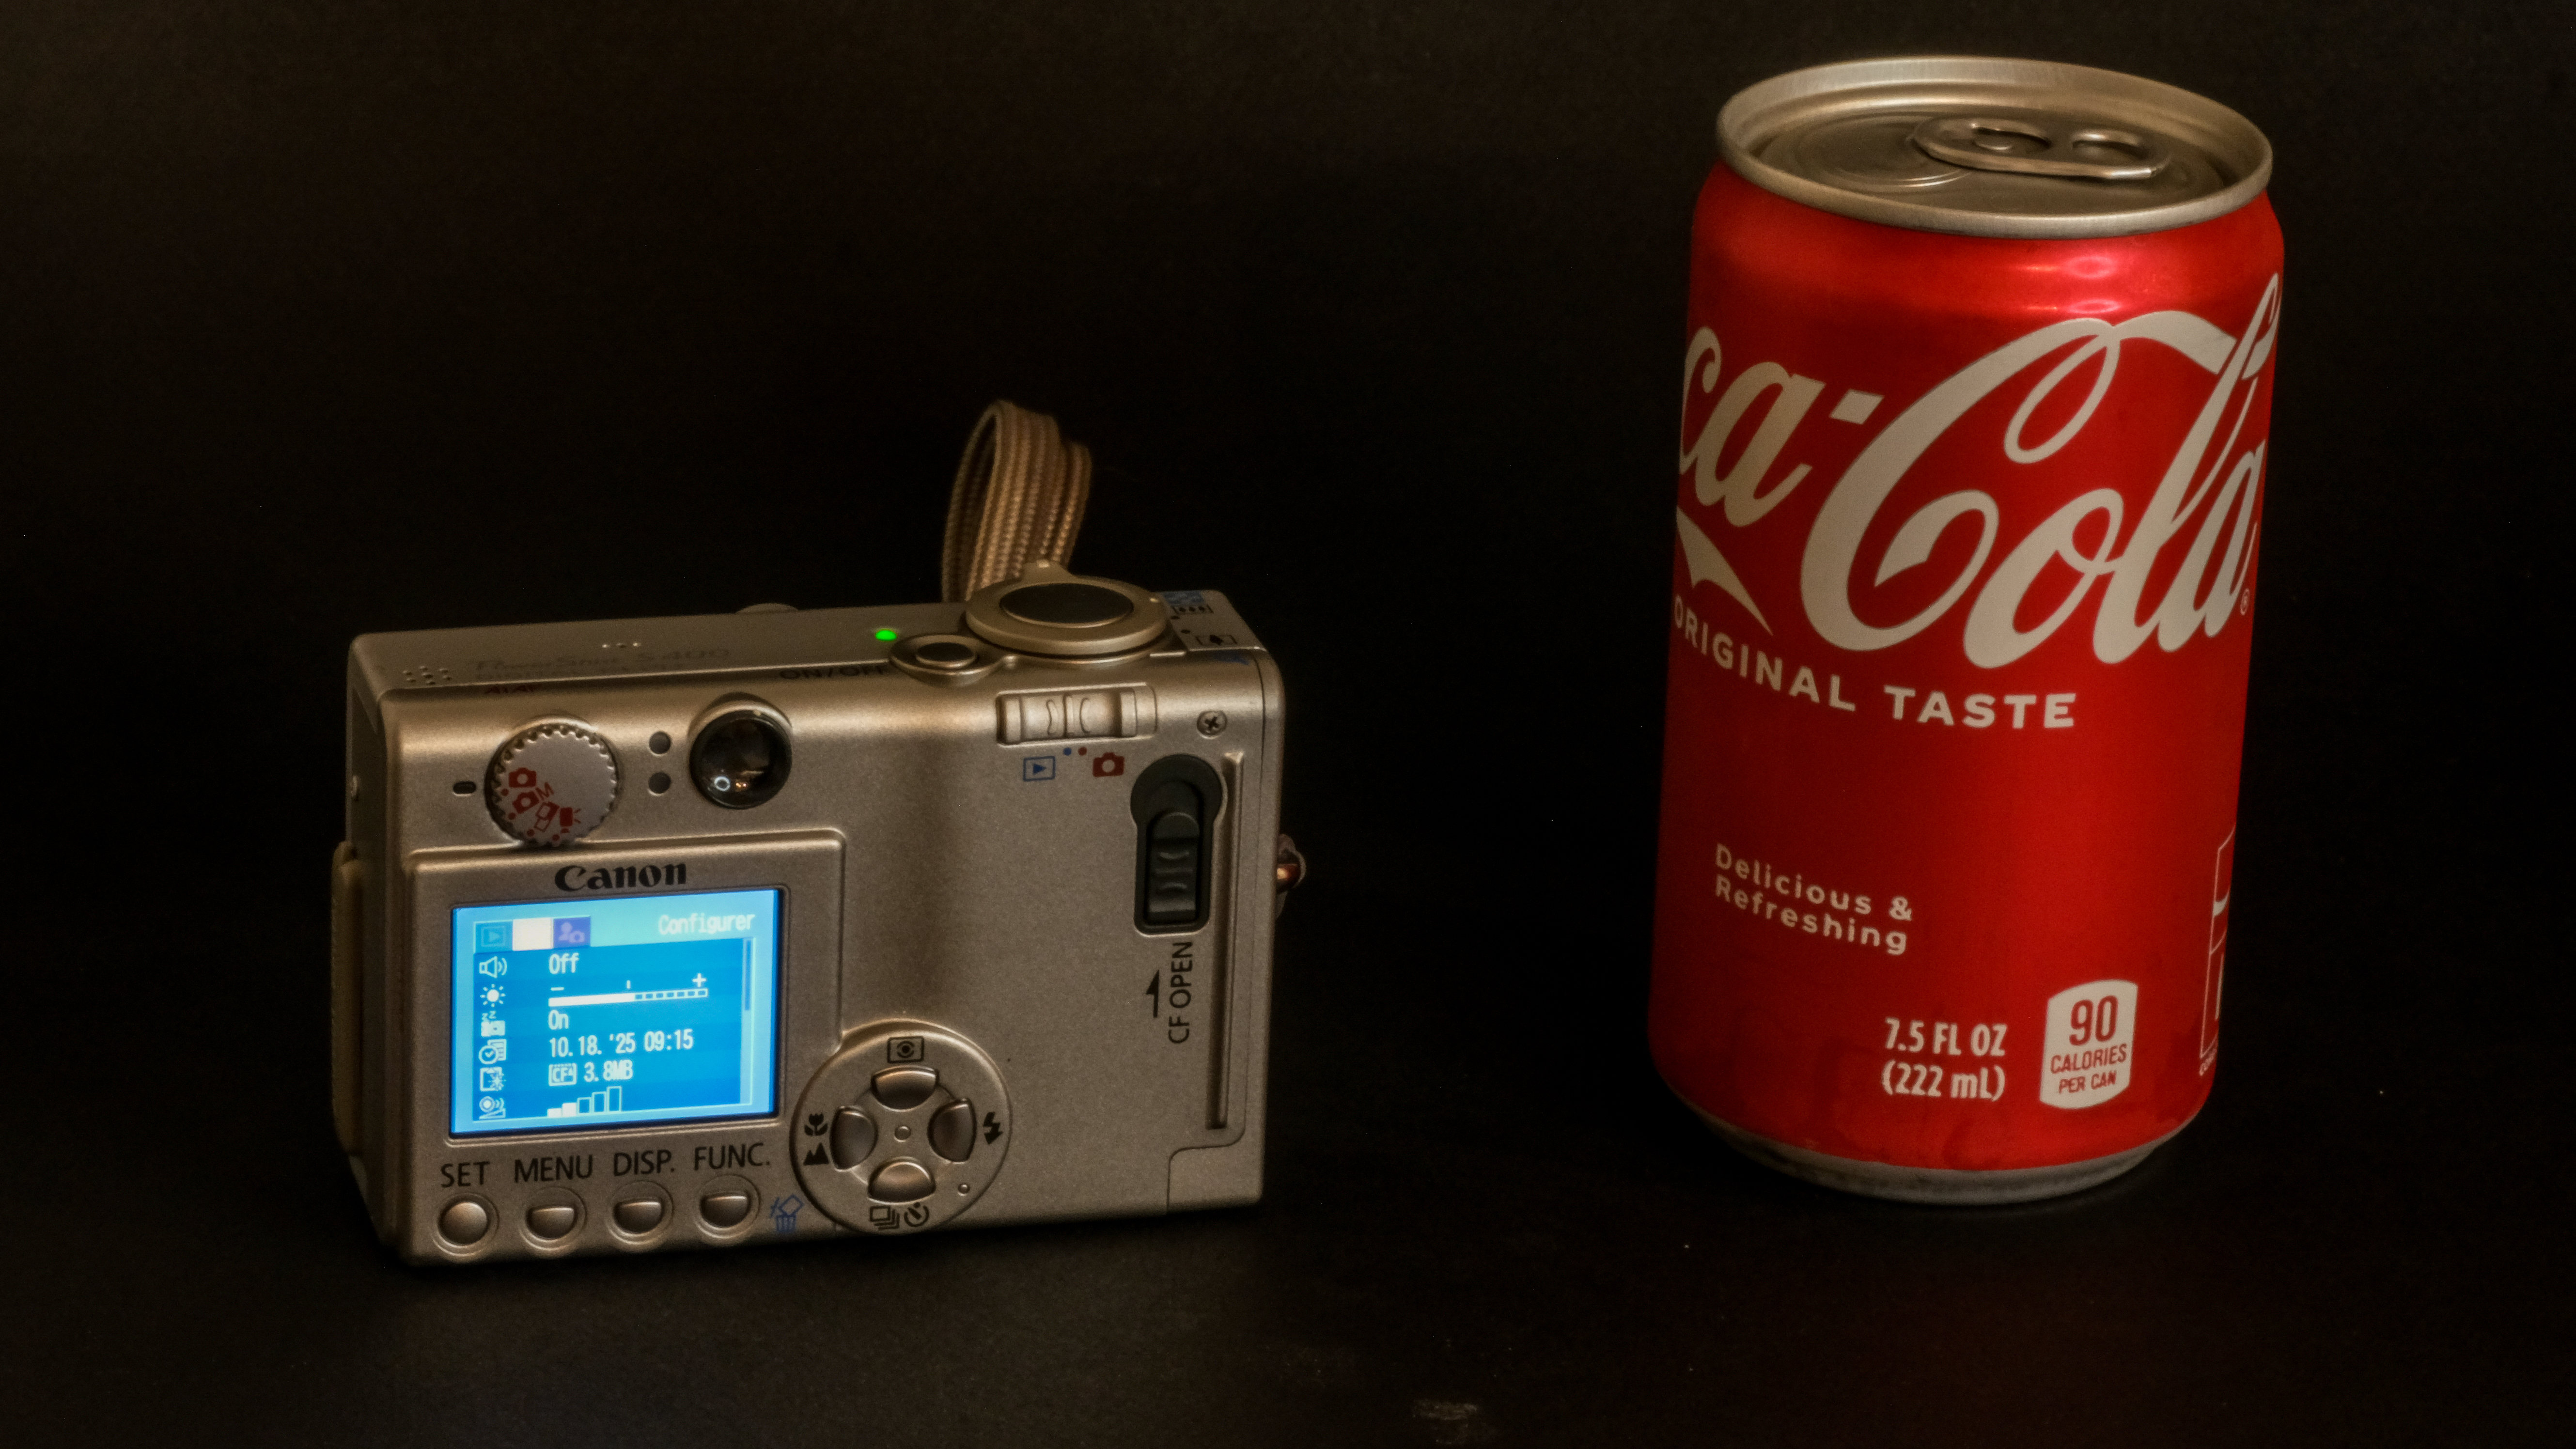
CCD equipped compact cameras
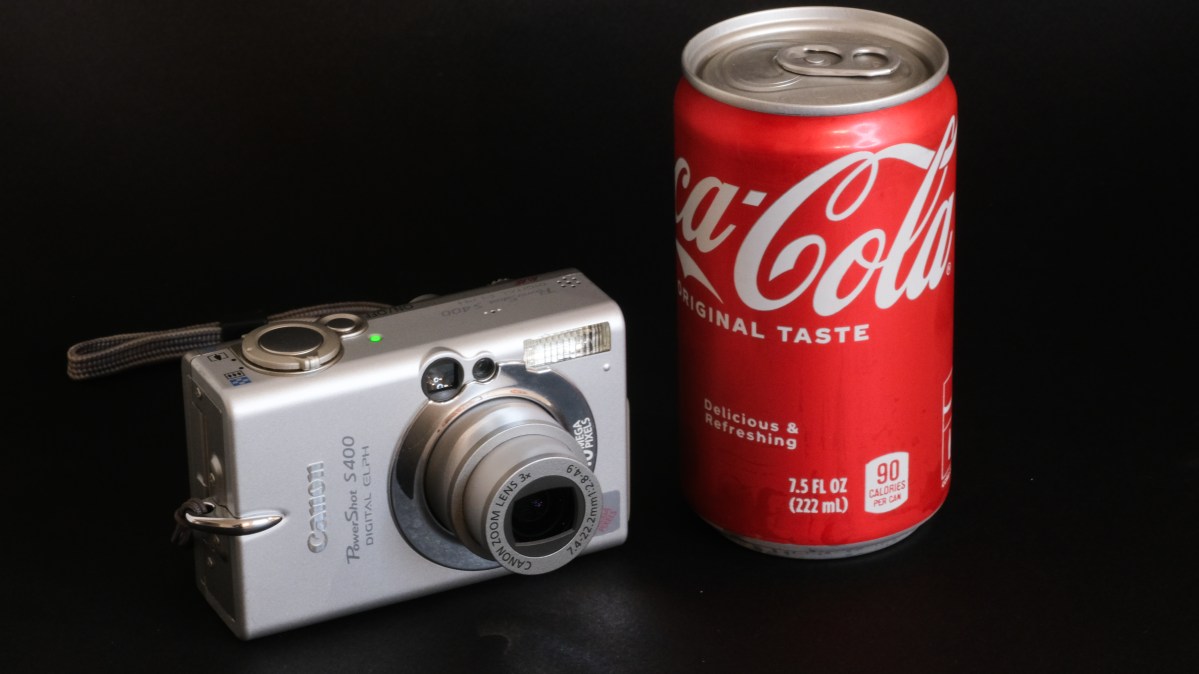
The compact (point and shoot) cameras of the early days of the digital migration are the ones delivering images closer to the film look, probably because of the low resolution of their image sensor and the very consumer oriented tuning of their JPEG rendering engine. I’m still impressed by the “Barbie at the beach” look of the JPEGs of my old Canon S400 Powershot (Digital Elph or Ixus).
Compact cameras switched from CCD to CMOS sensors later than dSLRs – the last models being launched around 2011.

CCD sensor equipped dSLRs
With the exception of sensors manufactured by Kodak for the Leica M9 (which had very significant long term reliability issues), there is no Full Frame CCD sensor, and only one APS-C sensor with a resolution higher than 10 Megapixel (a 14 Mpix APS-C sensor only used by Sony on the Alpha 280/380 series, which had a reputation of being no good above 800 ISO).
Because of the technical characteristics of CCDs, there never was a CCD equipped mirrorless camera, or a CCD equipped dSLR offering real Live-View capabilities (the Sony Alpha 350/380/390 used a second, dedicated sensor in its viewfinder to offer Live-View). The last dSLRs equipped with CCD sensors were launched around 2010 (Nikon D3000, Sony Alpha 290 and 390).
Let’s focus on the 10 megapixel cameras from Nikon, Olympus, Pentax and Sony:
- Nikon D200, D80, D40X, D60, D3000 – they all share a 10 Megapixel CCD sensor of the same family. The D200 is often considered the best CCD equipped dSLR ever, but it’s a big and heavy camera designed for pros. There is little difference between the D40X, the D60 and the D3000 – all three are entry level dSLRs designed for beginners and amateurs. The D80 sits in-between. A Nikon D80 was my main camera for years, and I’m still impressed by the quality of the pictures I took with it (I love the D80’s JPEGs).
- Olympus was the first camera maker to take advantage of CMOS sensors to offer Live View in a limited fashion (on the E330 in 2006). The e400 of the same year is their last dSLR with a CCD sensor (a 10 Megapixel sourced from Kodak). Like the Nikon D200, the e400 has a legion of enthusiastic fans and is comparatively expensive second hand.
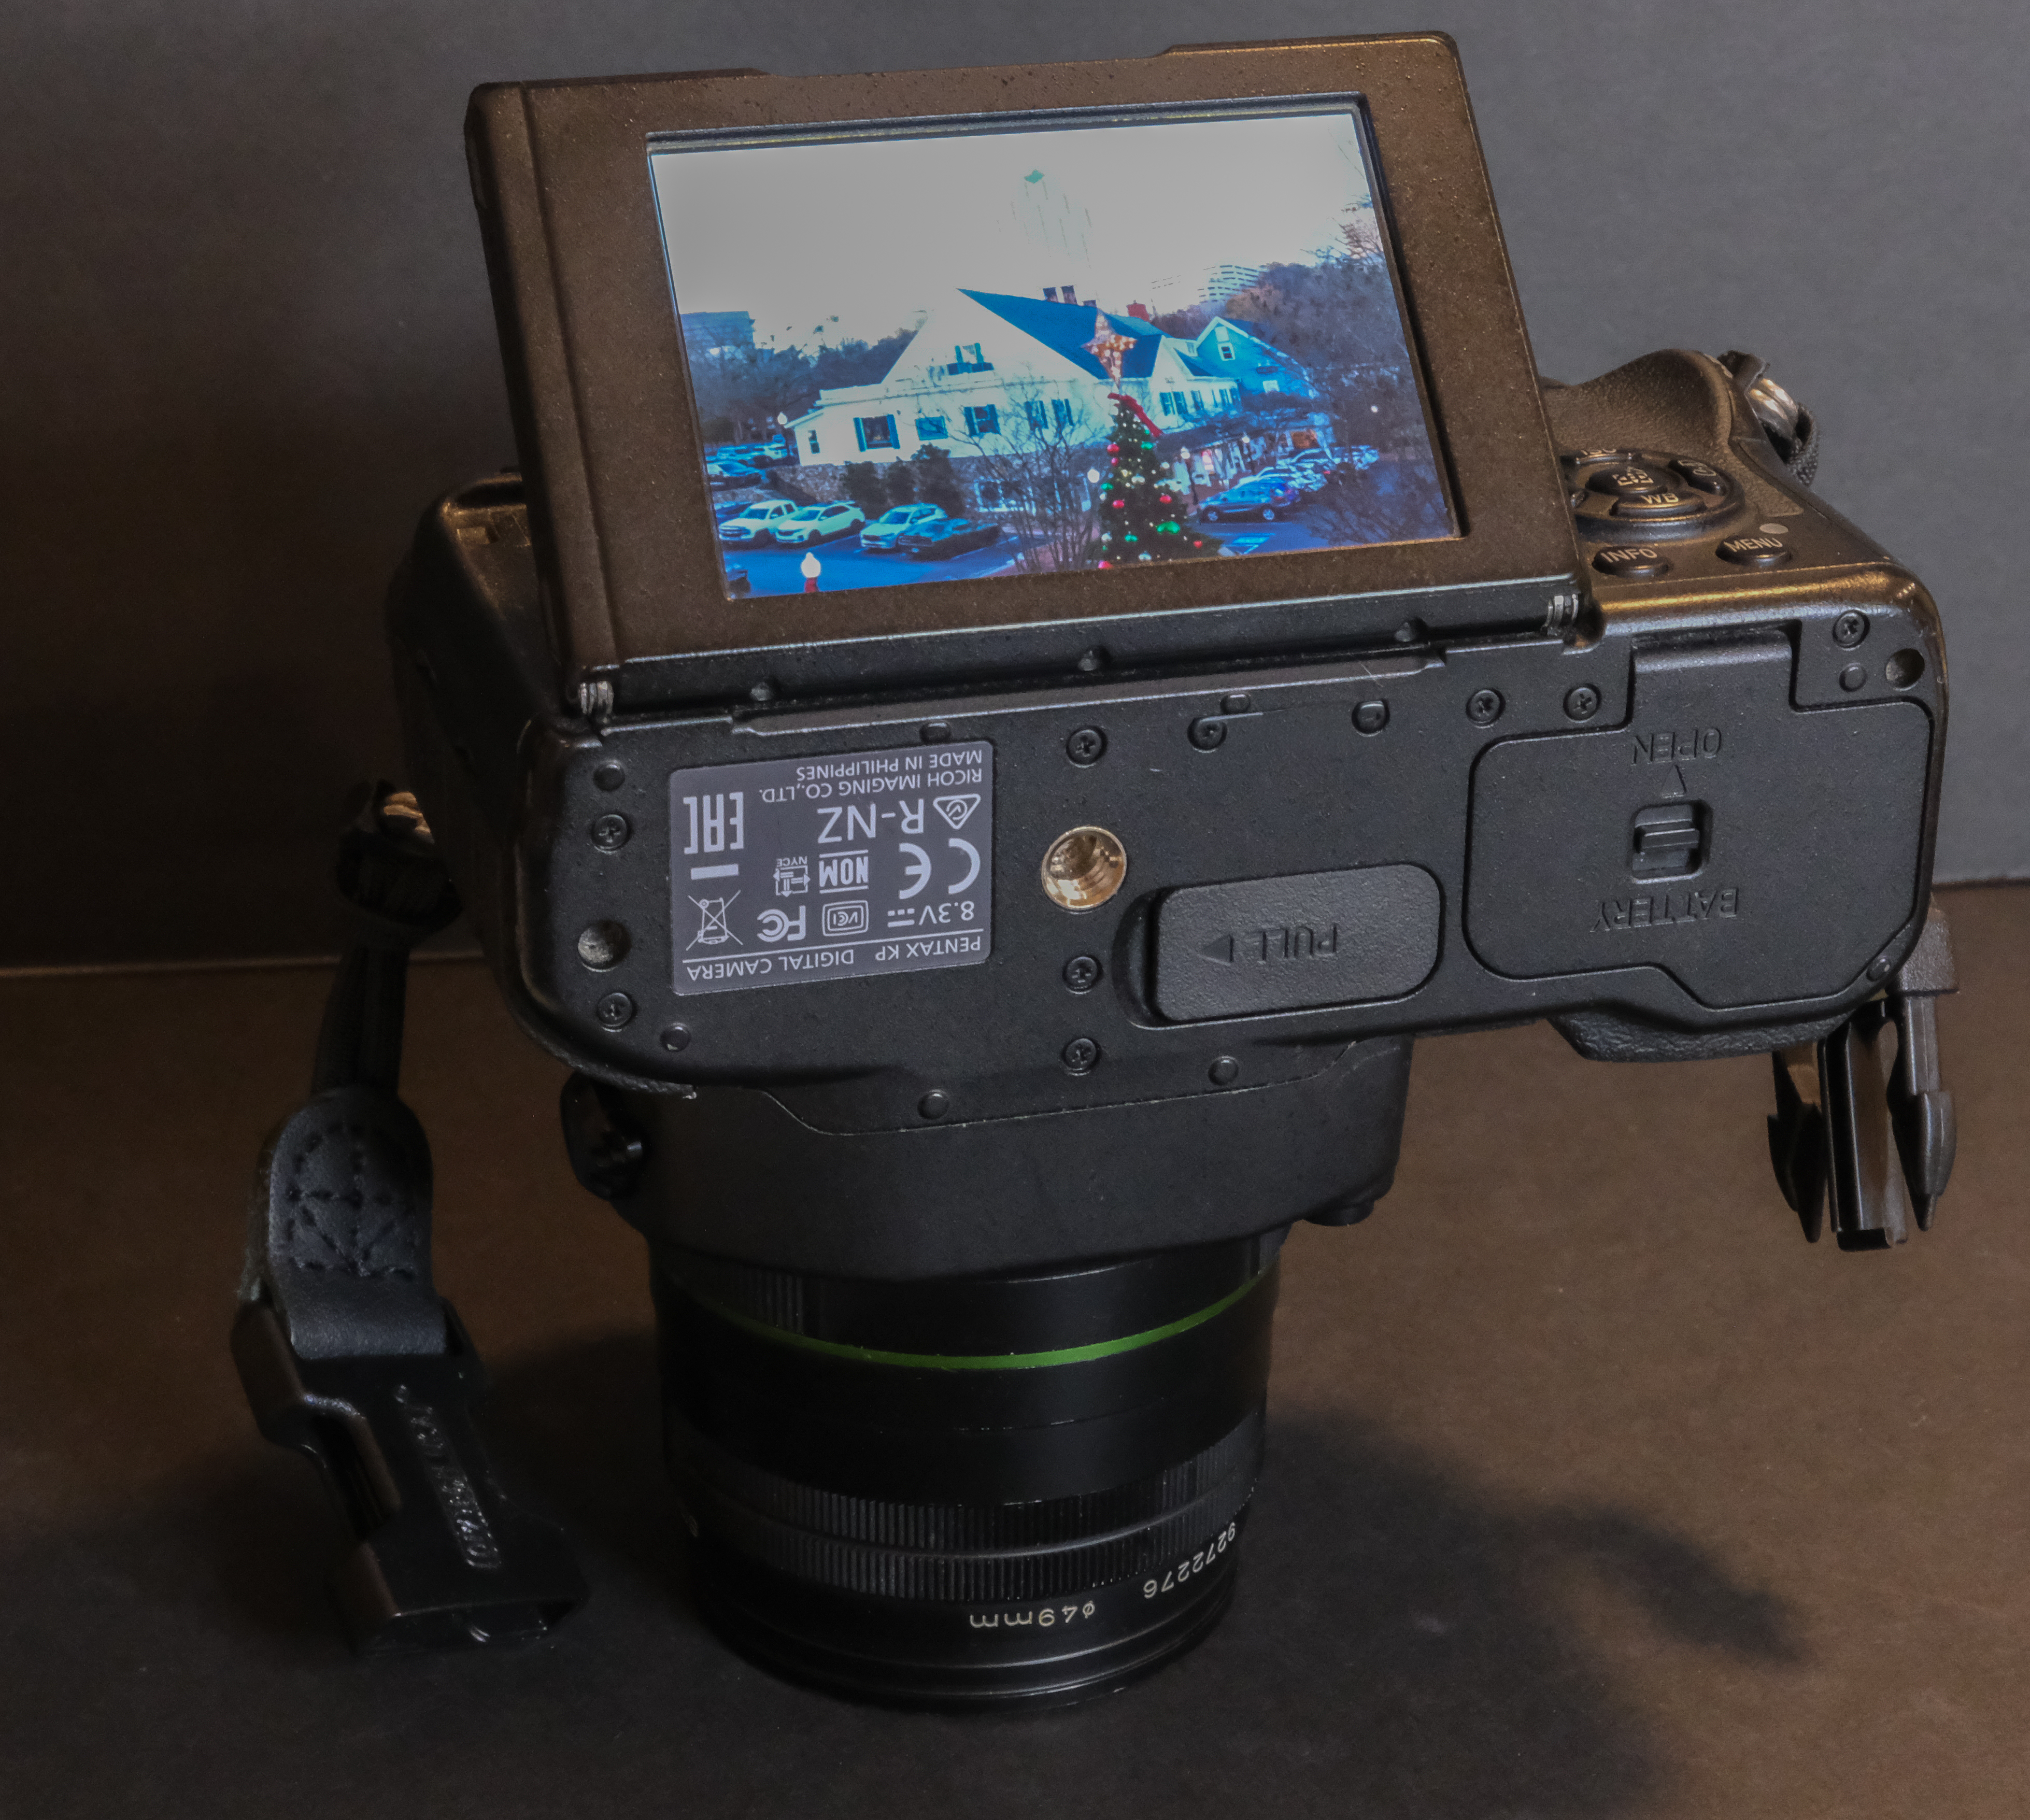
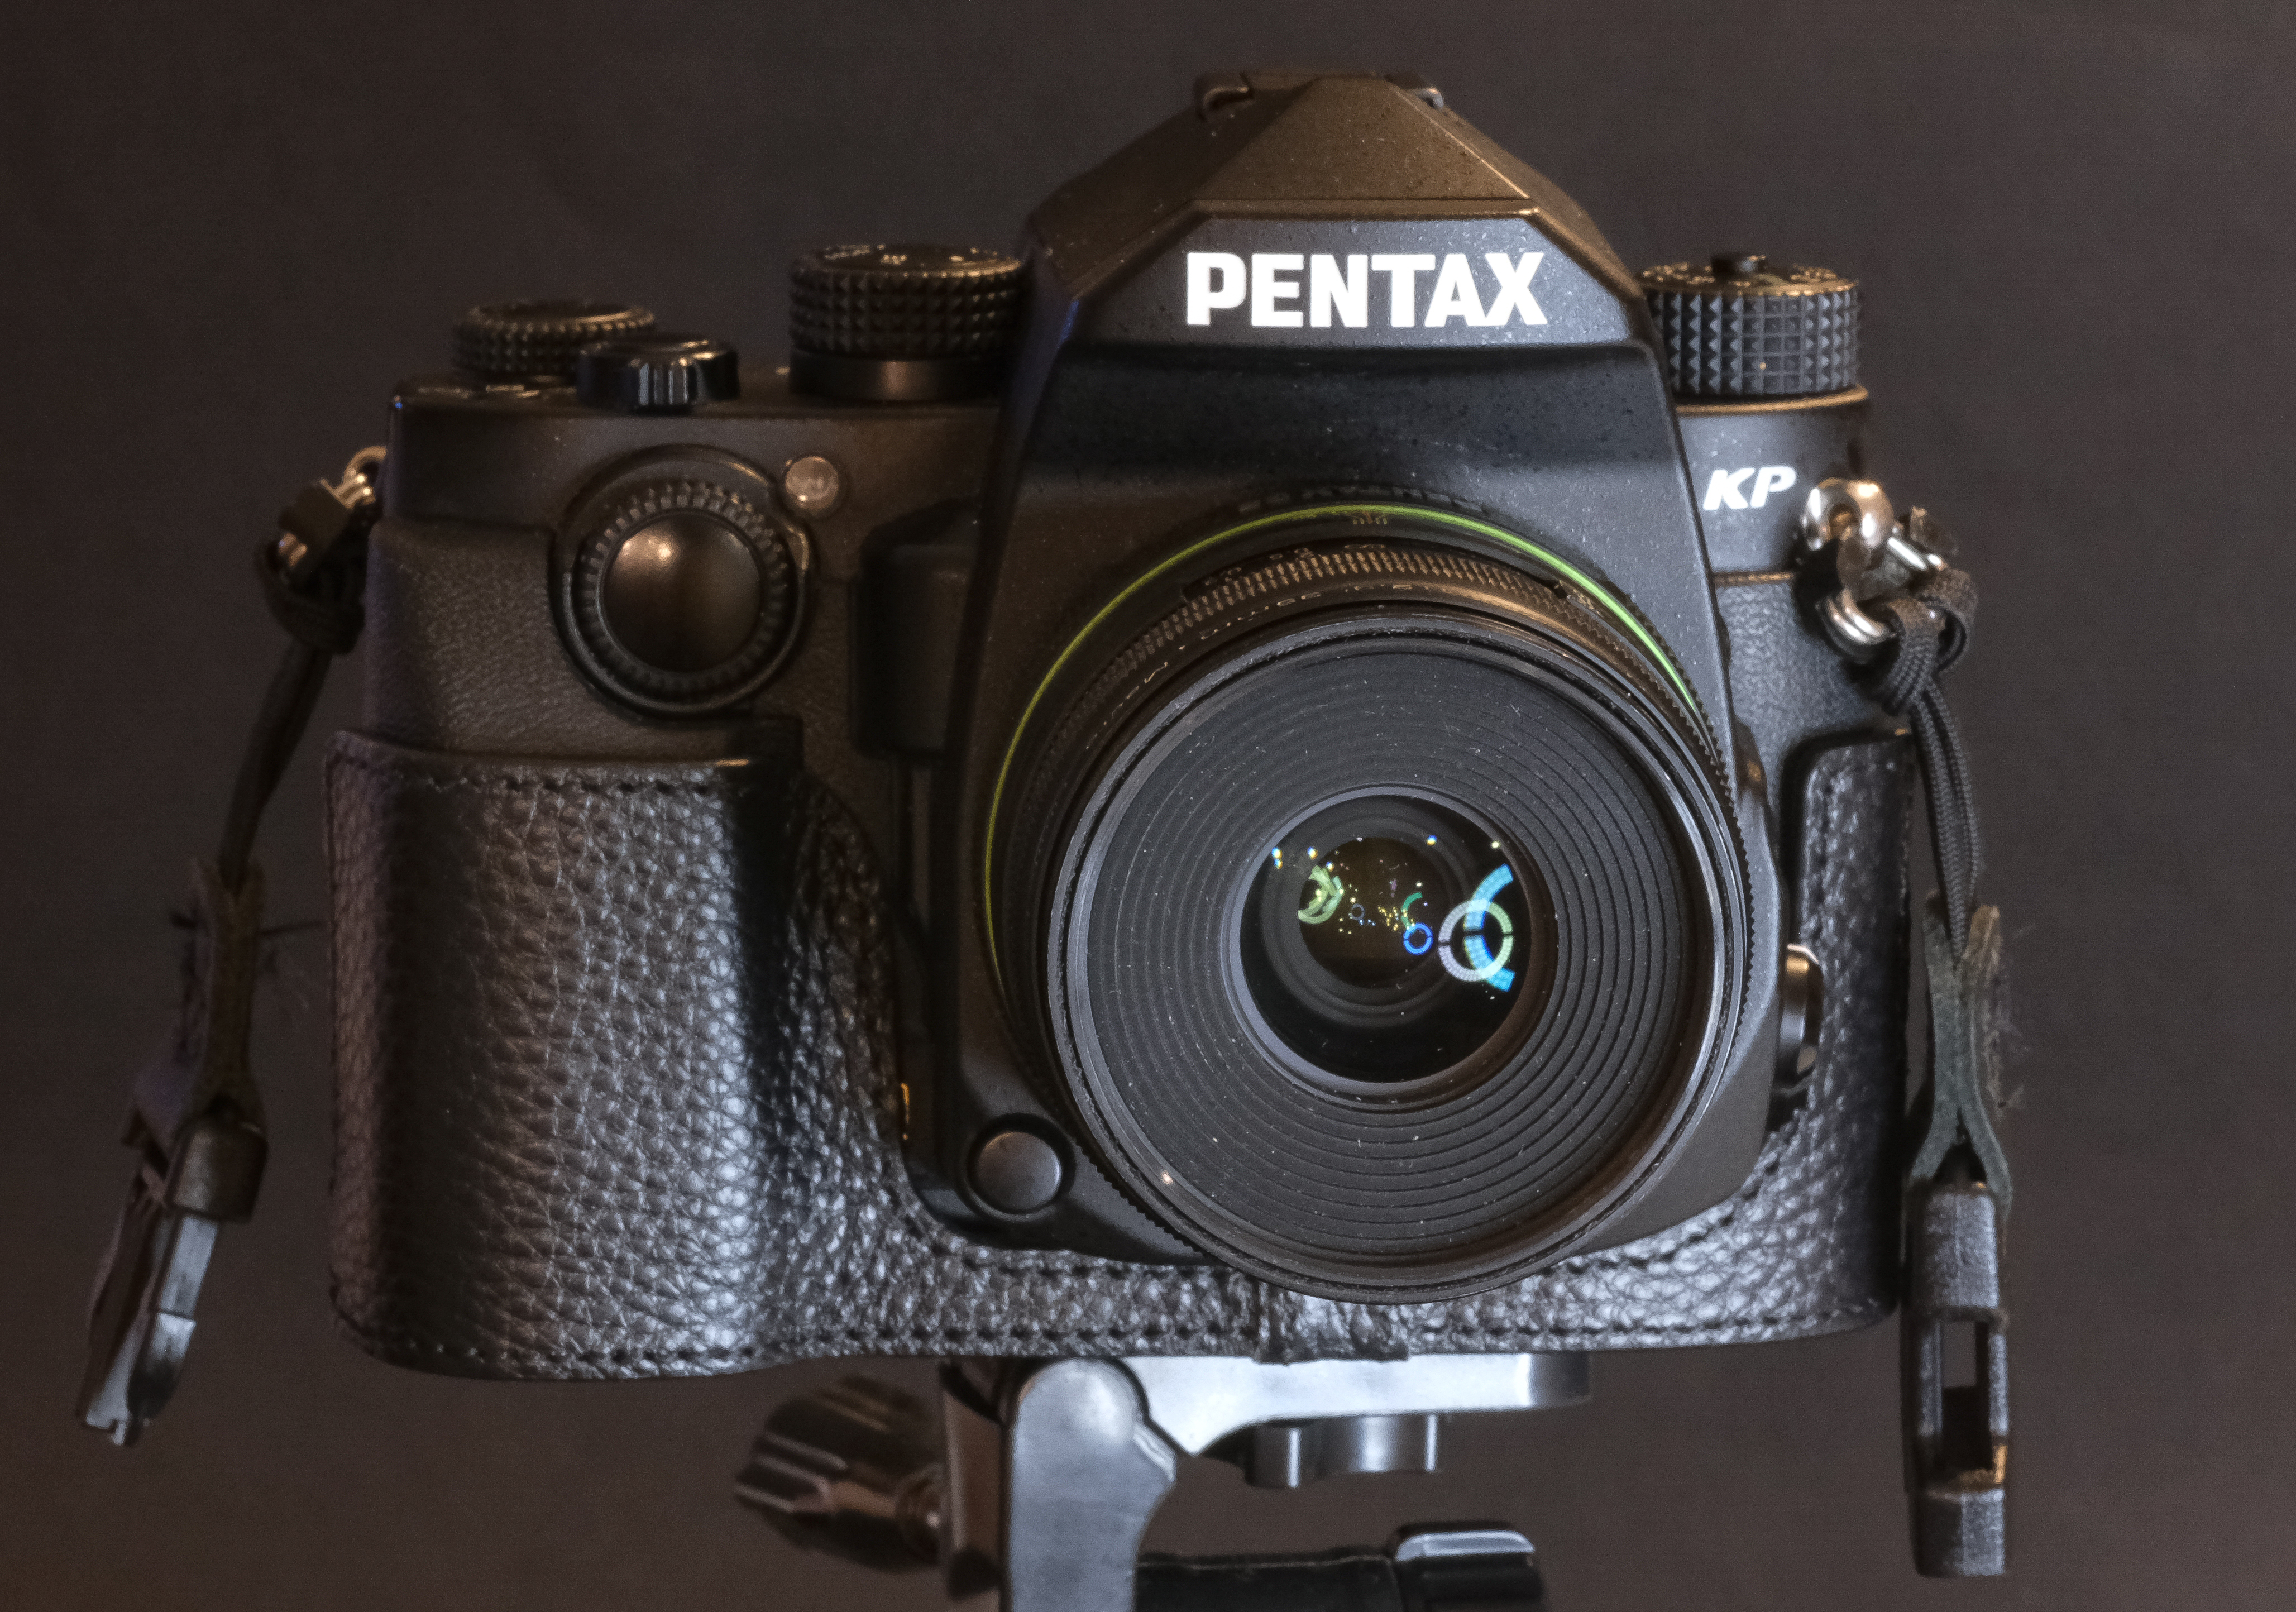
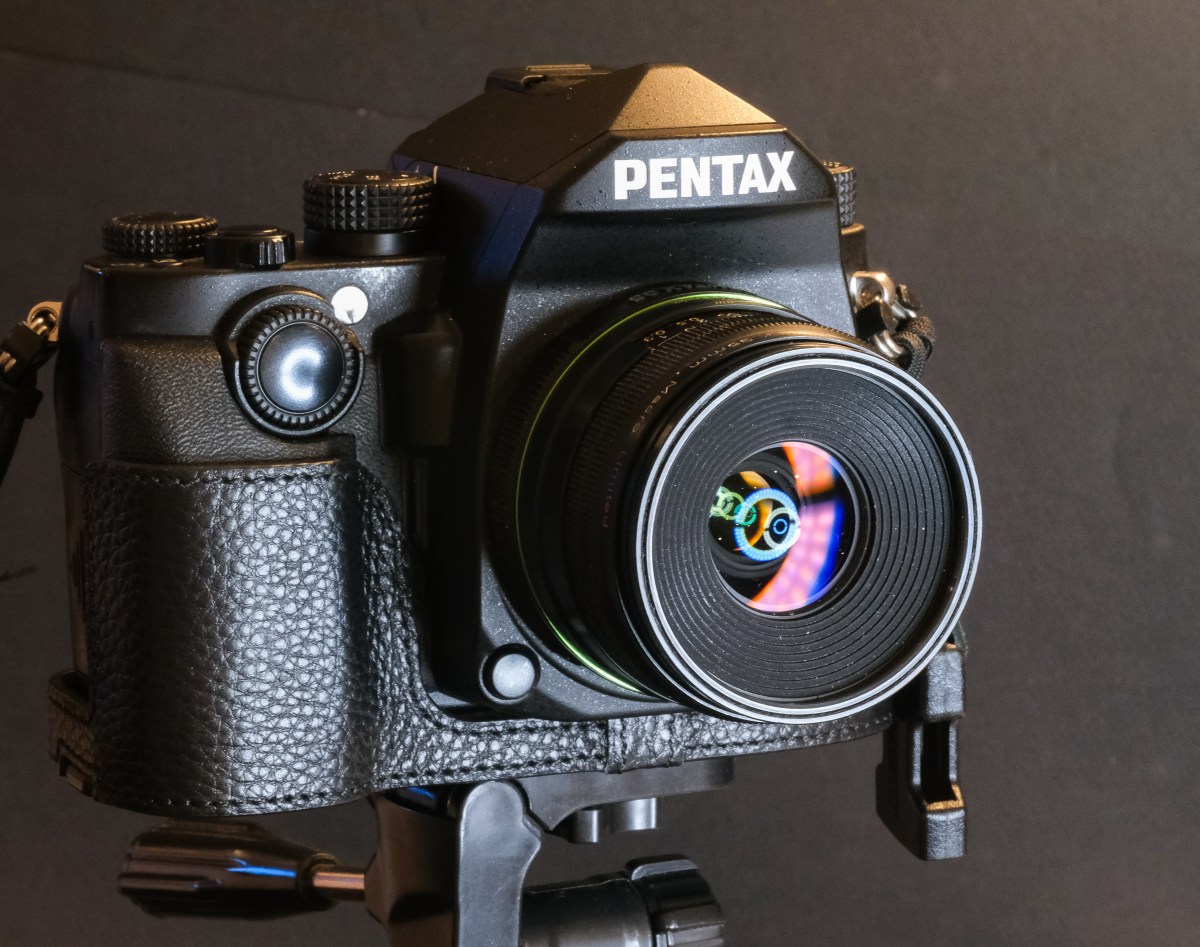
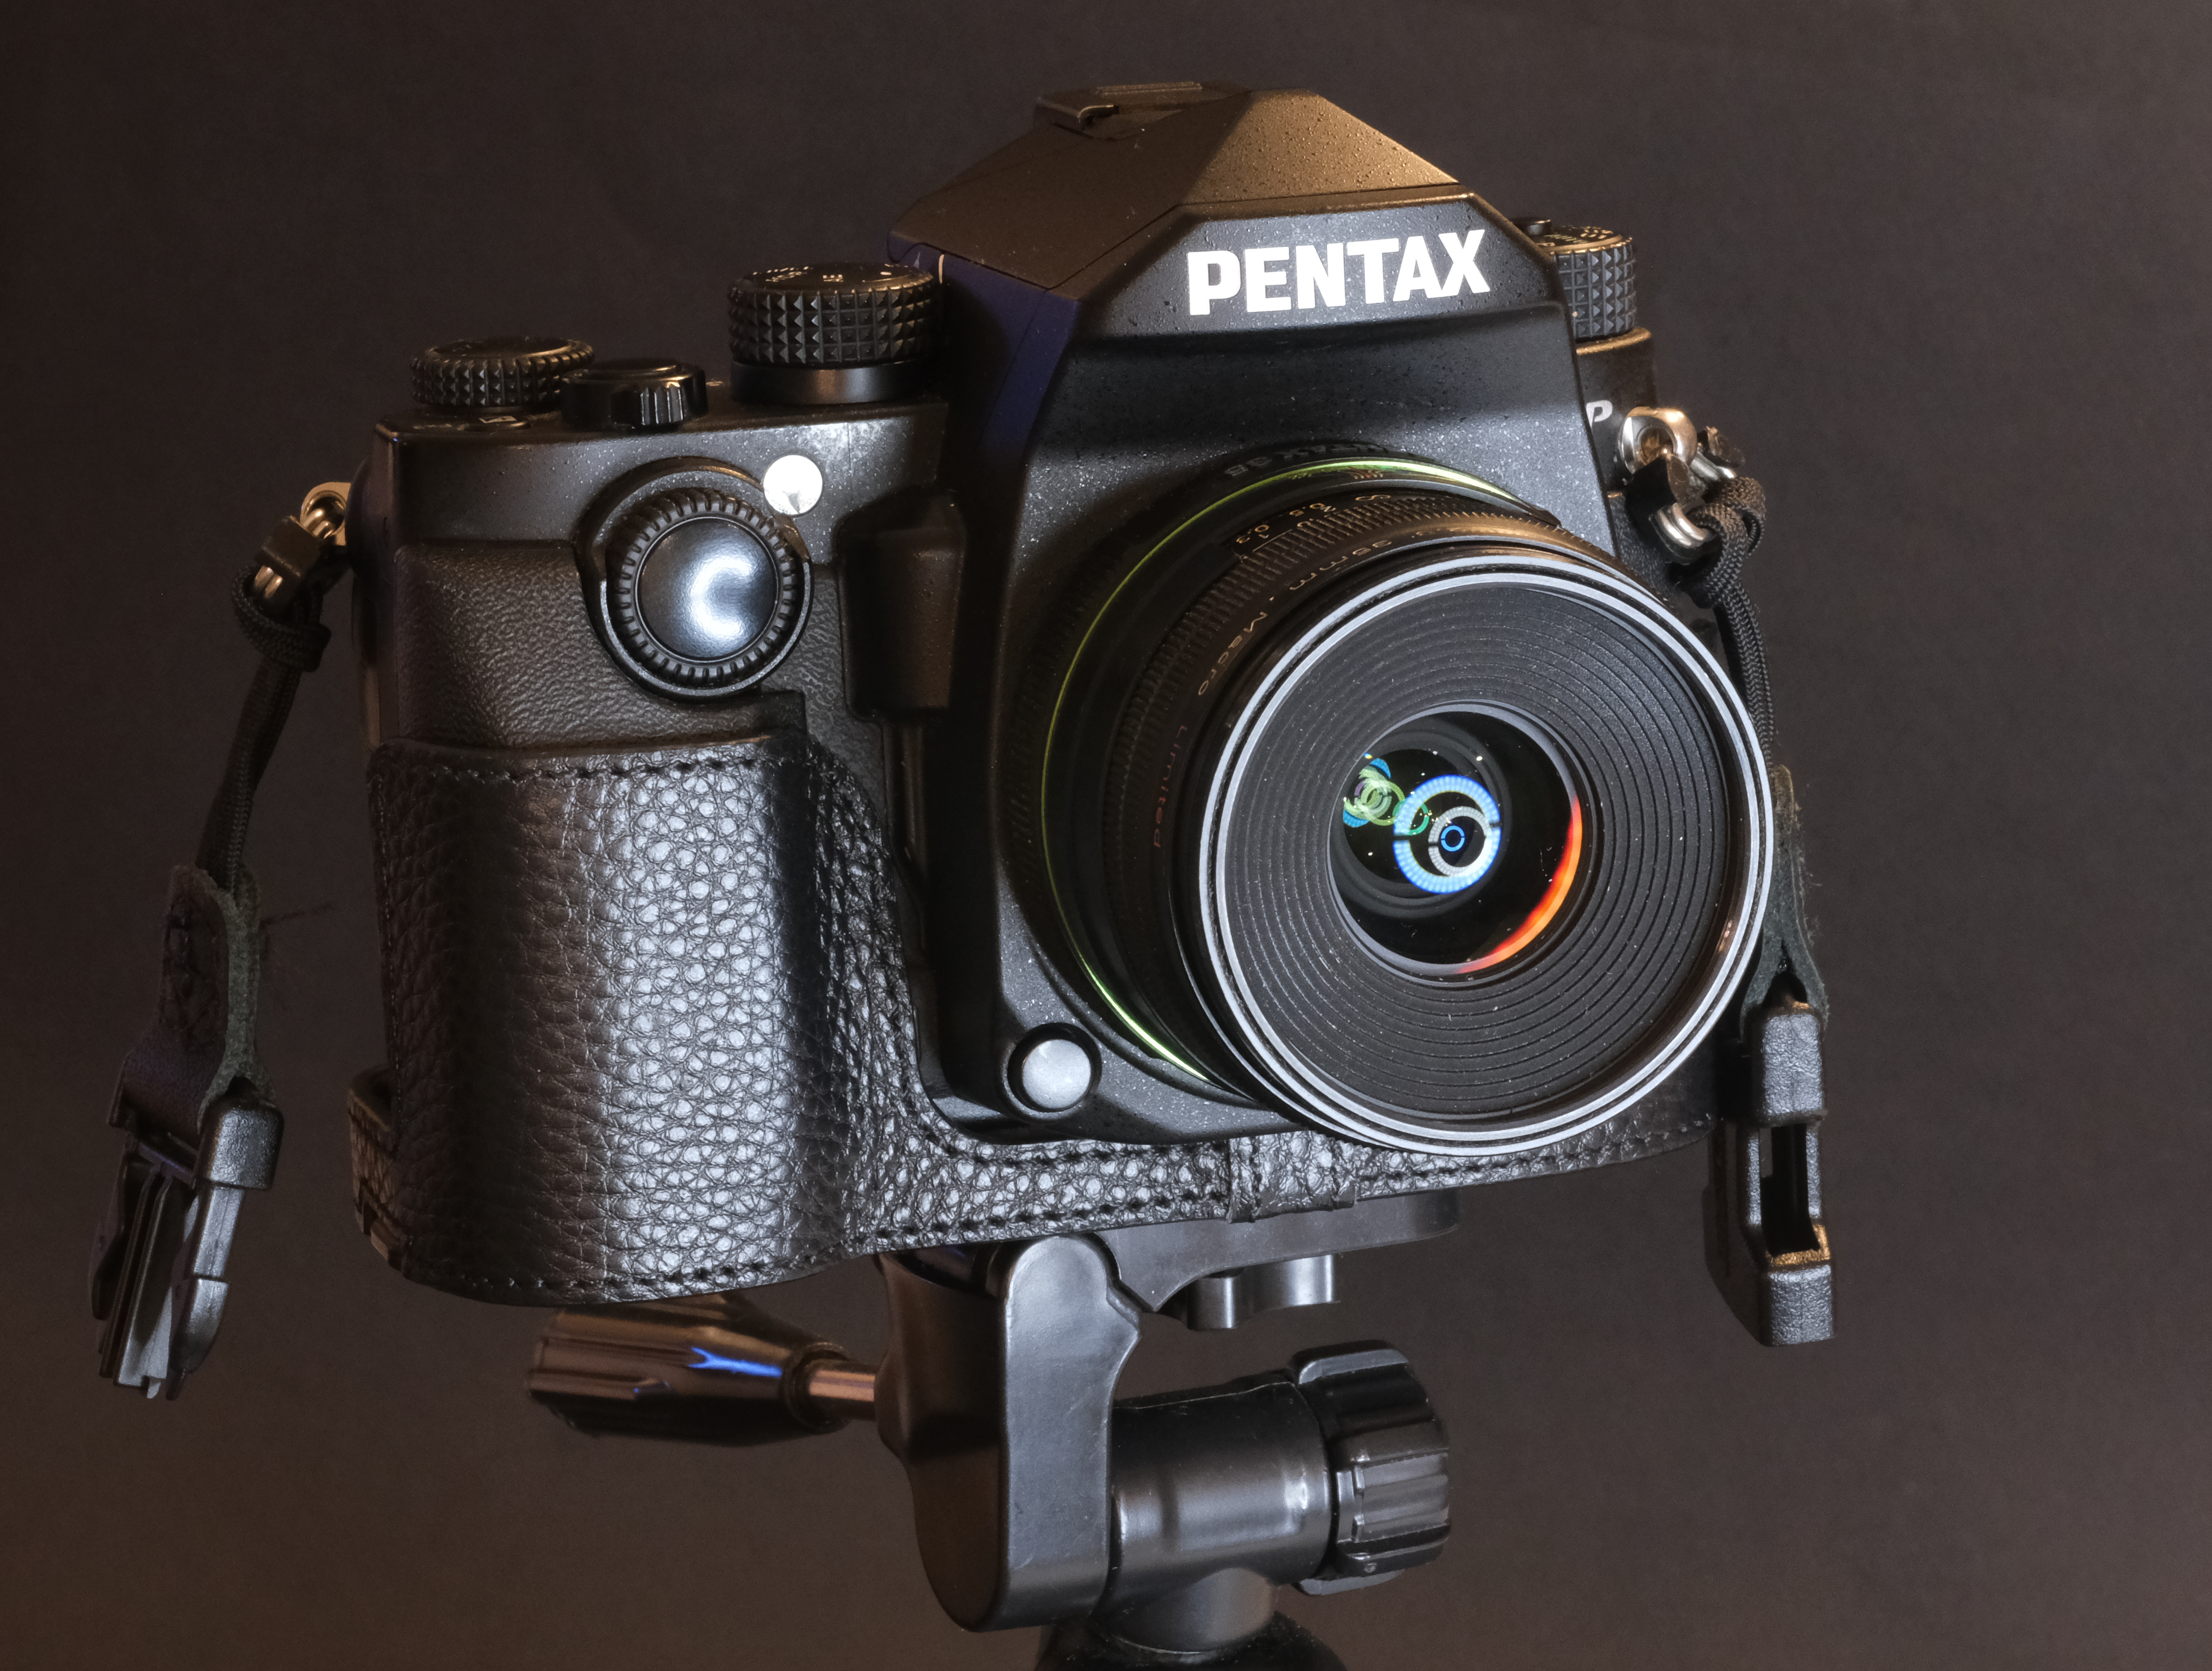
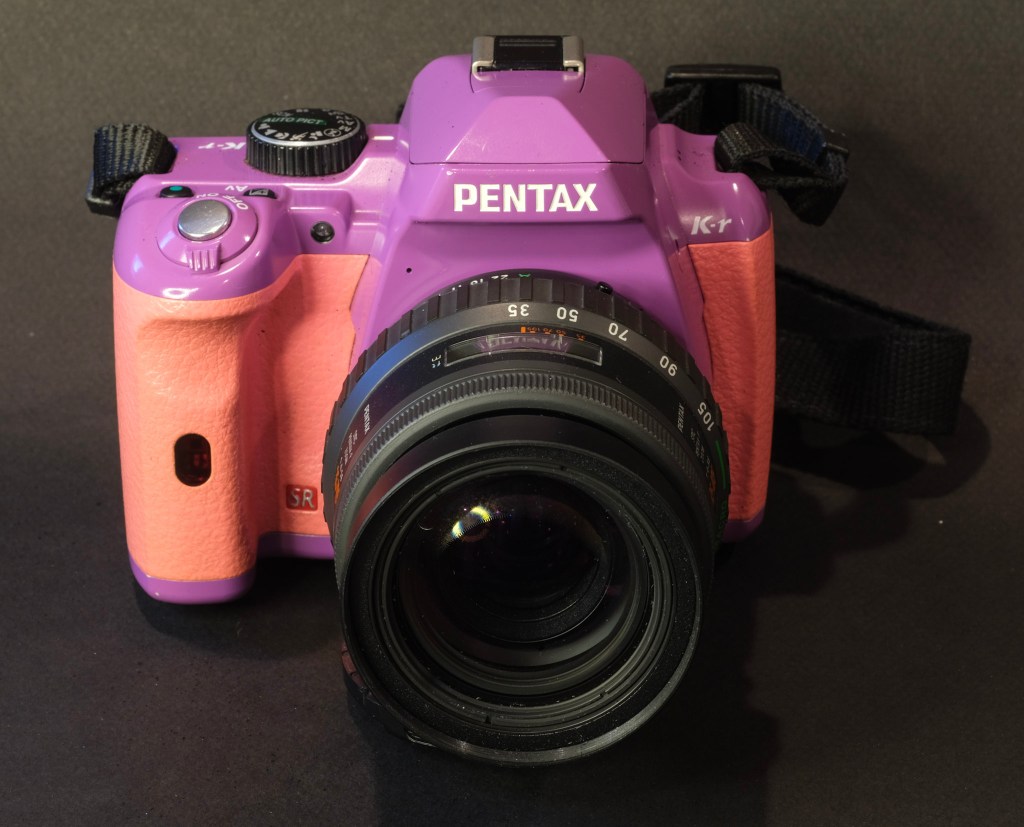
- Pentax K10D, K200D, K-M, K-2000 – the K10D is the big semi-pro camera, the other models are smaller and more amateur oriented. The 10 Megapixel Pentax dSLRs are generally appreciated for their beautiful RAW files, but reviewers complain about their comparatively poor JPEGs, which may not be great if you’re after the CCD look.
- Sony a100, a200 and a300 series – all are the successors of Konica-Minolta 5D. The 100 and 200 series are very conventional amateur oriented models, the models of the 300 series offer Live-View capabilities thanks to a second dedicated image sensor.
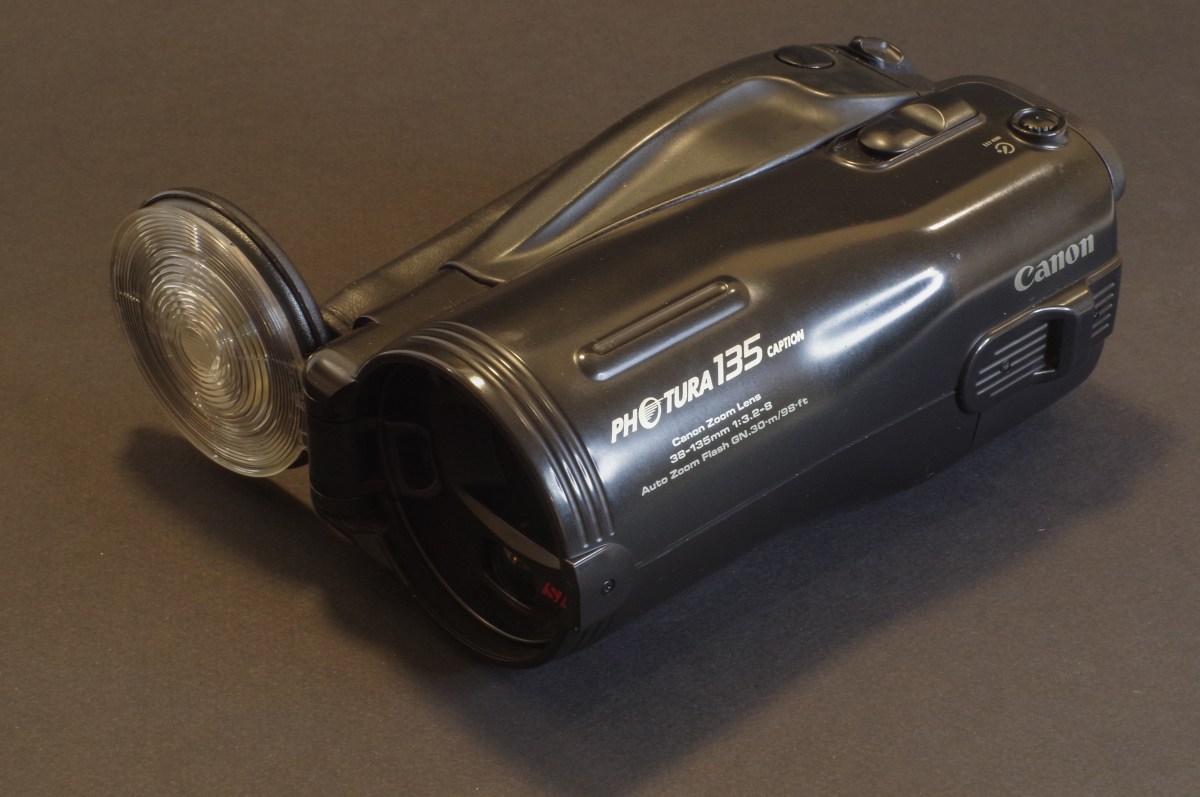
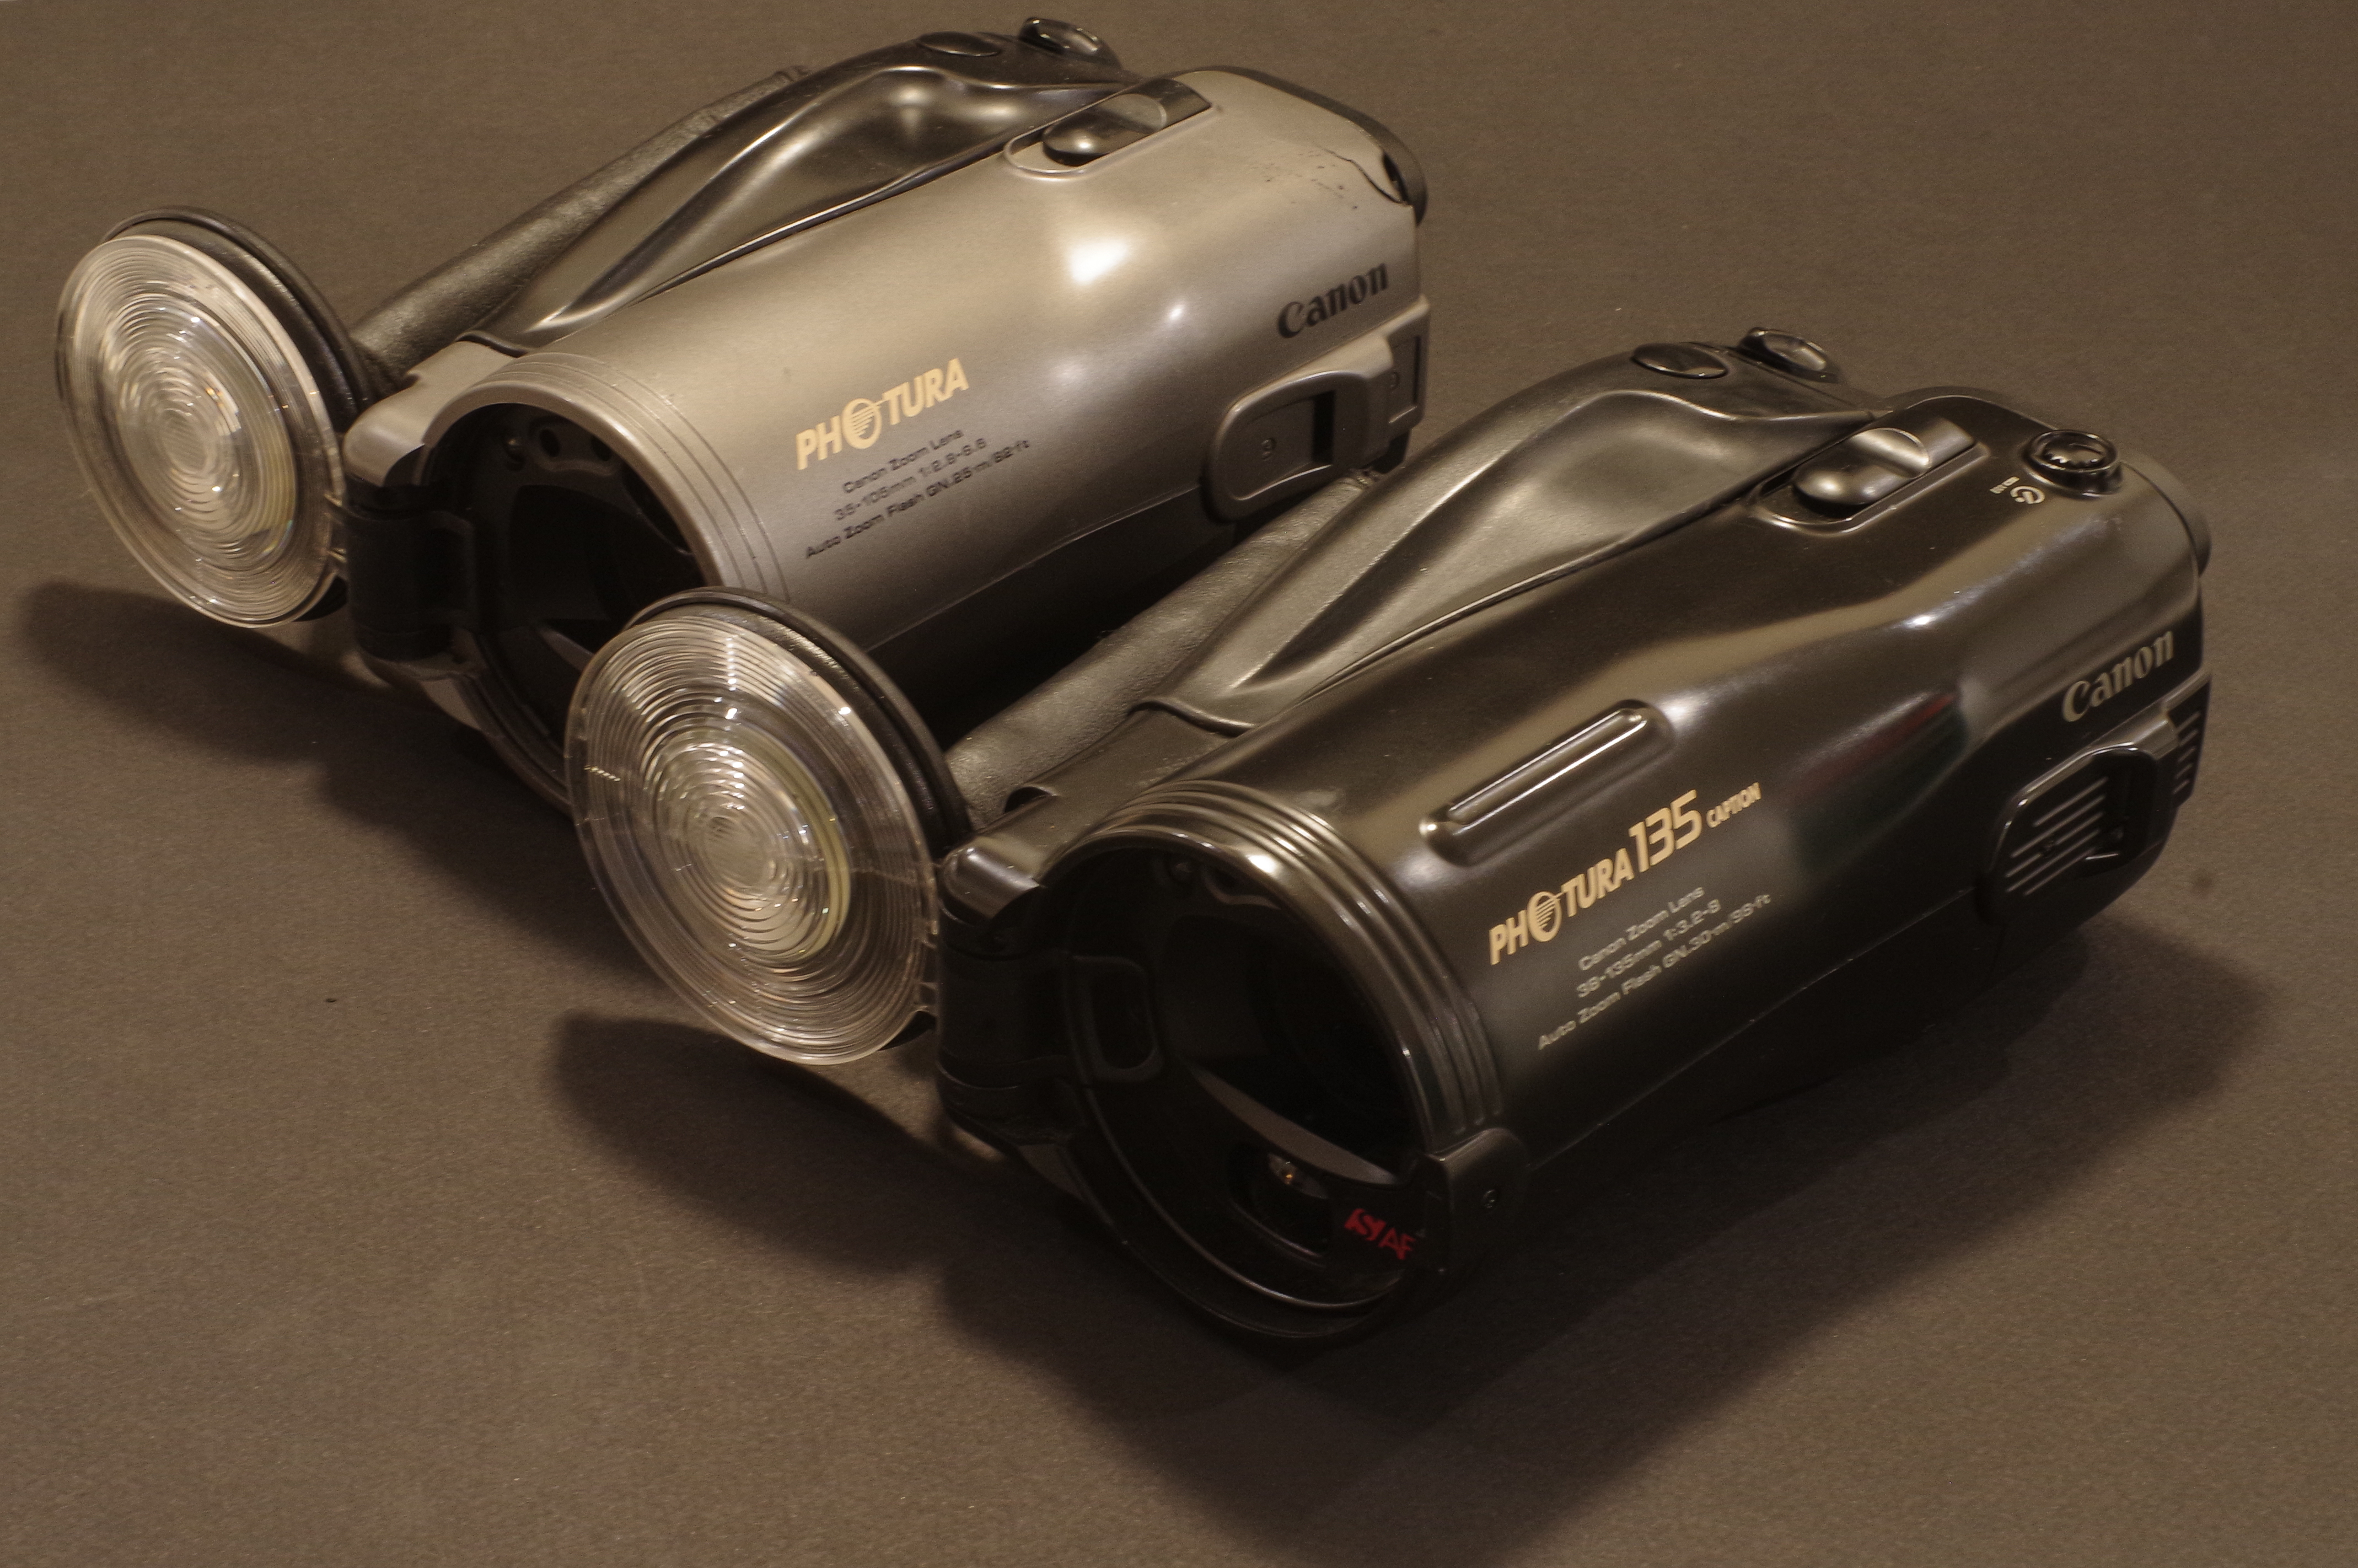
Canon is absent from that list. For their line of dSLRs, they made a very early bet on CMOS – I believe that the EOS-1d of 2001 is their only CCD-equipped dSLR. Note that they kept on integrating CCD sensors in their line of digital point and shoot cameras until 2011.

The value of cameras on the second hand market tends to be driven primarily by the sensor resolution – and 10 megapixels is considered so low that all the cameras of this list can be bought for less than $150 (the Nikon D200 is the most expensive, the oldest “amateur” models being the cheapest at $50.00 to $70.00). Interestingly, 10 Mpix CCD compact cameras like the Canon G12 or the Nikon P7100 currently sell for more than the best 10 Megapixels dSLRs. Nikon D200 included.


More in my Flickr galleries
More about film, film cameras and old gear in general in CamerAgX.com: