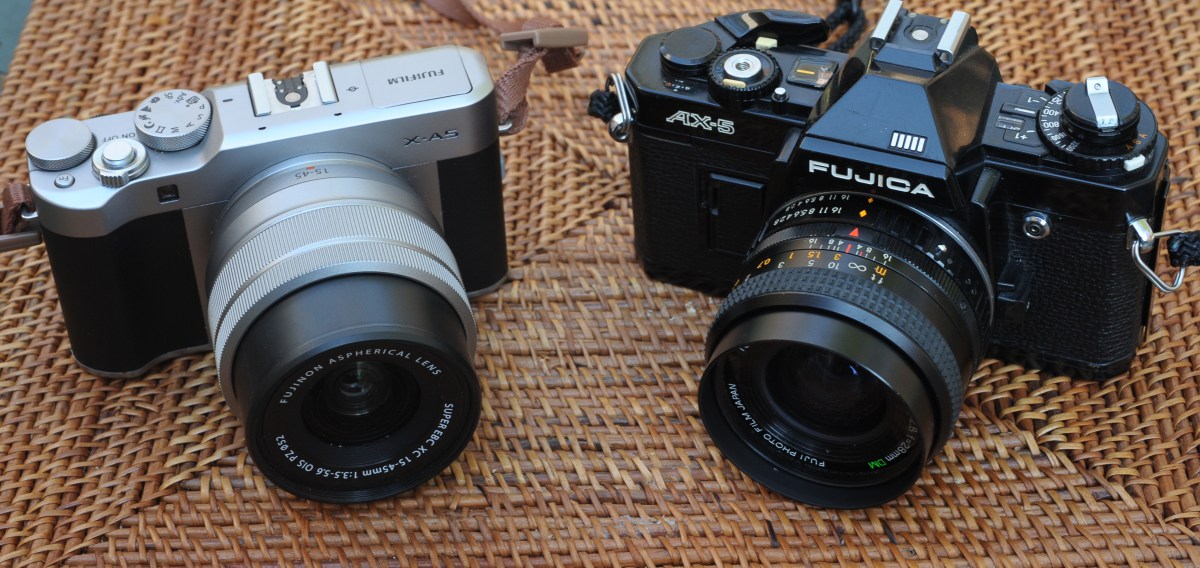
I’ve always been intrigued by the first G series micro four third (m43) cameras of Panasonic – and I’ve always found the red ones particularly cute and desirable. But never enough to buy one, until today. Another eBay find.
Launched between 2008 and 2011, the G1, G2 and G3 now qualify as “old gear” and deserve a place in those pages. Whether one of those cameras, which were once revolutionary, will find a new life in my camera bag – is another story, and that’s what we’re going to determine.
Those early G models look like a dSLR shrunk to 1/2 scale, and were available in three body colors (black of course, but also red and blue) in the Western markets (*). Because they were the first representants of a totally new category of cameras, Panasonic did not seem to have a clear positioning for the G Series – were they targeting novice photographers or enthusiasts, and at what price point?
By 2010, they had made up their mind, and started launching smaller and simpler GF models to encourage smartphone and compact digicam users to step up to Interchangeable Lens Cameras (ILCs), while the subsequent G Series models became larger and more serious looking. The current models look no different (and are not really smaller) than conventional APS-C dSLRs.
Why mirrorless?
It all started when the image sensors used in dSLRs became capable of capturing video in addition to still images.
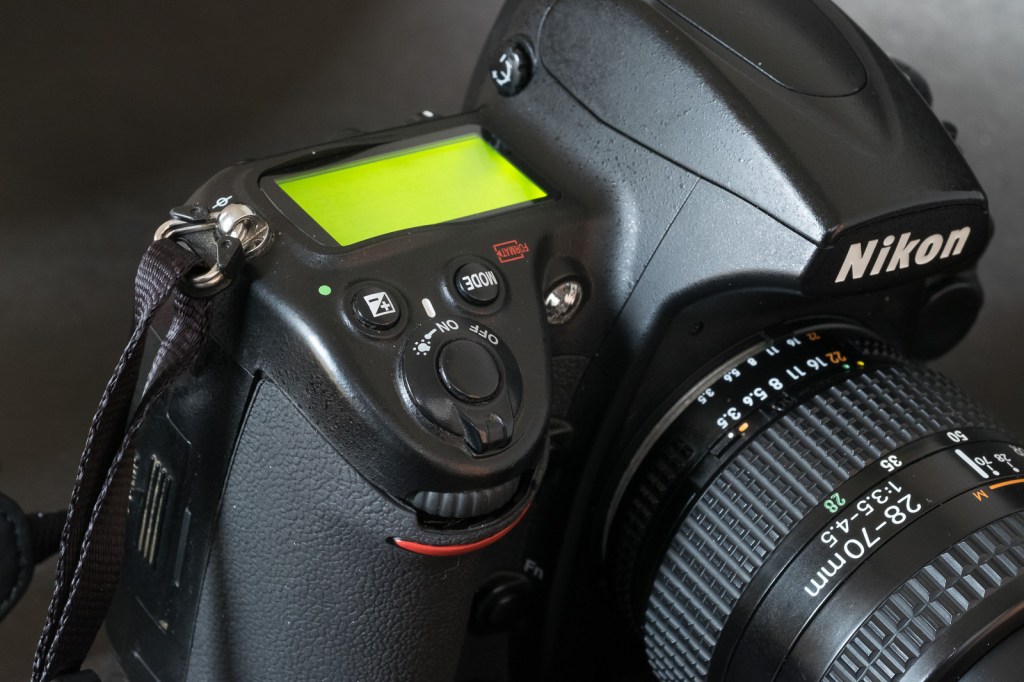
With the D90, Nikon were the first to propose a dSLR that could also shoot HD videos, but the architecture of single lens reflex cameras (with their flipping mirror located between the lens and the image sensor) is not video-friendly; when it was capturing videos, the D90 was reconfigured to operate like a compact digital camera, forcing the videographer to forget about the optical viewfinder, and compose from the LCD at the back of the camera. To make the matters worse, the very efficient phase detect autofocus system of the photo section of the camera could not be used when shooting videos (the flipping mirror again), and after some trial and error, the manufacturers had to implement a second autofocus system in the video section of their new dSLRs, contrast based this time. Two cameras in one.
With no legacy in the SLR and dSLR space, and access to state of the art electronic components, Panasonic was in an ideal position to propose a simpler and more elegant solution to the photo/video hybrid challenge. Their new “mirrorless” photo/video hybrids would not be based on a “reflex” camera anymore (no flipping mirror, no optical viewfinder) – their electronic viewfinder and their LCD display would both be fed directly by the image sensor – and a single autofocus system (contrast based) would be implemented. For the operator of the camera, there would be no difference between shooting still images and videos.
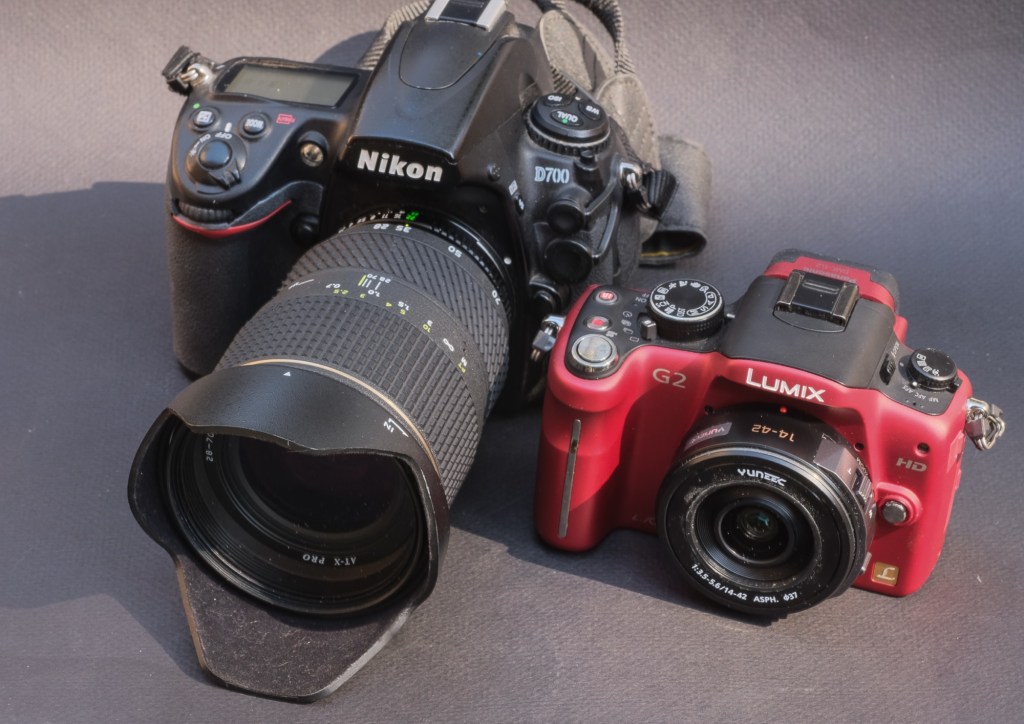
The mirrorless architecture had another significant advantage – because they were not built around the constraints imposed by the mirror box of a dSLR, the cameras and their lenses could be made significantly smaller.
It was a small revolution (and it was perceived as such by the press when the G1 was launched). Sony and Olympus followed rapidly, then Fujifilm, then finally Canon and Nikon.
For the anecdote, the G1 – in spite of being architected as the perfect photo-video hybrid, could only shoot still images. All the models that followed, starting with the GH1 of 2009, shoot stills and videos, the GH models being more video-oriented than the G models, but we’re talking nuances here – nothing fundamental.
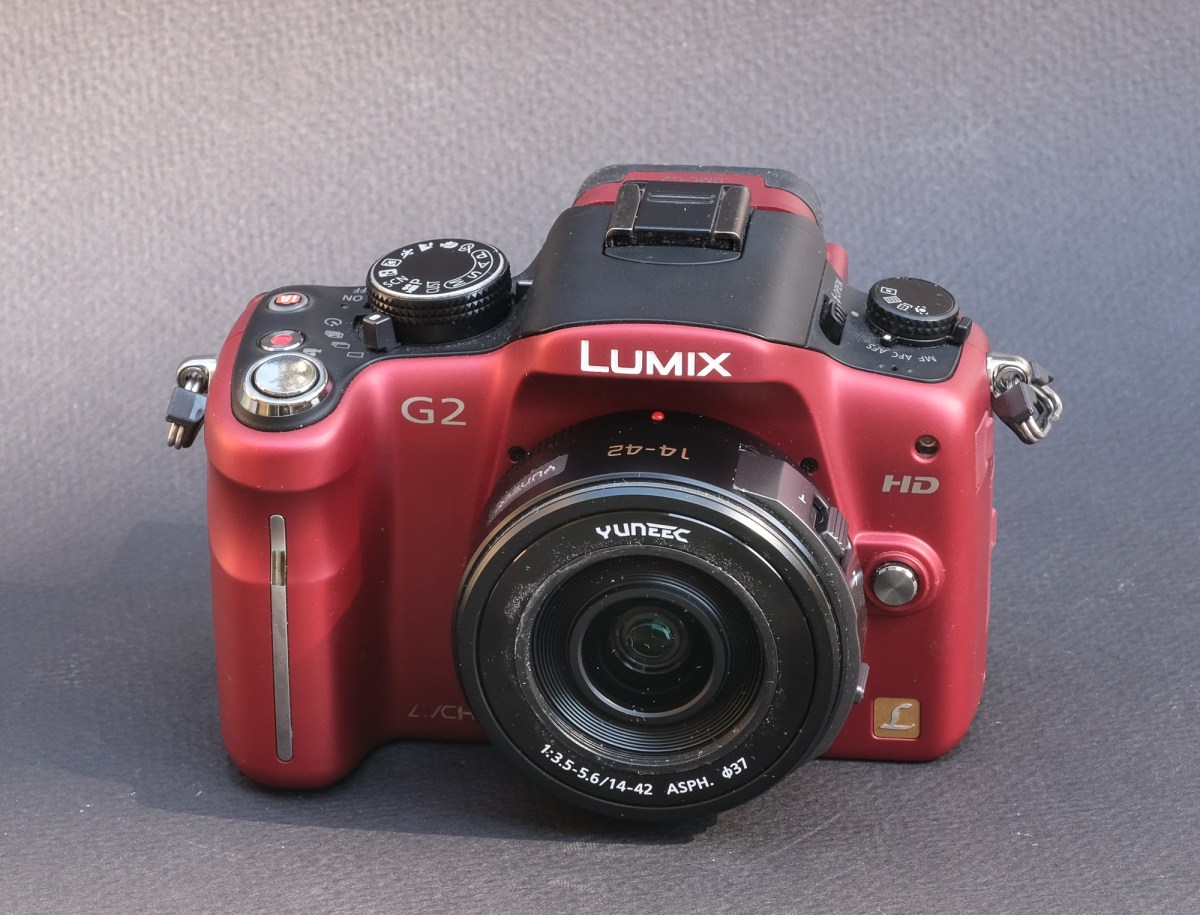
Shooting in 2025 with the Panasonic DMC-G2
In the early G series line-up, the G2 looks like a good pick. It addresses most of the limitations of the G1, and its user interface is more enthusiast oriented than the G3’s (more physical controls). The sensor is still a 12 Mpixels unit (the GH2 and the G3 made the jump to 16 Mpixels a few months later) but on a 15 year old camera the performance of the jpeg processing engine, the way it manages noise and the dynamic range are more of a concern than the resolution of the sensor.
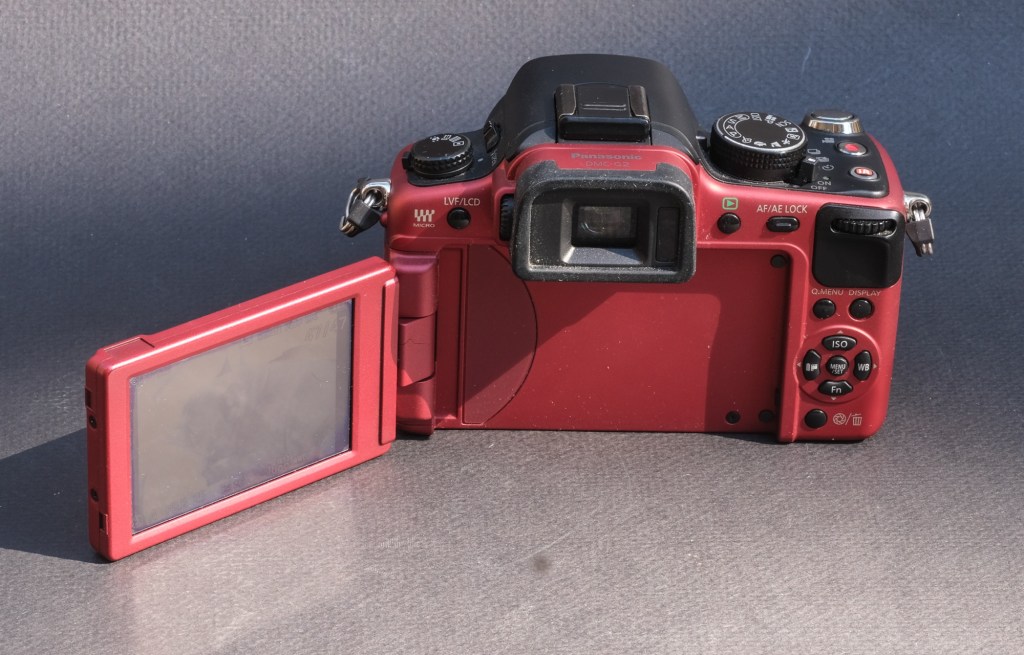
Using the G2 today, you understand why the press was so impressed with Panasonic’s new mirrorless cameras. They had nailed the essentials – offering a very compact, well rounded, pleasant to use camera, seamlessly integrating an excellent electronic viewfinder and a fully articulated rear display to shoot stills and movies without the acrobatics needed to do the same with conventional DSLRs. Even the autofocus is (relatively) fast and accurate. The fast movers among the competitors (Olympus, Sony, Fujifilm) would need three good years to catch up.
On a spec sheet, the G2 has everything an amateur will need – multiple exposure modes, including “intelligent” modes that recognize the scene for the photographer and adjust the parameters accordingly, multiple autofocus modes, and a very informative viewfinder.

Once you get used to its menus, the camera is easy to configure to one’s desires, and does not get in the way. It’s so light you don’t feel its weight, and wakes up quickly if it had entered a sleep mode. Only the operation of the touch screen leaves to be desired – it’s unresponsive and requires a significant pressure from the finger – and can’t be compared to the responsiveness of a modern smartphone in that regard.
What about the pictures?
There are cameras from the same vintage that immediately impress you with the quality of their JPEGs – you shoot with them for the first time and are like “wow!” – I’ve had that sort of moment with my first Fujifilm camera, the original X100. No such thing with the G2. You look at the pictures and you simply think – “not bad, but it needs some post-processing to show the scene like I really saw it”.

The JPEGs are generally pleasant to look at but lack punch, and will benefit from some limited post processing (with the G2, I tend to systematically add vibrance and clarity in Lightroom). In some of the landscapes I shot (facing the sun, admittedly), the images seemed to be rendered in a scale of grey, with almost no color – which points to dynamic range limitations.

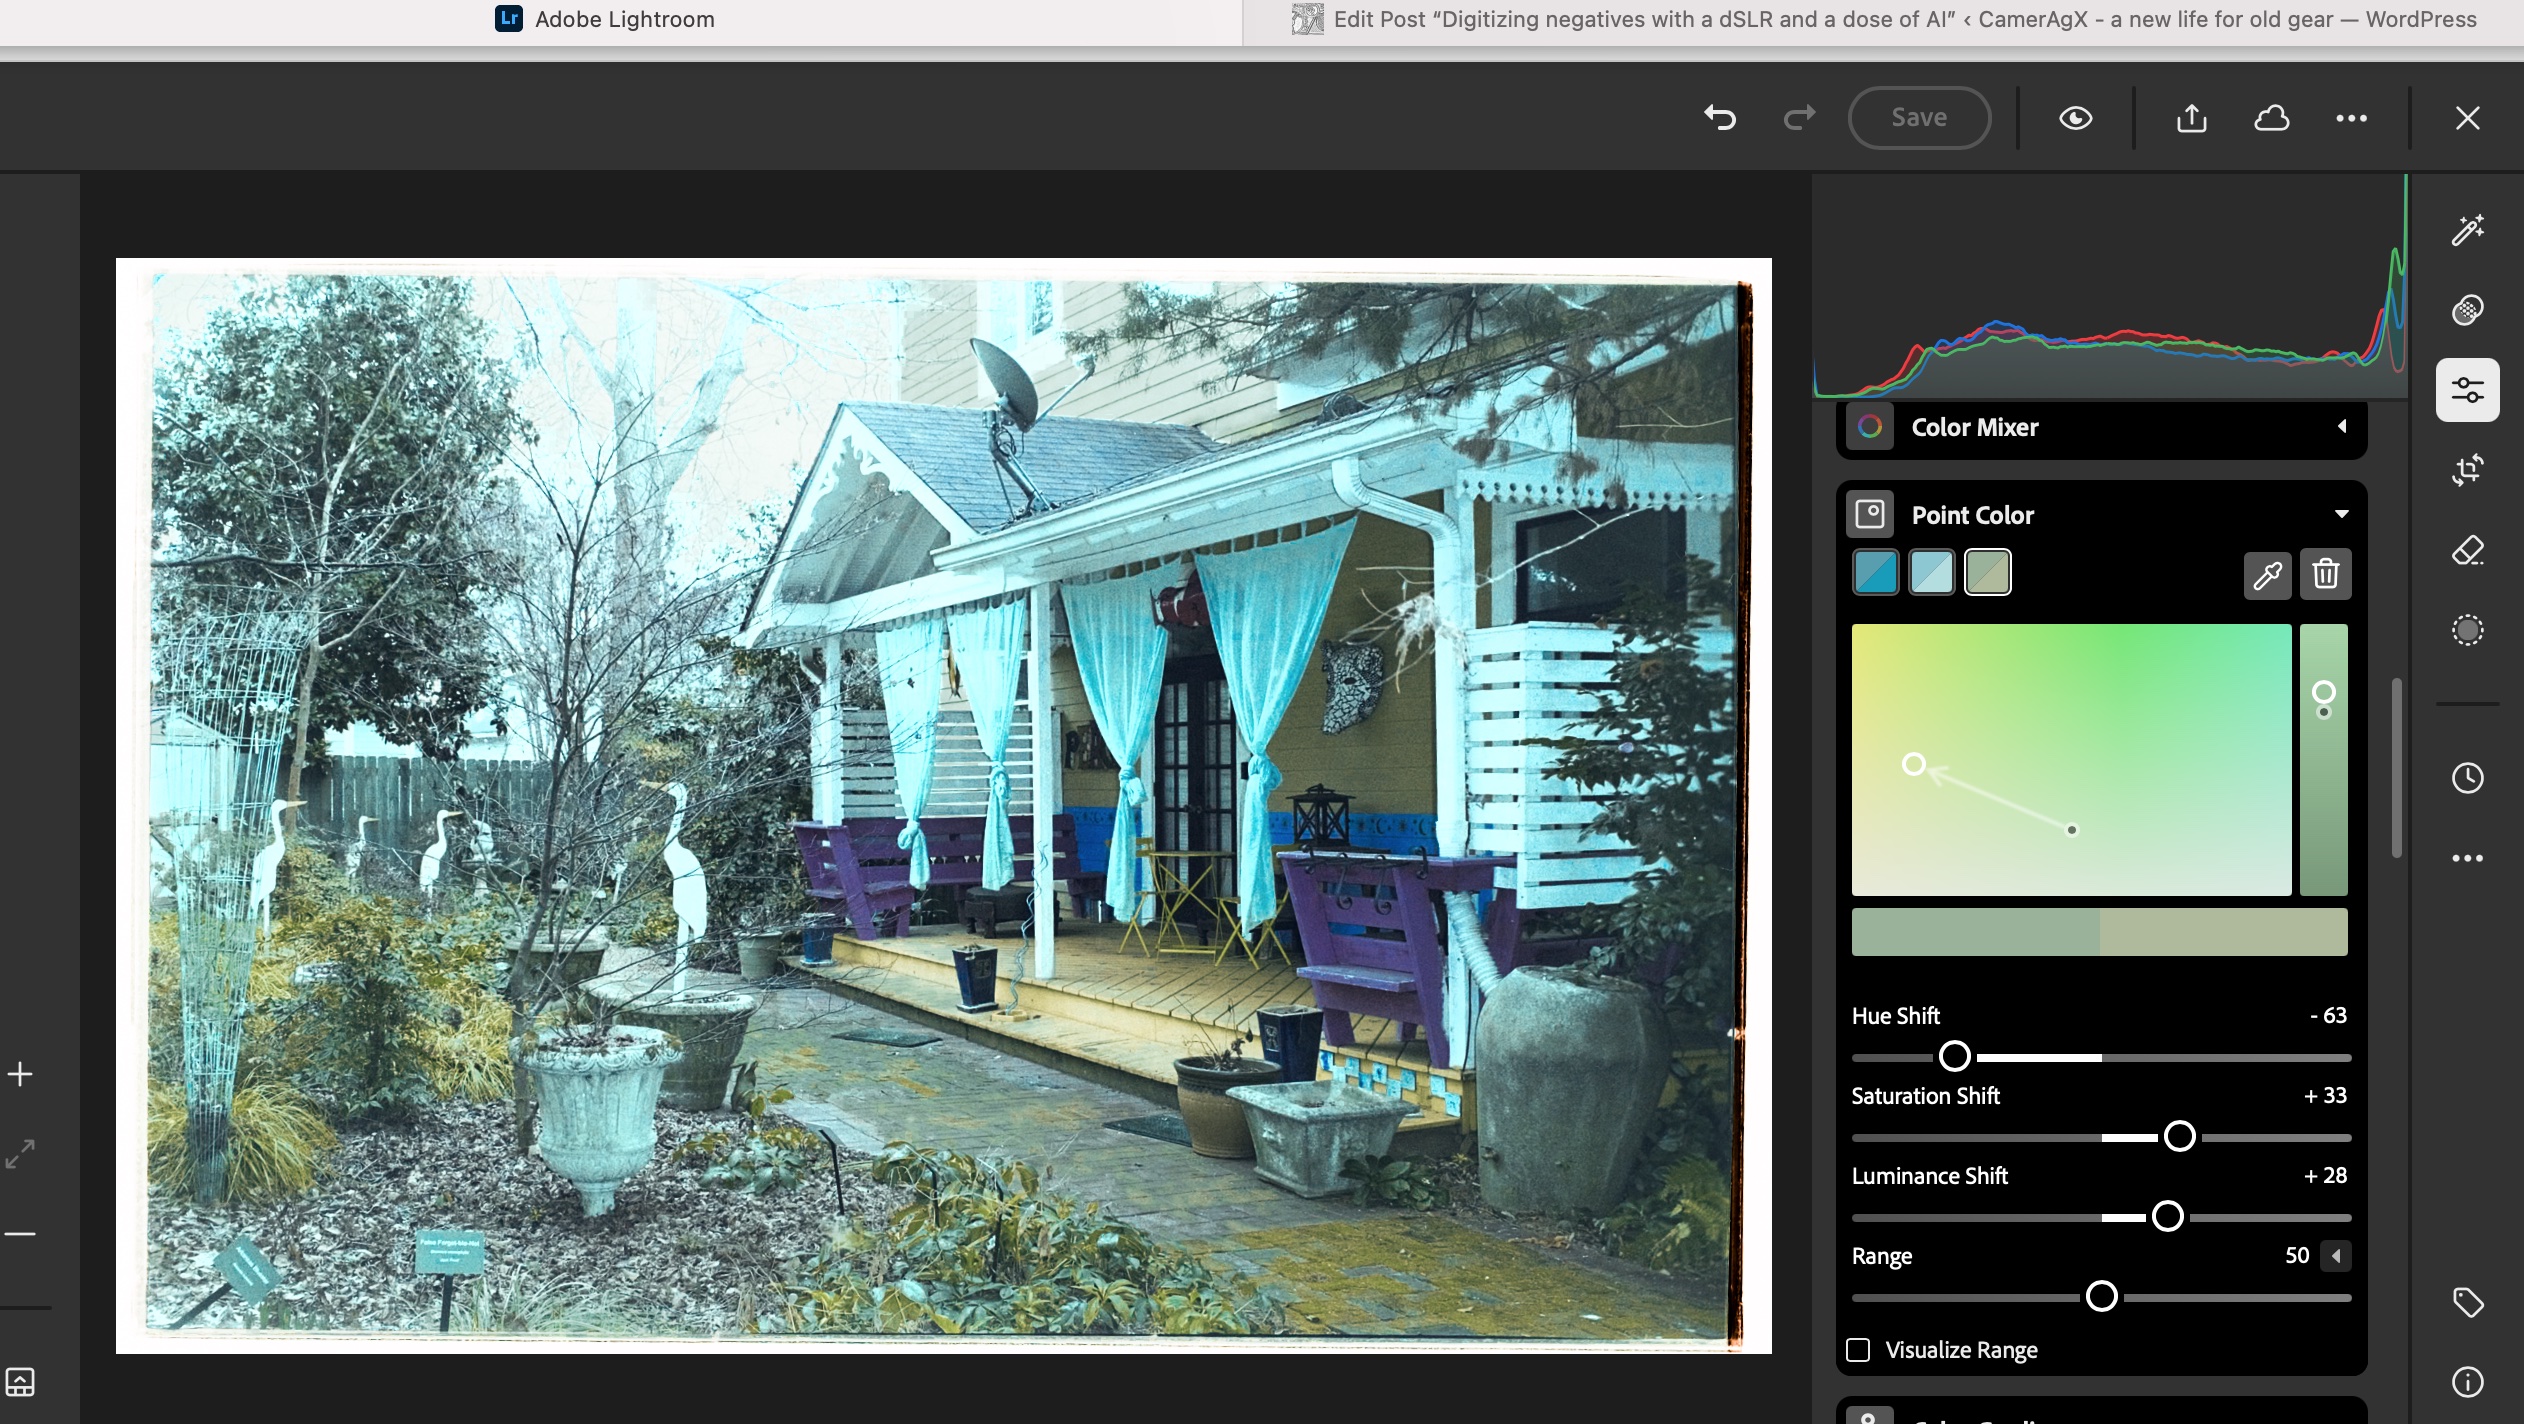
Photographers willing to spend more time on their images will shoot in RAW, and spend a few minutes adjusting each picture in Lightroom. The files respond well to post-processing, which tends to indicate that the potential of the sensor is hindered by the JPEG rendering engine of the camera.
As a conclusion
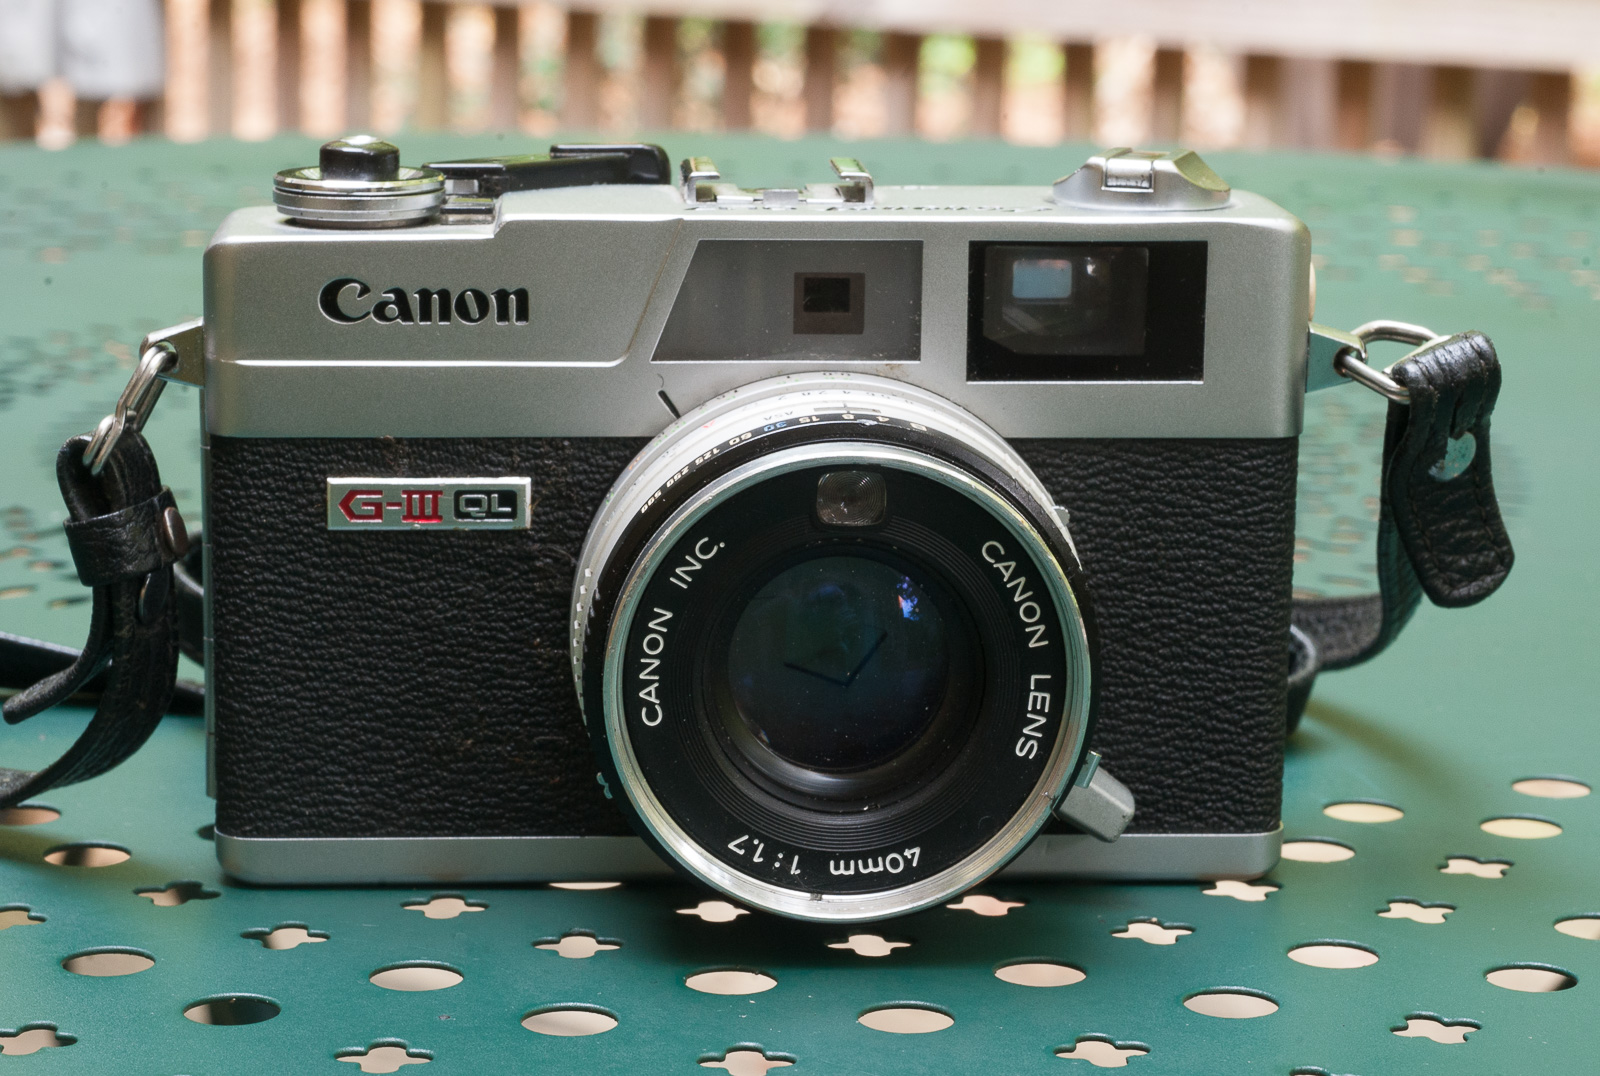
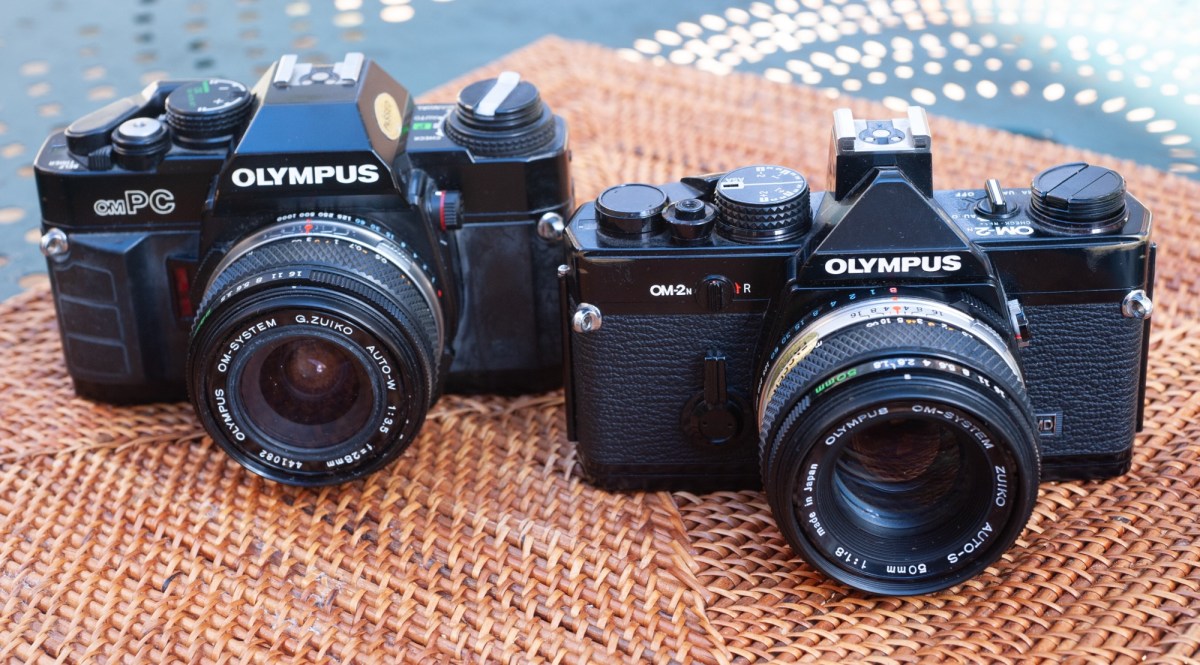
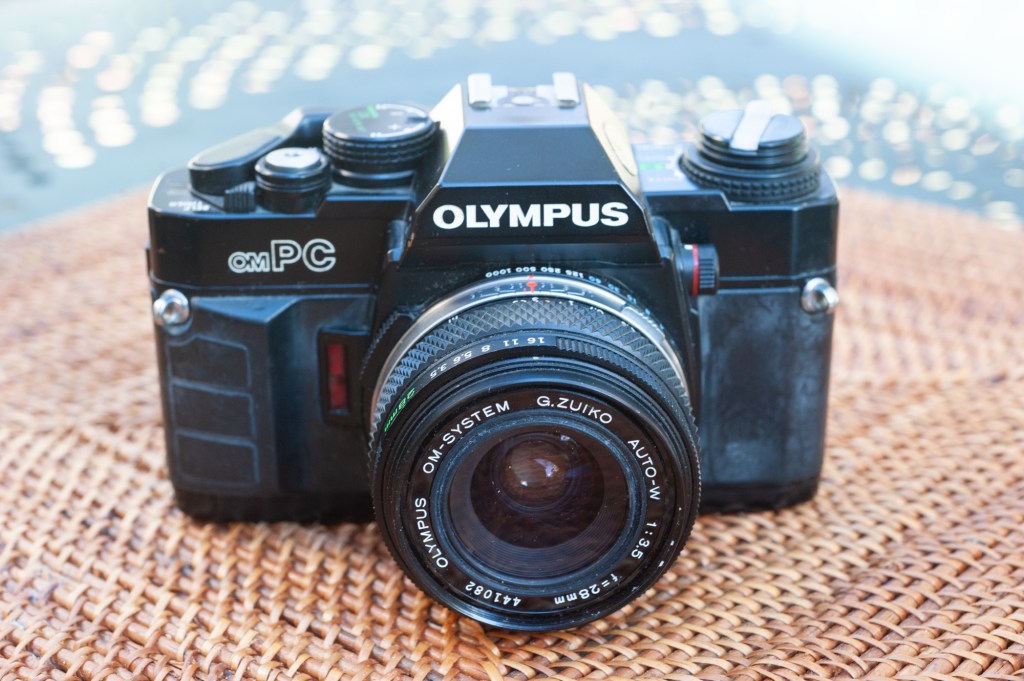
Shooting with a great film camera from the nineteen seventies or eighties is an experience to be relished. It’s so different from shooting with a modern digital camera. Cameras like the Canon AT-1/AE-1, the Nikon FM/FE or the Olympus OM-1/OM-2 series reconnect you with the basics of photography. Even if you own a state of the art digital camera, you will still feel the need to shoot with a FE2 or an OM-2 from time to time, because they’re such great instruments and using them is so rewarding.

You can’t say the same of the Panasonic G2 – it’s a modern digital camera, but not as advanced as the most recent models from Panasonic and all other major camera makers. In 2010, it was an impressive tour de force, already very mature for a 1.1 release. Today, it’s still remarkably compact, but the Jpeg processing engine, the sensor, the viewfinder – although usable – are 15 years behind the current best of the bunch.
The G2 is a cute and easy to use oldie, but if you also own a more modern, more enthusiast oriented ILC, you will not be tempted to shoot with the G2 when you could be shooting with a more recent, more flexible camera that will deliver better pictures in more situations, straight out of the camera.
Or you will be looking for a camera as compact and pleasant to use as the G2, but more modern.
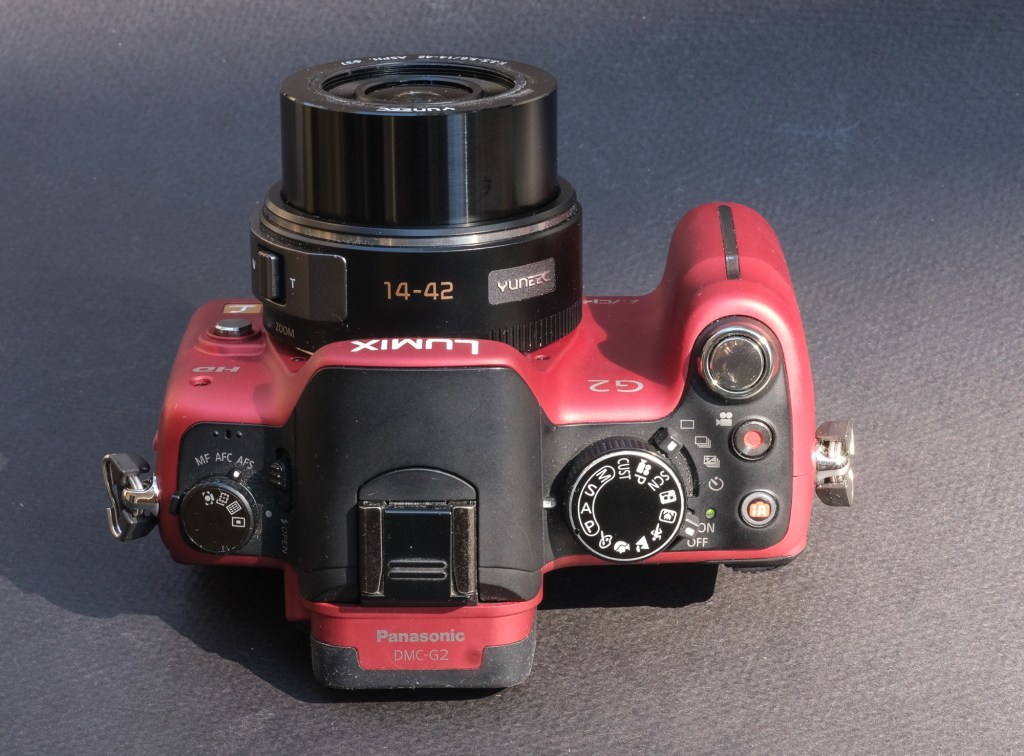
On the other hand, if you’ve only shot photos and videos with a smartphone so far, a Panasonic G2 is a good stepping stone into the world of dedicated cameras. With a Yuneec 14-42mm power zoom (**), it forms one of the cheapest ways to get a taste for what shooting with a good interchangeable lens camera really is about.
You will have to shoot RAW to get the best results, and will have to learn about the S curve and the histograms. But it’s a knowledge worth acquiring.
The m43 system is still alive with Panasonic and Olympus keeping on developing new cameras and new lenses, and when you will feel the desire for a more recent camera, all the experience you will have accumulated shooting with the G2 – and the money you’ll have eventually spent on extra m43 lenses – will not be lost.

(*) Panasonic also shipped the early G models in other color combinations, but primarily on the Japanese Domestic Market (JDM). Cameras sold on the Japanese domestic market very often have a Japanese language-only firmware, and can’t be reflashed to show menus in other languages than Japanese. This situation is not specific to Panasonic – all Japanese cameras manufacturers have had (and some still have) references in their line-up which are strictly reserved for their home market and only support Japanese. Generally the ones with the fancy colors. Too bad.
(**) Yuneec is a Chinese manufacturer of drones and electrically propelled aircraft. At some point they used to integrate Panasonic m43 cameras and lenses in their drones – simply relabeling them. The Yuneec 14-42 power zoom is assumed to be identical to its Panasonic branded equivalent. The drones have probably reached the end of their life a long time ago, but enough lenses seem to have survived them, and there is a significant supply of Yuneec branded zooms on the second hand market. The Yuneec-labeled 14-42 mm zoom is identical and – in my experience – fully compatible with its Panasonic branded sibling.
A refurbished Yuneec zoom typically sells for a bit less than $100.00, a nice second hand G2 can be had for less than $150, making the G2+Yuneec 14-42mm combo one of the cheapest way to shoot with a good mirrorless interchangeable lens camera today. Not a penalty camera by any mean…