Exposure control basics
With film (digital is different in that regard) the photographer is working with a medium of fixed sensitivity (a 100 ISO film roll will have the same sensitivity from the first frame to the last one). Therefore, there are only two parameters that can be adjusted when trying to bring the right amount of light to the film: the shutter speed (how long will the film be exposed), and the aperture (how large of a hole is the iris forming to let the light go through the lens).
For a given scene, there will be more than one combination of shutter speed and aperture that will bring the same light energy to the film: for instance, a very short shutter speed and a very wide aperture (1/1000 sec and f/4.0) will be equivalent to a slow speed and a narrow aperture (1/60 and f/16). The photographer will have to pick the combination that suits the scene (short shutter speed/wide aperture for action scenes, longer shutter speed/narrower aperture for landscapes, for instance).
Most modern cameras pick the right shutter speed/aperture combination automatically in Program Mode.
In Shutter Preferred mode, the photographer has to pick the shutter speed, and the camera will set the aperture to a value that brings the right light energy to the film; in Aperture Preferred mode, the photographer picks the aperture, and the camera will select the shutter speed bringing the right amount of light to the film.
In semi-automatic exposure control mode, the photographer will pick the shutter speed and the aperture, and the camera will only indicate whether the camera is receiving the right amount of light, or not. Up to the photographer to adjust the aperture or the shutter speed until the camera is happy.
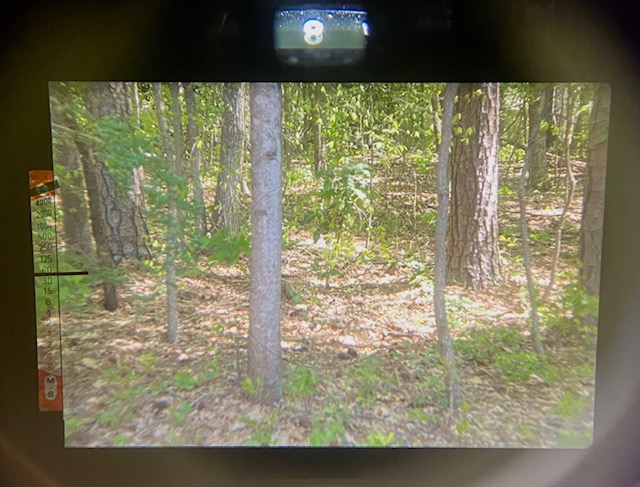
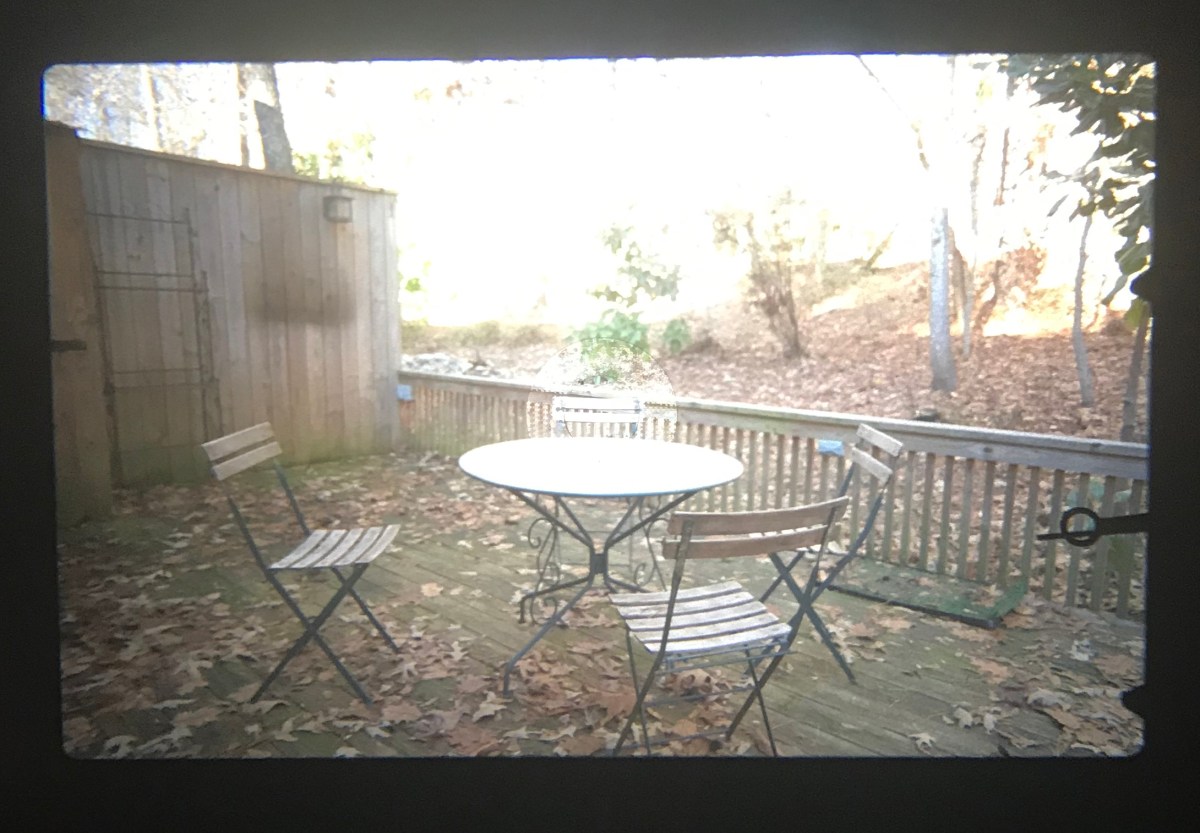
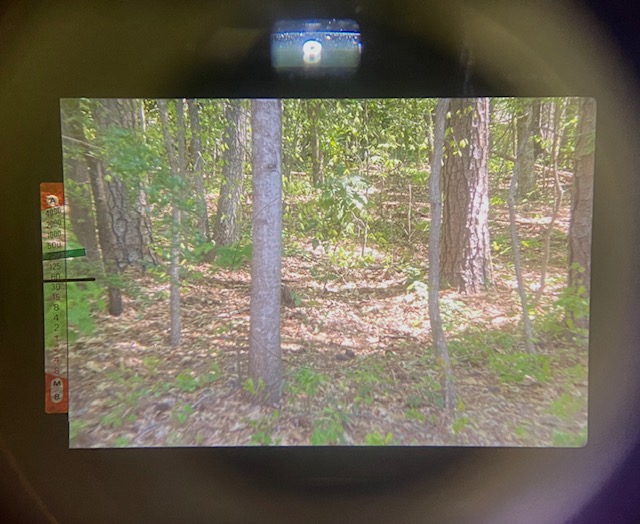
In older cameras, the camera communicates its recommendations with the needle of a galvanometer. When the needle is aligned with a target in the viewfinder, exposure is correct. It’s the match needle system.
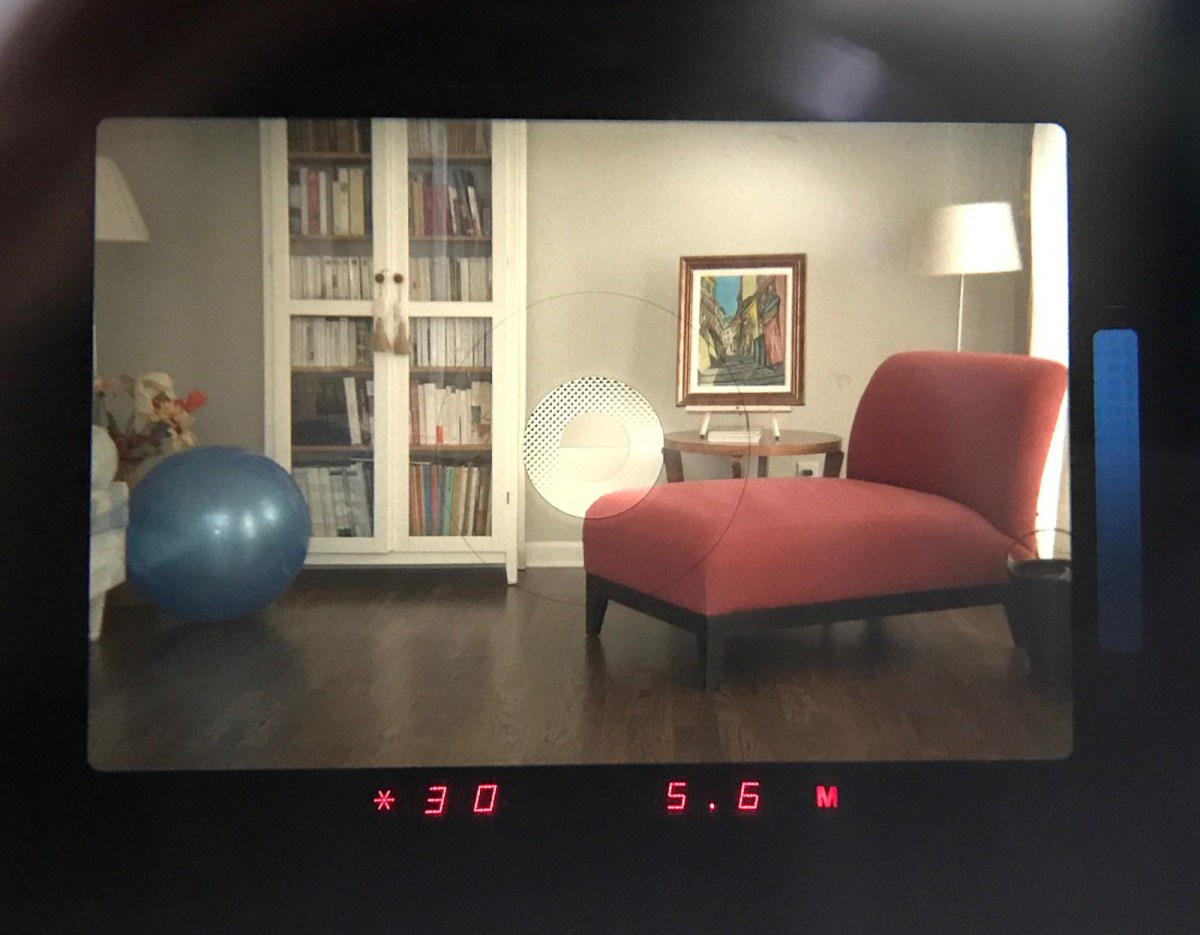
In the mid seventies, manufacturers started replacing the relatively fragile needle mechanism with a bank of LEDs (sometimes color coded) or bar graphs. But the idea is the same. The camera simply indicates whether the image will be over, under or correctly exposed.
The beauty of this system is that it gives the photographer a lot of freedom – he/she can easily change the shutter speed/aperture combination, or set the exposure for a specific area of the scene and reframe the picture, or decide to override the exposure system of the camera and deliberately over or under expose. That’s why semi-auto cameras are great as learner cameras.
Automatic cameras can often operate in semi-auto mode, and some of them are better at that than genuine semi-auto cameras.
Lastly, the Manual mode. The word is often used as a substitute to “semi-auto”. But those are different things. In a semi-auto camera, the exposure meter (the CdS or Silicon cell) is connected to sensors on the aperture ring and on shutter speed knob. Therefore the camera can predict whether the film is going to receive enough light, and signal to the photographer (with the match needle or the LED) that the image will be over, under or correctly exposed.
On a fully manual camera, there is either no exposure meter at all (cameras of the fifties and earlier), or if it exists, it is not linked with the aperture ring and the shutter speed knob.
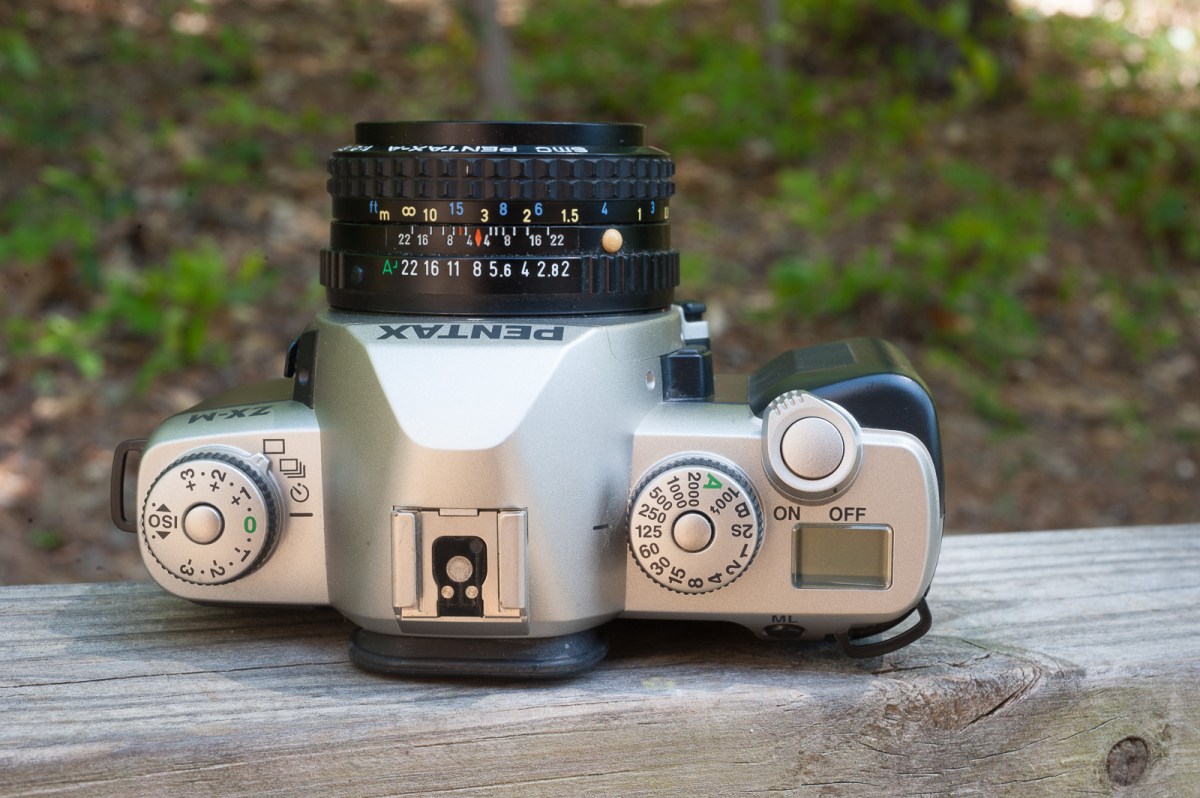
Modern cameras often have a PASM selector for the exposure mode (PASM stands for Program, Aperture Preferred, Shutter Preferred, Manual). In most of the cases, “M” really means semi-auto (think: meter assisted operation). But in a few cases, M really means manual – you’re on you own.