At-home film processing – and at-home black and white film processing in particular, is not that hard. Once the film has been loaded in the developing tank, it’s very simple, and it can be done in full daylight.
The perceived difficulty, the step that scares the beginners, is loading the developing tank.
An overwhelming majority of amateur photographers develop their films in Paterson, Jobo, Arista (or similar) tanks, that can be operated in broad daylight, but must be loaded in the dark. In a dark room, or in a changing bag. Dark room film loading, daylight processing.
Not everybody is comfortable with opening a film cassette and loading the film on the spiral of a reel without seeing anything – it takes a few dry runs and some practice before it becomes second nature.
The idea of daylight film loading, without a dark room or a charging bag, is extremely attractive to beginners, and to old farts like me going back to at-home film processing after a very long interruption. A daylight loading tank system is what is needed.
A few systems are available new (starting with the Lomo Daylight tested in those pages a few months ago), and more defunct products can be found on eBay.
The promise is always the same: you will drop the film cassette in the daylight loading tank, turn a crank to load the film on a reel hidden at the core of the system, and remove the (now empty) film cassette from the tank. At this point, you’ll be ready to go, and the development process will not be different from the routine followed with a conventional Paterson tank.

Of course it’s not exactly that simple. For the magic to take place, you need to prepare your film in a very specific way, and after you’re done with processing the film, you need to be able to clean all the parts and reassemble them correctly.
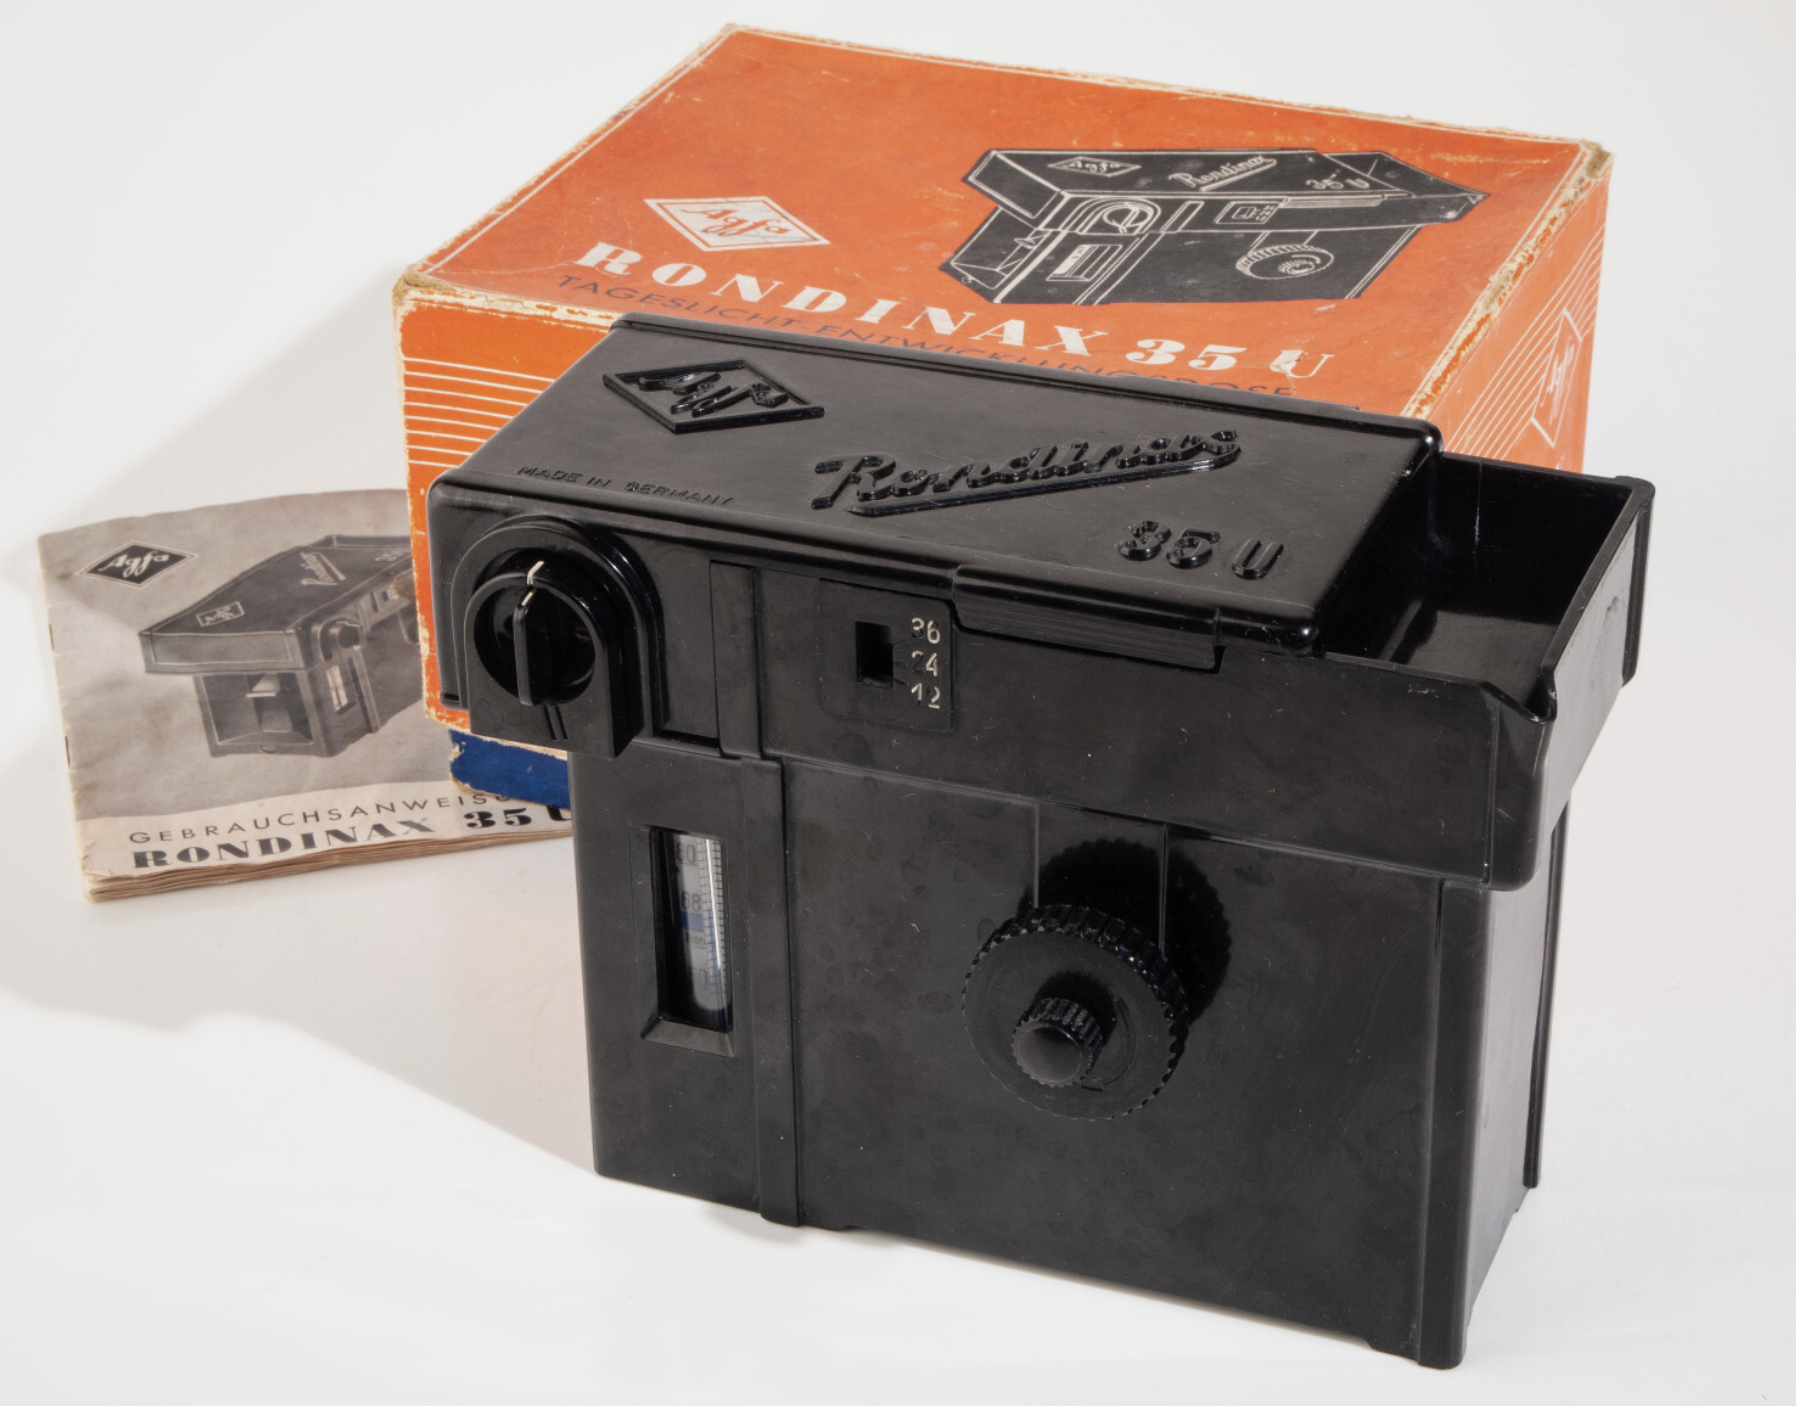
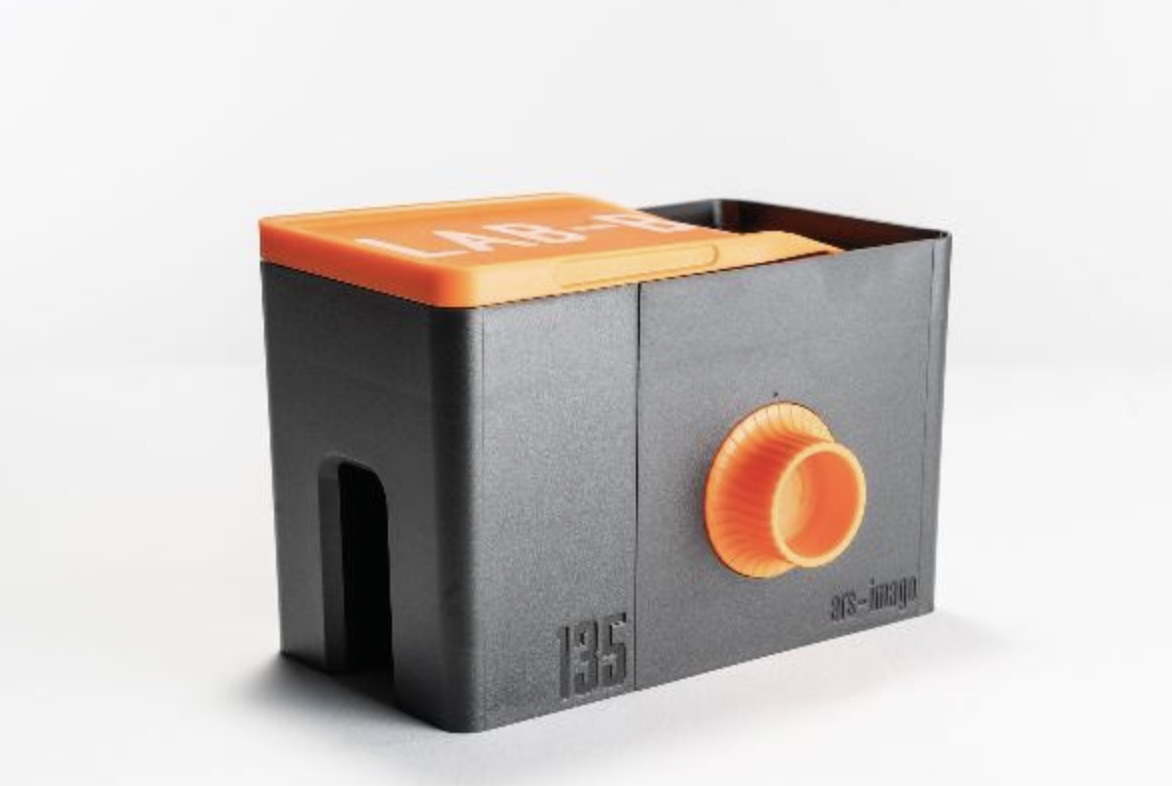
l recently bought a Lomo Daylight Developing tank, and found out even more recently that an Italian company named Ars-Imago had launched its own daylight loading tank a few years before. Ars-Imago’s “Lab-Box” is not a 100% original design- it’s a modern re-interpretation of the Rondinax, a model launched by Agfa in the late nineteen thirties (an Agfa Rondinax was tested by the Casual Photophile five years ago).
As far as I know, the Lomo Daylight and the Lab-Box are the only two daylight-loading/daylight development systems currently manufactured and distributed.
On auction sites, you can sometimes find, and not necessarily for cheap, different versions of the original Agfa Rondinax, as well as many rebrands (the Rondinax was also sold by Leitz, of Leica fame) and a few shameless copies of Soviet origin.
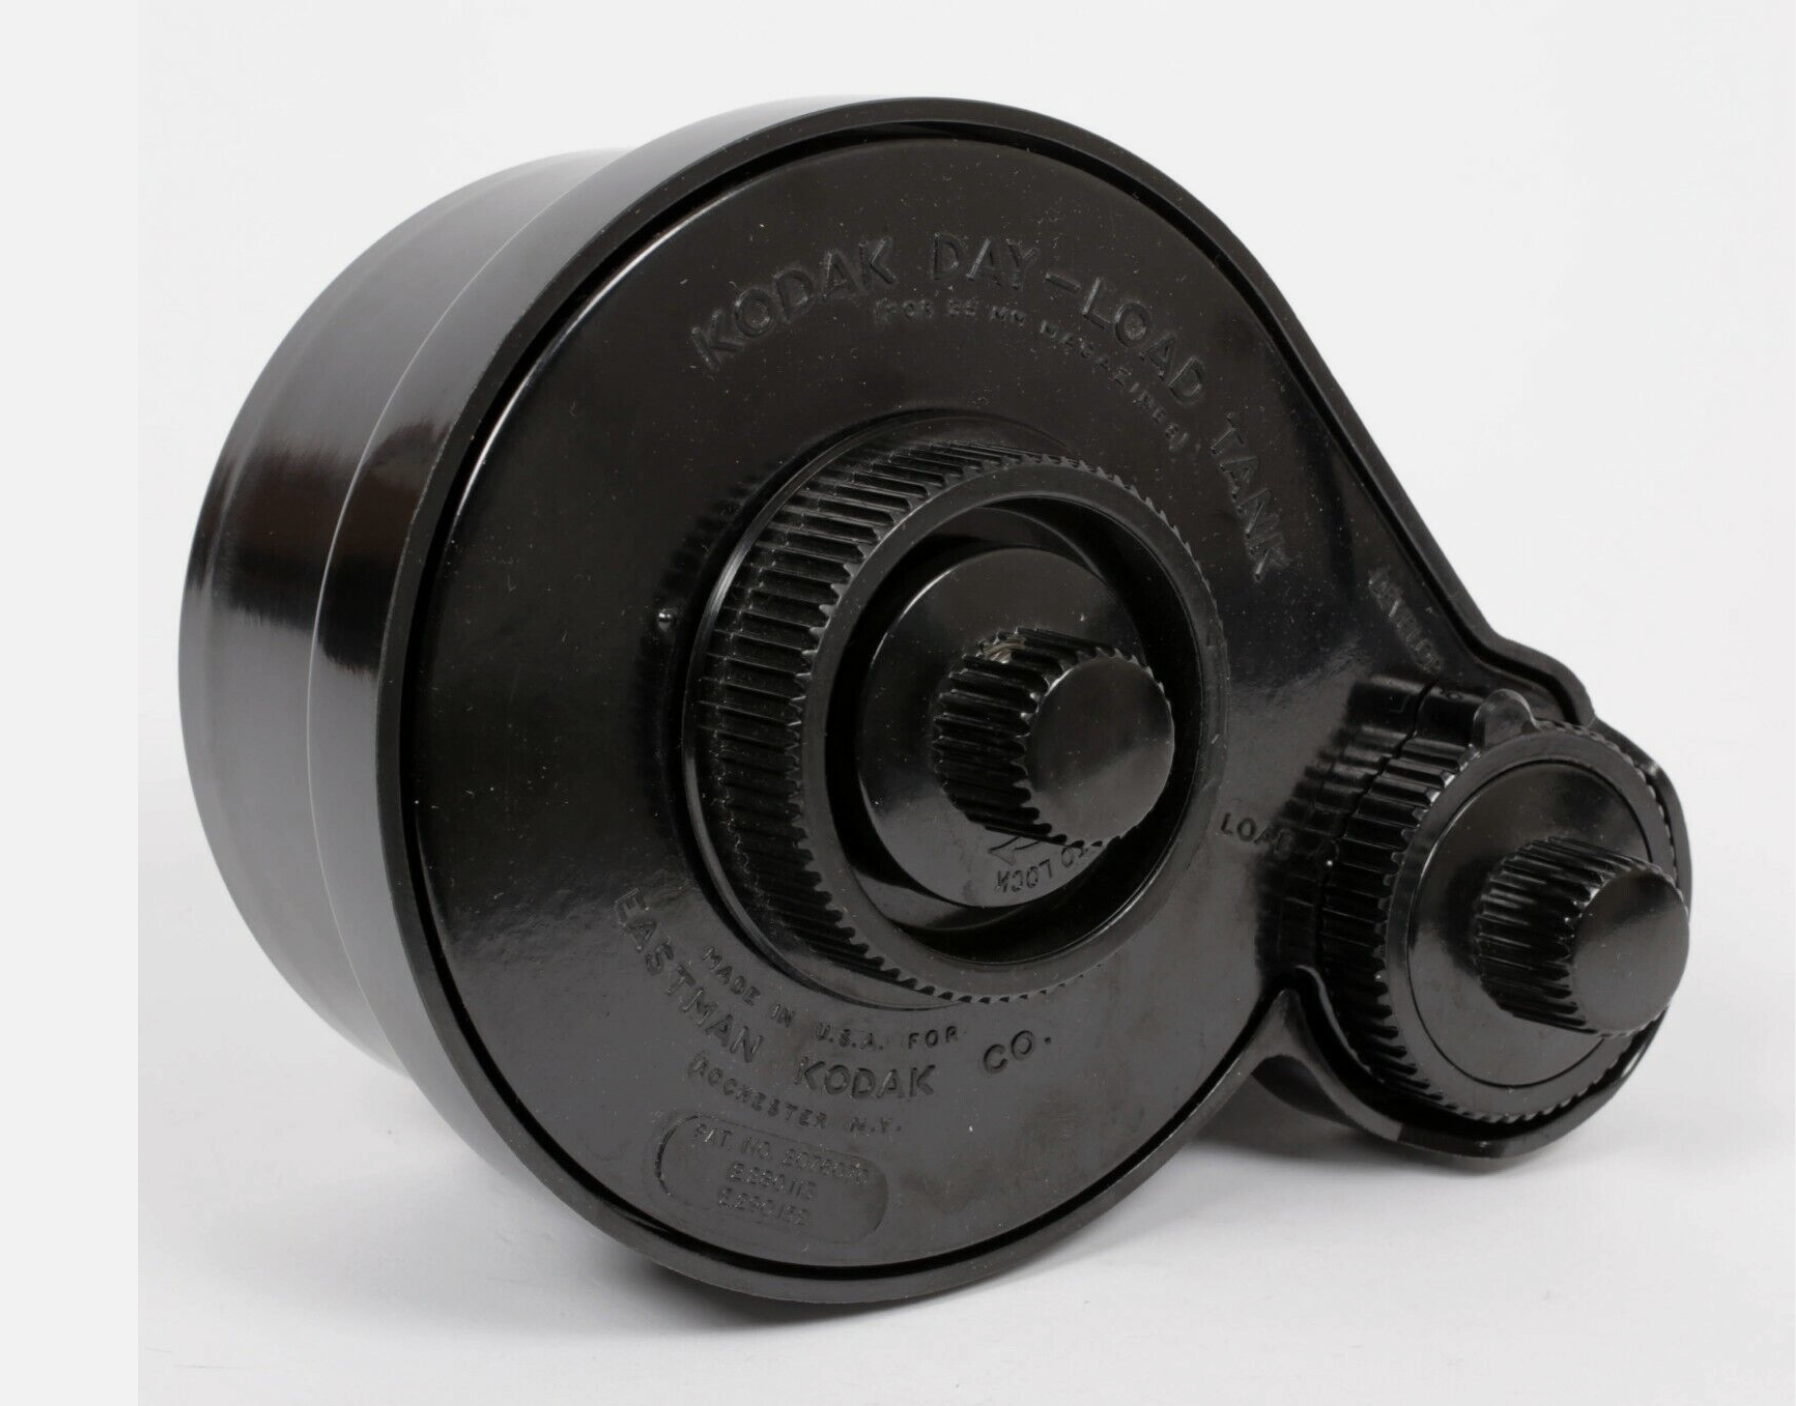
Kodak’s Day-Load Tank was launched approximately at the same time as the Agfa Rondinax. Both the Day-Load and the Rondinax are now very old pieces of equipment (eighty to seventy years old), made of materials that have not necessarily aged well, and with multiple small parts that may have been damaged or lost over the years. Assuming you can find one at a reasonable price (by that, I mean cheaper than the $89.00 of a new Lomo Daylight Tank), I’m not sure I would trust them with my film.
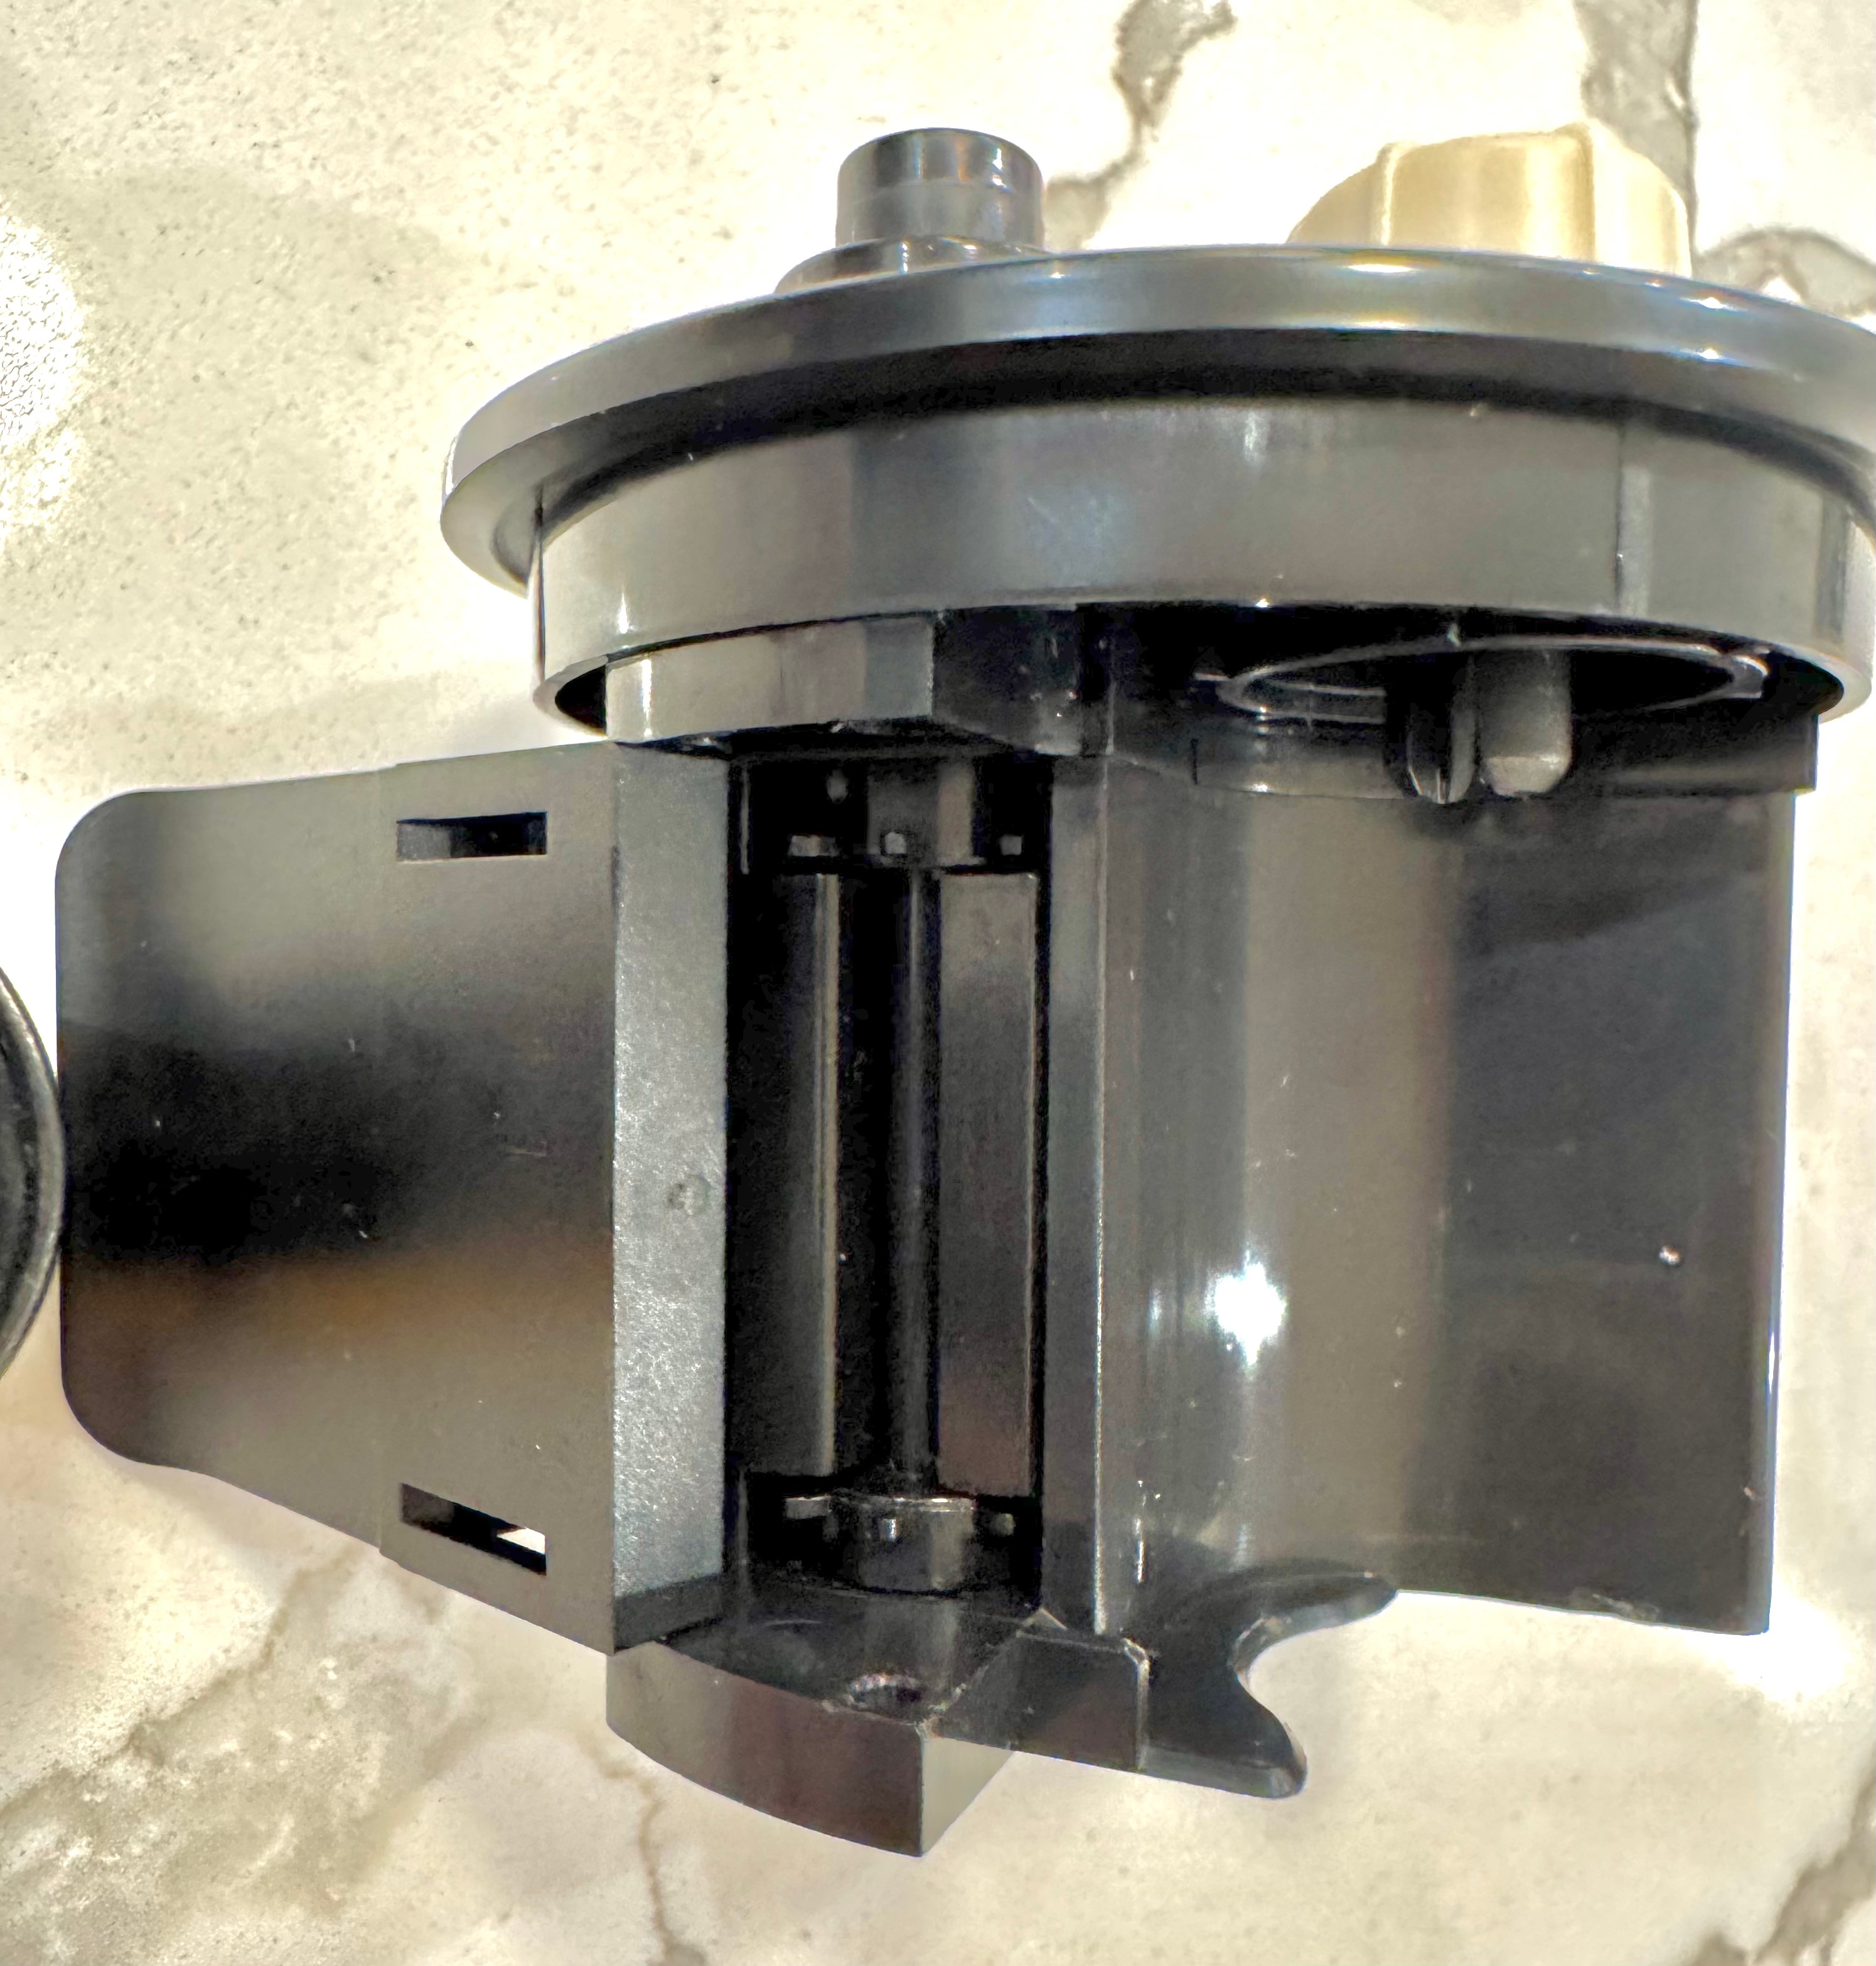
Over the years, Jobo, a direct competitor of Paterson, have tried their luck at making daylight loading tanks multiple times, with models like the Automat 35, and more recently with the Jobo 2400 Daylight Loading tank shown below, which is conceptually close to the Lomo Daylight.
High level, the Jobo 2400 looks like a conventional Paterson or Jobo tank, except that the reel rotates around a rather large black cylinder, which includes the film loading mechanism. It makes for a rather large tank, which will require more chemicals than a conventional tank.
Comparing the two daylight loading systems available today
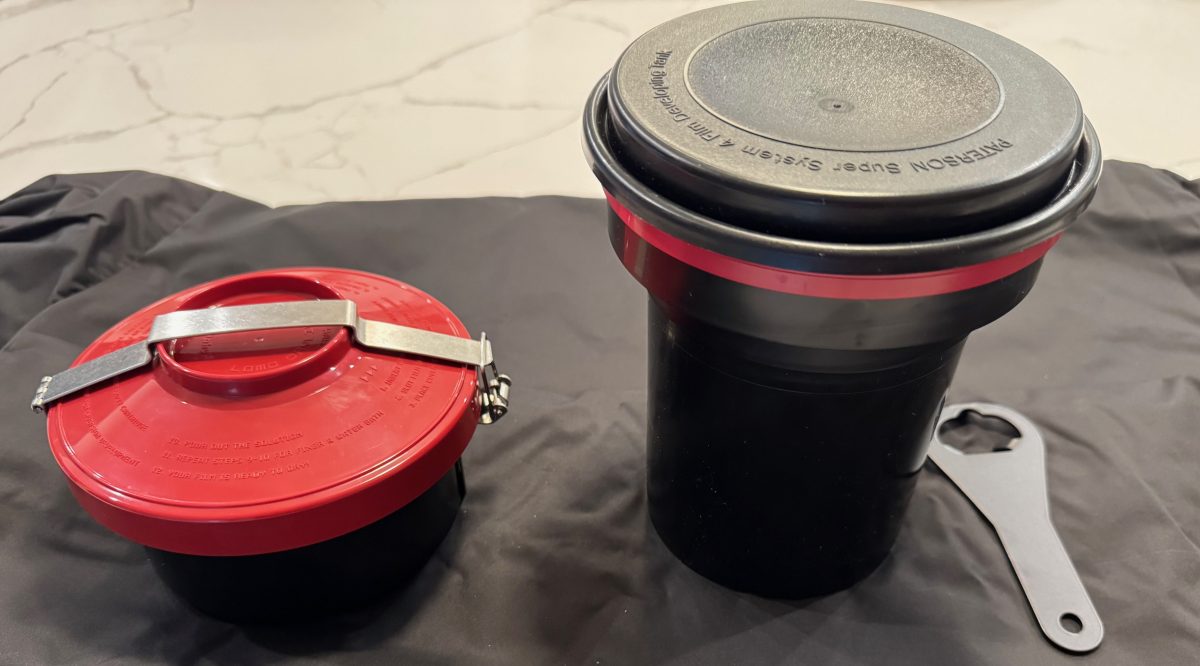
Lomo’s Daylight Developing Tank and Ars-Imago’s Lab-Box were developed with the same goal, but follow a different technical approach.
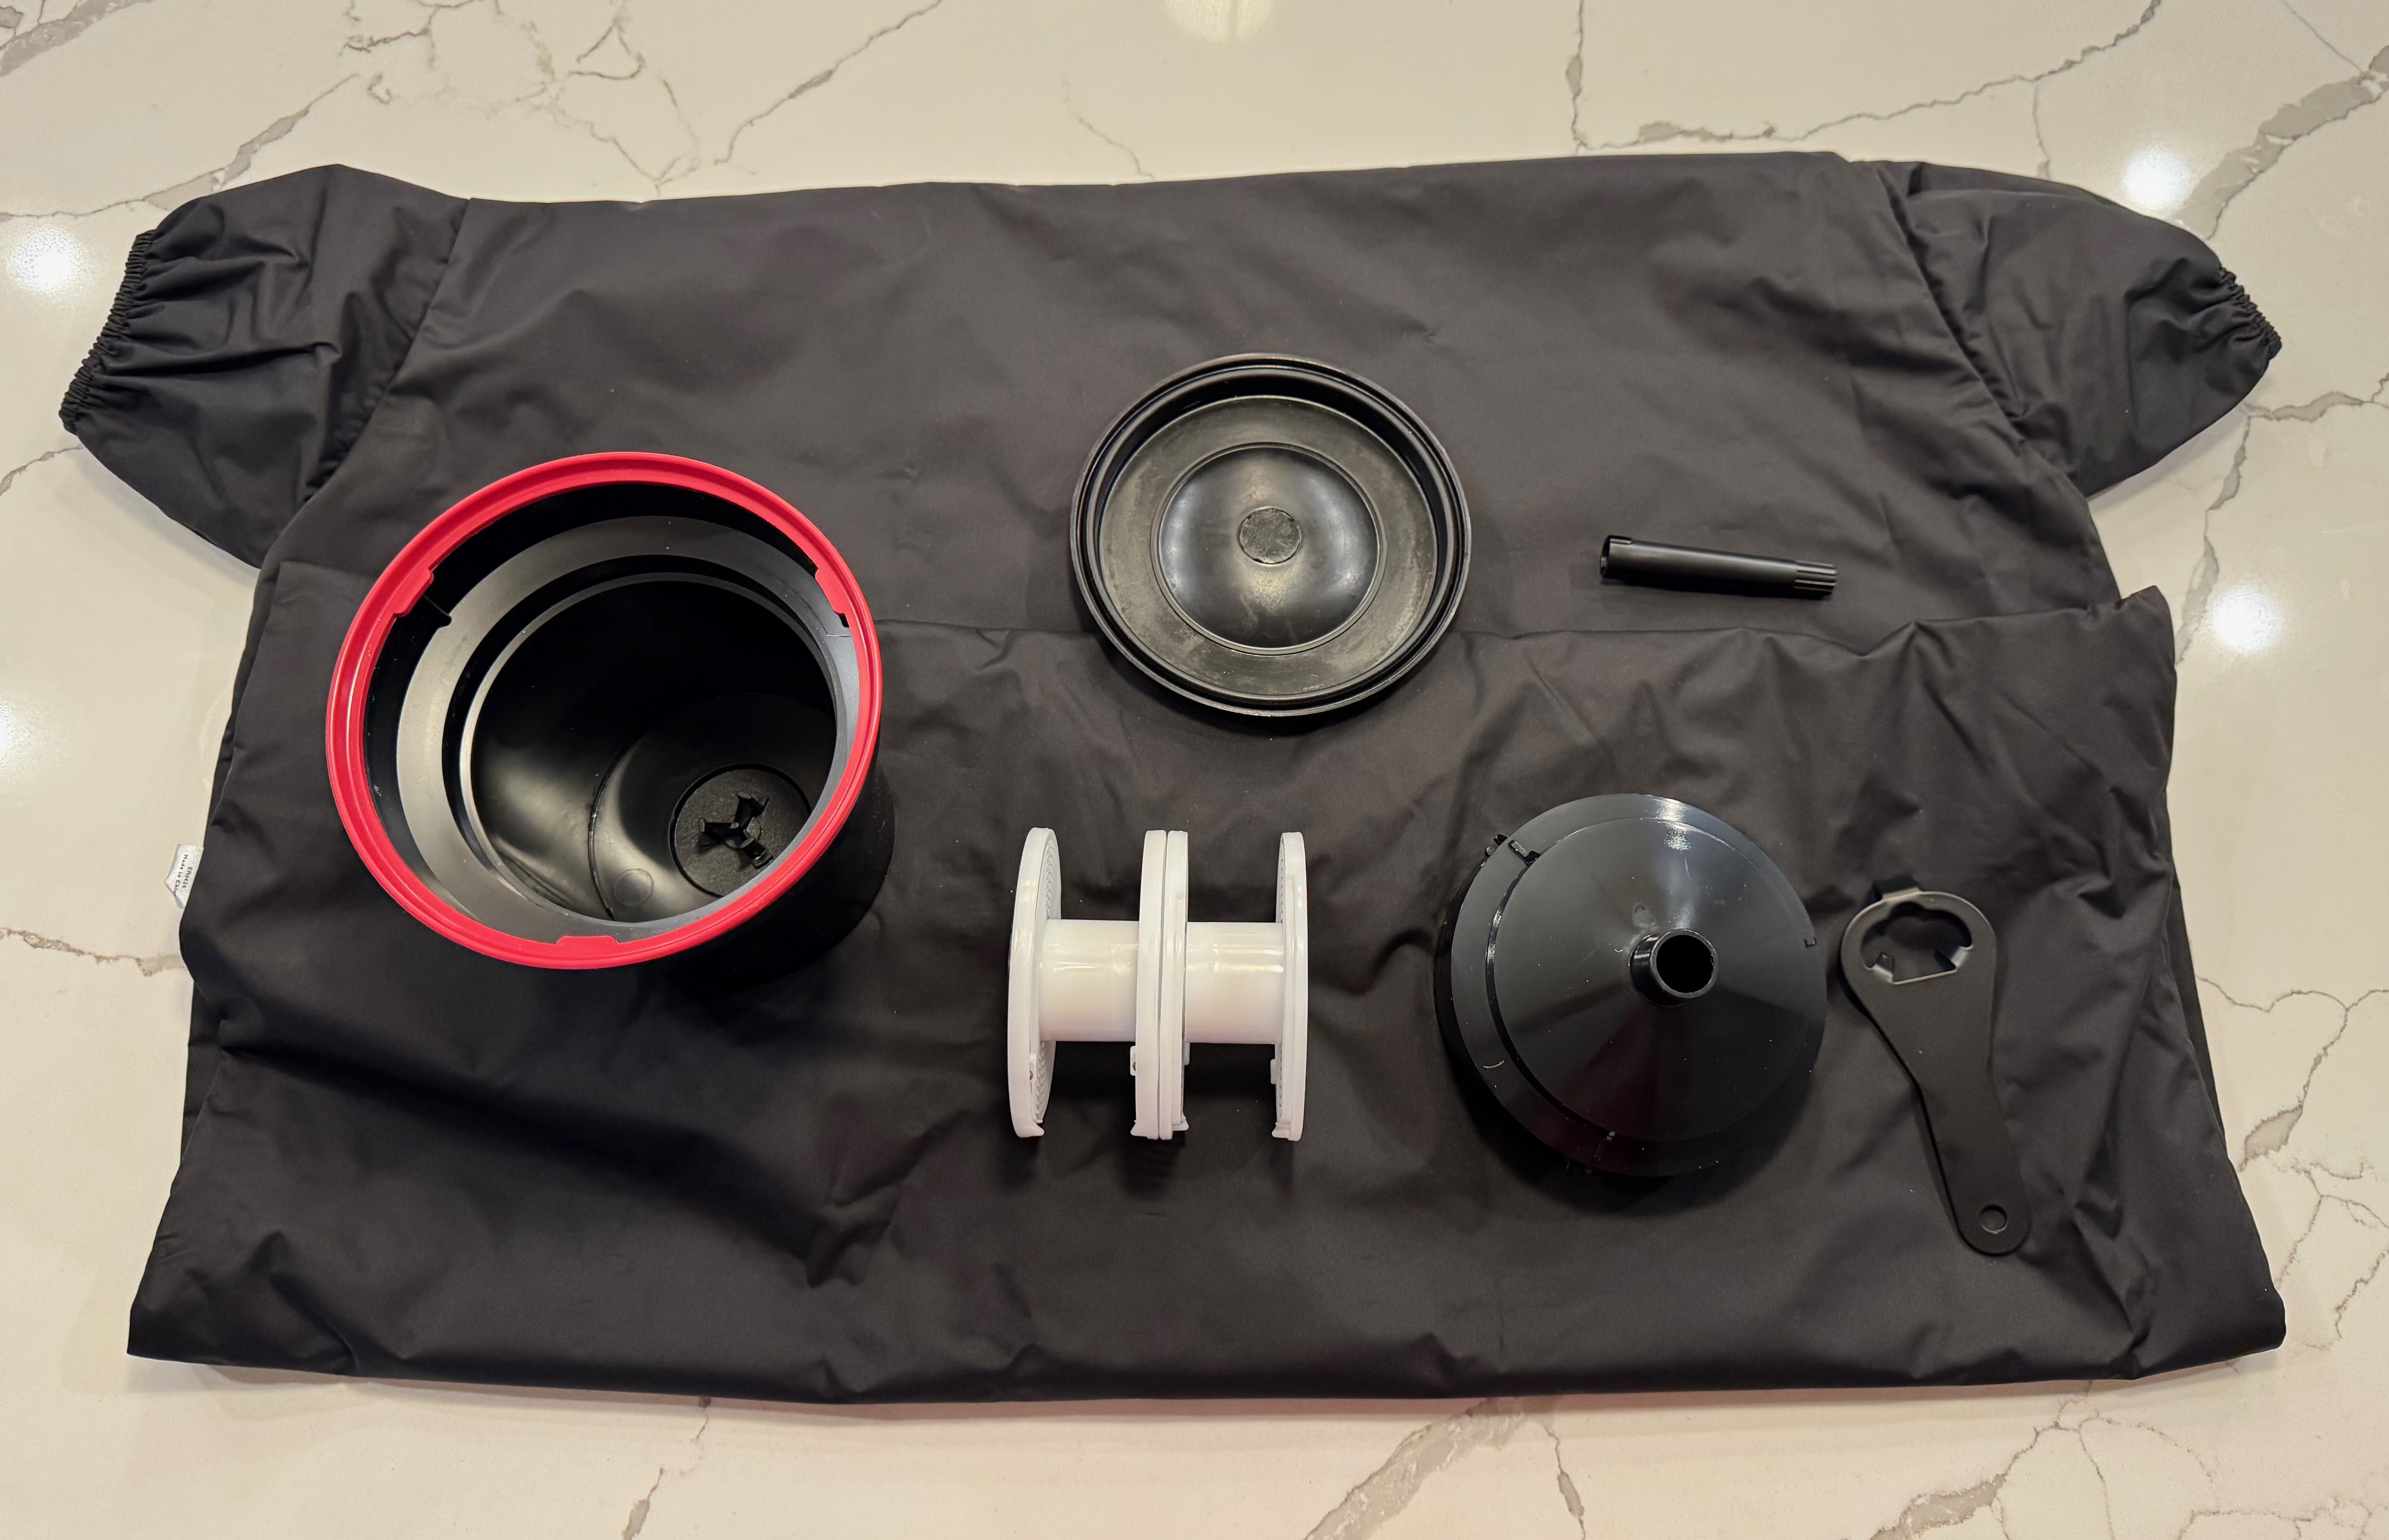
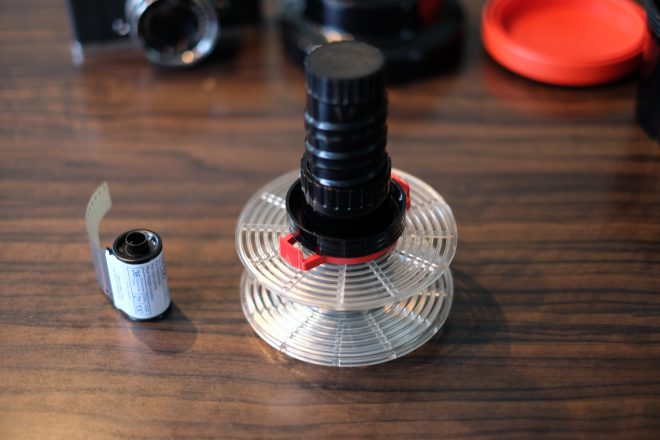
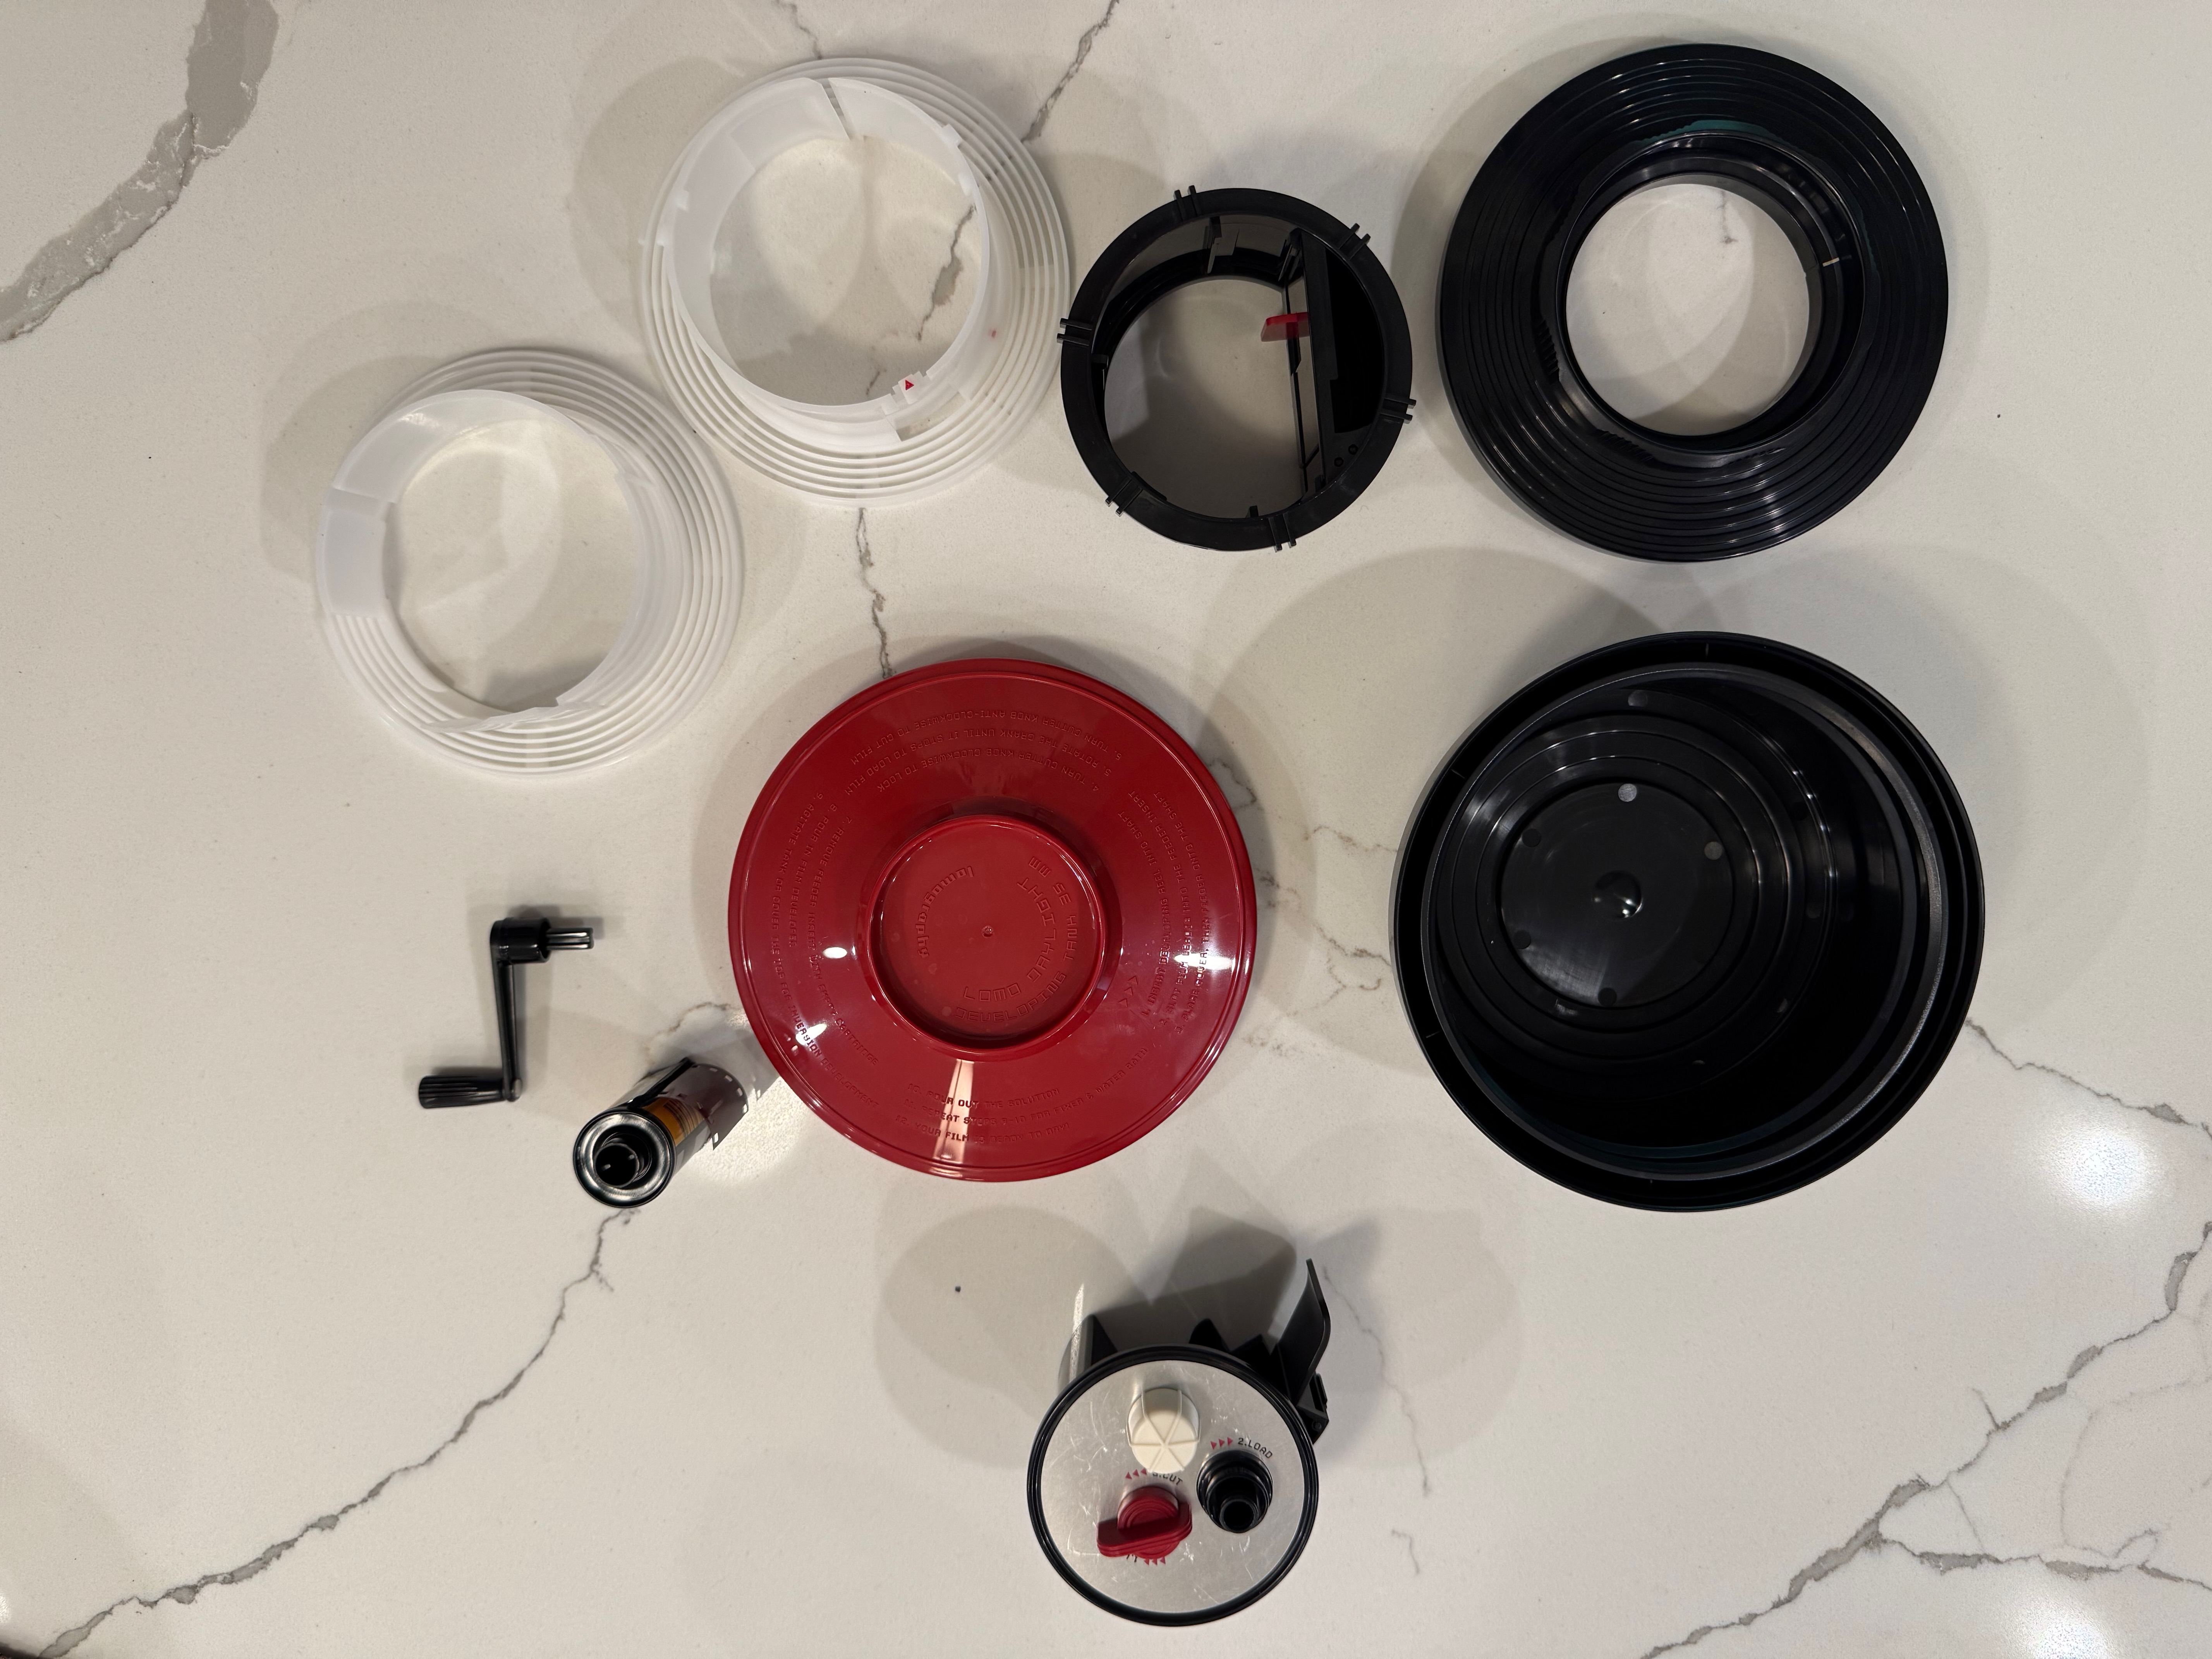
The Lomo Daylight Developing Tank was reviewed in those pages recently. The film cartridge is positioned in the film loader, the film loader is dropped at the center of the tank, the operator turns a crank to push the film on the spiral reel hidden inside the tank, and when the film is fully loaded on the reel, the film is separated from the cartridge by a built-in steel cutter and the loader is removed from the tank.
The Lab-Box is clearly inspired by the Agfa Rondinax, but Ars-Imago have improved on the original design in a few ways: contrarily to the original Rondinax, the Lab-Box is modular and can accommodate either one of two film receptacles, one for a 35mm cartridge, and one for 120 roll film. Ars-Image are also selling a replacement lid for their Lab-Box, that integrates an electronic timer and thermometer, to create an all-in-one device.

In the Lab-box (as in the original Rondinax), the film leader has to be clipped to a ribbon attached to the center of the reel. When the operator has closed the lid of the box, turning the knob on the side of the Lab-Box will pull the film out of the cassette and load it on the reel.
- Lomo and Lab-Box: design – similarities
- They can be loaded and operated in full daylight,
- They’re relatively low-tech – no motor, no battery – they’re operated by a big knob or a small crank.
- Both need the film leader to be accessible – you have to extract it if your camera is motorized and rewinds the film completely in the cartridge.
- They can only process one roll of film at a time.
- They are more difficult to reassemble than a conventional tank after cleaning, which offers a few opportunities to goof-up.
- Big differences:
- The “film pull” method of the Lab-Box seems gentler than the Lomo’s “film push” design, where the crank activates two sprockets that engage in the film perforations, and push the film (through a narrow guillotine) to the reel where the film will sit.
- I’ve experienced multiple difficulties with the Lomo’s loader sprockets (they tend to tear the perforations of the film if they meet any resistance) and with the very narrow slit that controls the entry of the film in the chamber where the reel sits:
- When you’re finished pushing the film to the reel, it’s still attached to the cartridge, from which you need to separate it in order to start the development process.
You have to turn a knob vigorously to cut the film, and if the action is not decisive, debris of film get stuck in the slit, and have to be removed to great pains when cleaning the tank before the tank can be reused.
- When you’re finished pushing the film to the reel, it’s still attached to the cartridge, from which you need to separate it in order to start the development process.
- On the Lab-Box, agitation is performed by turning the crank (you don’t flip the tank regularly like you would do on a Paterson tank or the Lomo). Agitation can be continuous or intermittent. Ars-Imago recommend the continuous agitation, because it uses half the quantity of chemicals of the intermittent process, but you have to be prepared to turn the crank continuously for the whole duration of the development phase. It’s not motorized, remember.
- The Lomo only processes 35mm film, the Lab-Box is modular. A 120 roll film loader can be purchased separately.
- According to Ars-Imago, the Lab-Box is not compatible with PET based films (not that many on their list). I’ve not read about such restrictions on the Lomo.
- In summary –
- The Lab-Box is twice as expensive as the Lomo Daylight. It’s also larger.
- To its advantage,
- the Lab-Box should be gentler with film than the Lomo (the film is pulled, not pushed)
- It only needs 300ml (10 fl oz) of products if you opt for the continuous agitation. On the other hand, if you prefer to spare your arms and opt for the intermittent agitation, you’ll need 500 ml (17 fl oz) per film. For reference, the Lomo needs 350ml of chemicals, and a Paterson tank will need 300ml for a single film, and 500 ml if loaded with two films.
- it’s more flexible than Lomo (120 roll film and “intelligent lid” options)
- On the Lab-Box, continuous agitation implies that the photographer turns a knob or an optional crank continuously (of course) for the duration of the development phase. Imagine you’re pushing a film and use a developer at high dilution – do you feel like turning a crank continuously for 10 minutes?
- On the Lomo, you can stick to the same intermittent agitation process (Paterson calls that “inversion”) you would follow with a more conventional tank.
How the Lomo Daylight Tank compares with a conventional Paterson (or Jobo) tank system?
Let’s answer a few questions…
- How long does it take and how difficult is it?
- to extract the film leader
- this step is only needed with the Lomo, and only if you’ve let the camera fully rewind the film in the cassette. In the end, I’ve always succeeded in extracting the film leader from a cartridge where the film had been fully rewound, but it’s always a frustrating exercise, even with a good film extractor (the Lomo’s is a pretty good one). It almost never works on the first attempt (my average number of attempts must be around four per cartridge). So, a few frustrating minutes to be expected.
- to load the film in the tank.
- Lomo: it’s easy. Cut the film leader as directed by Lomo in their videos, place the cartridge in the loader, the loader in the tank, lock it… and here you go. Most of the time, it will work perfectly. And it takes a couple of minutes at the most.
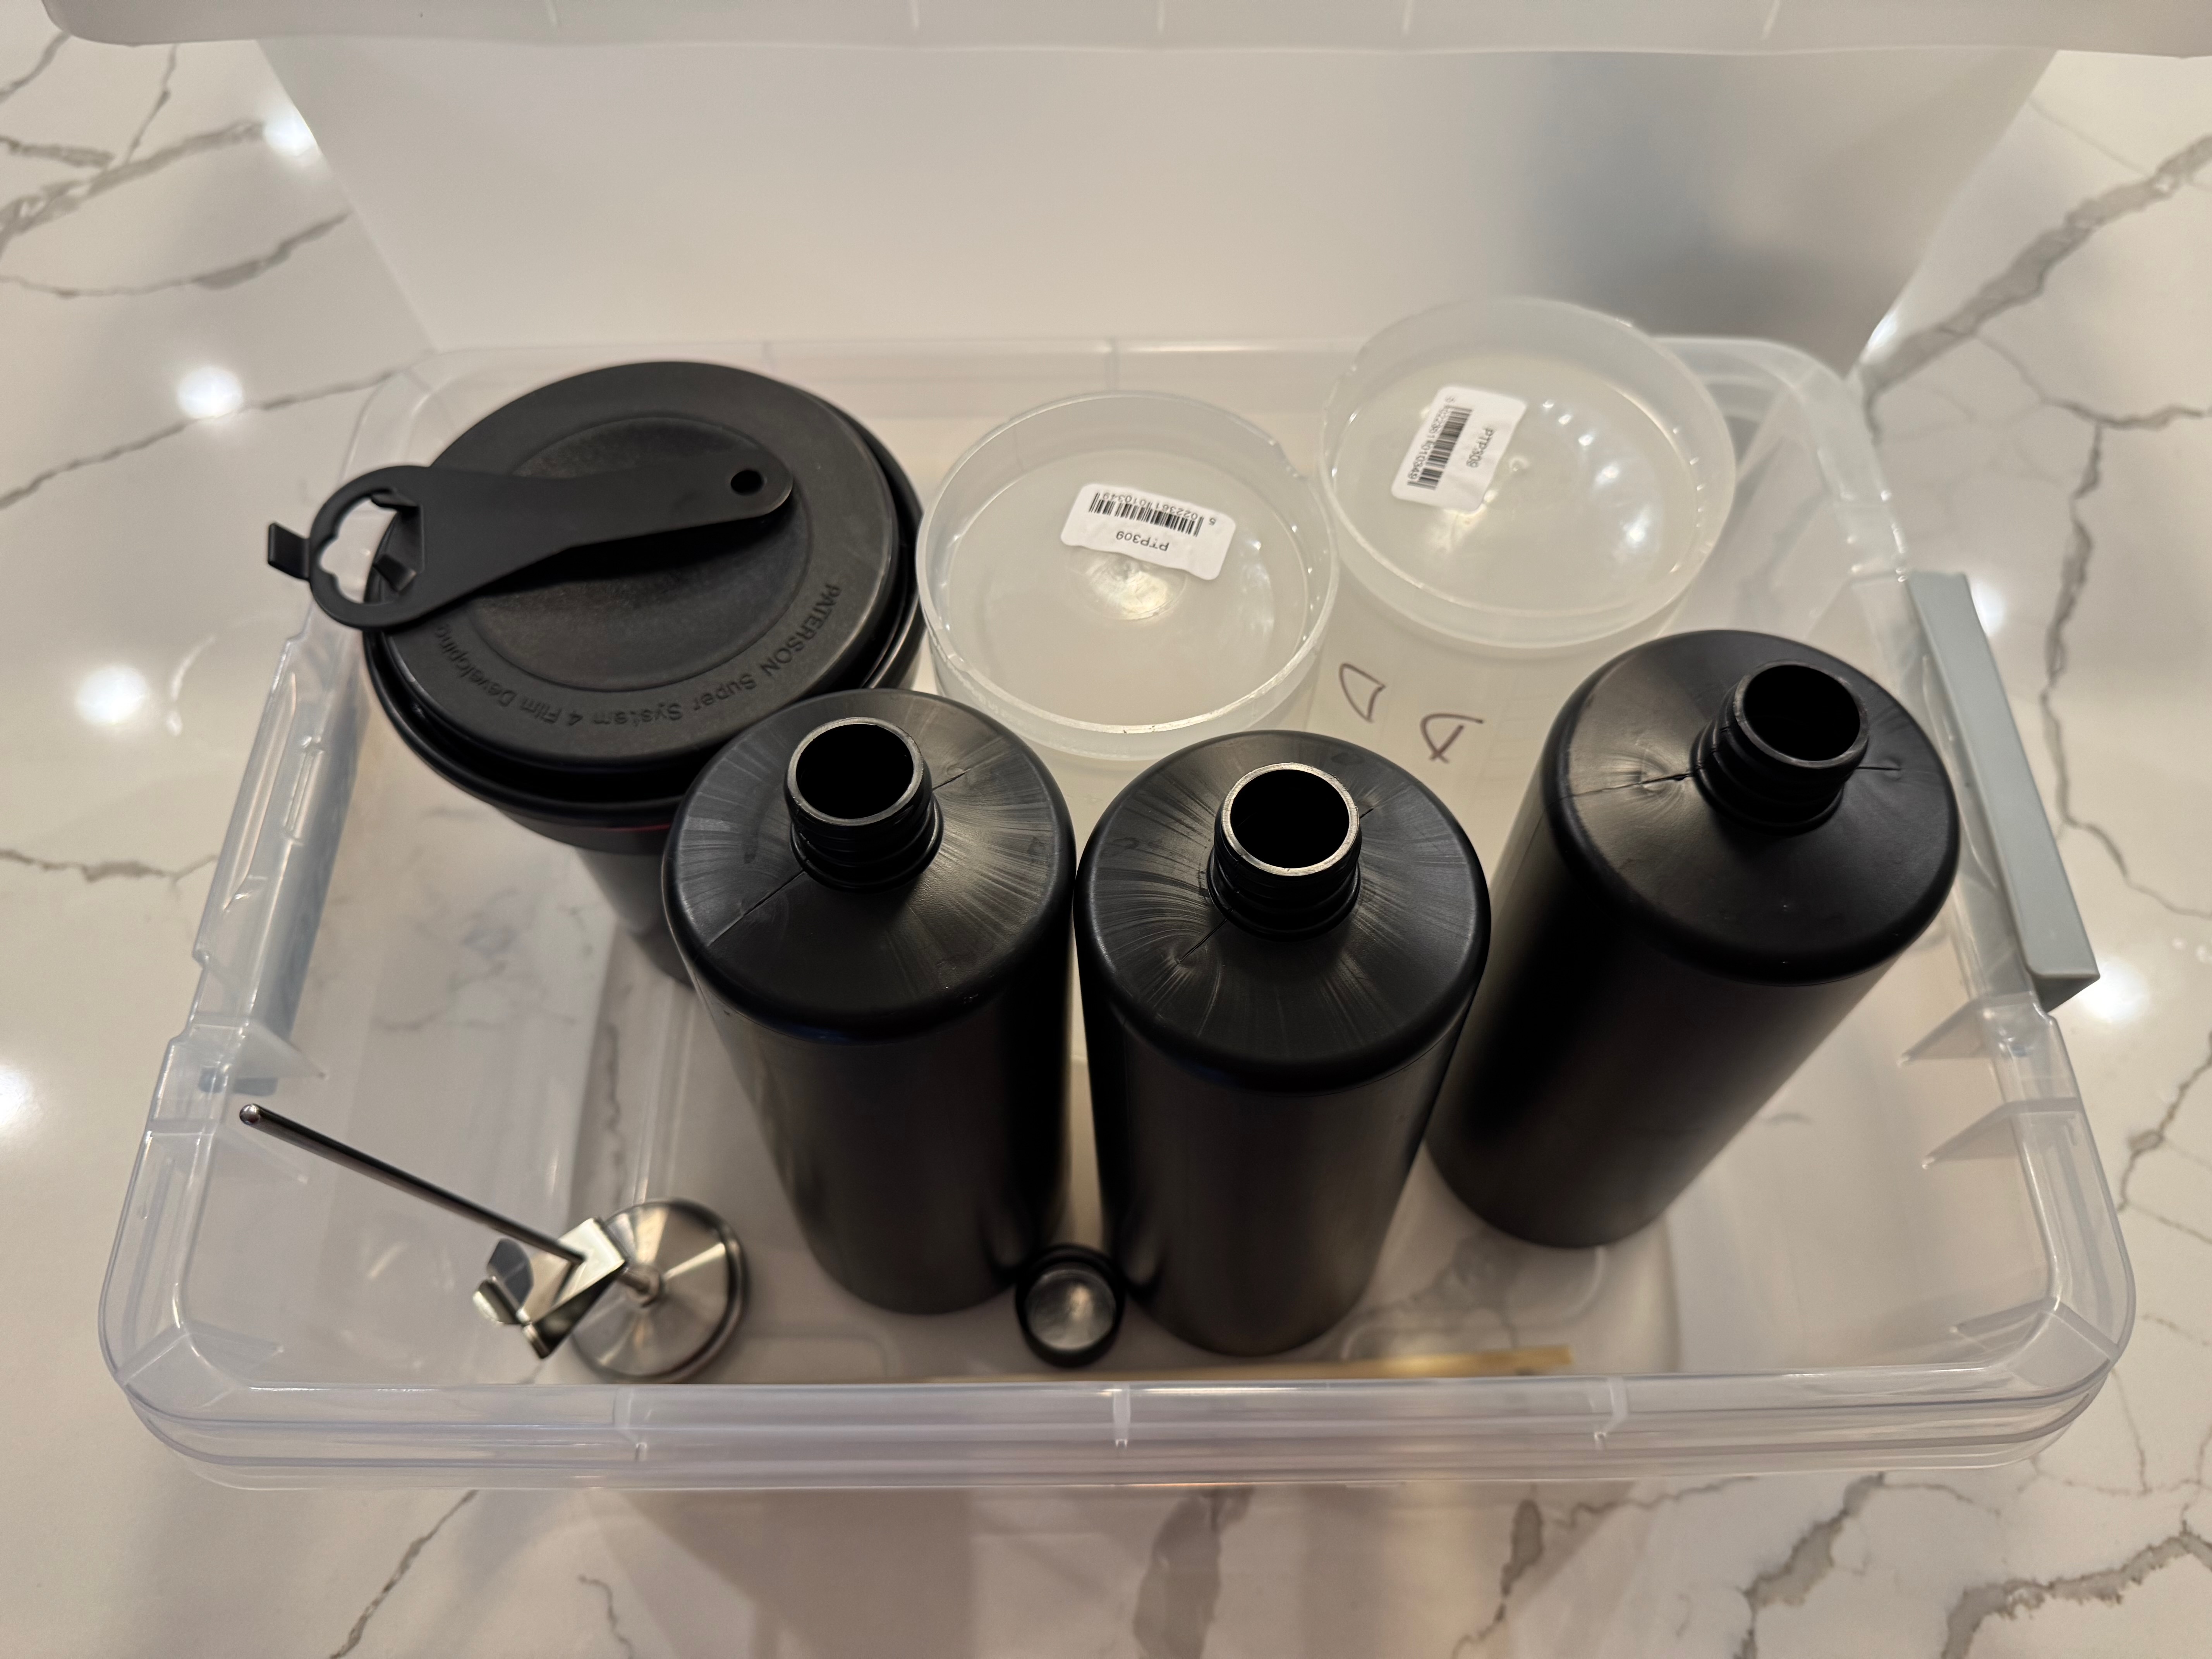
- Paterson – I’m using a brand new Paterson Universal System 4 tank, that came with a so called “auto-loader” reel. It’s a plastic reel, equipped with a ratchet system. Once you’ve disassembled the tank and placed it in the charging bag with the film cassette and scissors, it’s easy to find the starting point of the reel’s spiral and turn the left and right parts of the wheel in opposite directions to move the film from the cassette to the reel. All in all it does not take longer than loading the Lomo.
- to clean and re-assemble the tank?
- Lomo: a benefit of the Lomo’s design is that the film loader is removed from the tank before the developer can be poured in the tank. So that part remains dry and does not need to be cleaned. A total of six parts are in contact with the chemistry and have to be cleaned, and reassembled once they’re dry. The photographer is guided by red arrows and grooves of different sizes that make the whole re-assembly process idiot proof. It does not take more than one or two minutes.
- Paterson: the Paterson system is even simpler. If using one reel, it’s composed of only five parts, which are extremely easy to clean and re-assemble.
- to extract the film leader
As a conclusion
It came as a surprise to me. I did not remember that loading a developing tank like the Paterson Universal System 4 was so easy. All right, you need a charging bag – which is one more piece of equipment to buy and store, but it does not take much space, and could be useful in other circumstances.
So…The Lomo Daylight is easy to load, and not difficult to clean and reassemble. But after a very limited practice (one or two dry runs), the Paterson tank is as easy to load as the Lomo, and even easier to clean and reassemble.

The Paterson (or a system of equivalent quality) has the additional advantages of being more flexible (the reels can be configured for one or two 35mm films or one 120 film), easier to maintain at a specific temperature in a sous vide if inserted in a color process workflow, and less finicky than the Lomo, which can be a bit temperamental in my experience.
The real difference? this pesky film leader extractor. Extracting the film leader from a fully rewound cassette of 35mm film is a royal pain. You may have to do it before you can load the film in a Lomo, but never on a Paterson tank.

More on the subject
Discontinued systems:
- Agfa Rondinax: https://rondinax.wordpress.com
- The Rondinax and the Brooks Instant Load Developer: in https://filmphotographyproject.com/daylight-tank-really-daylight-tank/
- Jobo 2400: the page is in German but there is little text and plenty of images explaining how it works: https://lichtgriff.de/filmentwicklung-bei-tageslicht-jobo-2400/
Current systems
The Ars-Imago Lab Box:
- a review on the Japanese Camera Hunter
- a review on the Phoblographer