Not everybody has the luxury of dedicating a room – or even a large cabinet – to use as a home photo lab.
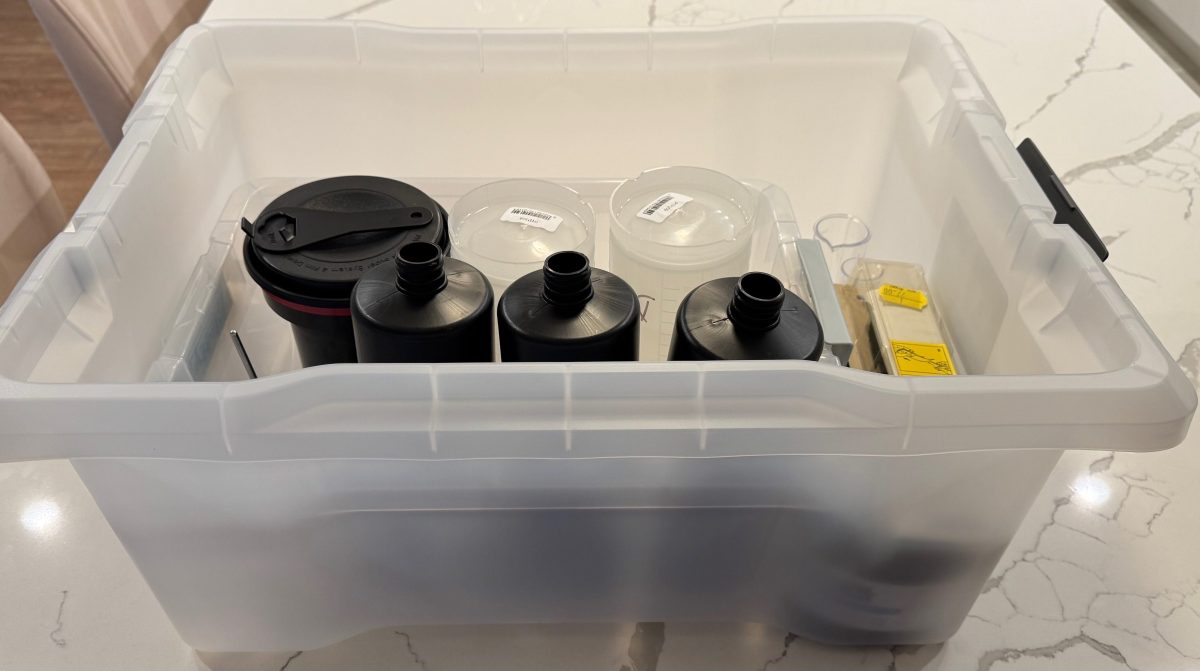
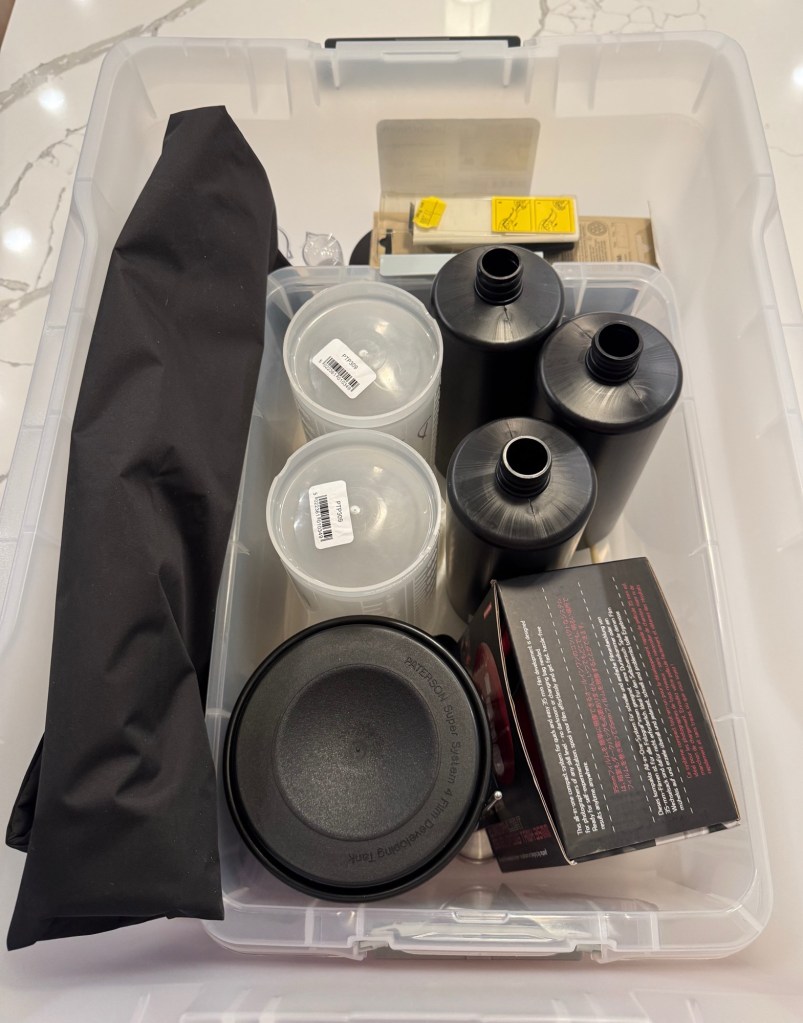
If you still enlarge and process your prints at home, you need a dark room, and plenty of space for the enlarger and the developing trays – but if you only process film, and immediately digitize it, you simply need a few square feet on the countertop of your kitchen. Once you’ve cleaned your equipment, it will fit in a 20x15x10in plastic bin, chemicals included.
Everything can fit in a 20x15x10in plastic bin, including the chemicals
A 20x15x10in plastic bin is still rather large object to carry around (and I can’t imagine people traveling with their diluted chemicals and processing film in their hotel room), but it’s easy to find it a storage place at home, even in a small apartment.
I started processing film again a few months ago, and I’m still re-discovering the secrets of the trade. I still make mistakes and I’m not ready to develop color film at home yet, but it’s one of my mid-term goals. I’m trying to keep the whole process simple and low cost, and I’m sharing here what I’ve learned, so far.
Preparing the chemicals
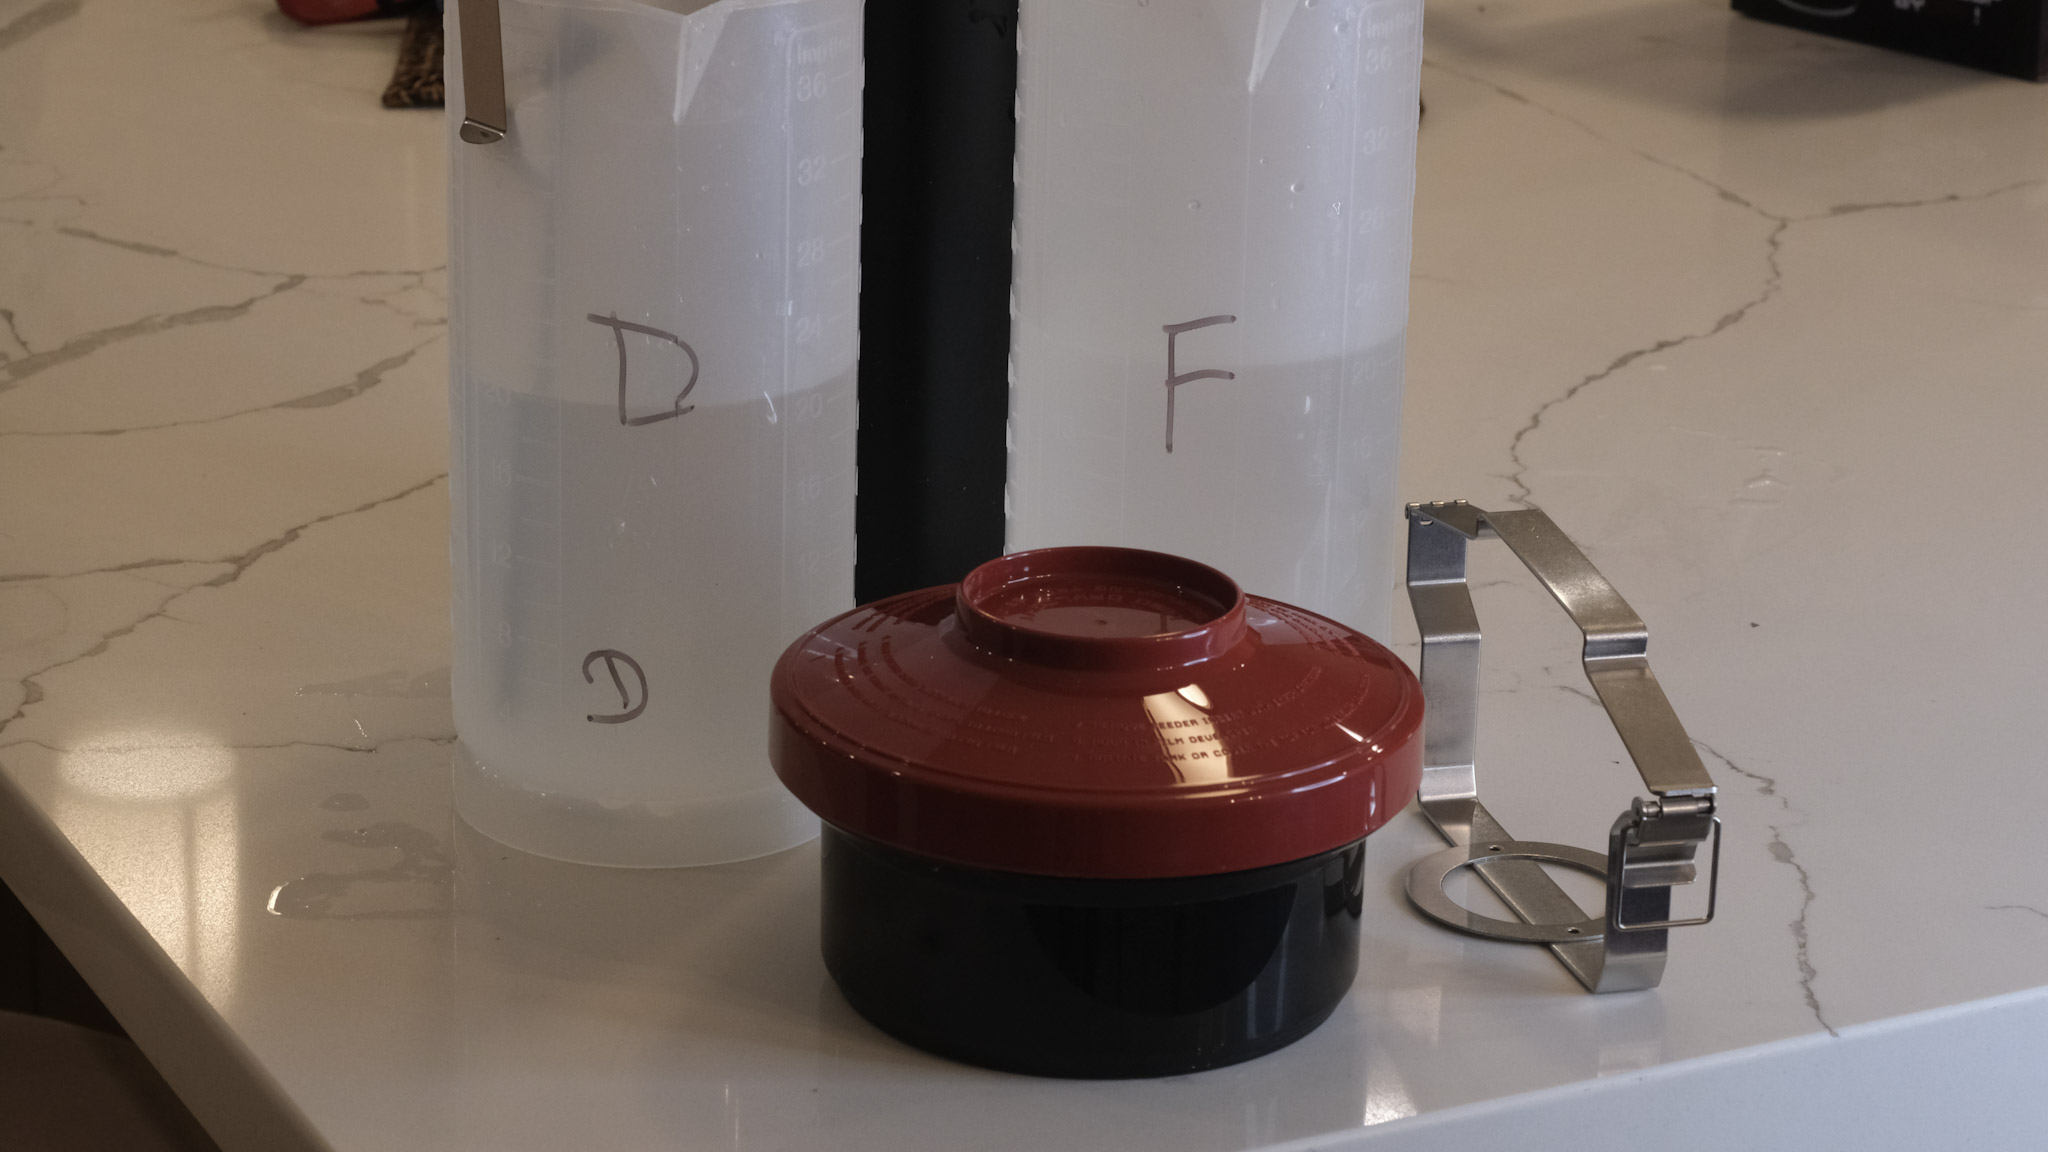
Preparing and storing the chemicals is the thorniest issue, in particular if you only process one or two rolls of film per month. Products (developer, fixer) are always delivered as liquid concentrate or powder, and need to be diluted before use.
Ilford sells a beginners starter kit (the Simplicity Starter Pack) with enough product to process two cartridges of 35mm film, but it’s horrendously expensive at almost $35.00 once you have included the cost of shipping (that’s $17.00 per roll of film… ouch!).
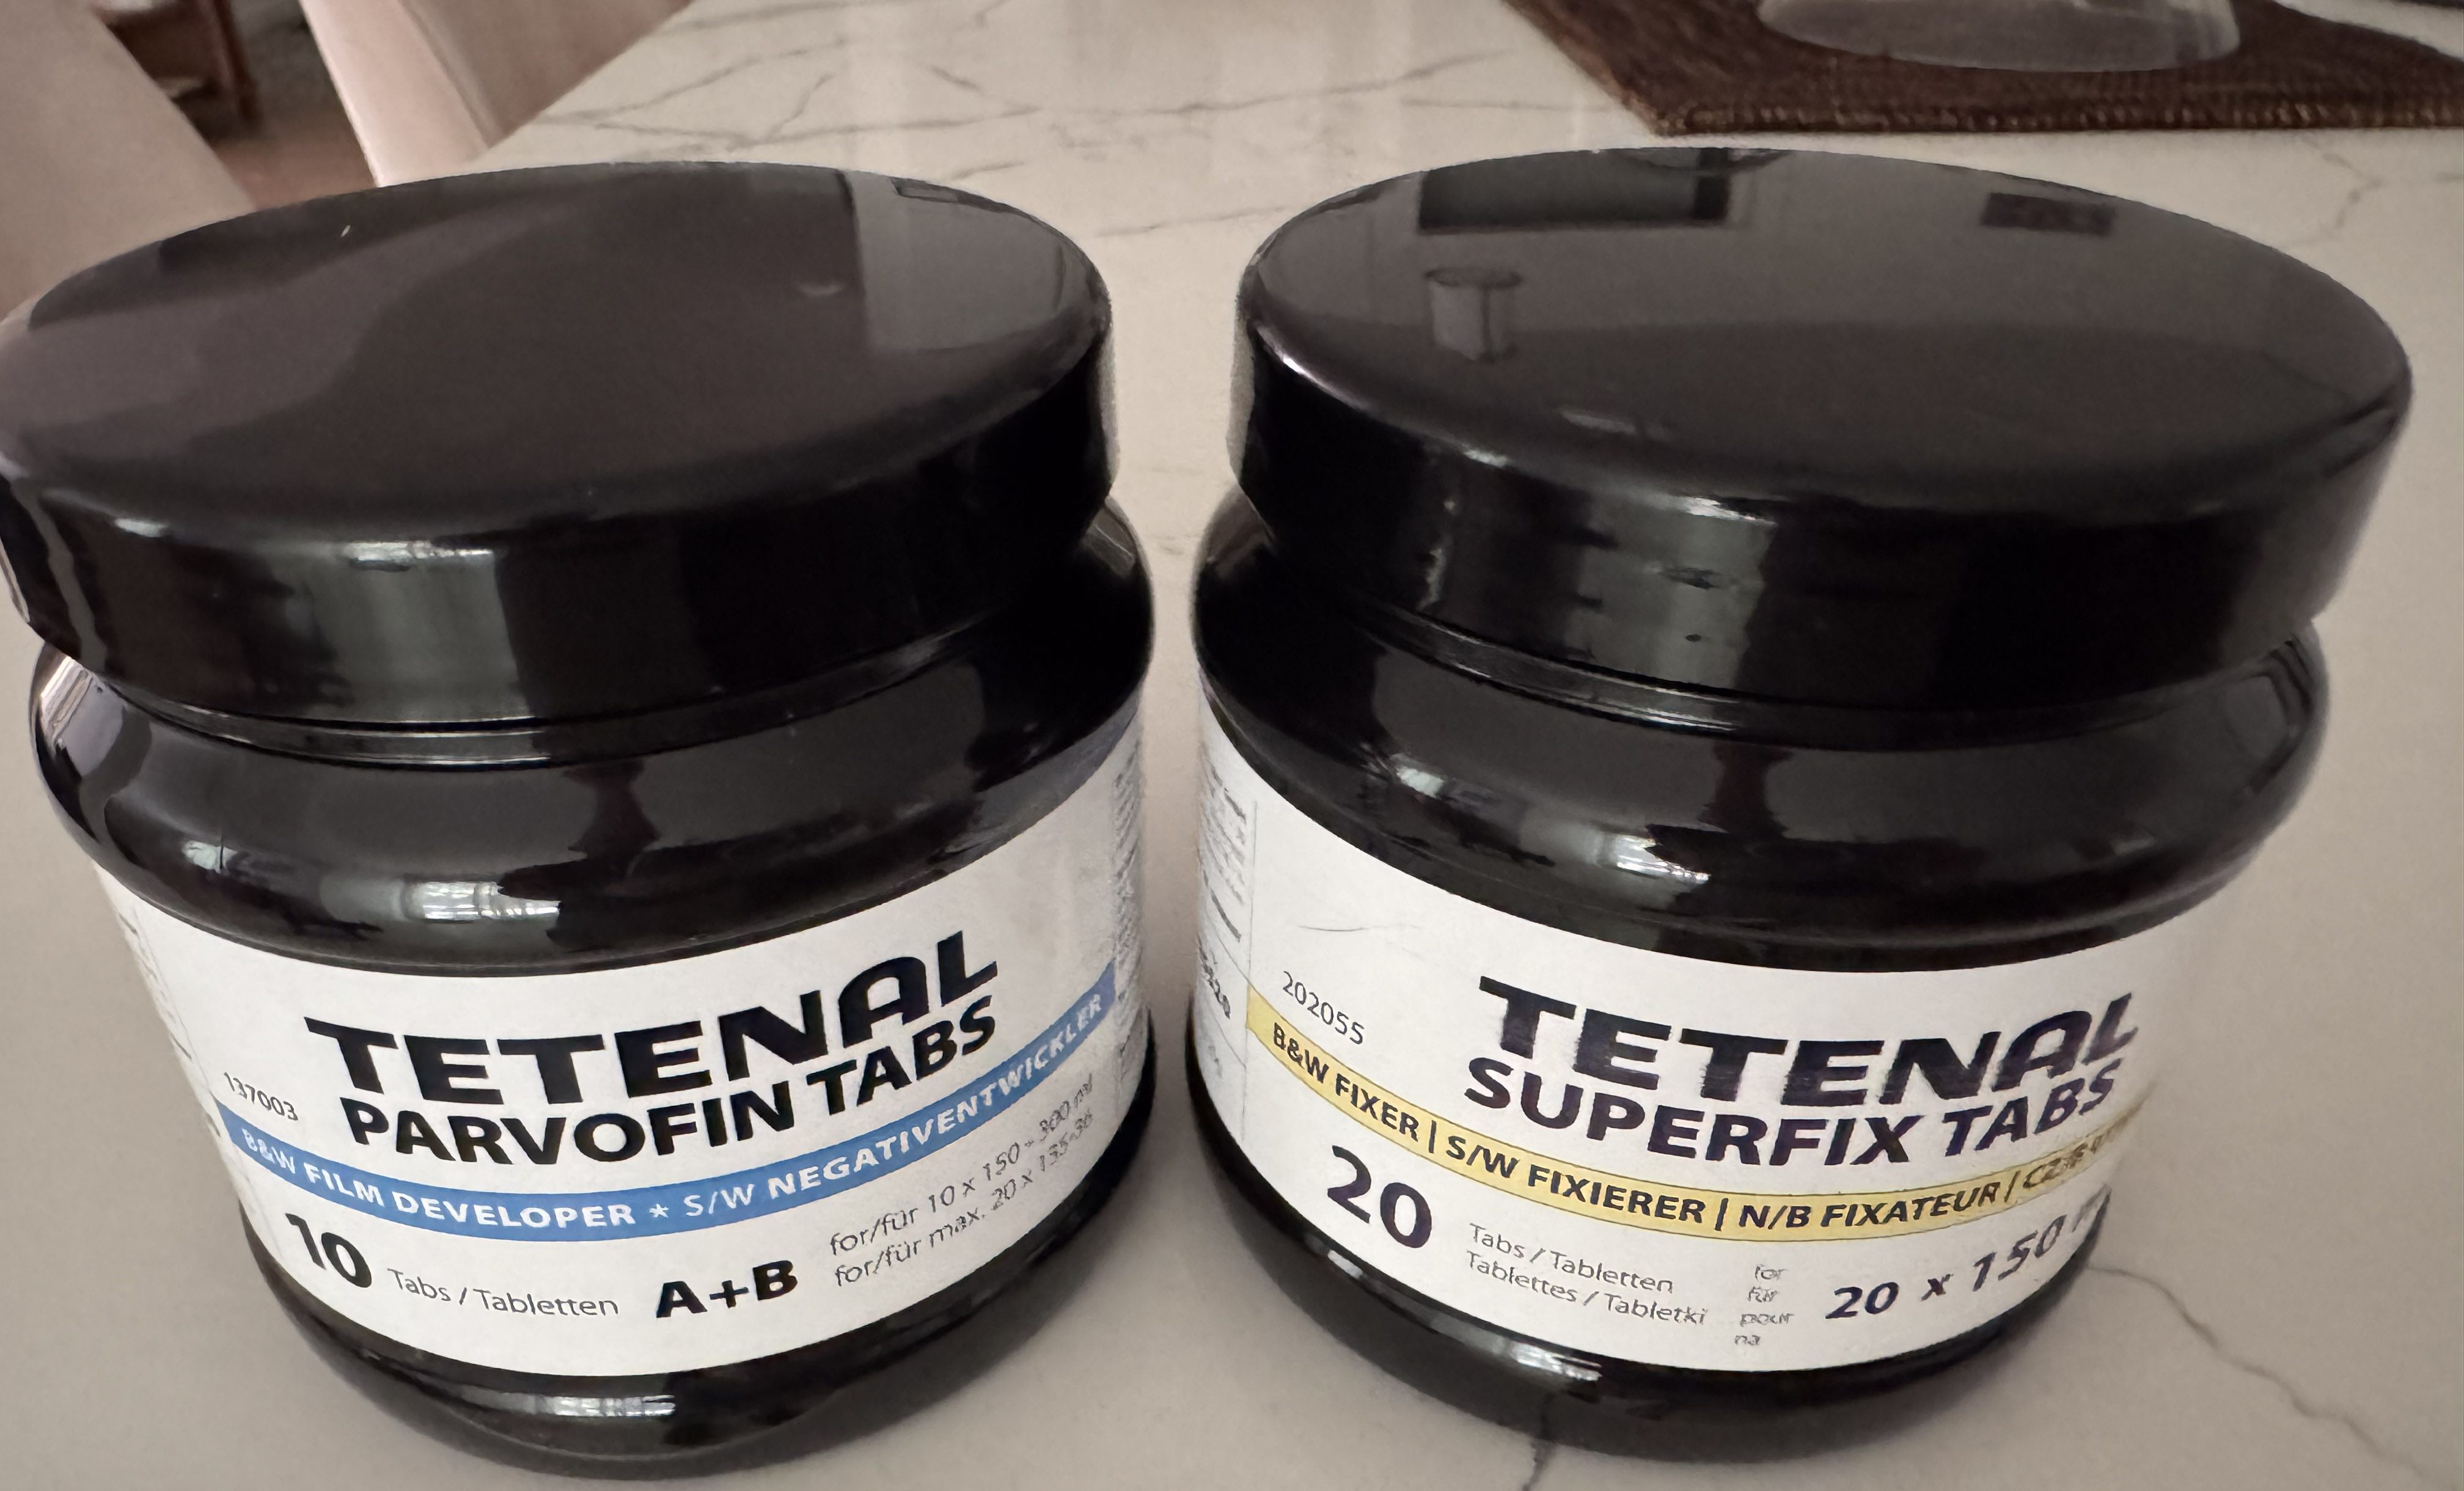
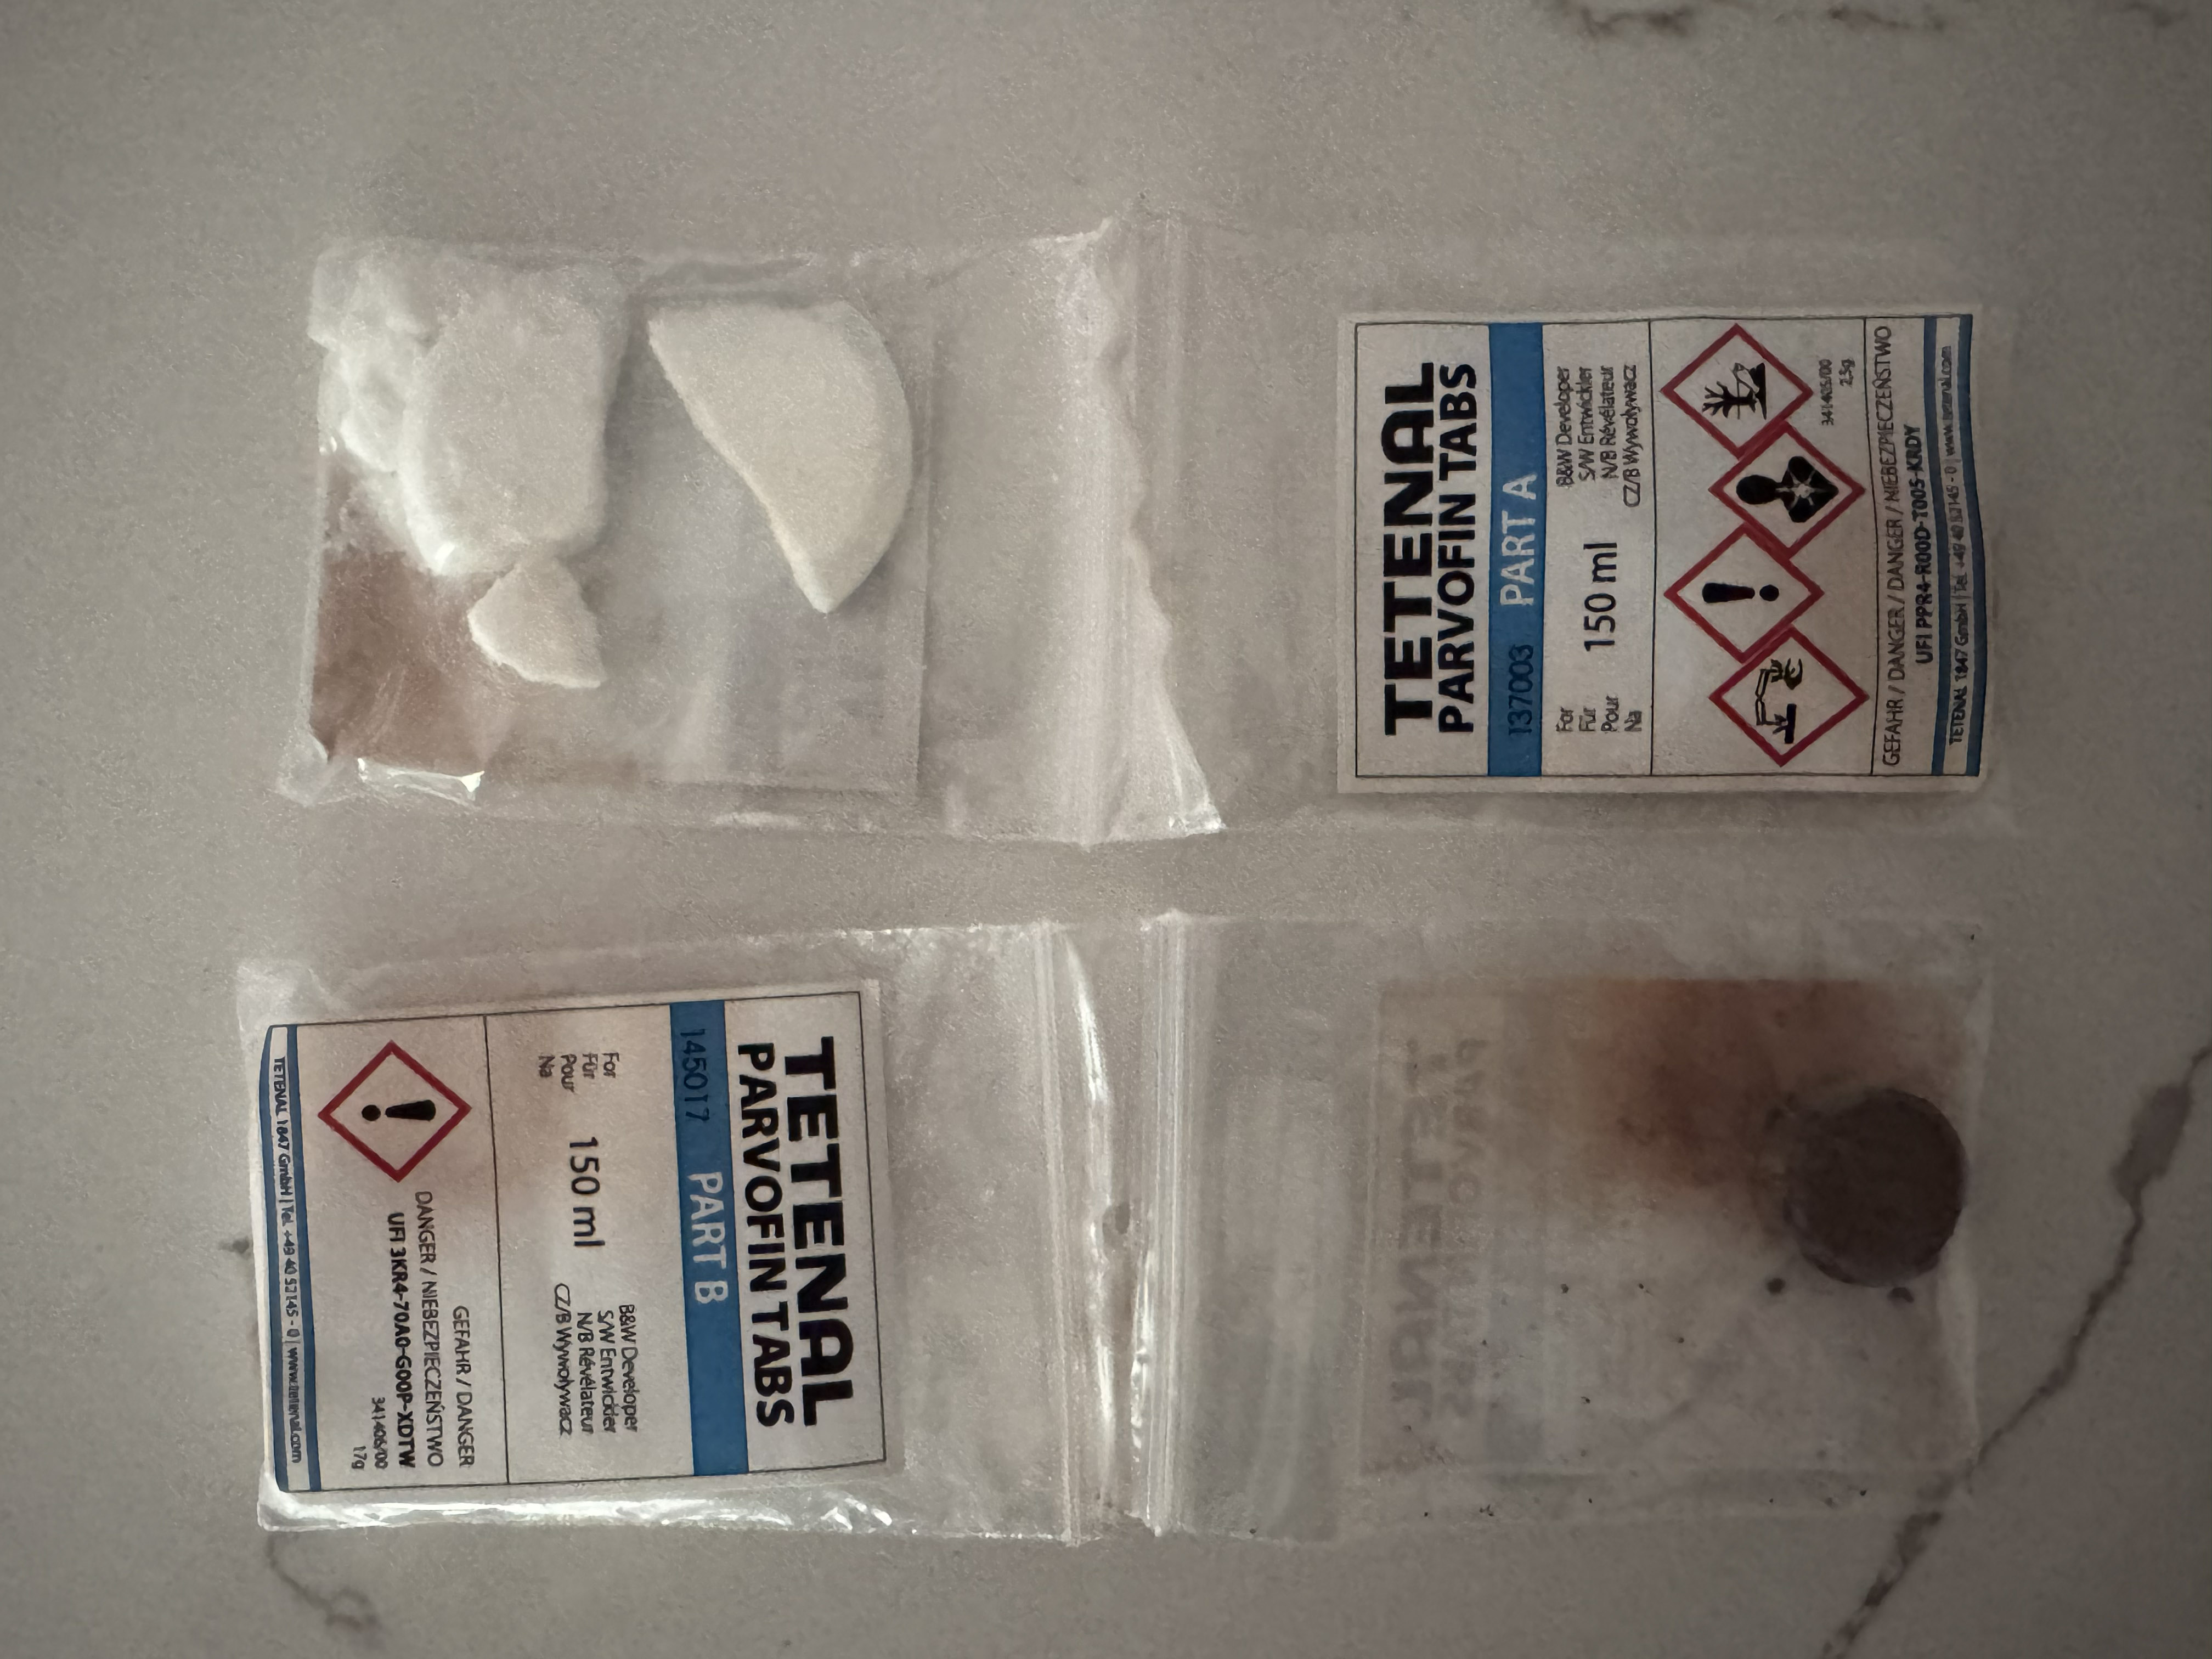
Tetenal has run out of business, but Freestyle Photo (and a few other retailers) still have a some of their products in store – I bought a bottle of Tetenal Parvofin tabs (the developer) , and a bottle of Tetenal Superfix tabs (the fixer). The products are packaged as tablets (like an Alka Seltzer effervescent tab), don’t take much space, and can be stored for a long time (four years). Each tablet is good for one roll of film: you just dilute what you need a few hours before use (you have to let it cool down). It looks like a good solution if you don’t process huge volumes of film, and don’t want to store chemicals in liquid form. The Tetenal tablets are still expensive (approximately $5.00 per processed roll of film) but they’re convenient.
Processing the film
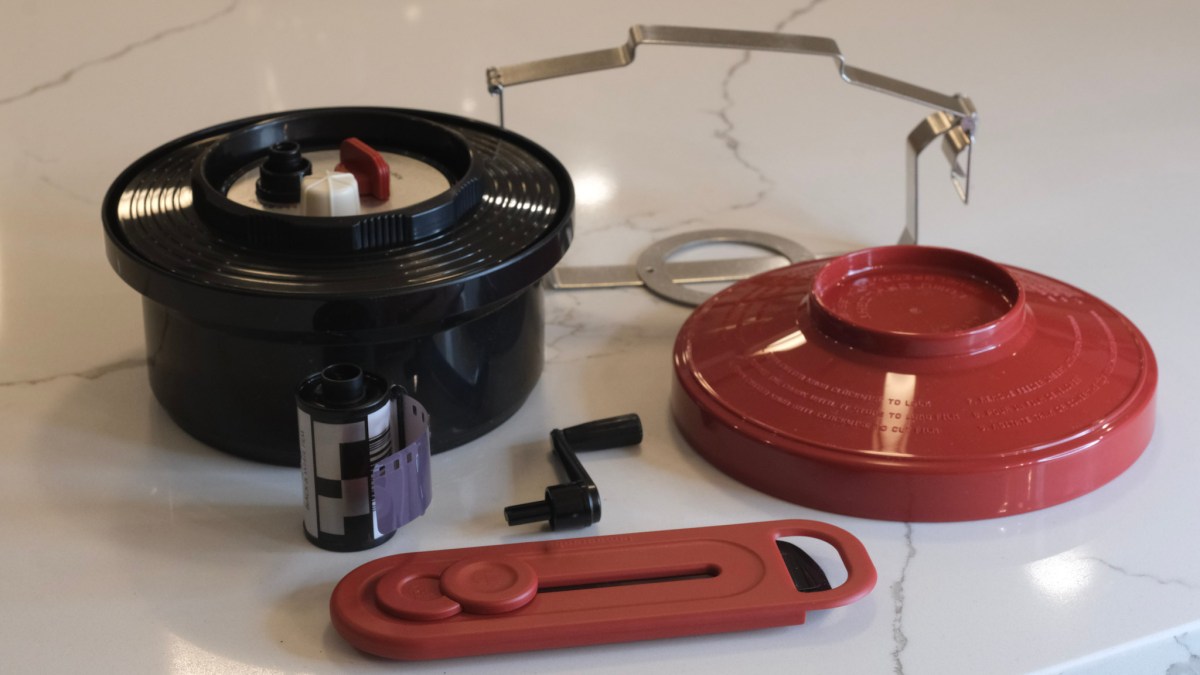
Amateurs typically process roll film (135 or 120) in developing tanks.

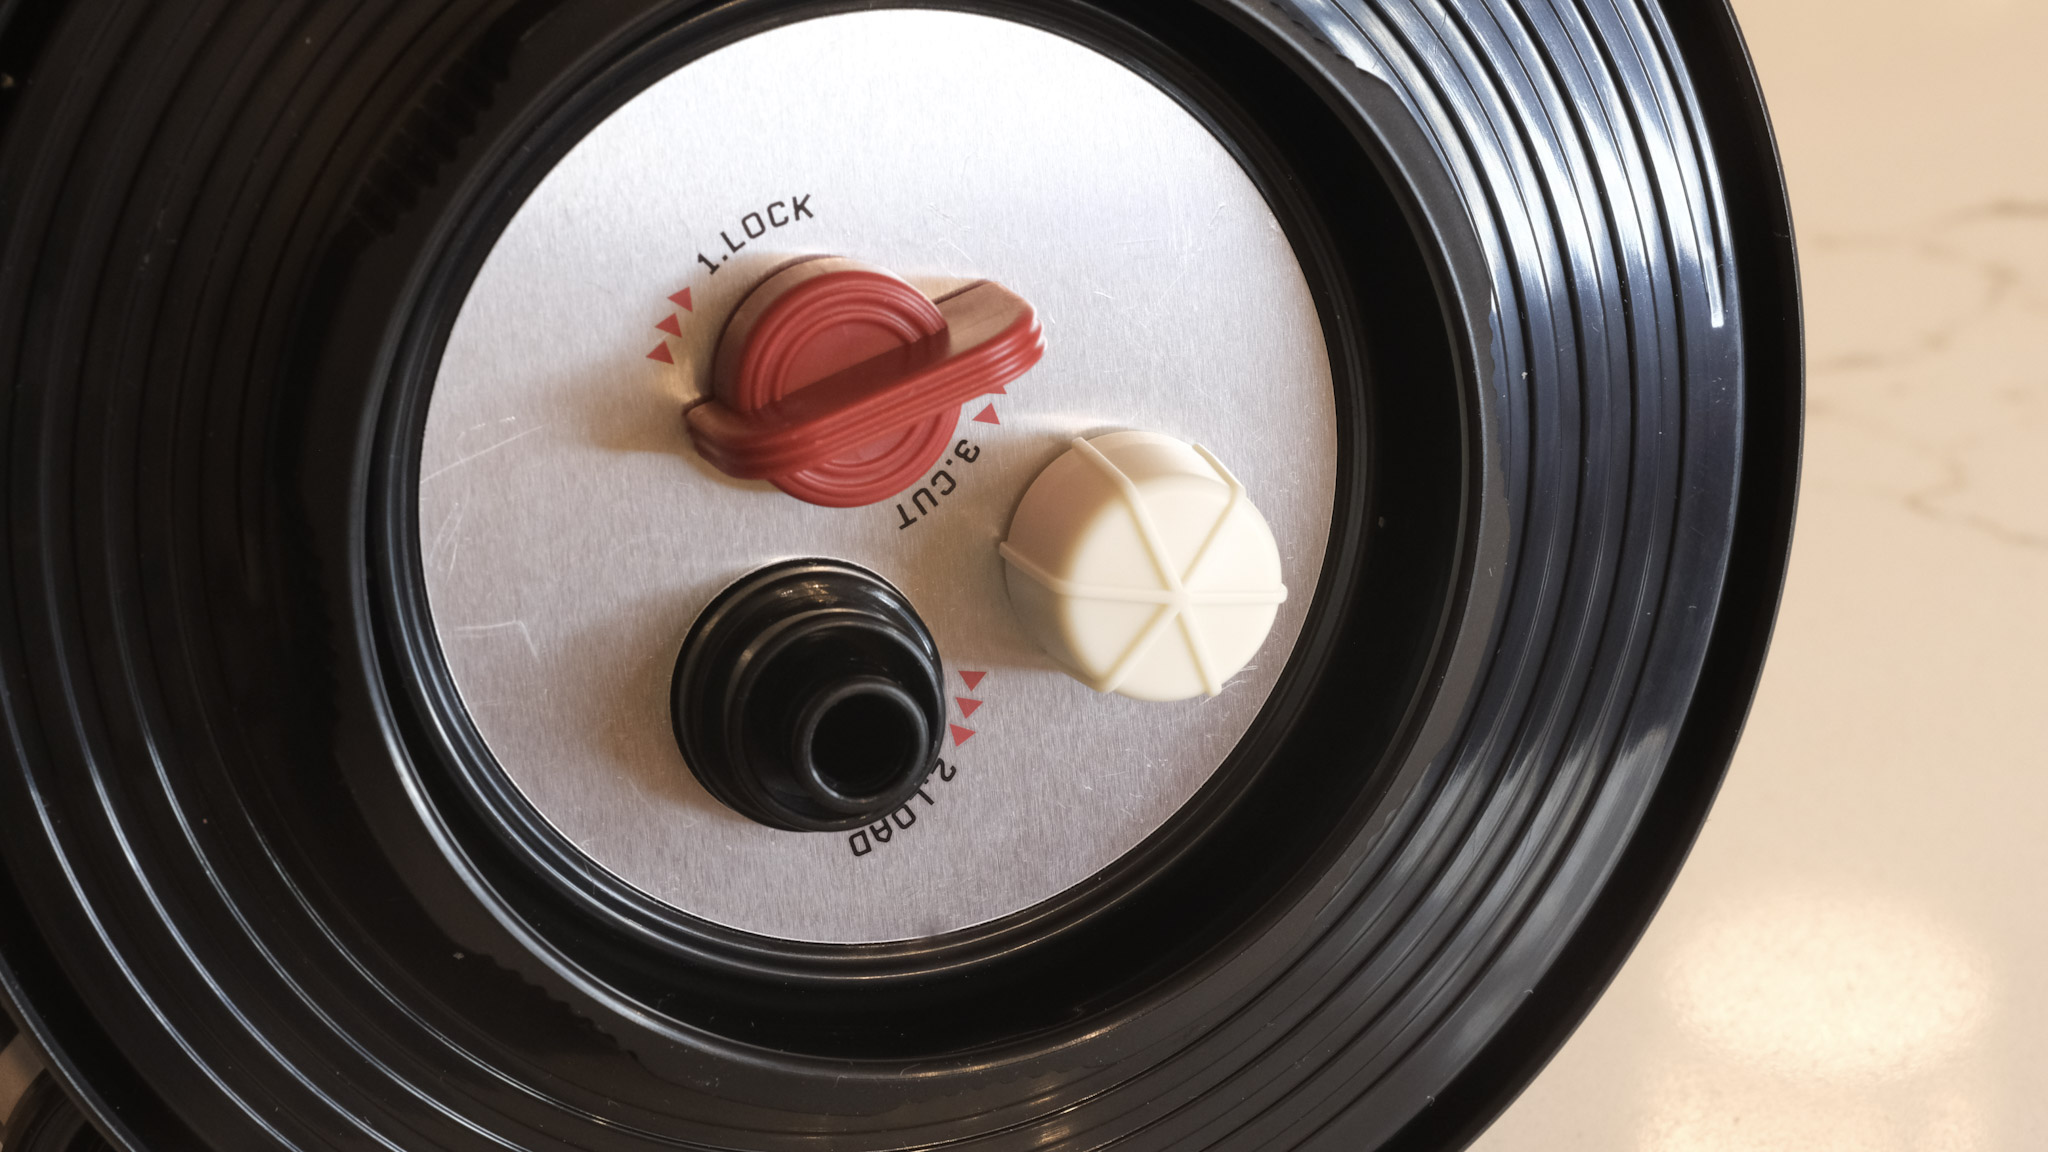
Paterson, Jobo (and all sort of copycats) manufacture developing tanks that have to be loaded in the dark. I’ve never trusted a dark room to be dark enough to load film, and I’ve always used a charging bag.
You slide your hands in the two sleeves, load the film on the reel, place the reel in the tank, and close the tank. Without seeing what you’re doing – of course.
Intimidating, but not that difficult after one or two dry runs.
Lomo and Lab-Box have been promoting an easier way to process film, with tanks that can be loaded in full daylight – no charging bag needed. You simply place the film cartridge in a receptacle, turn a crank, and the film is loaded. I’ve been using the Lomo Daylight Developing Tank for a few months. Yes, it works, but I’m not totally sold on it – I may even return to a conventional Paterson tank (there was a promo recently and I bought one for cheap).
Lomo Daylight imposes a trade-off between simplicity and convenience, on the one hand, and reliability and flexibility, on the other hand
I’ve never seen or tested the Lab-box, but the Lomo Daylight imposes a trade-off between simplicity and convenience, on the one hand, and reliability and flexibility, on the other hand.
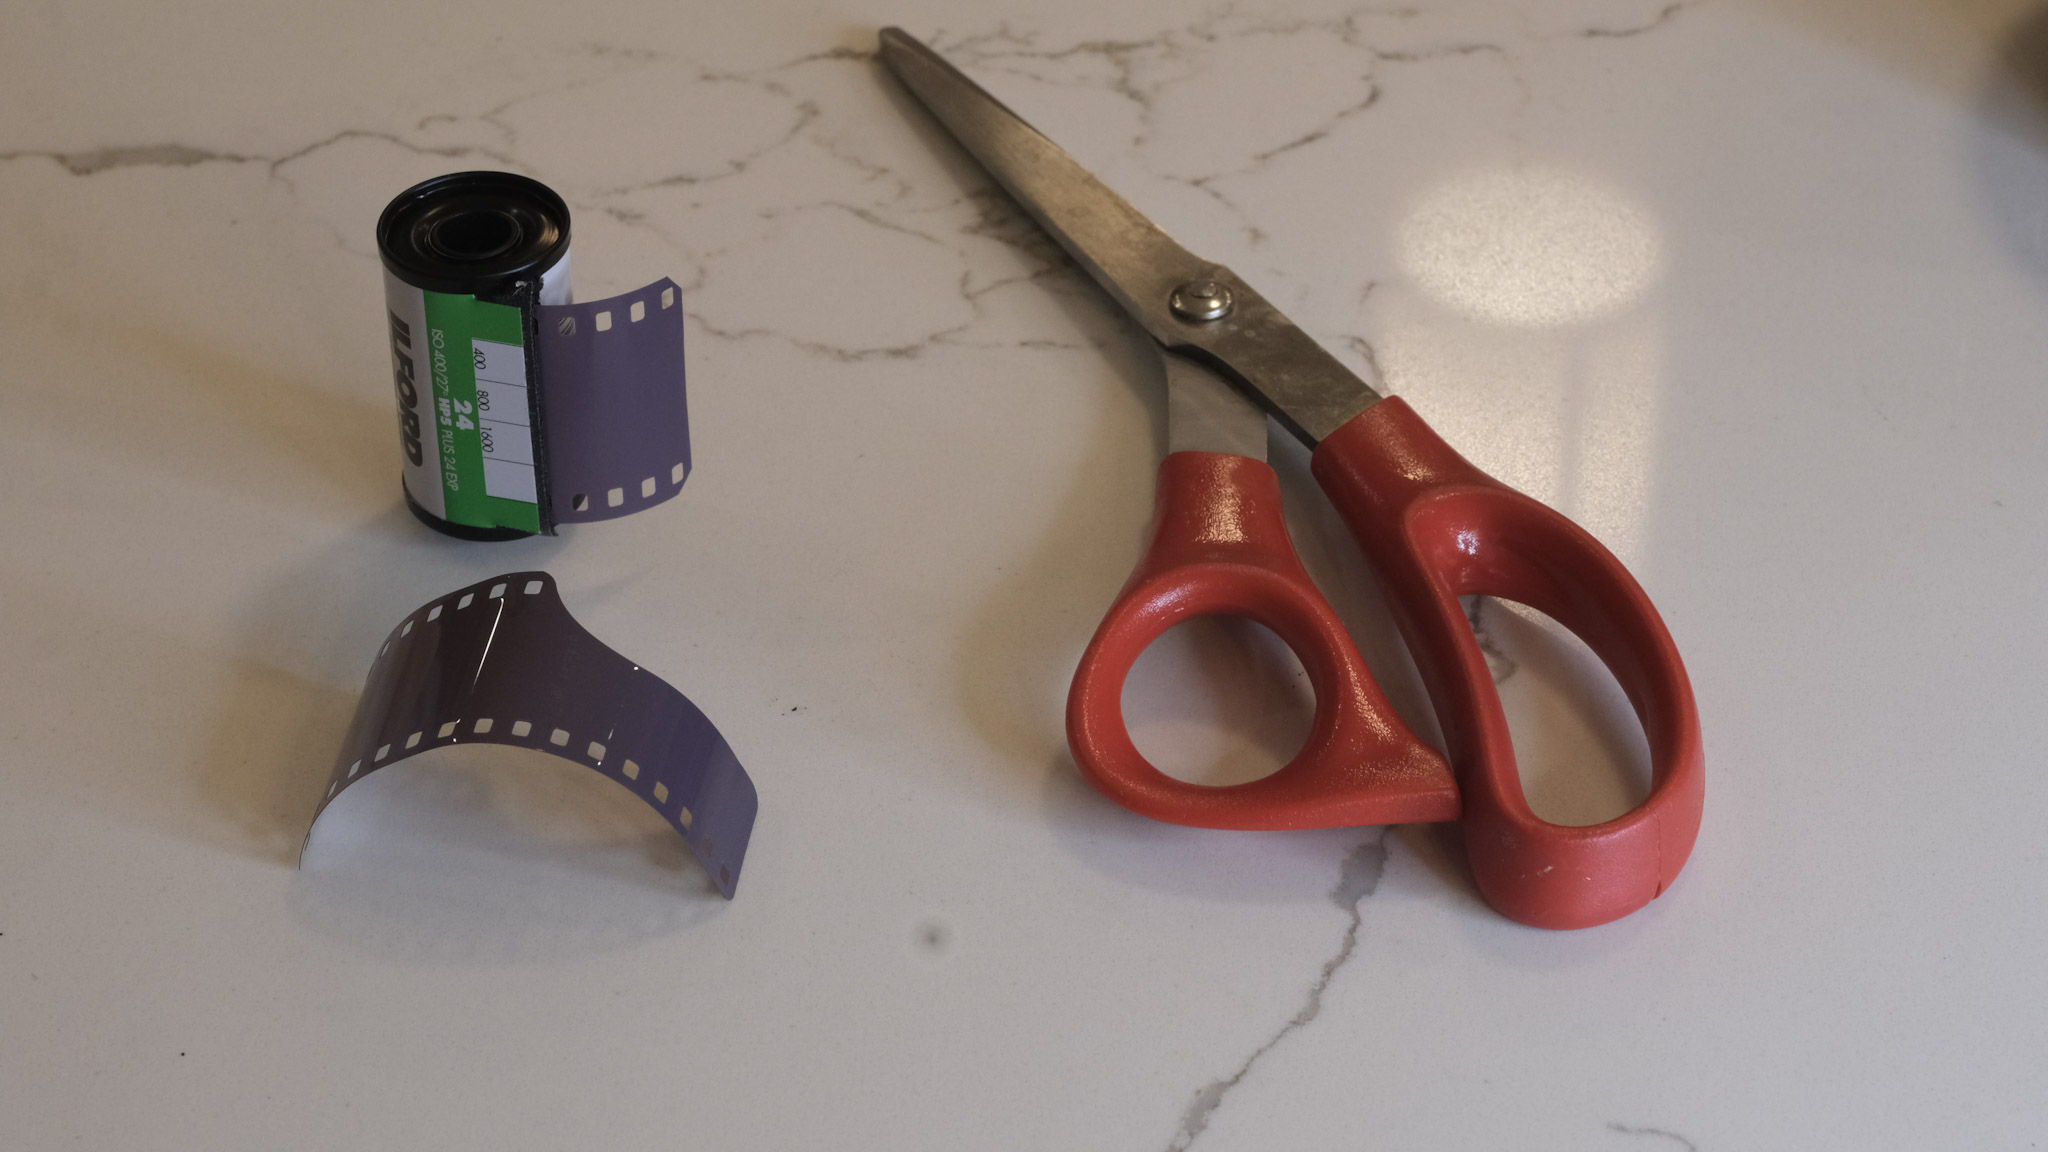
- Reliability because to push the film on the reel hidden inside the tank, Lomo relies on a pair of sprockets (that engage in the film perforations) – and will tear those perforations if there is any resistance. If it happens in the middle of the film loading process, you have to turn the red button to cut the film, remove the film receptacle from the tank, develop the film which is already inside the tank, clean and dry the whole thing, then return to your film cartridge, cut the section where the perforations were teared down, resume film loading, and start a new film processing cycle. Of course, you lose a few pictures in the process, and a few hours of your time. Not great.
- Flexibility, because the Lomo only works with one roll of 35mm film at a time, as opposed to a conventional developing tank that will offer the flexibility of developing one or two 35mm film cartridges or a single 120 film roll in one run. Also, the Lomo tends to require more product per cycle than a conventional tank, and because of its shape, may (I’ve not tested) be more difficult to use when processing color film.
Film scanning or digitizing
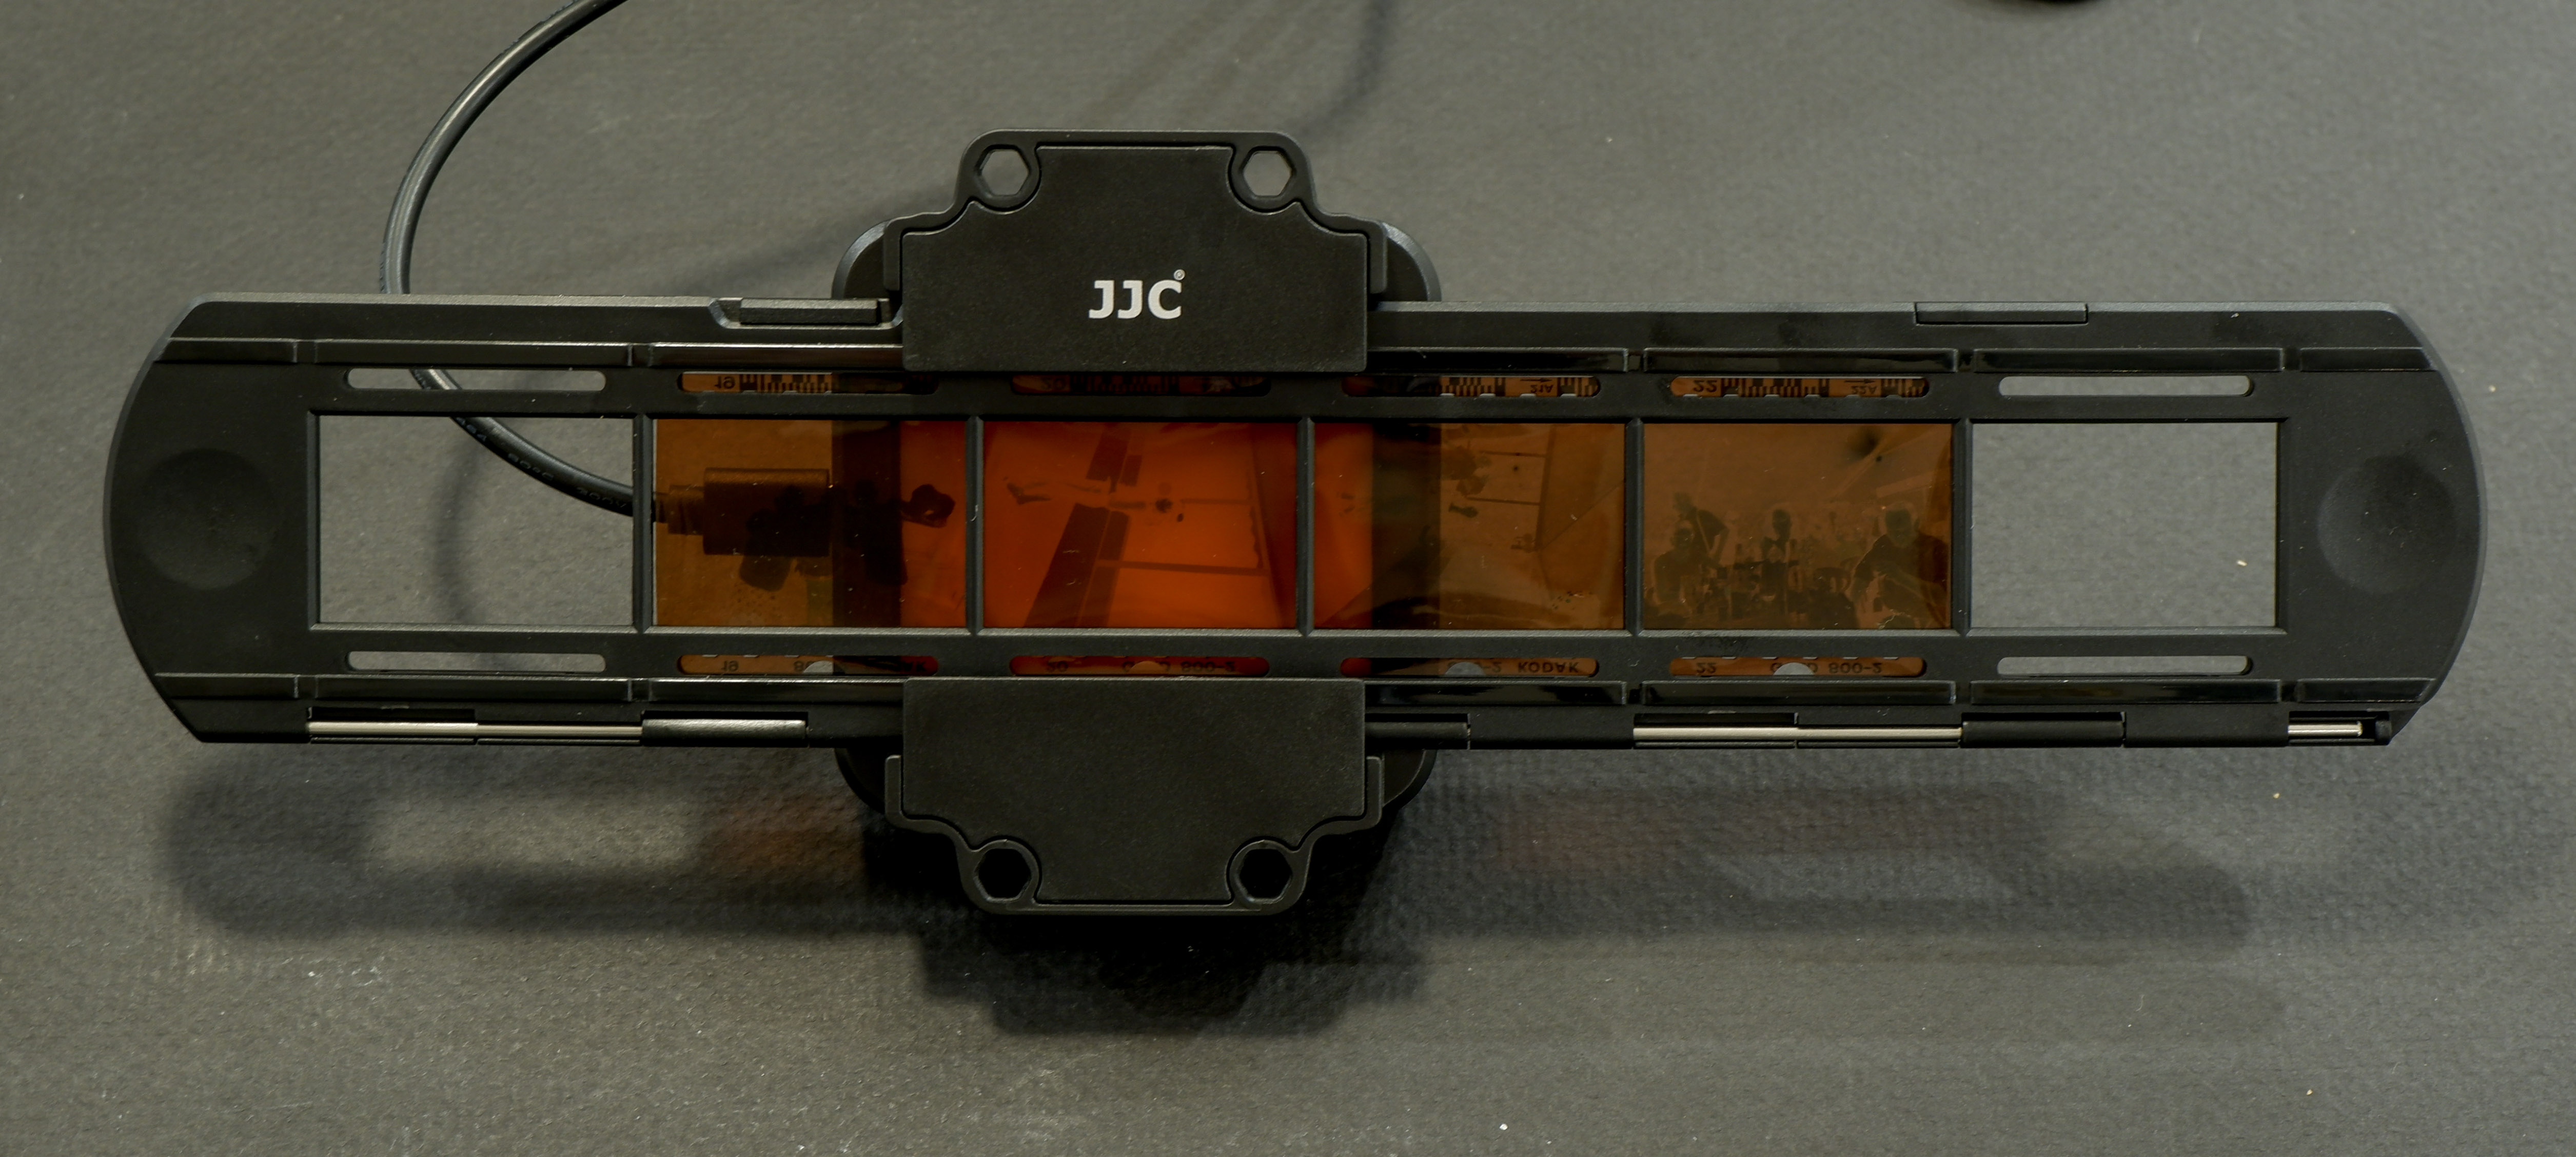
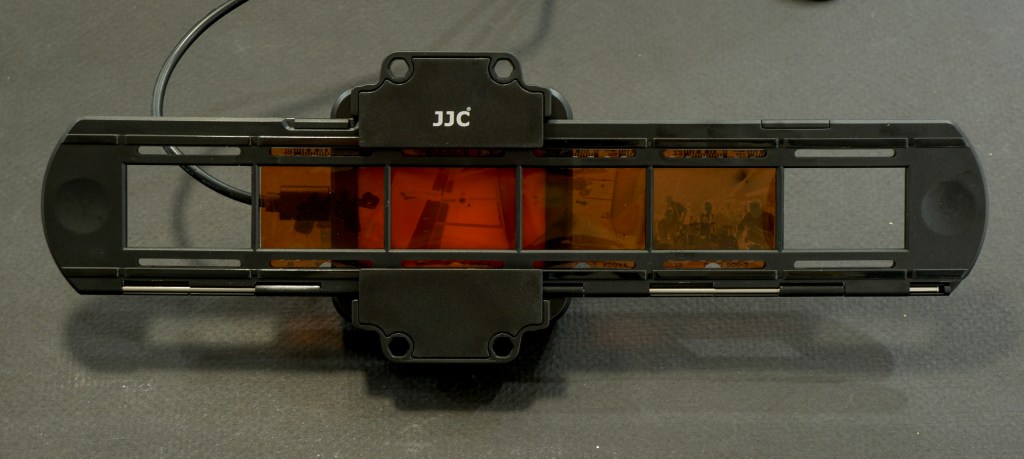
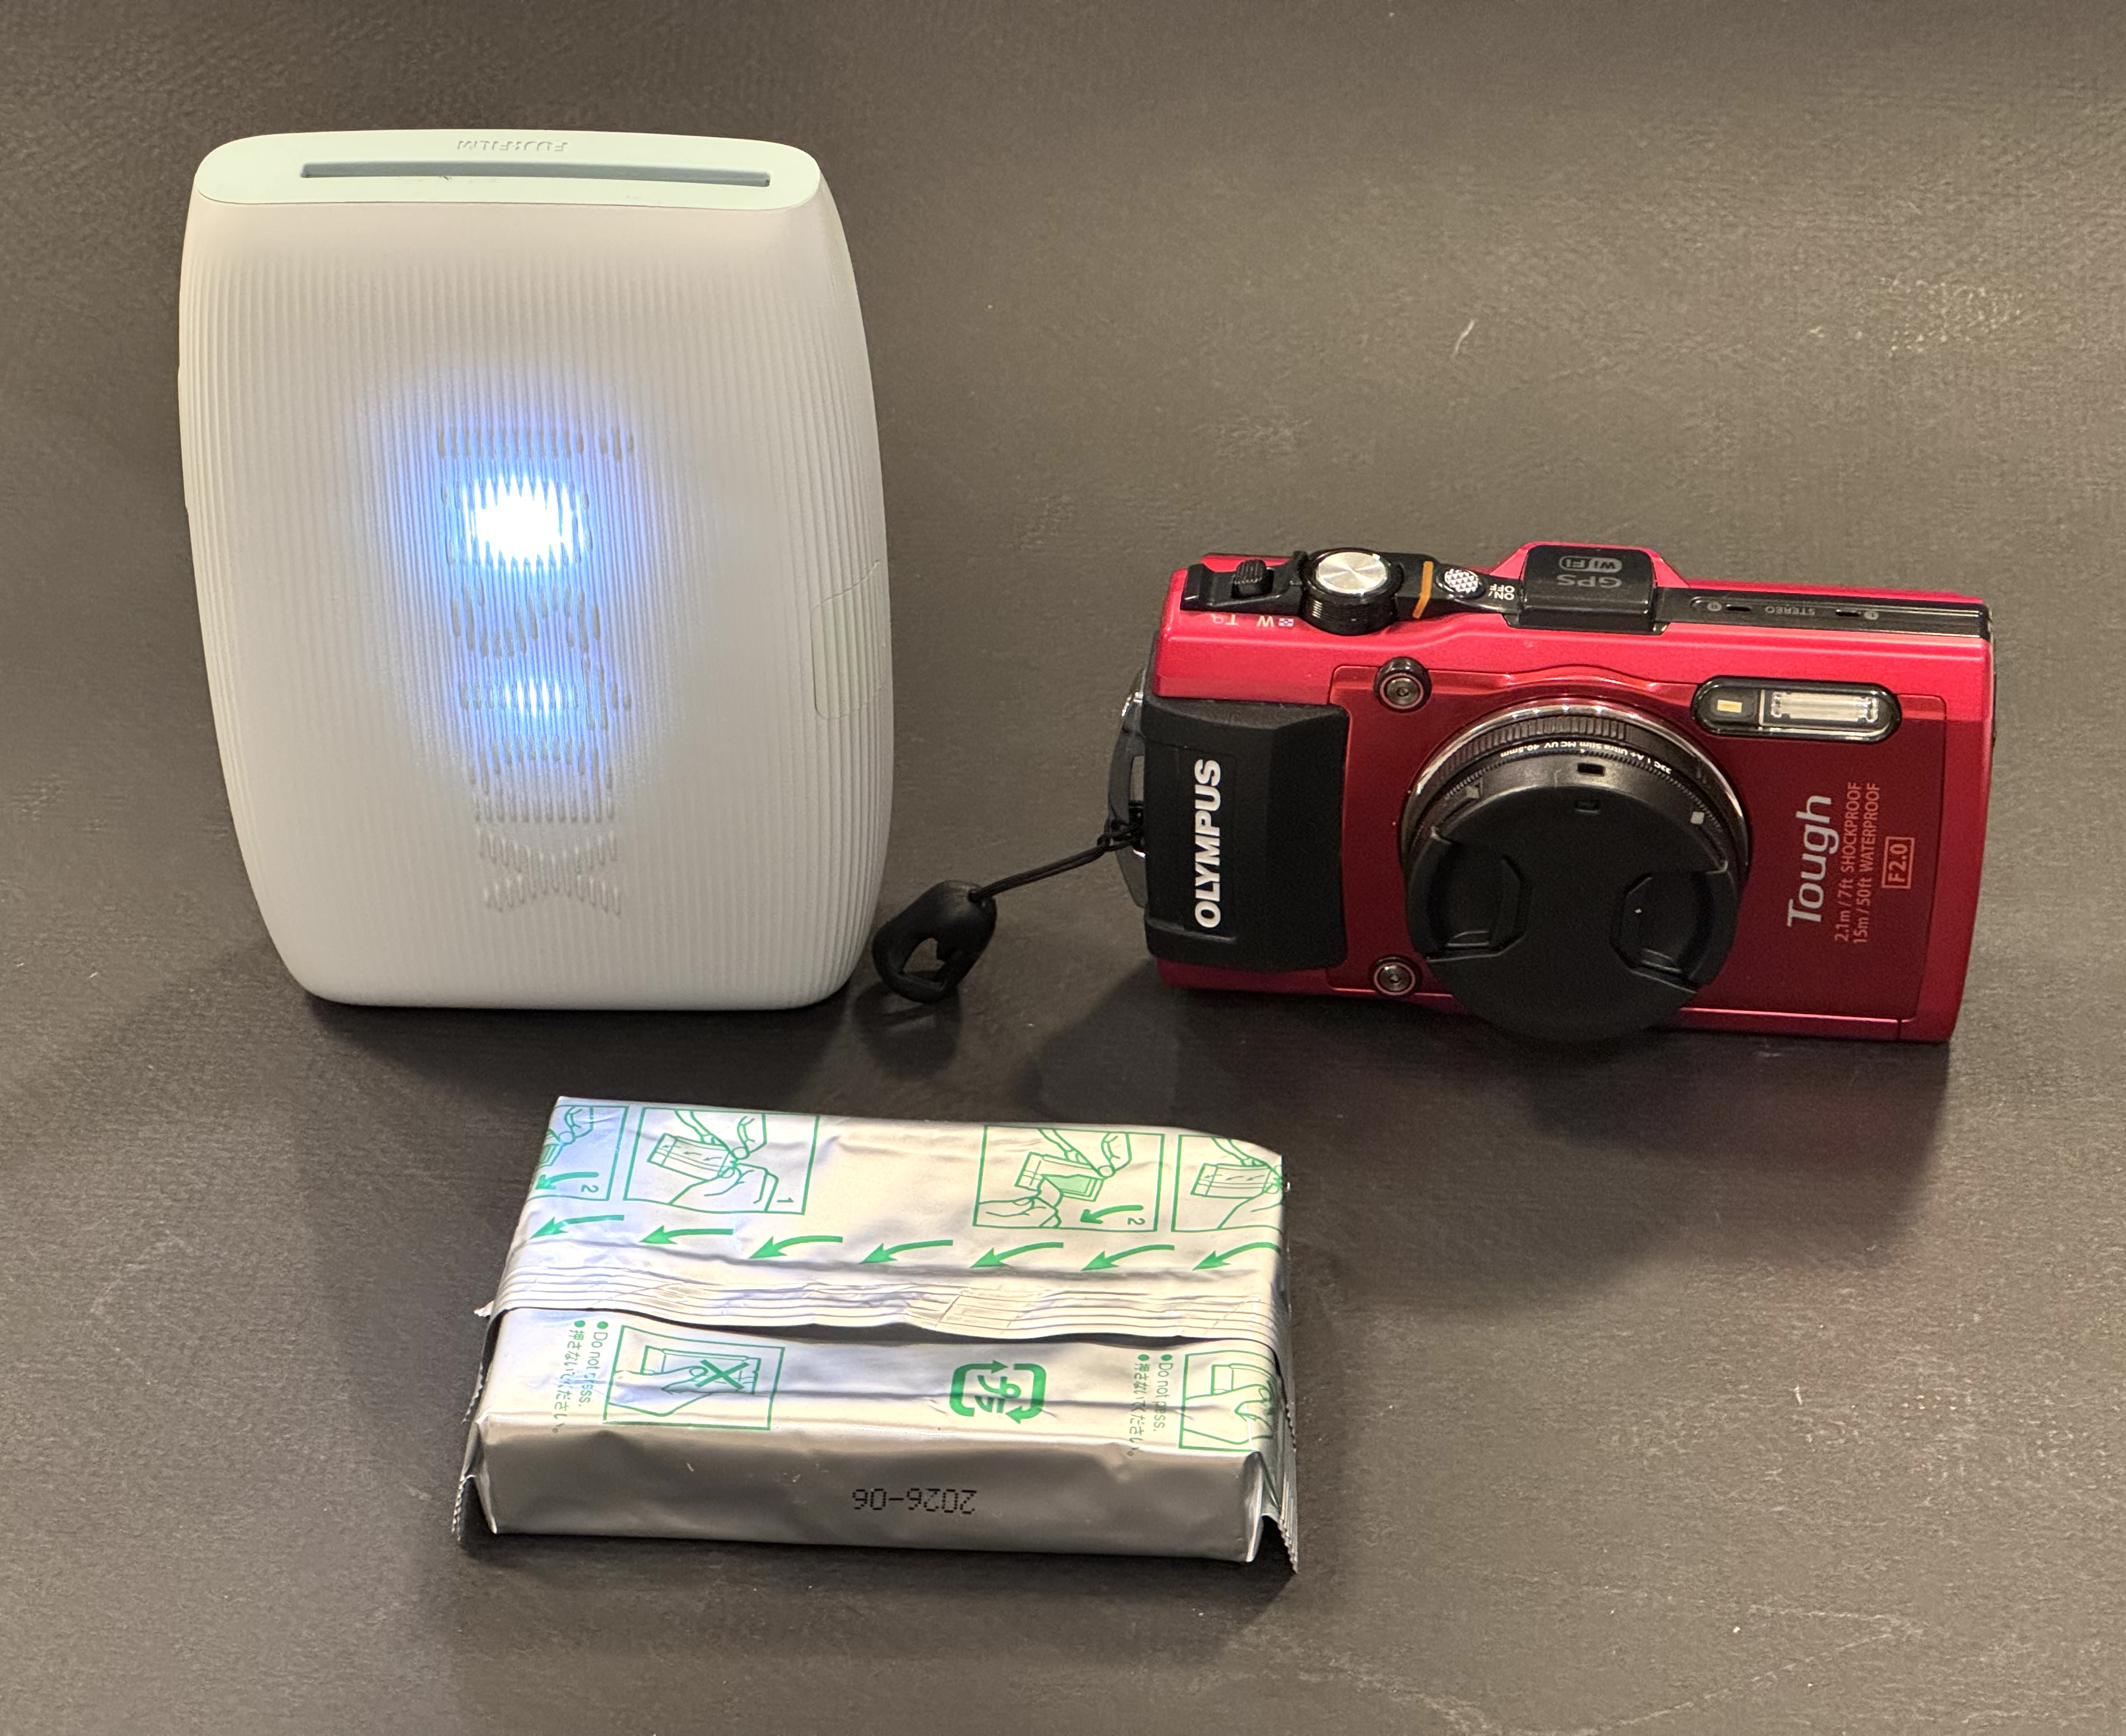
I don’t own a dedicated film scanner. I simply mount a macro lens (an old 55mm Nikkor) on my current digital camera, screw the JJC Film Digitizing adapter on the front of the lens, and digitize a full roll of film in a few minutes. I have absolutely no reservation about that part of the work flow. It’s quick, easy, and it simply works.

Editing and sharing your images
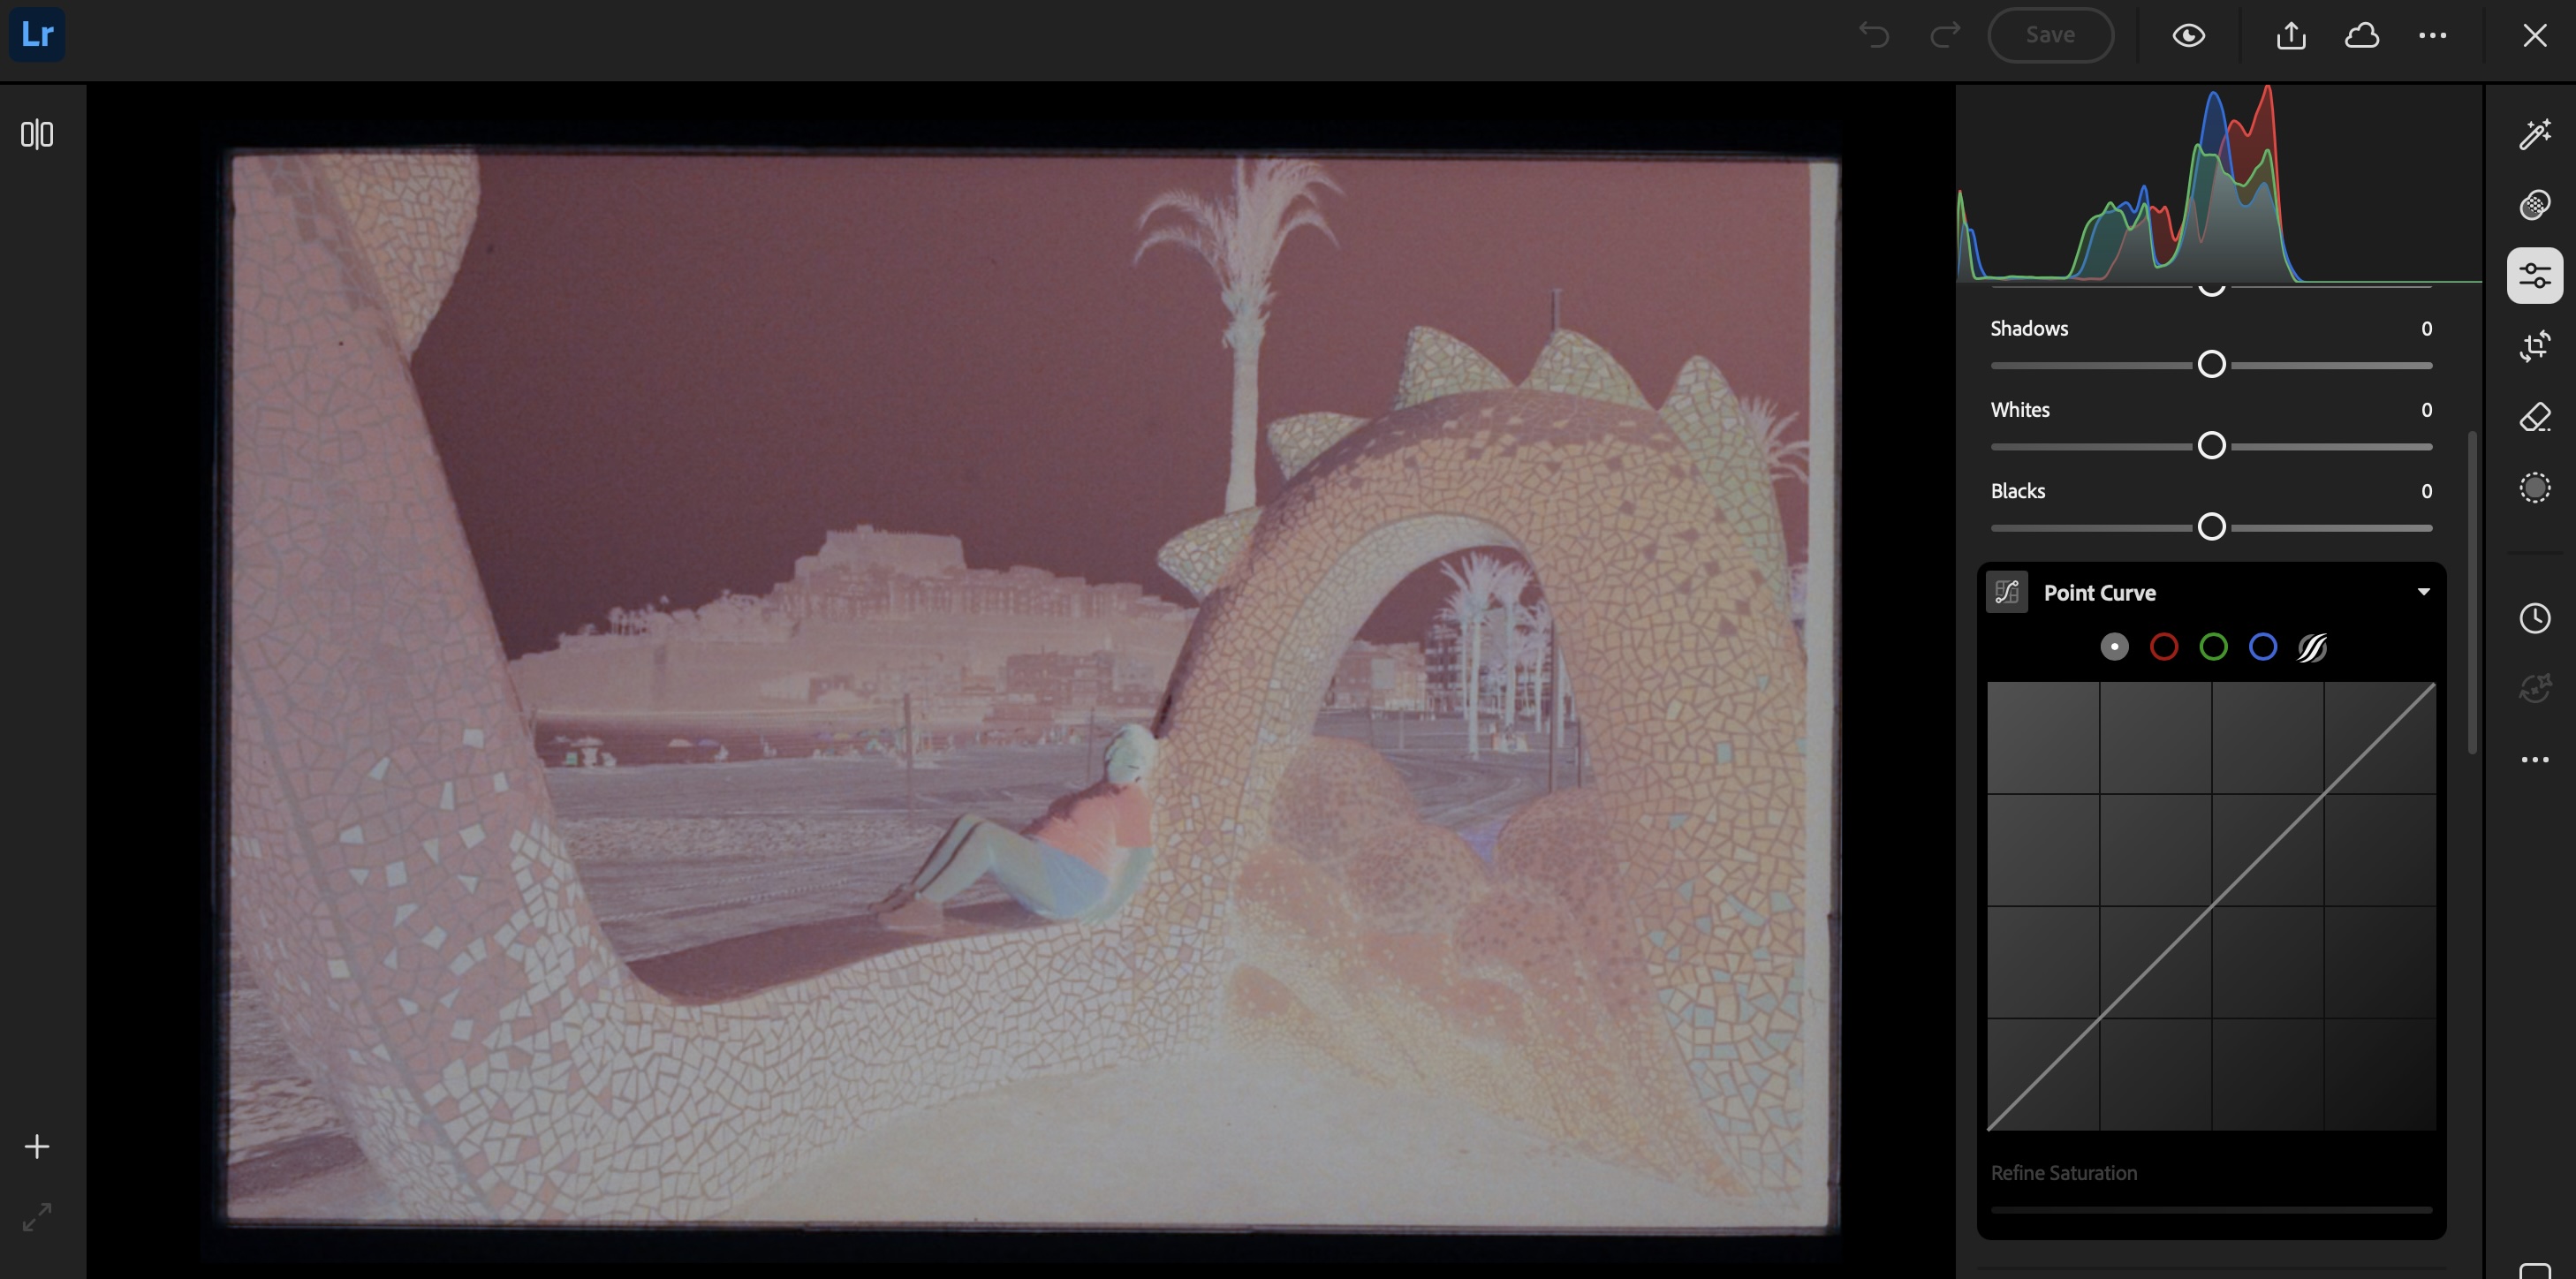
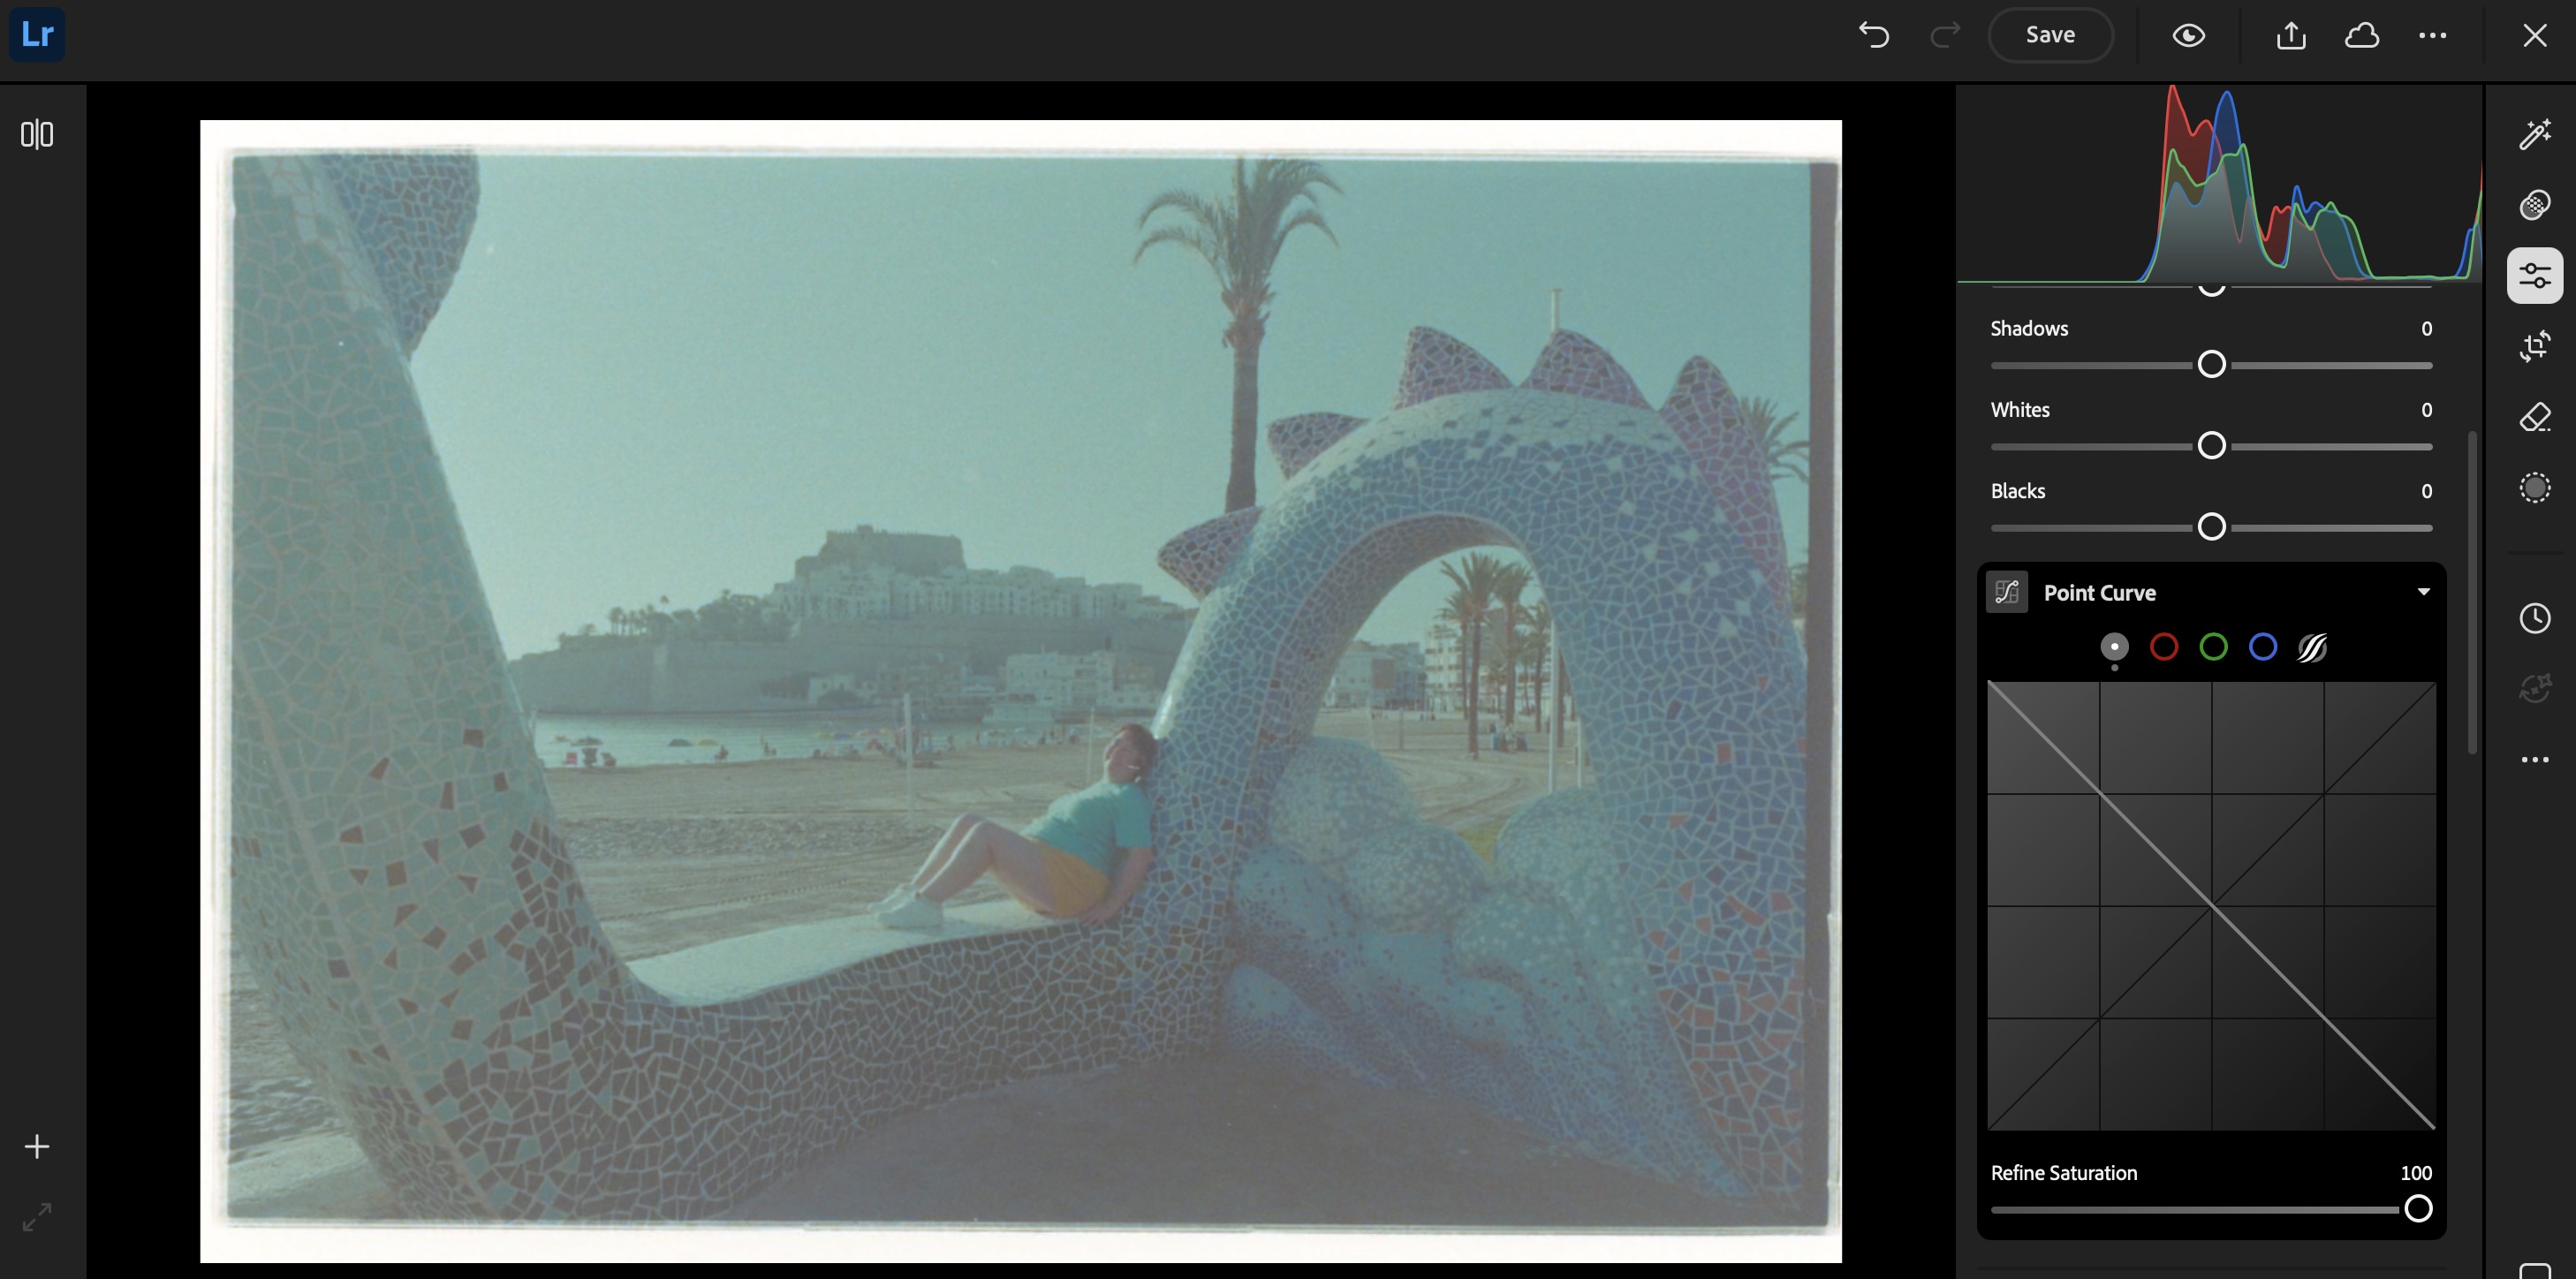
The rest of the process takes place on a “computer” (PC, Mac or iPad). I simply connect a SD card reader to my iPad or to my PC, and upload the images to Lightroom Mobile or Lightroom Web. Even the junior versions of Lightroom will let you invert the negative (by flipping the two ends of the Point Curve), and finalize the image by playing with the exposure, contrast and while balance sliders.
If correctly exposed, processed and digitized, black and white film will require very little work in a photo editing tool like Lightroom Mobile. Color film requires more effort – but so far, I’ve not felt the need to upgrade to Lightroom Classic and to a dedicated Negative Film Processing plug-in.

As a conclusion: what’s in my plastic bin?
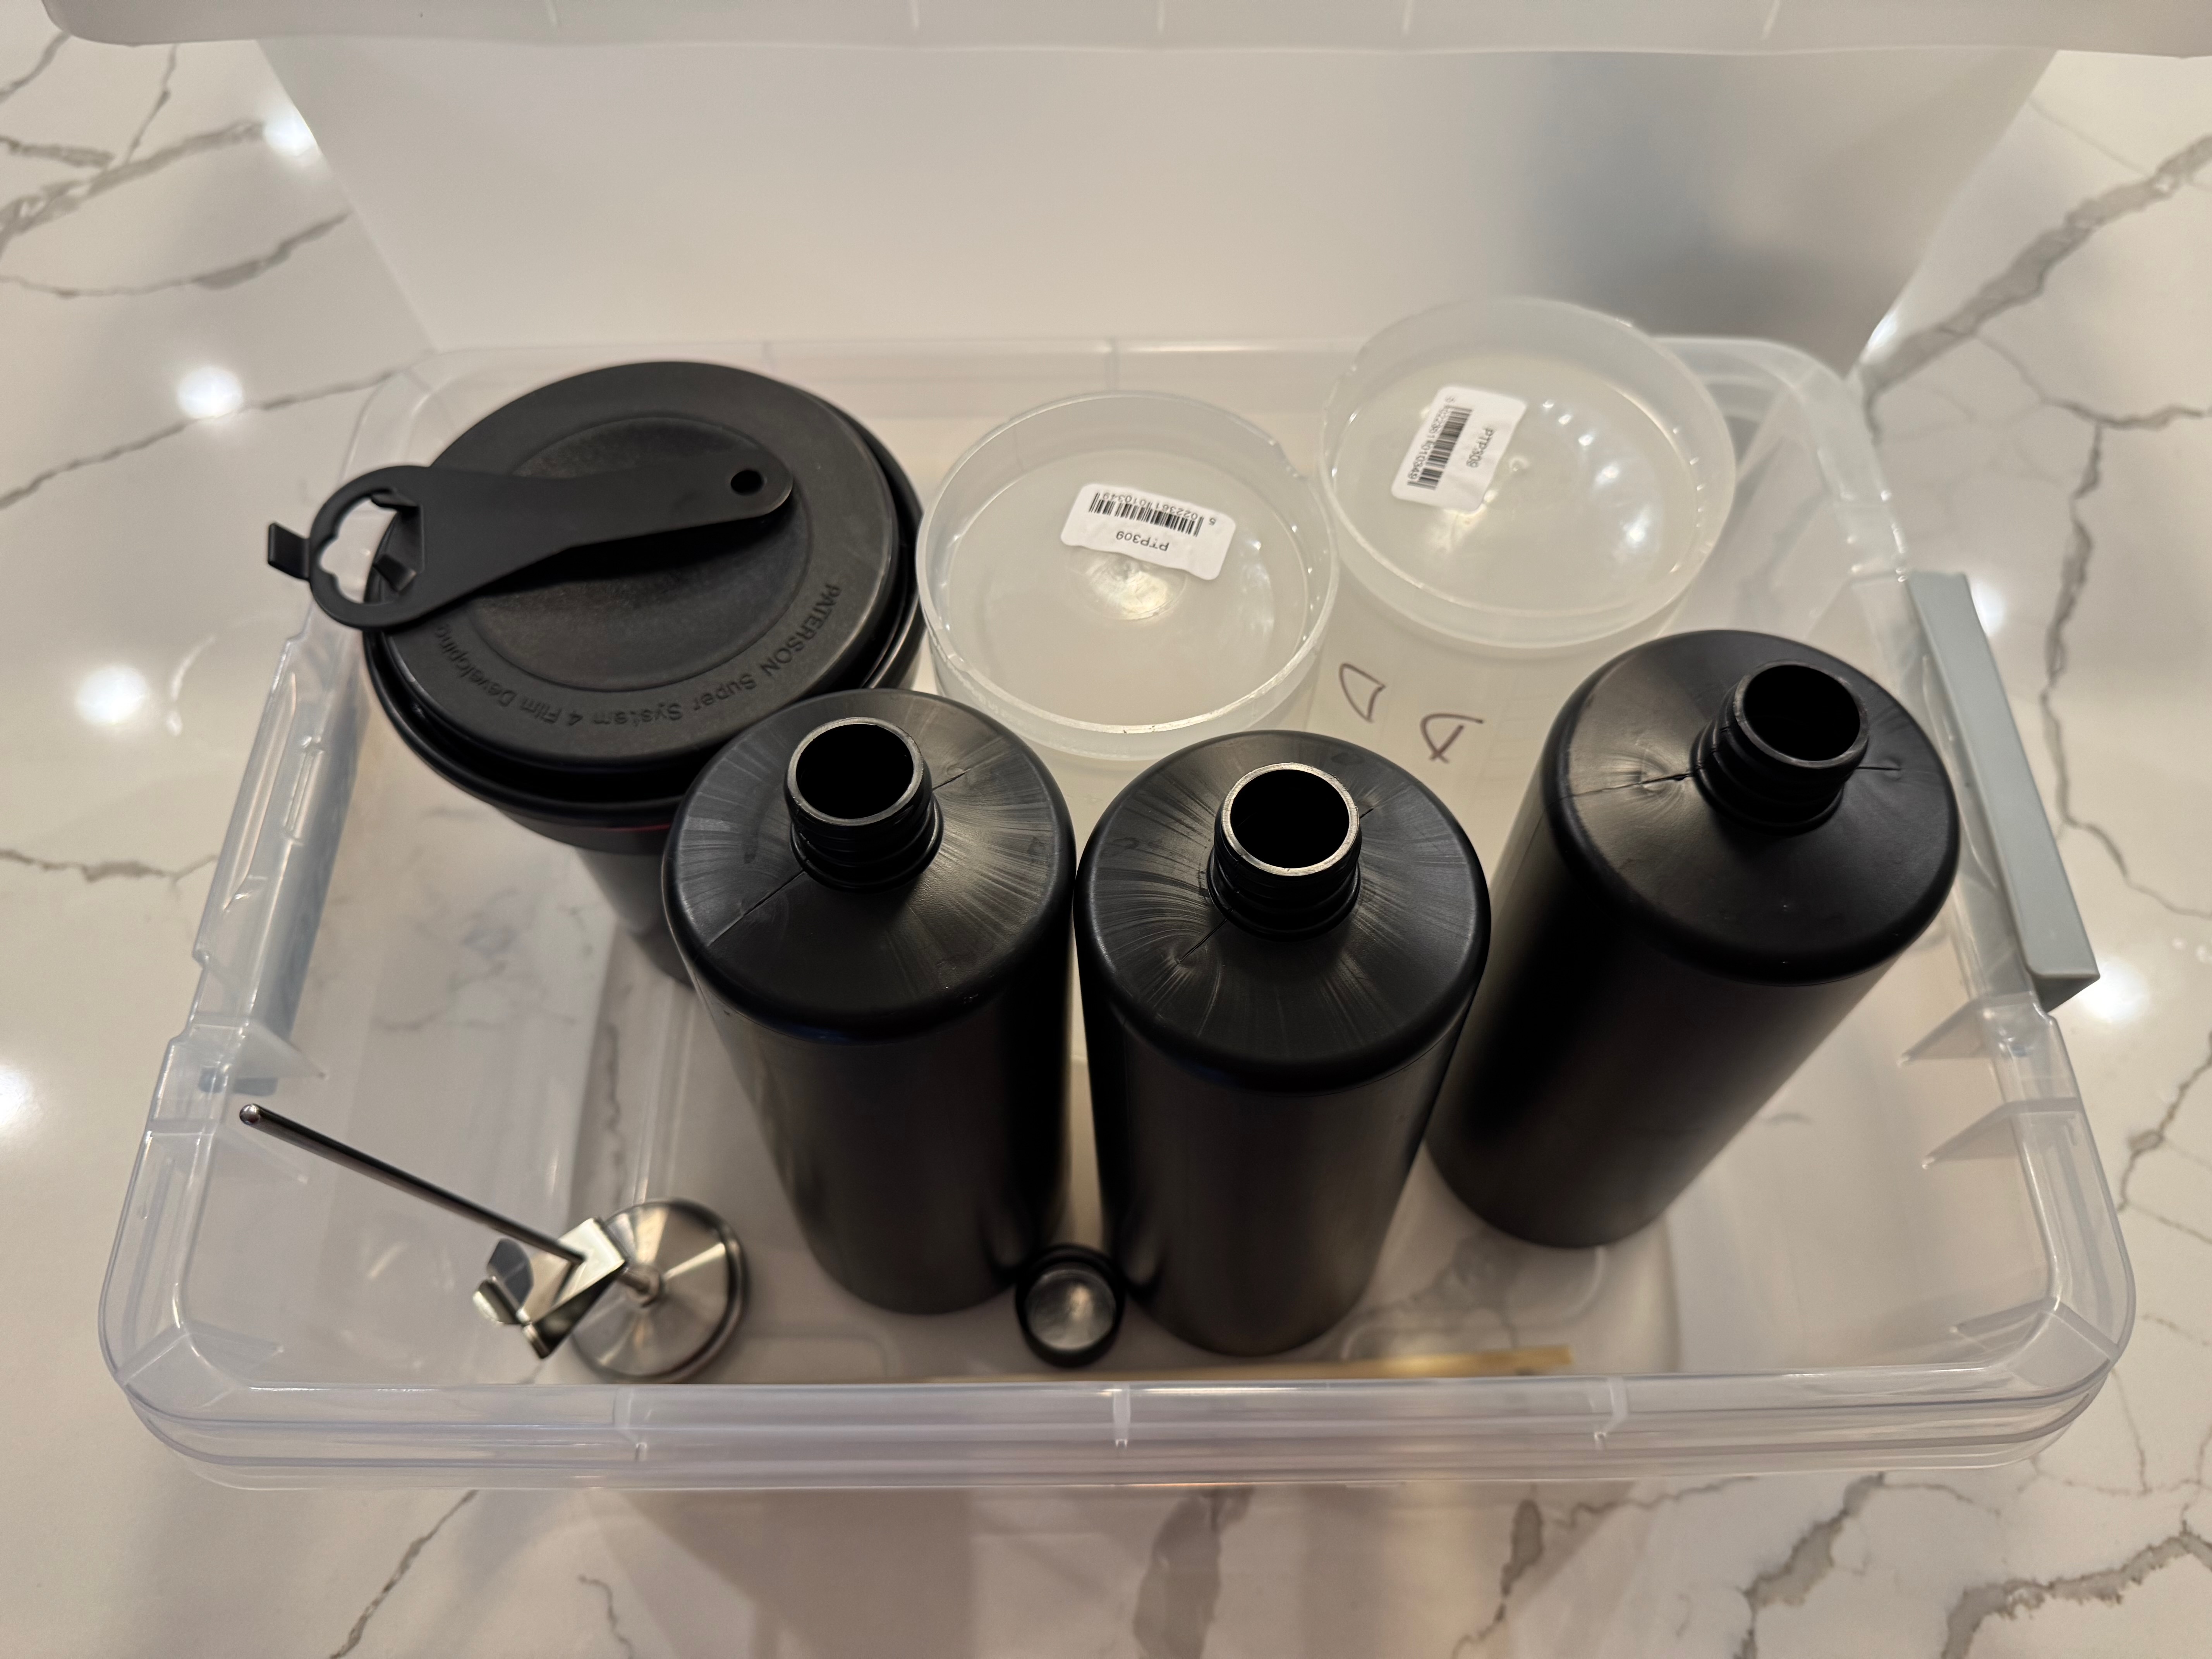
Developer, fixer, bottles, tank, thermometer, beakers, samigons, squeegee, weighted clips – everything fits in my 12 gallon plastic bin. Color processing would require an extra device to maintain the temperature of the baths and the tank at 38 degrees C, but I don’t need one for B&W film (in the Atlanta summers, the difficulty is to keep the temperature of the B&W baths low enough).
I included in my kit a smaller bin to use as a sous-vide, to keep the chemicals at a controlled temperature while processing the film. It also fits in the larger bin.
Digitizing adapter, macro lens and digital camera are stored separately, of course.
More about film development in CamerAgX
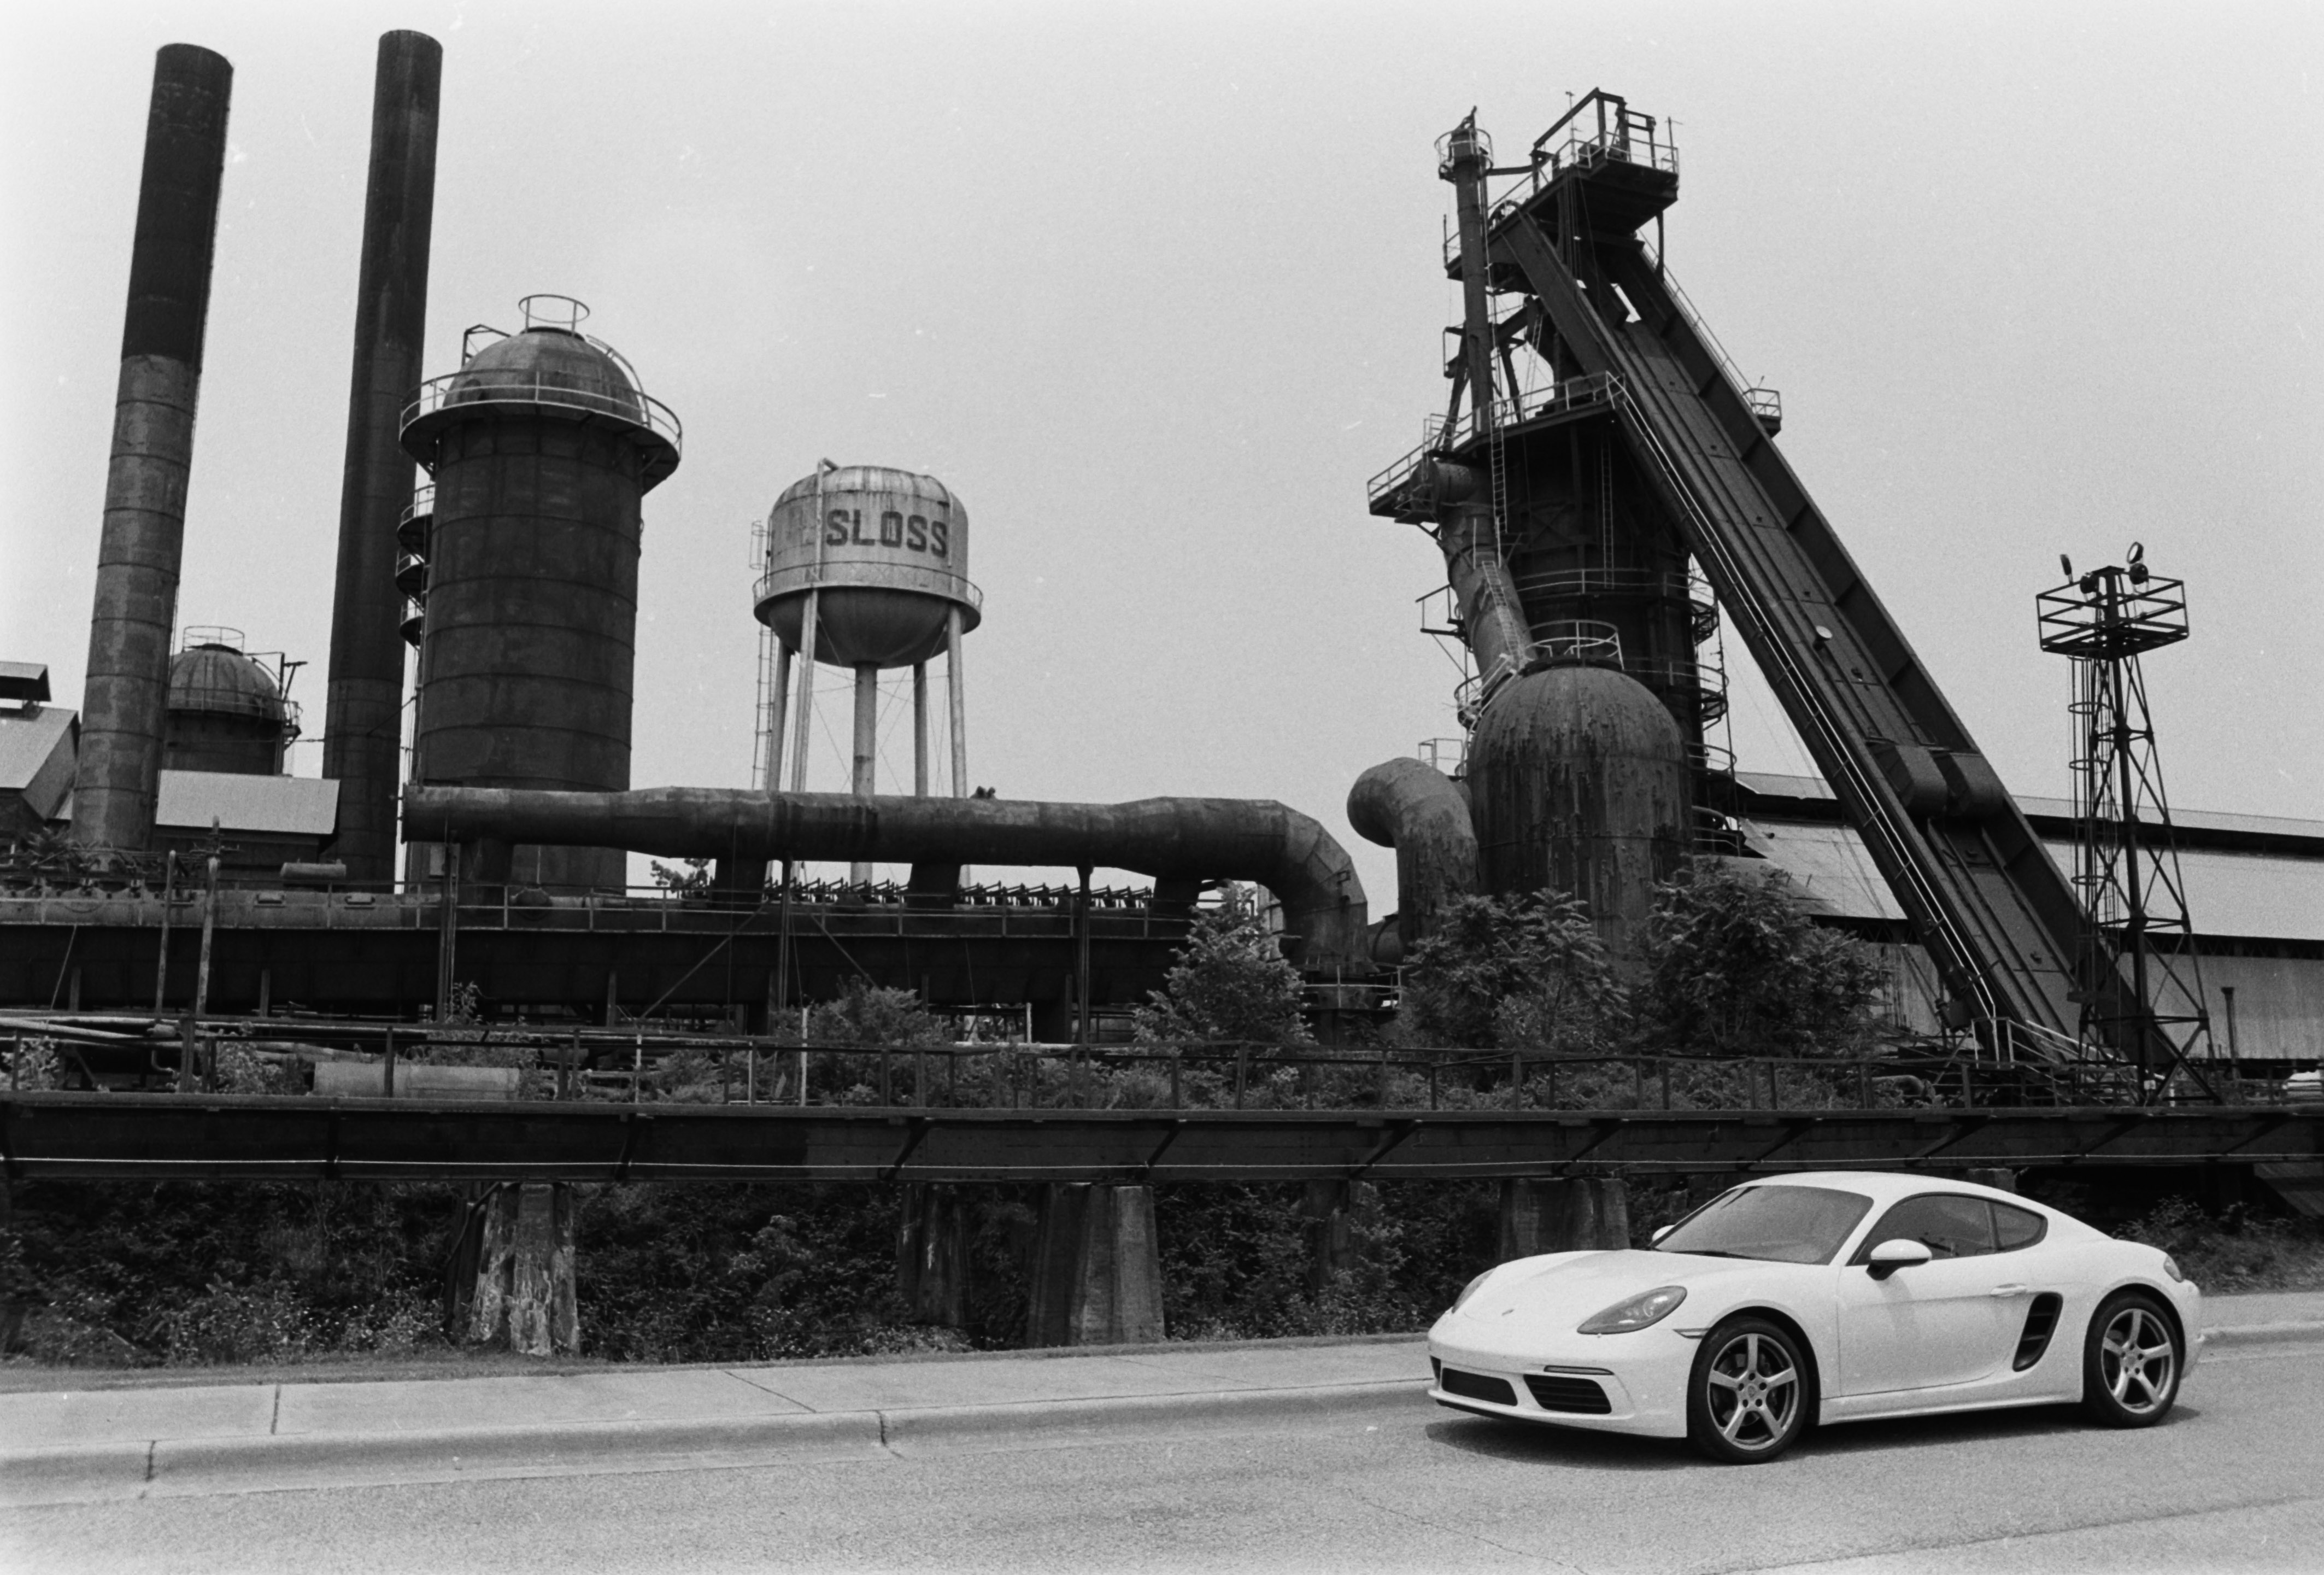
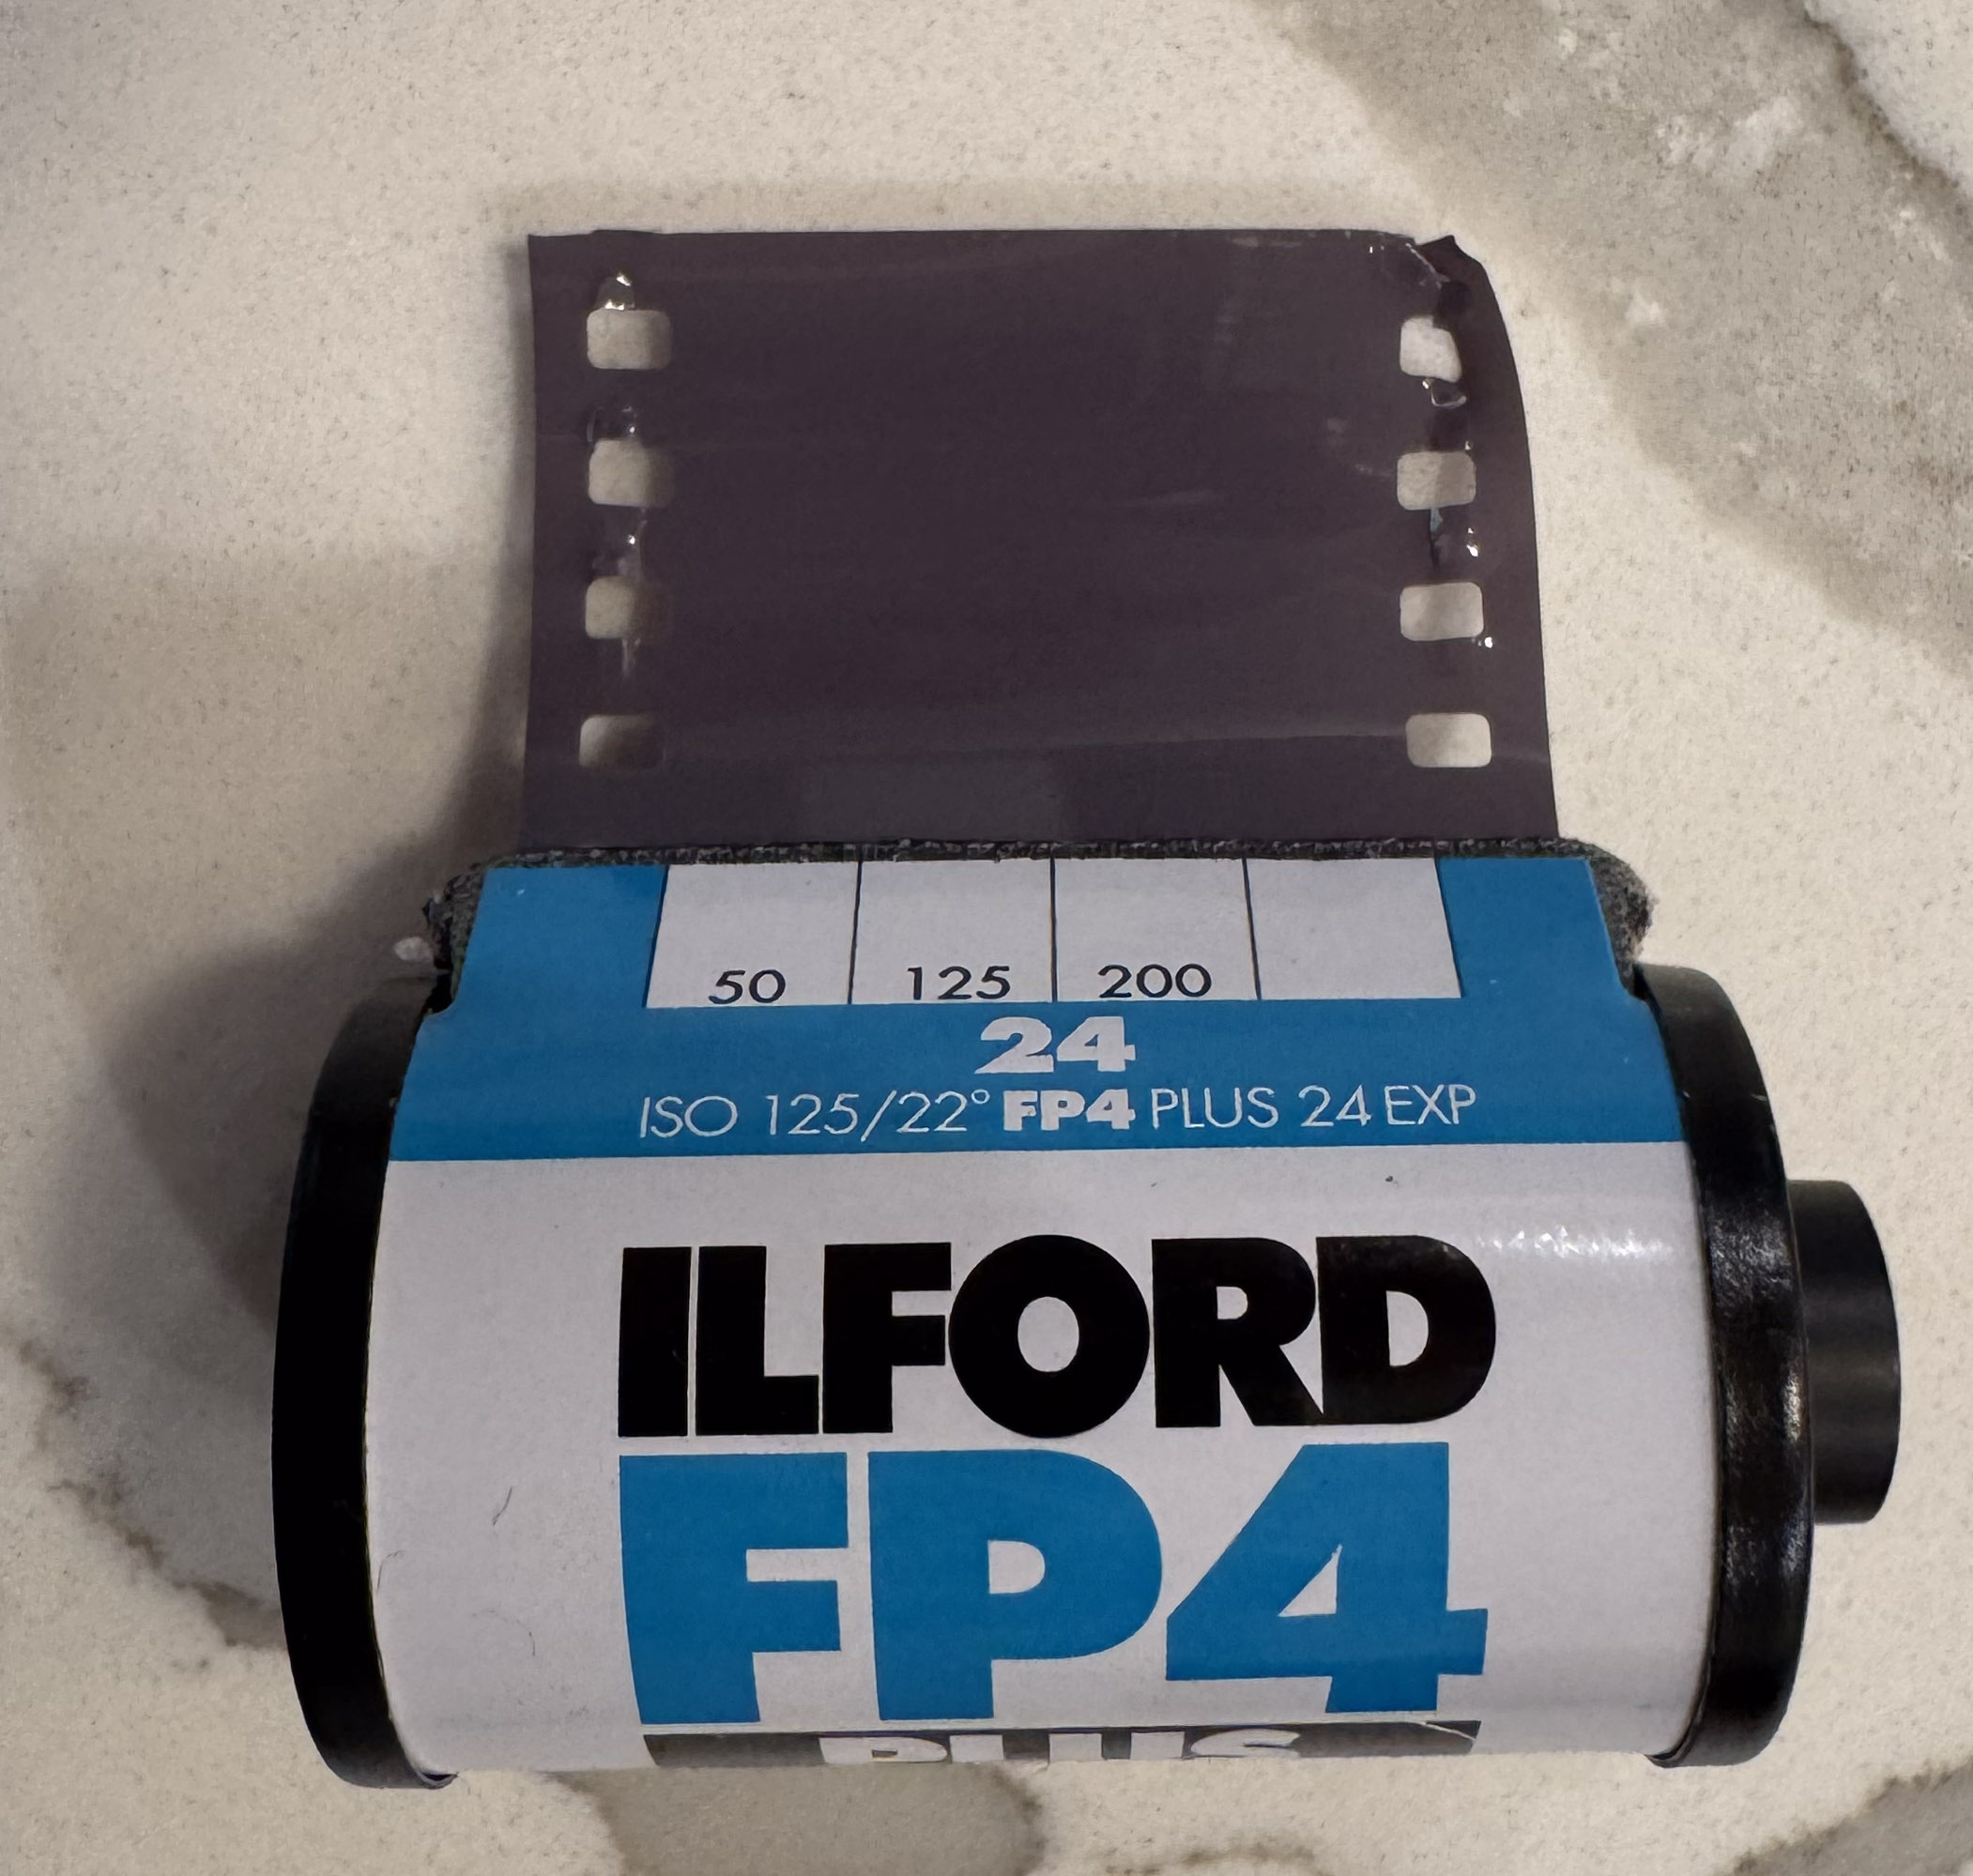
Pentax Program-A – Ilford FP4
Pentax Program-A – Ilford FP4
Pentax Program-A – Ilford FP4